Bed Jet Riser


Print Profile(1)
Description
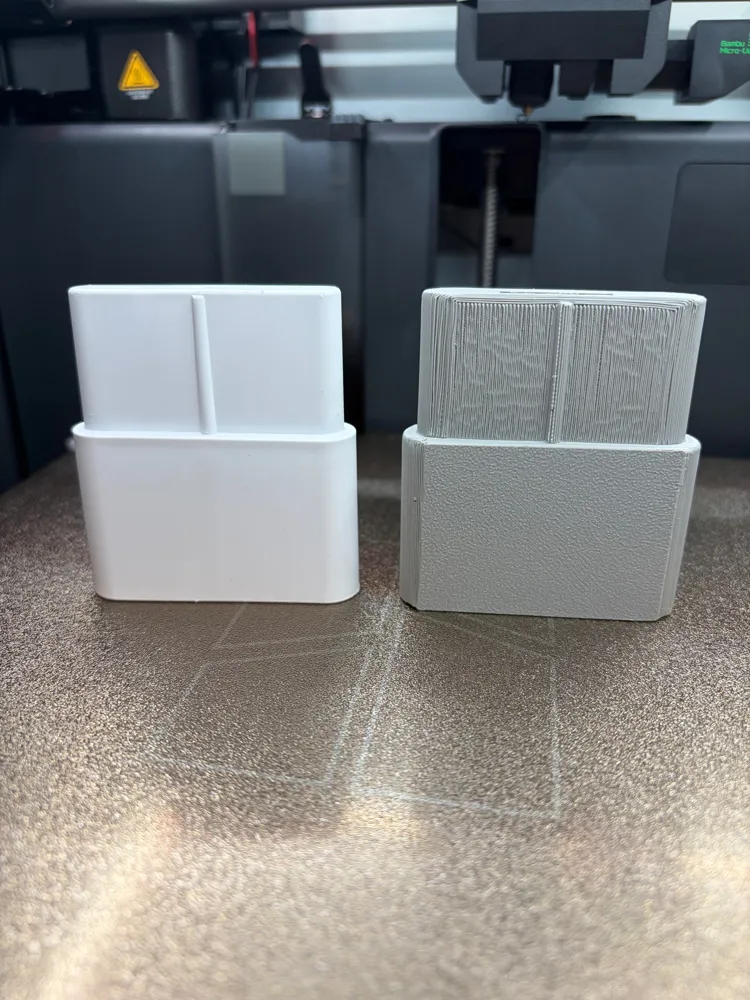
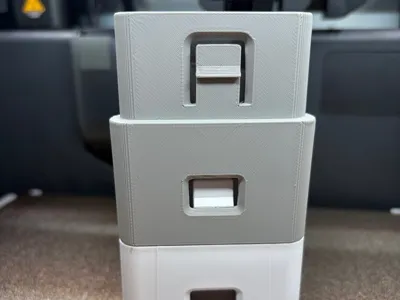
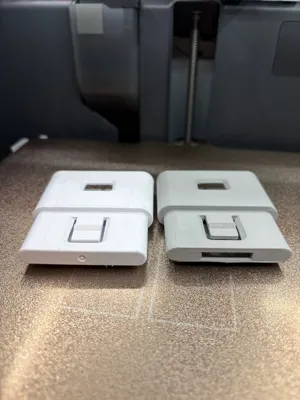
I have updated the print with many changes for cosmetic (you know who you are) and structural purposes. My original design was essentially the first 3D model I created on my A1. I have learned a lot about design in my first year and felt it would be reasonable to revisit this print. My original print was structurally sound but could use some refinement. I created a second version with better aesthetics to match the OE riser (Chamfer, fillet, etc.) but fitment suffered. I was also reminded why I oriented this print the way I had: to produce strength at the latch base which is the weakest link in other orientations. I have added a modifier to address this problem but still requires a supine print. With tighter fitment, I had to increase the mouth by 0.3mm and compensate in other places. I didn't like the orientation of the lines vertically on top surfaces so rotated 45 degrees for aesthetics (you know who you are). FINALLY::: MY BIGGEST USER COMPLAINT--→ Those impossible to remove supports. Unfortunately, I can't discard them completely. BUT, I created access at the top of the riser to allow easier access for support removal without creating any significant structural weakness. I DIDN'T SAY EASY REMOVAL. Making strength in areas that provide reasonable integrity just wasn't satisfactory to remove them completely. I made a few changes to infill that also should reduce filament volume and print time without structure loss.
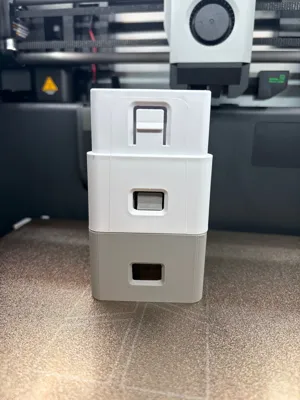
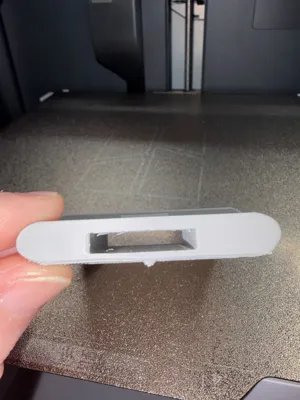
Final thoughts: I have kept the original stl intact so others might see at least a small component of my process. I am always amazed by design integration that makes such flawless creations that seem to JUST WORK. These version are labeled accordingly (V1-V4). V4 is the print that I would use if you are printing a functional piece. There are 2 V4: The “V4 Mod with cut” includes the upper slit for easier support removal. When I printed, it just wasn't wide enough for my smallest pliers, so I added the "V4 Mod with cut extended" which extended the opening posteriorly on the model to increase gap. It makes the model a bit less attractive (you know who you are) but functions as intended. I have also INTENTIONALLY rotated the model and made adjustments to the infill, modifier, and supports to make the best use of all settings. Parameters are included below:
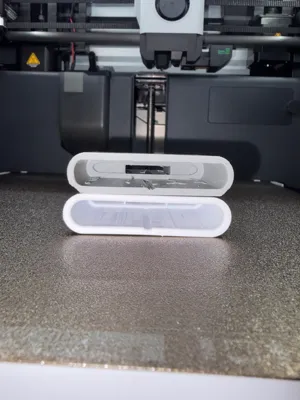
V4 Mod with cut extended - Printed on A1 for Nostalgia
0.2mm layer height (up from 0.16)
15% sparse infill (down from 50%)
Infill direction 0 degrees (change from 45 degrees)
Supports enabled (snug, 45 degree pattern angle, Top/bottom Z 0.2mm)
Added 5mm brim (Could go without, safety net reduces failed print risk)
Added top slit from extension of internal cut + posterior extension of 0.1mm for greater removal space (extended cut creates scarring/artifact, but functional)
3 wall loop
This is a replacement riser that typically comes with a Bedjet. This part is used to bring the end of the air jet level with bed surface to allow air to be pumped correctly under the covers. When I purchased mine, it didn't come with enough risers to work for the shape of our bed at home. I finally decided it was time to correct that issue and build a replacement. It doesn't have the taper and bevel of the original but functionally it works as intended and aesthetically… it lives under your sheet/comforter!
Intended as replacement or to be used with original pieces. Consider a like or boost if you find this helpful.
Boost Me (for free)
Consider a like and boost if you find this model helpful. I really enjoy coffee but haven't found that button yet....
Comment & Rating (26)