
Guitar Pedal Board

Print Profile(1)

Description
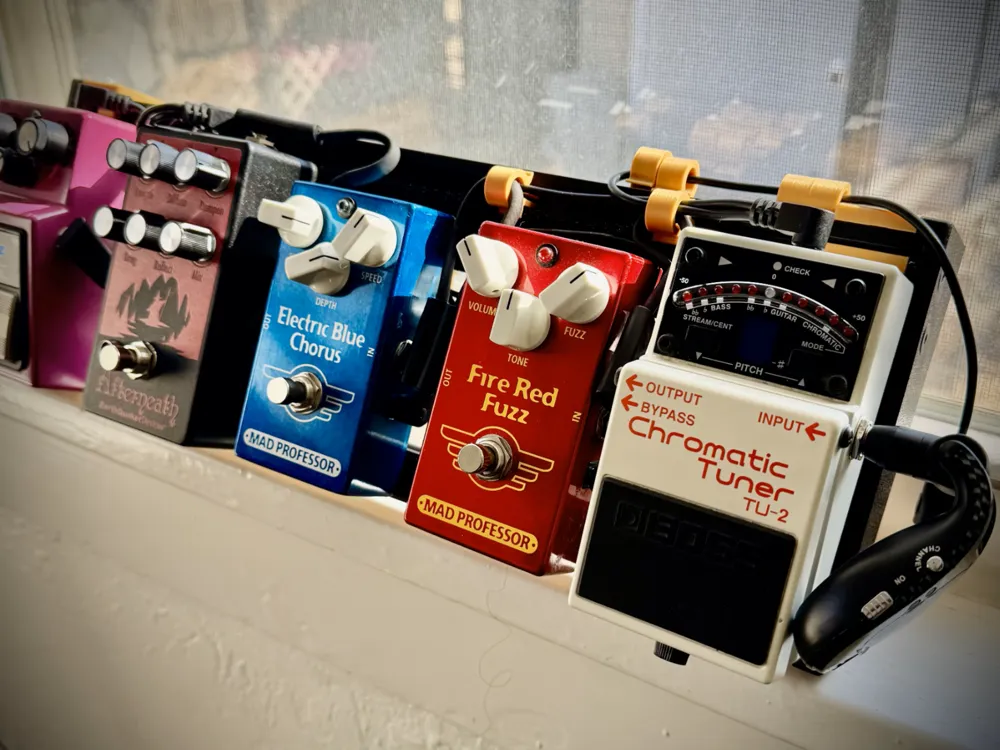
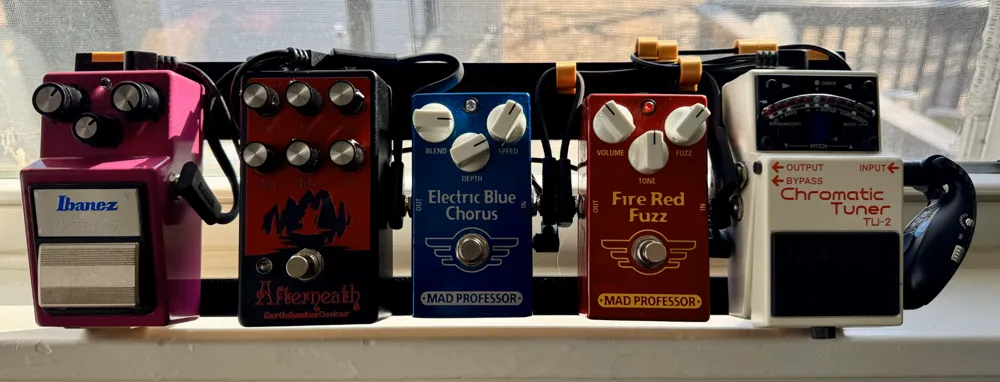
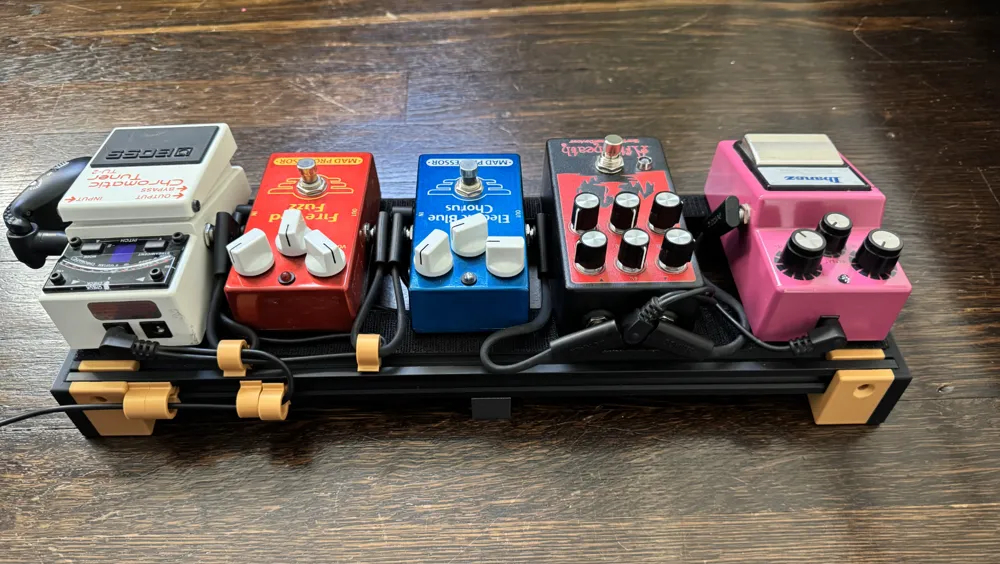
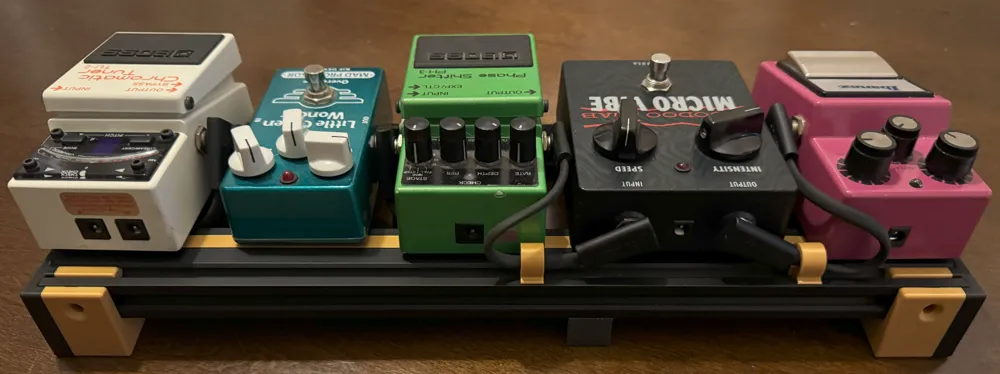
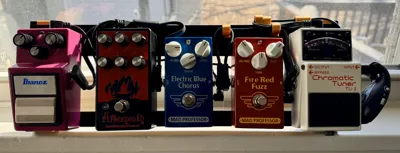
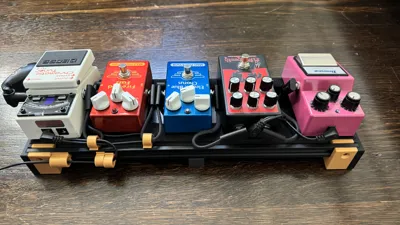
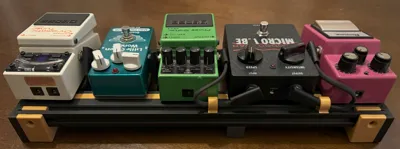
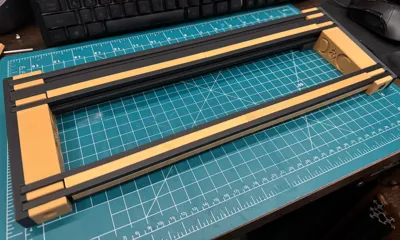
Modular pedal board. No supports needed.
The extrusion can be as long as you want or need. Just lay out your pedals, plugged in, and measure the length.
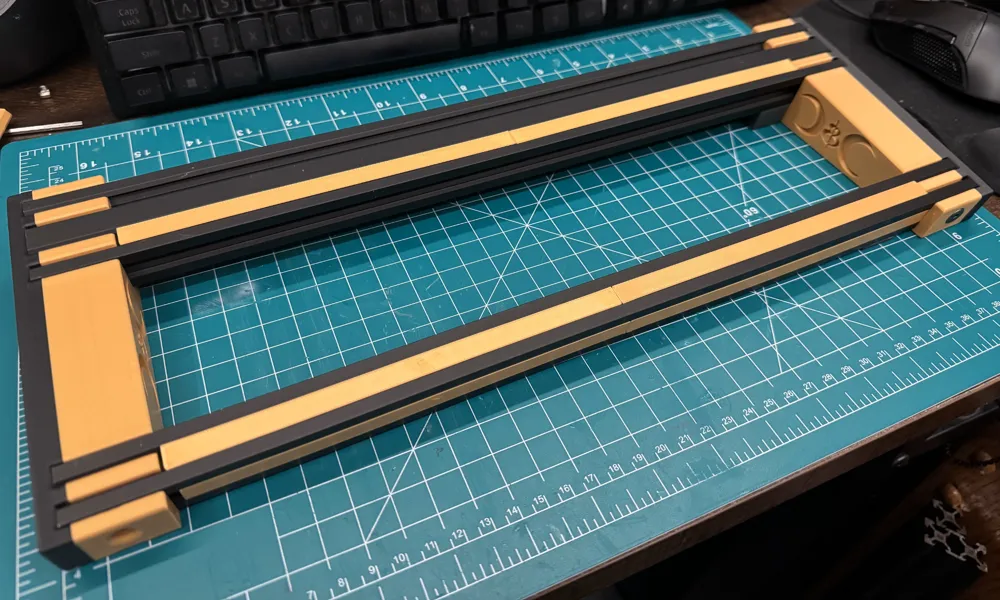
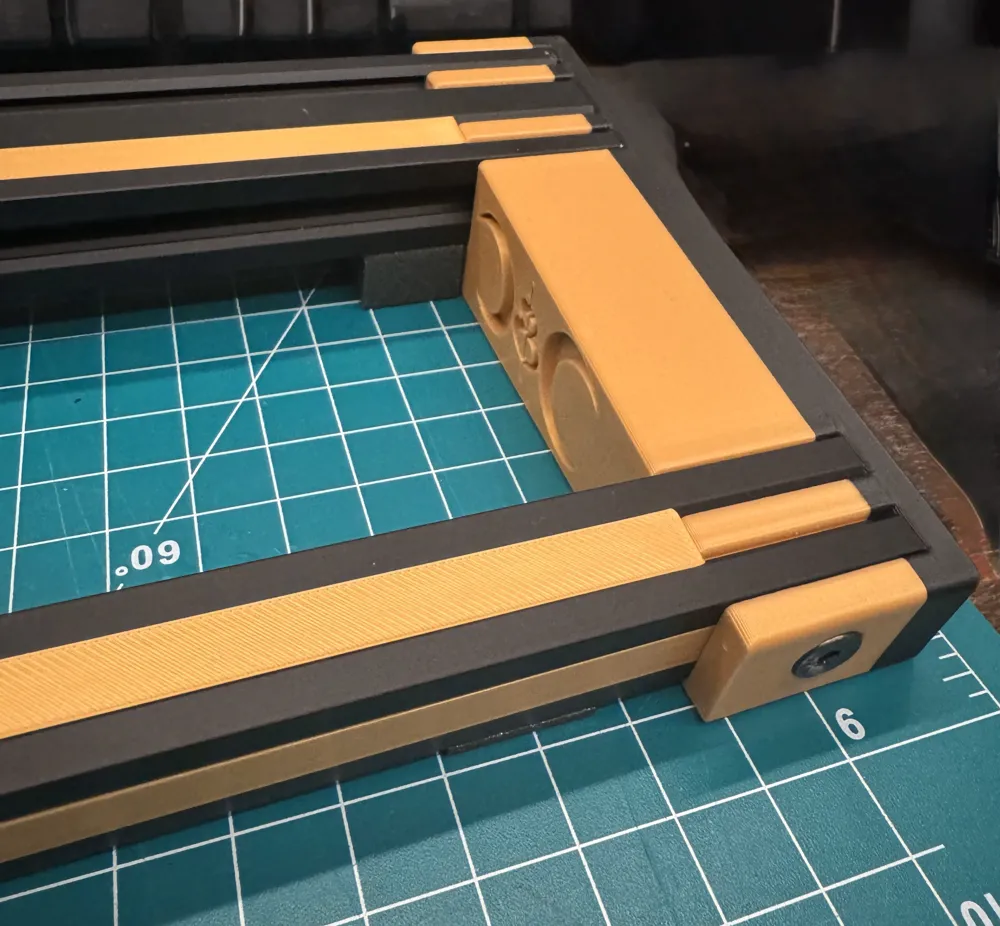
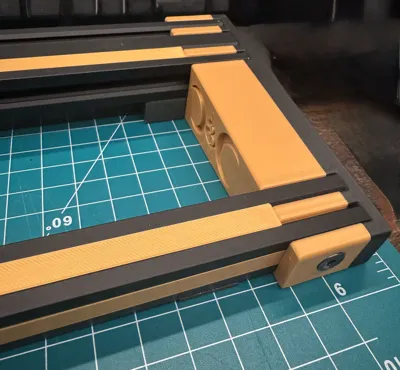
Extrusion Fillers plate - I found this orientation to print the best. Notice there are two versions. One is squared off at the top and one comes out at an angle. This is because I purchased a few different types of extrusion. After testing which fits best on your board you can scale them longer on the X axis to fill the gaps in your board. They are purely for aesthetics.
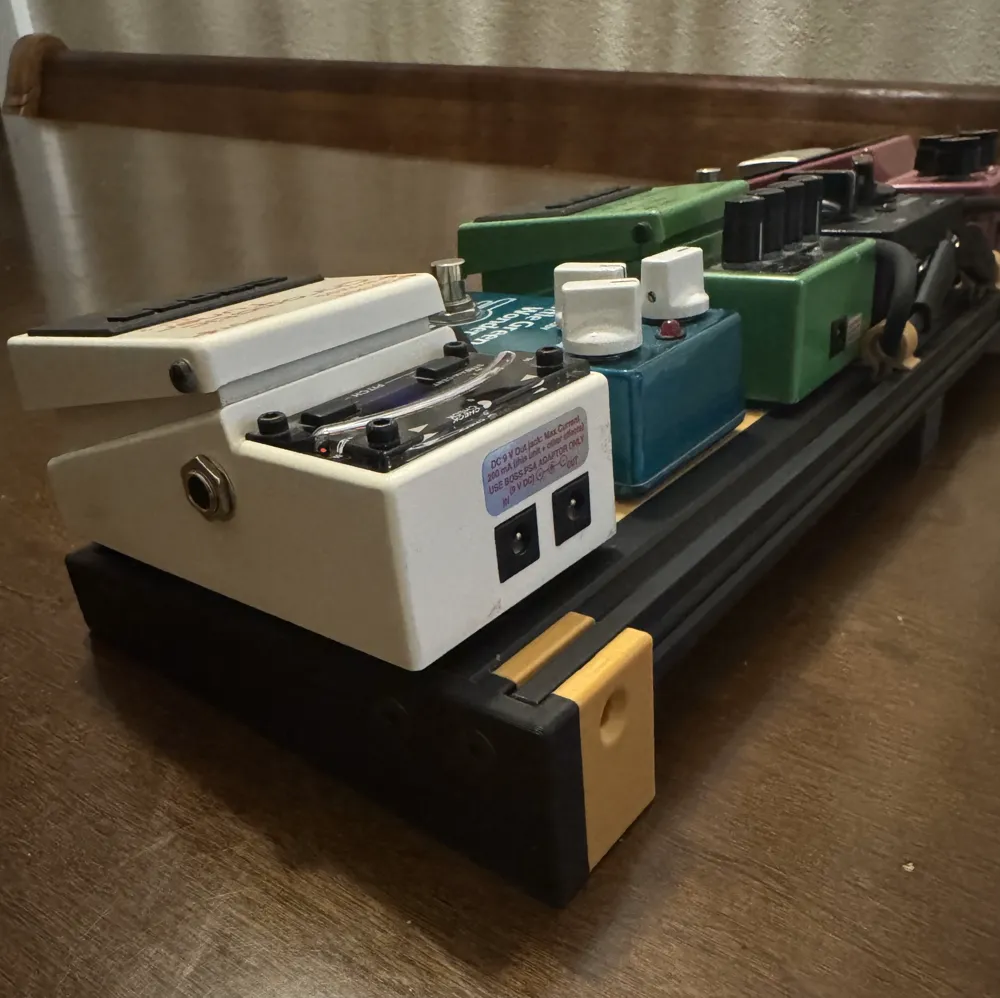
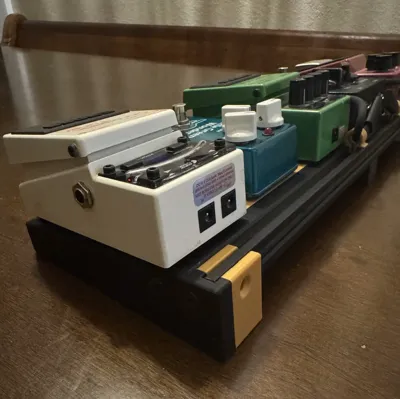
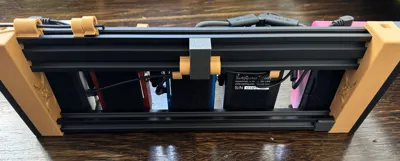
Legs plate - These attach to each side of the extrusions. There are several areas to insert screws. This may be overkill. I used M5 flat head/socket cap bolts and T Slot Nuts. Unfortunately, the 2040 Extrusions I bought had different size fits for the nuts. I did not feel like grinding them, so I did not use them on the 20mm side of the 2040 t slot. My 2020 extrusions worked flawlessly. On another note, I had to tap M5 threads into the ends of the extrusions. It wouldn't be necessary if you have T Slot Nuts that fit. With home use, the extrusion on mine fit snug into the legs. So much so that I am not too worried about not having all the screws inserted.
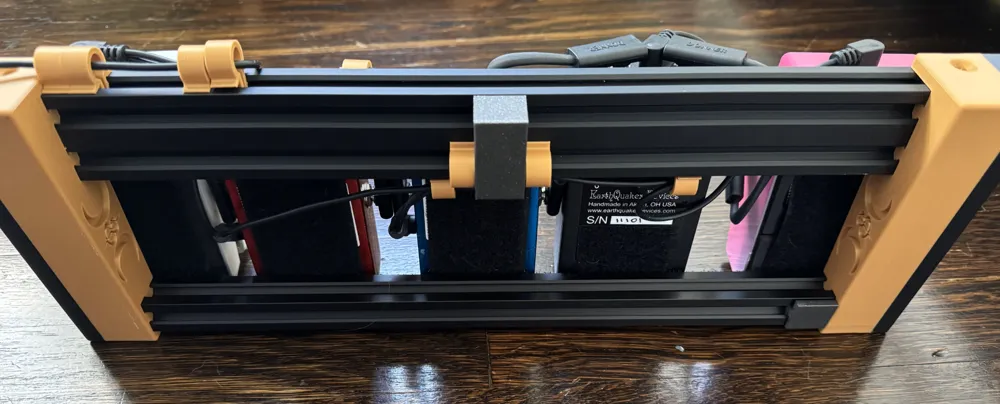
Braces plate - These go on the under side to add support to the middle of the board. They match the same angle as the legs. I made them this length and left it at that, but can be scaled up on the z axis if wanted. I added a few drops of hot glue on either side to keep it somewhat centered once they were slid onto the board.
Test Fits plate - These are just to test that the extrusion you are using will fit the legs. Some of the extrusions that I purchased did not exactly match the description, which led to a lot of confusion and wasted material.
I used a few other models for extrusion clips for cable management, listed below. I may create a few different shapes of clips later.
https://makerworld.com/en/models/624922-aluminium-extrusion-cable-clips#profileId-549320
Future considerations:
I used Velcro for this build. Eventually, I'd like to design brackets that can lock into the board and the pedals with no Velcro.
Parts I used:
2040 Extrusion - https://a.co/d/8gwiWIc
2020 Extrusion - https://a.co/d/dbULin2
T Slot Nuts - https://a.co/d/apVKqfi
M5 Bolts - https://a.co/d/f3fZBxY
A customizable pedal board for your guitar pedals. I thought it would be fun to have a modular pedal board that fits whatever length you need to fit the number of pedals you need. I built this because I cannot/do not always want my very large board laying around the house. This is easier and more convenient to have out. I also remembered being younger and not being able to afford a decent board. I'm hoping that this is a viable option for people that aren't ready to purchase an expensive board. When I was younger I bought a big board so that I could eventually “grow into it.” Now I am realizing it is way too huge for my typical pedal set up. This is a nice way to be able to adjust the pedal board length without buying another board. Creations By Chance.
License



Comment & Rating (9)