
Magnetic Fidget Slider (Parametric / Customizable)
Print Profile(2)


Bill of Materials







Description
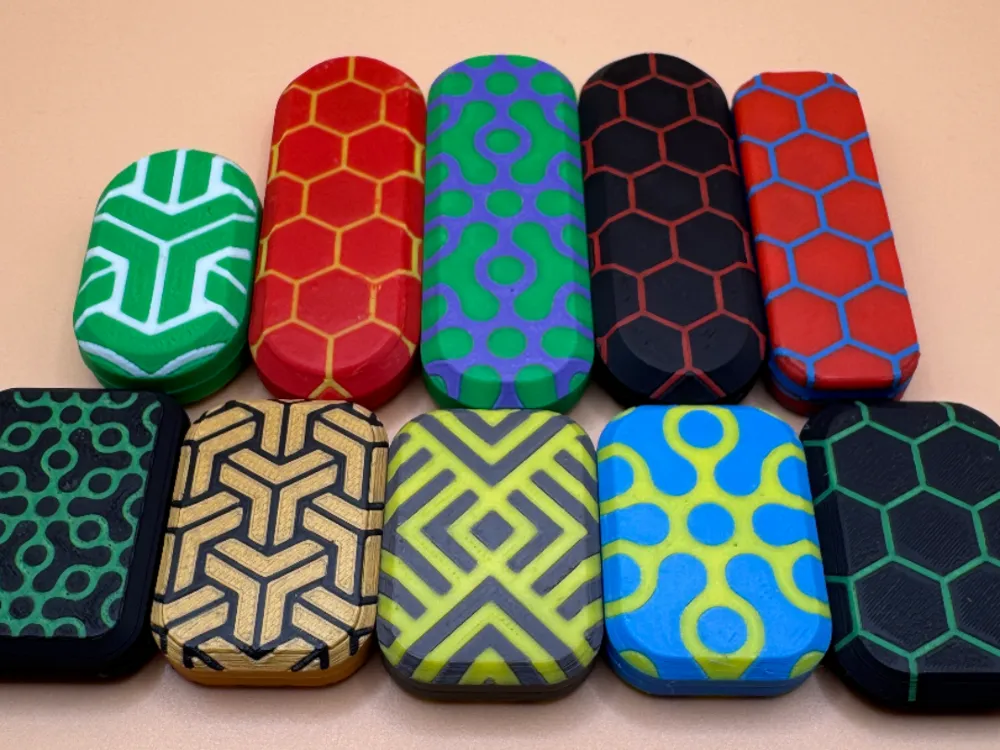
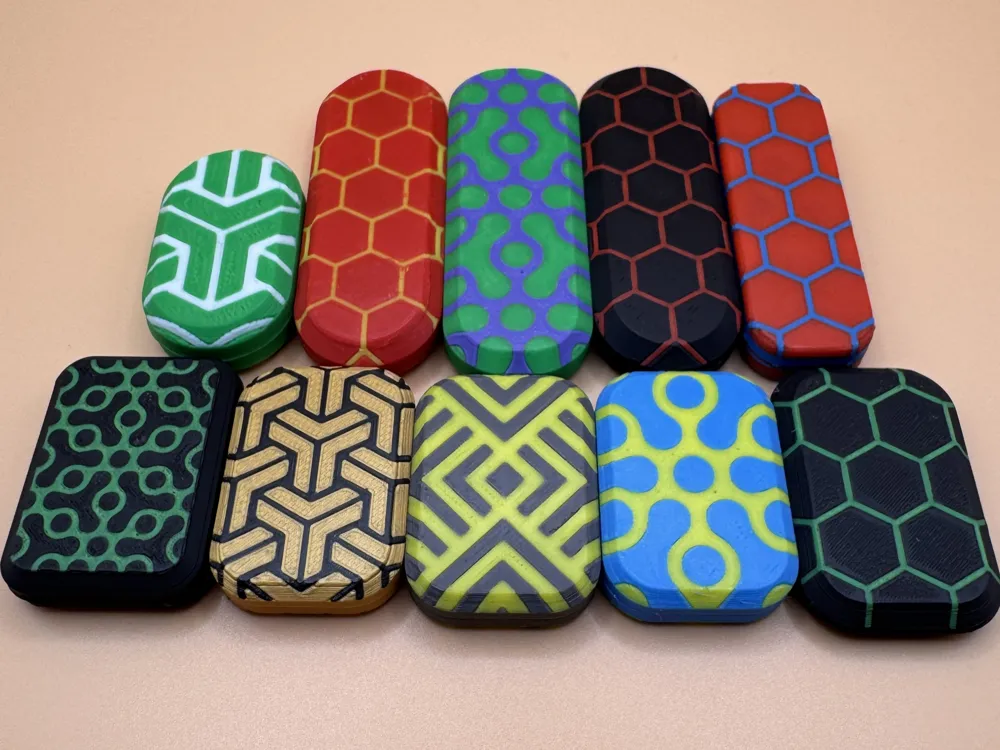
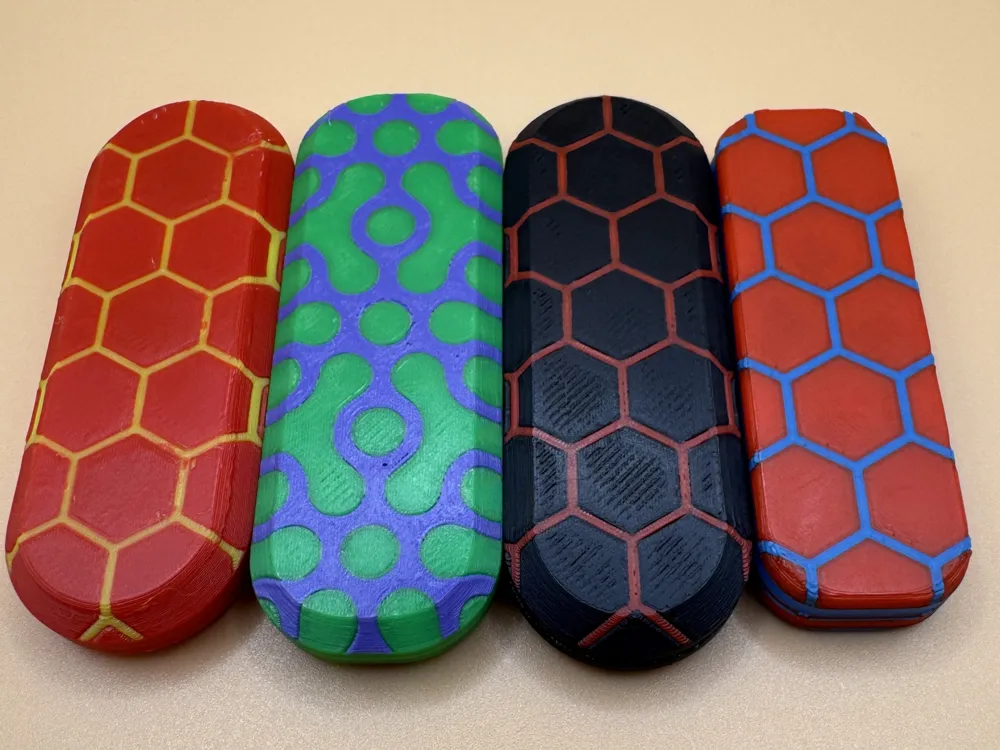
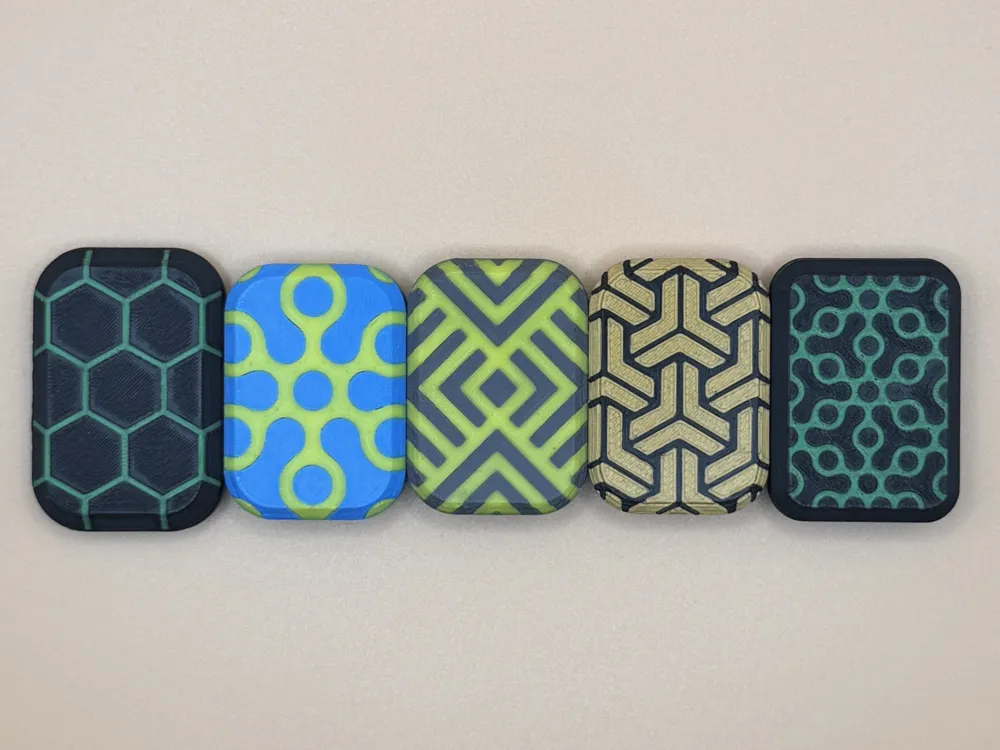
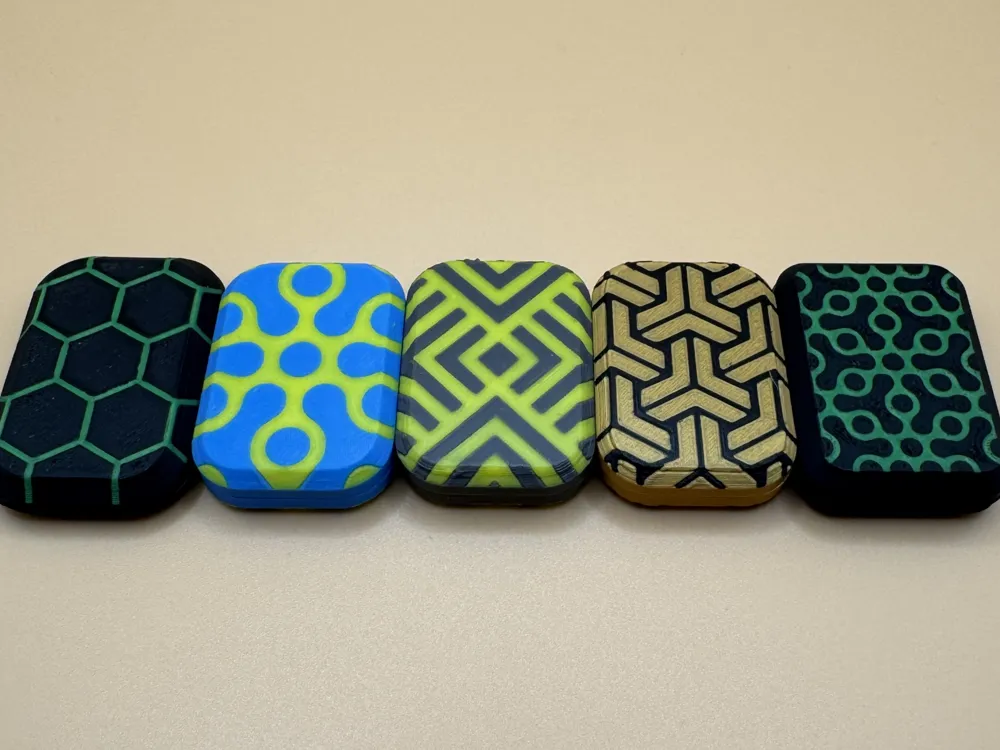
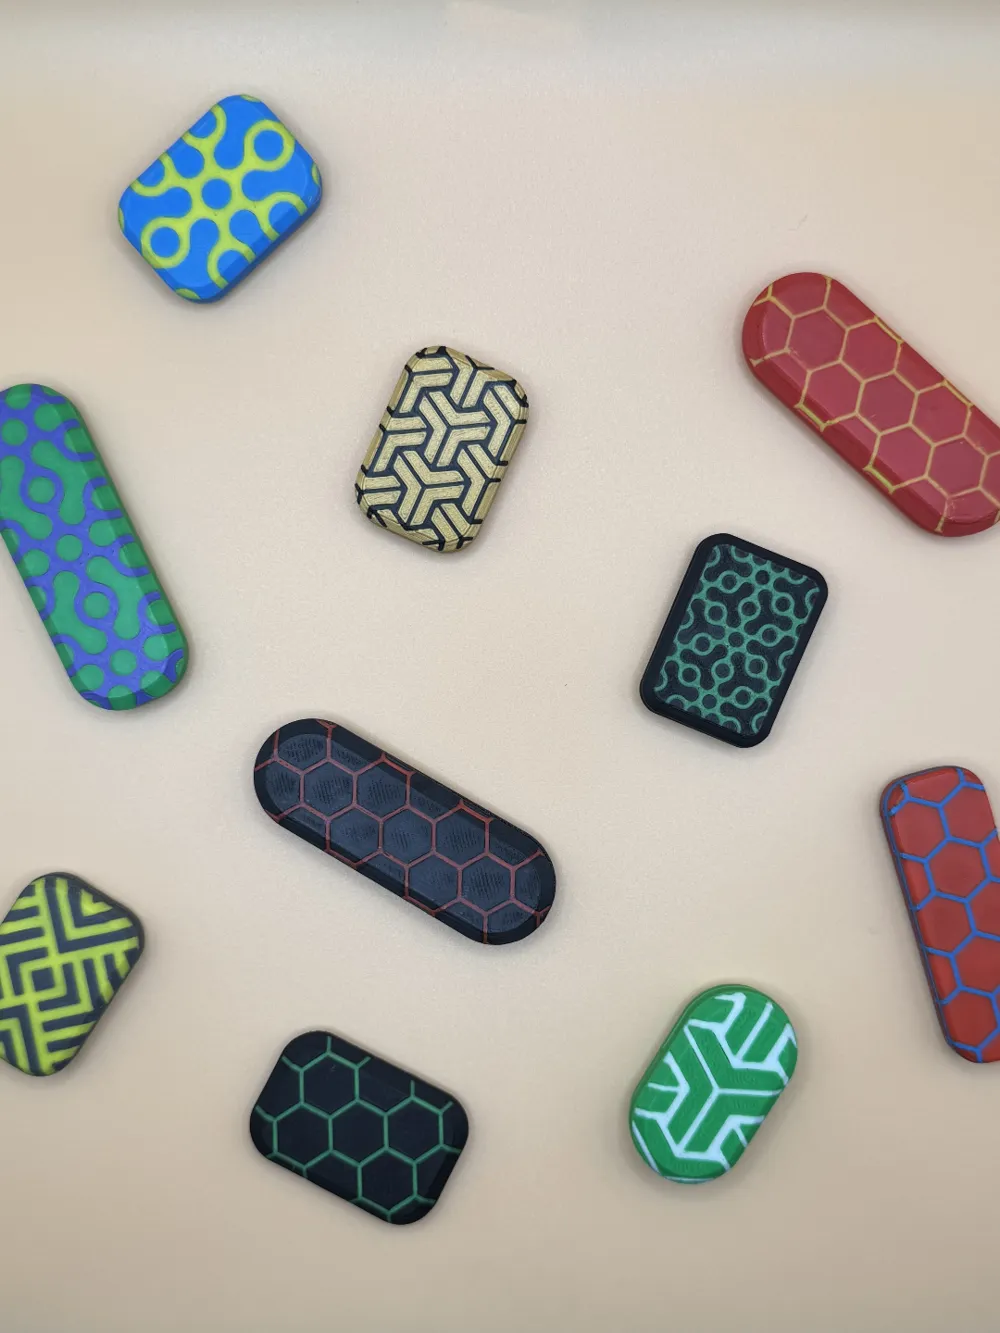
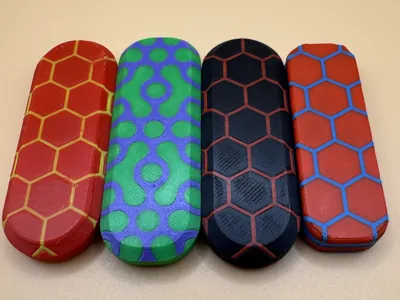
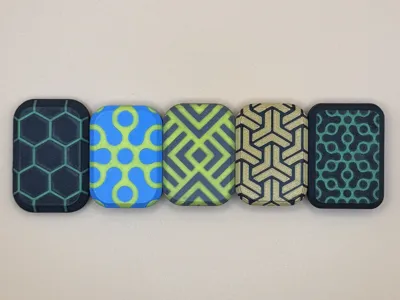
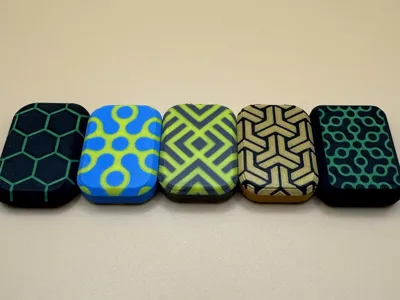
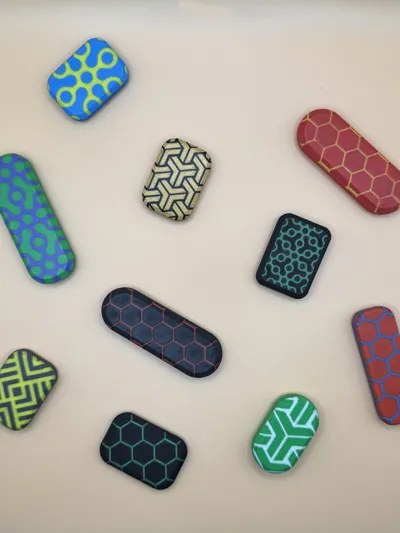
This design is for my magnetic fidget slider designed in Fusion 360.
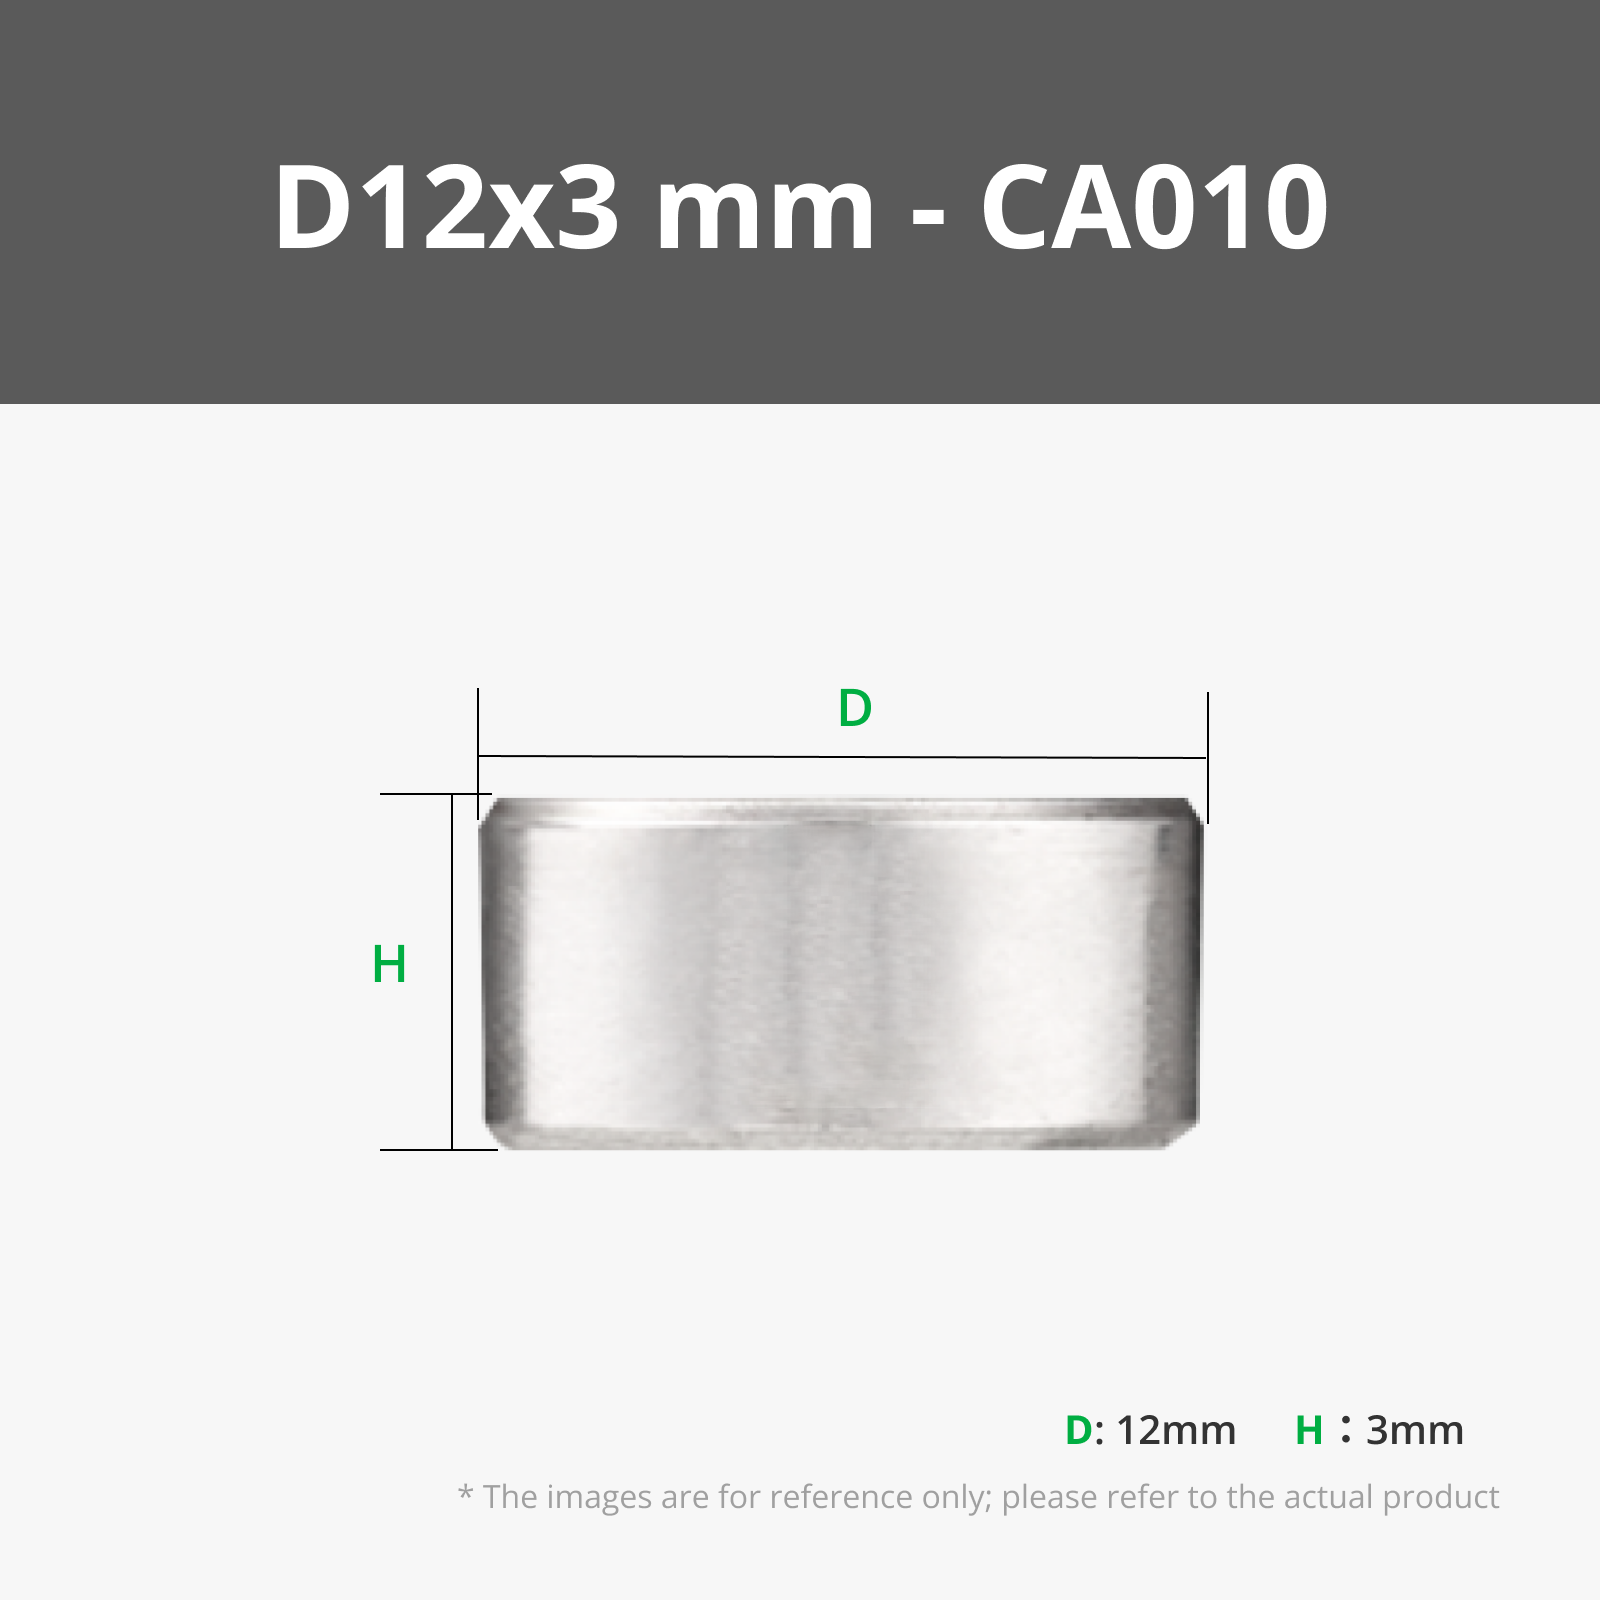
I've included the Fusion 360 file so you can customize this to your liking, including the size of whatever magnets you have on hand.
Below is a video that gives a brief overview of the whole process. This is my first stab at Video Editing, feel free to let me know if you have suggestions or constructive criticism.
Customizing
This is not an all encompassing tutorial, but here are the basic steps to modifying the design in F360.
- Open the .f3d file
- You can also choose the “Customize” option on Maker World, but I feel this model is not ideal for this feature. If you have the ability to use F360, do that! The Customizer only gives access the the Hex pattern, and it's harder to paint. It is also difficult to visually see the how the magnets line up internally. Consider this experimental.
- Under the “Modify” menu, choose “Change Parameters”
- Modify the parameters to your liking (each parameter has a description about what it effects)
- The Hex pattern is automatically cut to make the block.
- The “Alternate Patterns” can be scaled and moved, then select the “Combine” tool and perform an Intersect operation using the “block” as the tool (keep tool enabled)
- Right click each “body” and choose Save as Mesh
Slicing
If slicing files yourself, here are a couple tips:
- Import all .stl files into the slicer at the same time. When prompted, choose to import as a single object with multiple parts
- In the objects menu, assign the body and pattern your chosen colors
- Use the paint tool, view from the bottom (Ctrl + 2), use the “Section View” slider to view the top of the cavities that hold the magnets. Use the paint bucket to ensure the top of the cavity is all the same color.
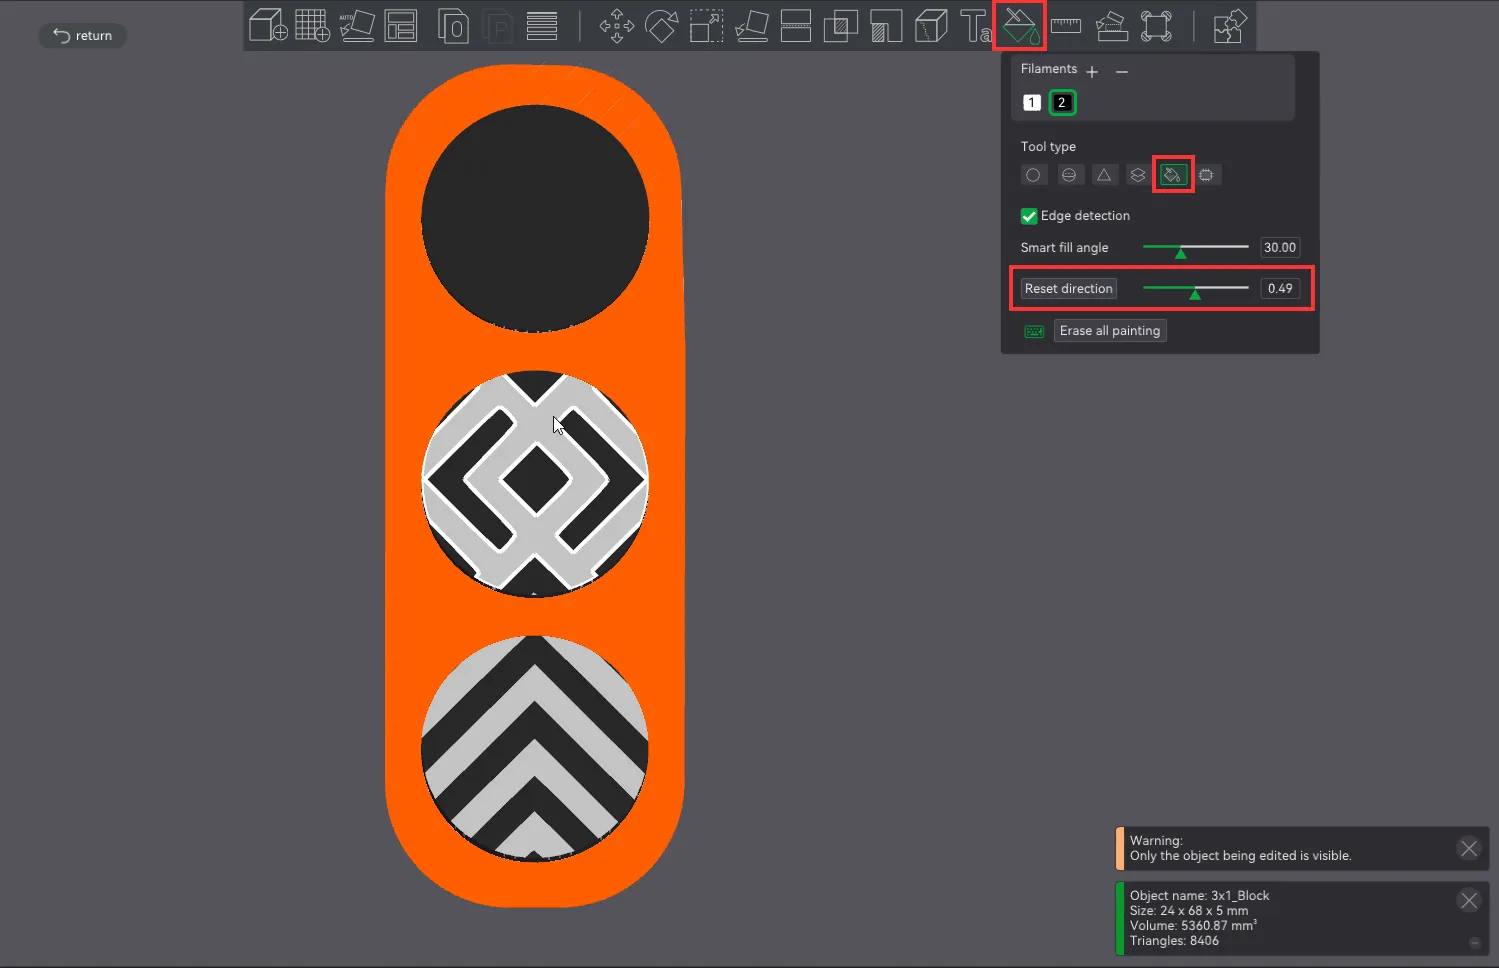
- Once sliced, use the slider and find the layer that starts to print the top of the cavity and add a pause.
Printing
In the Print Profile I've included there are “Magnet Caps” which can be removed during the pause and added to the top of the magnet. I recommend using a small dab of super glue to attach the “cap” to the magnet to prevent the fans from blowing them off. These are optional, but they help avoid problems with filament not sticking to the magnet.
The magnets should be inserted in opposite directions for each half.
Magnets
Below are Amazon Affiliate links to magnets I've used and can recommend (I earn a small commission if you use these links, which is greatly appreciated):
10x2mm:
18x3mm:
Video demo of the whole process:
Boost Me (for free)
A lot of work went into modeling, testing, documenting. Any and all boosts are greatly appreciated!
License

You shall not share, sub-license, sell, rent, host, transfer, or distribute in any way the digital or 3D printed versions of this object, nor any other derivative work of this object in its digital or physical format (including - but not limited to - remixes of this object, and hosting on other digital platforms). The objects may not be used without permission in any way whatsoever in which you charge money, or collect fees.


Comment & Rating (78)