Hardcore Harp with Playable & Decorative Versions


Print Profile(3)


Bill of Materials


- Strings x 1: This project is scaled for this particular harp string kit: https://www.amazon.com/dp/B0C61R6RYG?th=1
Description
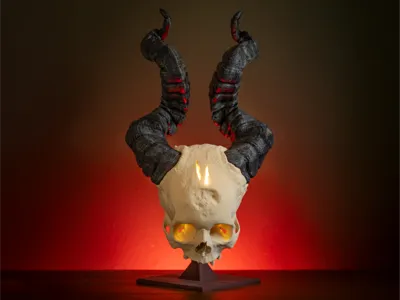
This is my attempt to make a hardcore version of an otherwise calm, beautiful instrument: the harp. The project is inspired by a real artifact from the Metropolitan Museum of Art. The final print is about half a meter tall!
Two versions of the files are available in separate print profiles. Please read the following notes closely to determine if either of these projects is a good fit for you:
 | Display Version
|
 | Harp Version
|
Printed Parts

- Left horn base
- Left horn top
- Right horn top
- Right horn base
- Skull Back
- Skull Front
- Crossbar
- Stand top
- Stand base
- Horn attachment pegs (4)
- Small horn assembly pegs (2)
 | If assembling the Harp version, glue six 5x2 magnets as shown. Be sure to check the polarity before gluing. |
 | Assemble and attach the horns by:
Note that for the Harp version of the project, the tension of the strings will help hold the horns in place without glue. However, for the Display version, the pegs help with alignment but glue will be needed. |
 | Prepare the stand by:
|
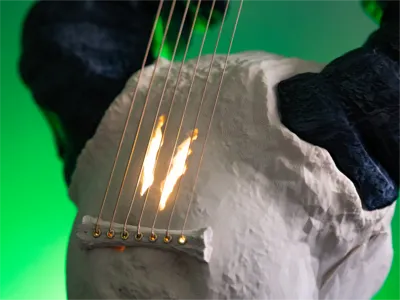
 | String the harp using the provided components by pressing the rivets into place and feeding the harp strings in through the interior of the skull.
(if you are just printing the display model, this step can be ignored) |
 | Screw the tuning pins into place. Feed the strings through them and tighten.
(if you are just printing the display model, this step can be ignored) |
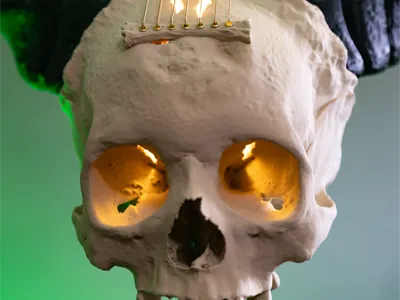
 | Attach the battery pack to the PH2.0 to SH1.0 power adapter, then to the SH1.0 cord and finally to the COB LED. Feed the LED through the eyelets and place the batter pack as shown.
(if you are just printing the display model, this step can be ignored) |
 | Slide the completed skull onto the base. If printing the Harp version, the model is heavy so ensure that it feels stable and level it if needed. When off the stand, you can attach the back magnetically. |
 | Finished product shown assembled for the Harp version. |
Printing tips and notes
- For the Harp Version, the infill in the profile is important. Tightening the strings puts these parts under significant pressure & using too weak of an infill could cause the parts to fail.
- I have tested this print using PLA but suspect that more rigid filaments could work even better.
- This Youtube tutorial from PIXXO 3D was my starting point for modeling the horns in Blender.
- The base model from the skull was scanned by Open Virtual Worlds from the collection of the National Museum of Iceland and is available here.
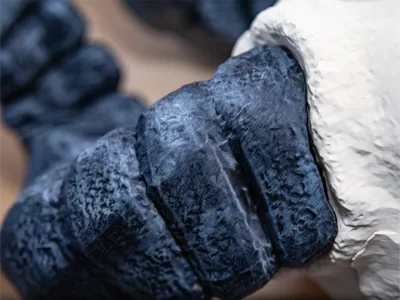
- As photographed in this listing, the horns were lightly dry-brushed with gray acrylic paint to highlight the texture.
Updates
- 3/16/25: Added a small amount of additional ventilation behind the LED.
- 3/22/25: slightly thickened the top surface of the skull in the display version to reduce the chance of light leaks or small holes.
Boost Me (for free)
If you enjoy my models and would like to support me, please consider sharing a boost!
Membership
Want to sell prints of my models? This Commercial Membership grants you a license to all of my MakerWorld models!
I love creating models to share for free, personal use. If you enjoyed this model, please consider buying me a coffee or joining me on Patreon.
License
You shall not share, sub-license, sell, rent, host, transfer, or distribute in any way the digital or 3D printed versions of this object, nor any other derivative work of this object in its digital or physical format (including - but not limited to - remixes of this object, and hosting on other digital platforms). The objects may not be used without permission in any way whatsoever in which you charge money, or collect fees.
Comment & Rating (103)