Springling – The Wobbly, Bouncy Desk Companion


Print Profile(6)


Description
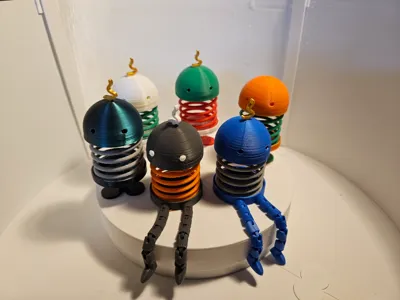
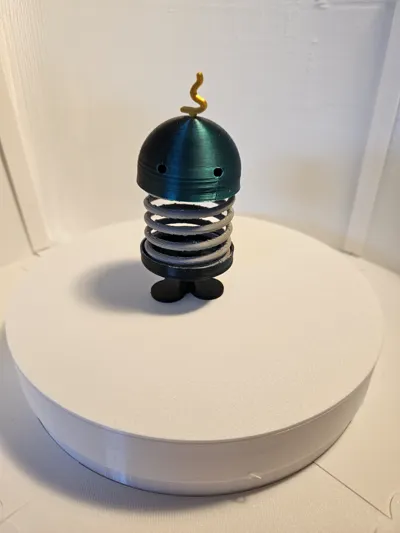
Meet Springling, the fun and quirky wobbling figure that’s guaranteed to bring a little joy to your desk, shelf, or workspace! Designed with a large spring at its core, this playful character bounces and wobbles with every tap, making it an interactive and entertaining addition to any space. Whether you give it a gentle nudge or a playful flick, Springling responds with an irresistible bobbing motion that never fails to amuse.
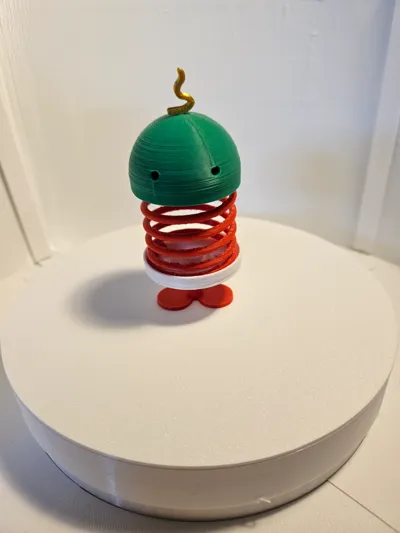
Available in two unique variants, you can choose between a classic version with short legs and feet for a sturdy, adorable stance or an articulated version with flexible legs for even more dynamic movement. No matter which you pick, Springling’s whimsical design ensures it stands out as both a decorative piece and a fidget-friendly desk toy.
Perfect as a gift, a stress-reliever, or simply a cheerful companion, Springling is here to add a little bounce to your day. Whether you're looking for a lighthearted distraction or just a touch of charm in your space, this little wobbler is ready to bring the fun!
How to build
Building a springling is fairly easy, it does however require a little glue, I used accelerants so the glue dries almost immediately to speed up the process.
Step 1
After printing remove items from the build plate, you need to first remove the supports


Step 2
Gently pry open the spring from its supports, then remove the supports entirely, I found long nose pliers simplified the task.


You may need to manually clean some of the pieces of support from the spring. And please note the only time I had an issue was when printed with a 0.6mm nozzle, so I reccomend you stick to a 0.4mm nozzle
Step 3
Push the pin through the base and add a little glue to the hole in the legs, use accelerant on the pin and put the two together

Step 4
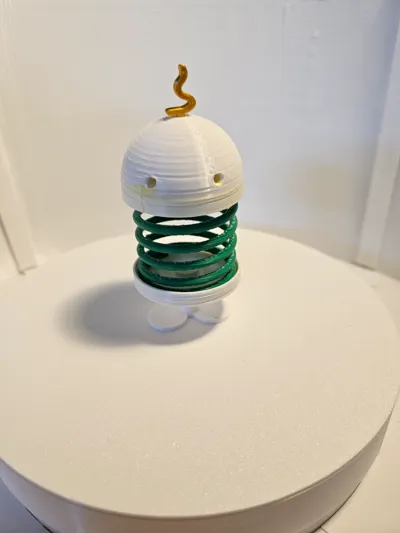
Add some glue to the spring, please note the bottom of the spring is quite close together for the first rung (as in the picture). Add some accelerant to the base and join together. Important, before you glue the spring, do some dry fits to see which angle of the spring fits best with the head.

Step 5
Add some glue to the top of the spring, spray a little accelerant to the underside of the head and place on top of the spring, ensuring the eyes are rotated correctly with the feet.

And voila, a springling is born

Hope you enjoy ;-)
License
You shall not share, sub-license, sell, rent, host, transfer, or distribute in any way the digital or 3D printed versions of this object, nor any other derivative work of this object in its digital or physical format (including - but not limited to - remixes of this object, and hosting on other digital platforms). The objects may not be used without permission in any way whatsoever in which you charge money, or collect fees.
Comment & Rating (5)