Achievement Unlocked Badge - Customizable W/WO AMS


Print Profile(3)


Description
Makerworld has launched their commercial use program. I'm not sure what it will lead to but thought I'd give it a go. As a result all current and future models will have the commercial use option. Enjoy
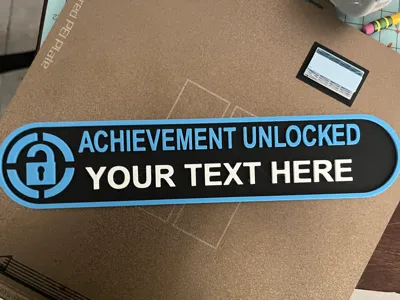
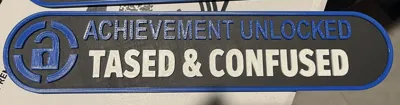
Ever have that Co-worker or friend who does something so spectacularly impressive or dumb you think they deserve an award? Here's your chance. The Achievement Unlocked badge common to many games is customizable. I've included 4 versions. Two with AMS and two without. The difference between them is simply how many colors you can use.
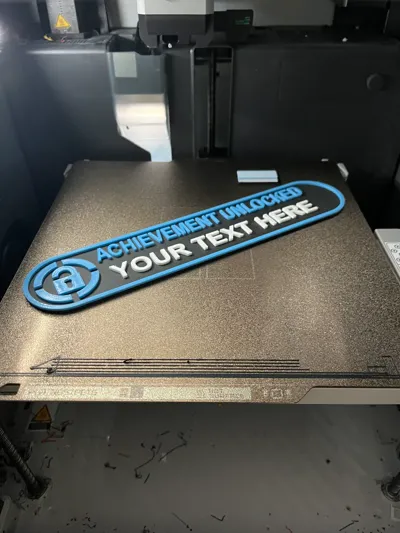
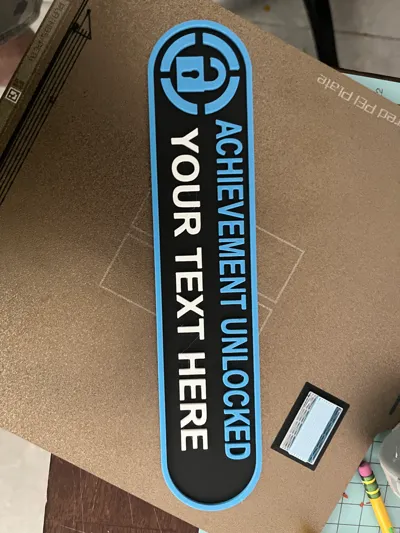
AMS Option 1 : Slim badge with three colors
AMS Option 2: Thicker with two hanger holes for nails or cubicle hangers on back
No AMS Option 1: Slim with two colors and a pause at 2mm
No AMS Option 2: Thicker with two hanger holes for nails or cubicle hangers on back Pause at 5mm
To change the text.
It's easiest if you reset the rotation of the object. Select the badge, click rotate, and use the orange rotation icon to reset rotation.
Open the OBJECTS tab
Right click the Text_Shape and select Edit Text
Make sure the selection is set to Horizontal and not Surface. Change the text in the box that pops up.
You can also change the spacing and text size if the name is longer than the box.
To do this, while in the edit mode, the second box down is SIZE. Adjust that to get the size you need for the font.
If the text is no longer centered, you can move it around by clicking on the YELLOW handle (square) above the lettering.
Hold down the mouse button as you move the text. Drag the text to where you want it and let go.
If you had to move the text in any direction see the next instruction.
The text will sit on top of the model, if you prefer it to be flush with the surface, click just the text and select the Move option at the top of the screen.
Documentation (1)
License
You shall not share, sub-license, sell, rent, host, transfer, or distribute in any way the digital or 3D printed versions of this object, nor any other derivative work of this object in its digital or physical format (including - but not limited to - remixes of this object, and hosting on other digital platforms). The objects may not be used without permission in any way whatsoever in which you charge money, or collect fees.
Comment & Rating (7)