Search models, users, collections, and posts
Sonos Roam Wall Mount
IP Report


Print Profile(1)

0.2mm layer, 2 walls, 15% infill
Designer
1.6 h
1 plate
Open in Bambu Studio
Boost
45
190
15
7
305
182
Released
Description
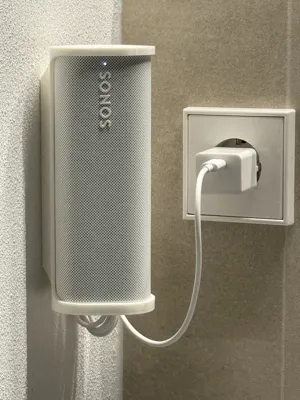
The Sonos Roam wall mount is designed in two parts that can be printed separately. This ensures you can print the top/bottom part with nice quality and no supports.
The wall mount is attached to the wall by a simple rail. This rail holds both sides of the holder in place. There are three variants:
- The normal one
- One with more clearance if your printer cannot handle the tight fit
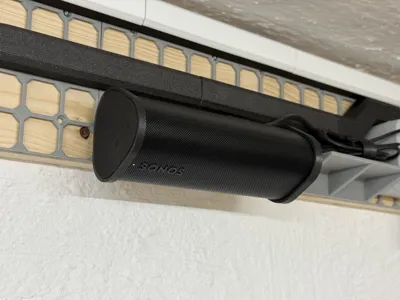
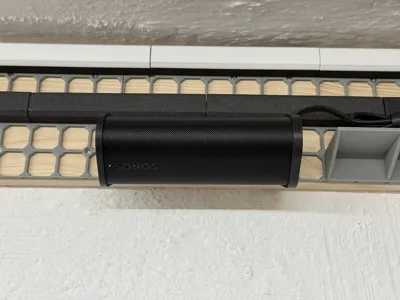
- One with an additional snap, for horizontal mounting (see photos)
Assembly is pretty straight forward:
- Attach Mount Rail to you wall using normal screws
- Slider Lower part of the holder over the rail
- Insert the Sonos Roam
- Slider Upper part over the rail + the Sonos Roam
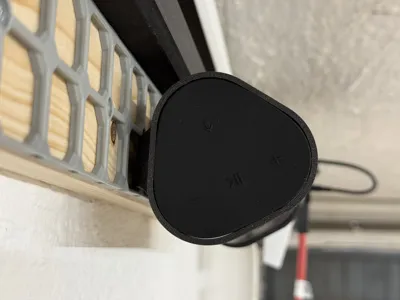
As the upper part has an open design you will still be able to use the controls on the Sonos Roam.
Hint: You most likely will be able to attach this holder to anything compatible with gridfinity as the screw holes are 84mm apart from each other. This is visible in the photos with the black Sonos Roam. It is using the M3 directional snap for openGrid.
License
This user content is licensed under a
Creative Commons Attribution-Noncommercial-Share Alike
Comment & Rating (15)