
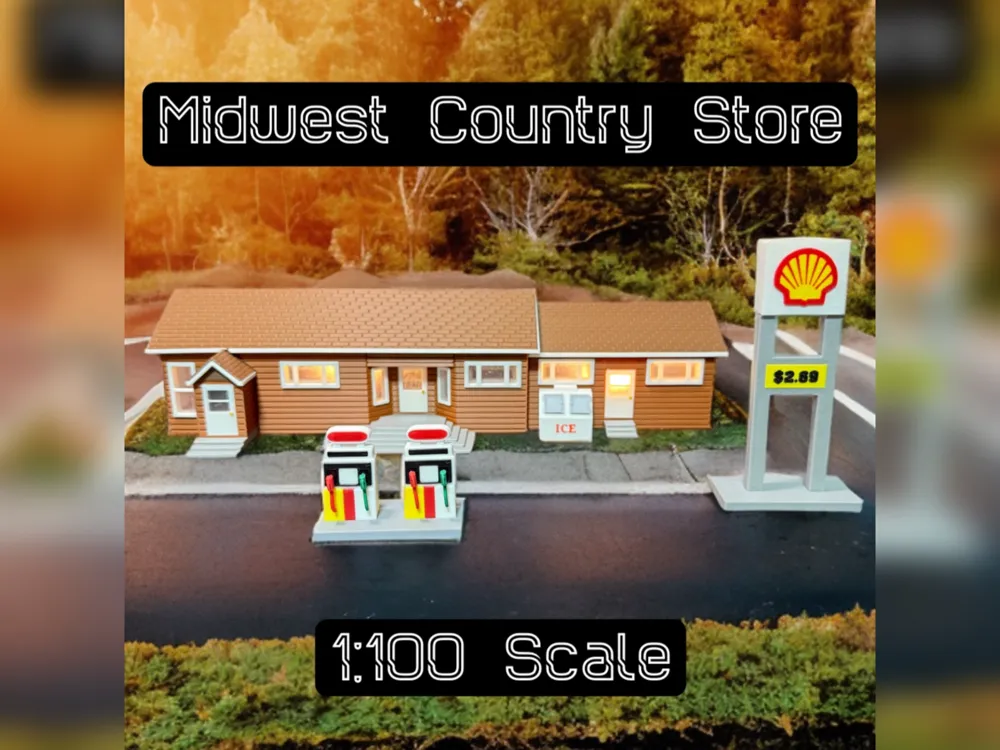
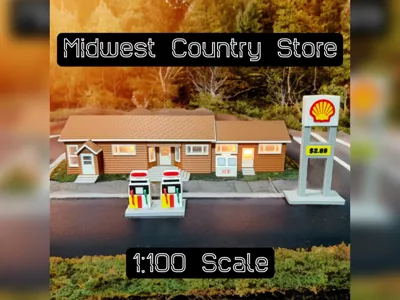
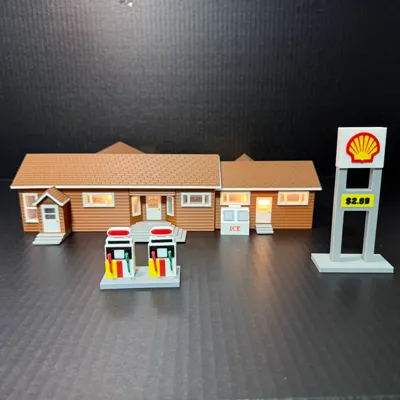
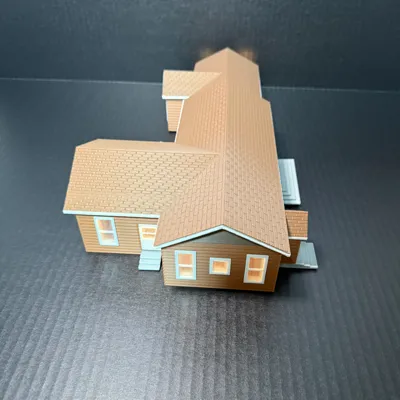
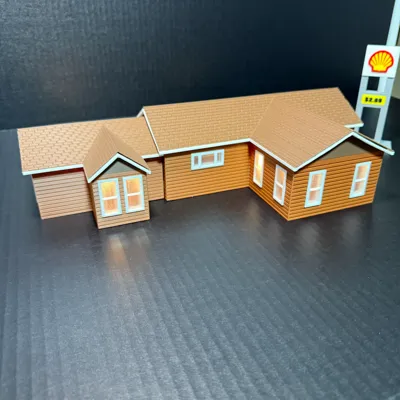
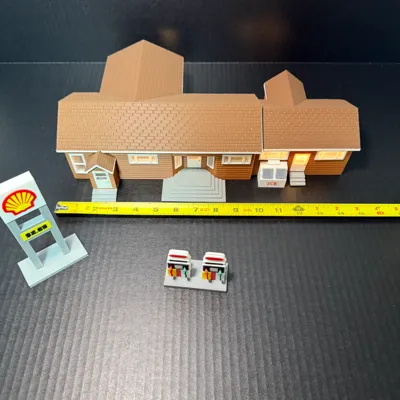
Midwest Country Store - 1:100 Scale
Print Profile(2)


Bill of Materials







Description
Boost Me (for free)
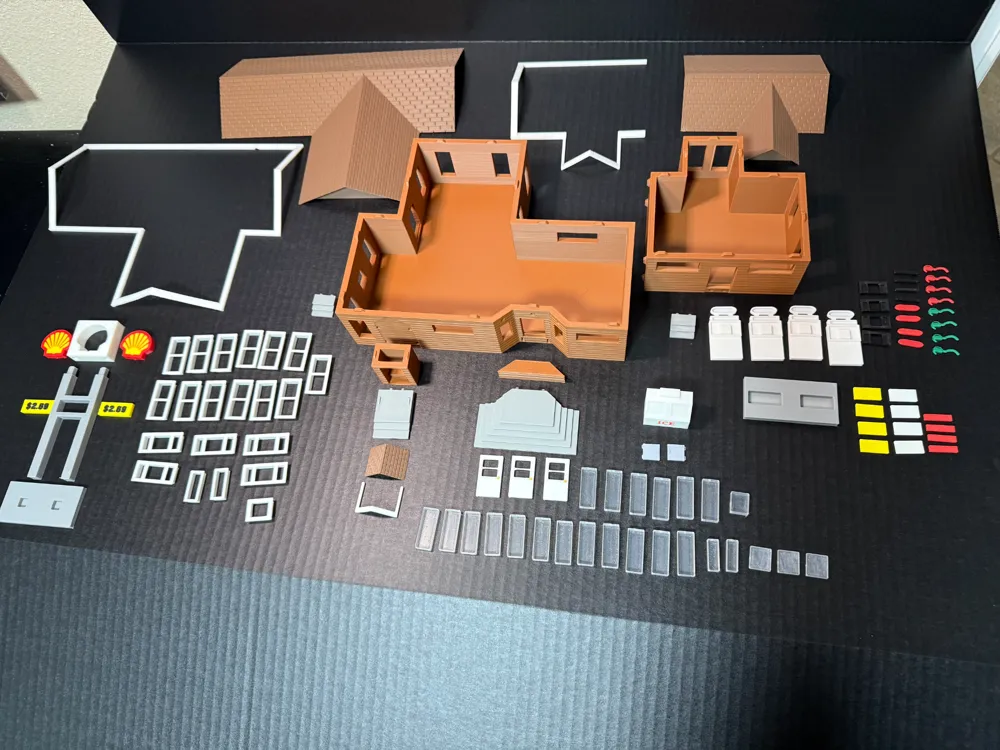
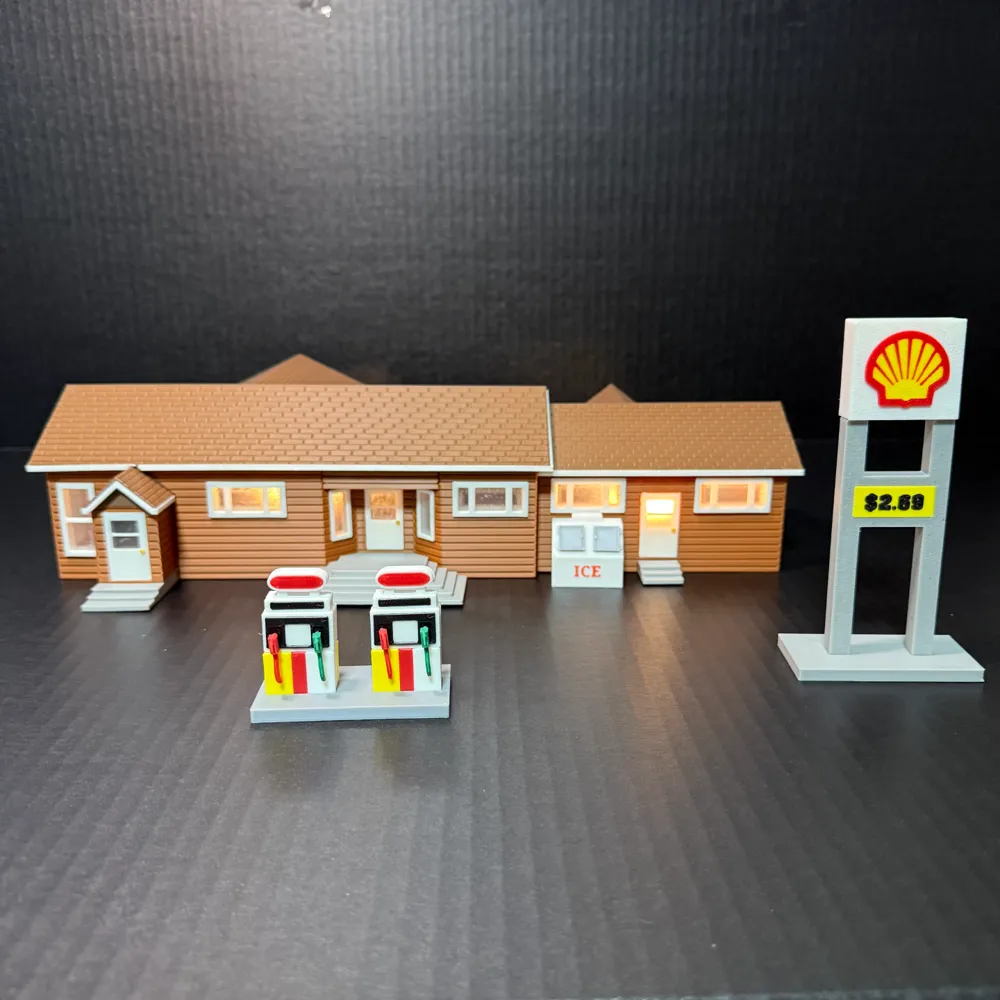
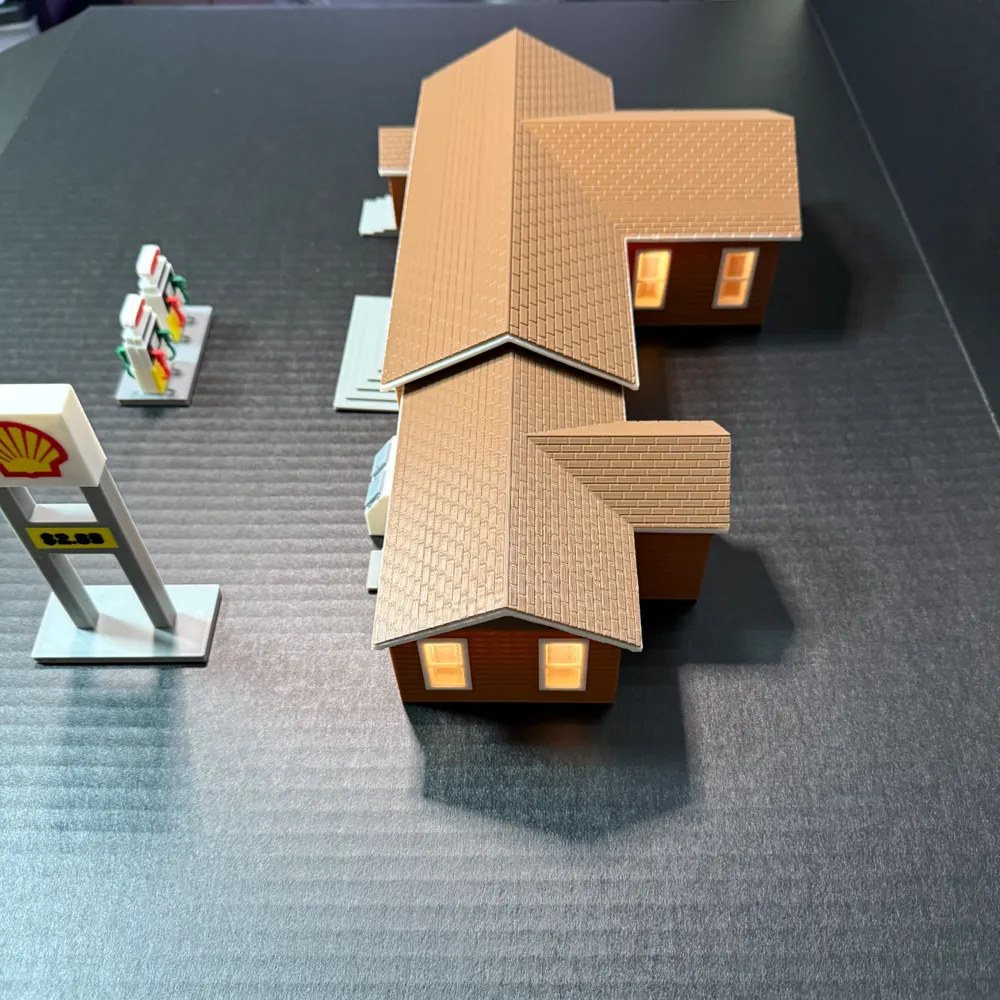
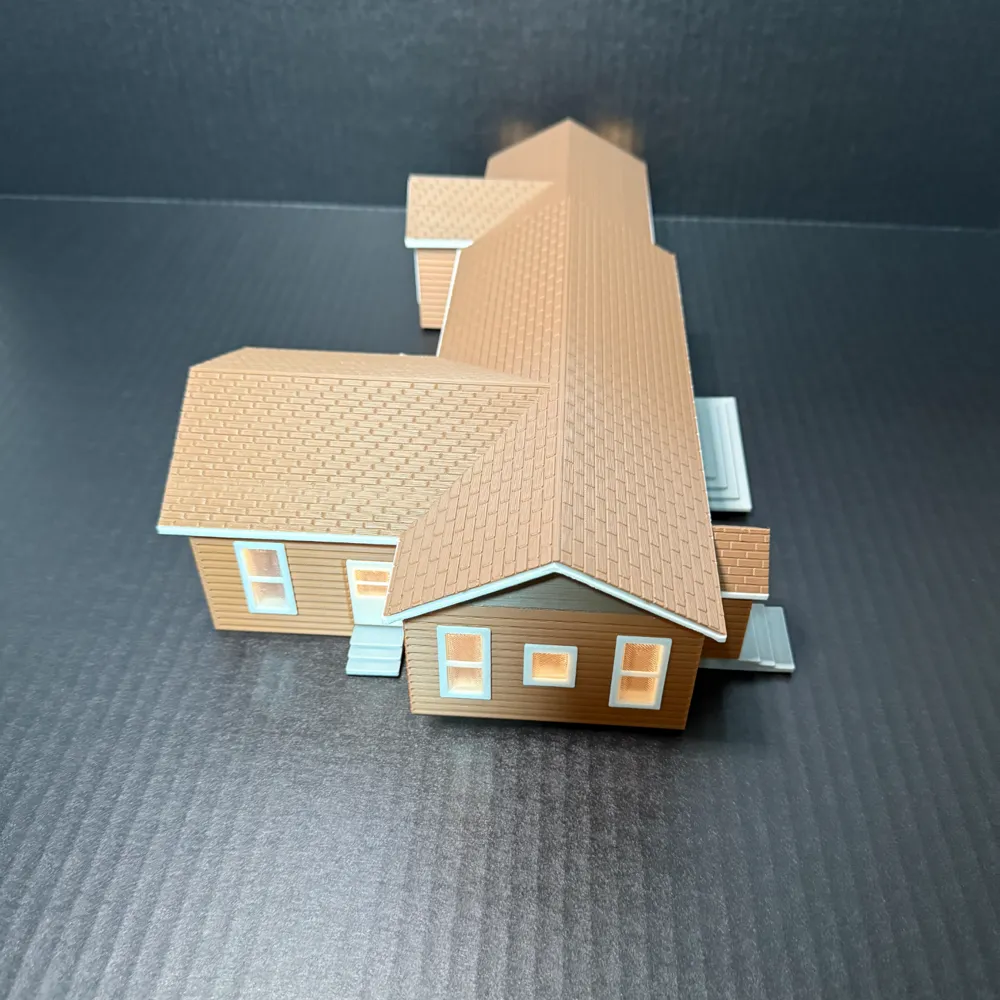
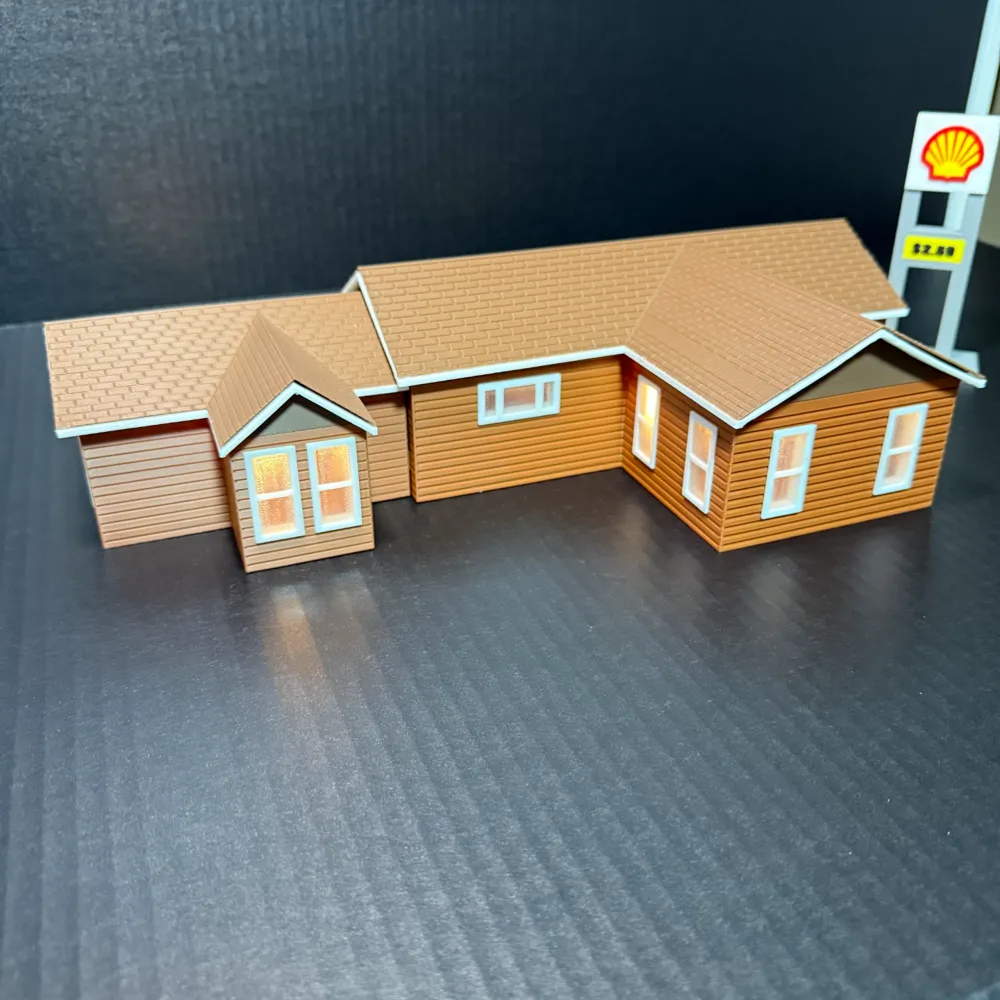
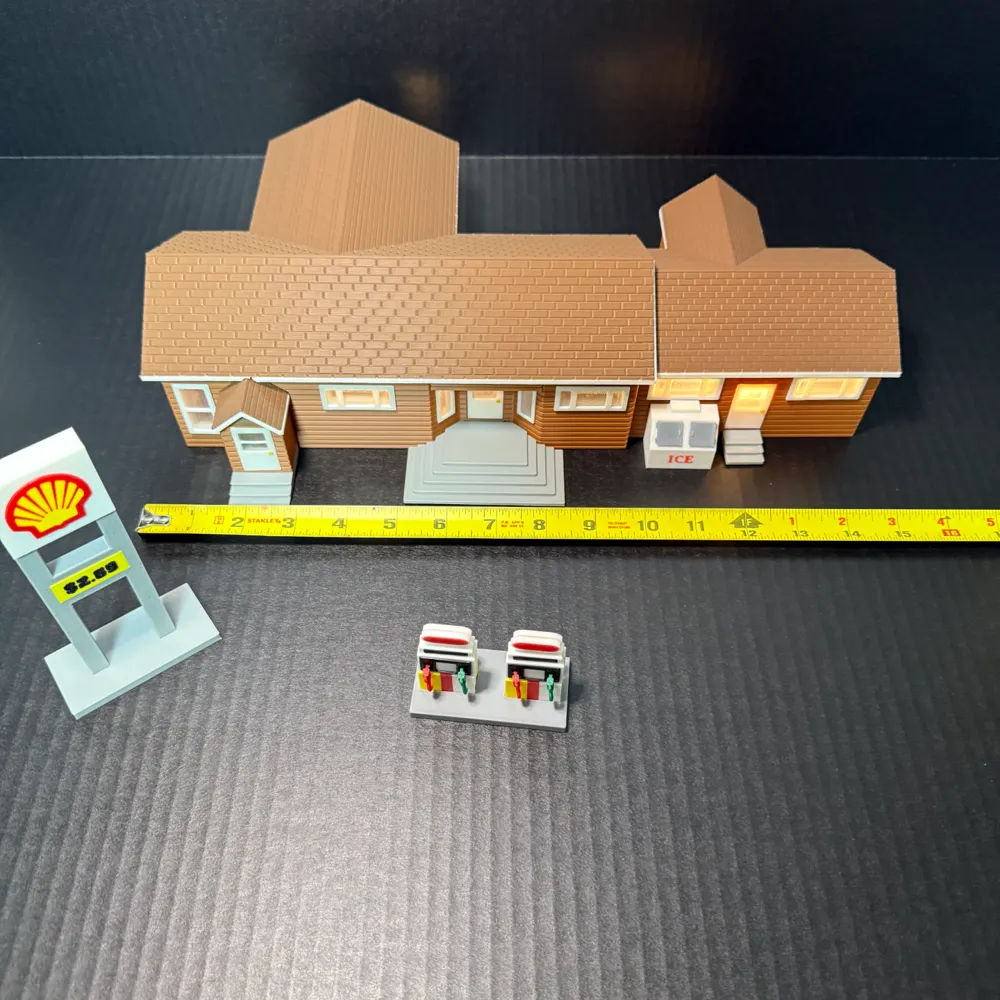
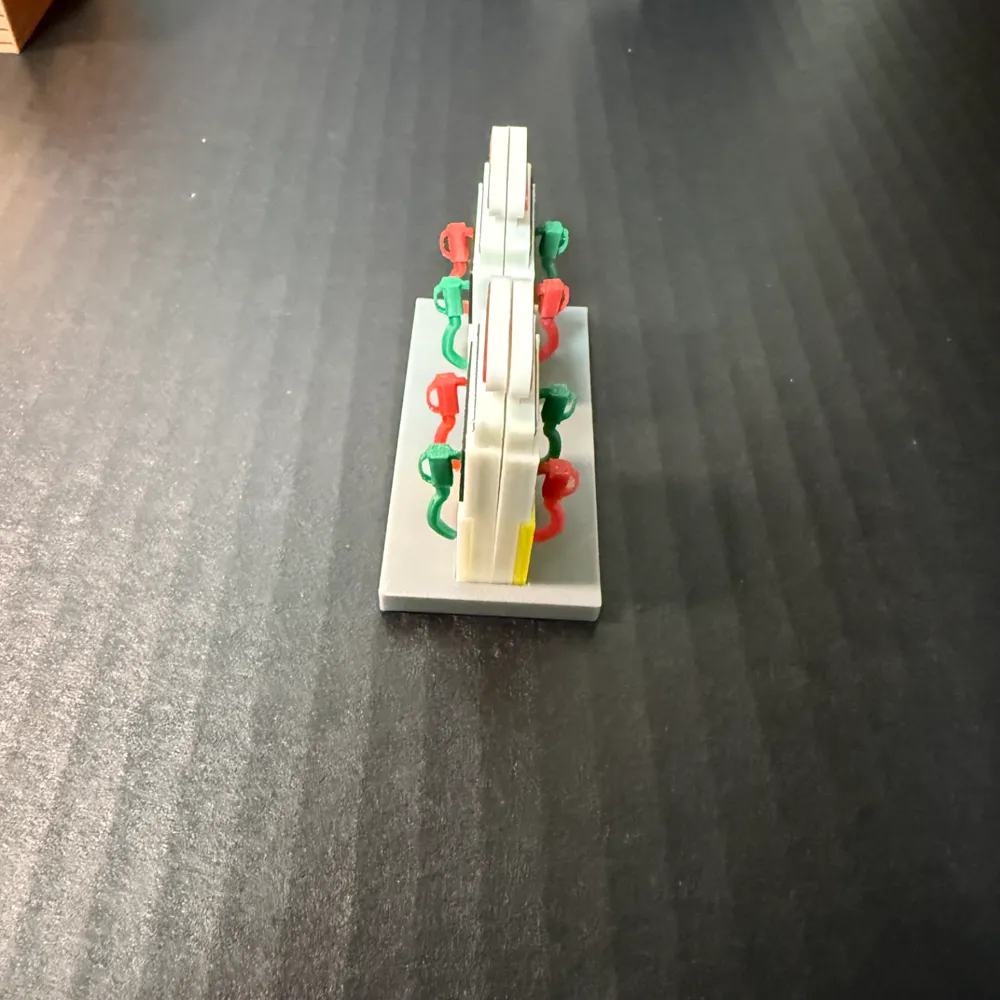
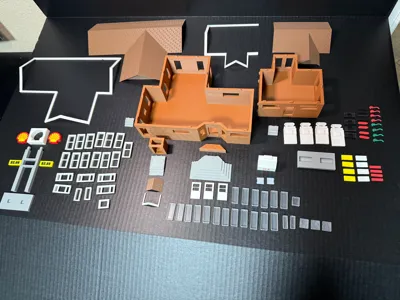
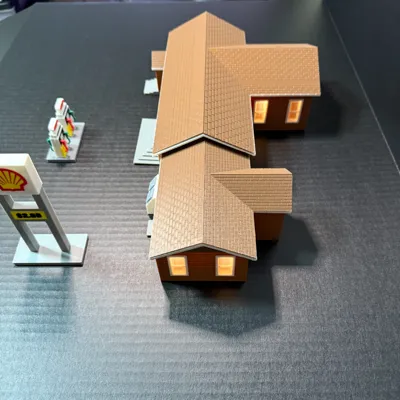
Greetings all! It's been a minute since I've uploaded something that I've found to be a worthy design. Mid last year my buddy asked if I could replicate their family's country store up in Wisconsin. It turned out decently overall, but I realized afterwards there could be many assembly and aesthetic improvements. So I took some time recently, and redesigned quite a bit of it in order to make your lives a little easier once I decided to upload it. Some parts are optional, but I'll break down each plate with a few notes. When first viewing the project, it could feel a bit intimidating, but I do promise that it's easier than it appears. I printed everything seen at 0.2mm layer height with a 0.4mm nozzle. If you would like a little more detail on small parts such as the gas pump nozzles, you could use a 0.2mm nozzle. Recommended settings are set as needed in the 3mf, but adjust to your preferences if you so choose. As always, any boosts are welcomed and much appreciated. Thank you!
!~ PRINTING NOTES ~!
Plate 01 - Large Section - Building:
Tree supports - on build plate only; needed for the tops of the window and door frames. Keep orientation to ensure supports stay on build plate. I know some of you are anti-glue, but I would definitely recommend some adhesive on the build plate due to the close proximity to the edges
Plate 02 - Large Section - Roof:
No supports needed
Plate 03 - Large Section - Small Porch Building:
Tree supports - on build plate only; needed for the top of the door frame.
Plate 04 - Large Section - Small Porch Roof:
No supports needed
Plate 05 - Small Section - Building:
Tree supports - on build plate only; needed for the tops of the window and door frames.
Plate 06 - Small Section - Roof:
No supports needed
Plate 07 - Window Frames:
Two panel windows are for vertical cutouts on building; three panel windows are for horizontal cutouts on building.
Plate 08 - Doors:
Normal supports - on build plate only.
Plate 09 - Windows:
Wall loops; 1 / Top layers; 0 / bottom layers; 2 / 0% infill.
I used clear PLA on a smooth build plate for these, and they turned out fine. You can use whatever filament you choose, but you may need to slightly adjust the XY values in order to maintain the tolerance within the window frames.
Plate 10 - Steps:
No notes necessary
(Optional) Plate 11 - Large Section - Fascia:
No supports, print as is. Use the settings provided, all speed dropped to 50mm/s.
(Optional) Plate 12 - Small Section - Fascia:
No supports, print as is. Use the settings provided, all speed dropped to 50mm/s.
(Optional) Plate 13 - Small Porch - Fascia:
No supports, print as is. Use the settings provided, all speed dropped to 50mm/s.
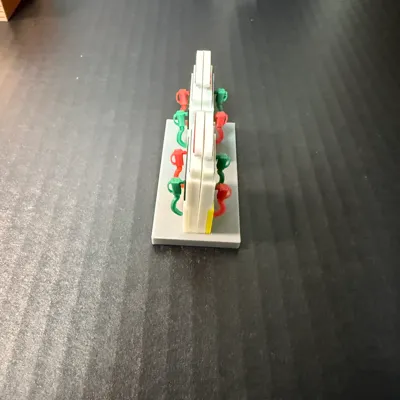
(Optional) Plate 14 - Gas Pumps:
No notes necessary
(Optional) Plate 15 - Gas Pump Parts:
Print sequence - by object. Save your filament swaps.
(Optional) Plate 16 - Gas Pump Nozzles:
Print sequence - by object. 0.08mm layer height, 3 walls, 50mm/s on all speed settings. These are fairly delicate as they are tiny. If you have a 0.2mm nozzle I would use that. But 0.4mm is capable as well. Just keep it slow.
(Optional) Plate 17 - Gas Pump Base:
No notes necessary
(Optional) Plate 18 - Sign - Part 1:
No notes necessary
(Optional) Plate 19 - Sign - Part 2:
0.1mm layer height, arachne walls
(Optional) Plate 20 - Sign - Part 3:
Print sequence - by object
(Optional) Plate 21 - Ice Machine:
Print sequence - by object
!~ ASSEMBLY NOTES ~!
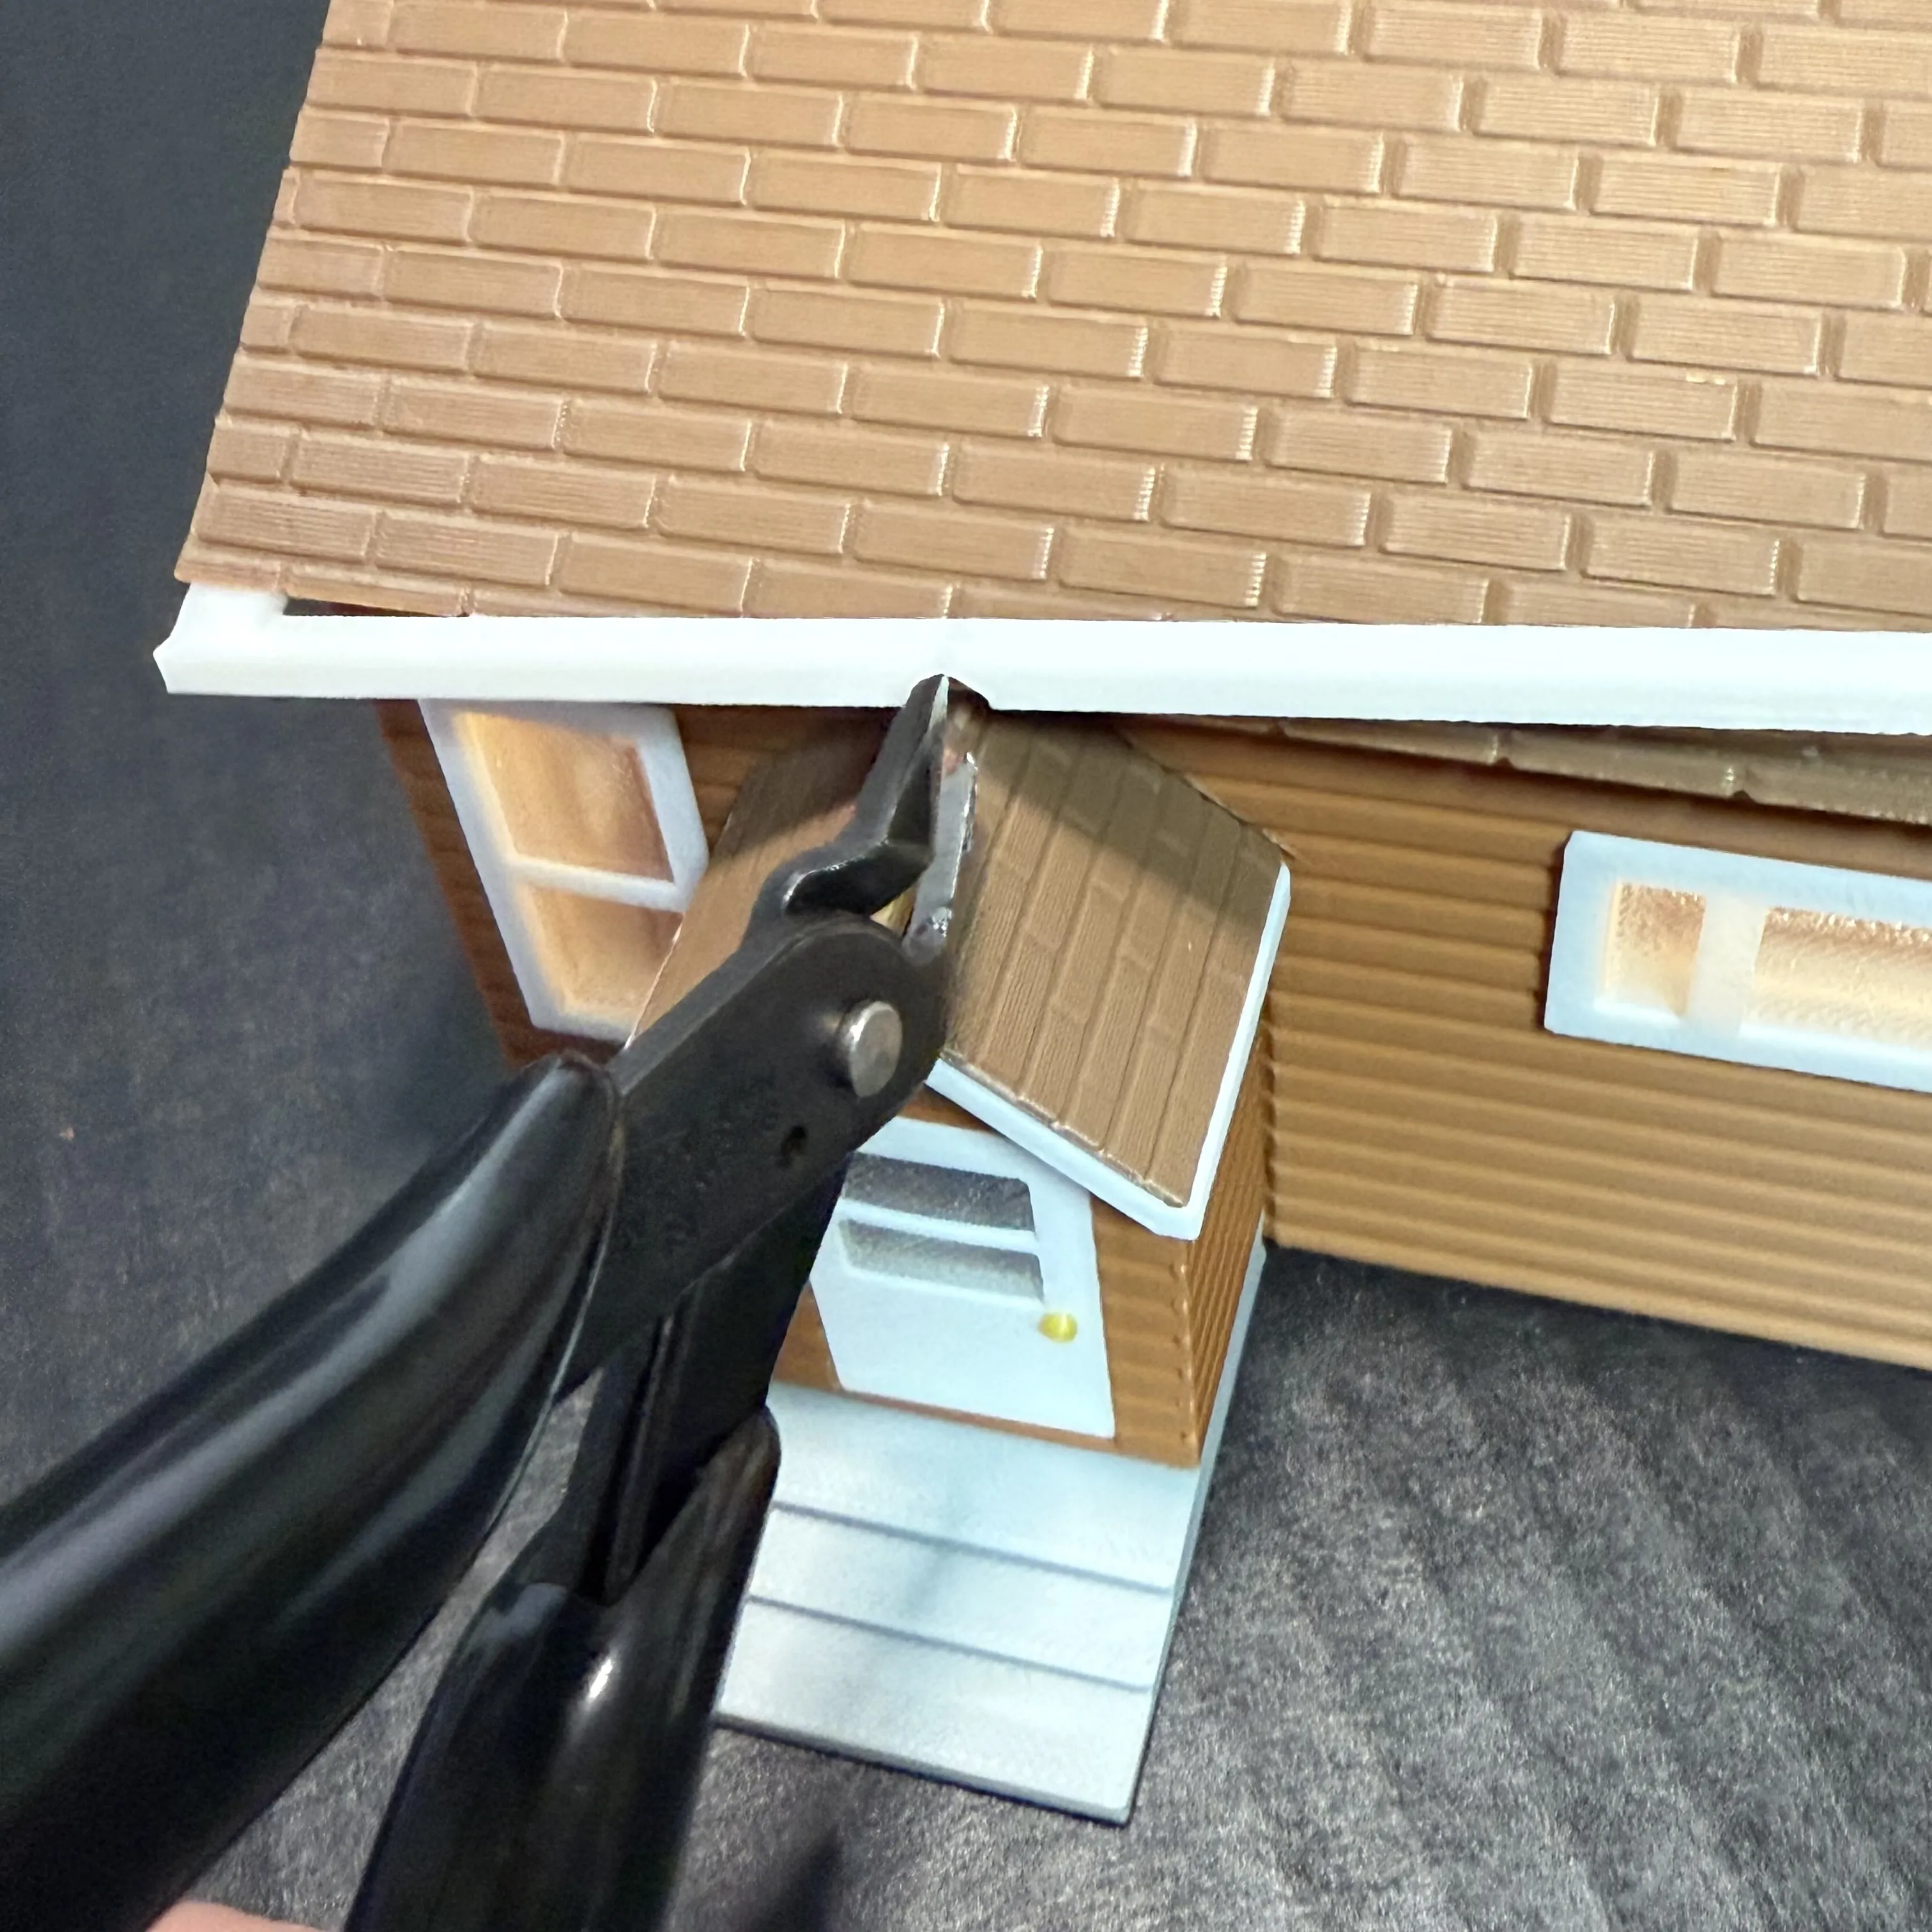
Fascia pieces will need to be glued to the overhangs of the roof pieces. Do this once the roofs are already in place. I would suggest using a glue stick to avoid any messes, unless you're really good with superglue. If you can't get the fascia in place for the large building, just snip where shown below:
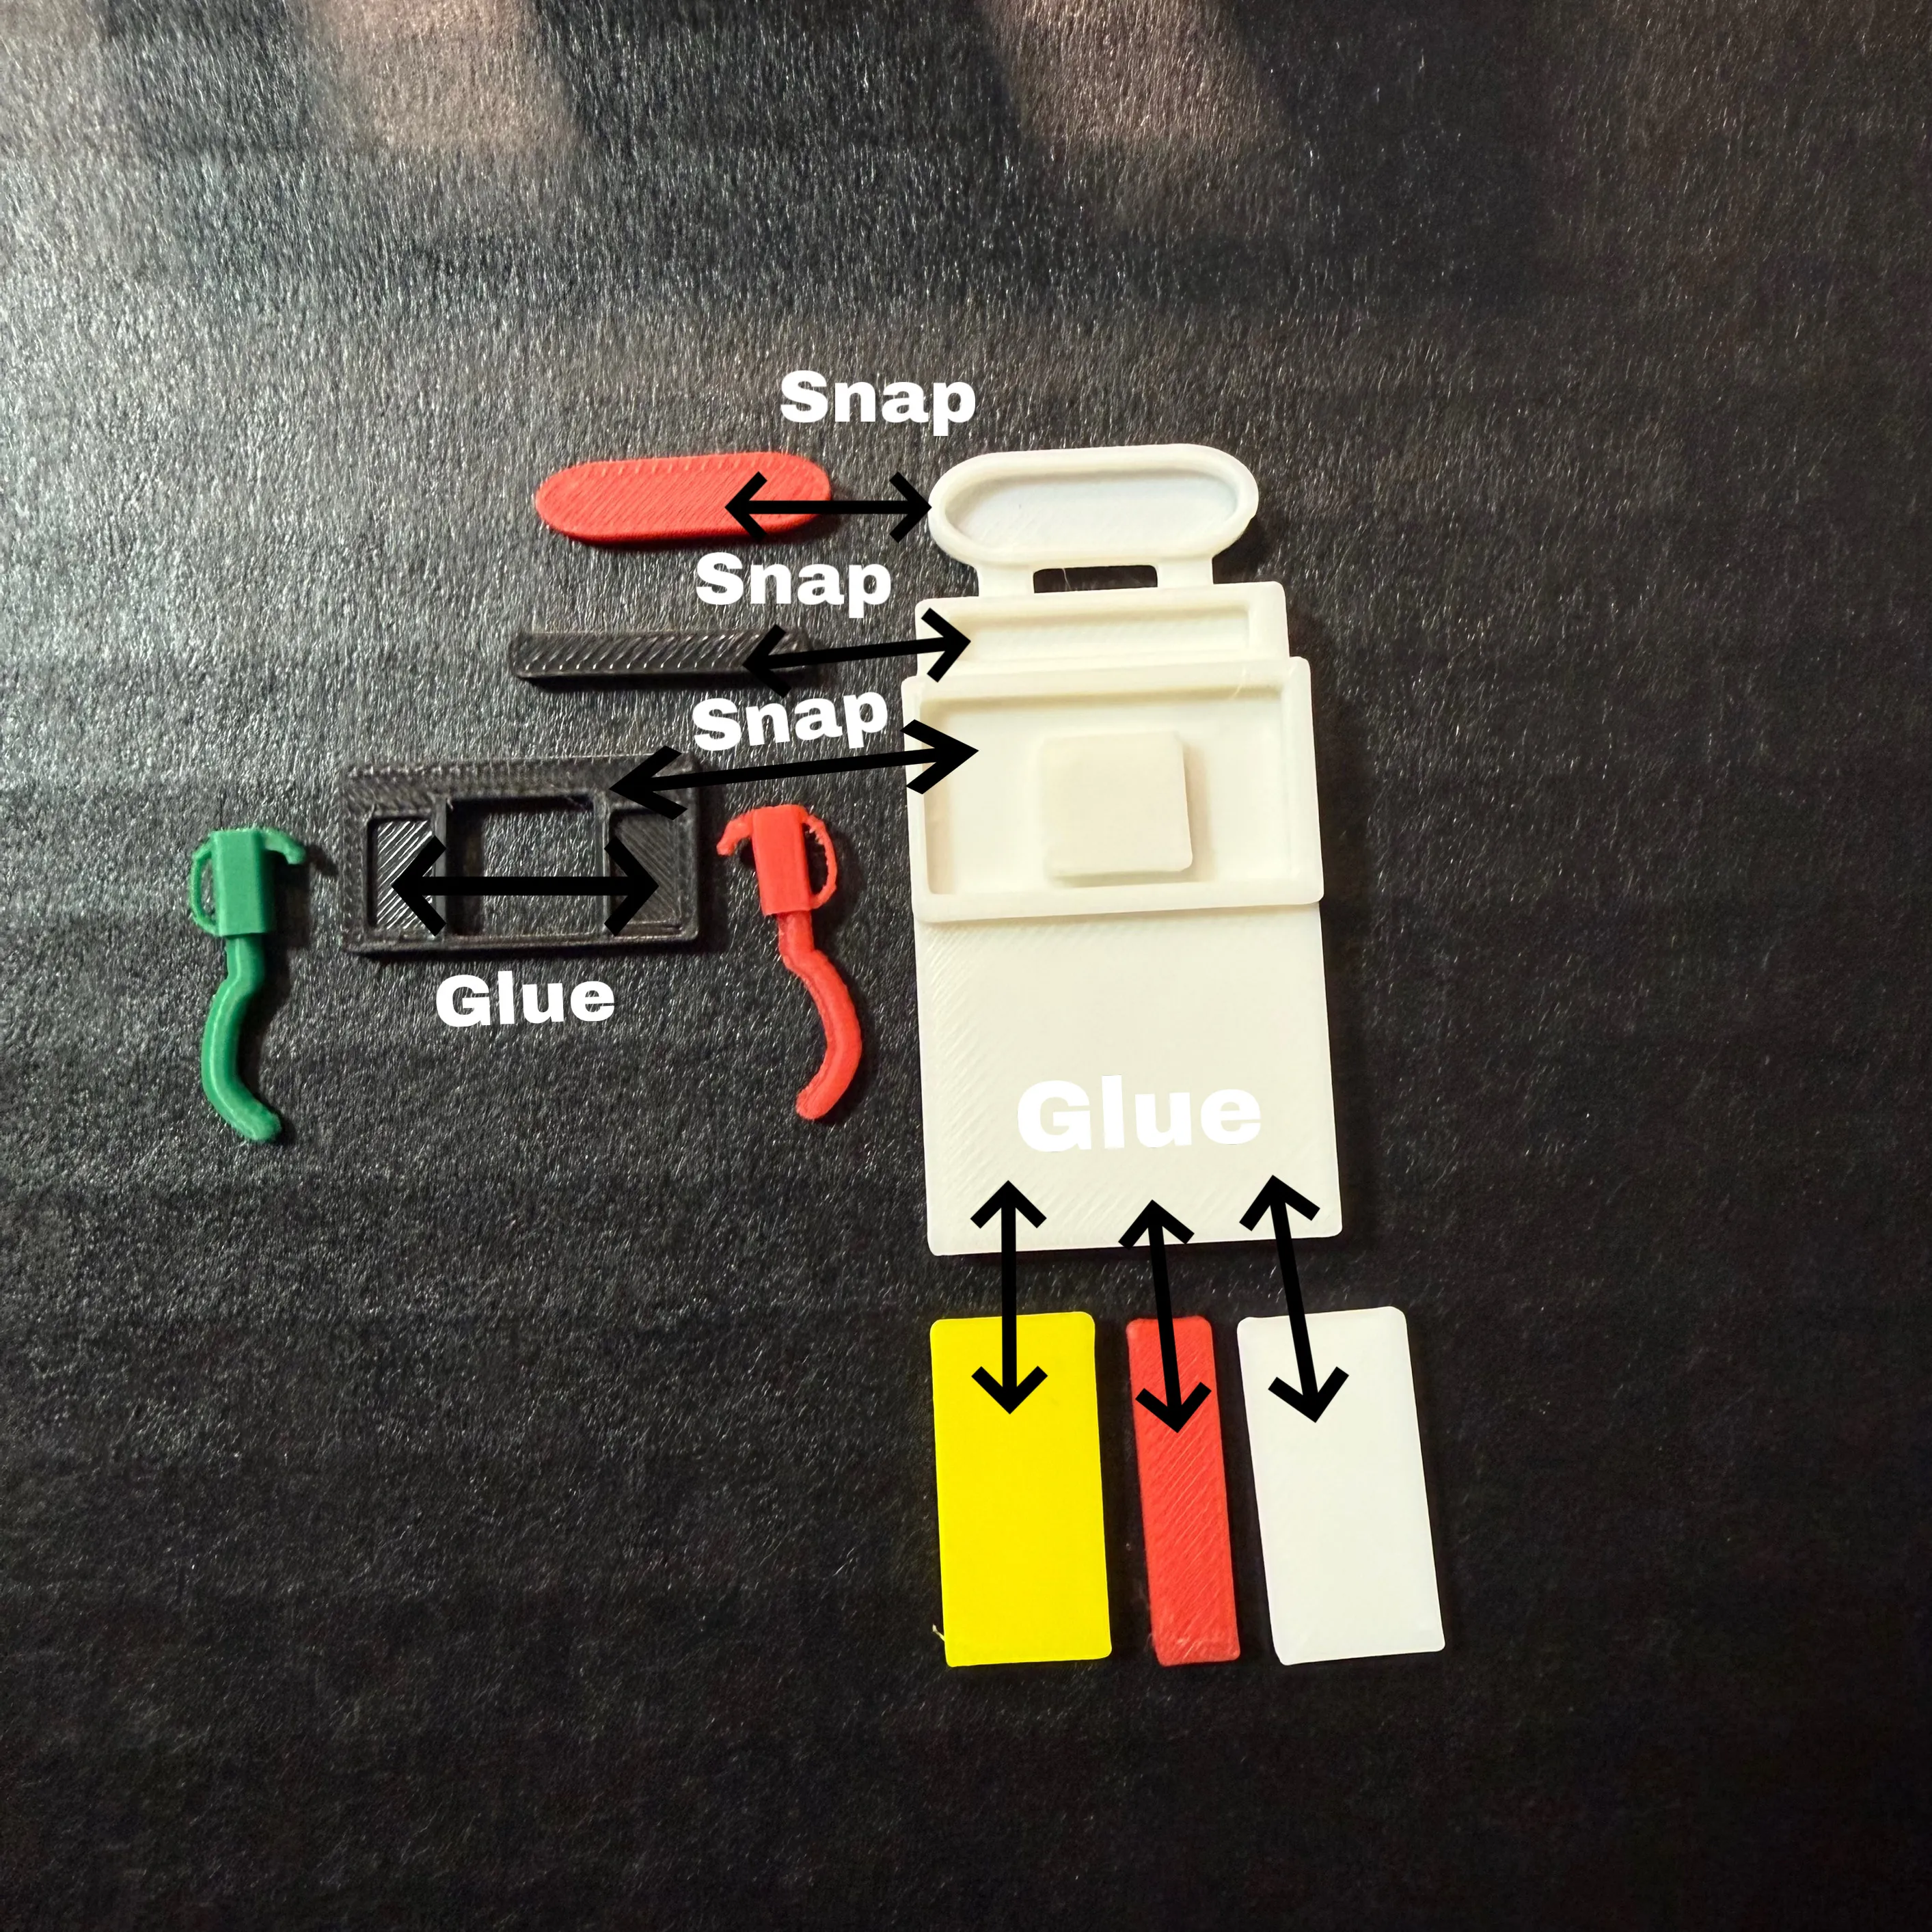
Gas pump assembly notes:
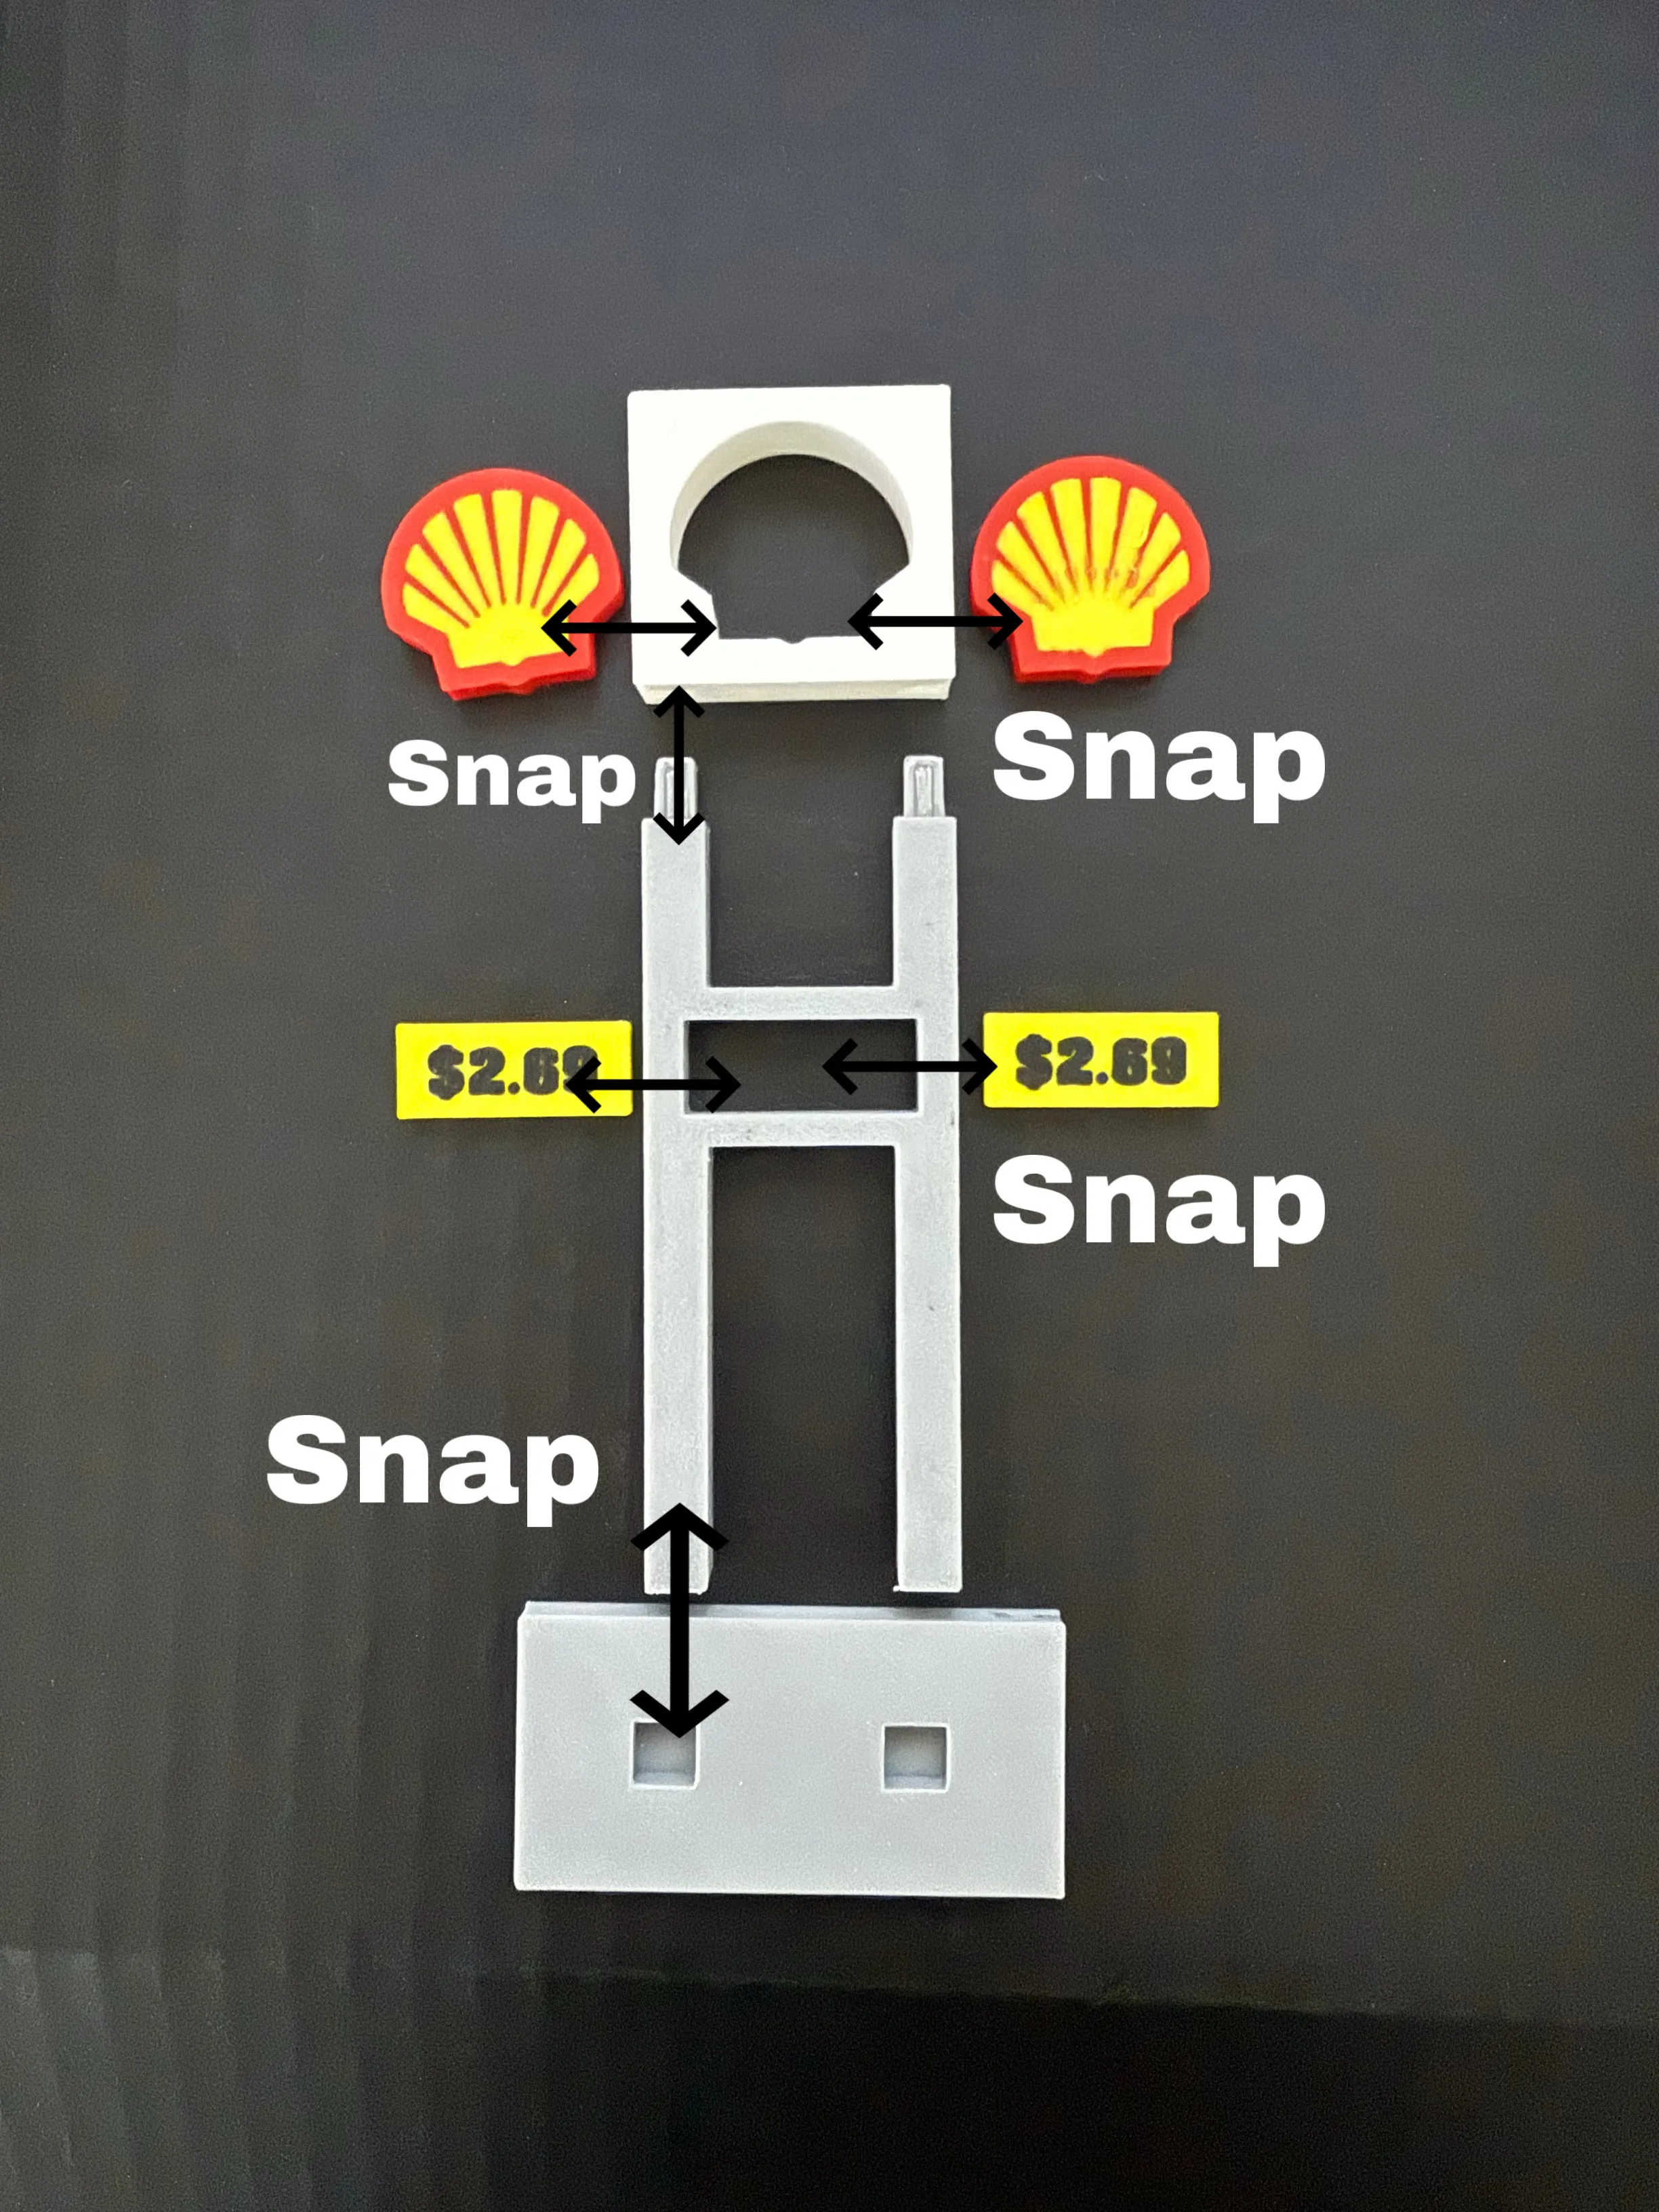
Sign assembly notes:
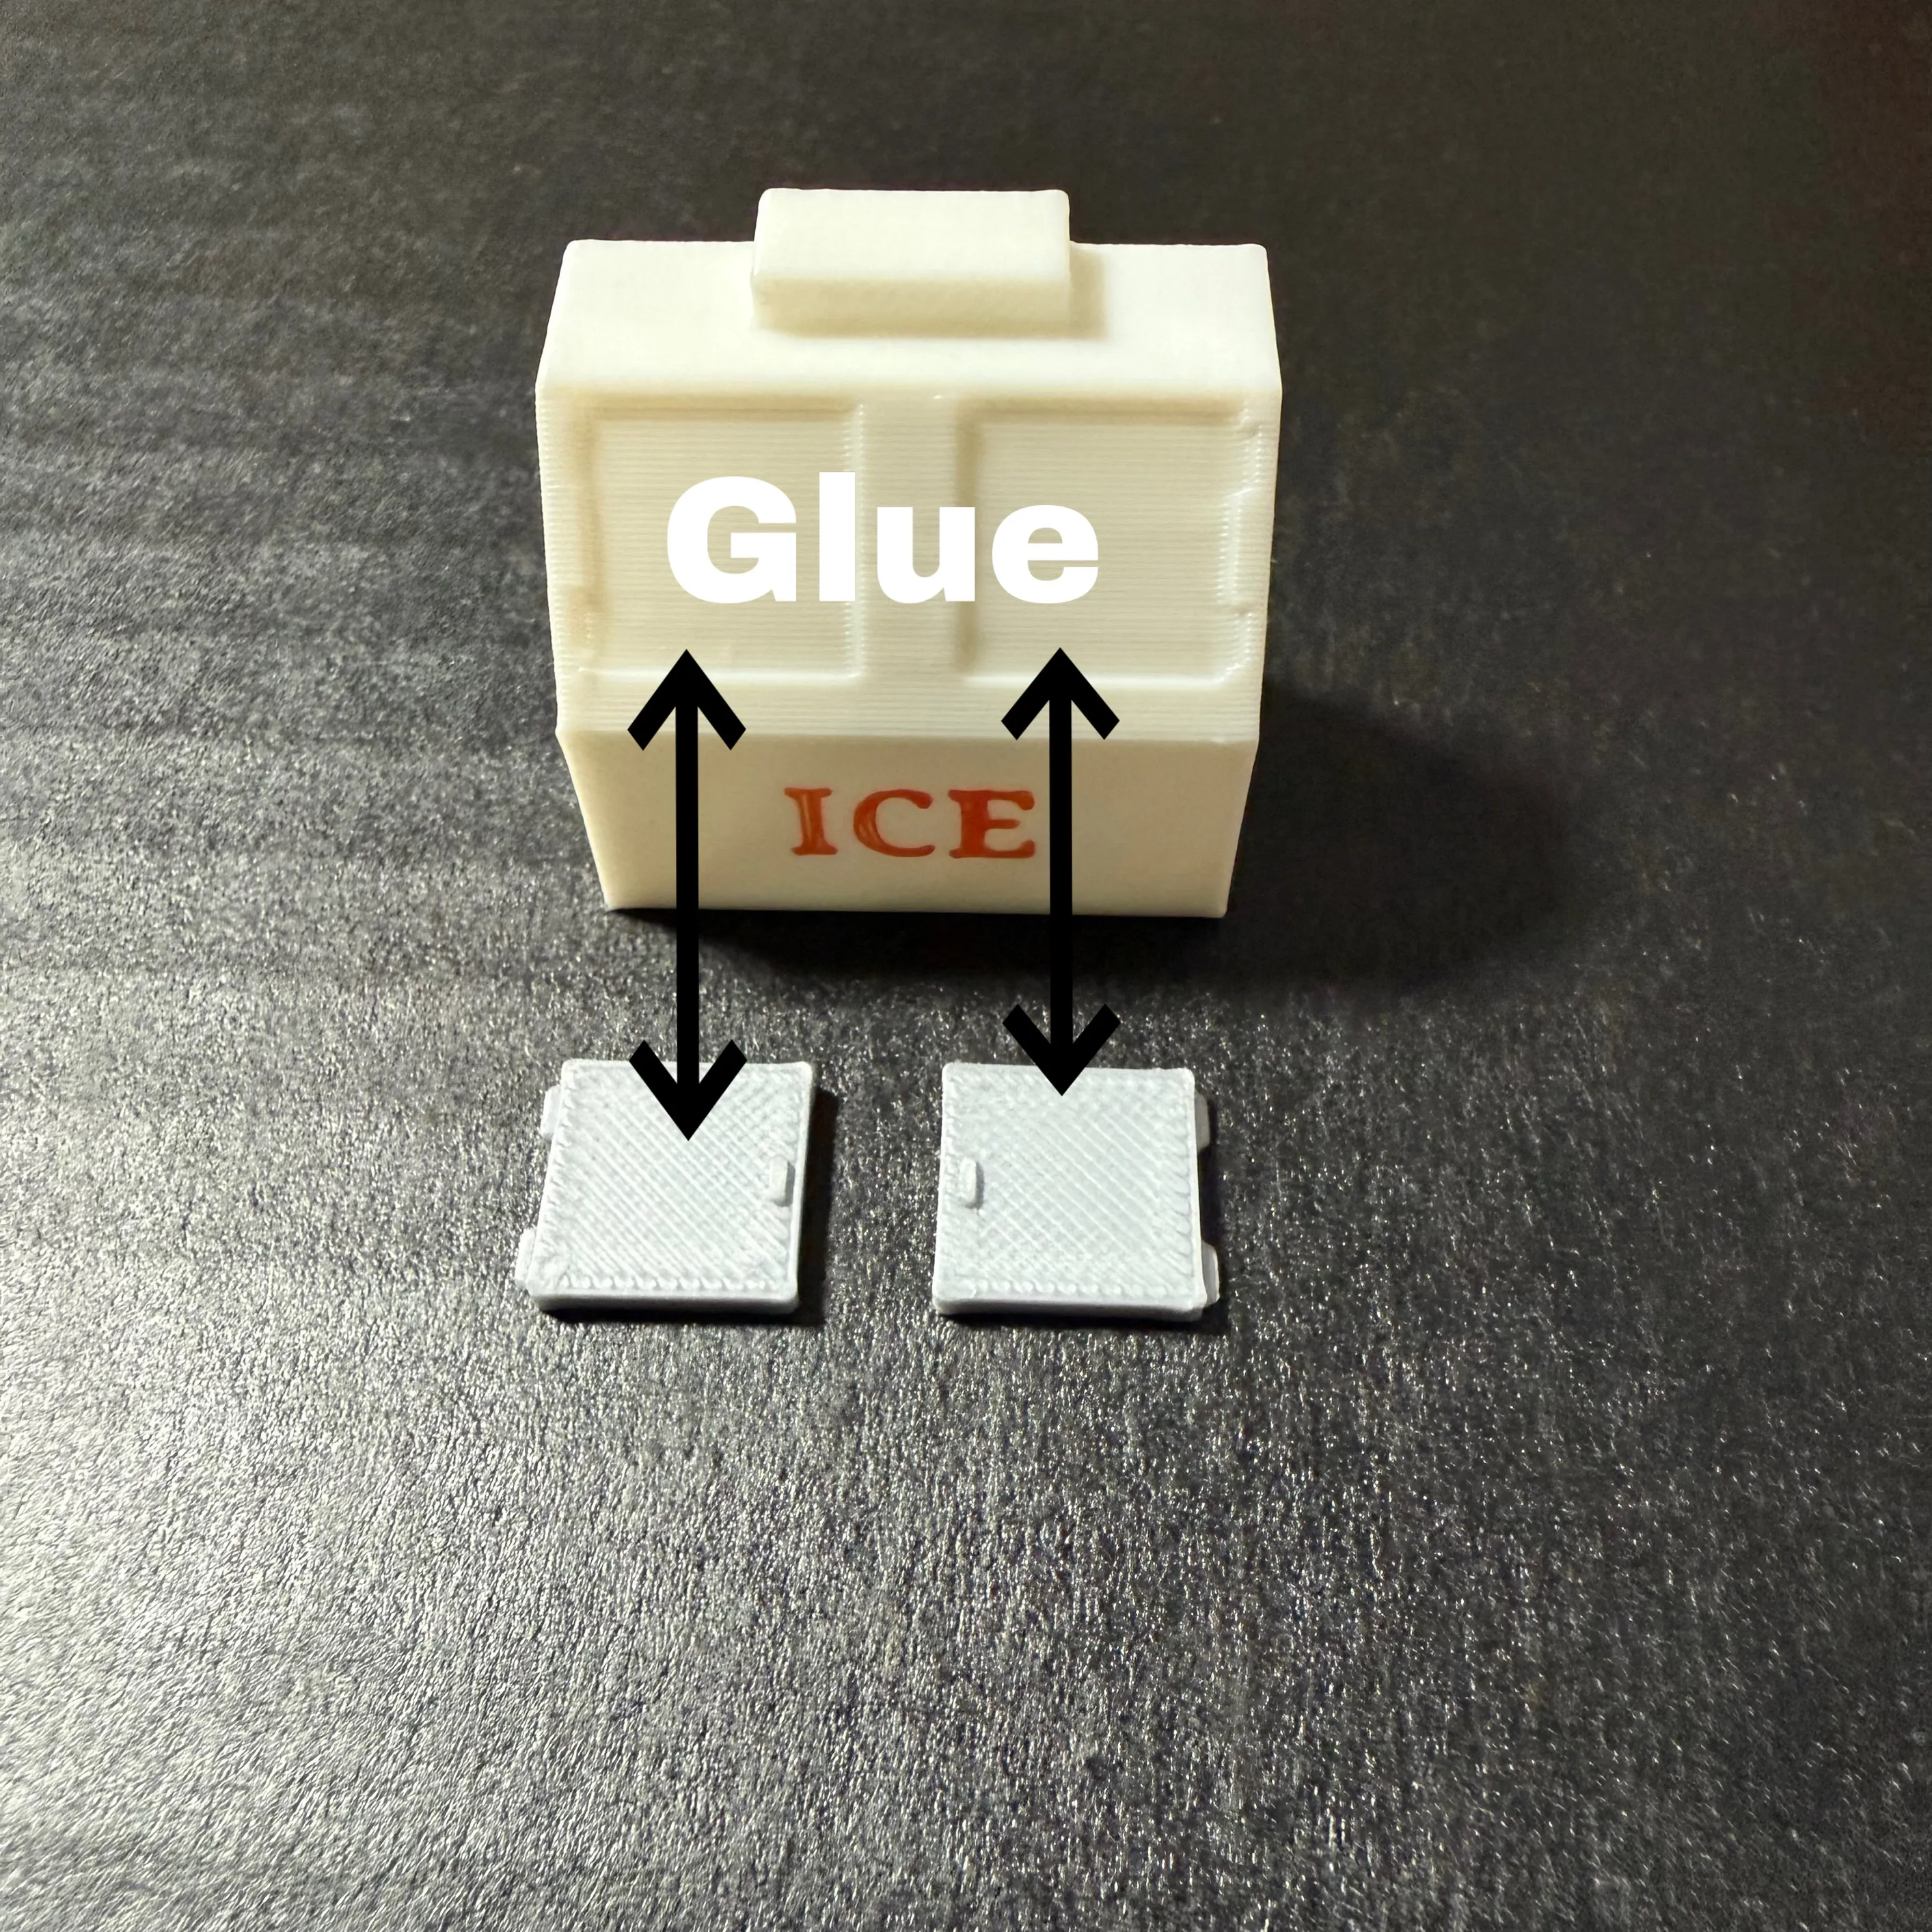
Ice machine assembly notes:
Everything else should be pretty straight forward. Insert windows into window frames before inserting into the building slots. As always, if you have any questions or need assistance; leave a comment or shoot me a message. Appreciate you looking and/or printing!
License

You shall not share, sub-license, sell, rent, host, transfer, or distribute in any way the digital or 3D printed versions of this object, nor any other derivative work of this object in its digital or physical format (including - but not limited to - remixes of this object, and hosting on other digital platforms). The objects may not be used without permission in any way whatsoever in which you charge money, or collect fees.


Comment & Rating (10)