PC4-m10 Connector for Drybox


Print Profile(4)


Description
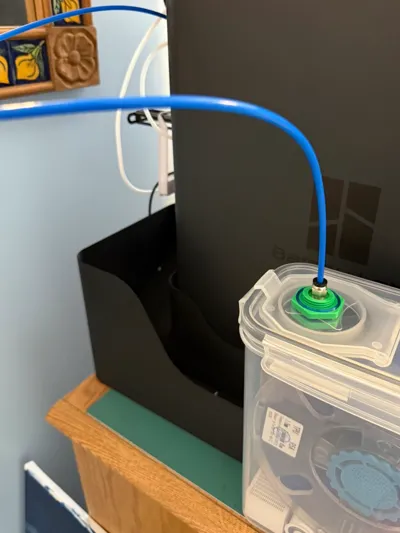
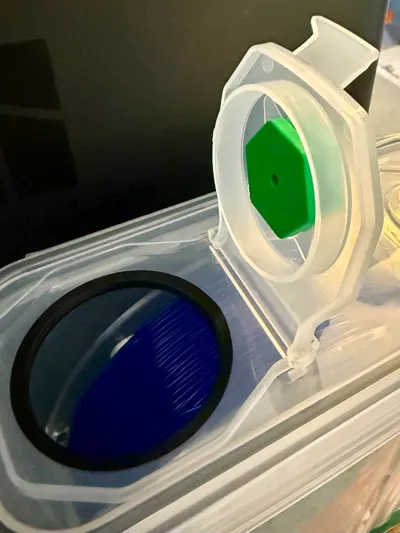
Are you printing TPU or other filament that needs to stay dry while printing? Don't have an AMS? Are you printing filament incompatible with your AMS? Do you want to manage filament moisture while printing? This PTFE connector for your dry box can help you manage the humidity while printing.
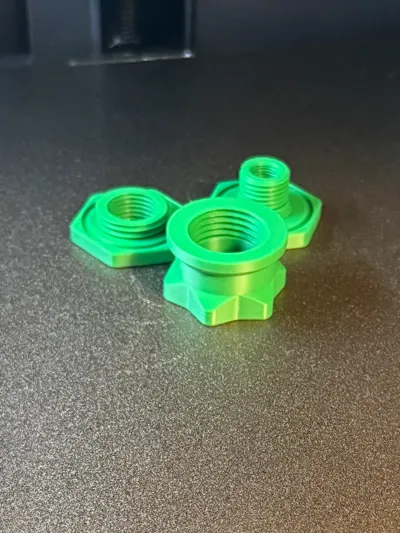
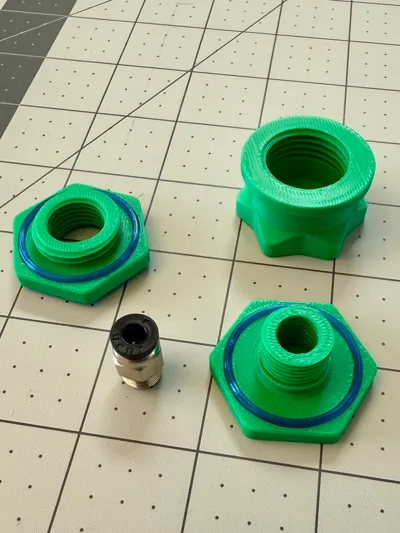
The print profile has one PLA plate for a cap and two nuts, and one TPU plate for three gaskets. There are additional plates for add-on's like a PTFE tube inside your dry box (in M6 and M10 PTFE connectors) and a lid leash that can replace your top gasket to keep it findable.
This design was inspired by @dc3ddesign's Dry Box PTFE Screw on Lid. It's a great concept with several things that did not meet my needs. The inside nut was not long enough to get thru my cereal box lid. The O-rings did not stay in place while taking the cap on and off. I wanted another gasket to keep moisture out and keep the inner nut snug.
You will need one or more cereal boxes plus one PC4-M10 PTFE connector for each box you want to use this way. For my needs, I keep one lid with this PTFE connector on it and swap it onto the container I use when I print it. You may want to print one for each of your dry boxes.
Please post pix of your prints!
Boost Me (for free)
If you found this print useful, please consider a boost. Your boost motivated me to take the time to make my designs available here for you! Thanks!
Assembly Instructions:
Step 1: drill a 16-18mm hole in the flip lid of your box. Use a plastic deburring tool, if you have one, on the top and bottom edges of the hole. The inner nuts feed thru diameter is 16mm. Slightly larger works. Since I do not have metric bits, I used a step bit until it passed thru easily. Putting the hole in flip side of the lid allows you to flip open and guide the filament when you manually load/unload it. If you already drilled a hole in the other side, that's ok. You will need to take the whole lid off to load/unload.

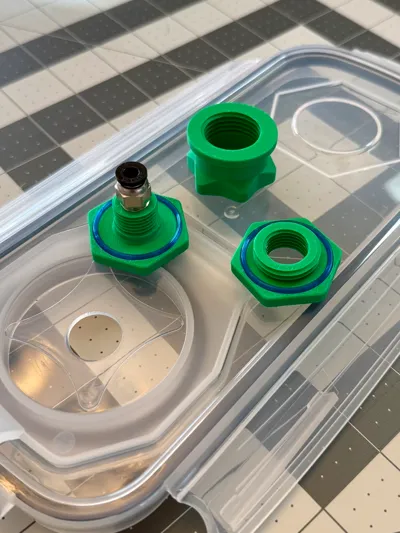
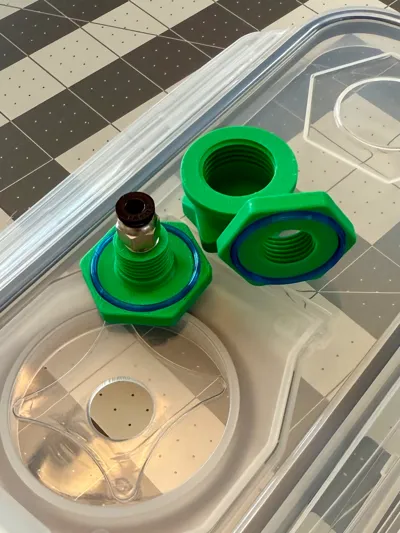
Step2: Seat all three TPU gaskets into the nuts. Two go into the outer nut, one on the top and one on the bottom. The bottom of the gasket goes toward the nut. You can find the bottom by looking for the lip (or any texture from you print bed).


With the bottom of the gasket facing the nut, work the outer lip into the groove. You can use your thumb or a flat tip screw driver to get the last bit into the groove

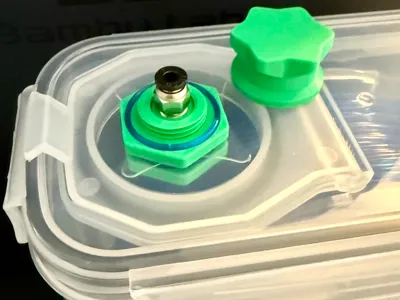
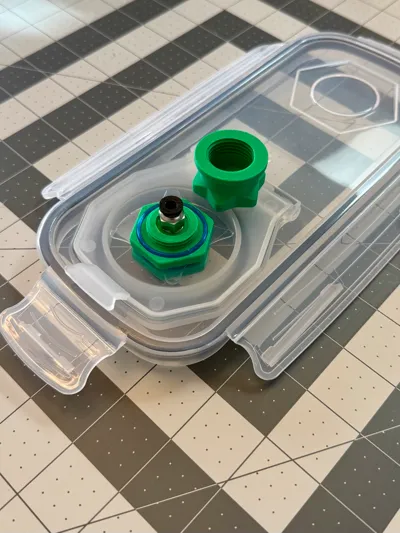
Step 3: Screw the PC4-M10 PTFE connector into the inner nut.


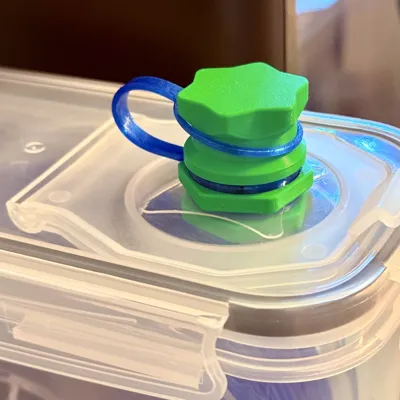
Step 4: Insert the inner nut, from the bottom, into the hole you drilled in the lid.

Step 5: Screw the outer nut onto the inner nut. Tighten enough to get a snug fit and compressing both gaskets to get a good seal.


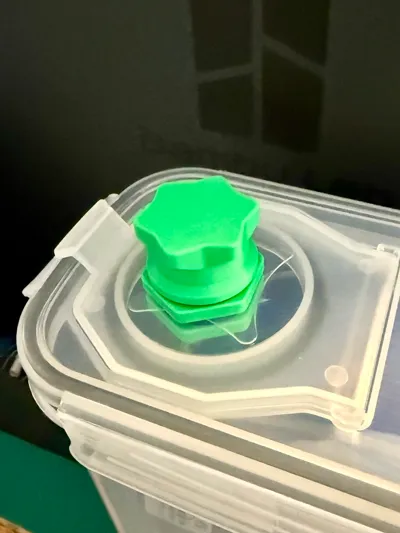
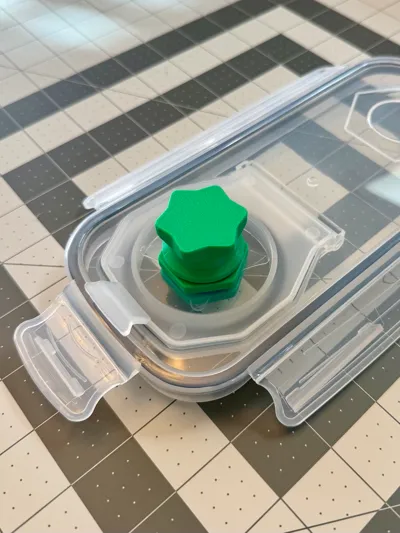
Step 6: Screw the cap onto the outer nut.


Your Dry Box lid is ready to use for manually feeding the filament into you printer!

----------
TECHNICAL NOTE: Most M10 PTFE connectors are not M10 threaded. If you have printed other M10 profiles and found them to be too tight or ill fitting, it may be because the designer used the M10 industry standard thread profile. Unfortunately, M10 PTFE connectors are really BSP 1/8-28. My M10 models here are based on the BSP standard and will likely fit your connector. If you are aware of this issue, rest assured this was designed around that manufacturing issue. Additionally, M6 PTFE connectors appear to use the M6 standard. The M6 models here use a true M6 standard and should also fit your M6 PTFE connectors.
----------
Update Log
Update 18 September 2025: Added a print plate for a TPU lid leash. Inspired by @user_884340062's daughter and their mockup, this replaces your top gasket with a gasket that also has a leash for the lid. Install the gasket end per the instructions below. Then slip the thin side over your cap with the bottom side on top so the leash will fold over putting the cap in the correct orientation to screw on to the nut.


Update: Added a two print plates and model variants for inner nuts that take PC4-M10 or PC4-M6 PTFE tube connecters based on MaybeThisTime's ( @user_2598217464 ) request. Please pick the correct size for your connectors. These nuts replace the inner nut on the PLA plate. You can skip printing the inner nut on the base model's printing plate.
Update 21 March 2026: @user_2218535406 added a variant on the O-ring leash. It addresses some sealing issues and force to tighten the cap. Check it out!
Update 21 April 2026 @user_1369964939 added a PC4-M6 external nut if you need that variant. I appreciate him (this community!) remixing my models. I do not have any PC-M6 to test so I did not make a companion external nut to the internal one requested because I could not verify mine worked. Check out their model if you want M6's on the inside and outside of the lid.
Comment & Rating (140)