
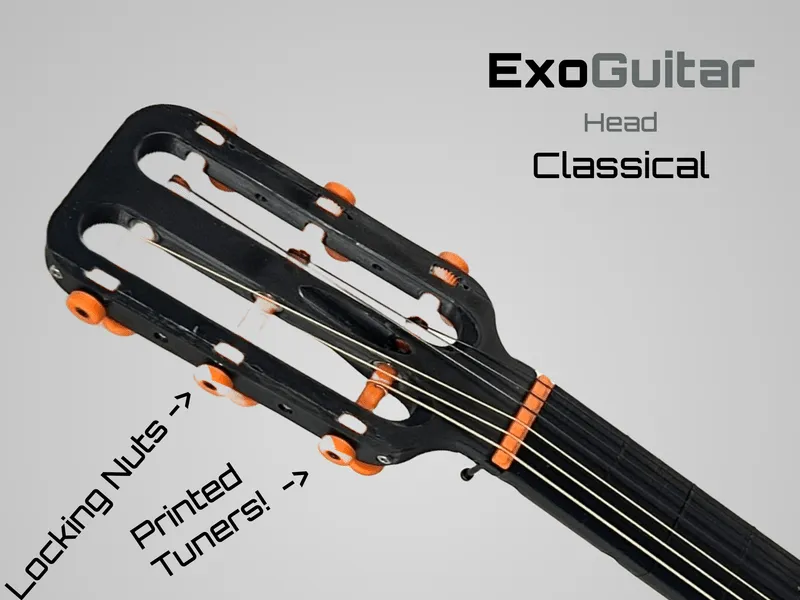
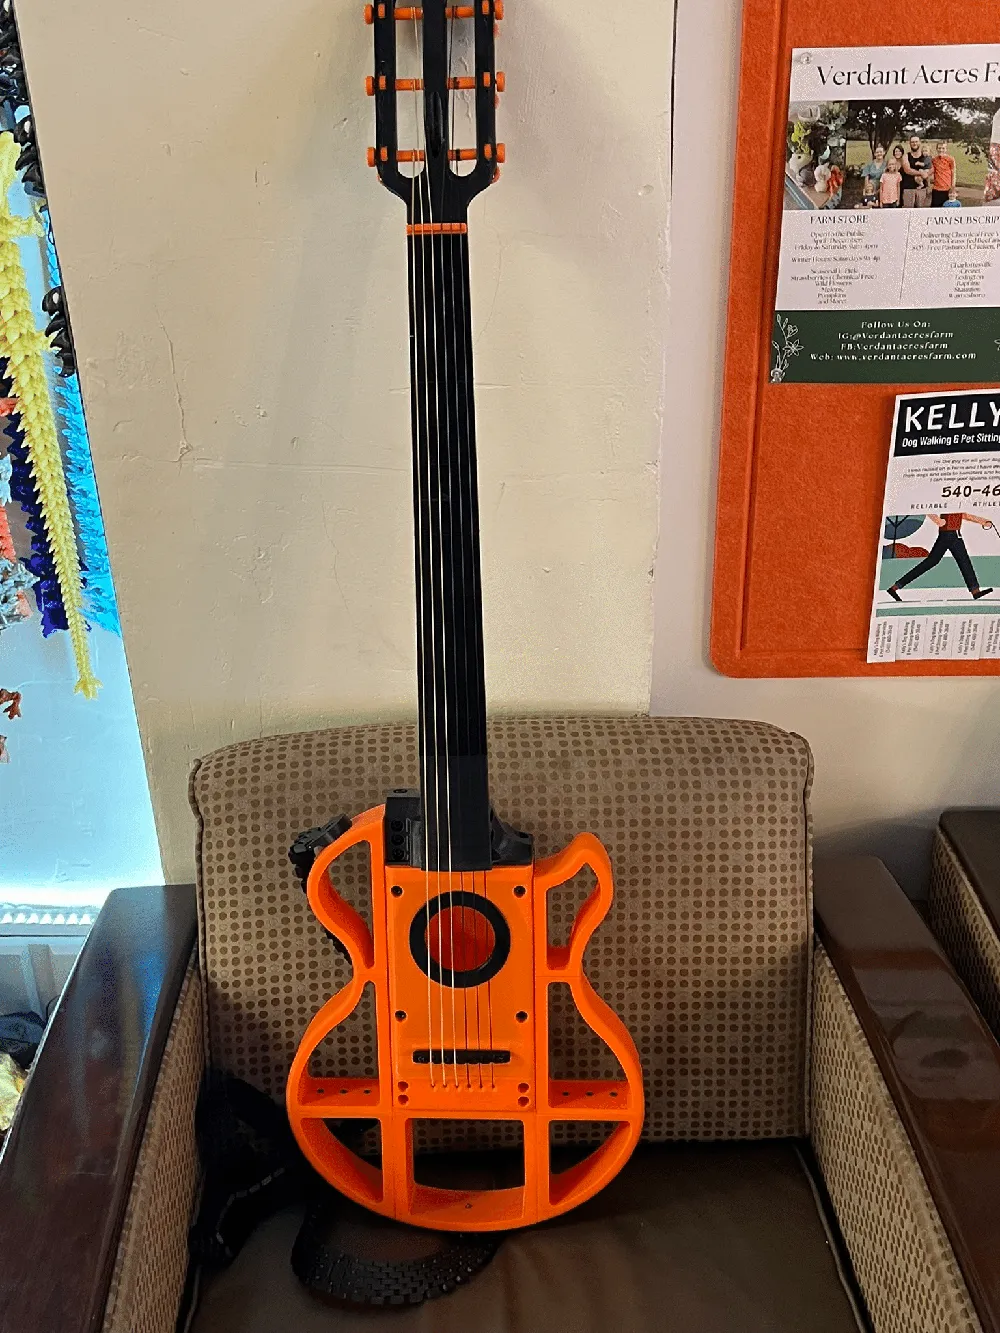
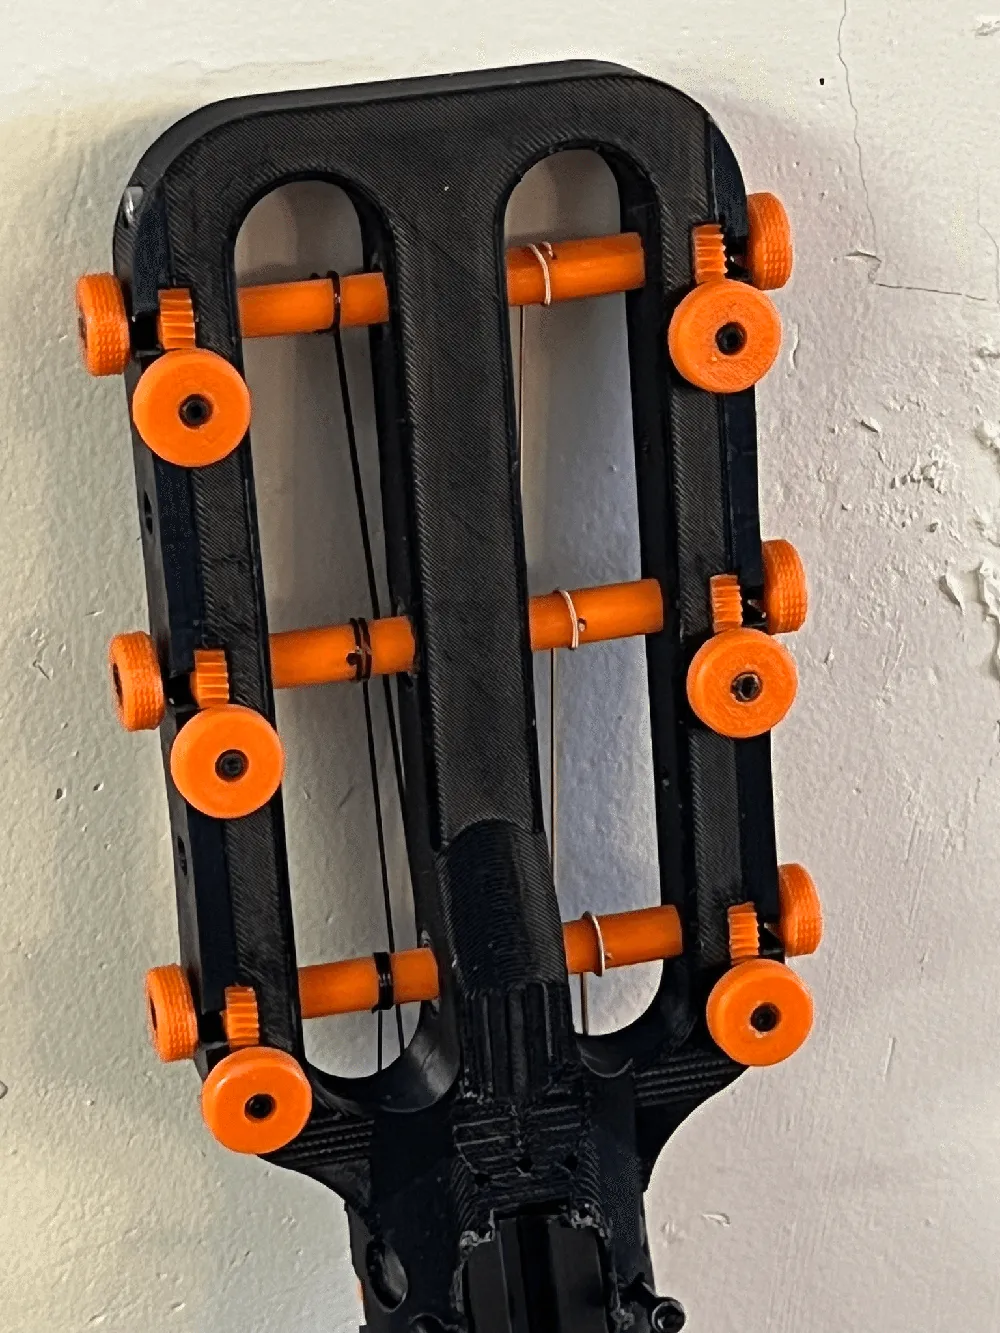
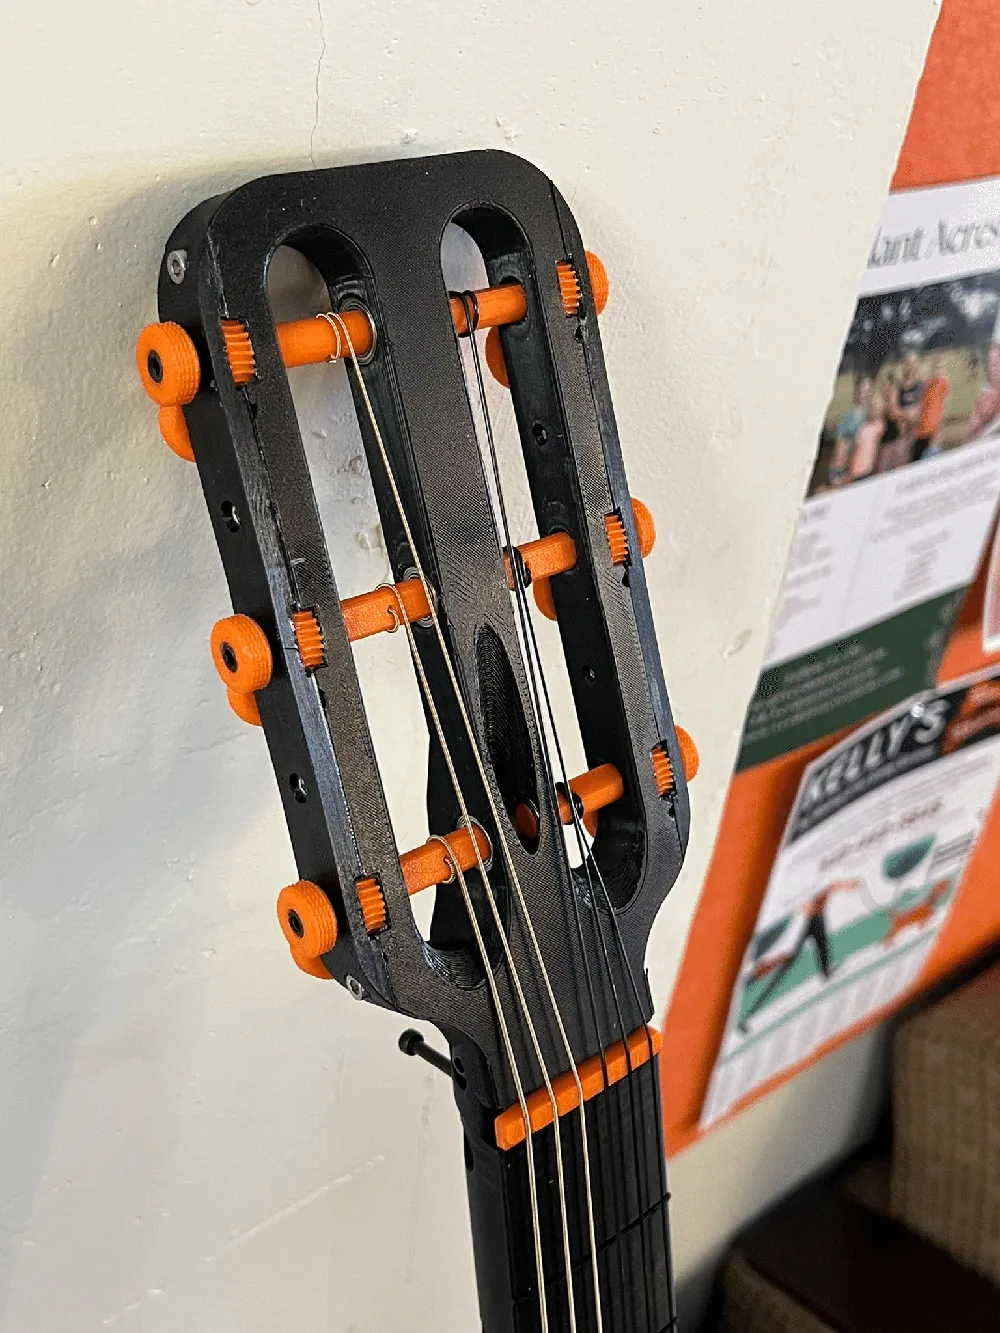
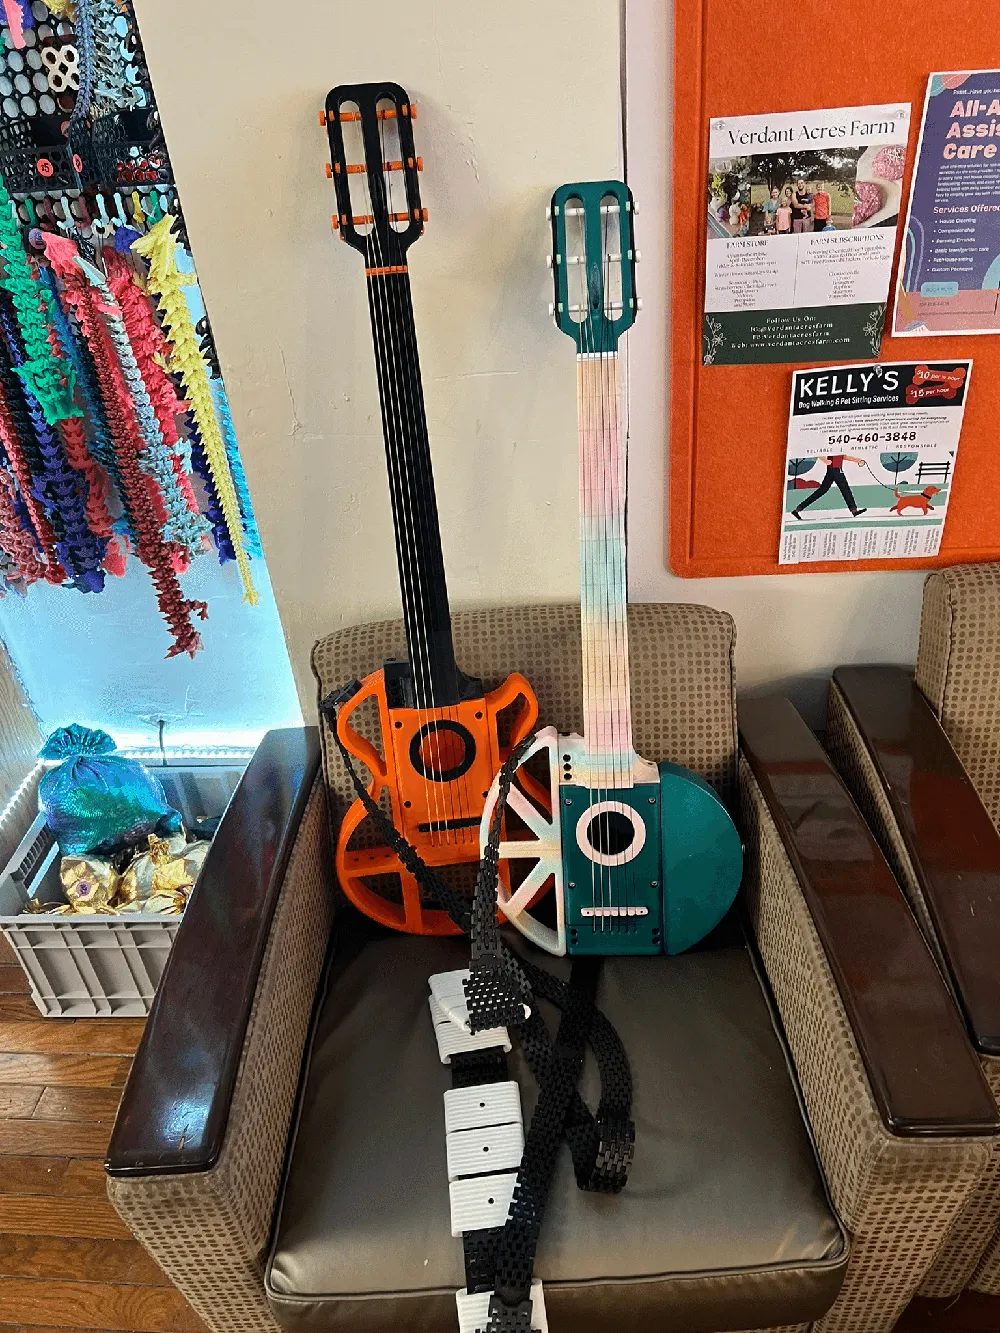
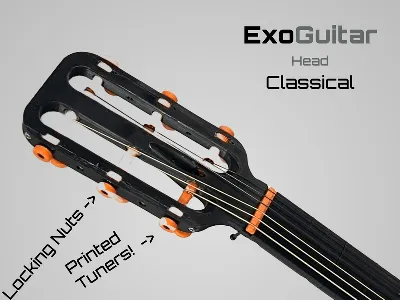
ExoGuitar - Head - Classical
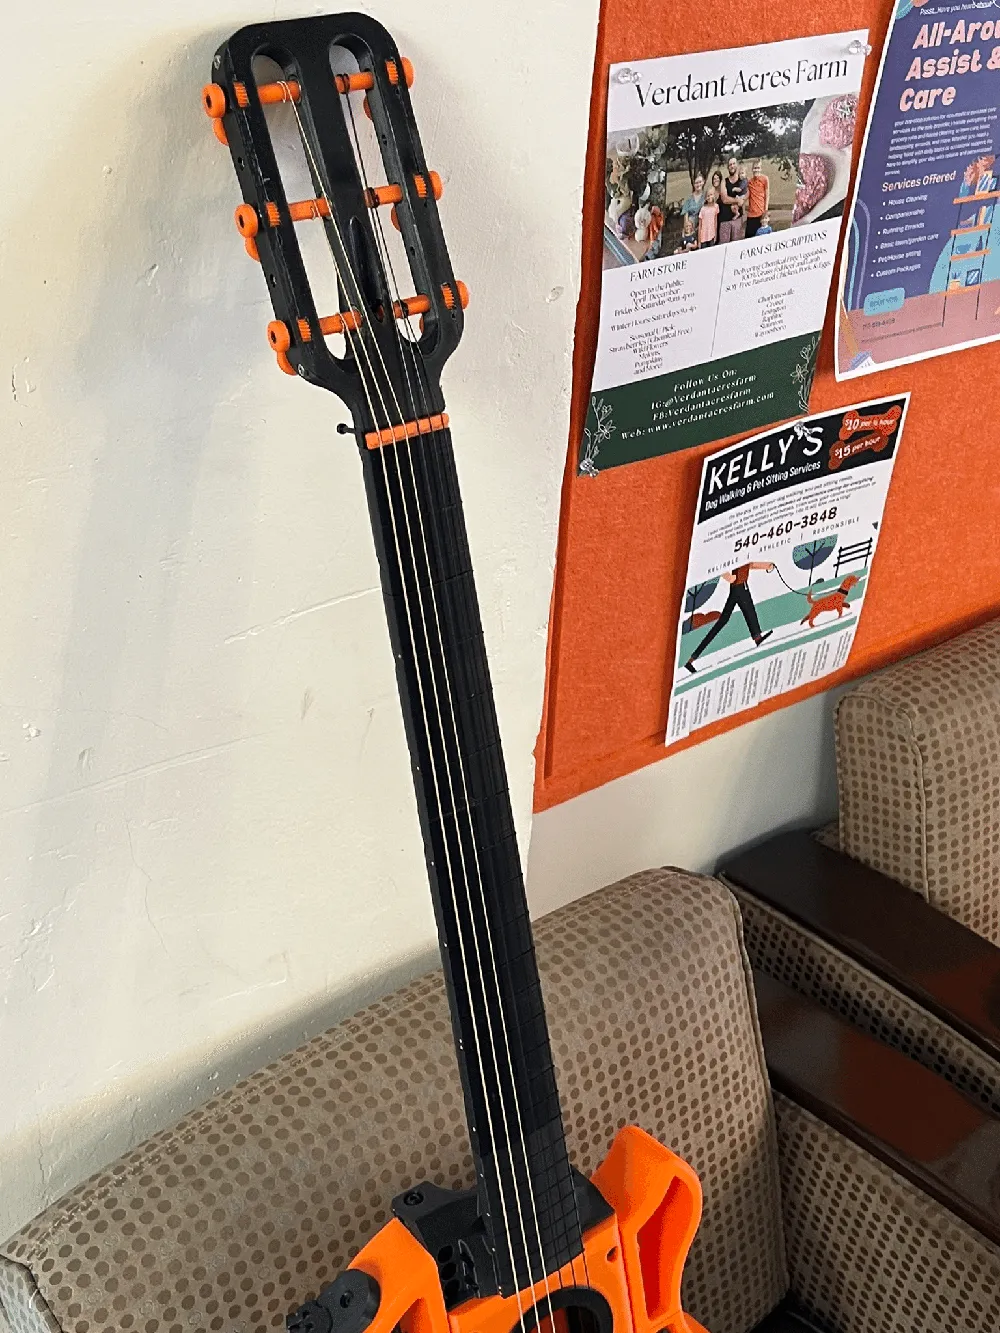
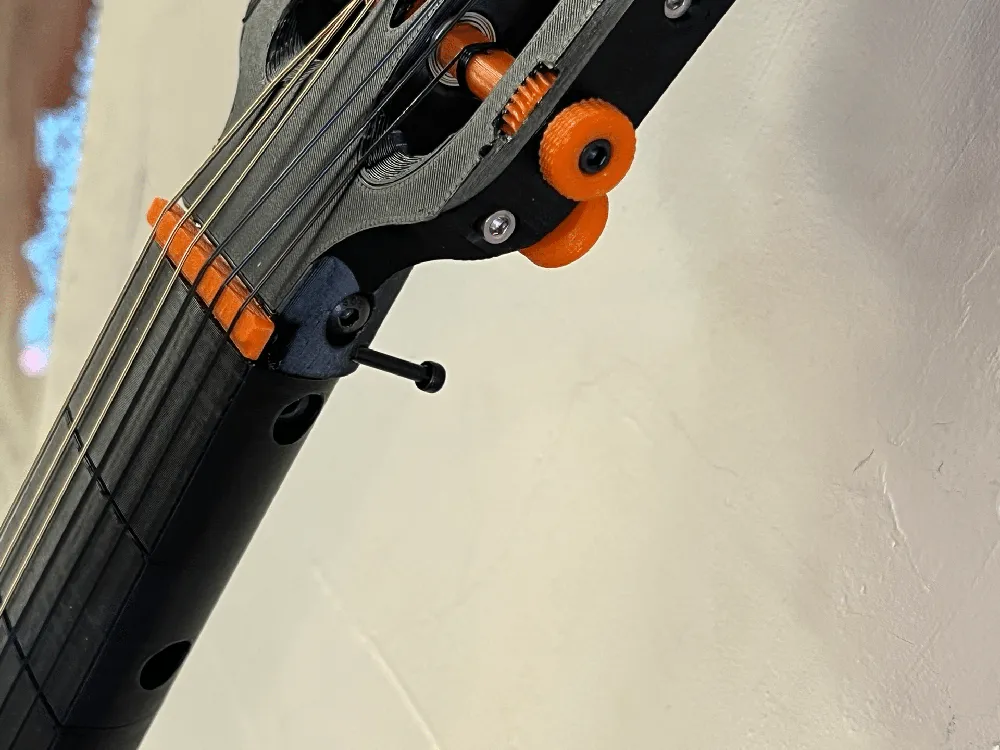
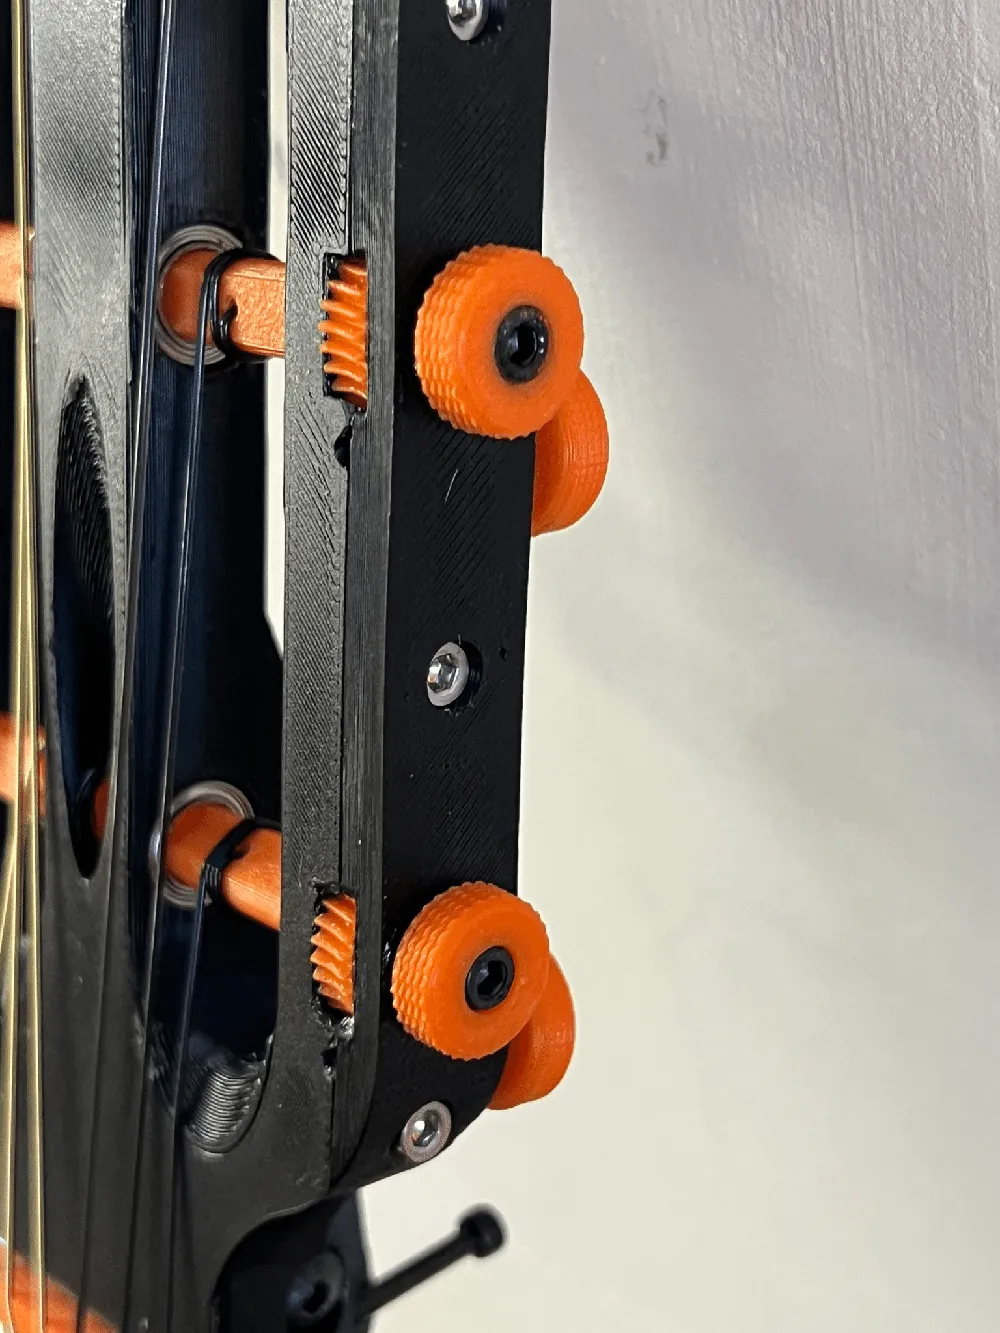
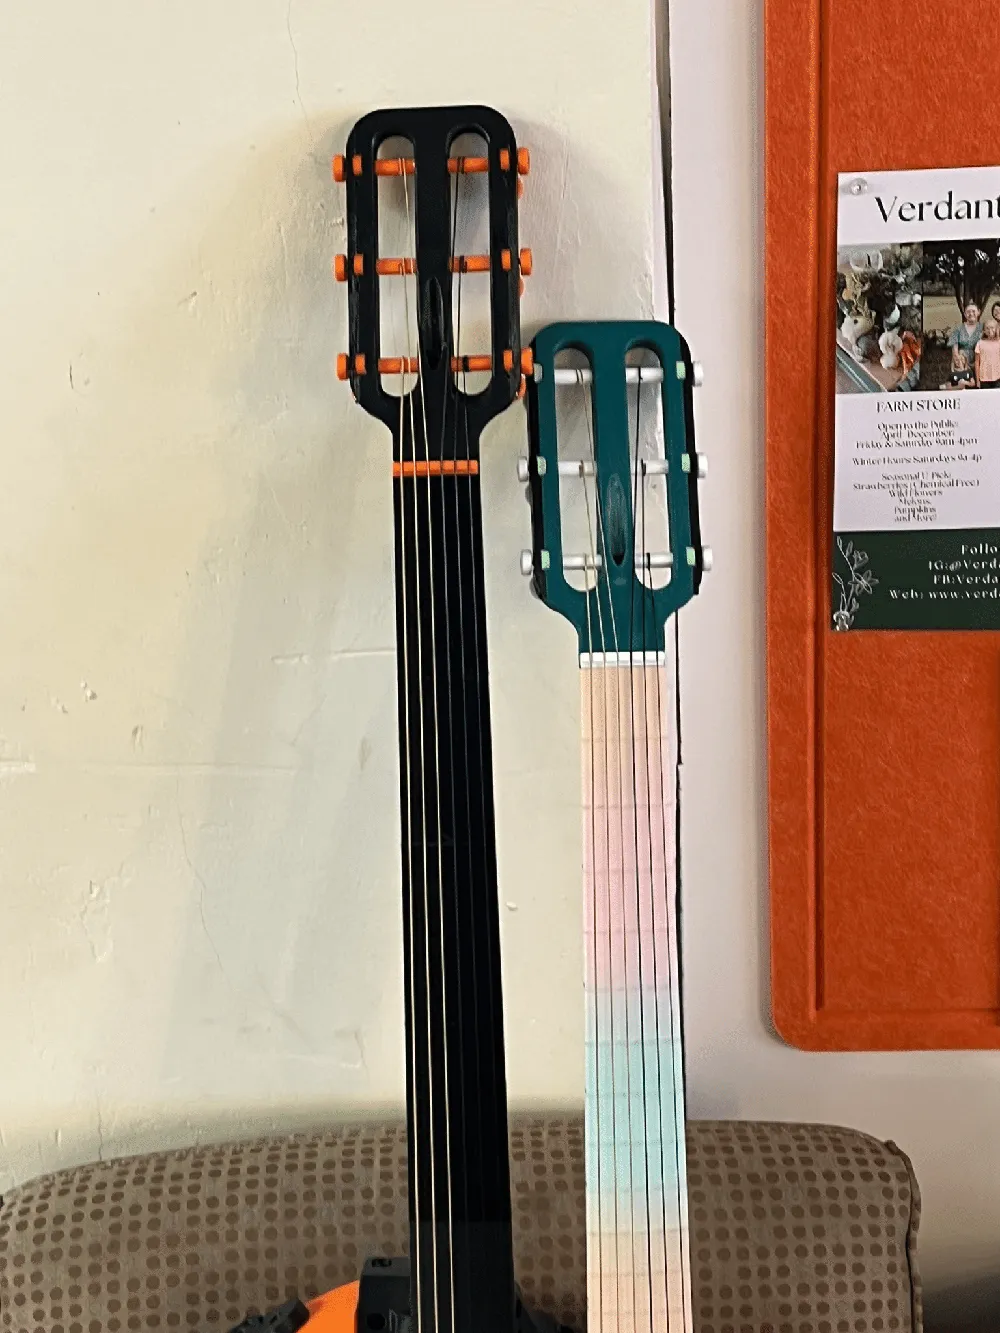
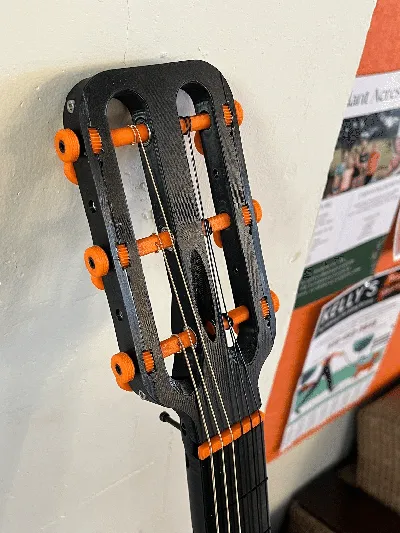
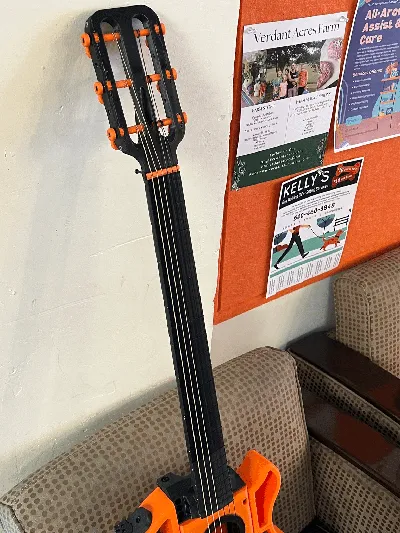
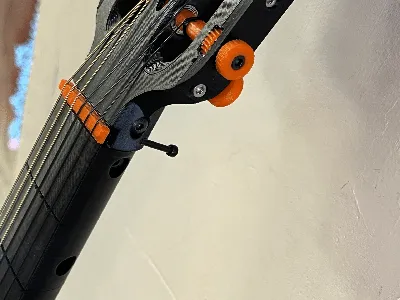
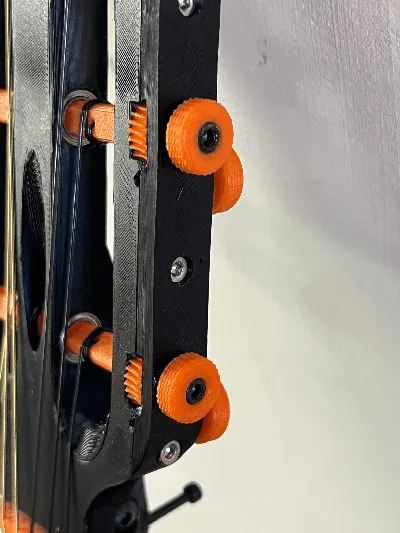
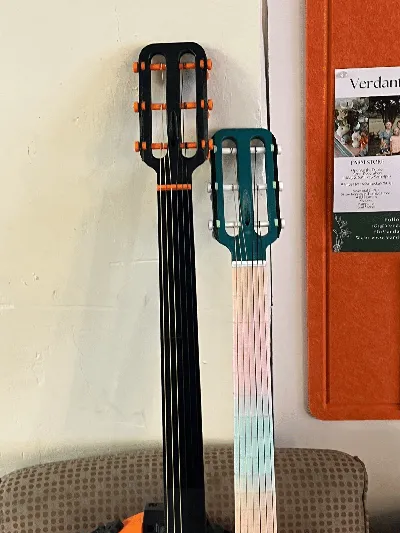
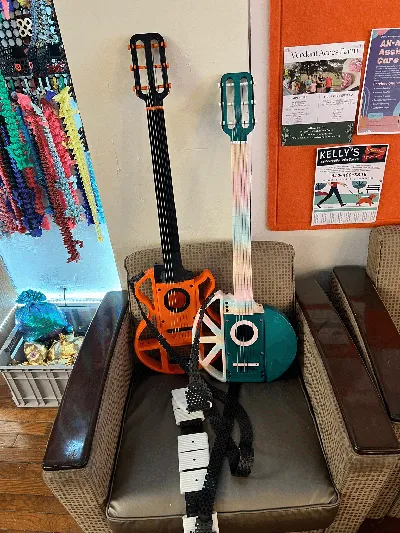
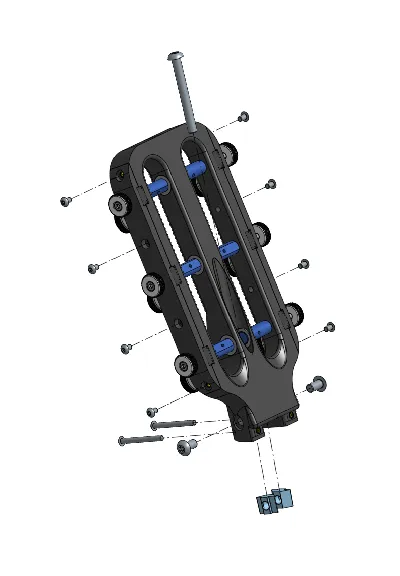
Print Profile(6)


Description
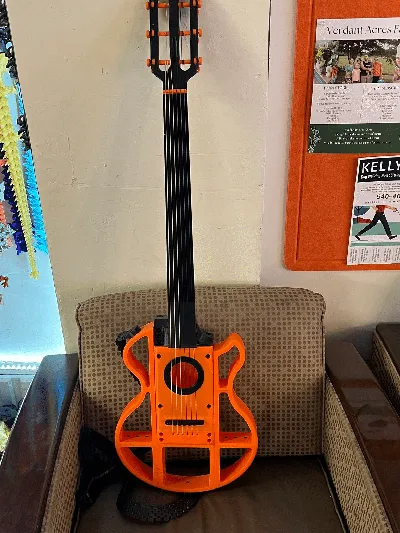
Part of the ExoGuitar project — full catalog, build planner, and assembly guides at https://exoguitar.com
Plan Your Build & Get Hardware
ExoGuitar can be confusing! Head over to our build planner to plan your entire build - it'll walk you through every available part and handle compatibility along the way, and it covers all ExoGuitar parts. It's also the best way to get hardware, since it lets you buy everything for a full build in one go, not just this part.
You can find this specific part, ExoGuitar - Head - Classical, on our site.
After printing, make sure you clean out ALL support material. The smallest amount in the gearboxes can cause interference, the tollerances are very tight.
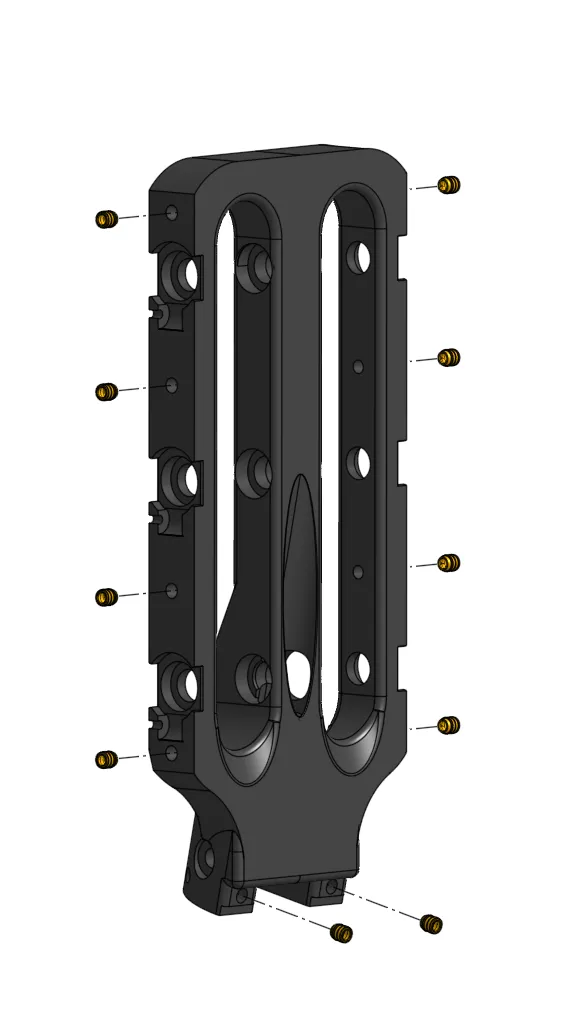
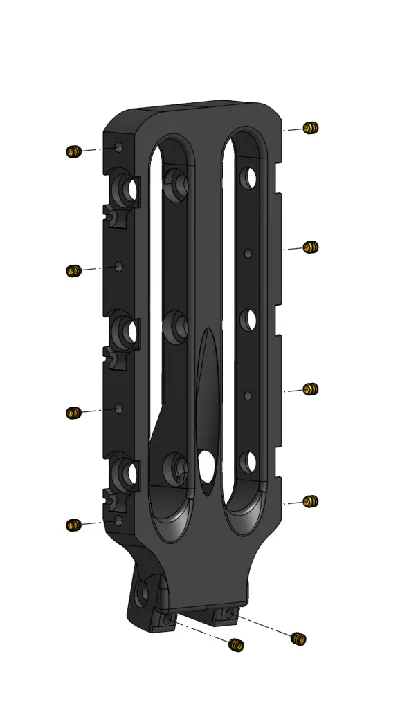
Step 1: Put in Heat Set Inserts
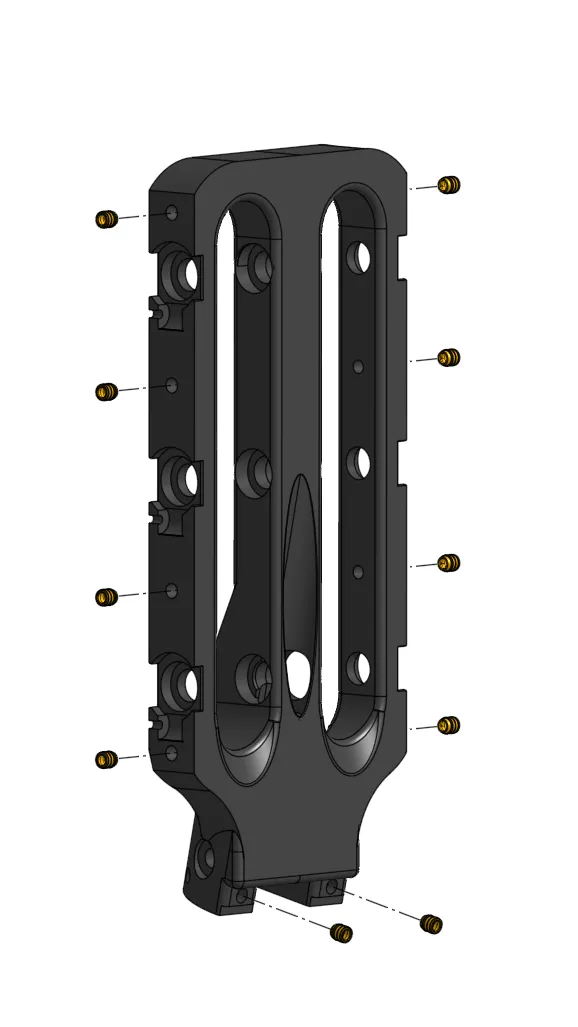
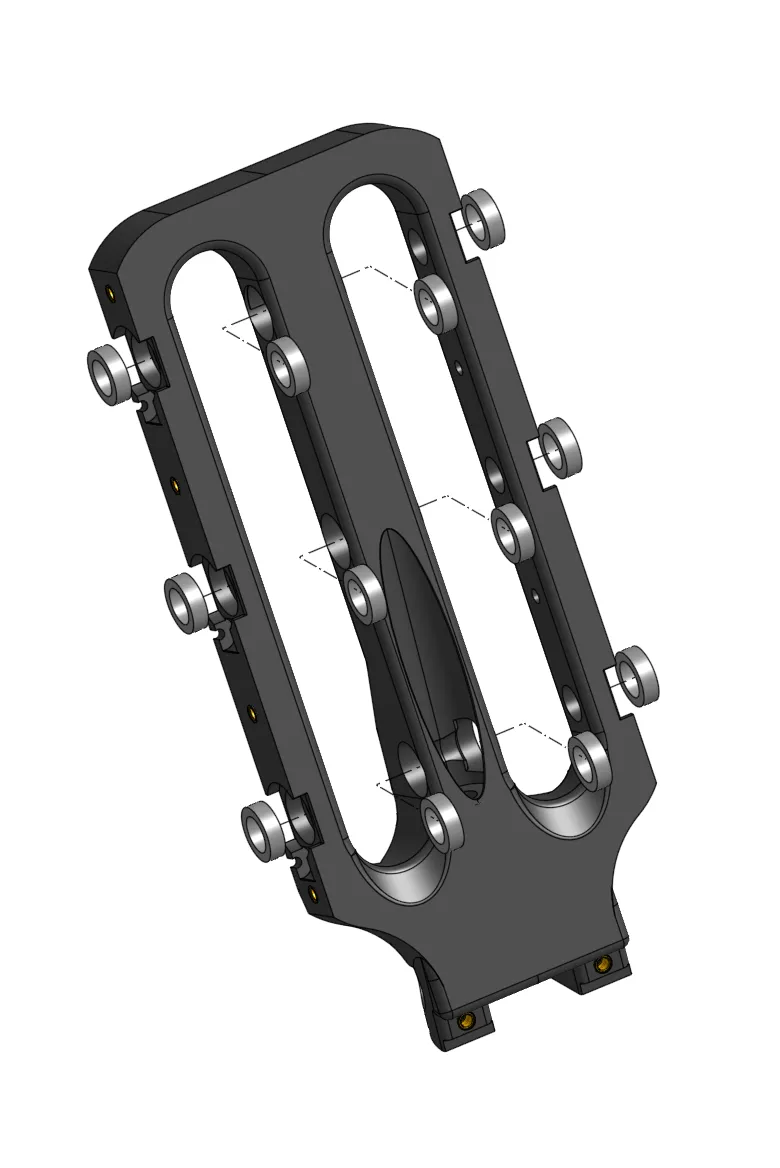
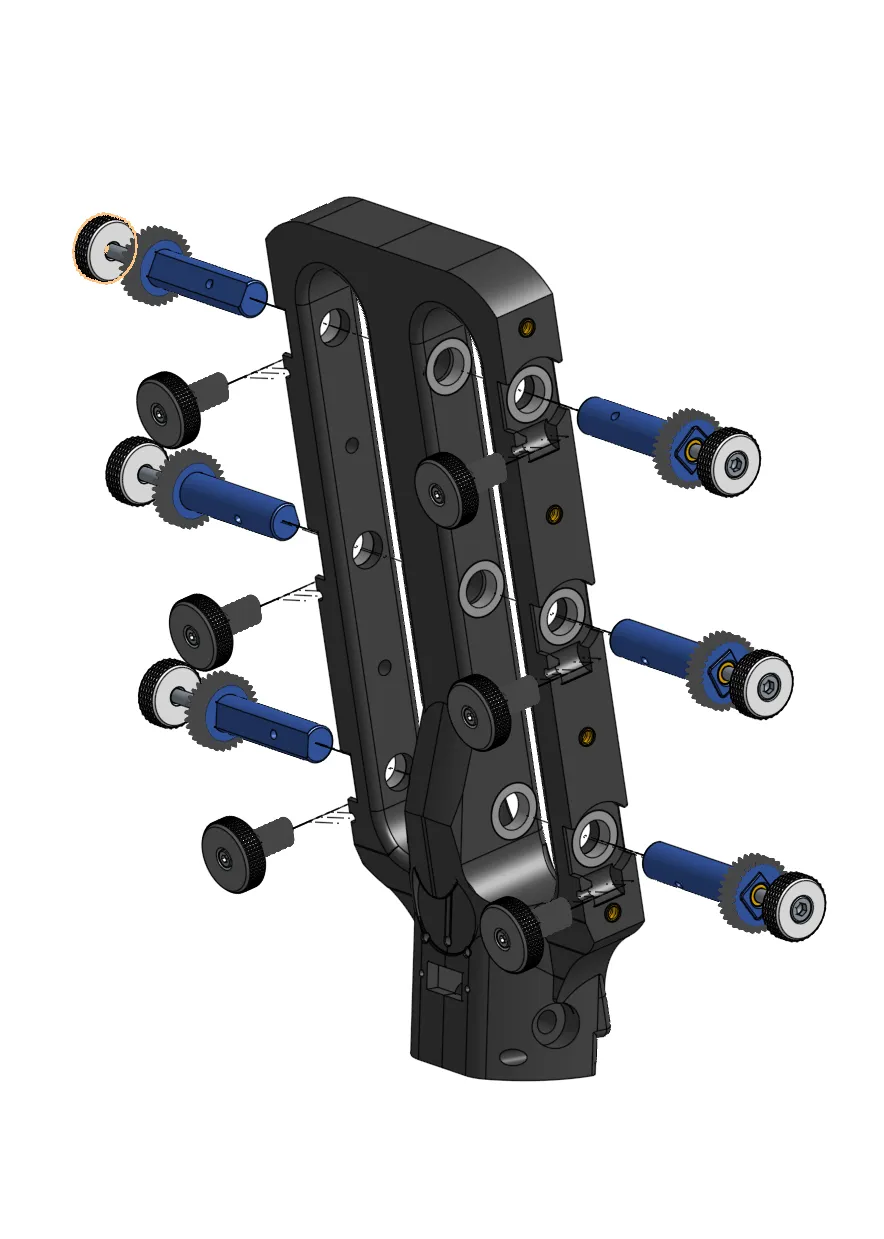
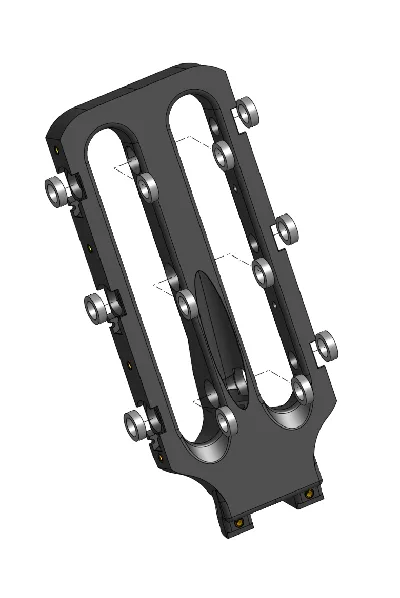
Step 2: Put in Bearings
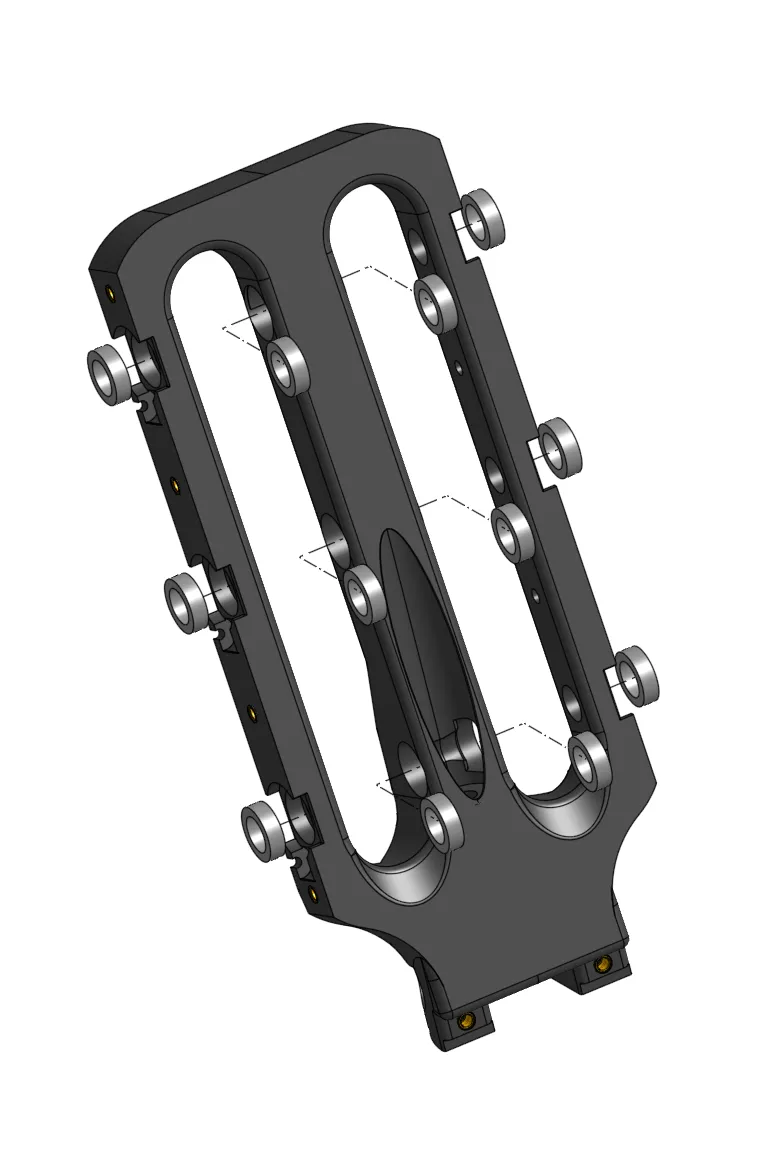
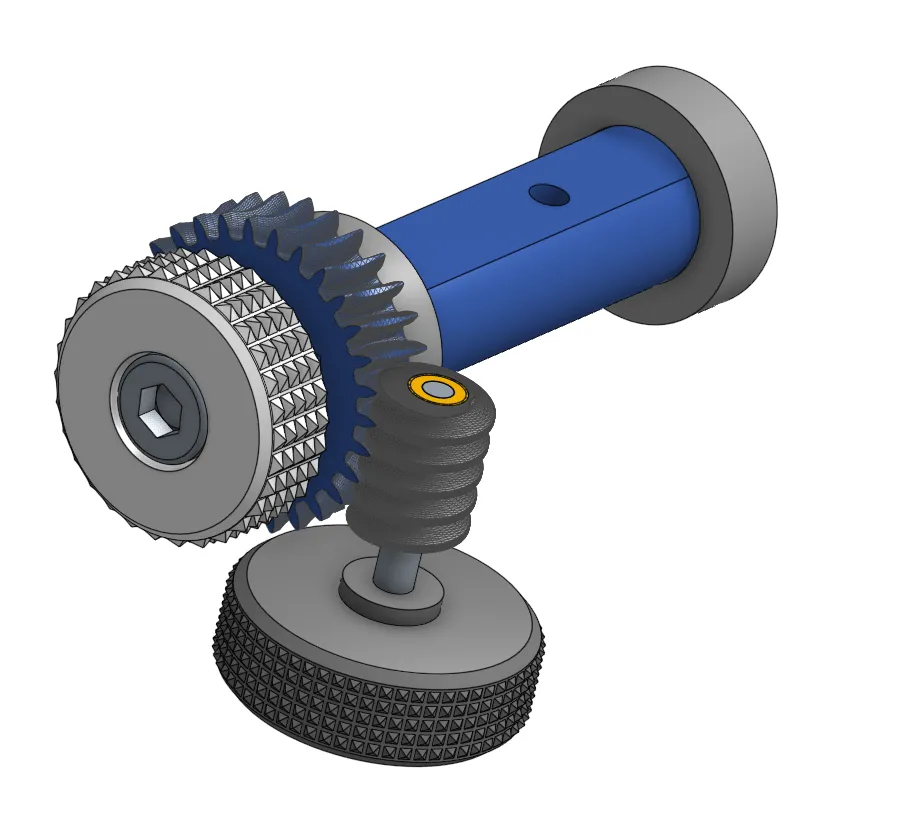
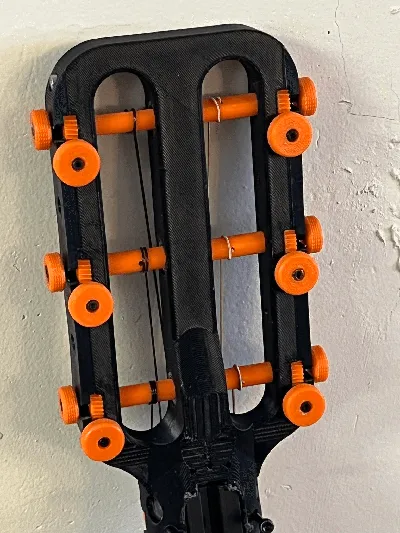
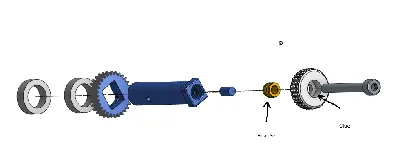
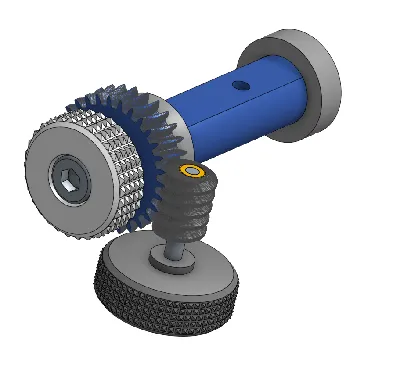
Step 3: Assemble 6 Tensioners
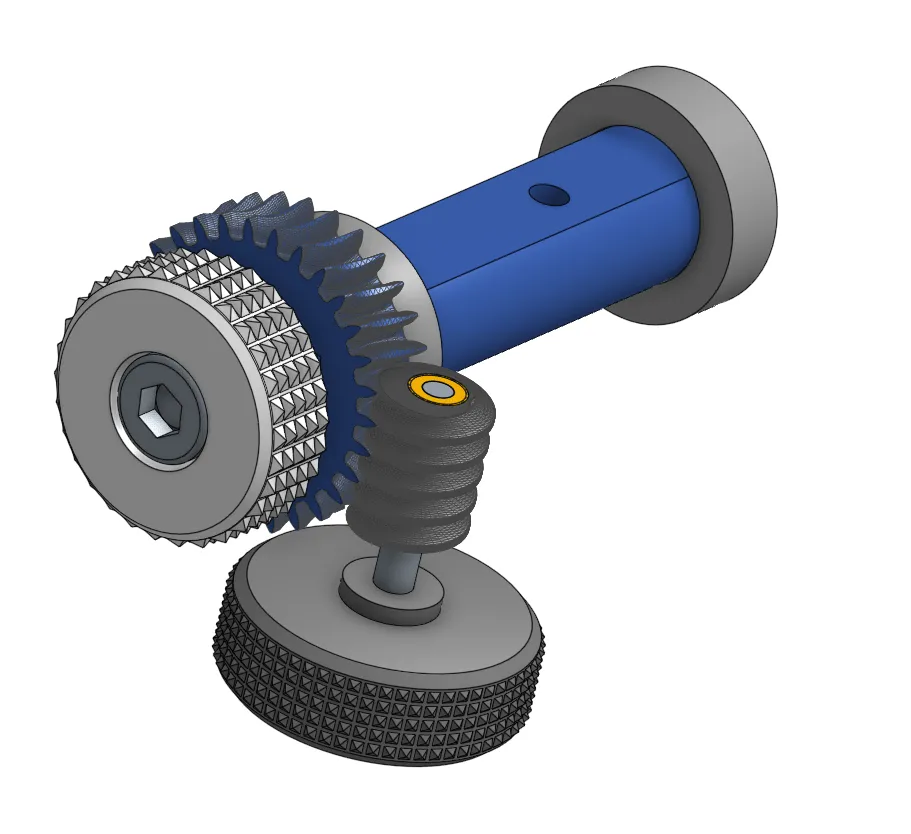
Step 3a: Cut TPU Filament Stubs
Cut 6x 5mm long pieces of TPU filament. A model for a jig to cut these to size easily is included here
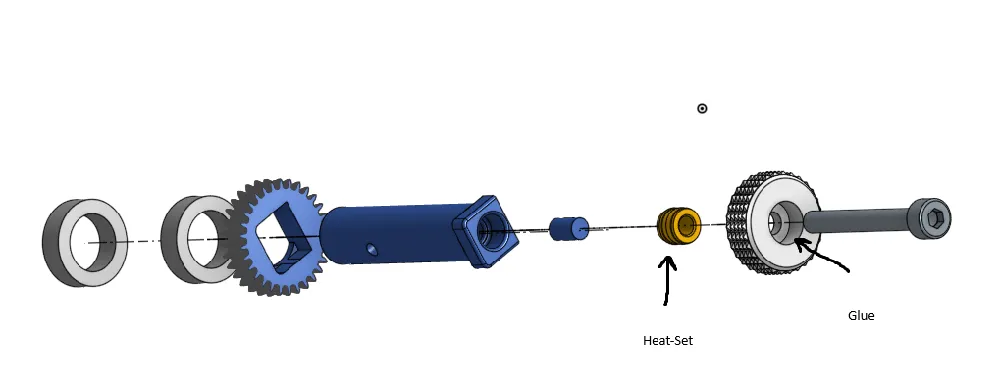
Step 3b: Assemble Shaft
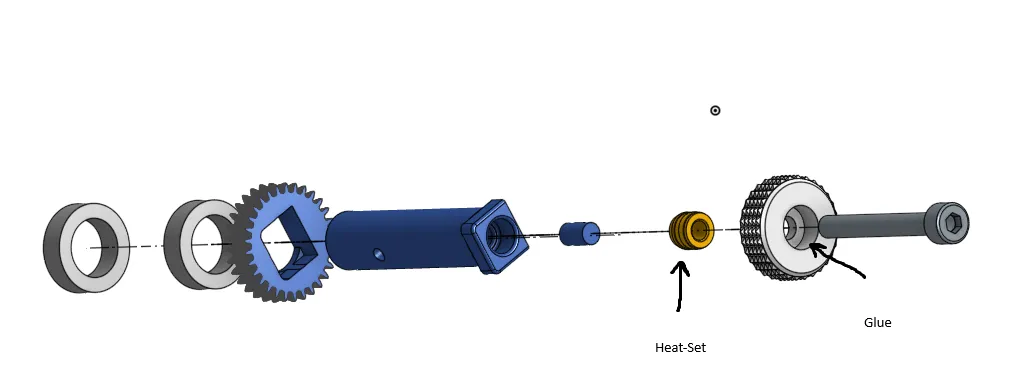
Note that the TPU filament piece is inserted BEFORE the heat set insert is installed.
Step 3e: Prep Worm gear
Using a 3/32 drill bit, remove 3mm of material from one side of the worm gear hole. Then install the heat set insert into that hole. BE CAREFUL and make sure you go in straight and that you don't melt the gear teeth.
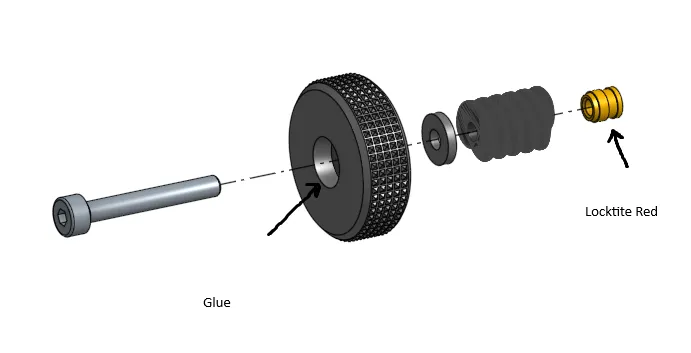
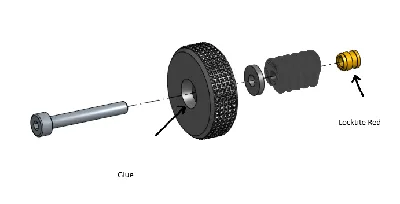
Step 3f: Assemble Knob
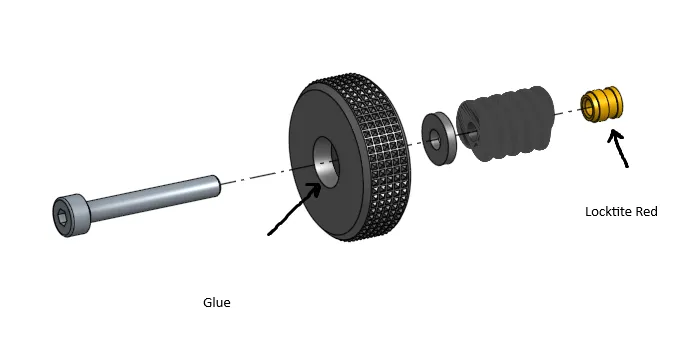
The screw should go right up to the end of the worm gear but not stick out of it.
Use locktite or super glue to lock the screw into the gear. I recommend Locktite Red
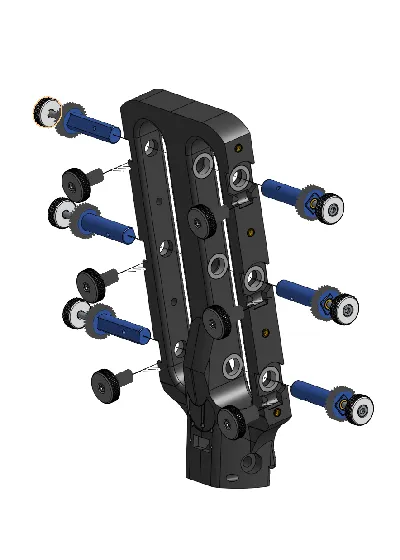
Step 3r: Install Tensioners
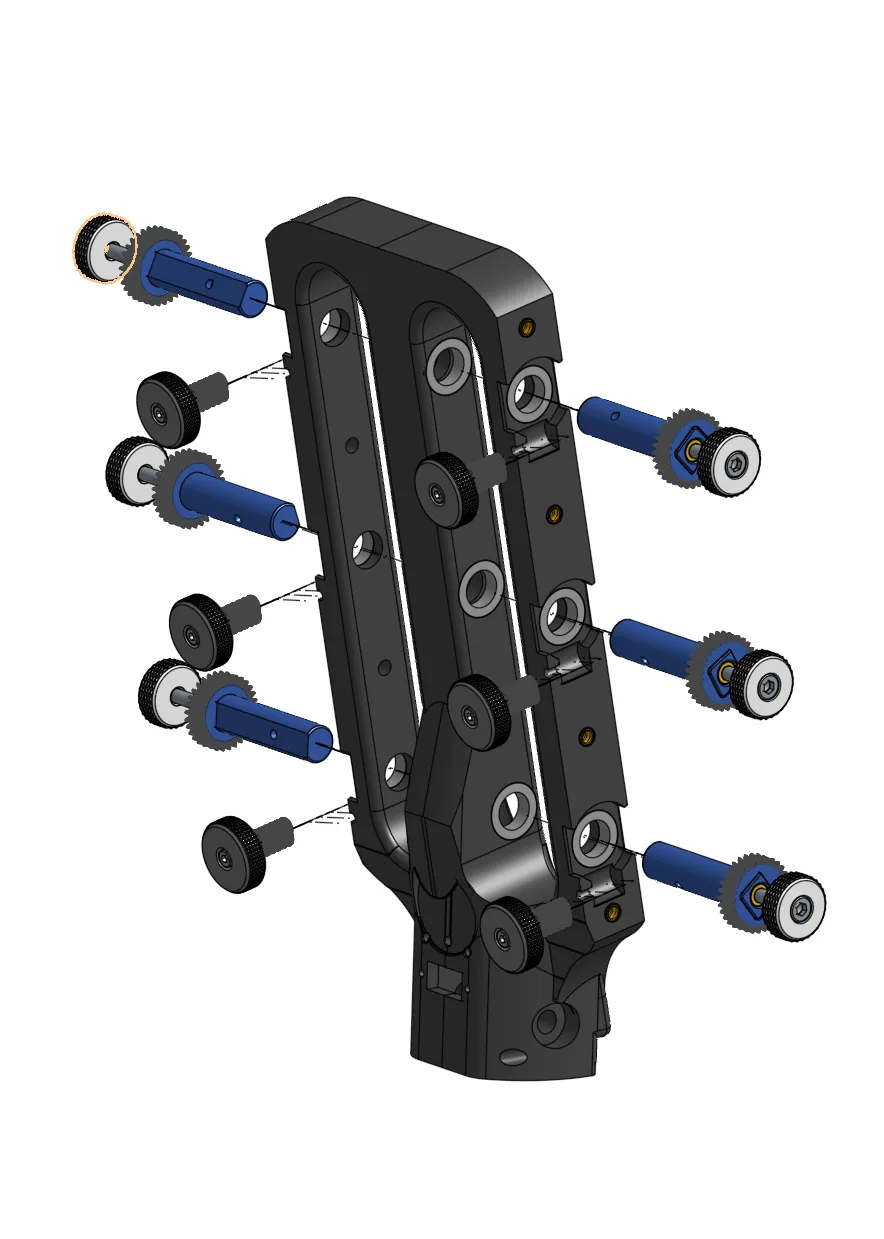
Step 3f: Lubricate gears with Synthetic Grease
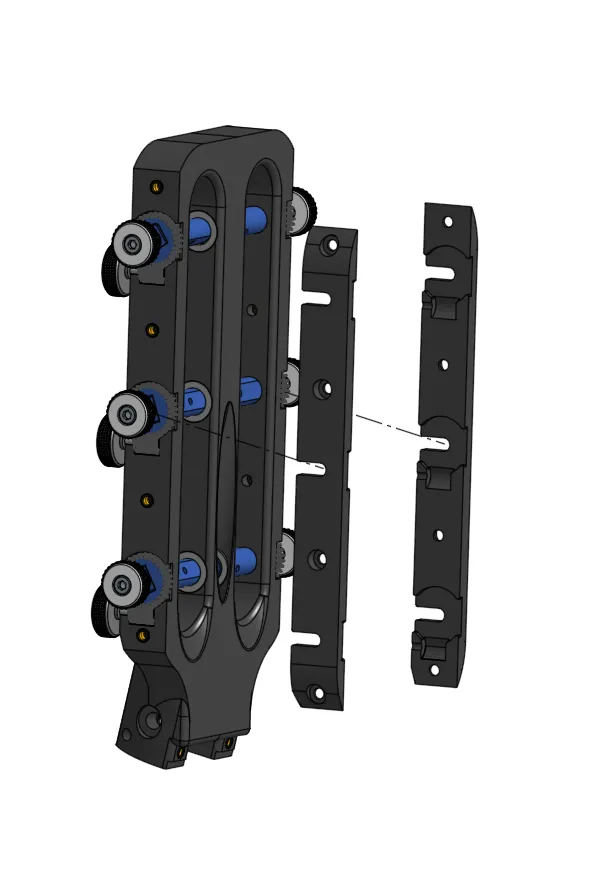
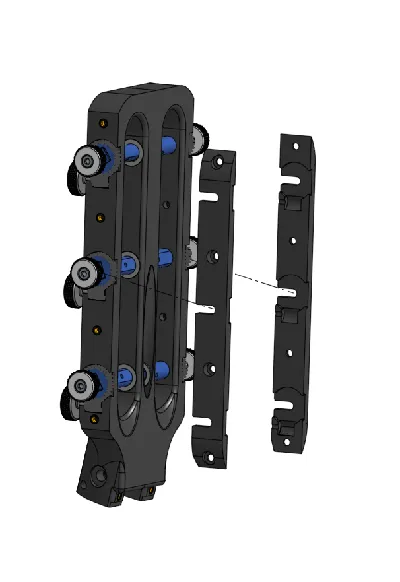
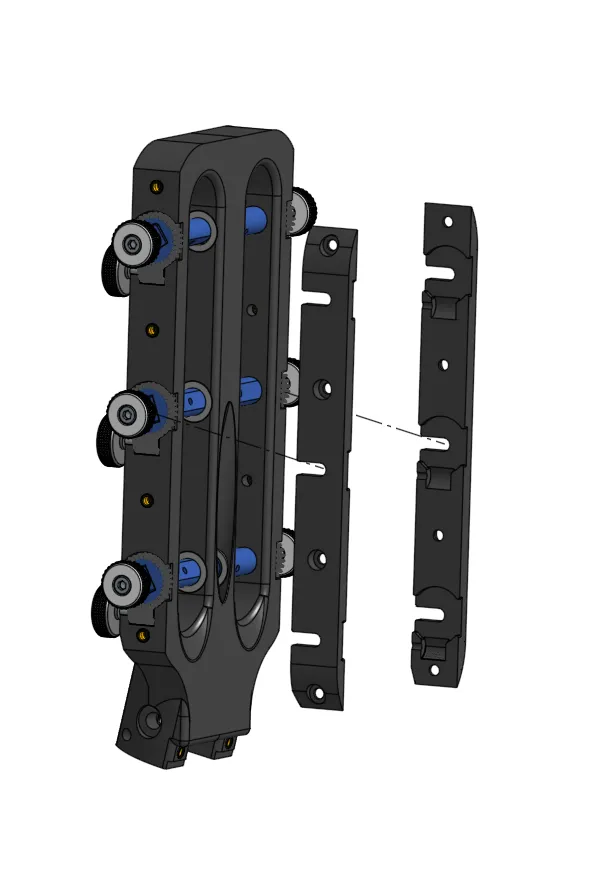
Step 4: Install Side Panels
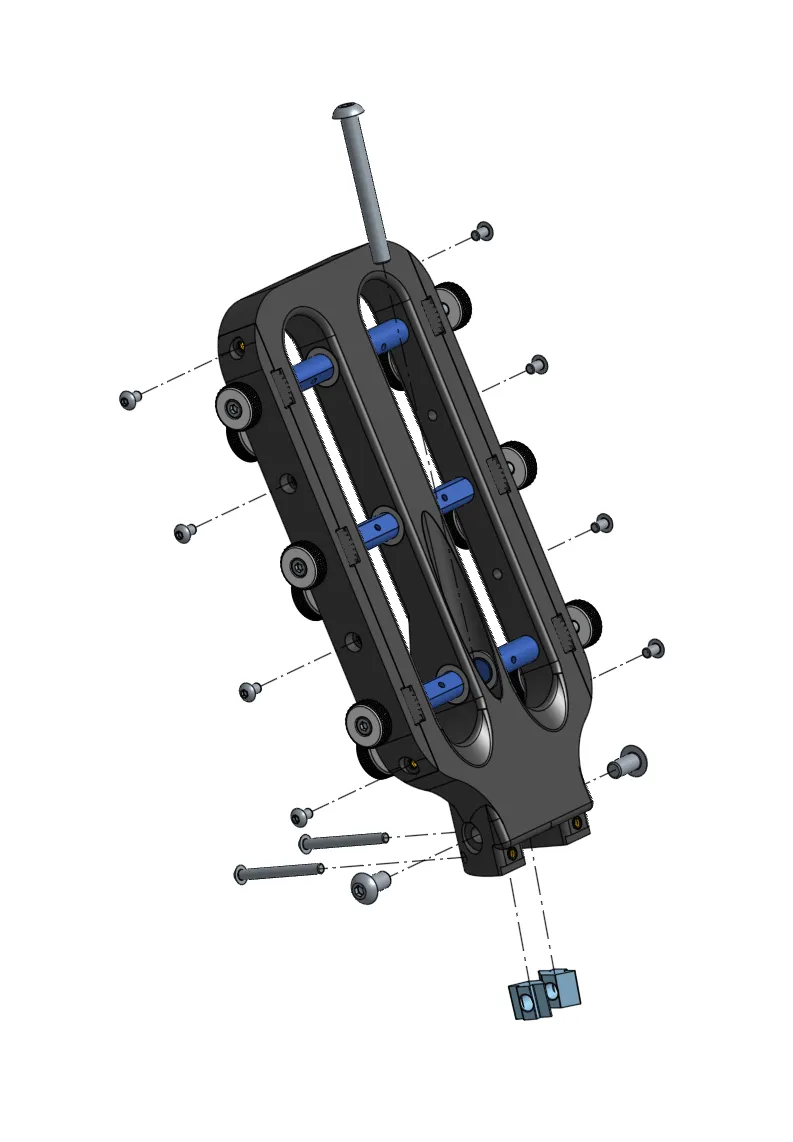
Step 5: Put in all the screws!
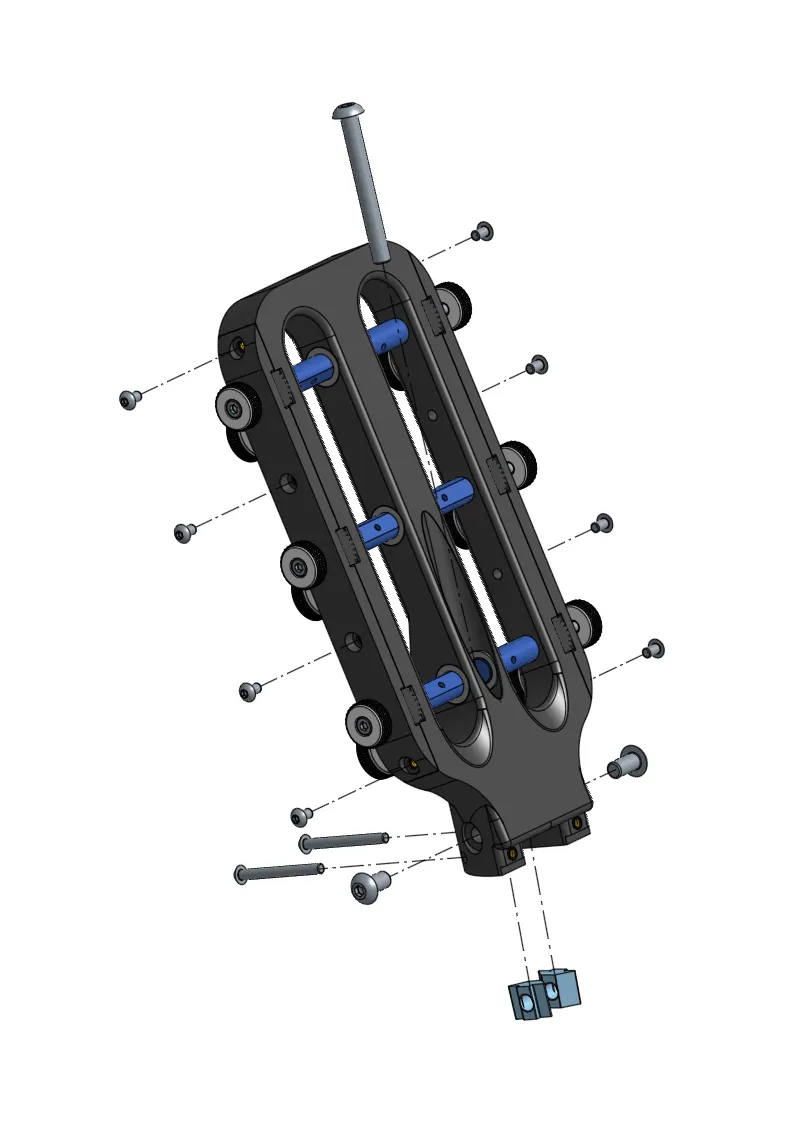
Hardware
DIY Kit
You can order a DIY kit for your entire build from our build planner, the estimate for this part's kit is $19.24 plus shipping.
Self Source
If you want to order the parts yourself, here's a list. Estimated cost: $82.84.
- 10x Heat Set Insert - M3 - 4mm OD - 4mm L
- 2x Screw - Button Head - M5x12
- 1x Screw - Socket Head - M5x45
- 2x Nut - Slide In - M5
- 8x Screw - Socket Head - M3x25
- 6x Screw - Socket Head - M2x20
- 6x Washer - M3
- 12x Bearing - MR128ZZ
- 6x Worm Gear - Nylon - 2x6x8mm
- 6x Heat Set Insert - M2 - 3mm OD - 3mm L
Boost Me (for free)
Want more models like this? Boost Me!
Membership
Want to sell these Models? Join my Membership!
Check out more of my stuff here:
Discord
Join our Discord if you have any questions: https://discord.gg/Qbzapa3WJ5
License



Comment & Rating (24)