
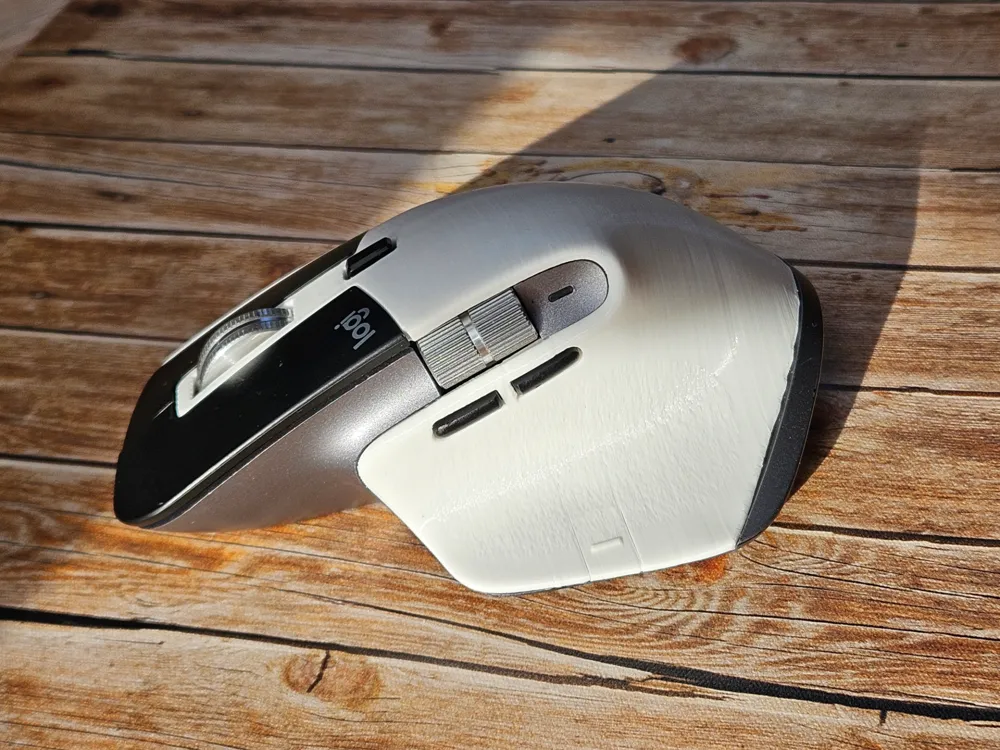
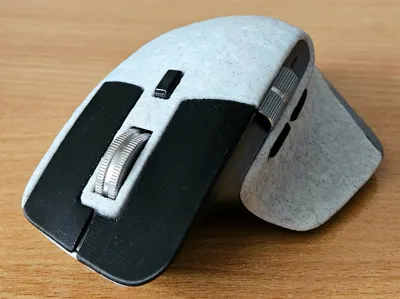
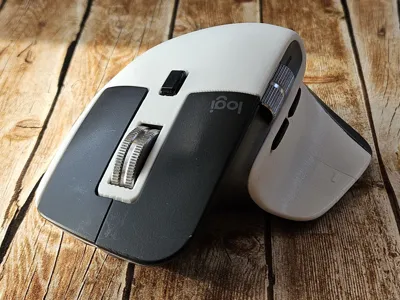
Replacement shell for Logitech Mx Master 3 and 3S
Print Profile(3)


![[Base thumb button fixed] 0.12mm layer, 3 walls, 15% infill](https://makerworld.bblmw.com/makerworld/model/USd73c6d6a7068da/261851509/instance/2025-03-28_aa5a28ad01584.jpeg?x-oss-process=image%2Fresize%2Cw_100%2Fformat%2Cwebp)

Description
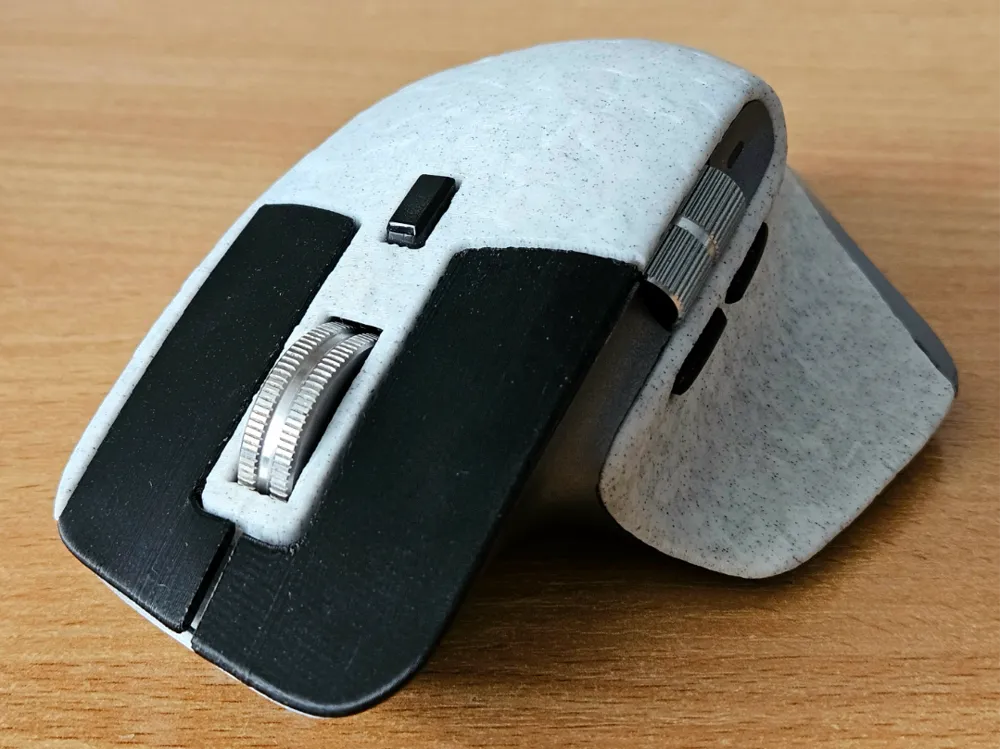
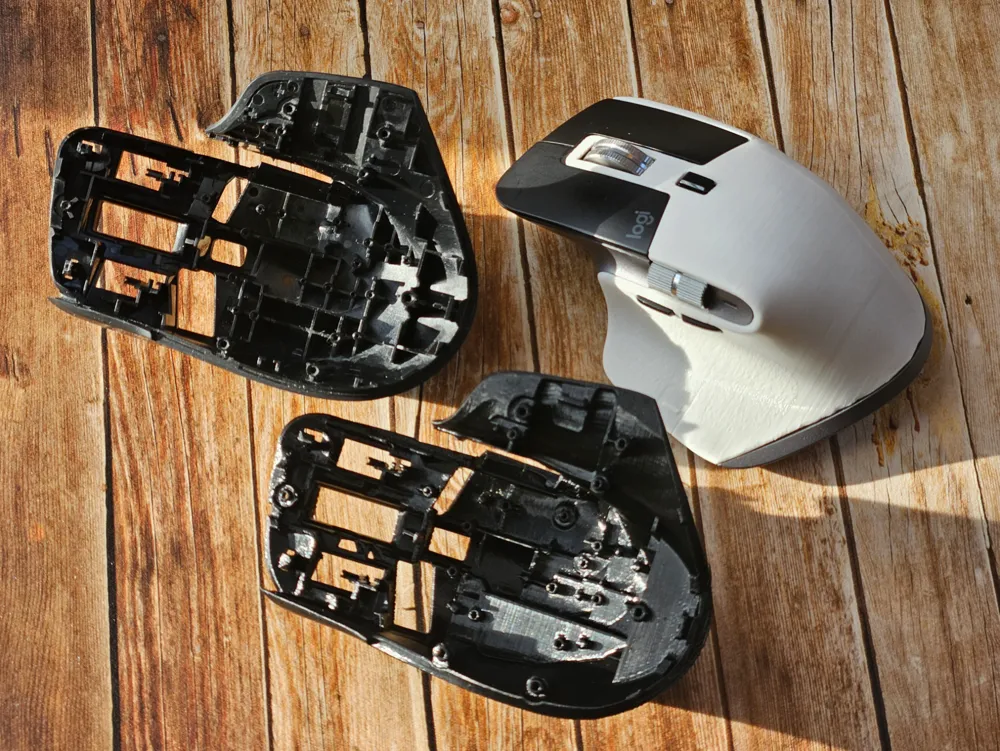
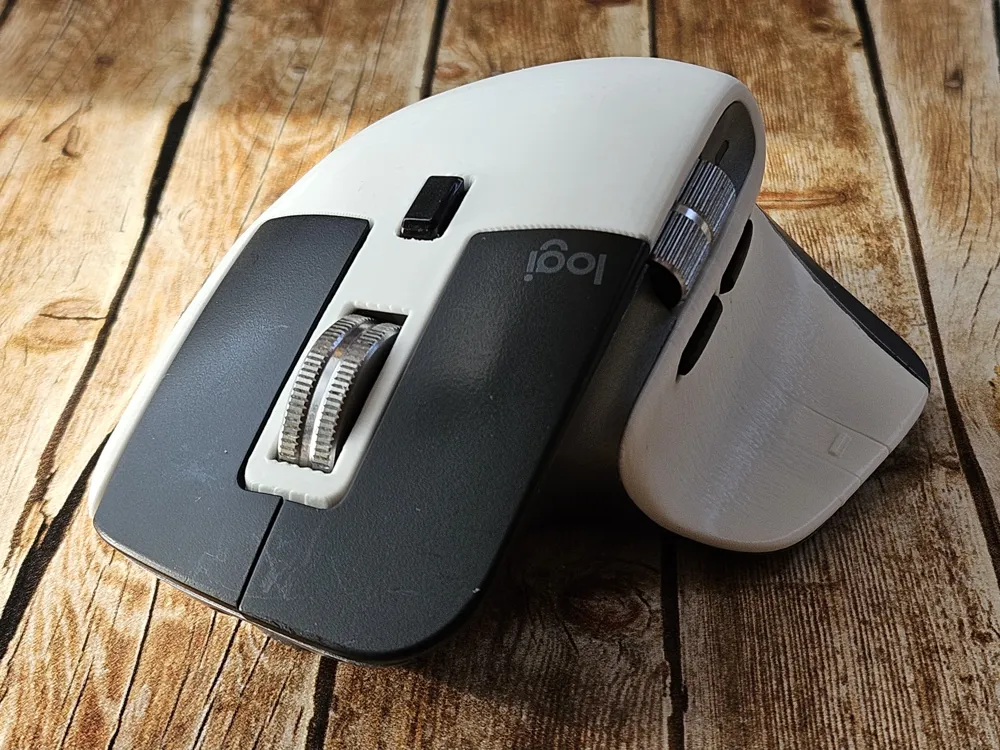
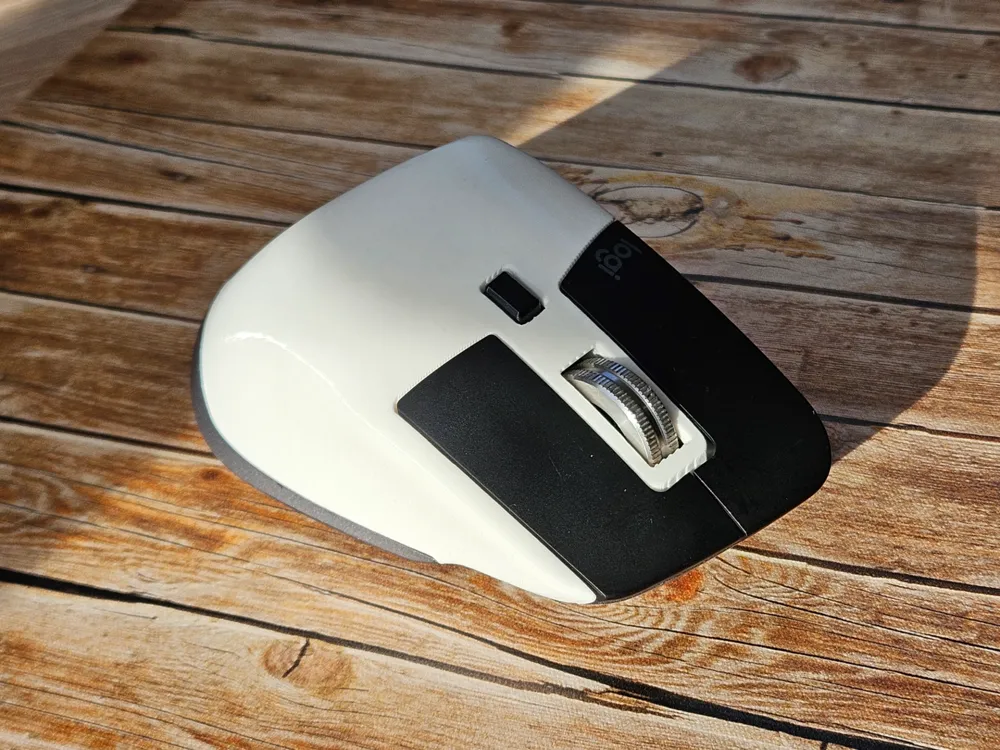
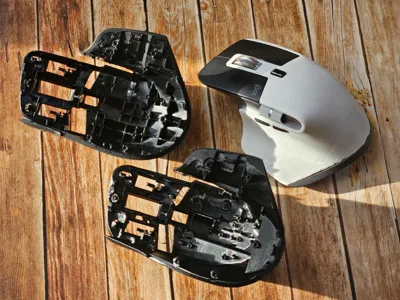
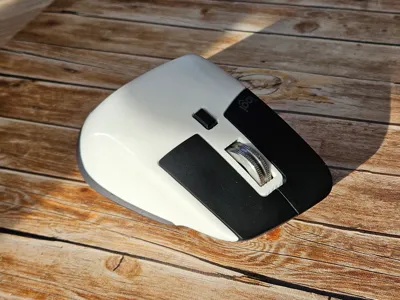
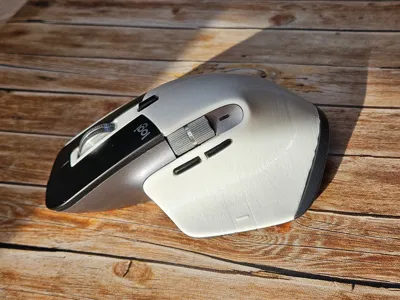
Replacement top shell solves the problem of disintegrating rubber, bringing new life to this amazing mouse.
As far as I know, there is also no good alternative solution to this problem - replacement shells that you can buy come from donor mice so they are very expensive and skins are either also expensive or don't cover whole sticky area.
Fuzzy skin version - adds three bodies that can be used as modifiers to enable fuzzy skin - under thumb, on the right side or fully on the outside. It currently doesn't work in Bambu Studio - read more here: https://github.com/SoftFever/OrcaSlicer/pull/6759
Print in material with strong layer adhesion to avoid breaking screw standoffs, PLA is fine, PETG could be to weak. I used Zadar PLA LIGHT White and Prusament PLA Marble Grey.
Changelog:
V68, Alpha version of mouse buttons
- Functional, but the left button is not well aligned and doesn’t look great
- If yours are broken, this is a good temporary solution. Otherwise, I’d recommend waiting for the proper release - hopefully in the coming weeks
- No updates yet to shell geometry, so V58 is still the latest shell version
- Special thanks to @dkircali for providing his 3D scan
V58, changes proposed by @noongom
- Trimmed thumb button flap to increase range of motion
- Trimmed back-thumb overhang to improve fitment
V53, addresses biggest issues with pervious version:
- Improved thumb button - wider and softer (still not perfect)
- Tightened the gap at the back between the pieces (is still isn't perfect due to the inconsistency of sagging or curling overhang)
How to replace:
Recommended tools:
- TORX T5 and Phillips #00 screwdrivers
- Craft knife (for lifting the skated without damaging them)
- Pliers/side cutters (for removing supports)
- Tweezers
Video tutorial:
Tips:
- Keep your screws organized - there are four types:
- single TORX one above USB-C port,
- five thick ones for holding to the bottom shell,
- four with wide head that secures right, middle and left button,
- most common type that secures the rest
- Be careful when screwing in screws - don't apply too much torque or else threads could strip or standoffs could crack.
Boost Me (for free)
if you found this useful :)
Also follows are really appreciated since they will allow me to create commercial licence membership for this model.
Thank you!
License



Comment & Rating (574)