
Playable Laser Harp
Print Profile(2)

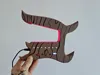
Bill of Materials
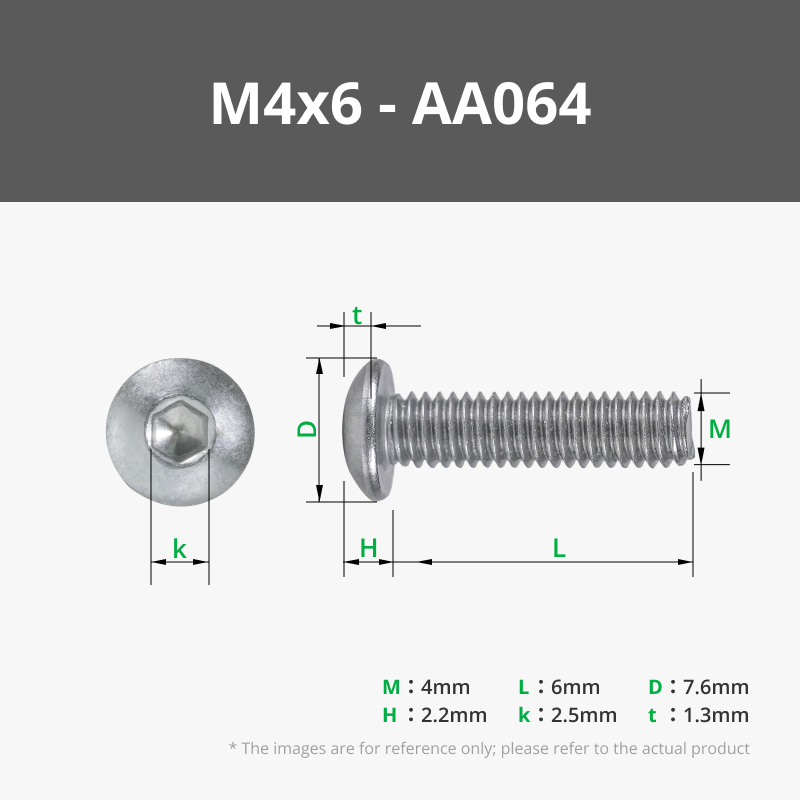
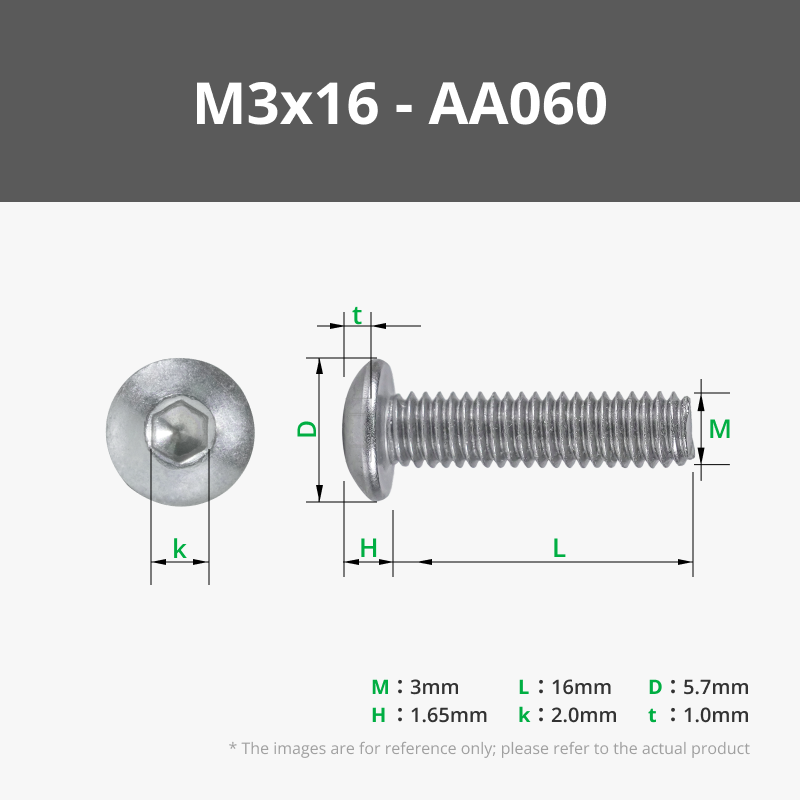


- HU-013 Laser Harp Making Kit x 1:
Description
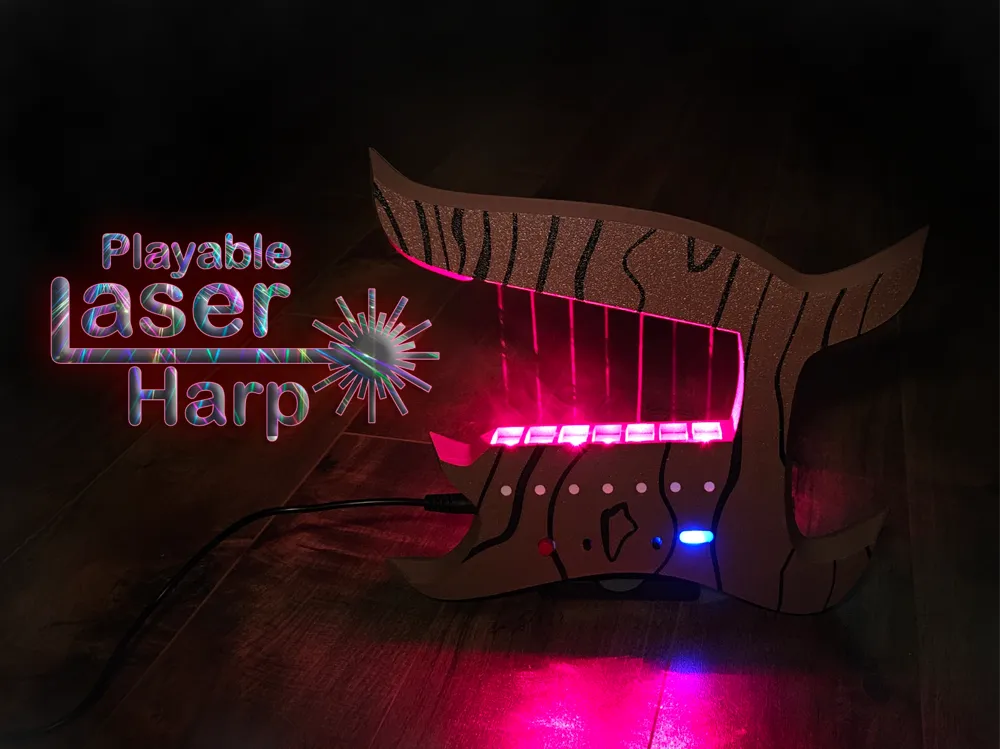
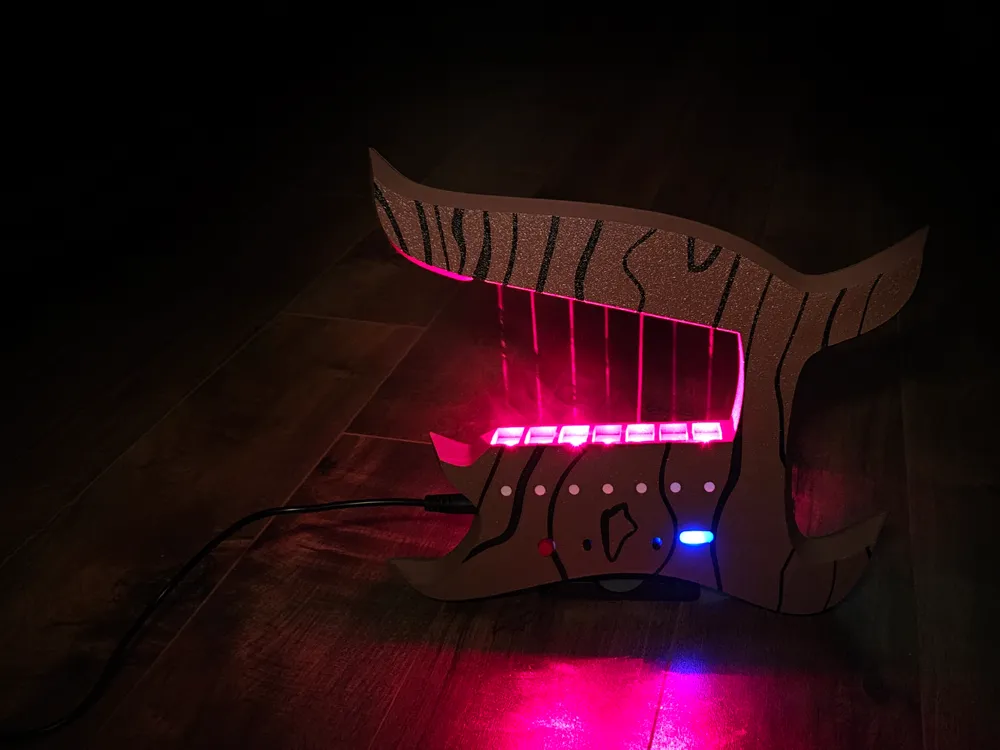
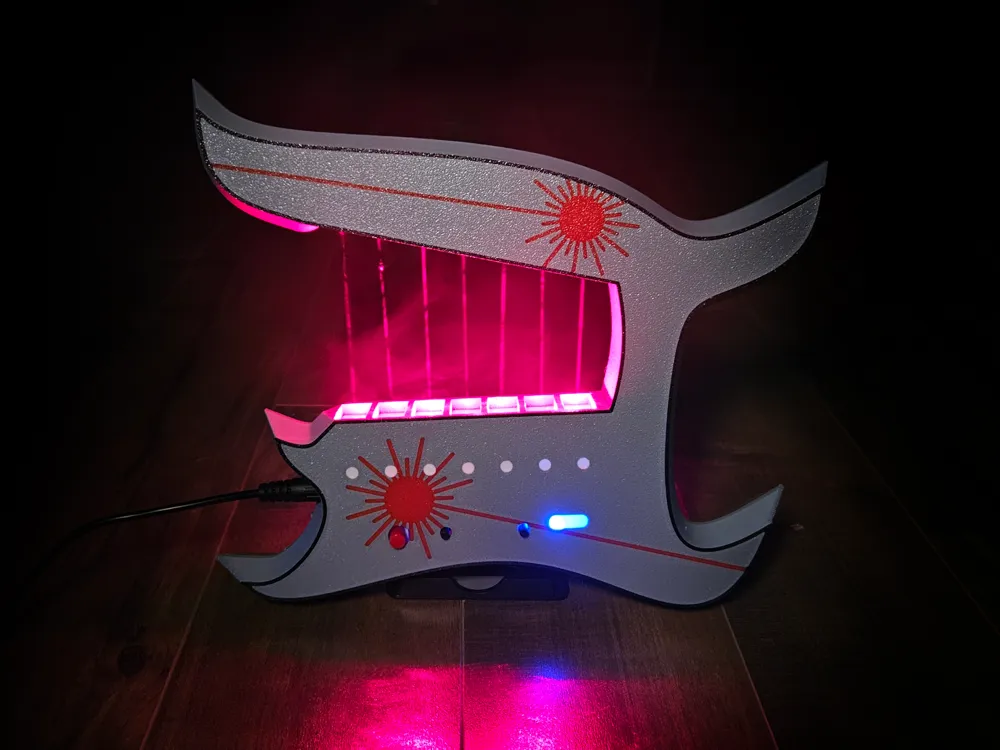
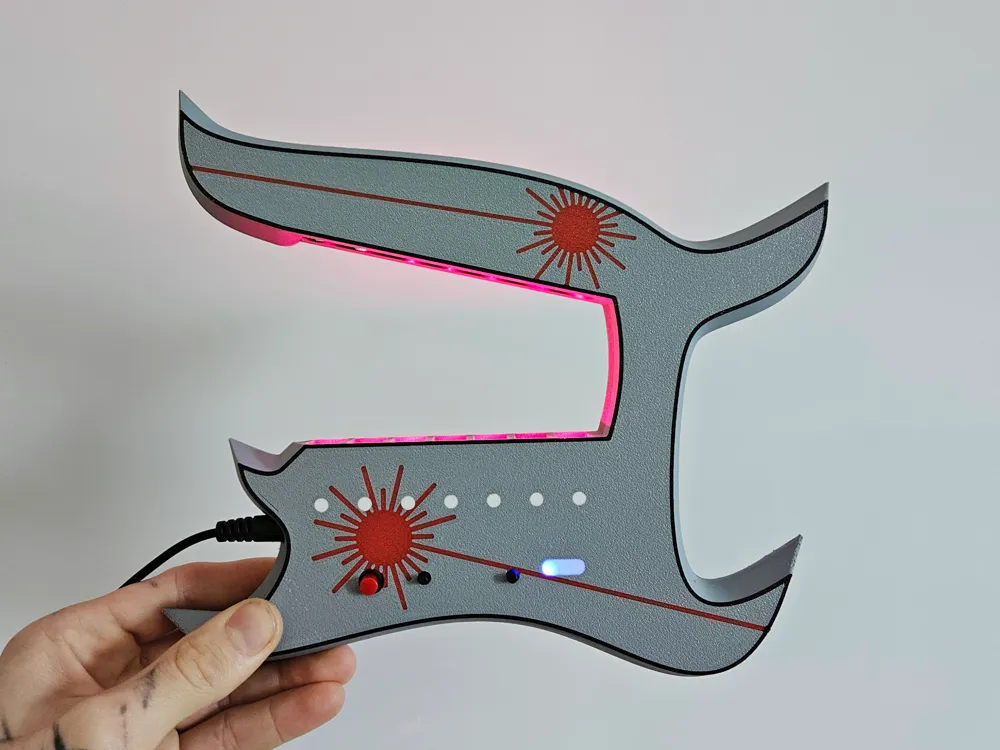
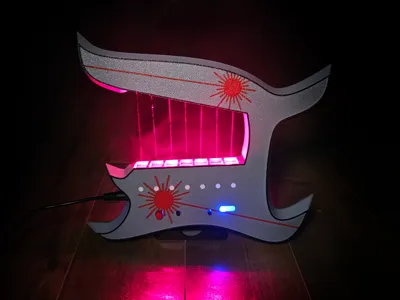
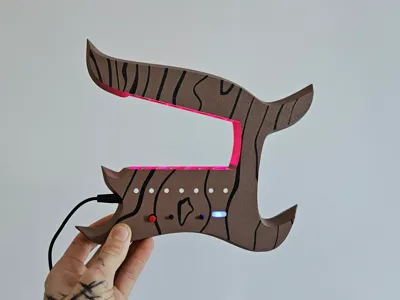
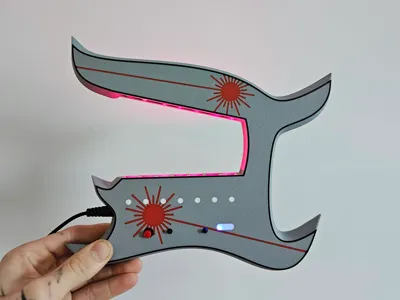
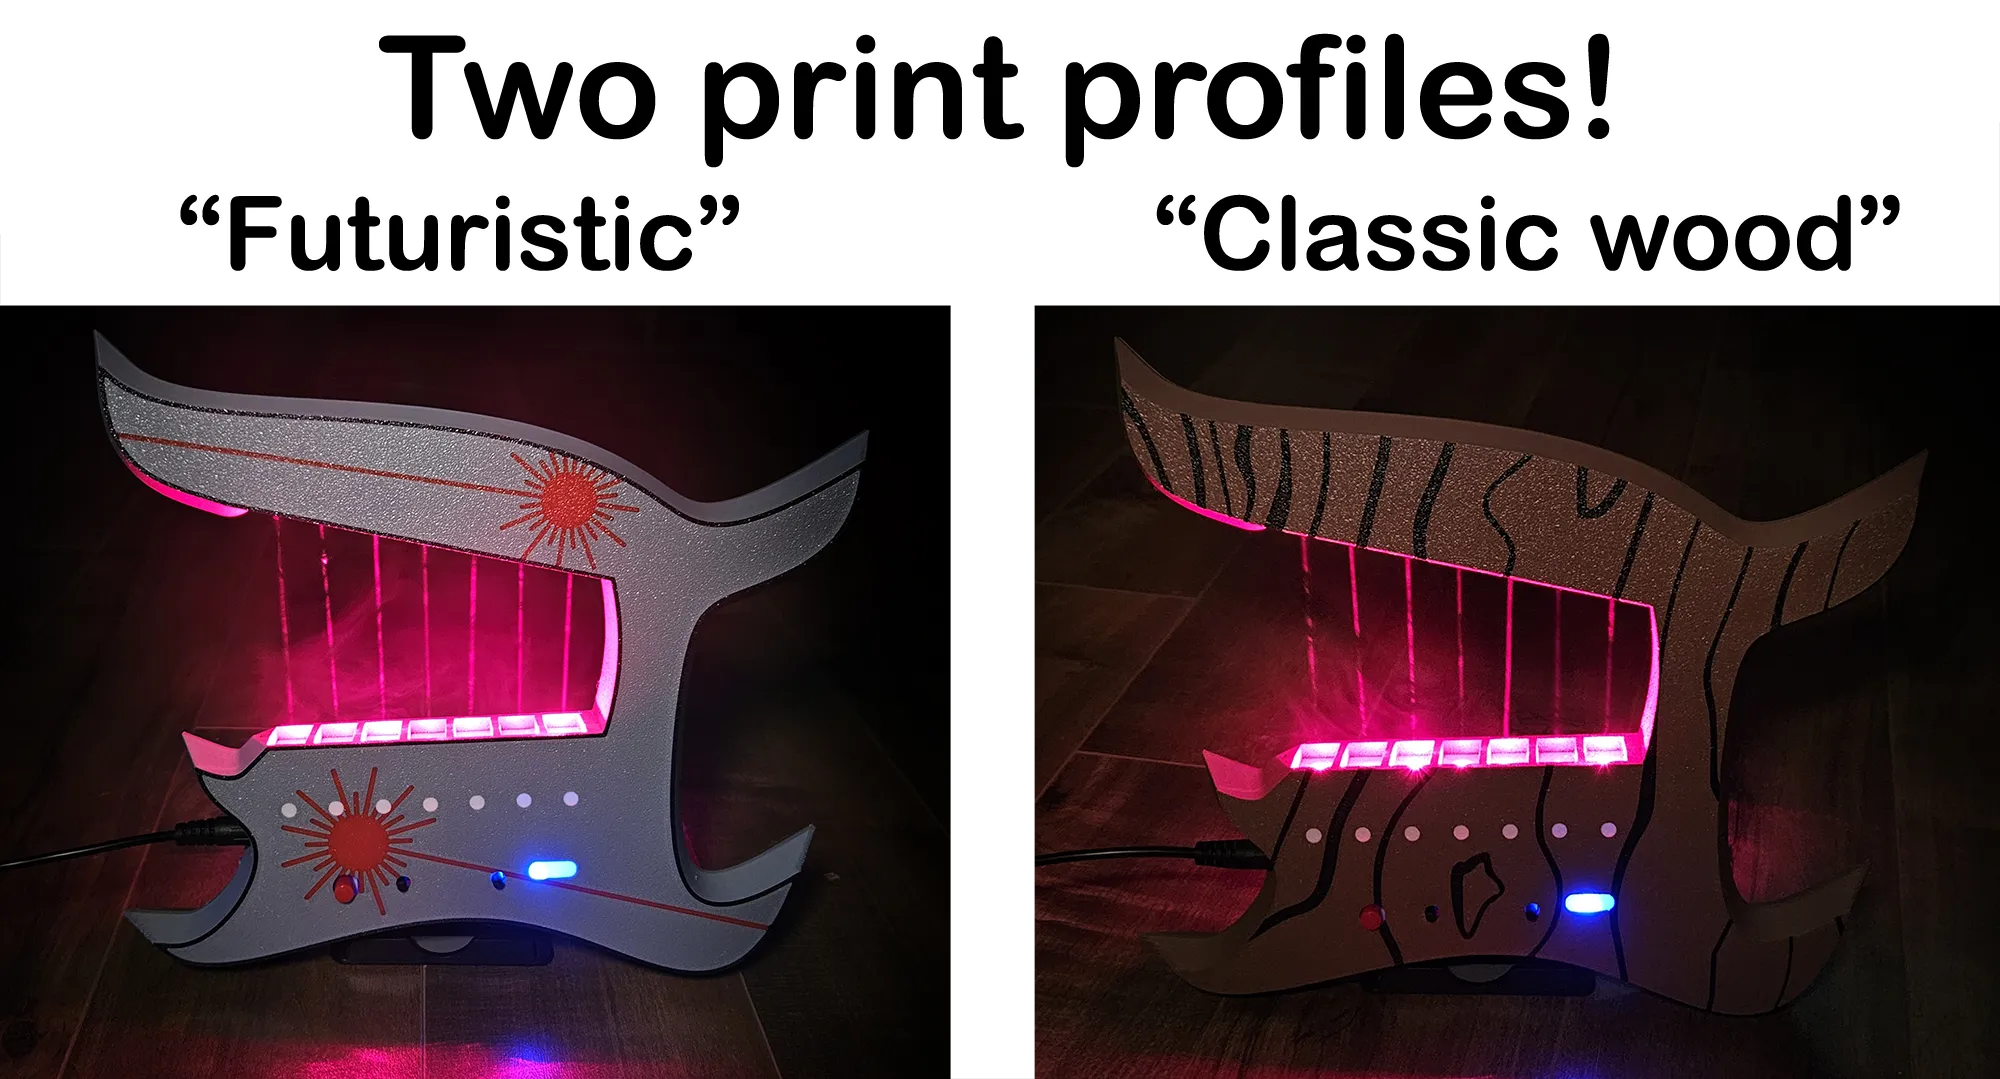
The Playable Laser Harp is a revolutionary musical instrument that combines modern design with advanced technology. It features either a classic wood design or a more futuristic one—you choose! It houses a laser projection and photoresistor system that generates an array of vertical light beams. Each beam corresponds to a musical note and is activated when the musician's hand interrupts the light, creating an immersive and intuitive playing experience.
Assembly
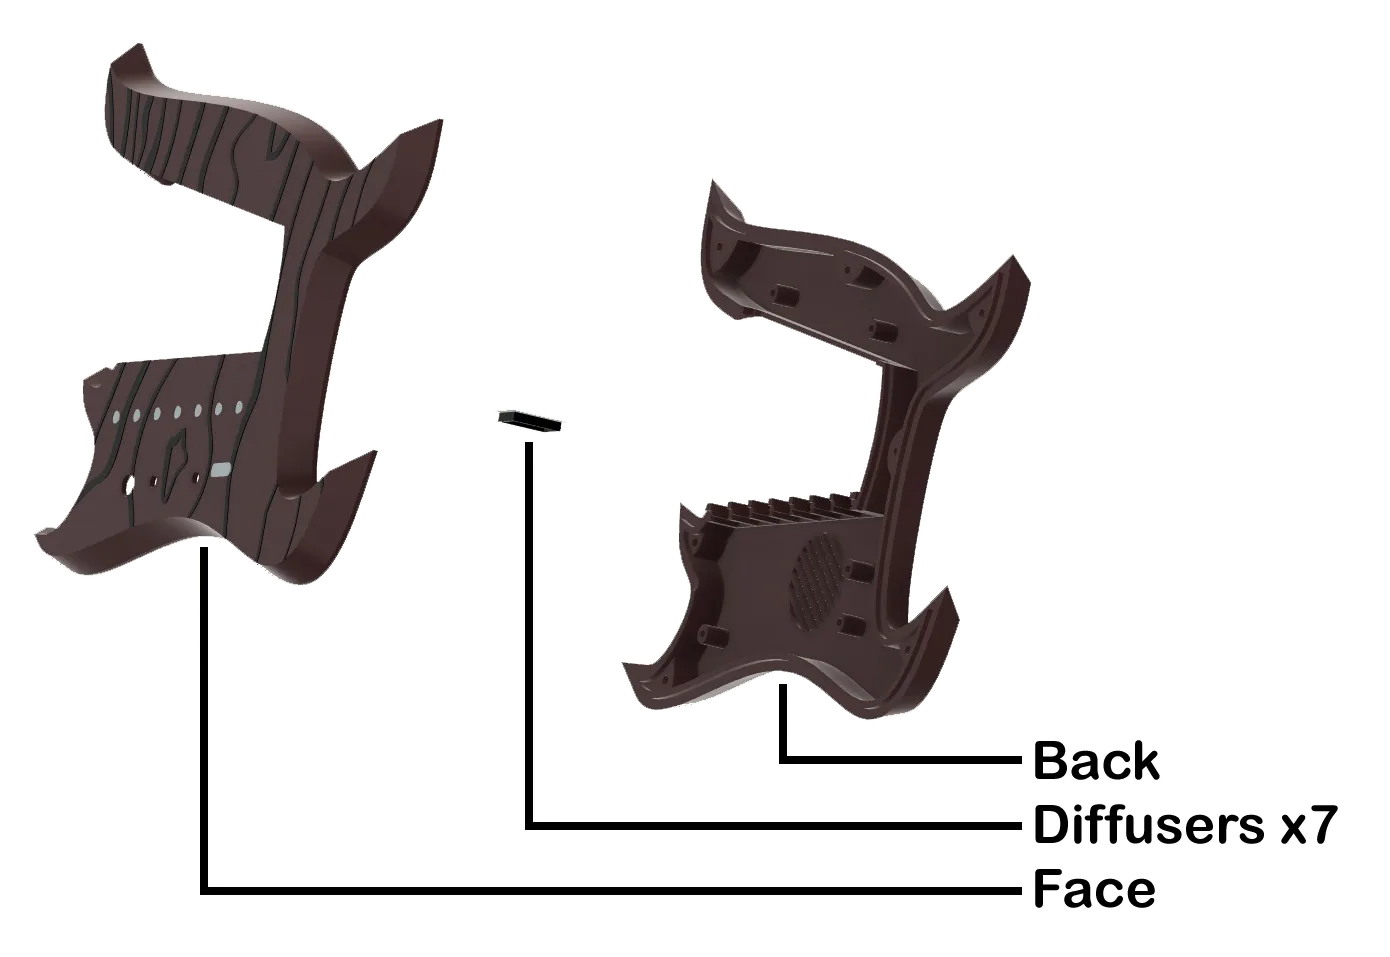
*Required Hardware list at the bottom
1. Assemble the laser module.
Since the process is long, it would be too lengthy to describe here. Please refer to the included PDF in the documentations below, which I have modified to accommodate the design.
Tip: The wire between the laser module and the main board that comes with the kit may be too short. If that's the case, you can use any pair of wires. (I personally used stripped Cat5 cable, but wires from LED strips or even salvaged wires from an old electronic device will work just fine!)
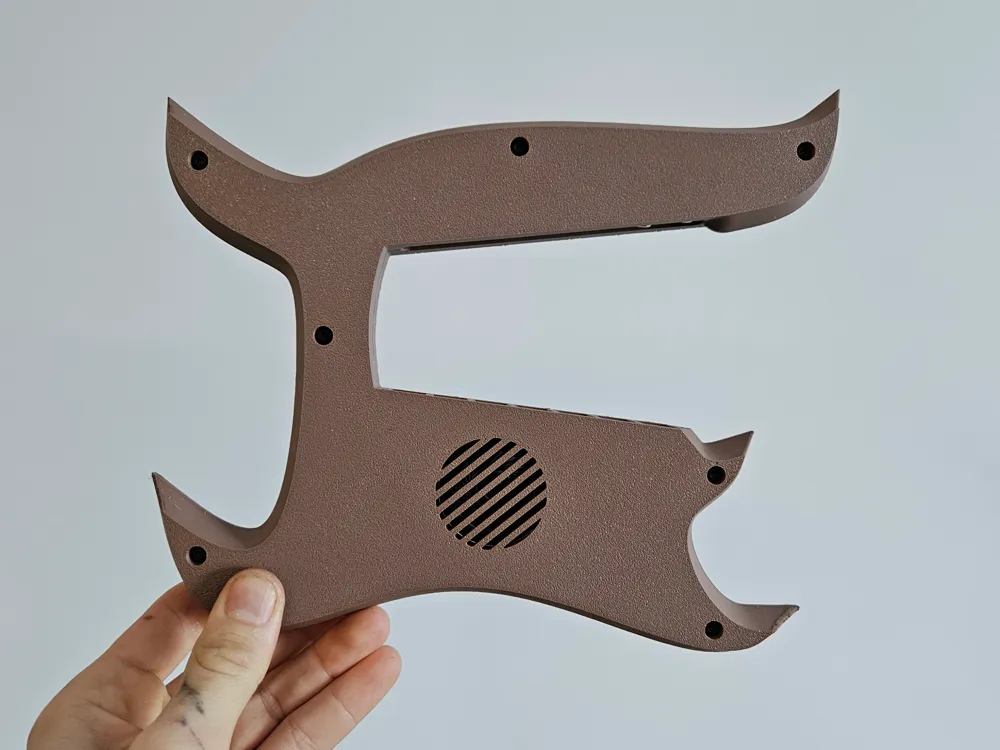
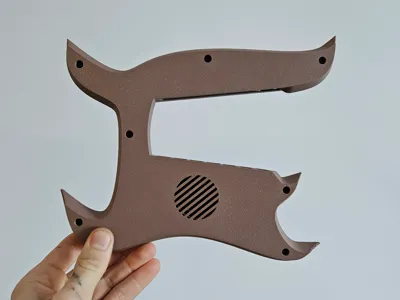
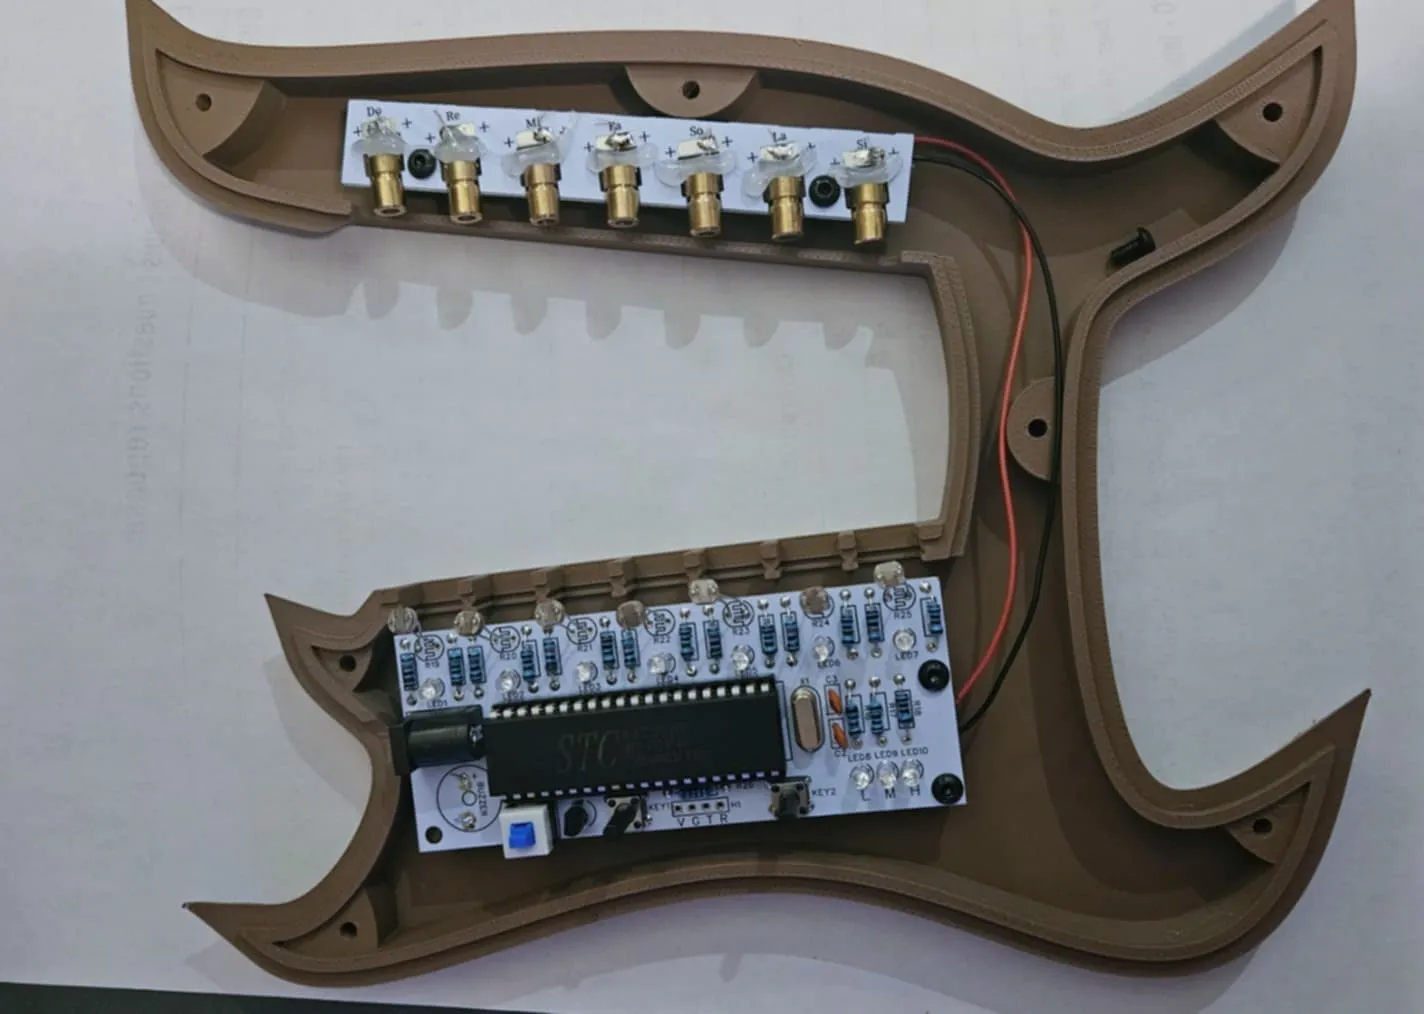
2. Insert the assembled module into the "Back" section using five M3x6mm screws (three for the main board and two for the laser module).
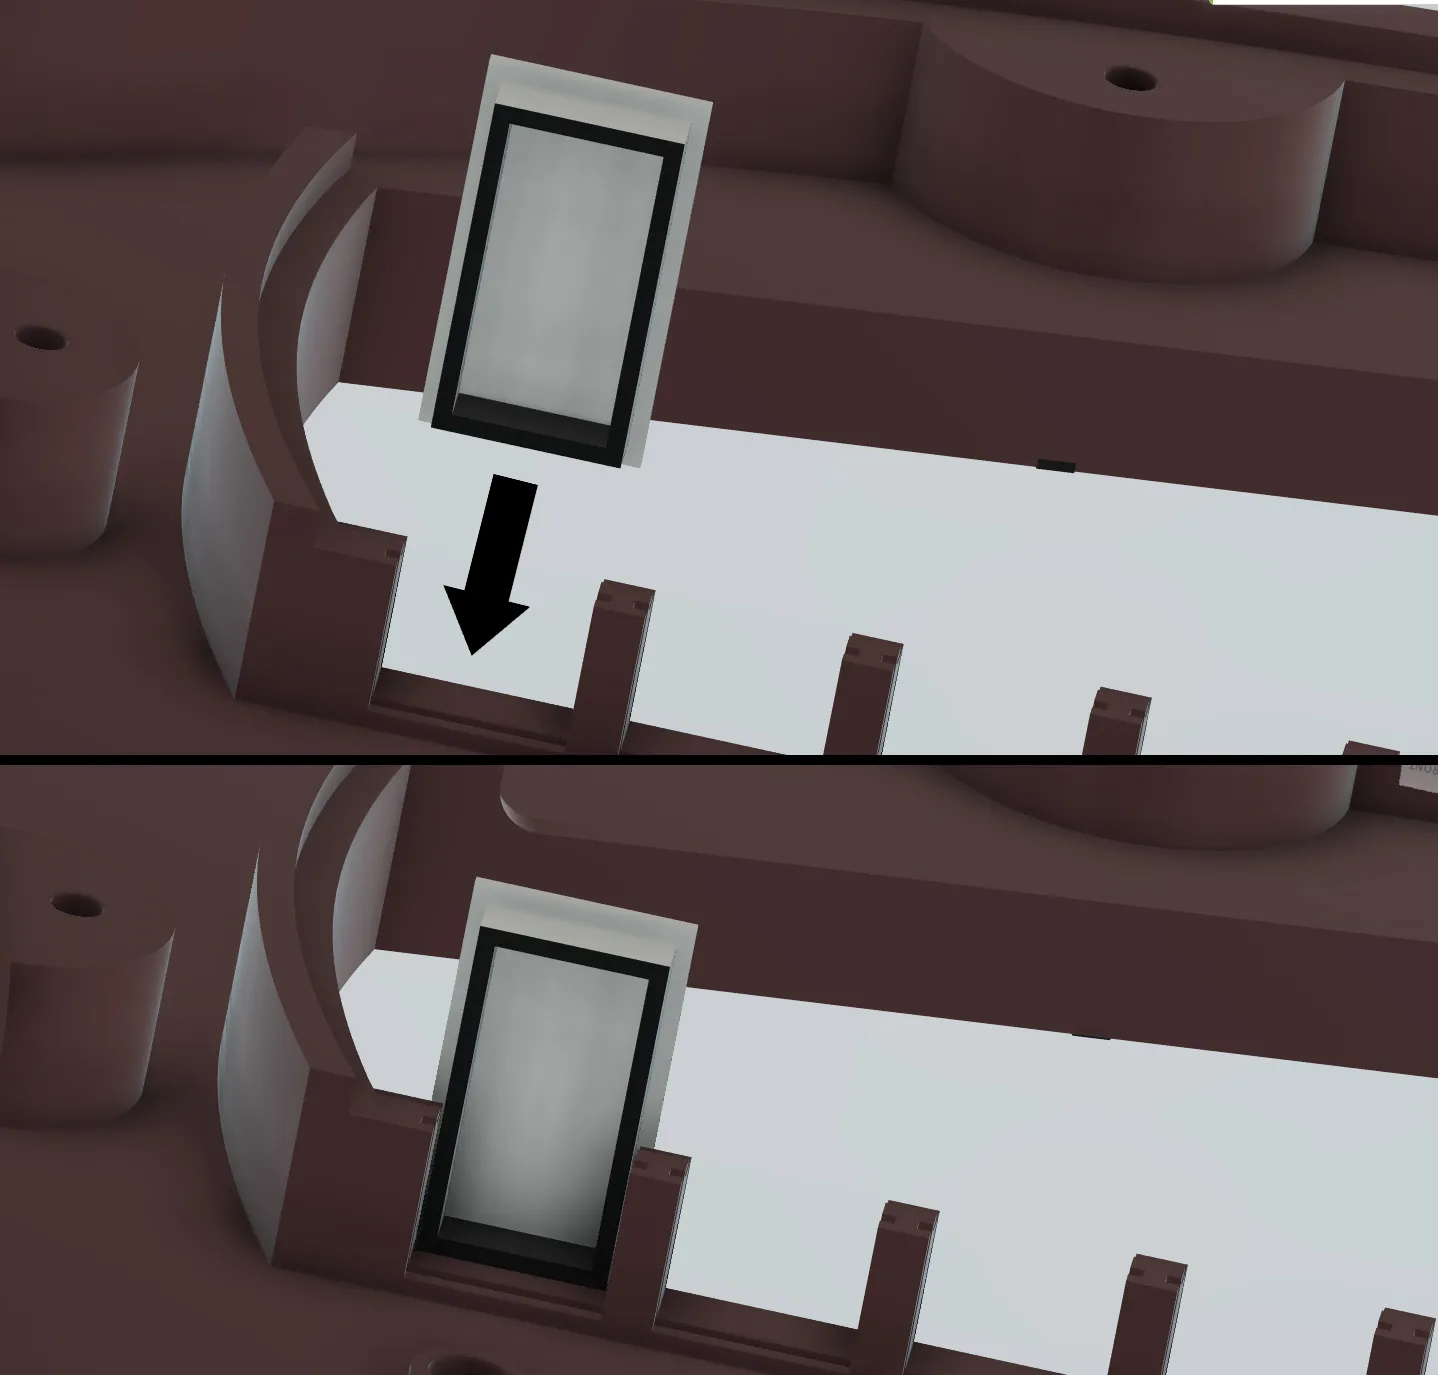
3. Insert the seven "Diffusers."
4. Align the photoresistors as centered and as close as possible to the "Diffusers."
It doesn't have to be perfect—just do your best!
⚠️ Make sure the metal legs of the photoresistors do not touch each other!
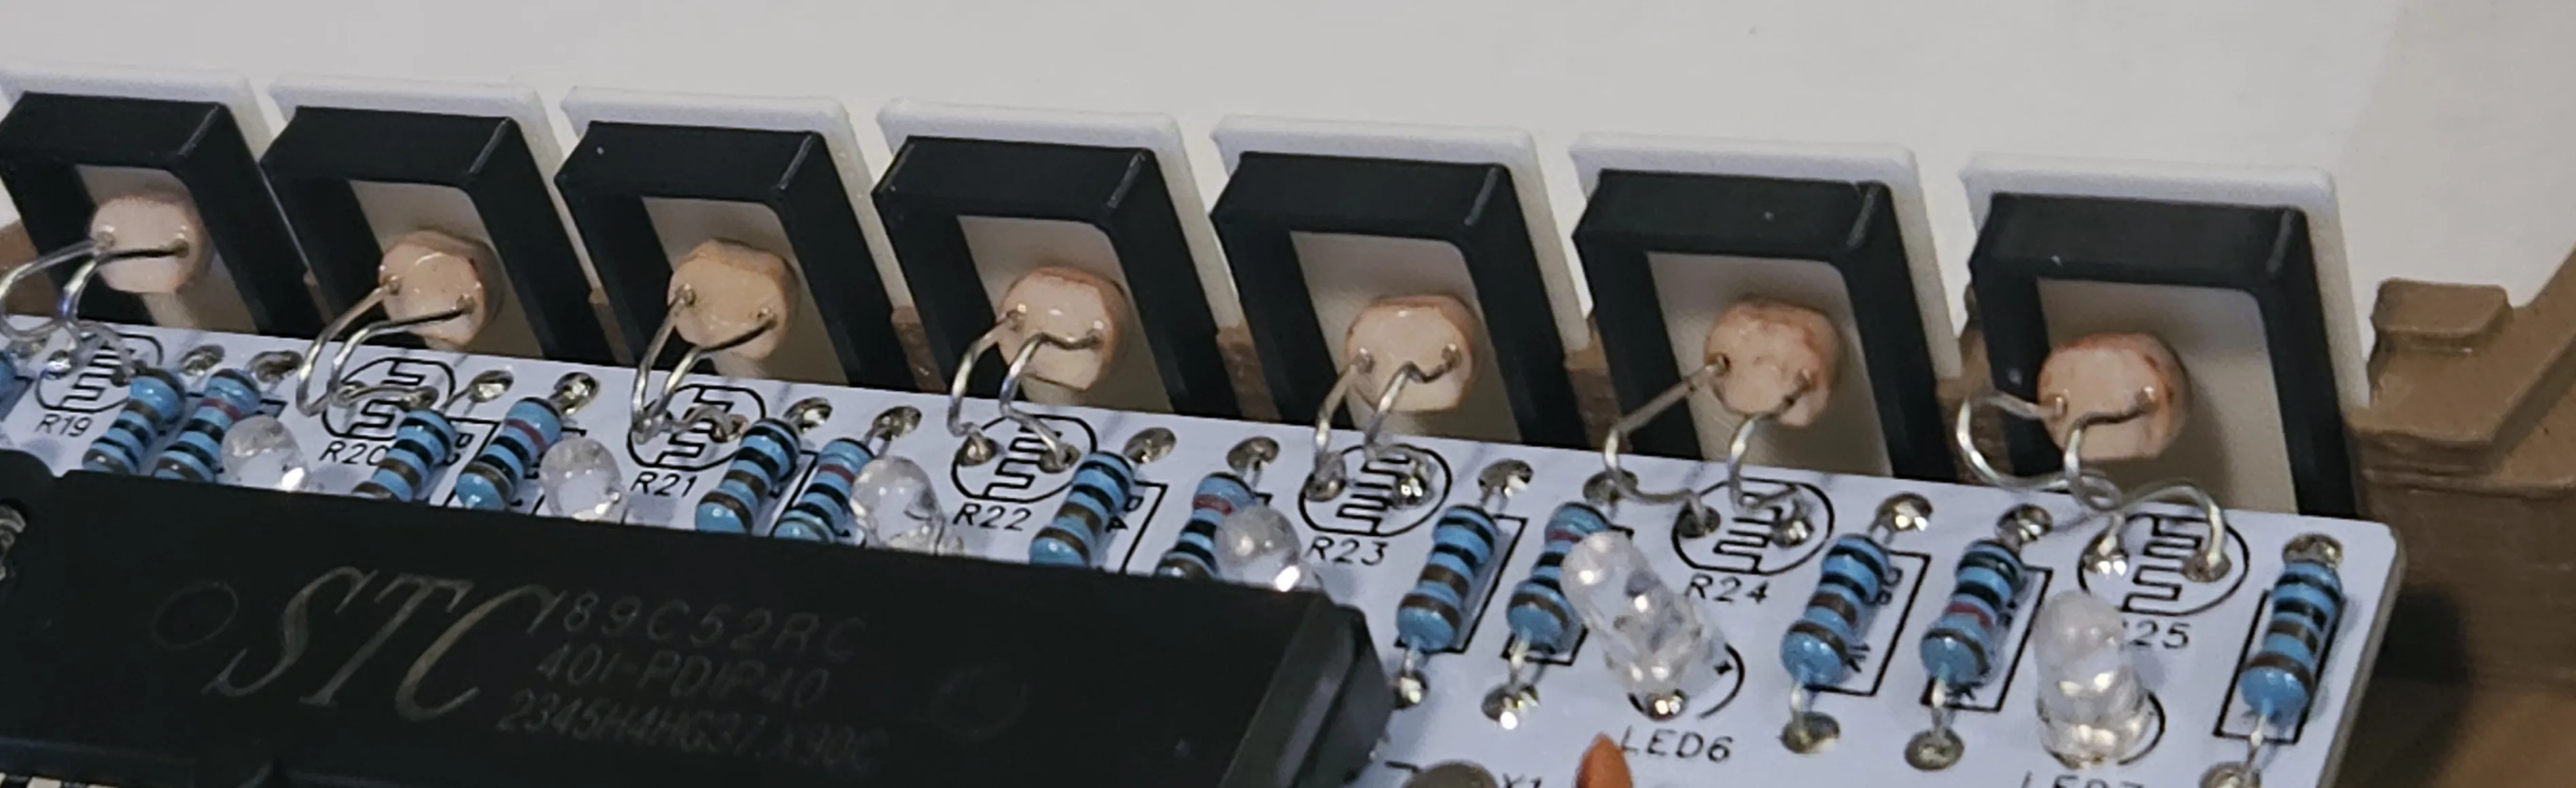
5. Turn on the module and align the lasers as centered as possible on the "Diffusers."
If possible, align them directly on the photoresistors. Again, it doesn't have to be perfect!
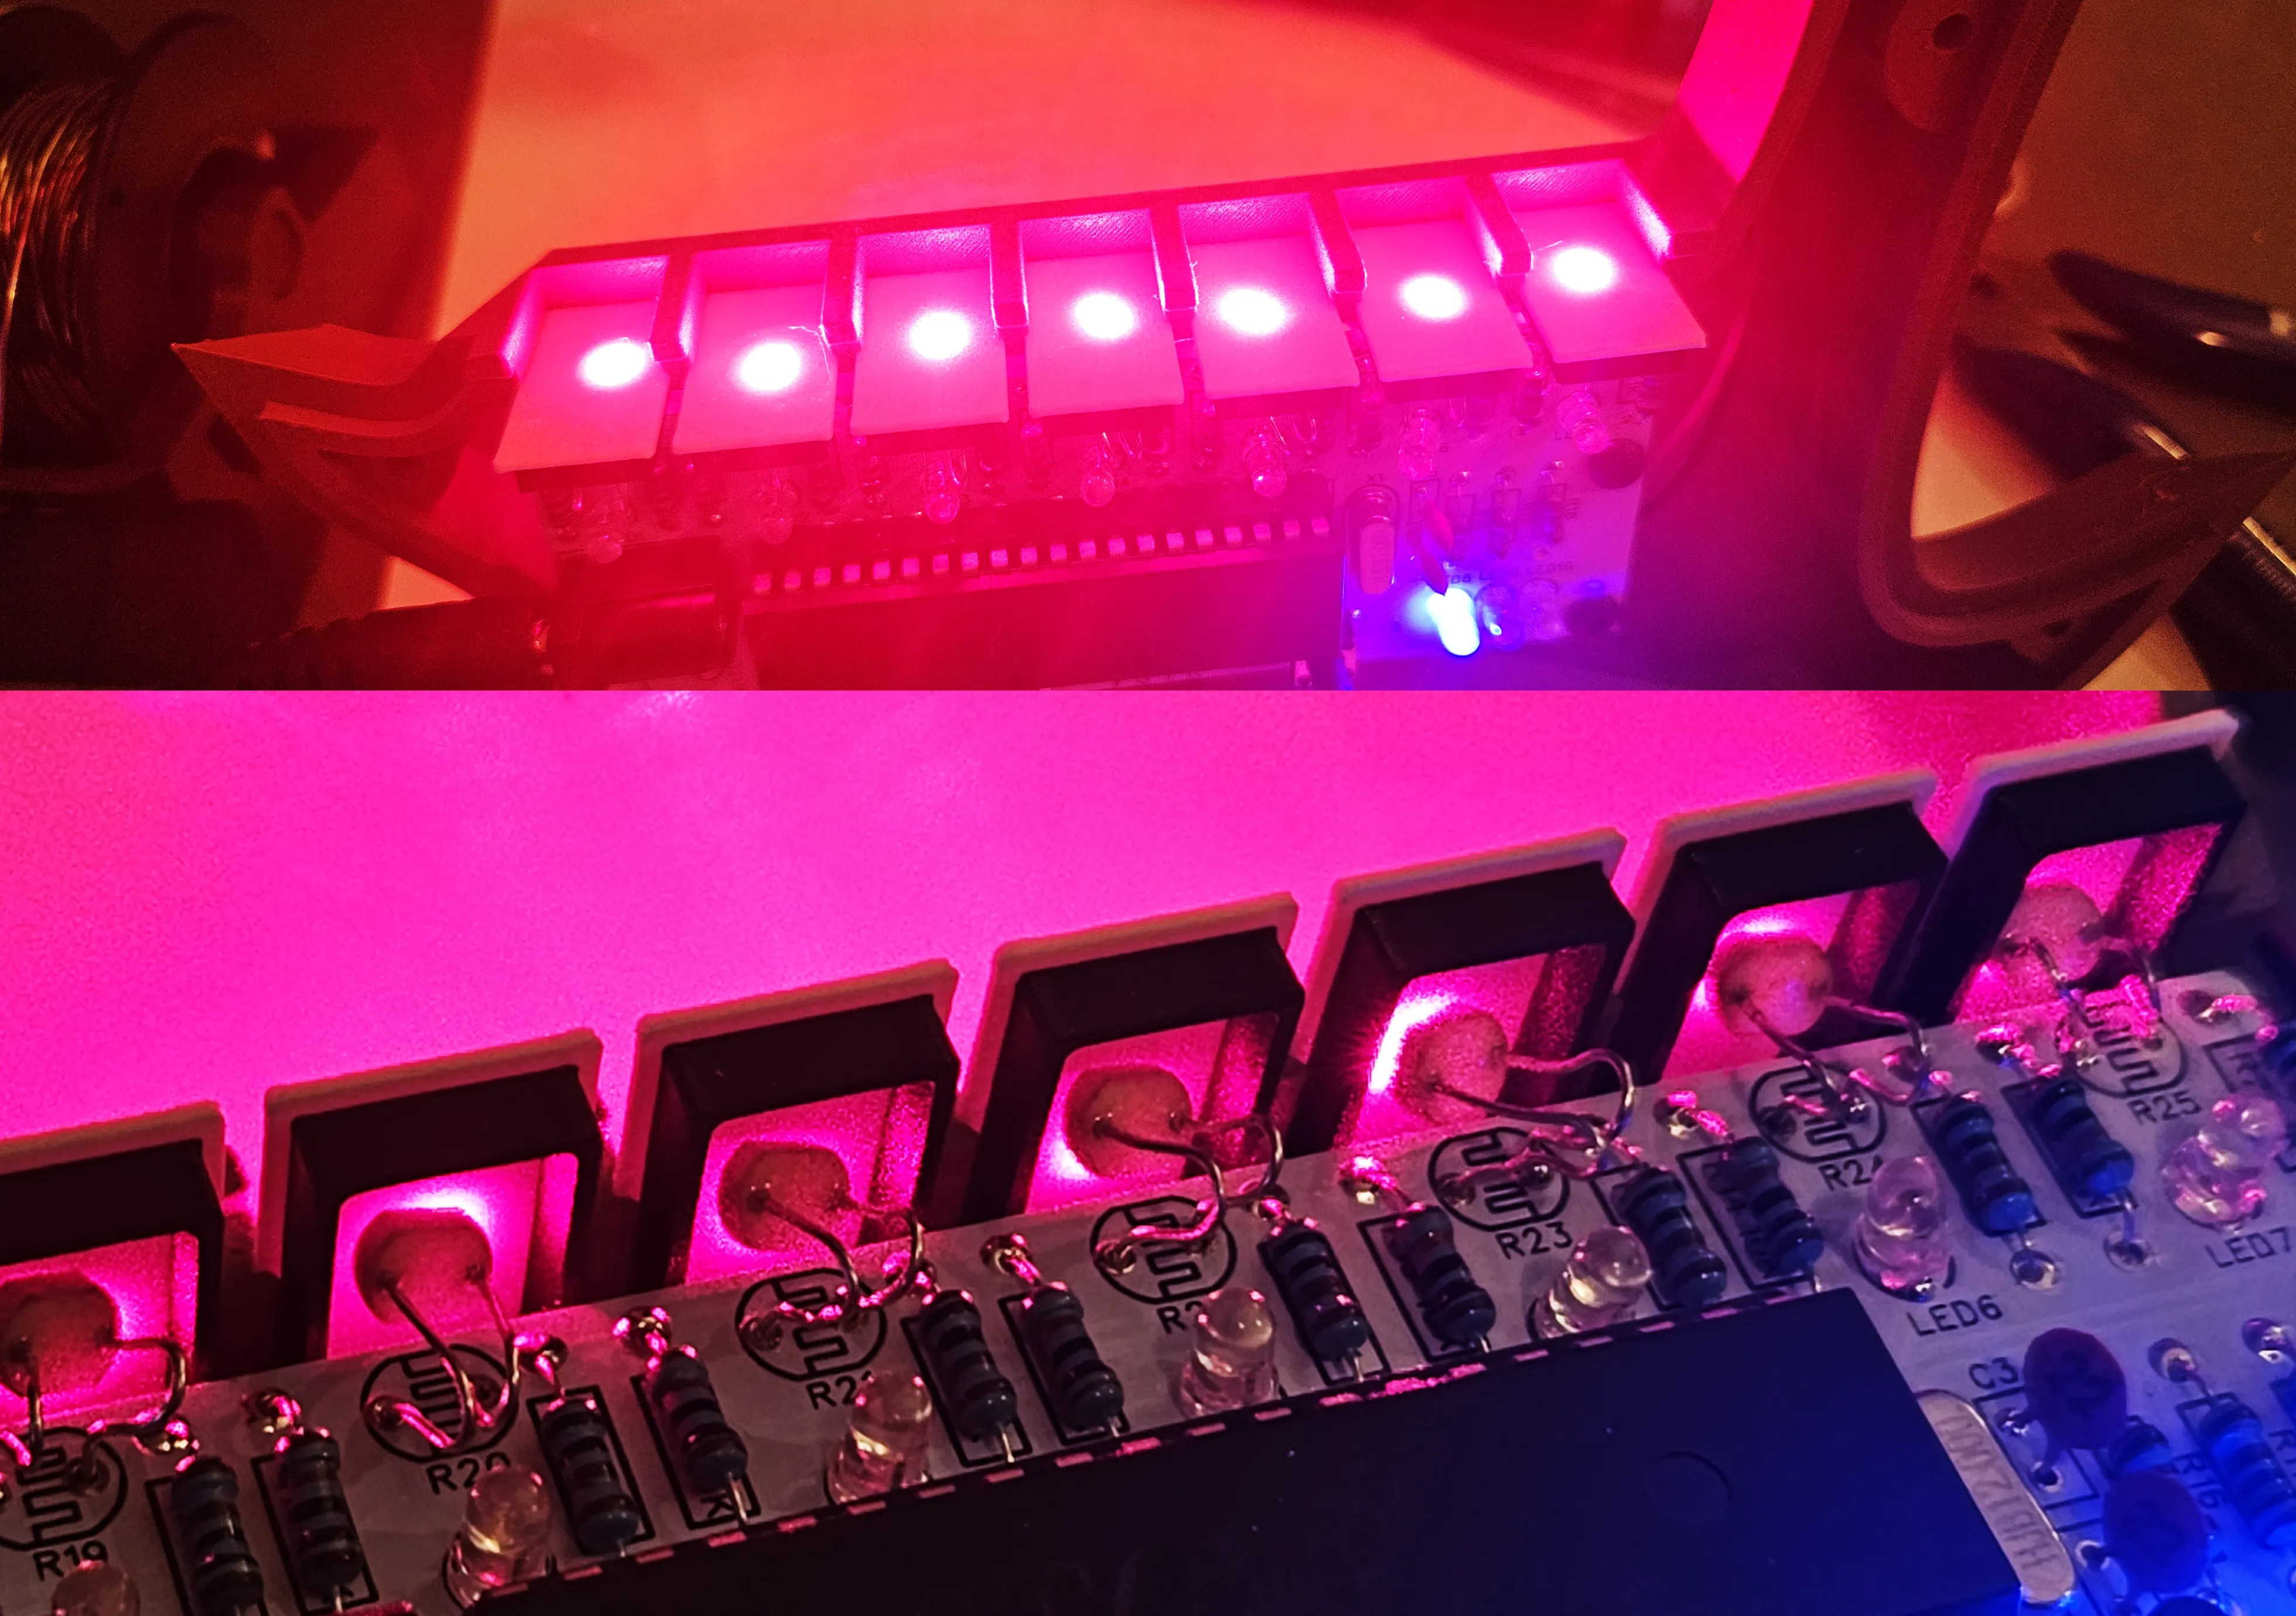
6. Test all the notes, and if everything works, secure everythng with hot glue!
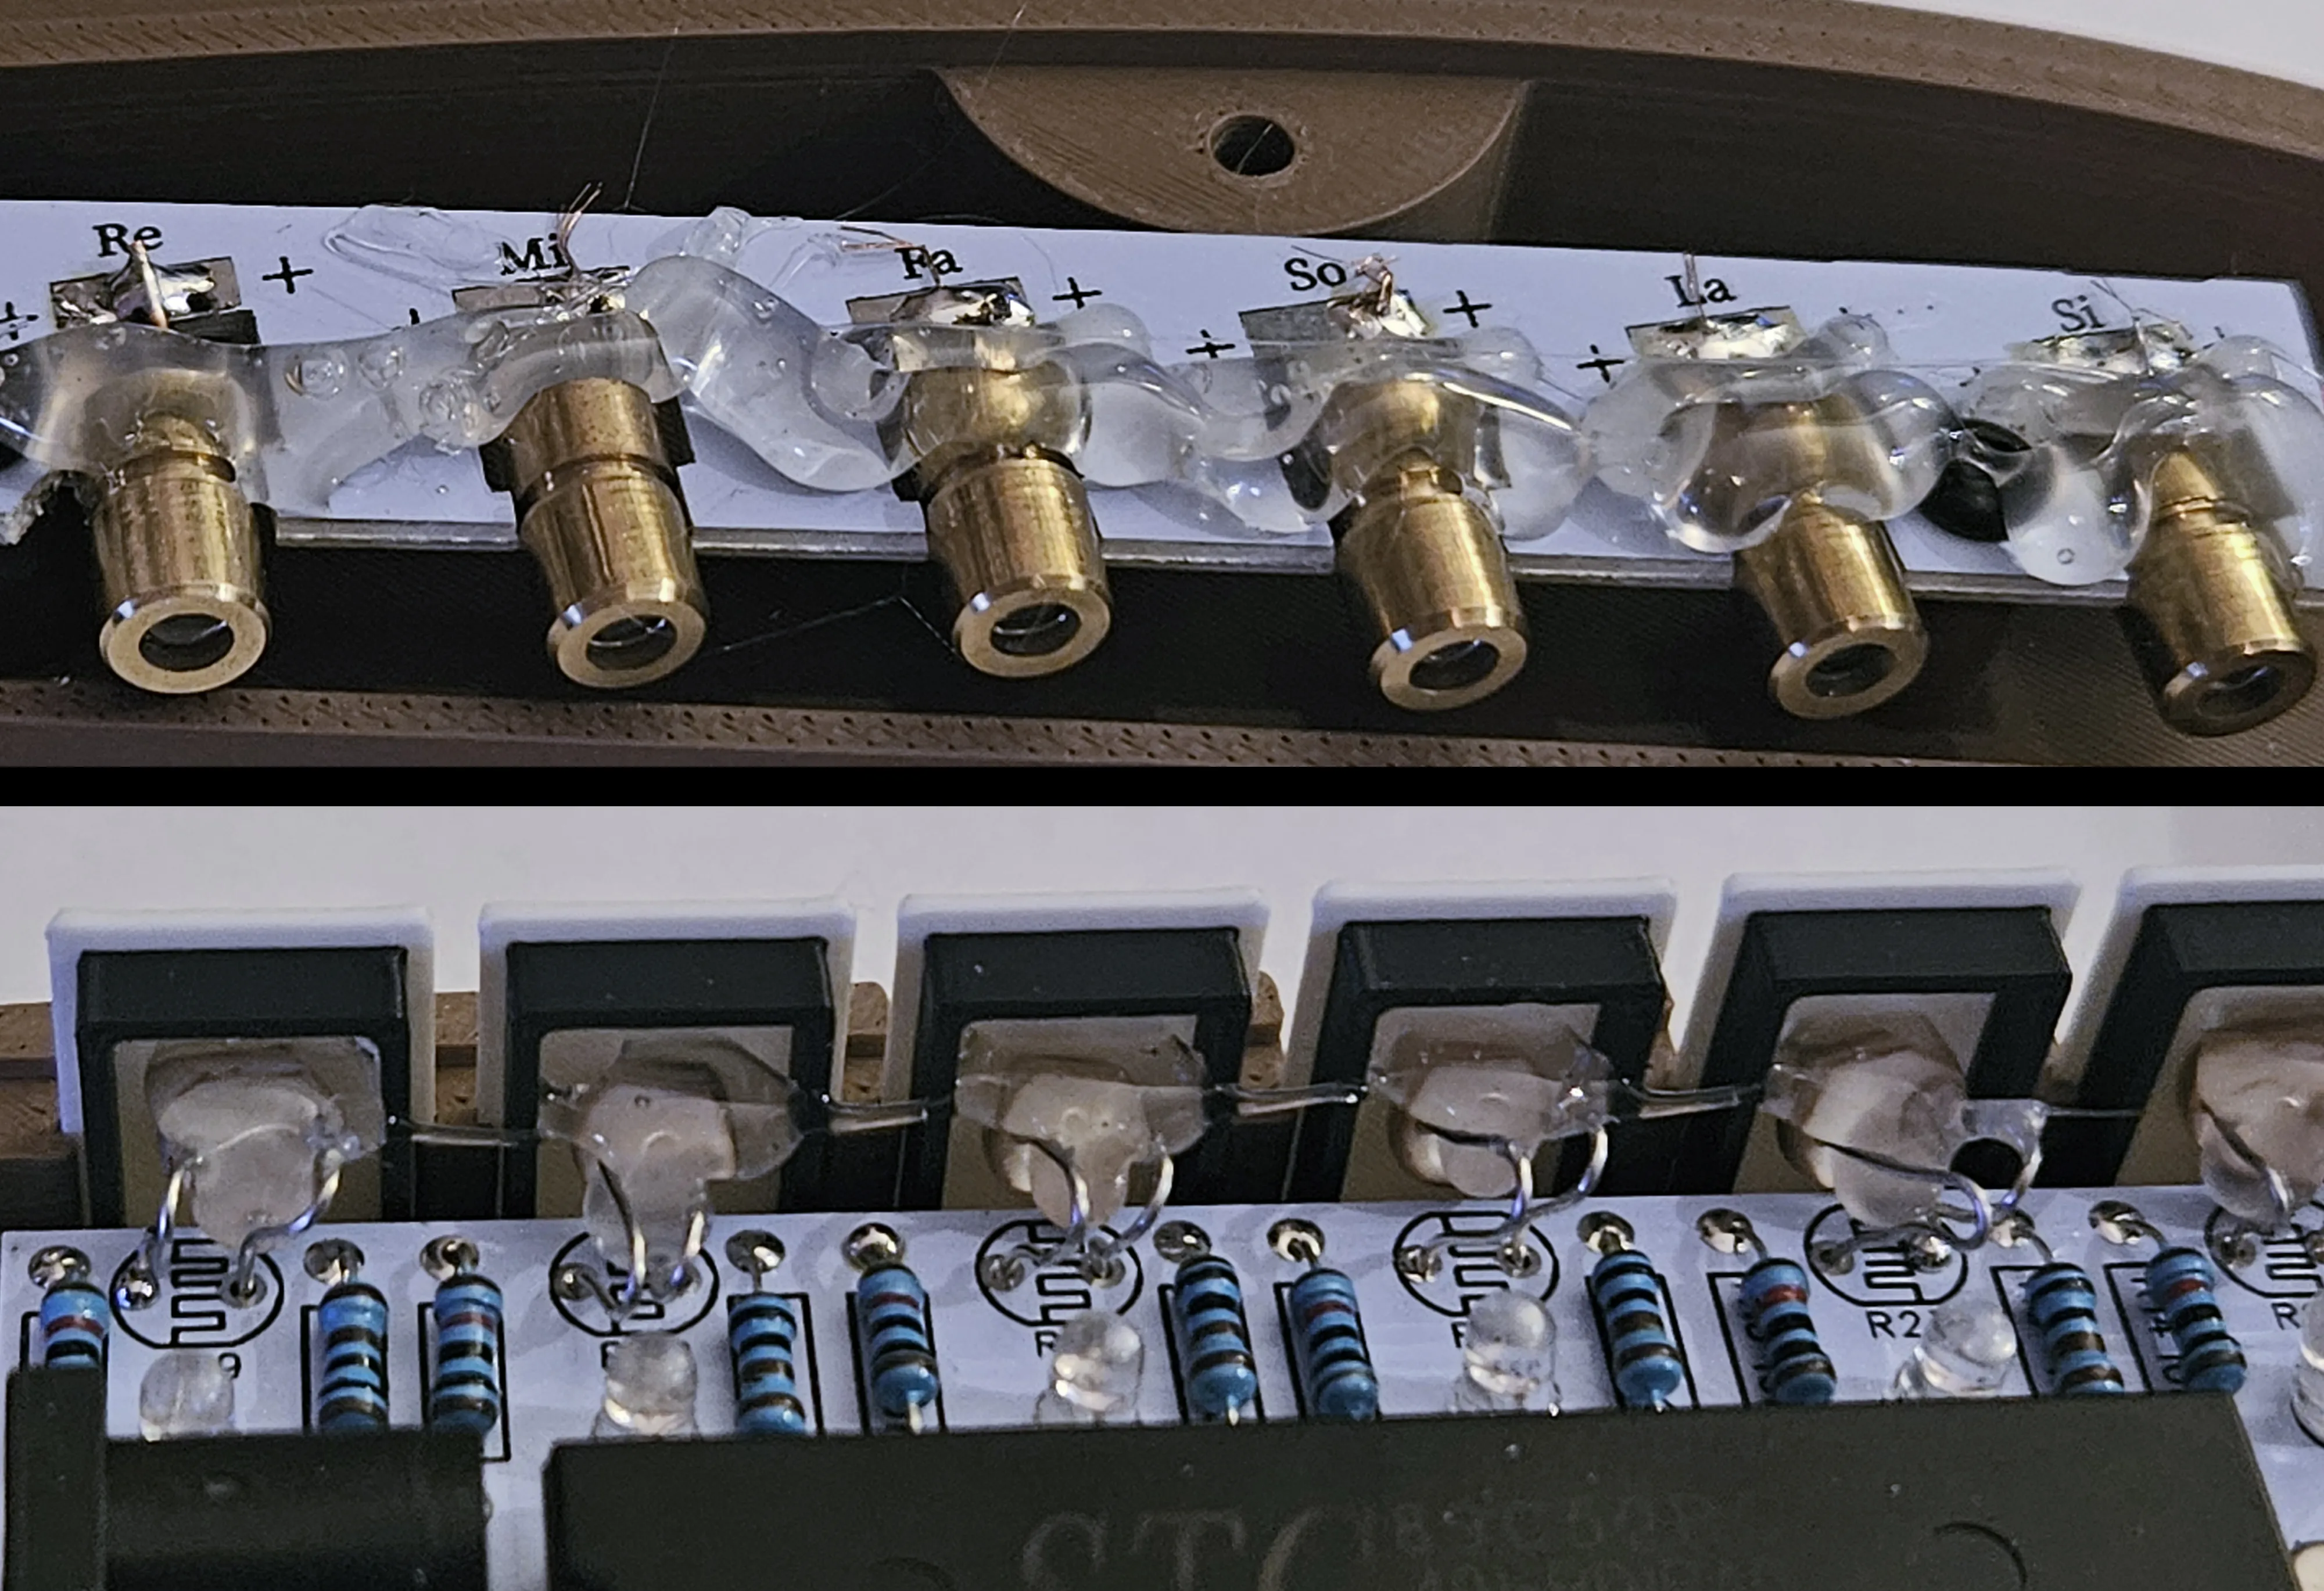
At this stage, it should look like this:
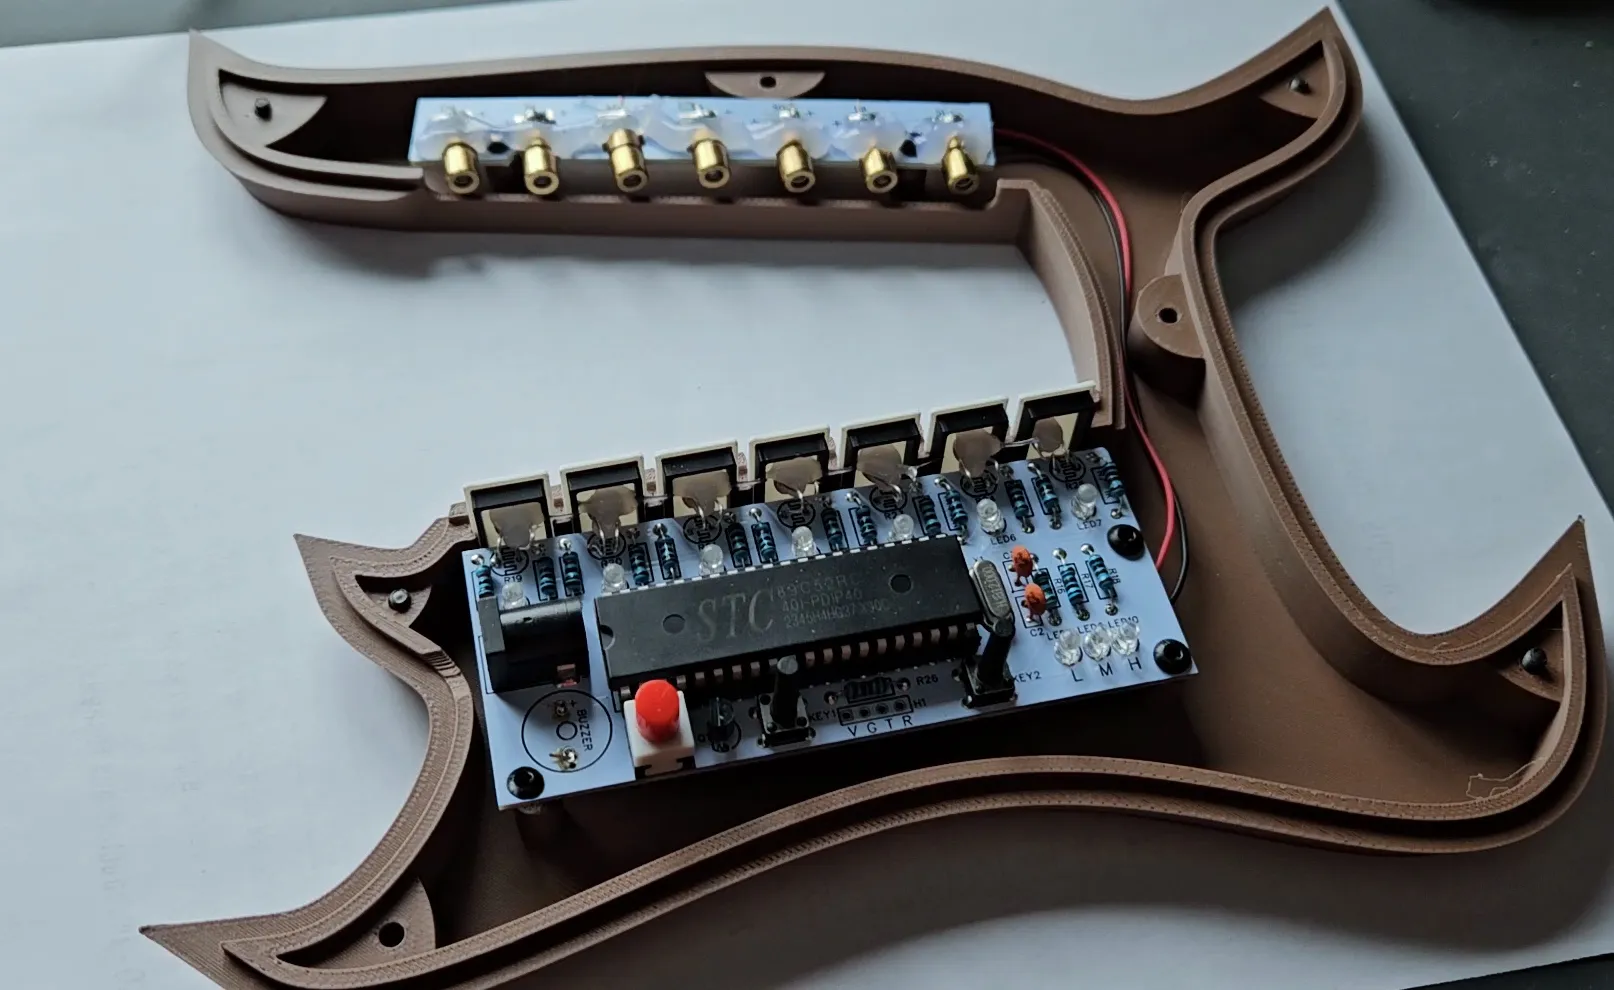
7. Insert the "Face Plate" and secure it with six M3x16mm screws.
Tip: If the buttons were not soldered perfectly straight, simply use a small tool to straighten them when inserting the Face Plate.
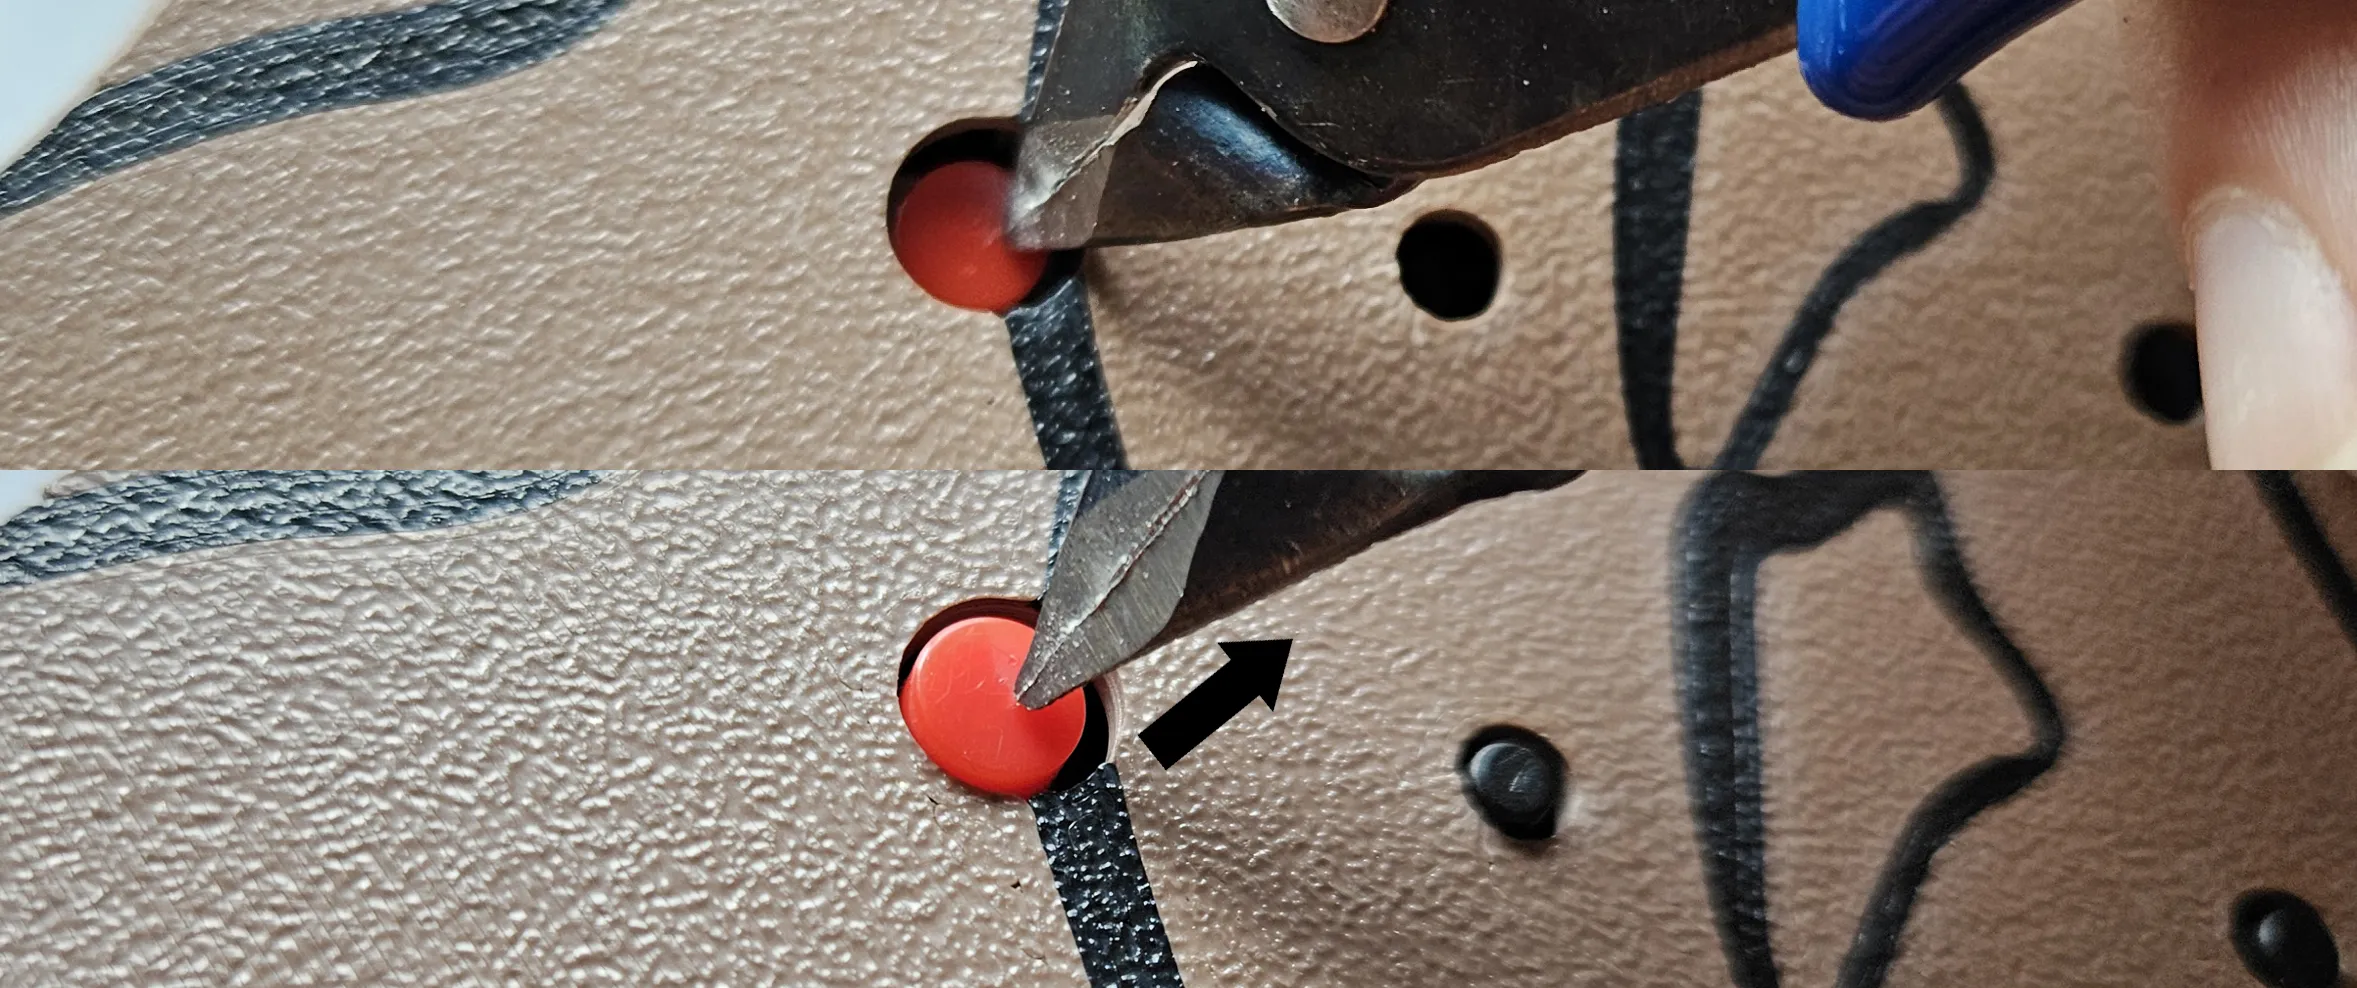
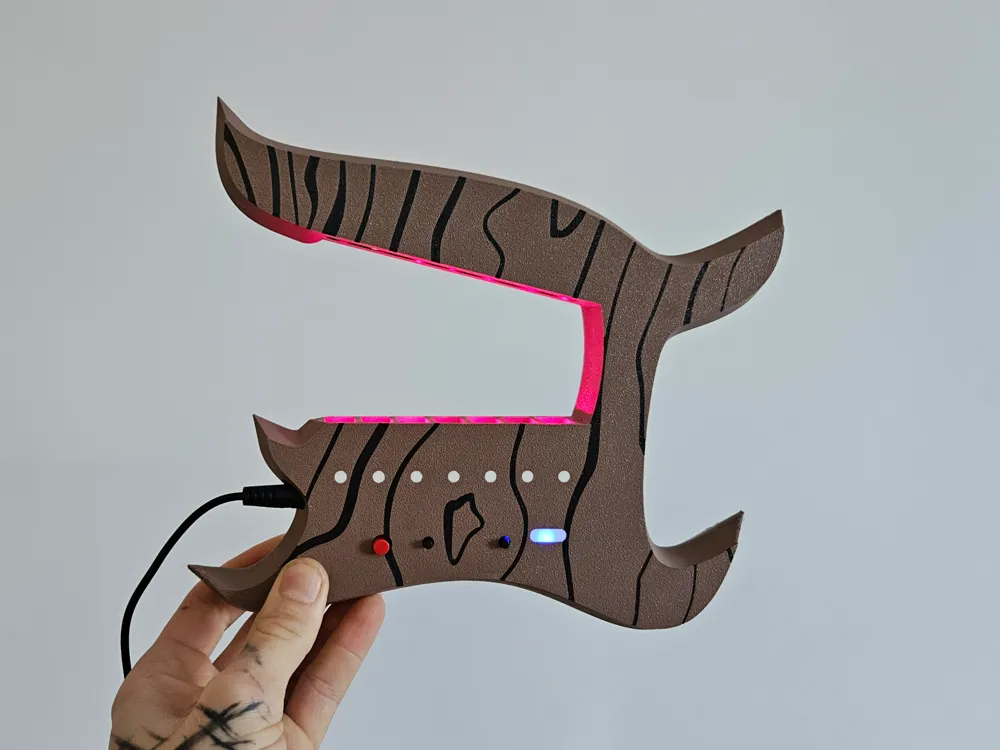
Final Result:
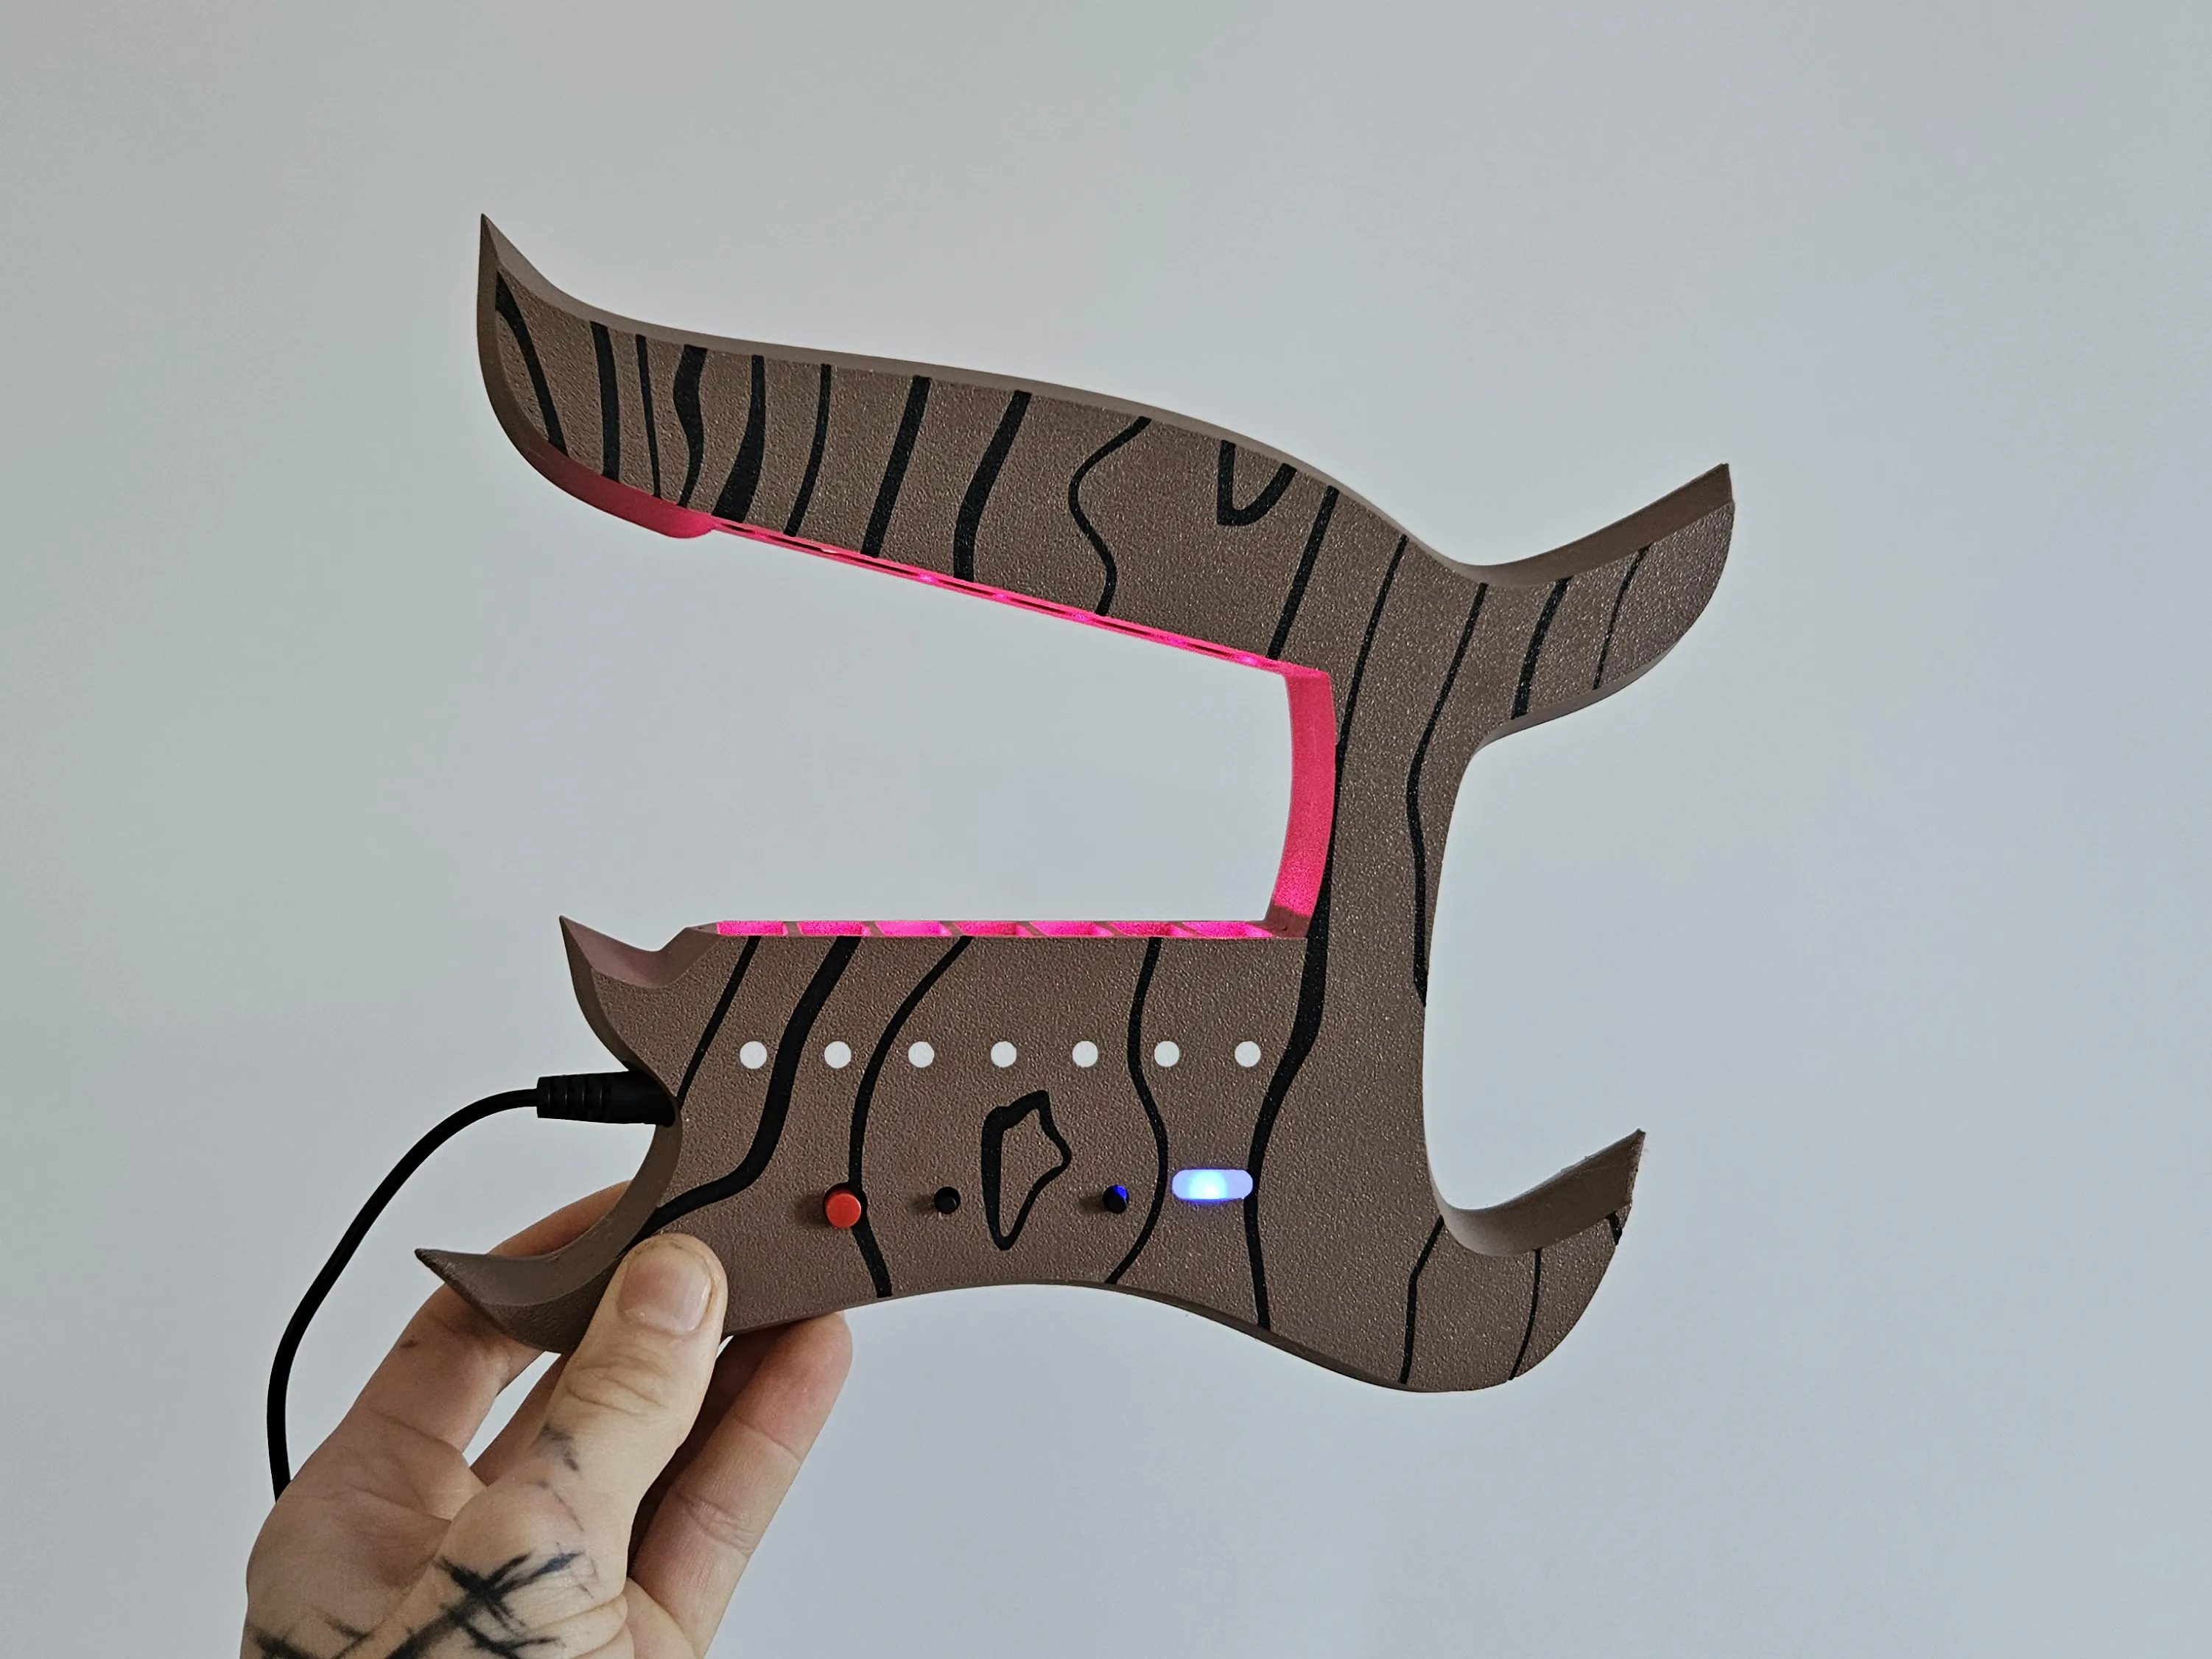
Required Hardware:
- 6 x M3x16mm screws
- 5 x M3x6mm screws
- HU-013 Laser Harp Making Kit (Search for "Laser Harp" on Amazon)
- A pair of wires
- Hot glue
Documentation (1)
License

You shall not share, sub-license, sell, rent, host, transfer, or distribute in any way the digital or 3D printed versions of this object, nor any other derivative work of this object in its digital or physical format (including - but not limited to - remixes of this object, and hosting on other digital platforms). The objects may not be used without permission in any way whatsoever in which you charge money, or collect fees.


Comment & Rating (11)