Piano Key


Print Profile(2)


Description
This is a fully functioning model of a piano key mechanism in a standard grand piano. It is simple to build, looks good on your shelf, and IT WORKS! It is also designed to be small, light and glue is not required for this build however it may help things stay together. (I did not use glue)
I have also included step by step instructions in order to make things even easier!
First, I will try to refer to the model with its technical names, since I am trying to learn these names myself! I have also made this easier for you to learn too, since the parts come labeled on the print bed (if you use my print profile).
Second, I am a rookie and this is my second model, so if I mess up in the model itself or something else I'd love to hear how I can improve!
STEP 1:
The first plate will consist of multiple small parts and then one big in the back. These are all the moving linkages. You will notice that they are also labeled, which might come in handy later once you start building. I strongly suggest keeping the parts separated in the labeled groups, or to take a photo of the print bed before starting the next plate.

VOCABULARY:
These words will be aranged in order from your finger to the sound….
Piano Key: The thing your finger strikes to make a sound
Whippen assembly: The thing at the other end of the Piano Key that seems unnecessarily complicated that directs the force applied to your finger to the thing that strikes the key. The complexity involves a solution to make it so you can press the key rapidly and still get a precise sound.
Hammer: The thing that strikes the strings (at the other end of the Whippen assembly)
Dampener assembly: Padding that stops the sound when the Piano key gets released.
Ok…….
STEP 2 (what's really step 1):
You will now hopefully have everything printed successfully and are eager to build the model. What you need to do is as shown:
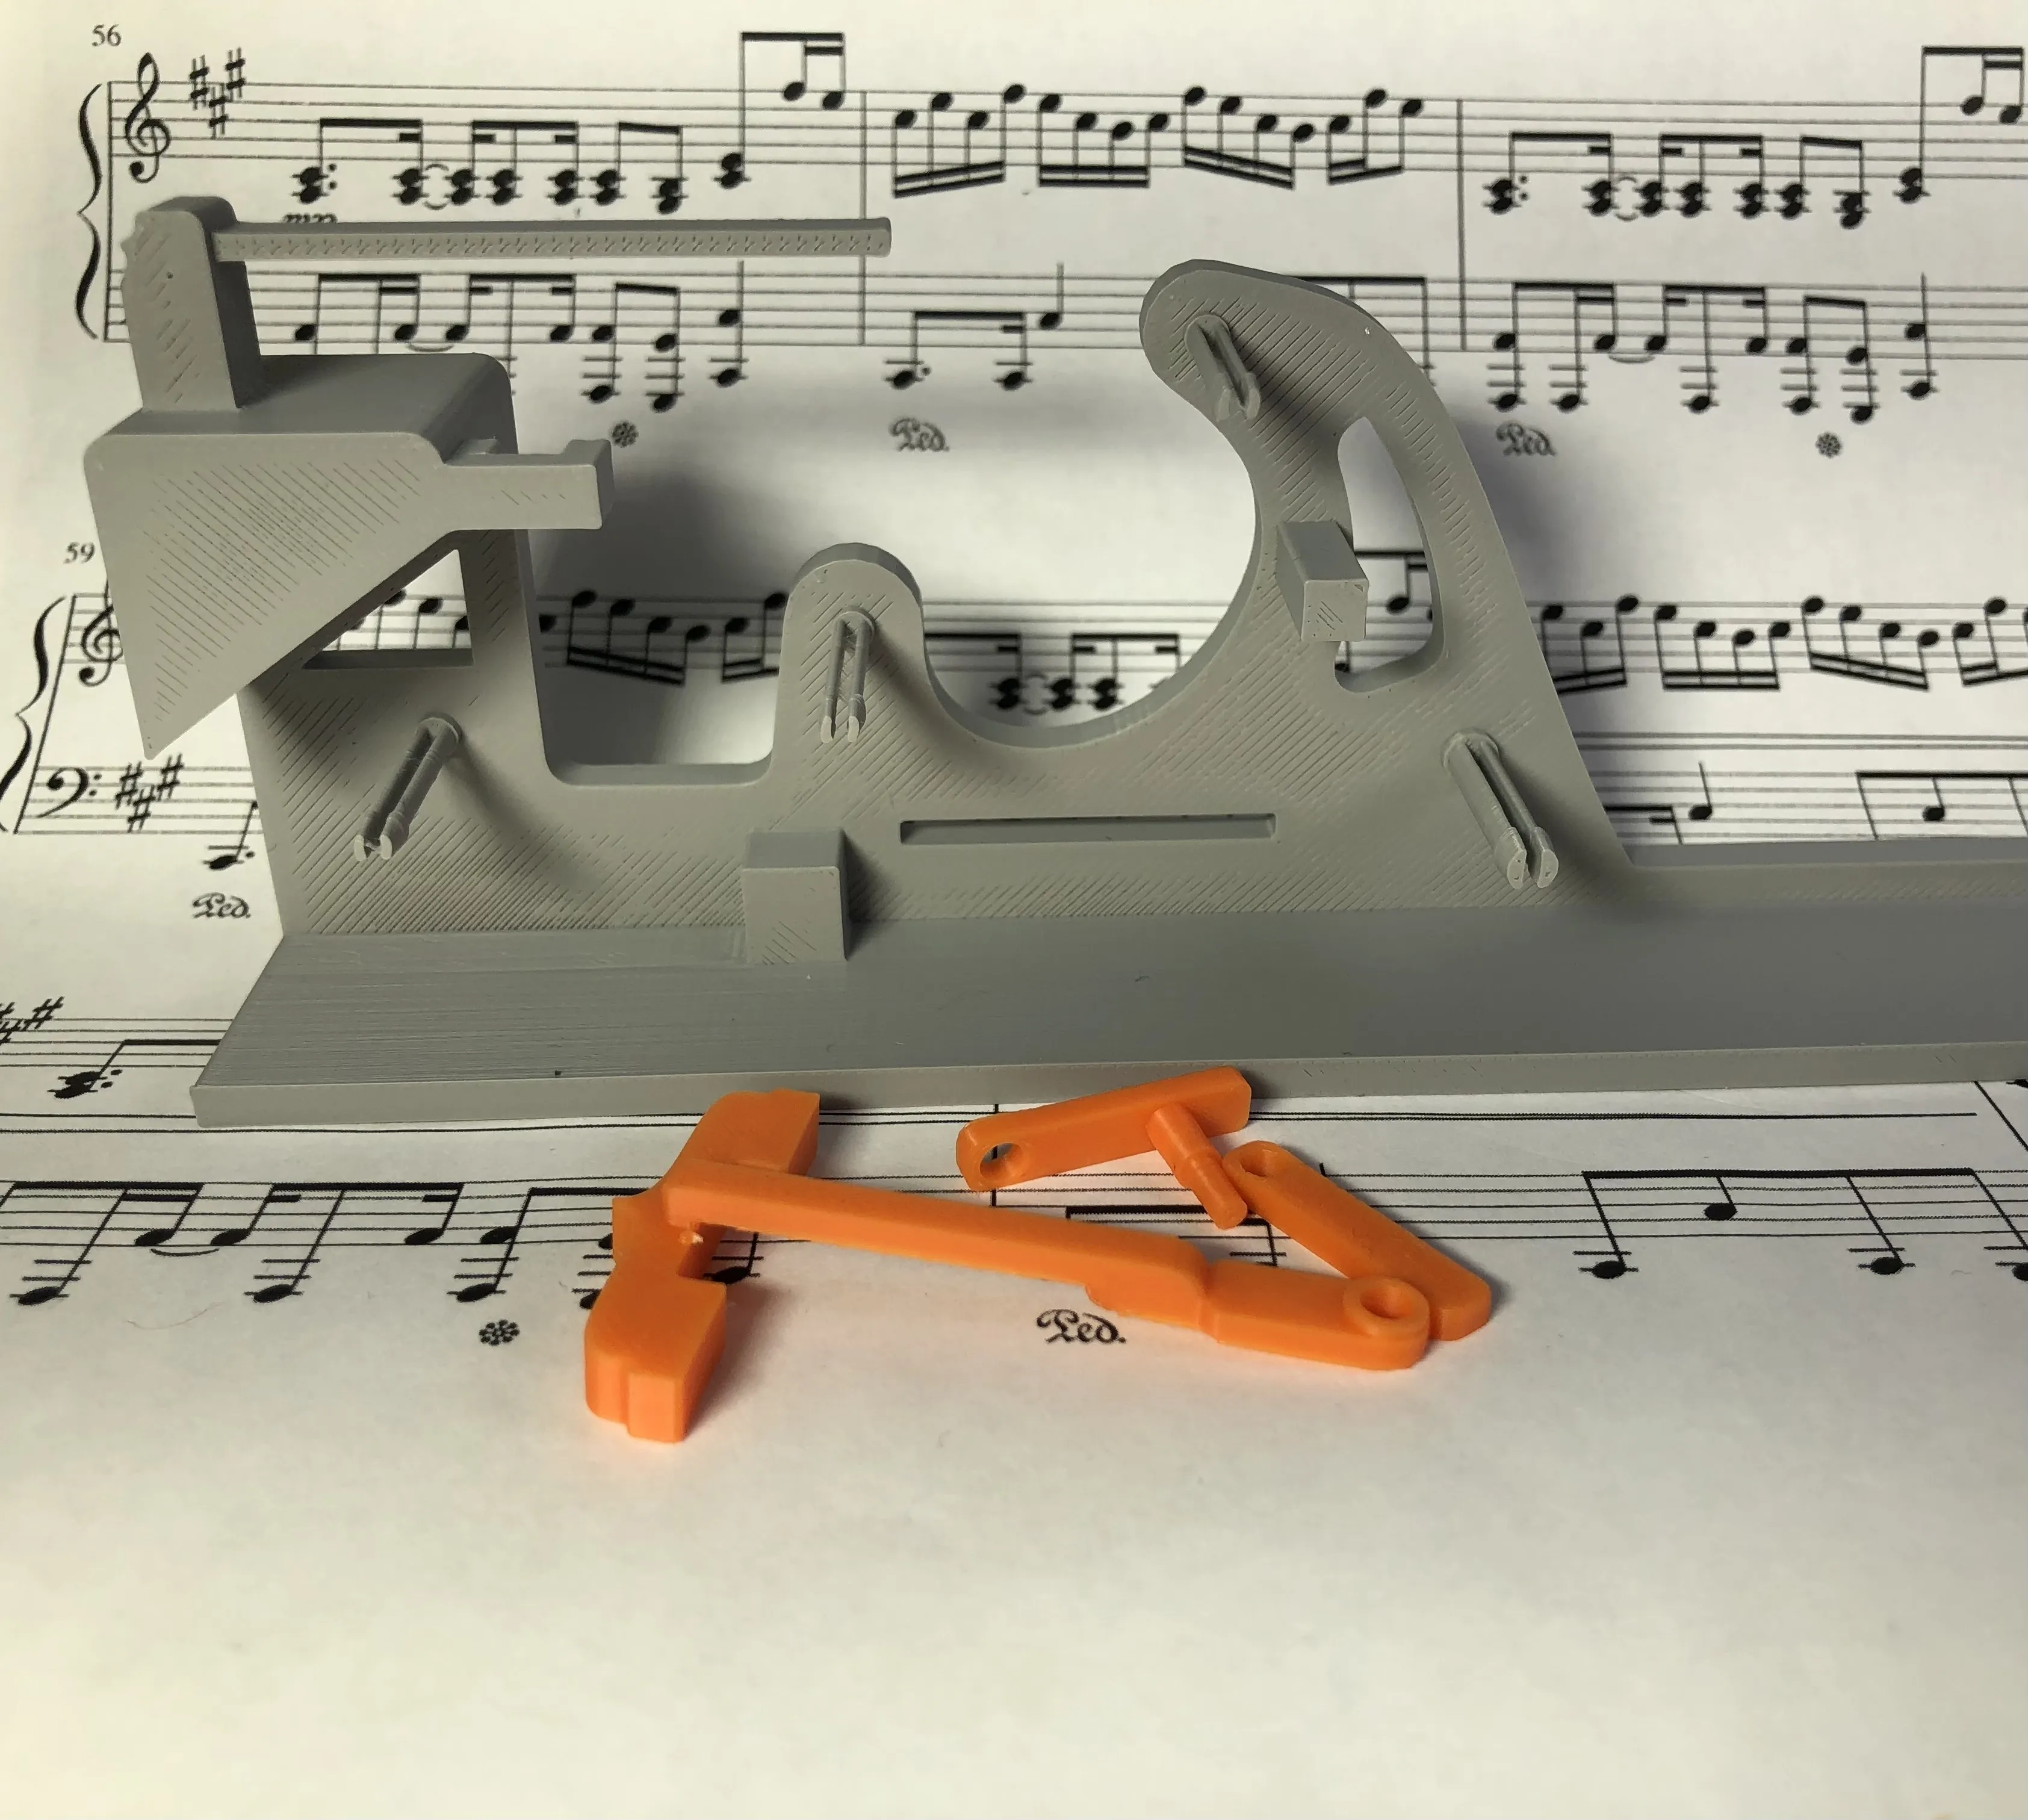
You will need to grab these pieces (dampener assembly) and have them ready.
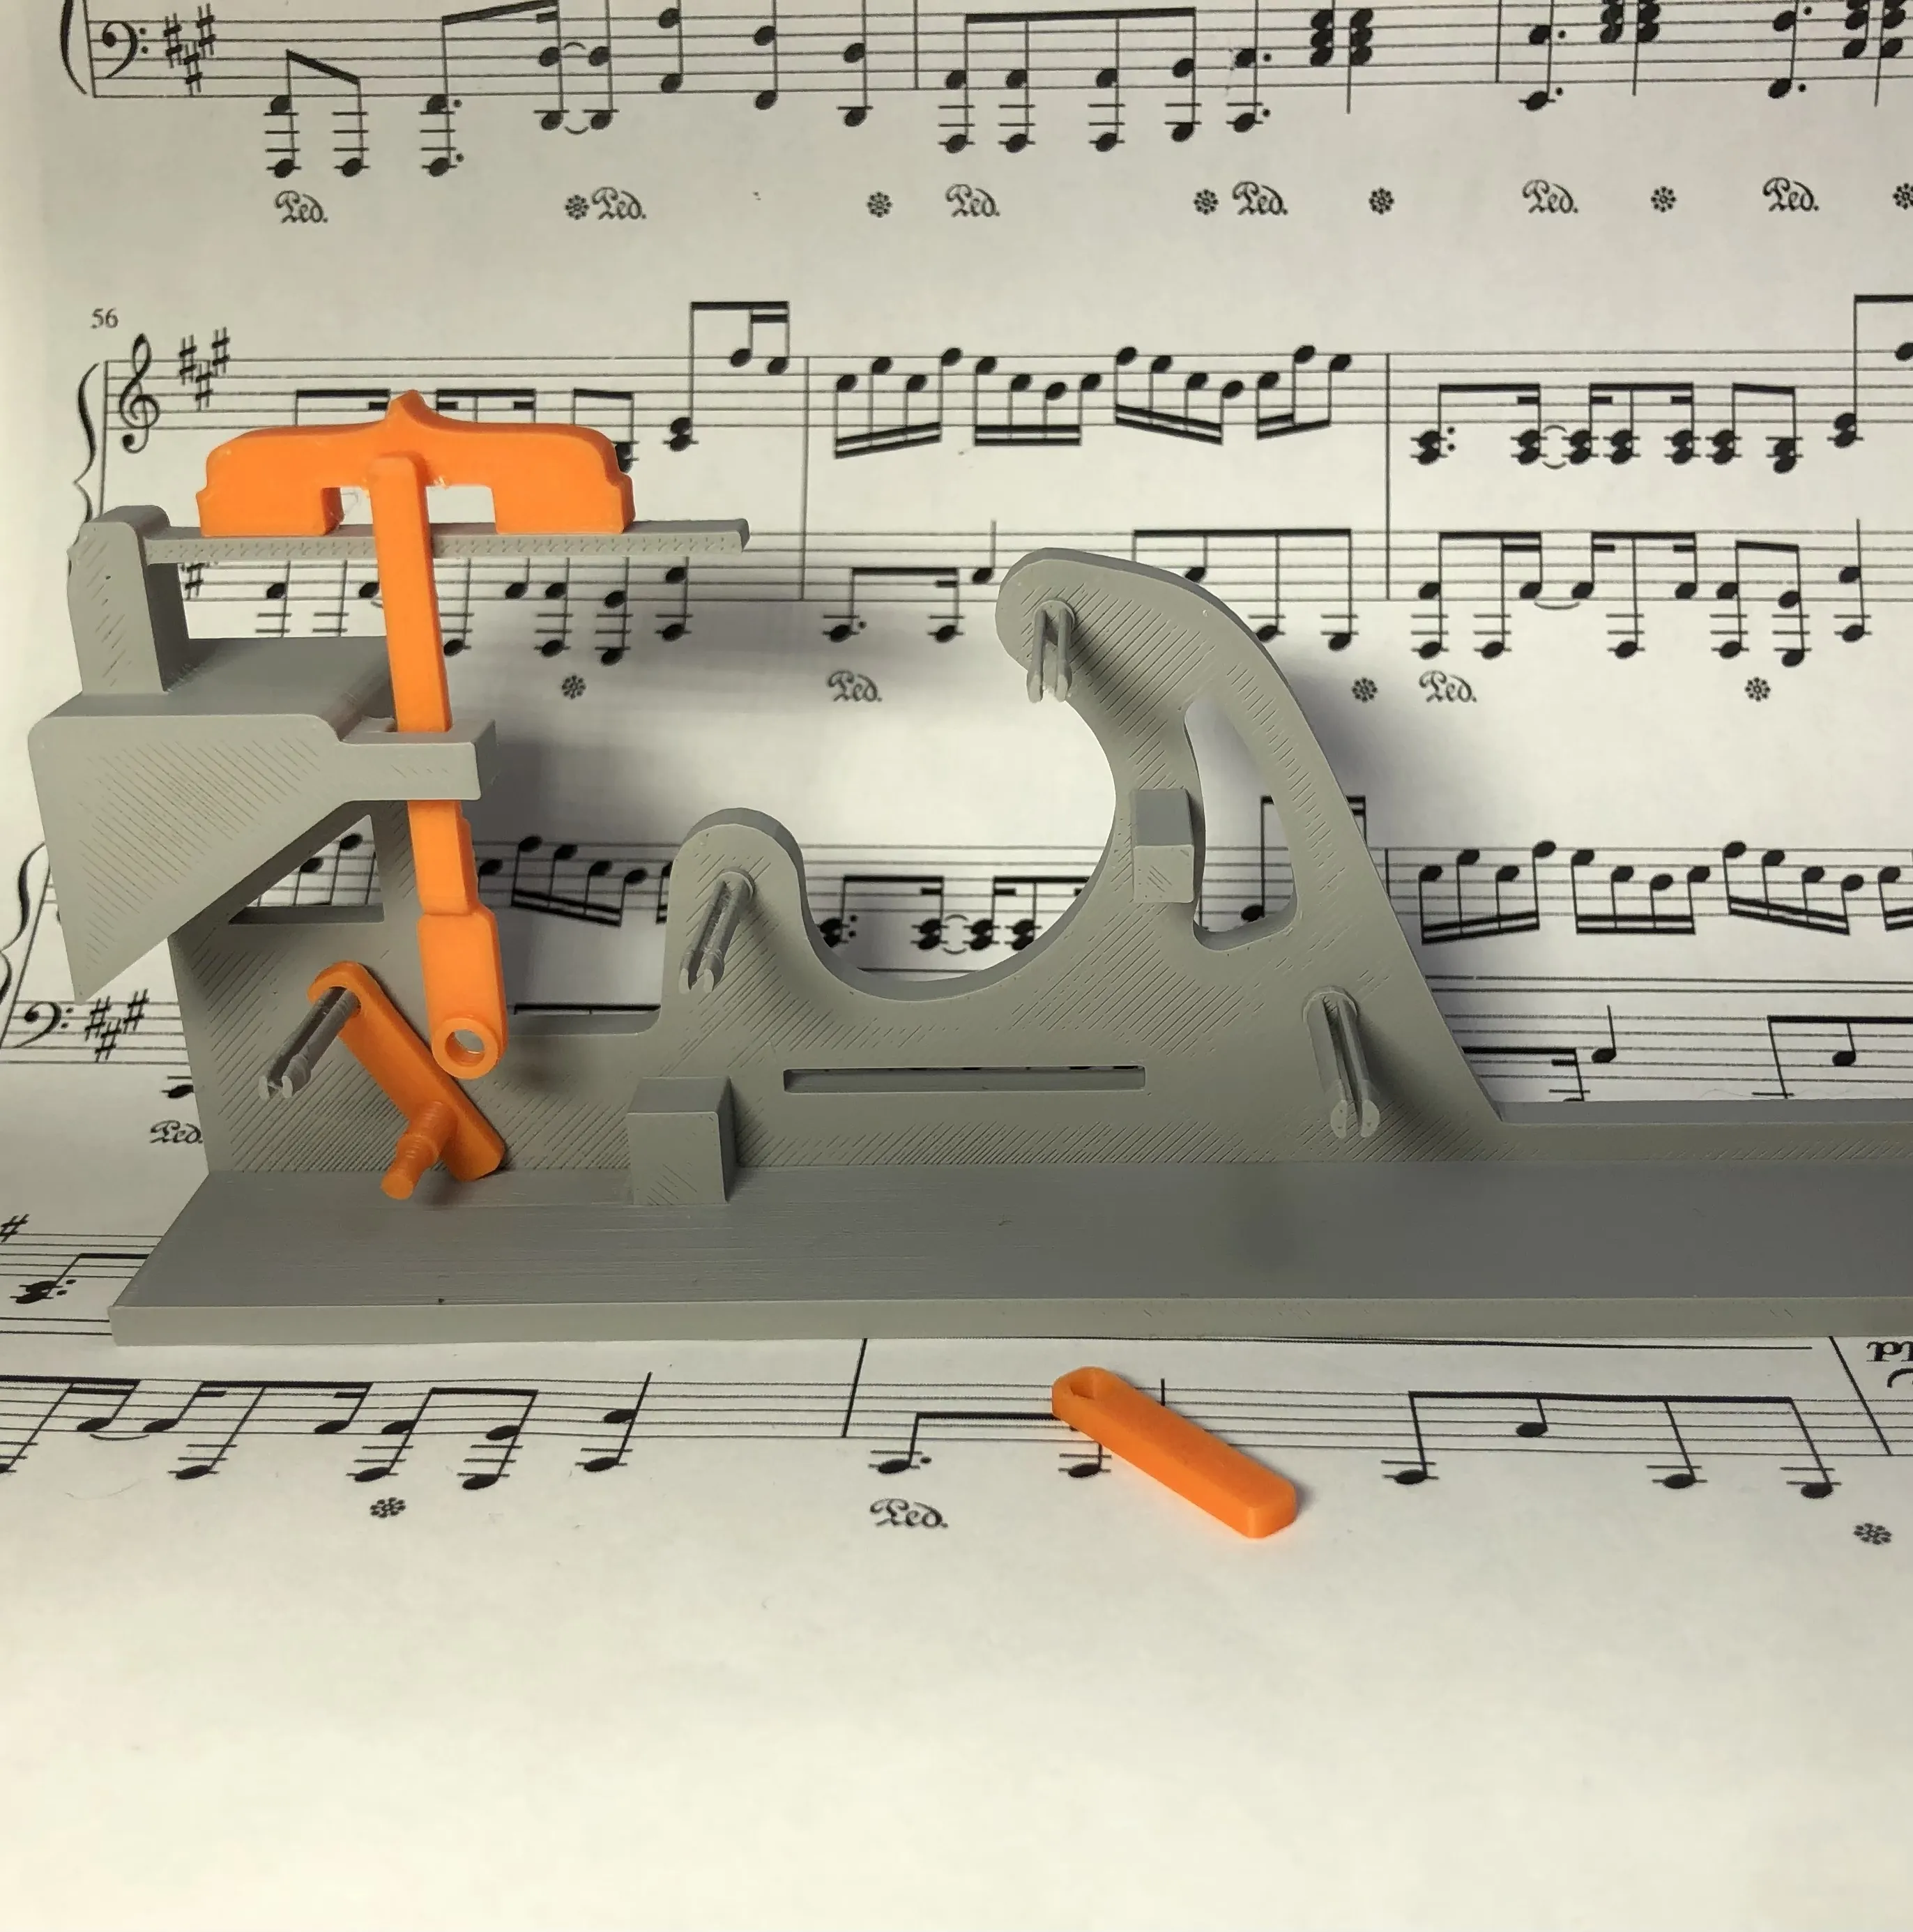
Then you will put the two pieces shown on like so. Make sure that the tall one is properly inserted in it's guidance piece as shown.
STEP 3:
You will now need to do is slide the peg sticking out of the smaller piece in the previous step into the hole in the bottom of the tall piece (the dampener) then slide the remaining piece onto the rear peg with the second hole facing inwards to act as a cap on the end of the peg.

STEP 4:
In this step you literally just put the Piano key on since it helps the following steps hold together. Make sure it goes on the right way lol

STEP 5:
In this step you will assemble the Whippen assembly as shown. You will need these parts:

You will need to lay the part second from the left in the photo above down as the back piece. You will then insert the pieces third from the left and forth from the left to make something that should look like this:

Then after completing this part you can put the remaining piece together to complete the whippen assembly.
FINAL STEP:
You will now slide the whippen assembly and the hammer onto their appropriate pegs along with the others to make it look like this:

TADA!!
… and thank you!
If you intend or remixing this model or re designing it ask in the comments and I'll attach the CAD files. (I strongly recommend against since I didn't know how to use components so it's all just one big mess) …. IM LEARNING
Also, keep in mind that everything that I designed in Fusion 360 is 13.33% smaller (2cm shorter in length)
I am a highschool student that is doing this on my little bit of spare time to enhance my CAD and 3D printing abilities. I'd love to hear feedback and ways I can improve!
Boost Me (for free)
This would be great too!
License
You may create derivative works based on this object, provided that all such derivative works are published exclusively on the MakerWorld platform and include proper attribution to the original creator. You may not share, upload, host, distribute, or publish this object—or any derivative work of this object—on any other digital platform, marketplace, or distribution channel. Commercial use of this object and any derivative works is strictly prohibited. This includes, but is not limited to, selling, renting, sublicensing, or using the object in any context in which you receive monetary compensation or other financial benefits.
Comment & Rating (51)