NeonEdge - 3D printed guitar


Print Profile(2)


Description
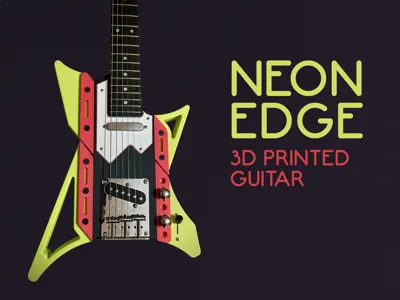
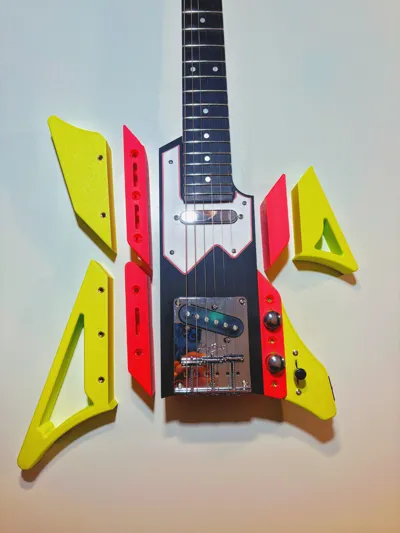
NeonEdge – A 3D-Printed Guitar
Here's how it turned out 😋
https://youtube.com/shorts/J5soLhDhsj0?si=mJ22Hqgp44x_3hAw
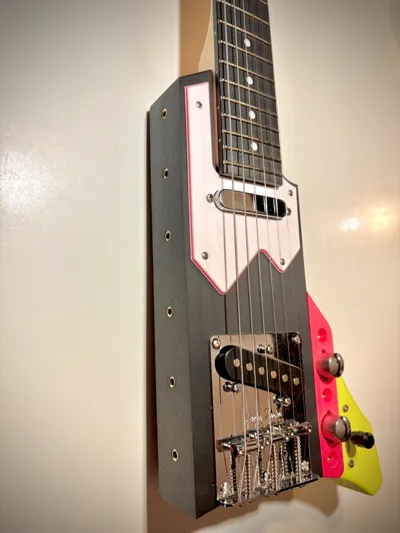
Presenting the NeonEdge, a 3D-printed guitar. The non-printed components are sourced from a Harley Benton Style T kit.
https://www.thomann.fr/harley_benton_eguitar_kit_tstyle.htm
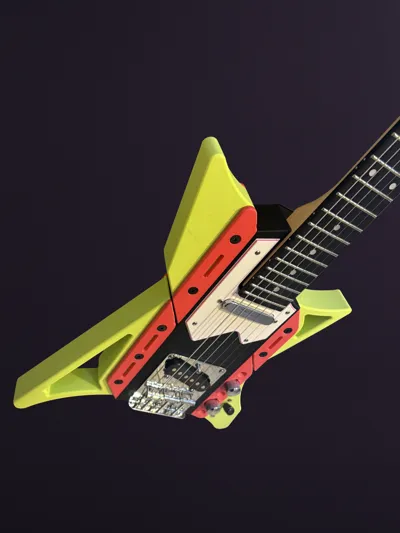
I sought to deviate from established norms, eschewing the creation of yet another Telecaster or Stratocaster.
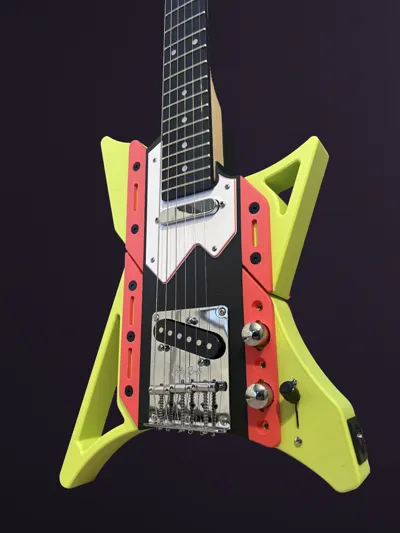
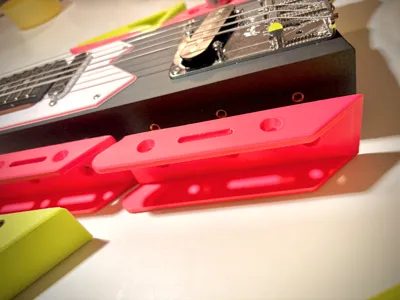
The main body was designed as a single piece to accommodate the neck, pickups, and bridge, thus ensuring superior structural integrity.
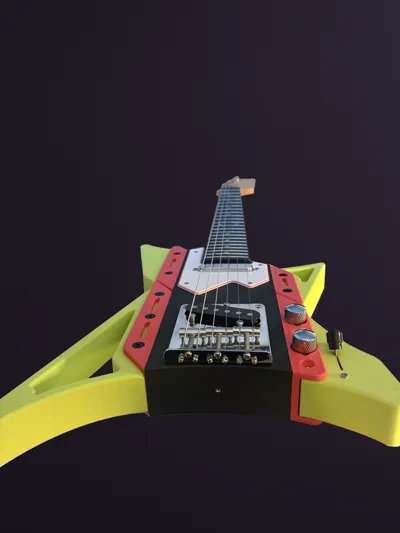
Other elements are simply screwed into the body using brass inserts, pre-installed with a soldering iron. Only the jack plate is glued.
Assembly and Wiring
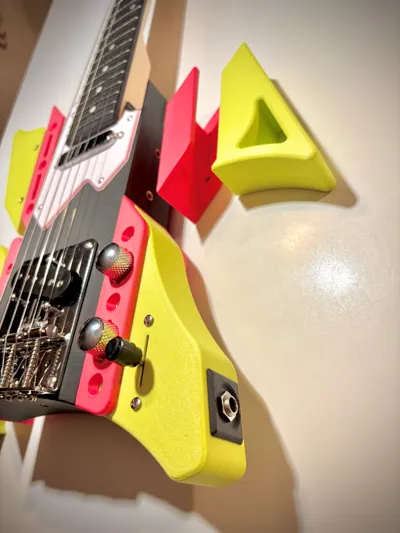
The electronics are housed in the lower portion of the guitar. Space is limited, but with a bit of determination, everything fits! The wiring of the Harley Benton kit is quite generous; shortening certain wires is possible if necessary.
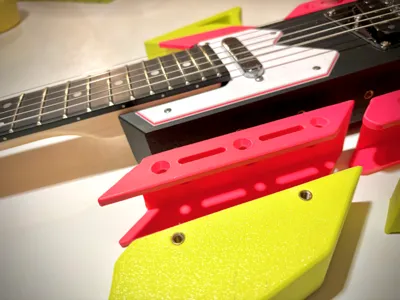
It is recommended to perform the wiring before screwing on the pickguard, to allow for wire adjustment if needed. The potentiometers should be flush with the holes; after sliding the piece into its mount, reposition them using pliers to facilitate screwing.
During installation, be sure to route the pickup wires through the small groove provided for this purpose. This will allow the assembly to slide more easily into its housing.
The materials:
Materials and Enhancements
I initially tested printing in ASA CF, but encountered significant difficulties. Ultimately, I opted for 100% PLA. The long-term performance of the piece remains to be seen.
Incorporating threaded rods inside the body might mitigate deformation risks.
The central body is printed with 25% infill and 7 walls.
Finalization
Once everything is installed, string your guitar, tune it… and play!
Let’s Rock!
License
You shall not share, sub-license, sell, rent, host, transfer, or distribute in any way the digital or 3D printed versions of this object, nor any other derivative work of this object in its digital or physical format (including - but not limited to - remixes of this object, and hosting on other digital platforms). The objects may not be used without permission in any way whatsoever in which you charge money, or collect fees.
Comment & Rating (20)