
Print Profile(3)


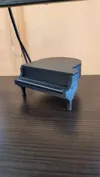
Description
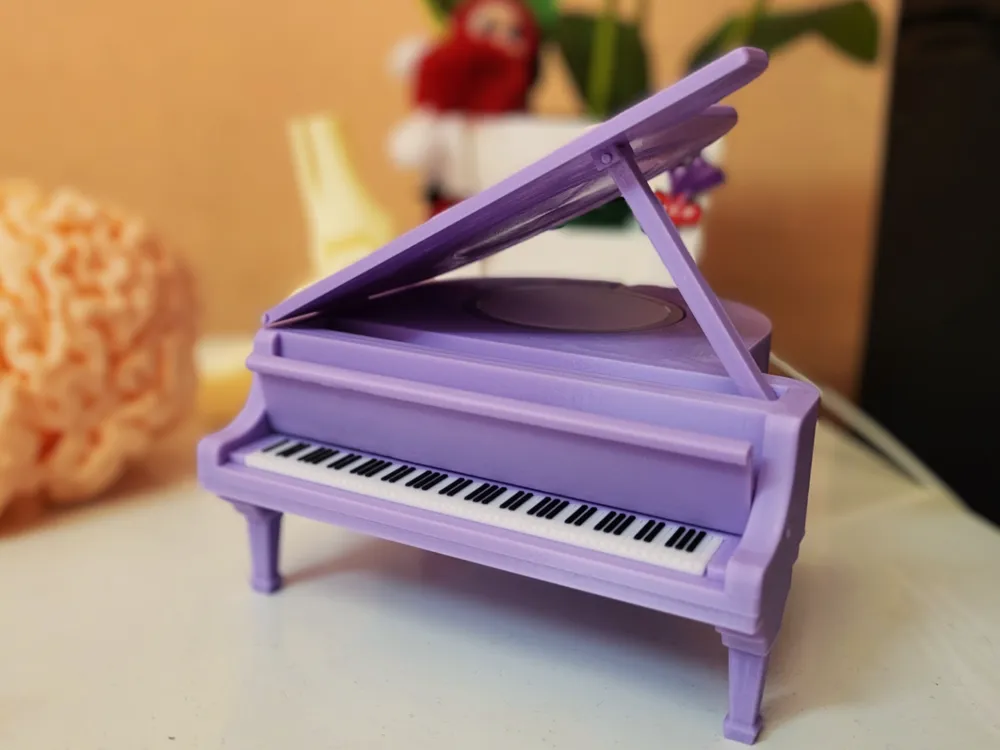
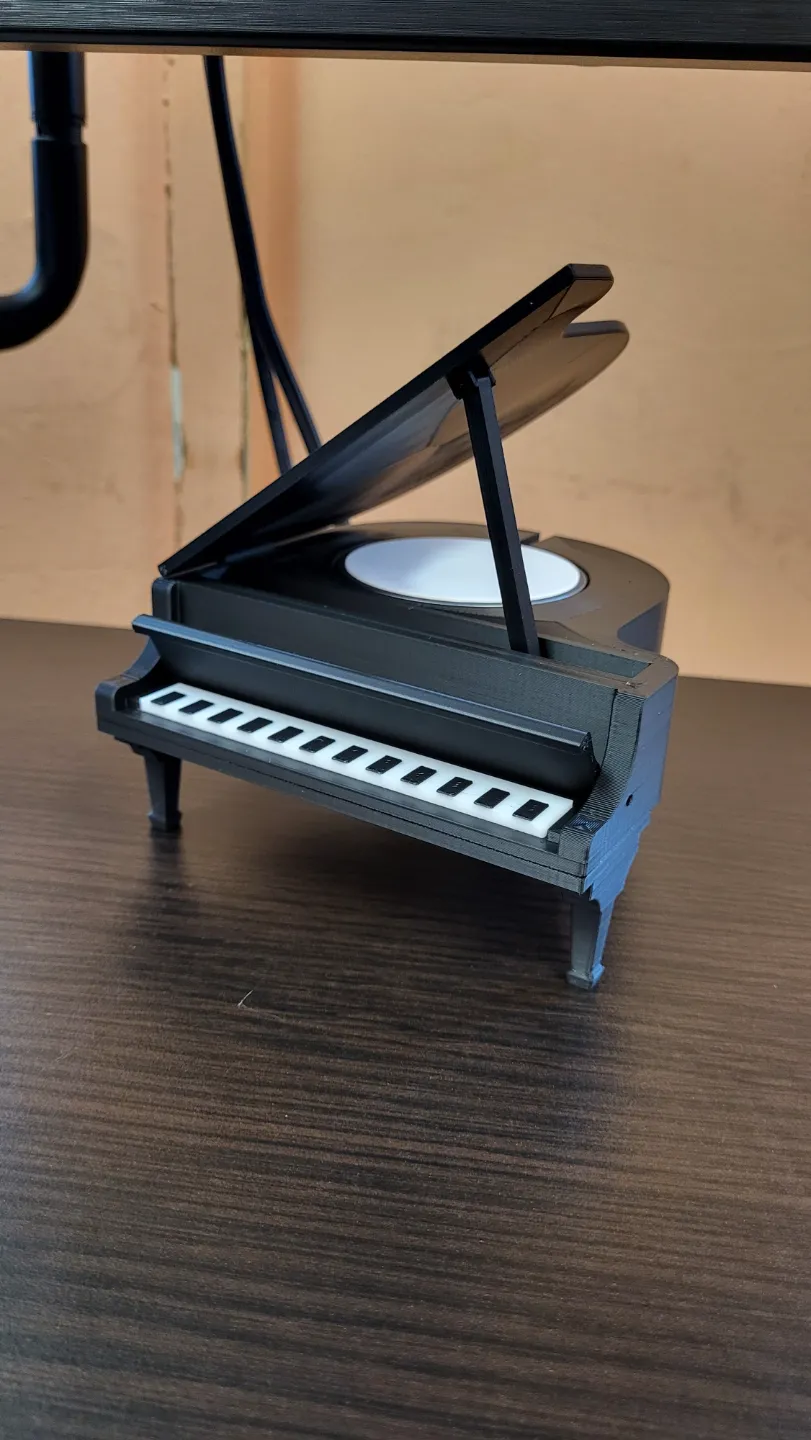
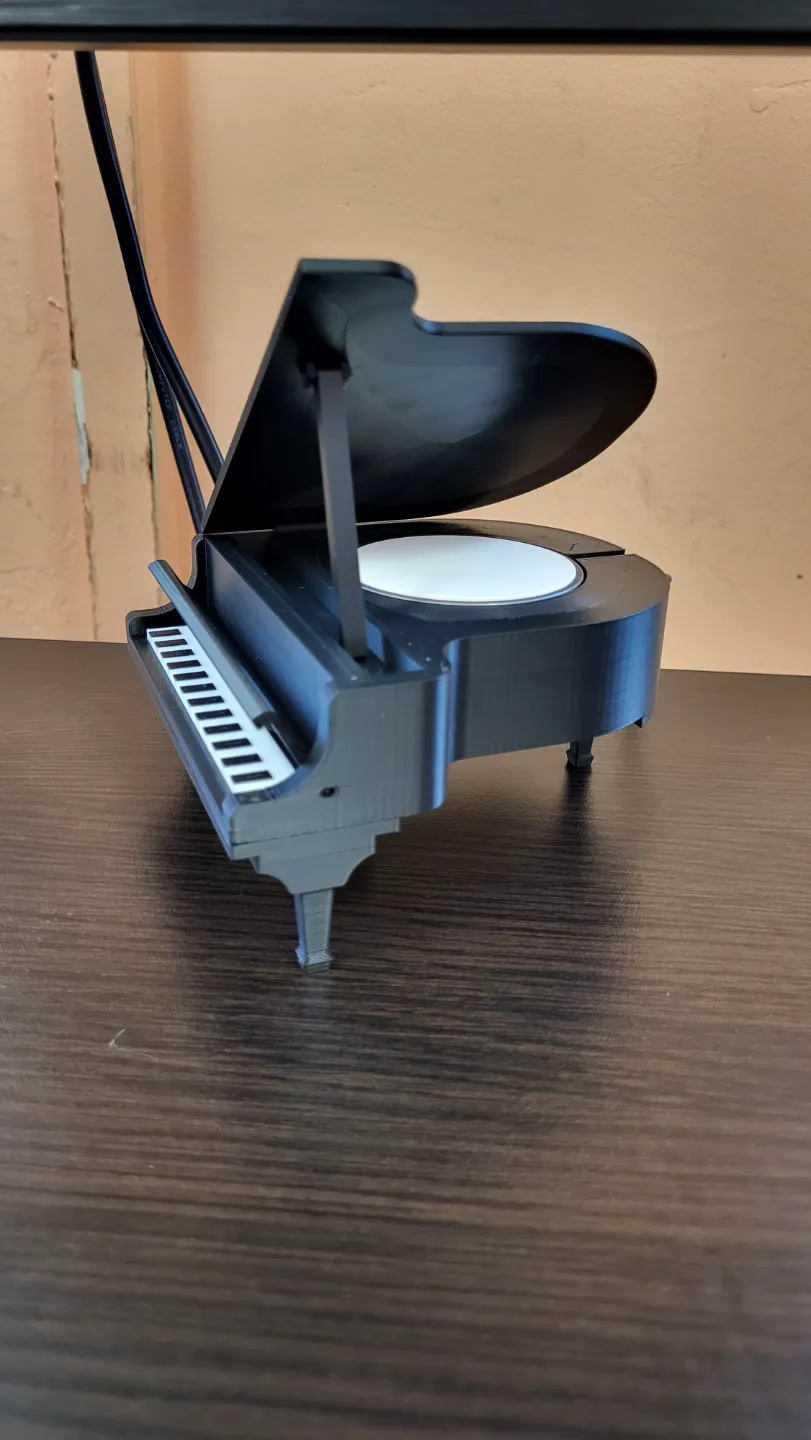
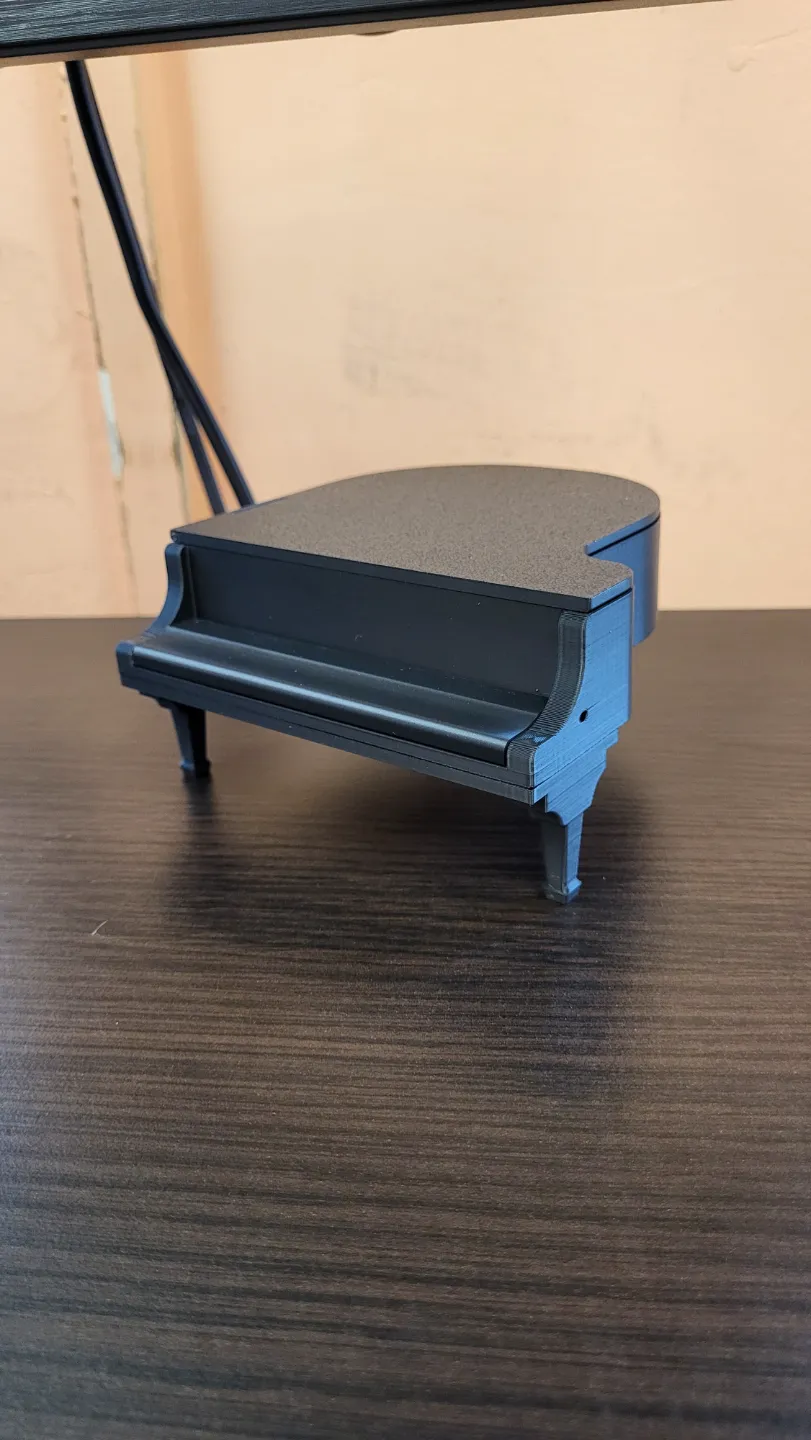
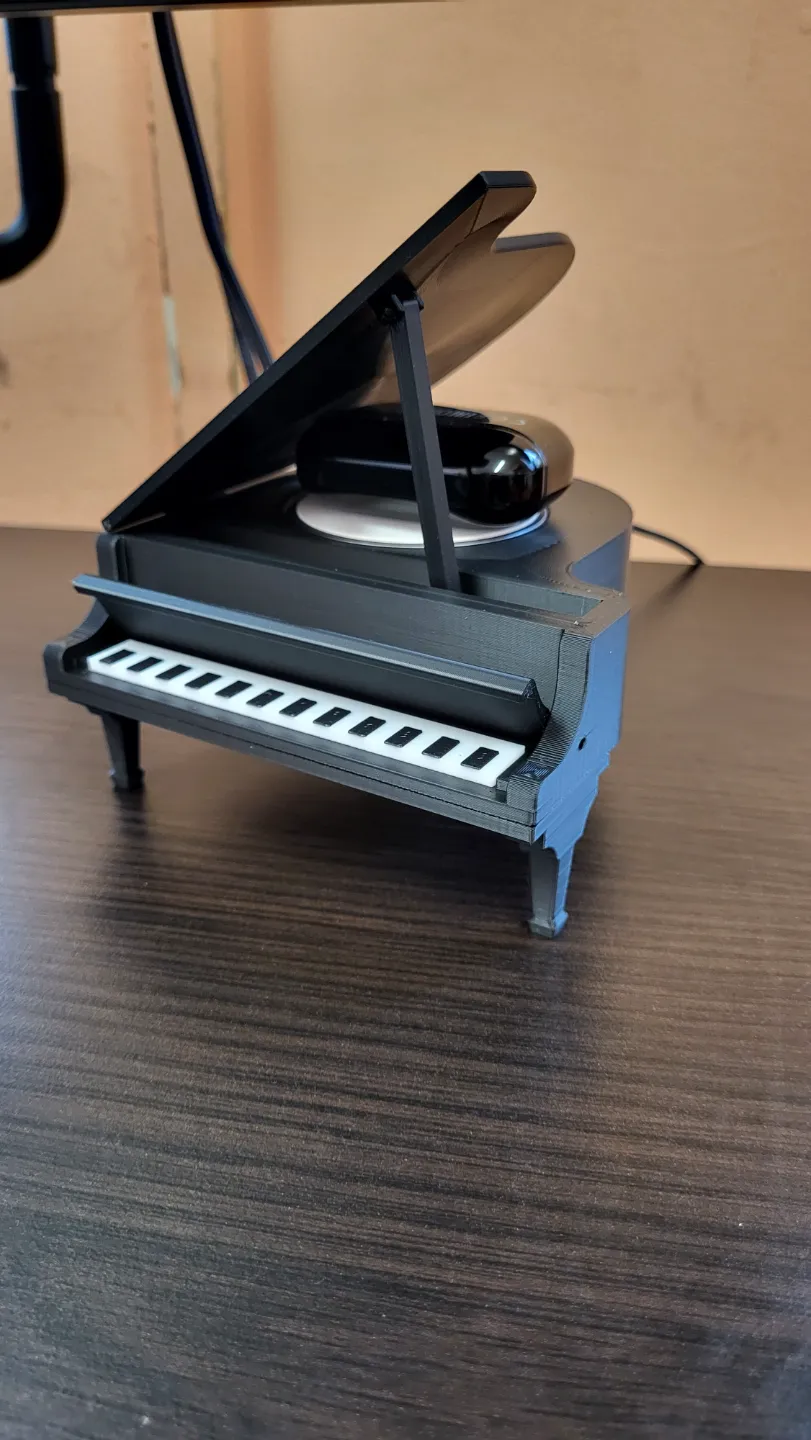
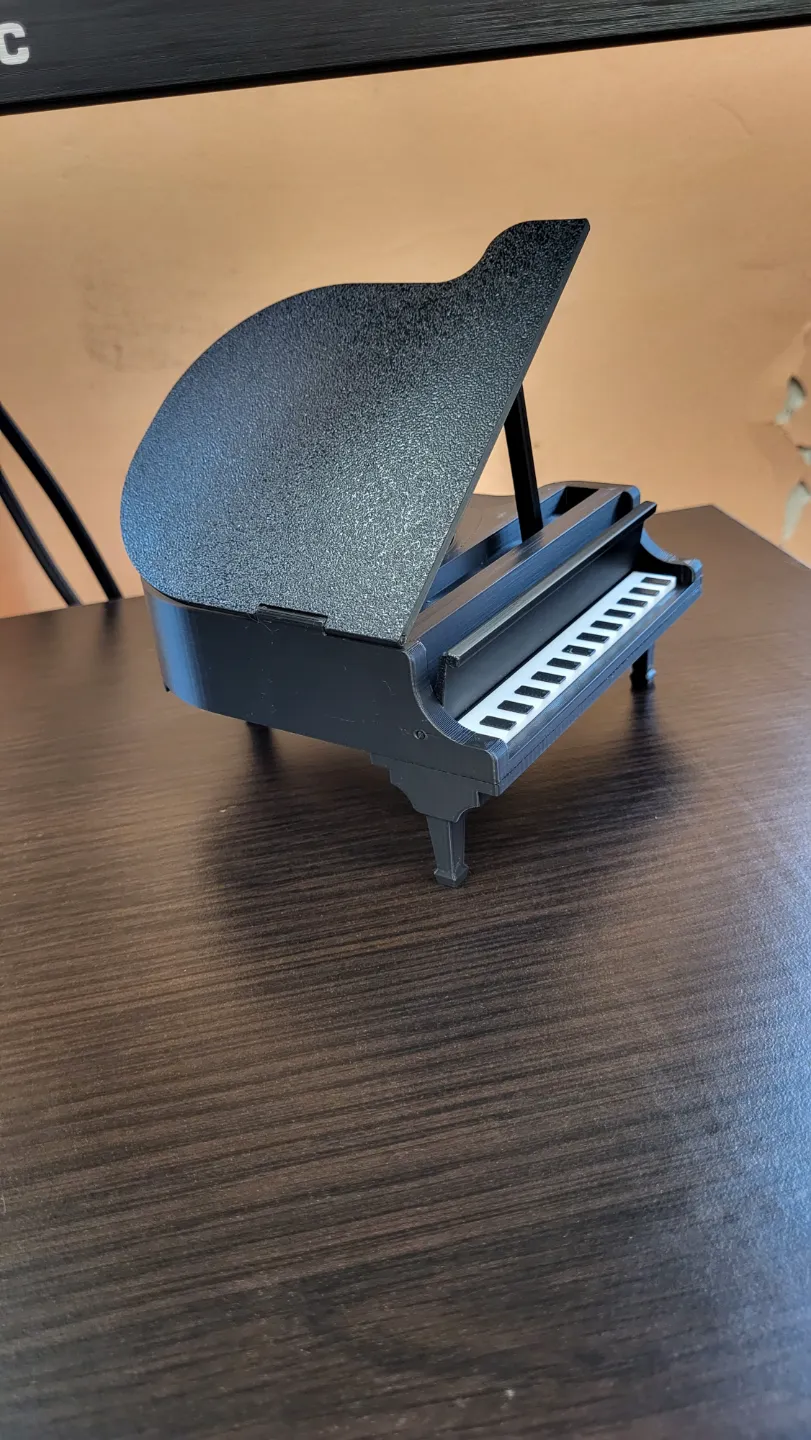
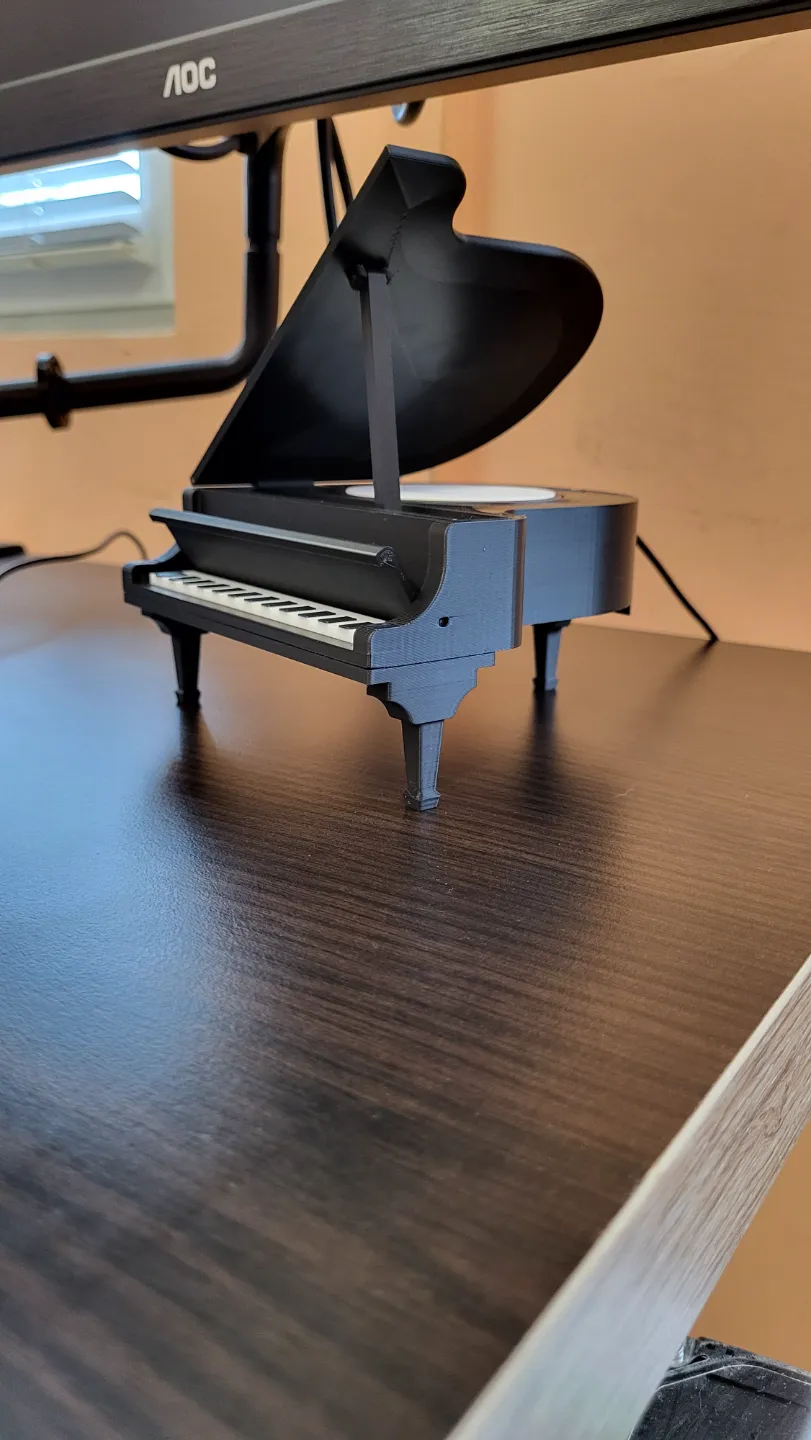
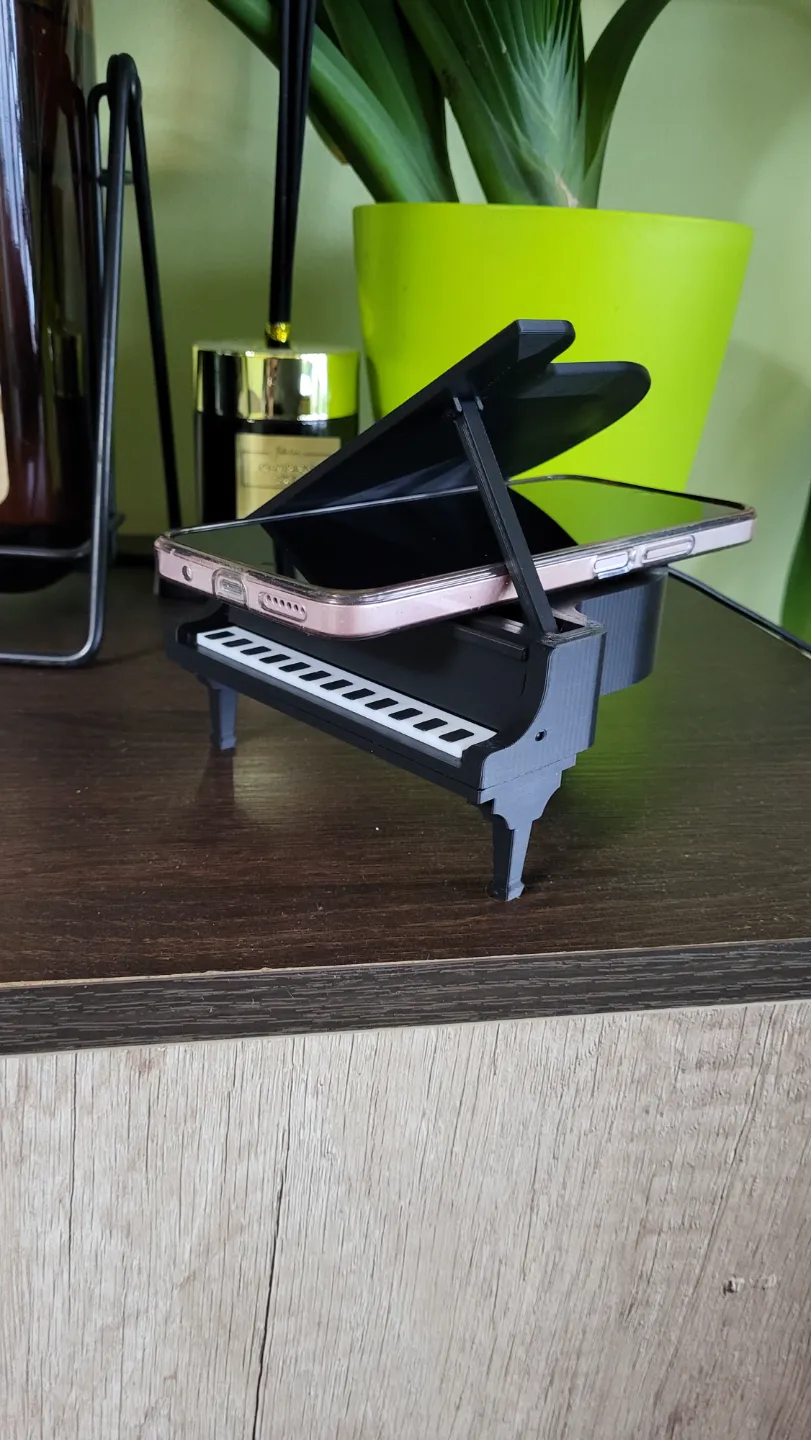
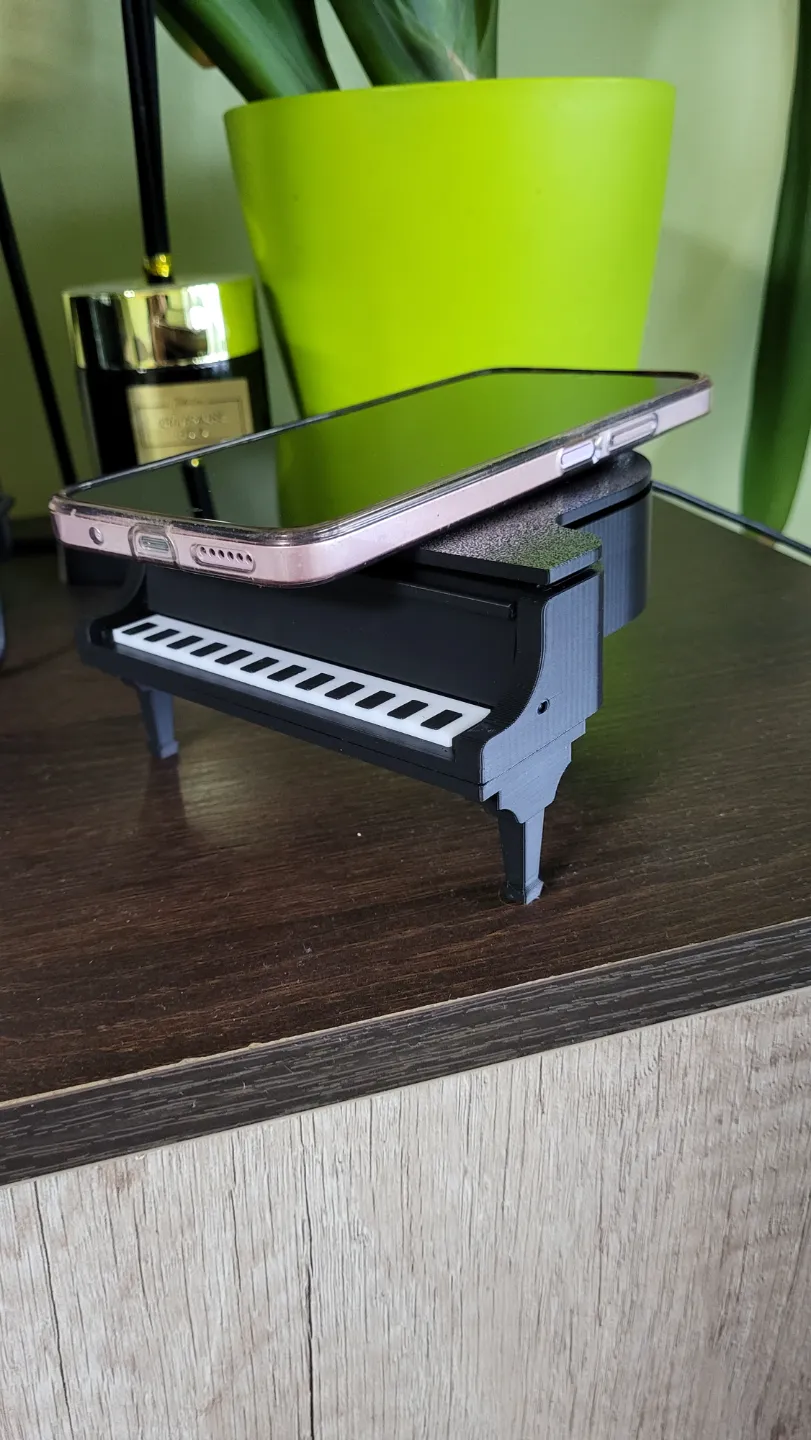
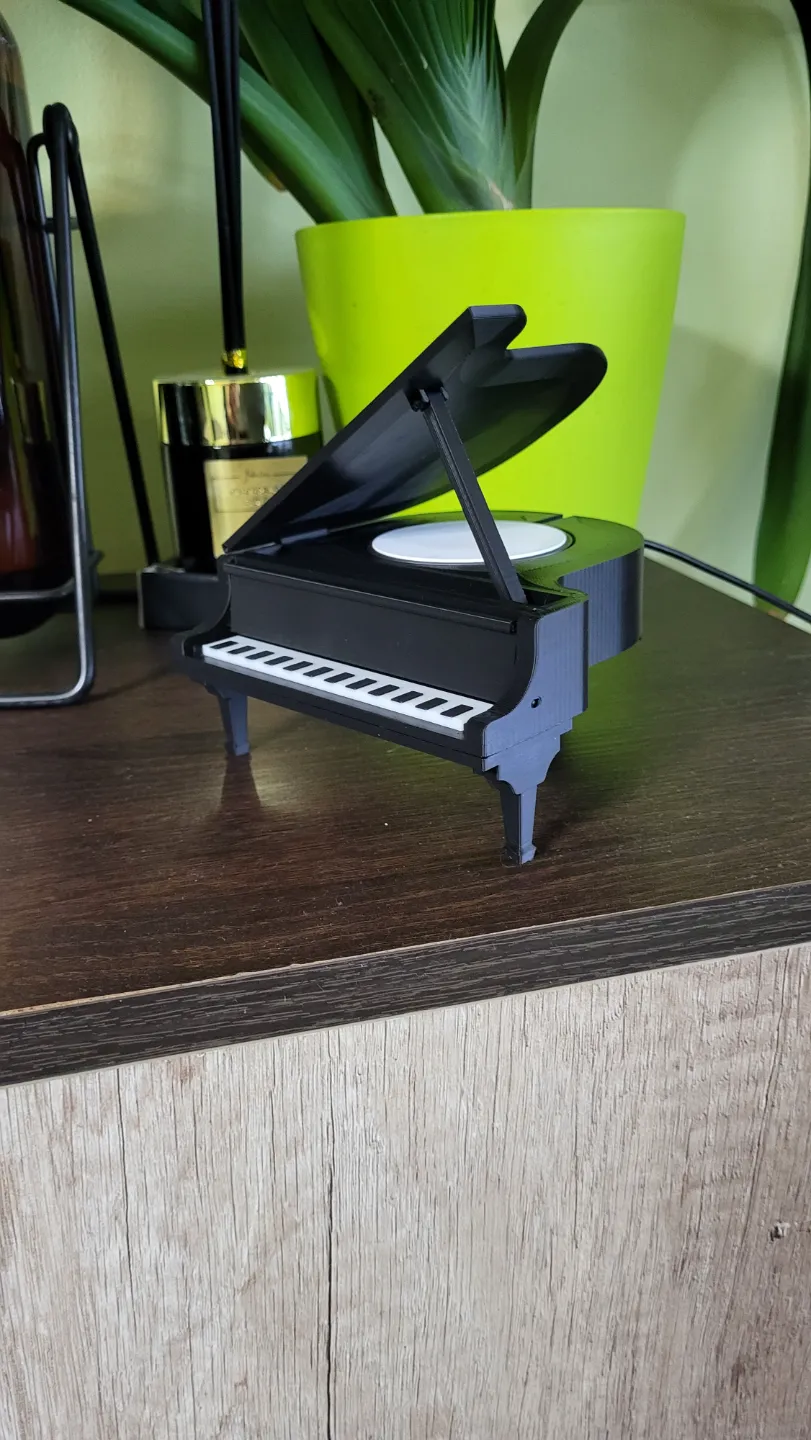
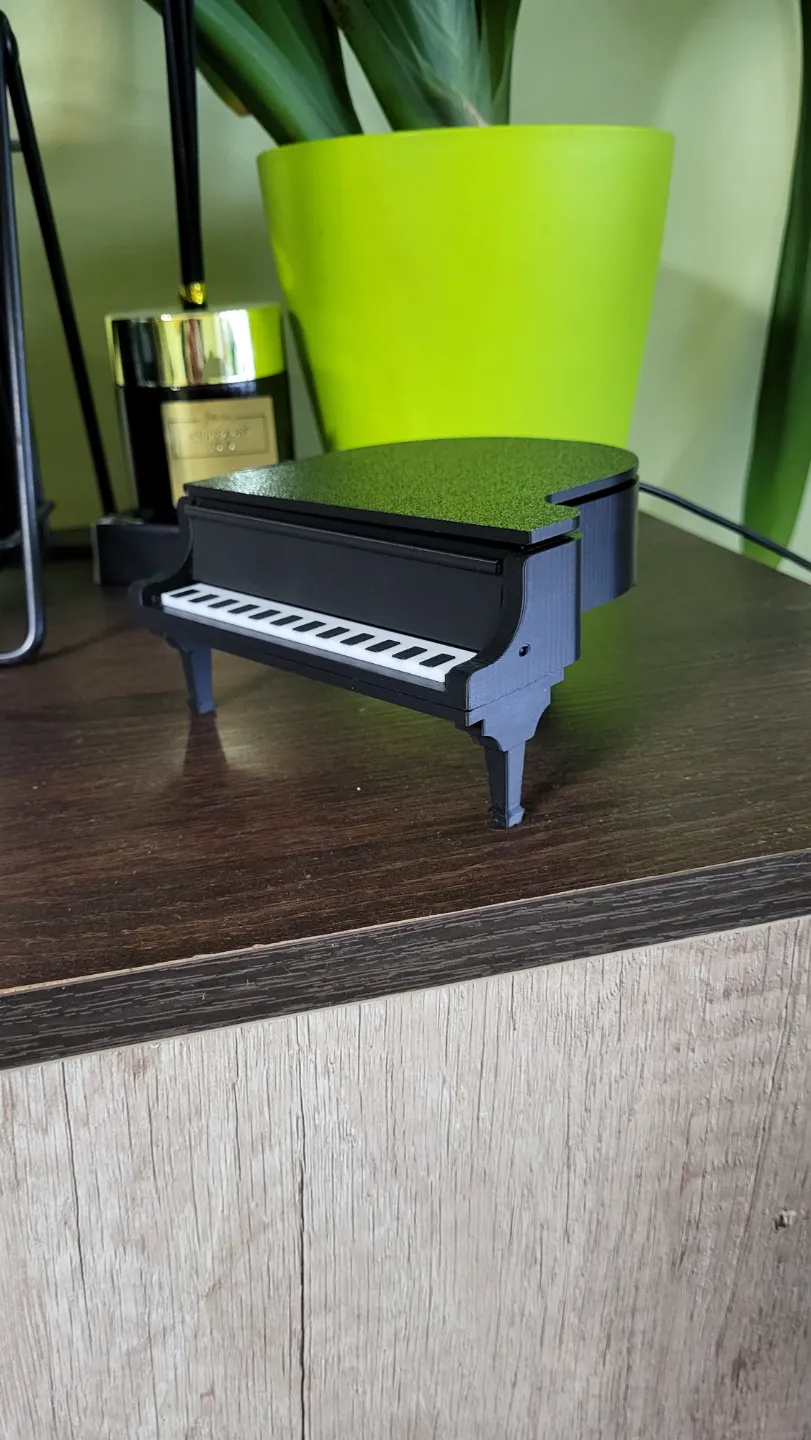
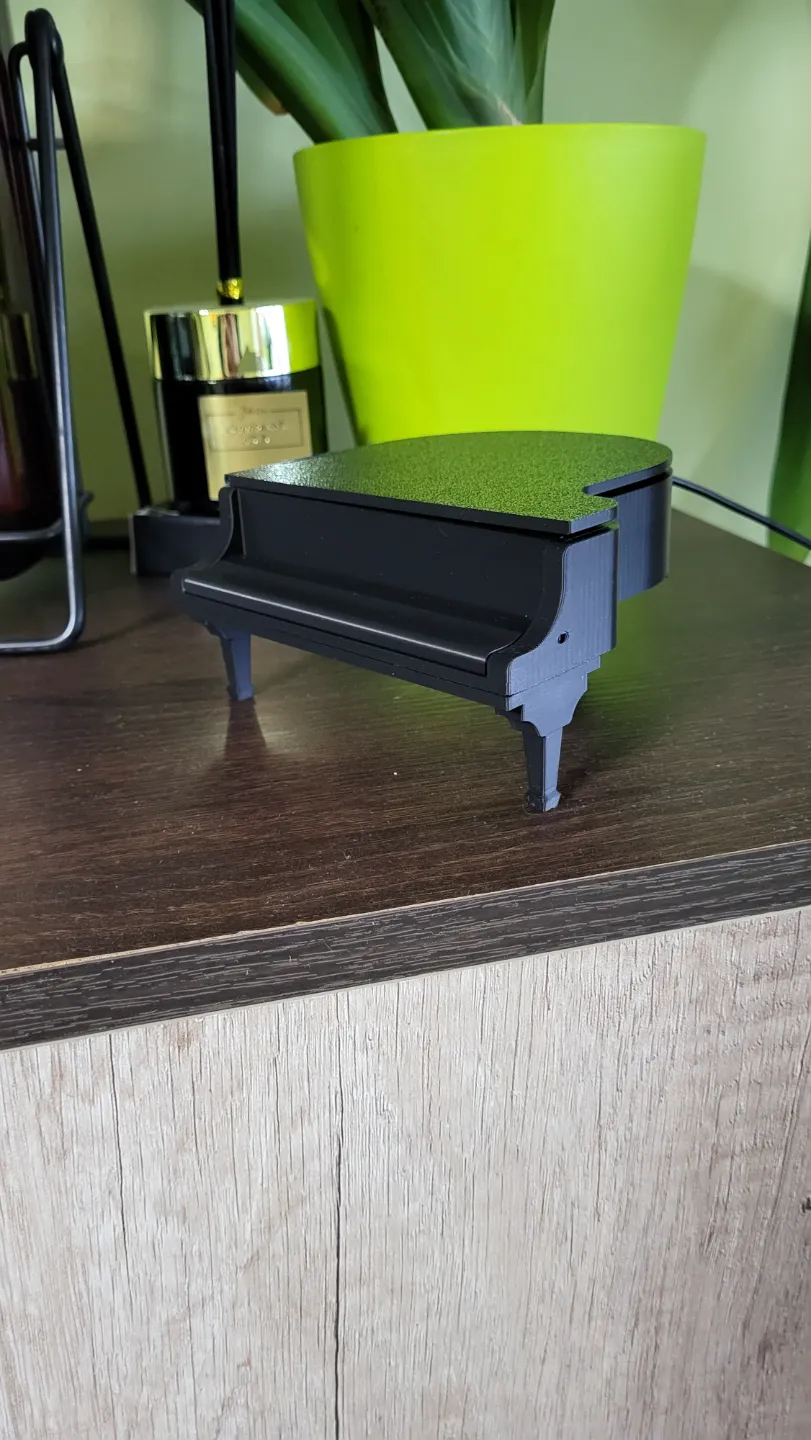
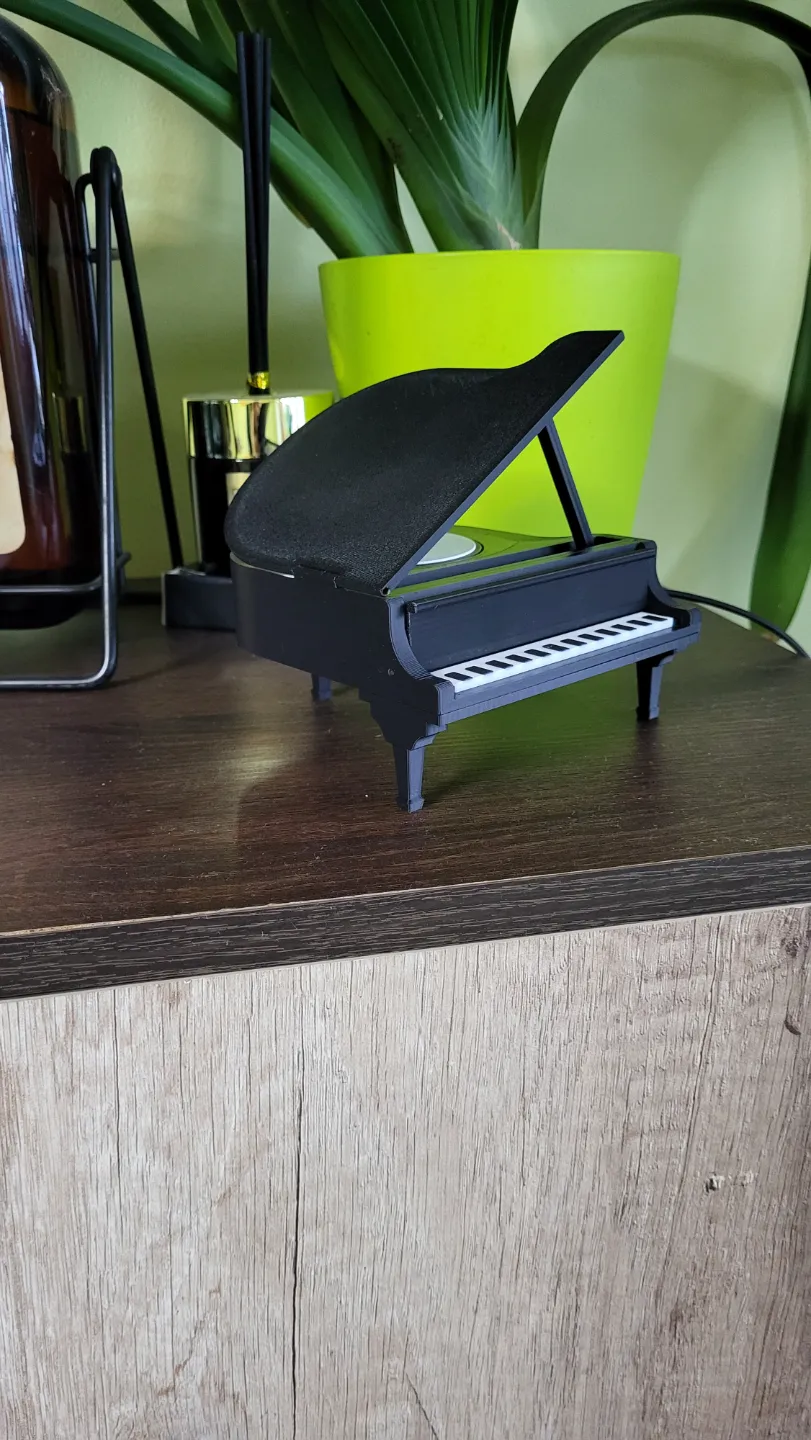
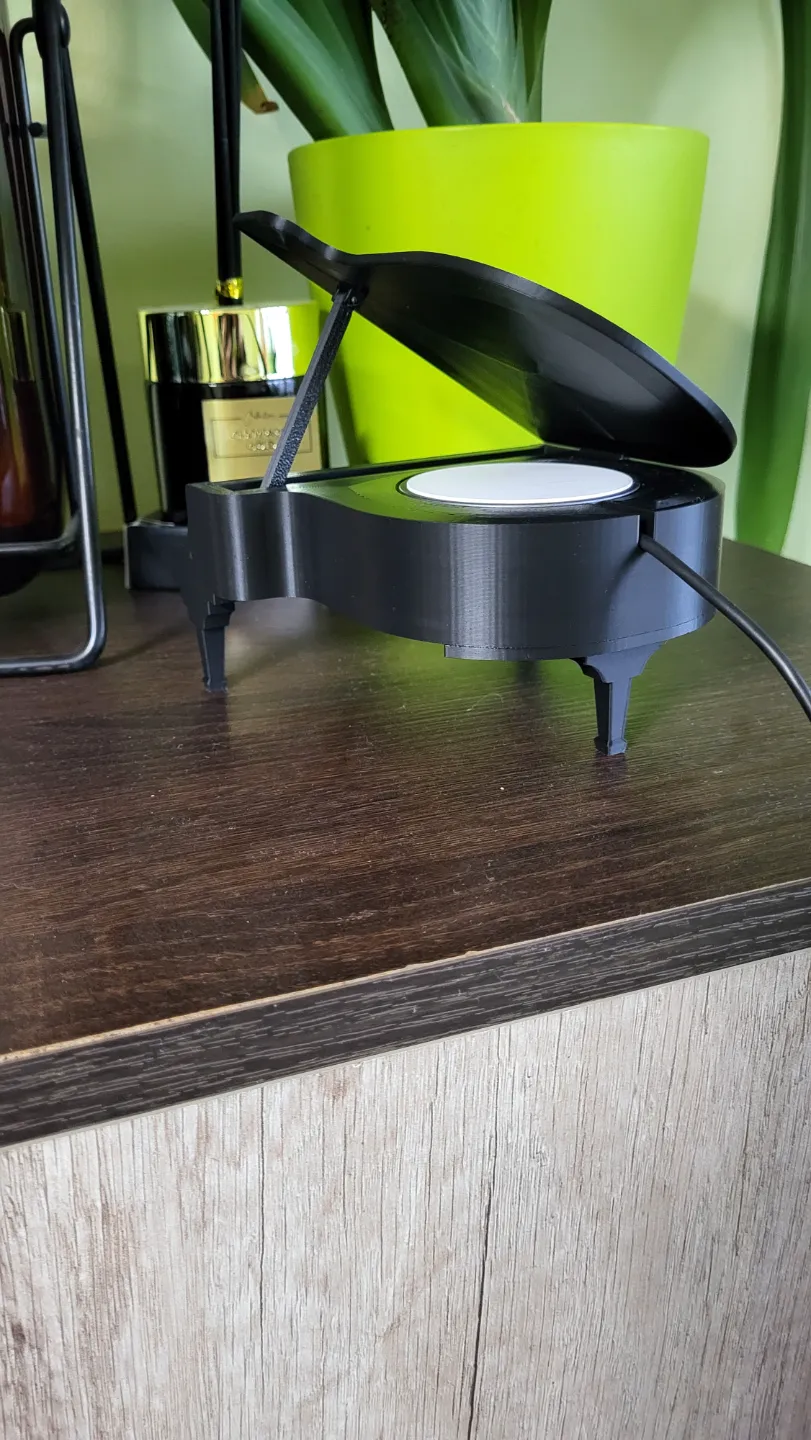
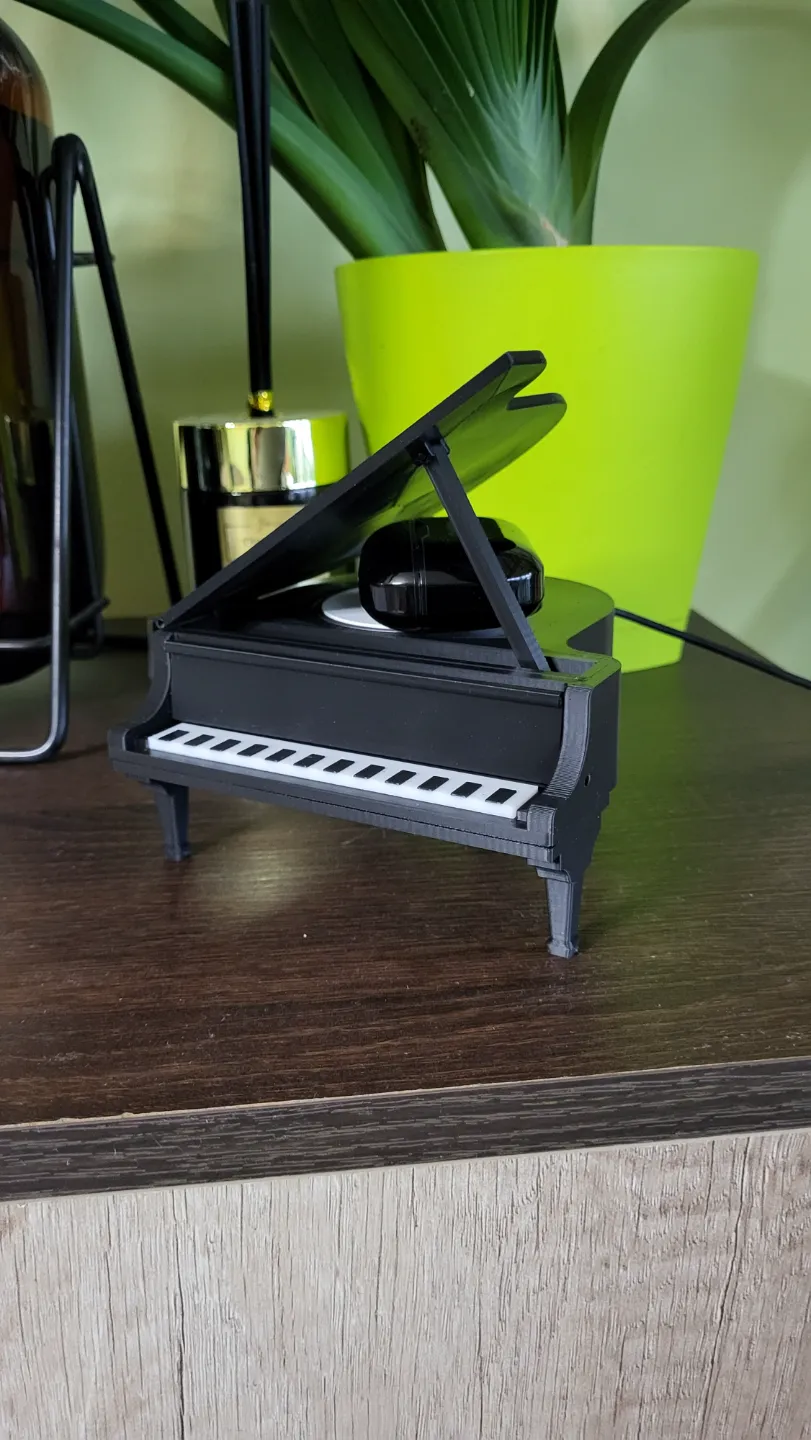

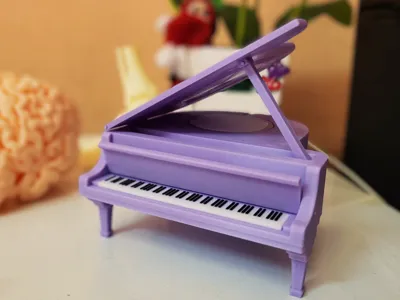
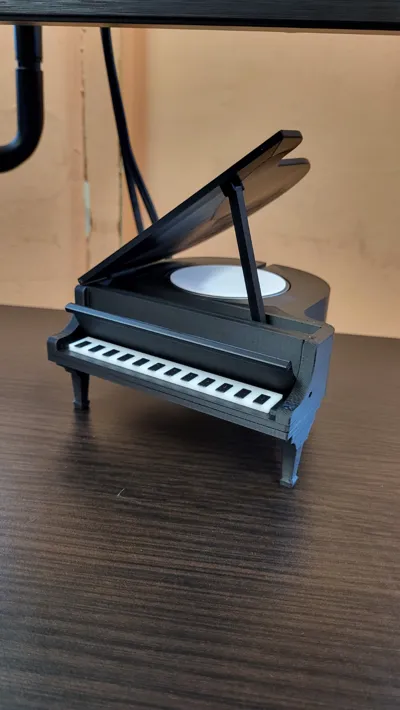
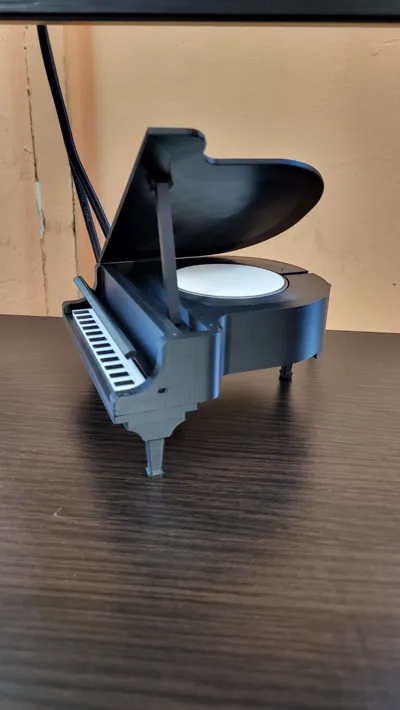
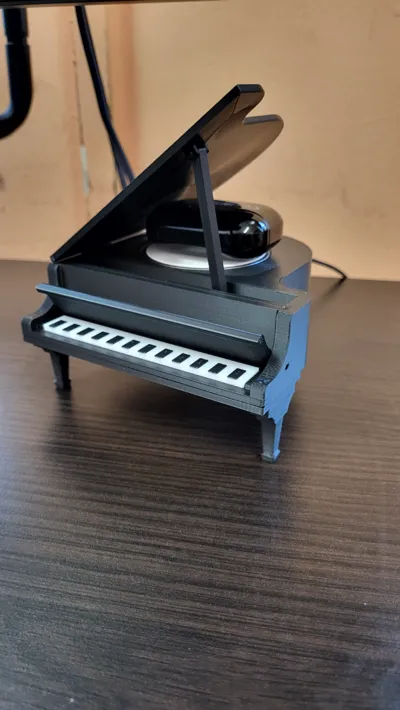
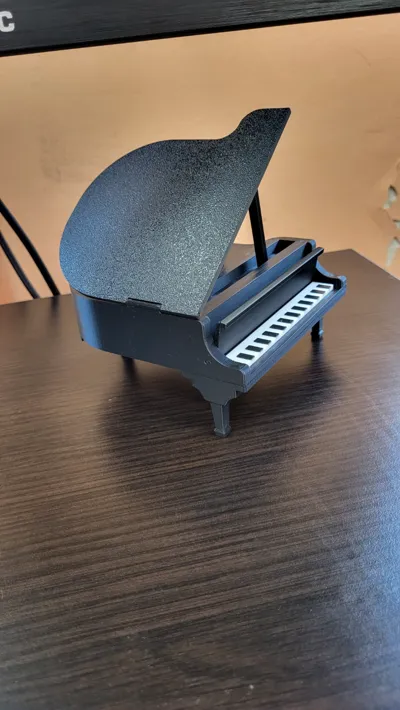
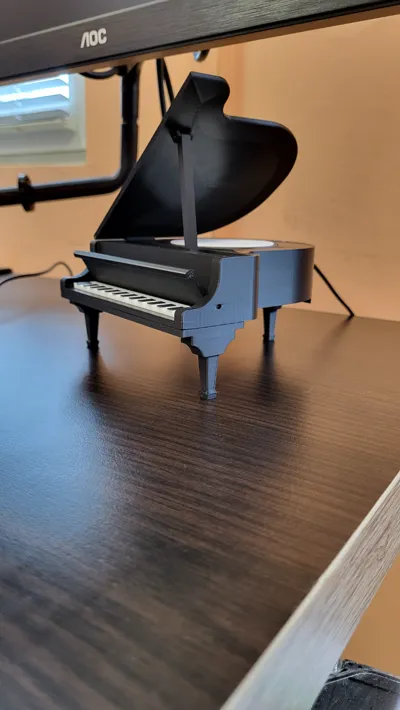
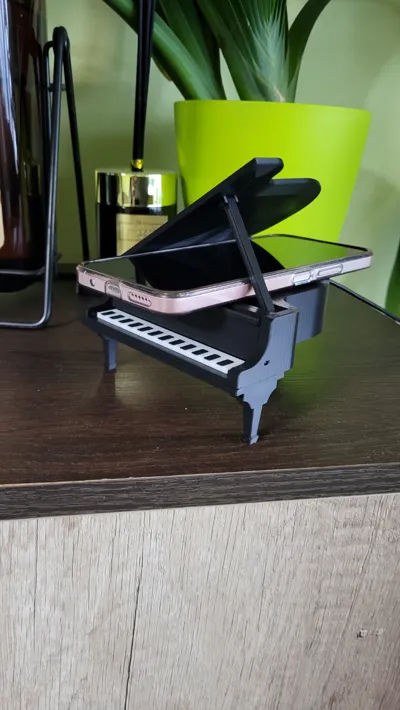
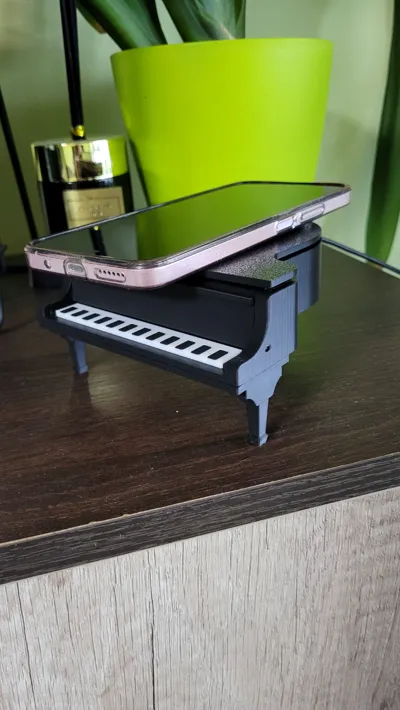
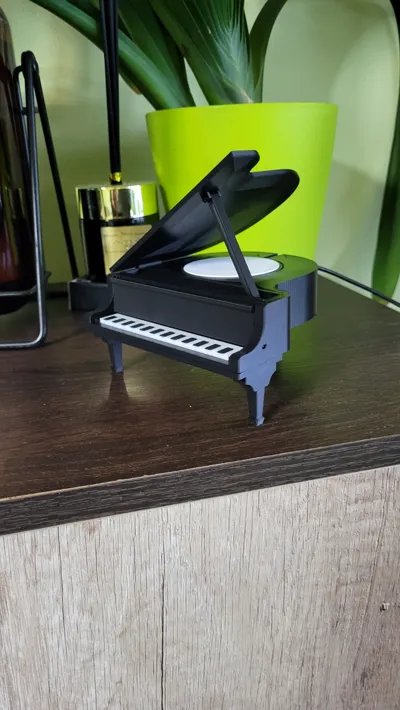
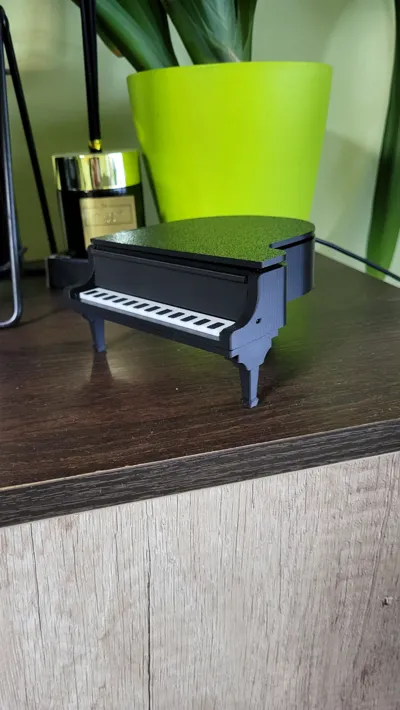
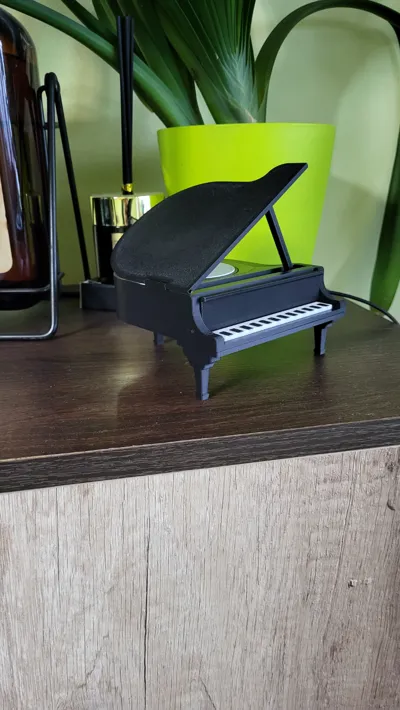
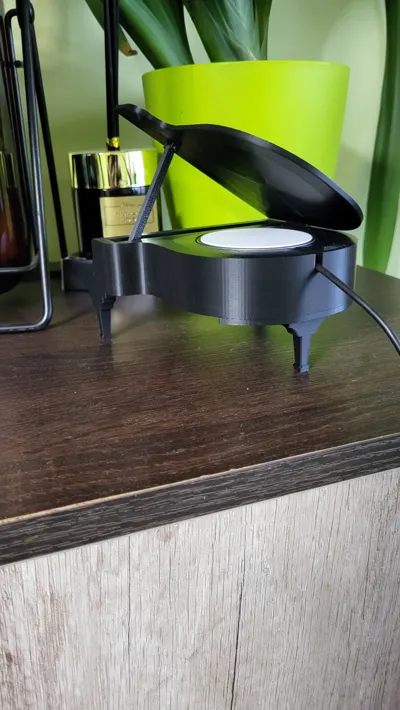
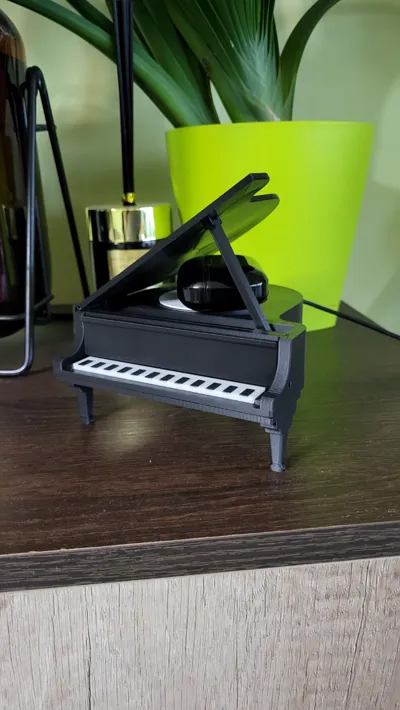
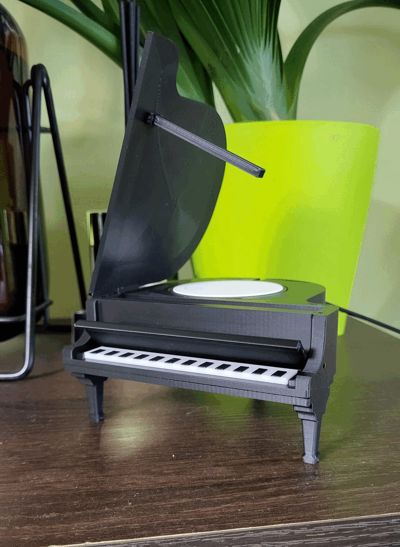
I came up with the idea to make a wireless earbuds charger that looks like a piano and made this. It's my first ever posted 3d model and any feedback would be appreciated.
I made it for this wireless charger I have : https://amzn.to/4kgvOOn
I also made it for an Apple Magsafe charger I borrowed : https://amzn.to/4iDVRgR
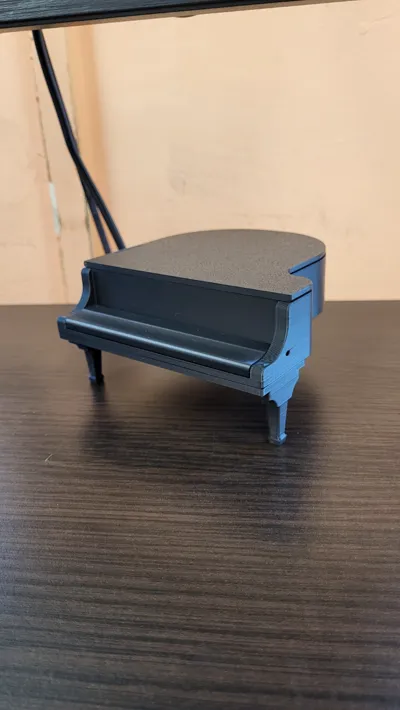
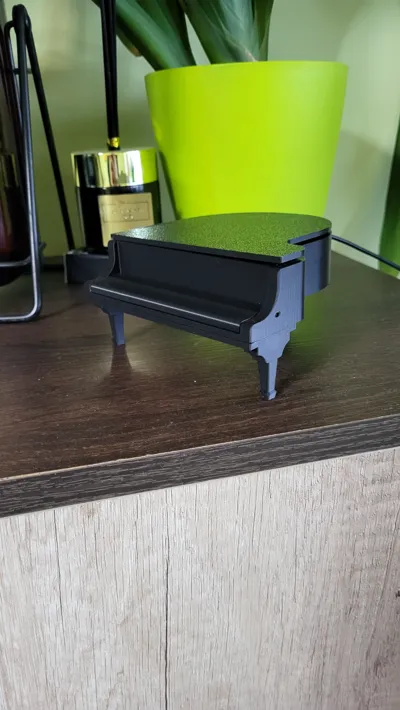
I also made an empty version that works as a container or a jewelry box.
If you have a simple round wireless charger and want to make it fit, measure it and I will try to make the base fit your charger.
Measure in mm if possible.
I need:
1. Diameter of the charger
2. Height of the charger
3. Diameter of the cable
Boost Me (for free)
If you like my first ever uploaded 3d model a boost would be highly appreciated!
Compatibility
Qi Wireless Charger – Compatible with iPhone, Samsung, and More
This Qi-compatible wireless charger works with iPhone 12, 13, 14, 15, and 16 series, including Pro, Pro Max, Plus, and Mini models, as well as Samsung Galaxy S21, S22, S23, S24, and other Qi-enabled devices. Also supports wireless charging earbuds like AirPods Pro, Galaxy Buds, and Sony WF-1000XM4. Provides fast and reliable charging for any Qi-certified smartphone or accessory.
Assembly
Parts:
1x Piano body
1x Lid
1x Lid holder
1x Piano keys
1x Keys cover
1x Front legs
1x Back leg
You will also need:
Glue
Leftover unused fillament
I made a simple animation (also a first for me) to demonstrate how to assemble the Piano box. Assembly on the Charger is the same, just use the piano body with the charger hole.

First choose which model you want to make.
The lid, lid holder and key cover use a hinge made out of leftover filament. Insert as much as you can and cut the remainder flush.
There are alignment pin holes on the bottom.
Insert leftover filament in the front legs and back leg holes. Leave a tiny bit poking out (about 2mm). Apply some glue and slide it into the base.
To attach the keys you will also need glue.
I plan on fixing and adding more stuff so I will include a changelog.
I have named the models v1 and will keep track in the changelog and in their names if I have made any changes to them
Changelog:
25.02.2025:
-First post made!
10.03.2025:
- Added Magsafe Wireless charger print profile.
- Fixed stick (now stick_v2)
- New cover photos
- Added new more realistic keys (keys_v2)
- Added Piano_Box_v1 print profile
License

You shall not share, sub-license, sell, rent, host, transfer, or distribute in any way the digital or 3D printed versions of this object, nor any other derivative work of this object in its digital or physical format (including - but not limited to - remixes of this object, and hosting on other digital platforms). The objects may not be used without permission in any way whatsoever in which you charge money, or collect fees.


Comment & Rating (0)