
Desktop Lamp Utilizing a DeWalt 20V USB LED Adapter

Print Profile(3)


Bill of Materials



Description
Boost Me (for free)
Your boost makes a difference, thank you for your support
[ Read the following instructions before ]
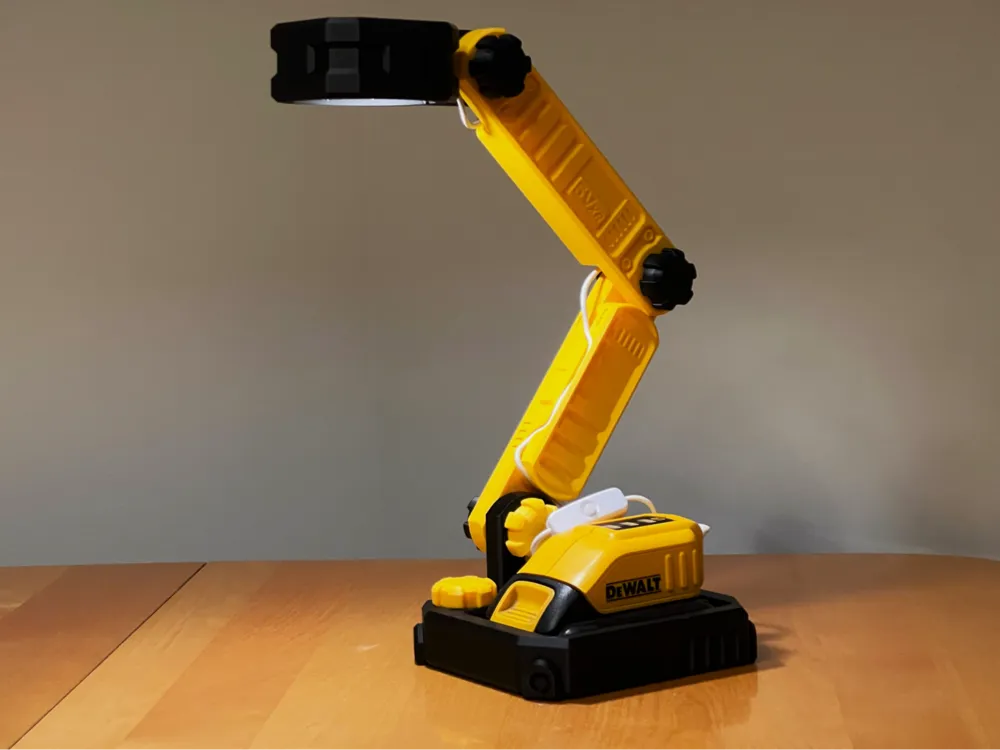
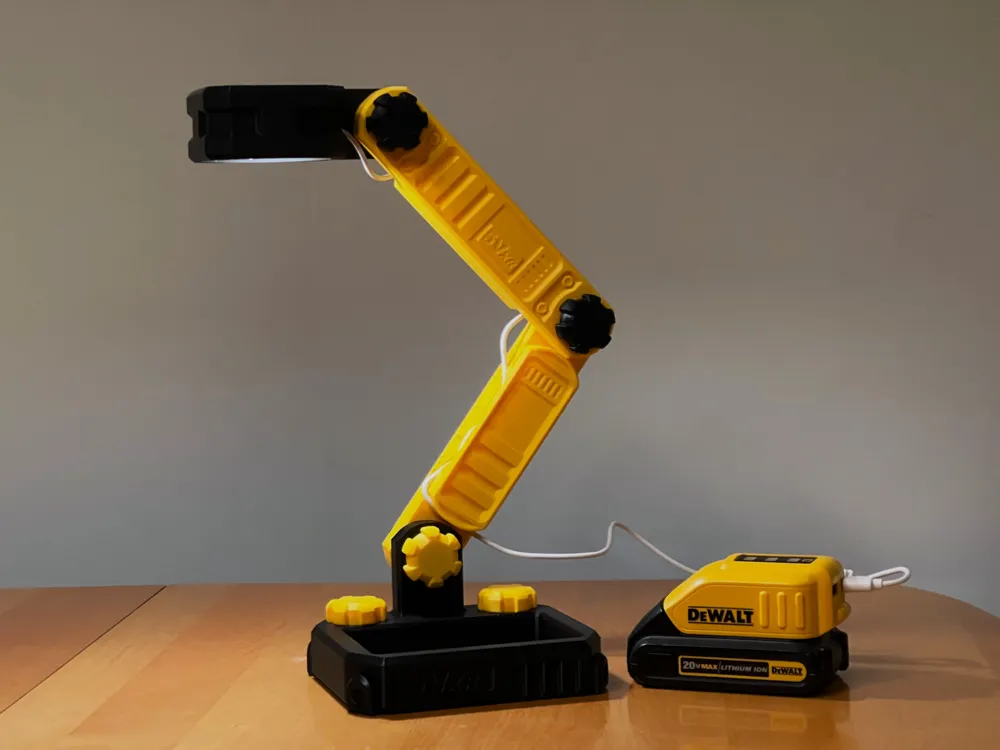
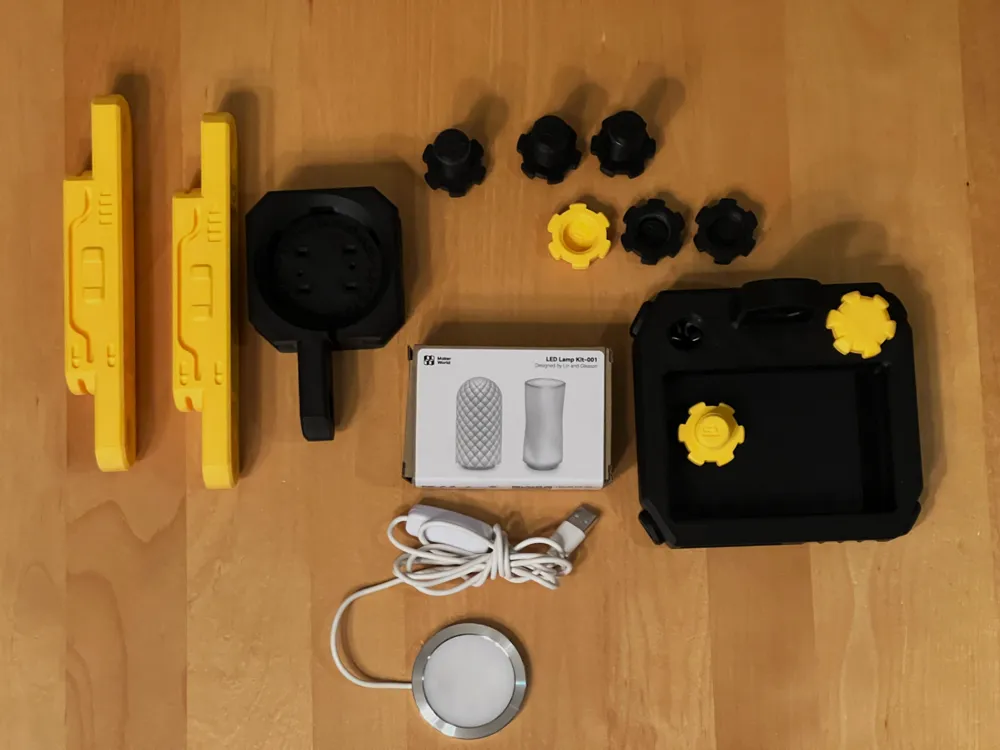
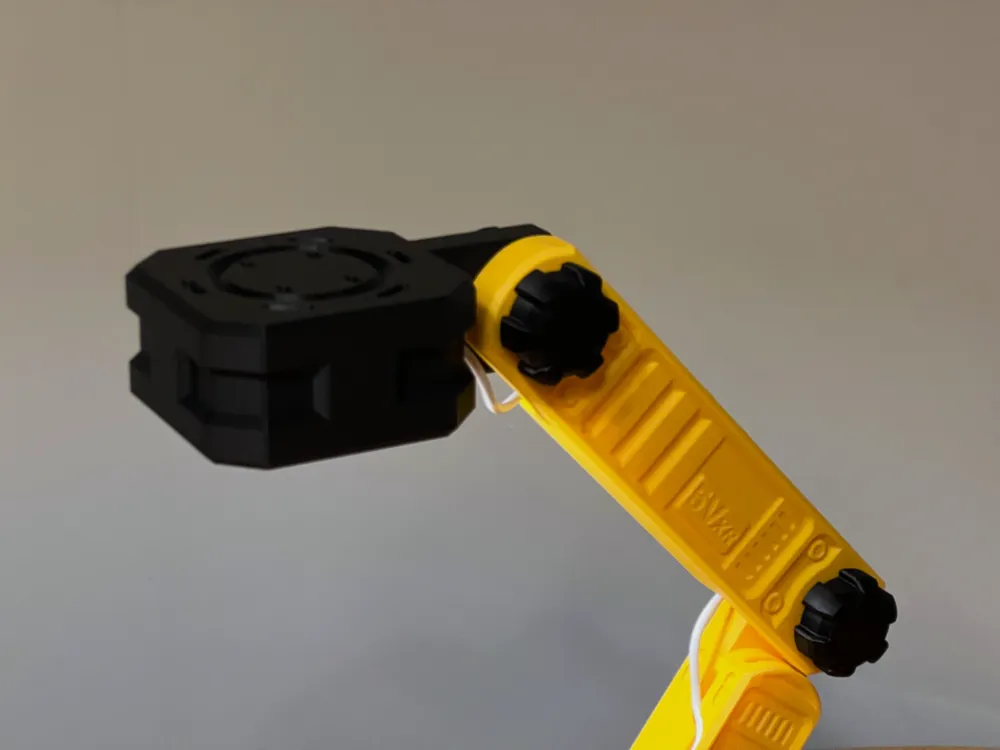
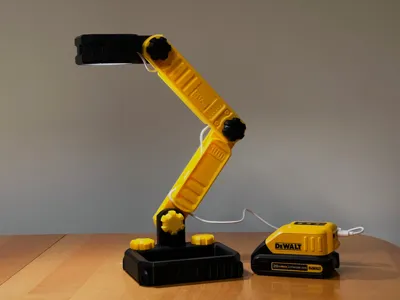
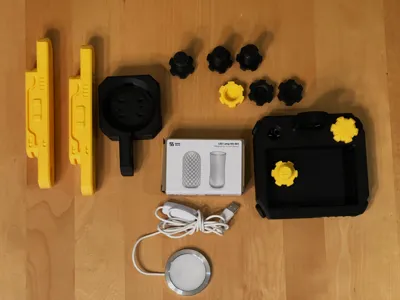
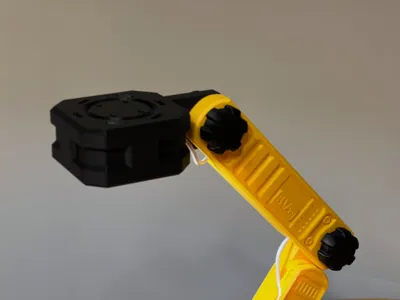
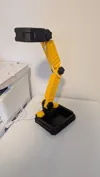
My desktop arm lamp is inspired by the DeWalt power tools and is designed to accommodate a 20V / 18V battery and USB adaptor to power the lamp 5Volts USB. The lamp requires the purchase of a separate 5 Volts 60mm puck light with a USB plug from Bambu Lab Maker supply (see below for the part list for the "LAMP KIT-001").
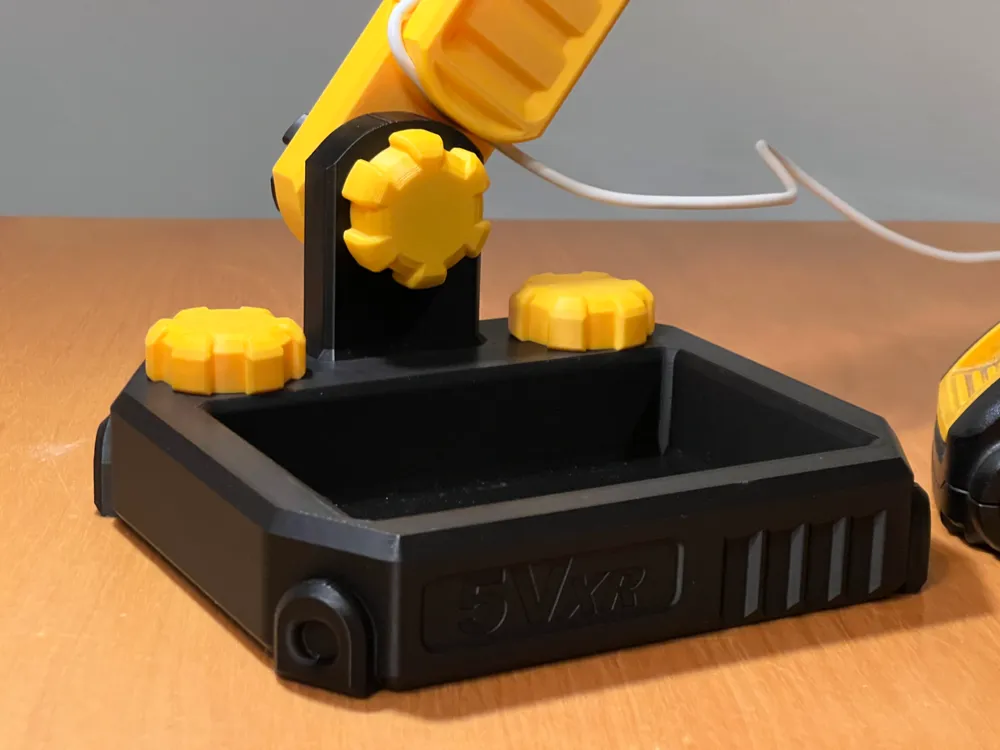
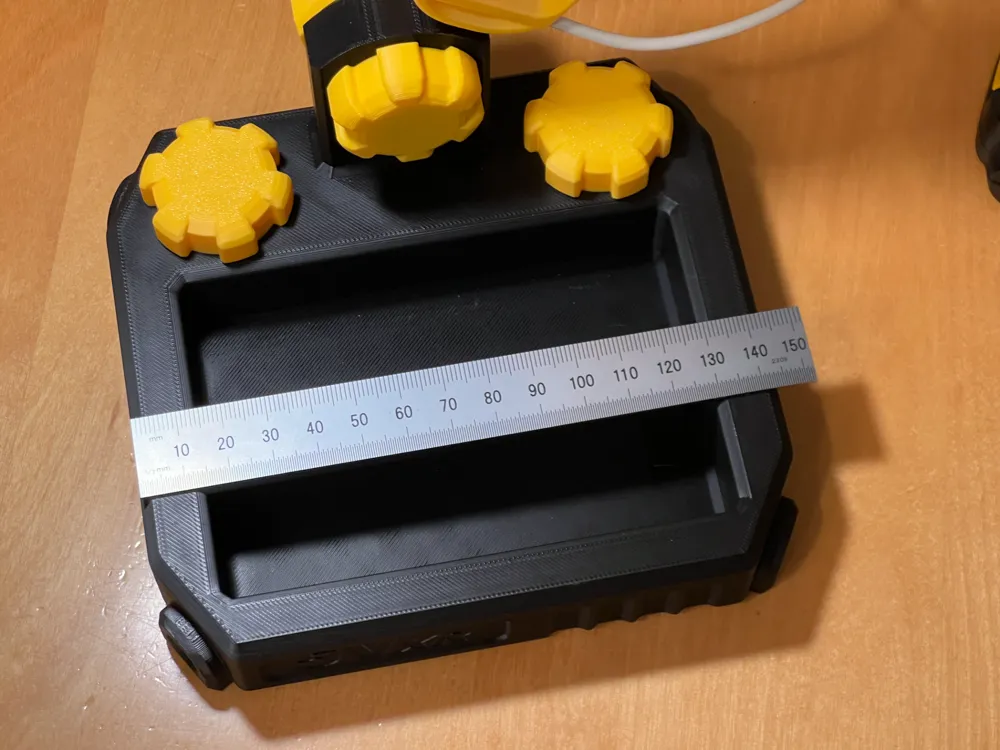
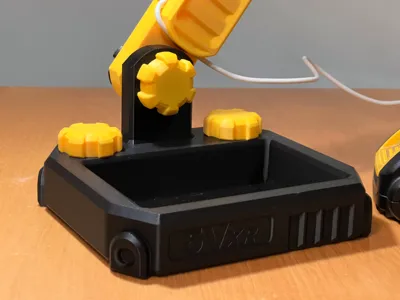
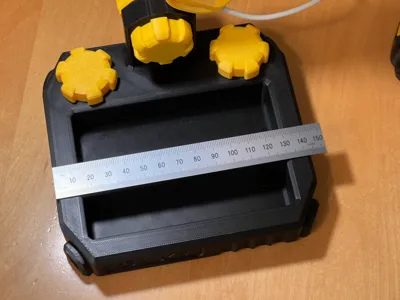
Both arms are identical, it's simply a matter of swapping the orientation for the assembly. The base includes an internal hidden cavity to let you add weight (fishing lead, nuts, etc), if you want to have a more "heavy feeling" of the base. The cavity is capped by 2 shorter bolts, that are intentionally bulky for a rugged shop look.
The lamp head is designed with good air flow vents to maximise the LED lifespan. Insert the LED puck and using the double sided tape provided with the Lamp kit. Optional 3mm screw holes are provided, if you prefer to screw the LED. The holes are angled 5 degrees to match the cable exit direction.
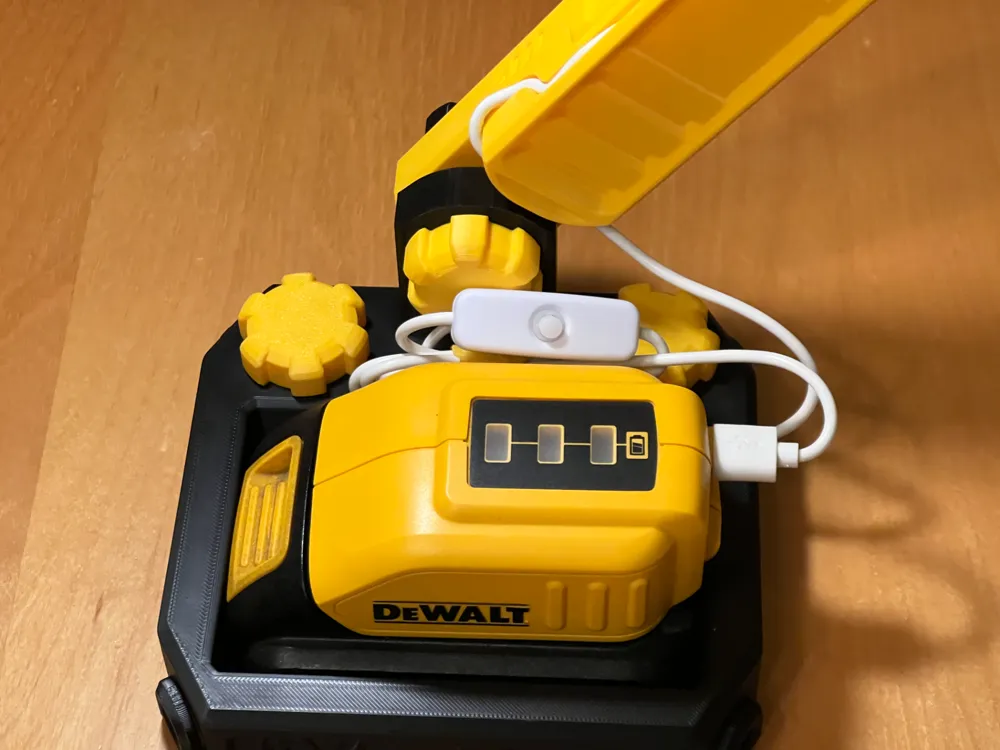
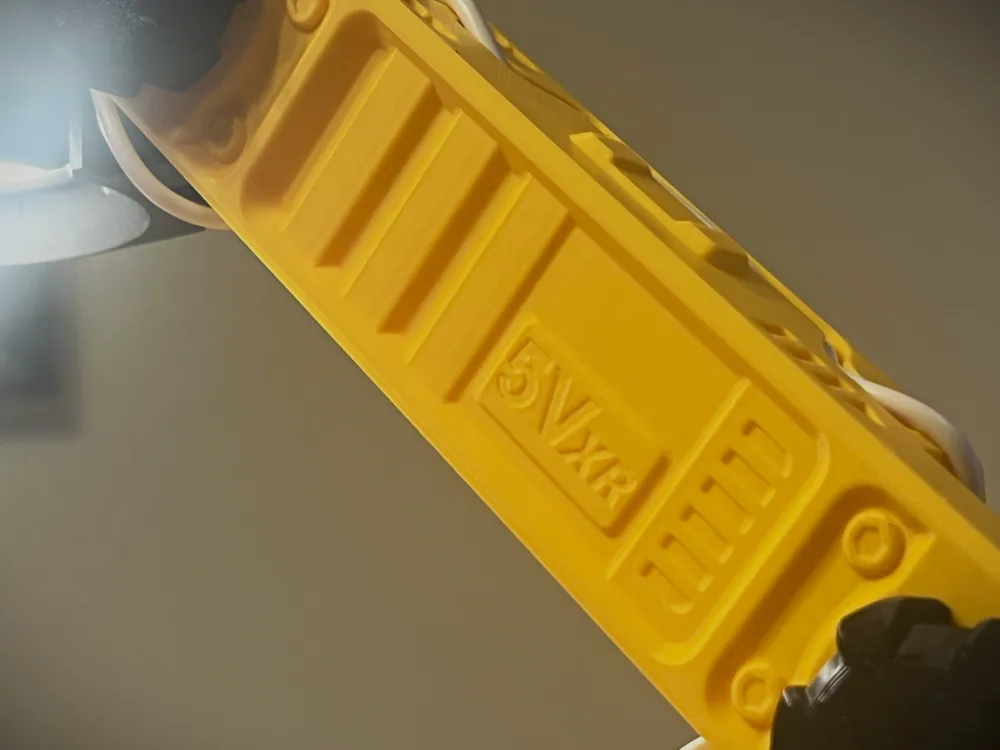
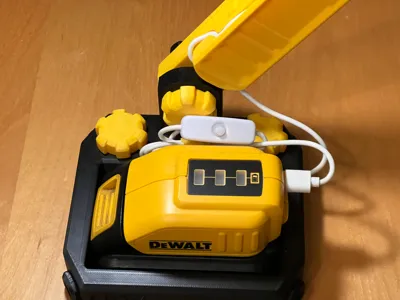
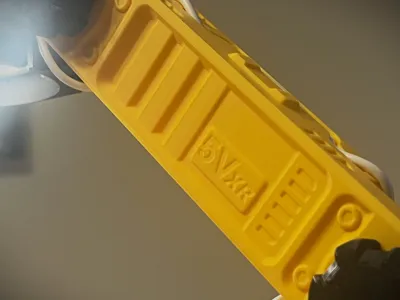
The USB cable from the head to the base can be clipped in the arms top grooves and ends, but the "lamp kit" cable is pretty long, so you will have to coil and attach the end to have a neat cable placement.
The 20V / 18V battery and USB adapter is optional, you can simply plug the USB cable in a power adaptor. If you don't use the battery, the base assembly pocket can be used to stash your office items.
Although the lamp is inspired by the power tools "look", the lamp does not bare a DeWalt logo or any other trademarked emblems.
Note for the larger 4 Amps DW batteries: A fellow user brought to my attention that some versions of the 4 amps DW batteries that feature an all black casing have a wider footprint and do not fit in the base openning.
2026-02-14 Update for the 4 Amps : I added a special print profile for a wider base to fit the infamous 4 amps !

[ Printing ] No supports required for all parts. This is a fun project, but be aware this is a big print, with 3 plates taking more than 3 hours each. Several plates are included for the different objects and colors, have fun swapping the colors for a personalised look.
After printing, no post-processing is required on the parts aside from the bolts, I recommend you spin them at least one time before the assembly to clean the threads a little bit because the first spin might be a little tighter. I designed my bolts with extra thread space to ease the screws, but 3D printed threads tolerances are always a challenge from printer to printer.
In the print file, you will see "yellow" objects floating over the parts, they are "modifiers". Modifiers will not be printed, they tell the "slicer" to change the infill where the arms will get squeezed and the bolts will endure greater torque. I use modifier to save printing time and material by using infill only where it really matters.
Adapt the print material for your intended use : PLA, PETG, etc.
[ Assembly ] : Insert the led cable into the black lamp head first and stick the LED puck under the lamp head while gently pulling the slack. The cable holes are exactly the diameter recommended by bambu labs. Route the usb cable down the slots as you attach the arms together. Note that the bottom arm must be installed towards the outside, if you want to keep the maximum space to lift the battery out of the pocket.
Licence and terms of use :
When you download the files, you understand and agree that this content is licensed under a Standard Digital File License.
You can :
(✔) Personal use : Download the digital file(s) for free and print 3D parts from the digital file(s) for your own use.
You cannot :
(X) Sell parts : manufactured from the digital file(s) or any derivative of the digital file(s), no matter how the parts are made, how many parts are made. This also prohibits you from selling parts made from the Digital file(s) on sites such as eBay, Etsy, FB marketplace or any other location.
(X) Share the digital file(s) or resell them.
Liability disclaimer and use:
By downloading the digital file(s) and making a 3D printed derivative object from it, you agree that you're doing it at your own risk and understand the limitations of 3D printed parts. The digital file(s) are not a product and the design do not give any express or implied warranty that, any product made from the digital file(s), will work or perform in a certain way.
License

You shall not share, sub-license, sell, rent, host, transfer, or distribute in any way the digital or 3D printed versions of this object, nor any other derivative work of this object in its digital or physical format (including - but not limited to - remixes of this object, and hosting on other digital platforms). The objects may not be used without permission in any way whatsoever in which you charge money, or collect fees.


Comment & Rating (62)