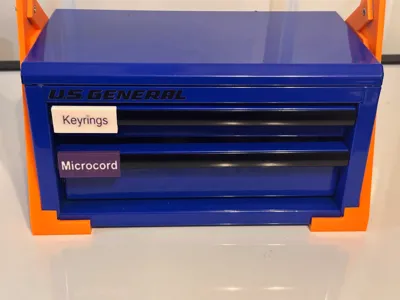
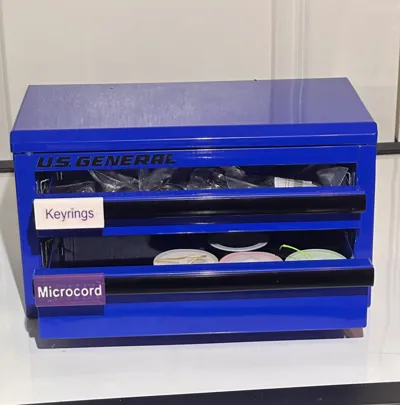
Clip on Drawer Label Harbor Freight Mini Toolboxes


Print Profile(1)

Description
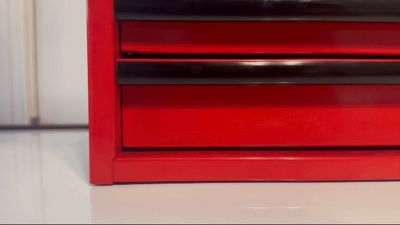
These text labels clip onto the face plate on the drawers in Harbor Freight Mini Toolboxes. A printer with multi filament feed system is required to print these (sorry).
- The text is flush with the surface of the label
- These labels are designed to be printed facedown
- You'll need a printer with multifilament feed capability, I'm using a Bambu Lab X1C
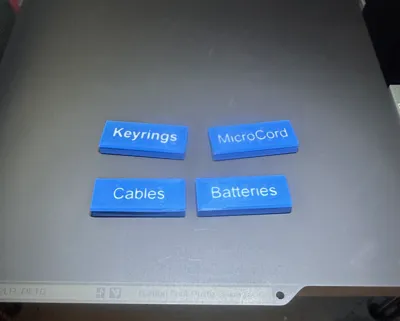
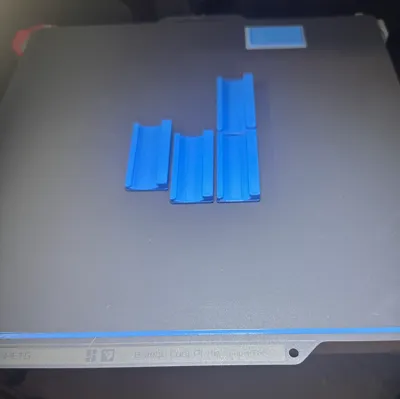
- Three widths of labels are provided here (30mm, 50mm, 65 mm), to which you can add text in your slicer.
- You can change the width to whatever works in Bambu Slicer, but do not change the height or depth, to ensure the labels will clip on correctly.
- You may need to change the font size to fit your text on your label. See image below, where I chose font size 11.
- Several label examples with text are also provided.
- The text addition tool in Bambu Slicer does not seem very intuitive is you are trying to add flush text, so I tried to include important details in the screenshot below.
- I have not tried to print these with a Prusa or other printer with multifilament feed system. I have loaded the individual 3mf files into Prusaslicer and added color to the text, which seemed to work ok. The main print profile with all the blanks and labels does not import ok. If you print one of these with a Prusa multicolor printer, please let me know how it goes.
To add text to a blank label
Load a blank label into Bambu Slicer
Orient the label to be face down.
Select the label
Rotate the build plate so that you are looking from the bottom up.
Select the text tool
Choose a font size, say 9 to 12, that allows your text to fit on the label
Select a thickness around 0.03 mm, much less than your layer height, but something you can zoom in on in the slicer and see when you are adding color.
Set the embedded depth to about 1 mm, less is ok if your text filament is very opaque.
Select the Objects view (vs Global) so you can see both the text and label color
Add your text. Note the label only goes on in one direction, the smaller clip side is the top.
Use the mouse cursor to locate the text on the face of the label from view beneath the build plate. Adjust the font size if needed.
Select/confirm your text and label color
After printing, install the label by hooking over the bottom of the black trim place, then rotate and snap the top in place. See video included with the cover images. I recommend high strength print settings, 6 walls, 25% infill. I used PLA, but most materials should work. The Bambu cold supertack plate provides a fairly clean print surface, but I also printed some labels with a textured PEI plate.


License
You shall not share, sub-license, sell, rent, host, transfer, or distribute in any way the digital or 3D printed versions of this object, nor any other derivative work of this object in its digital or physical format (including - but not limited to - remixes of this object, and hosting on other digital platforms). The objects may not be used without permission in any way whatsoever in which you charge money, or collect fees.
Comment & Rating (5)