
3D Printable Kazoo

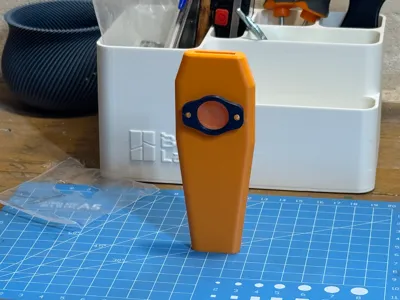
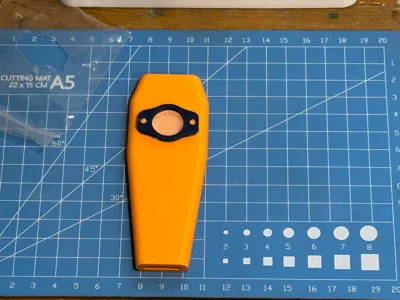
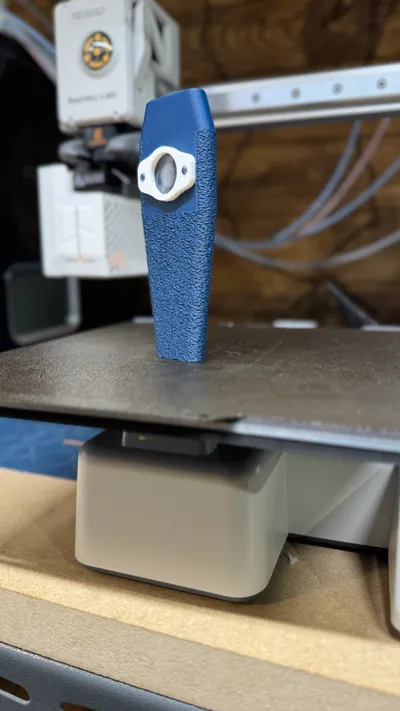
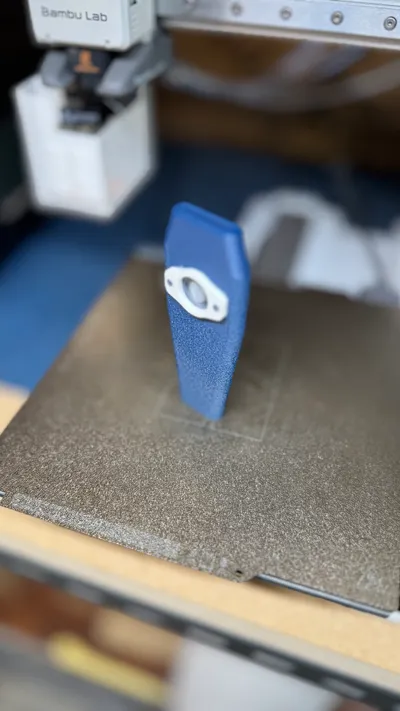
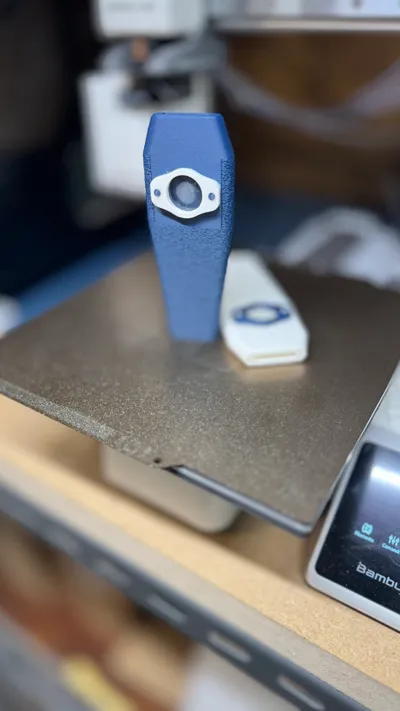
Print Profile(2)


Bill of Materials
- Membrana x 1: Foglio_di_plastica
Description
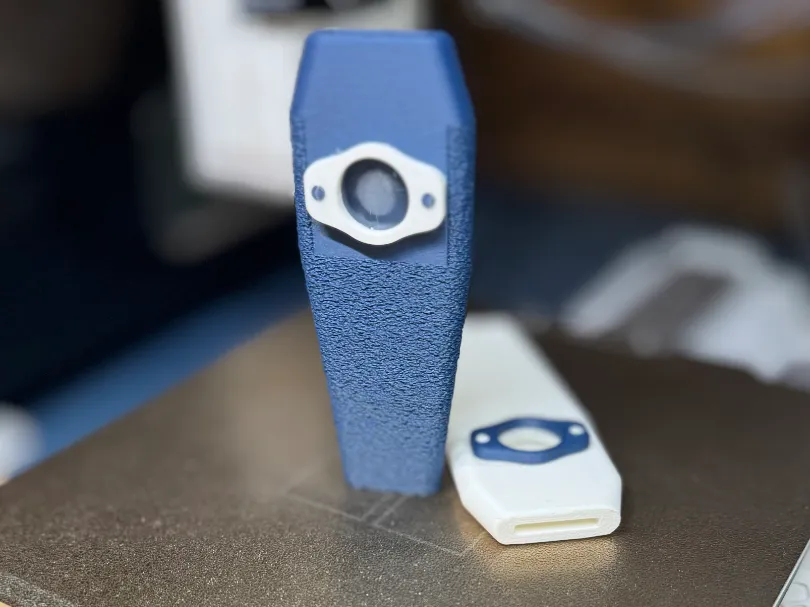
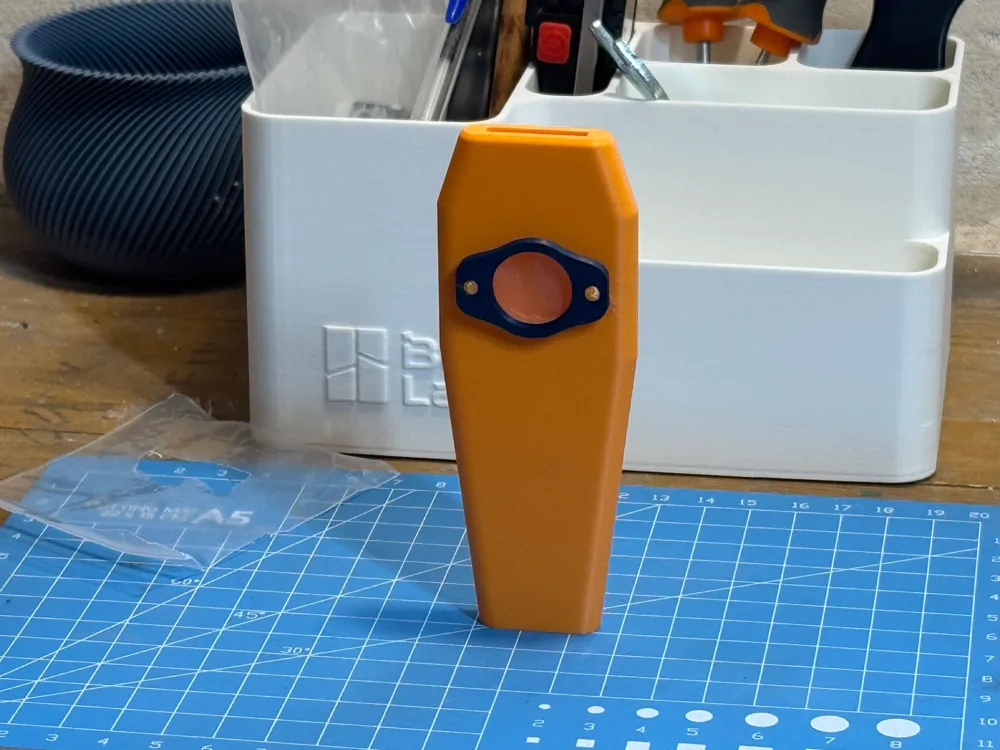
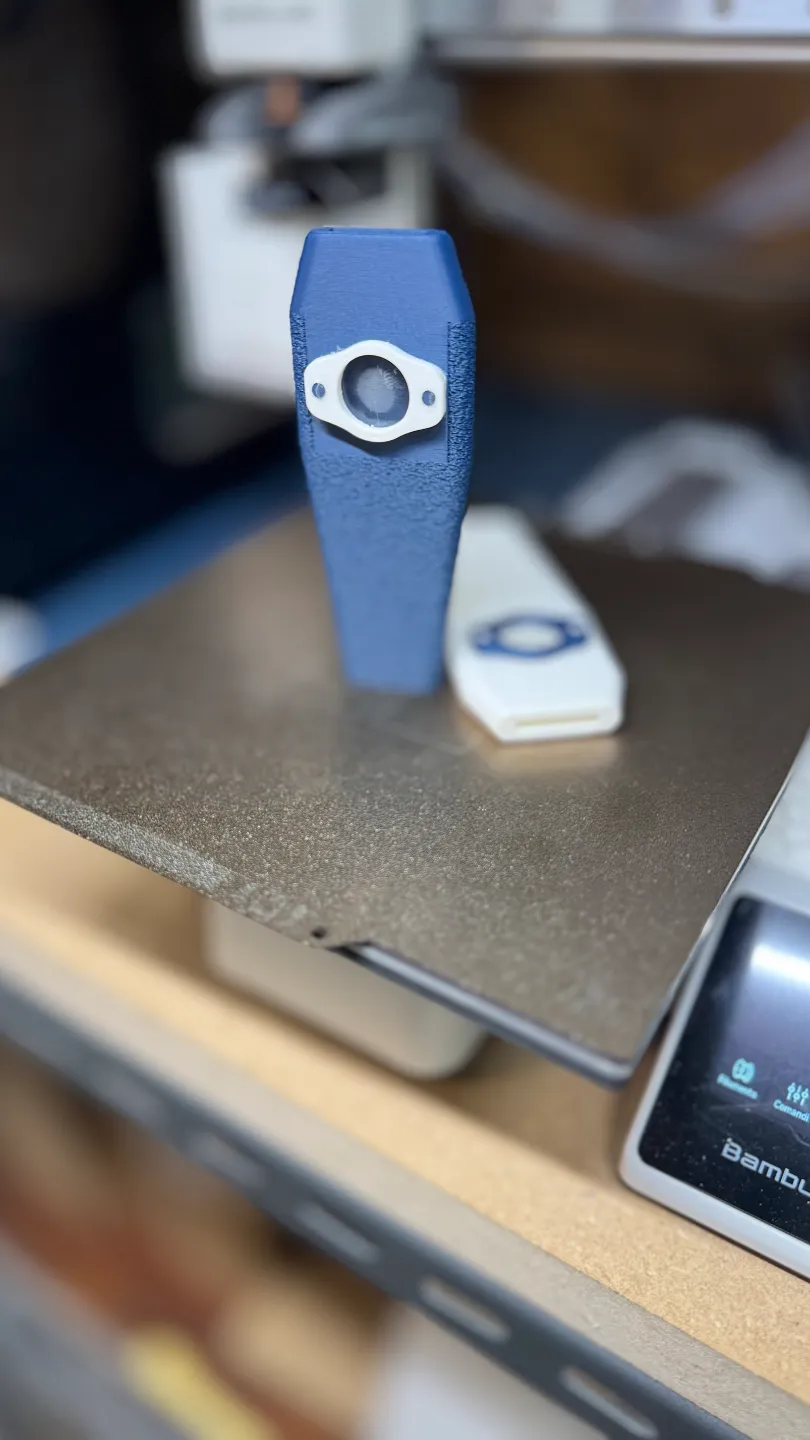
Carry the fun of music with you at all times with this 3D-printable kazoo! This wind instrument is perfect for anyone looking to add a creative touch to their 3D printing endeavors, crafting a functional, entertaining, and easy-to-assemble object.
🔹 Features:
✔️ Ergonomic Design – Comfortable to hold, with a compact and sturdy structure.
✔️ Easy to Print – No supports needed, perfect for any FDM printer.
✔️ Modular Components – The membrane can be easily replaced to achieve diverse sounds.
3D Printed Kazoo Assembly Guide
Introduction
The kazoo is a wind instrument that requires no special skills to play. Unlike other instruments, you do not blow into it; instead, you hum or produce a sound while holding the instrument to your lips. The vibration of the membrane will give the sound a characteristic "nasal" effect. This kazoo is designed for easy 3D printing and assembly in just a few steps.
Materials Needed
- Two 3D-printed pieces:
- Kazoo body
- Lid with membrane hole
- A thin sheet of plastic (can be obtained from a clear plastic bag or packaging sheet)
- A craft knife or scissors
Assembly Procedure
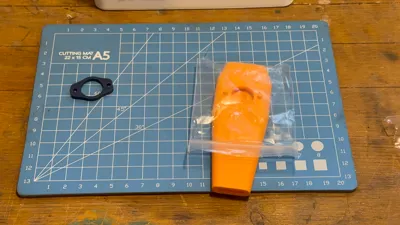
1. Component Preparation
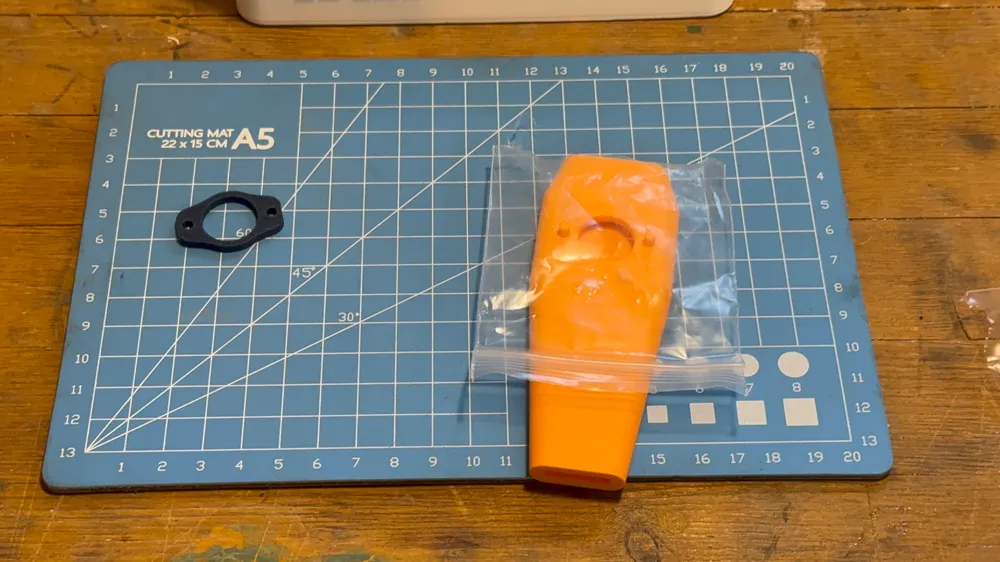
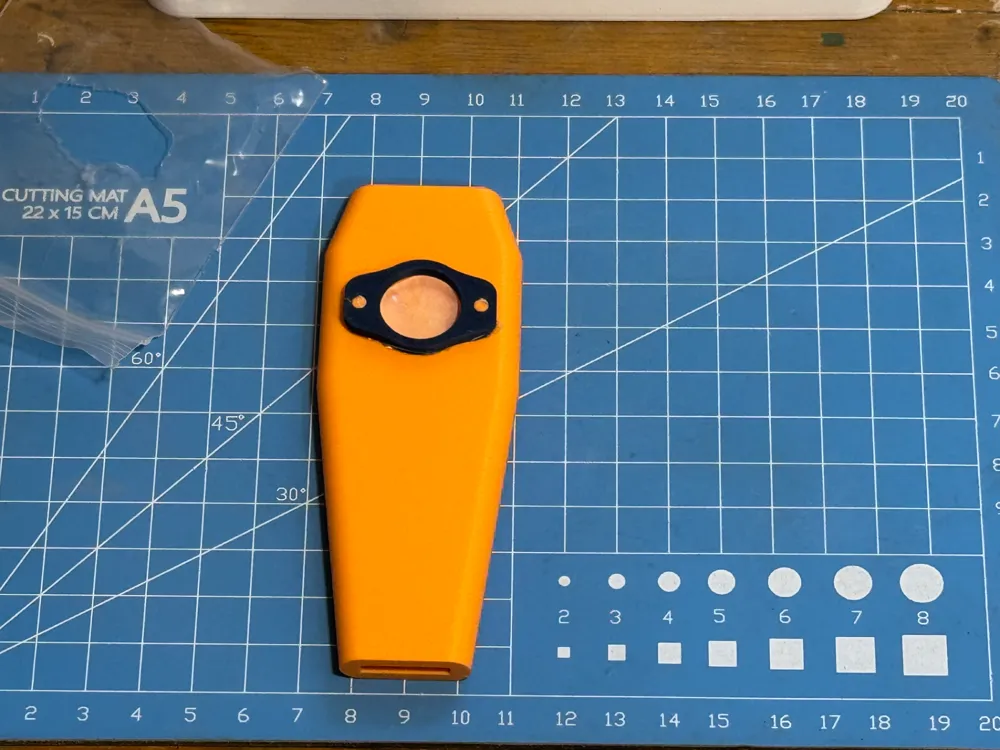
Place the two 3D-printed parts and the plastic sheet on a work surface, ensuring you have all the necessary materials.
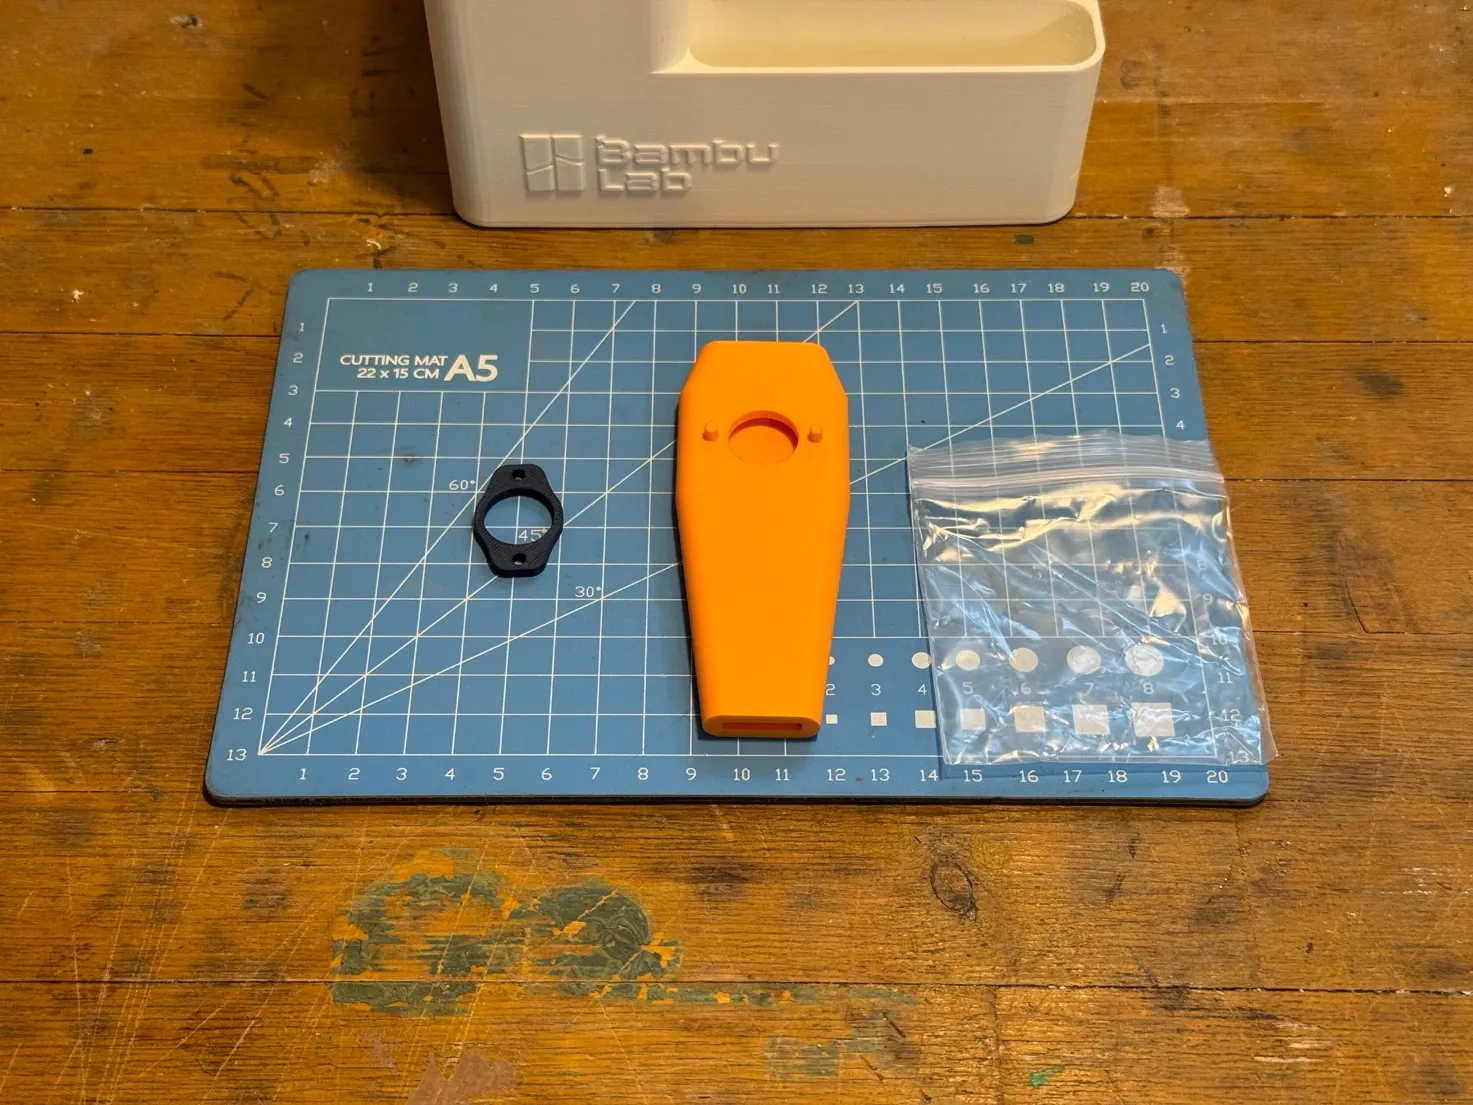
image 1: Parts required for assembly.
2. Positioning the Membrane
Take the plastic sheet and place it over the main hole of the kazoo body, covering it completely.
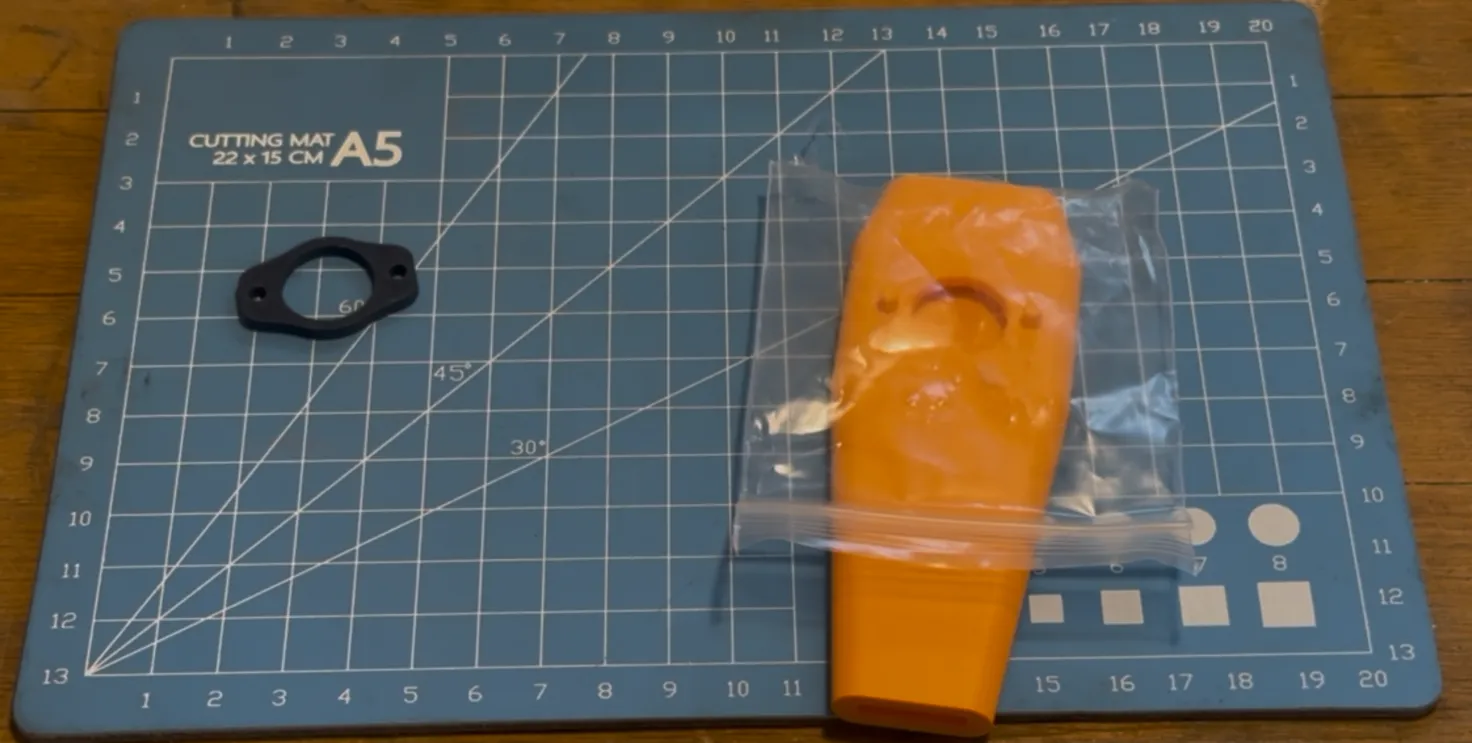
image 2: Positioning the plastic sheet over the kazoo hole.
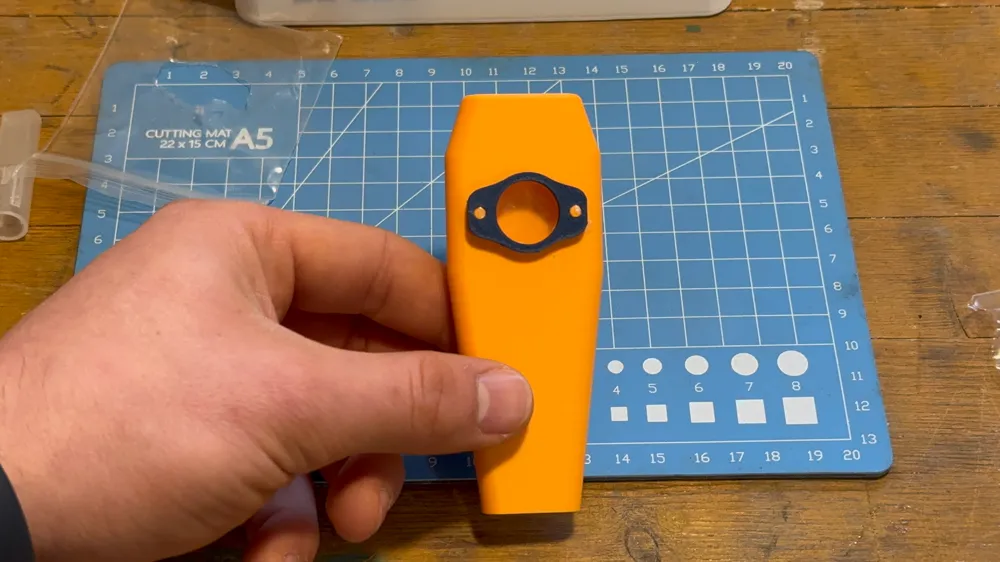
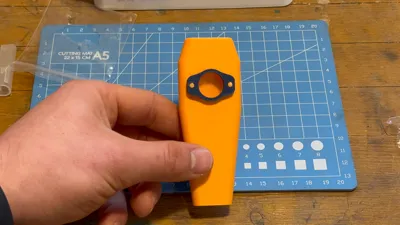
3. Securing the Lid
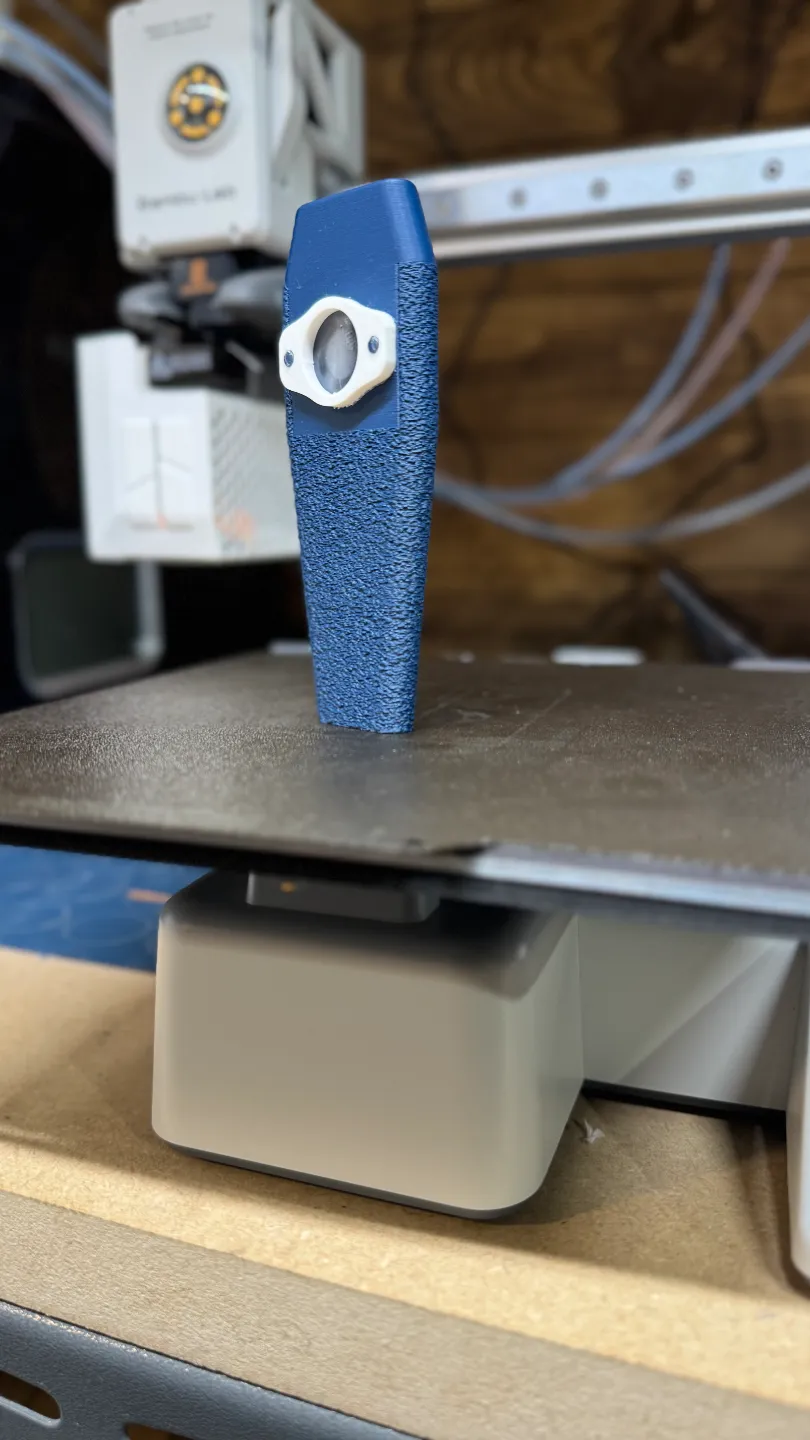
Take the lid with the hole and press it onto the kazoo body, trapping the plastic membrane between the two pieces.
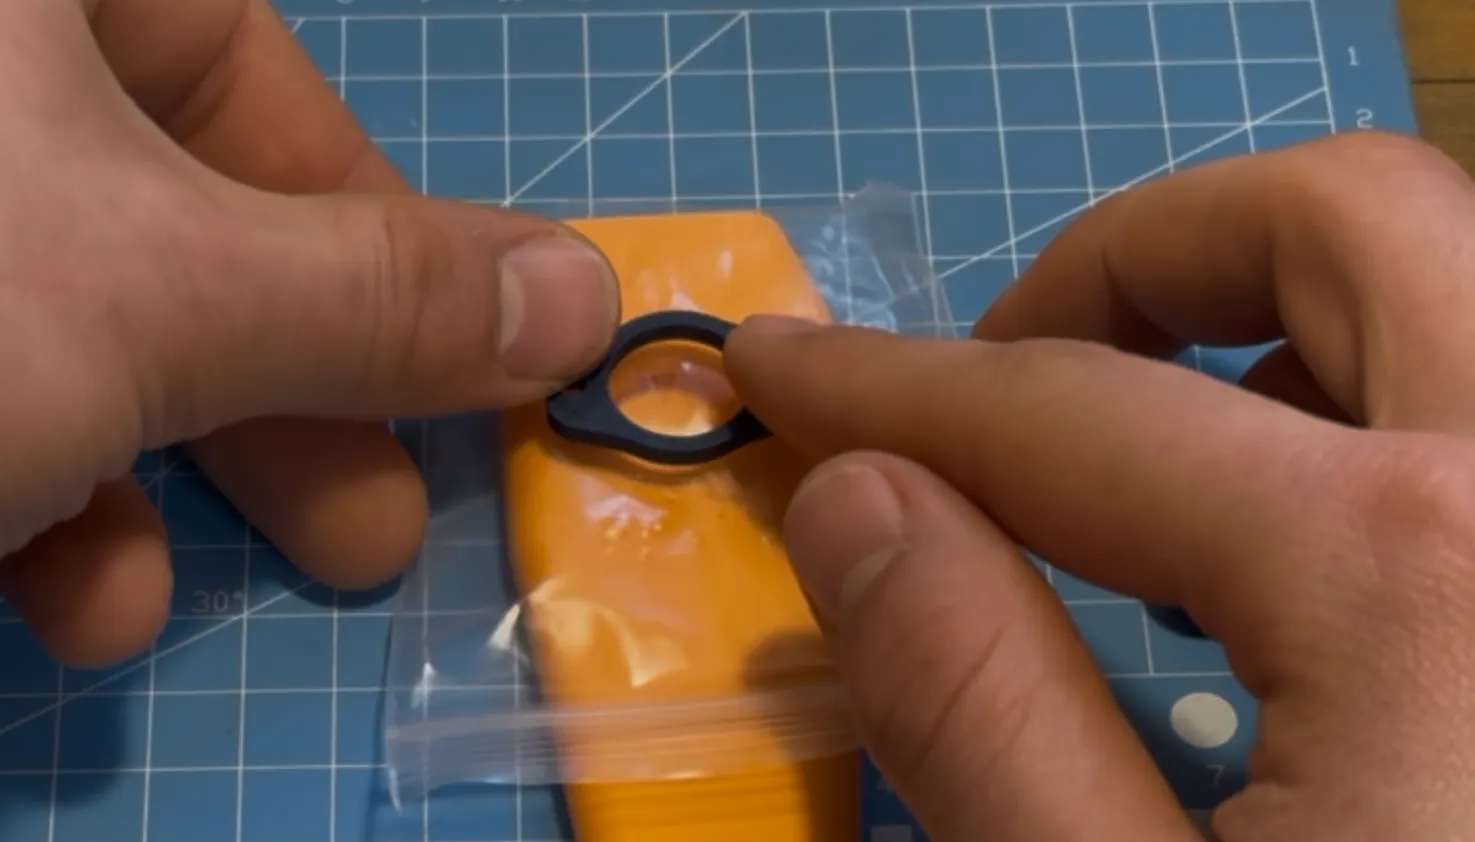
image 3: Placing the lid over the kazoo body.
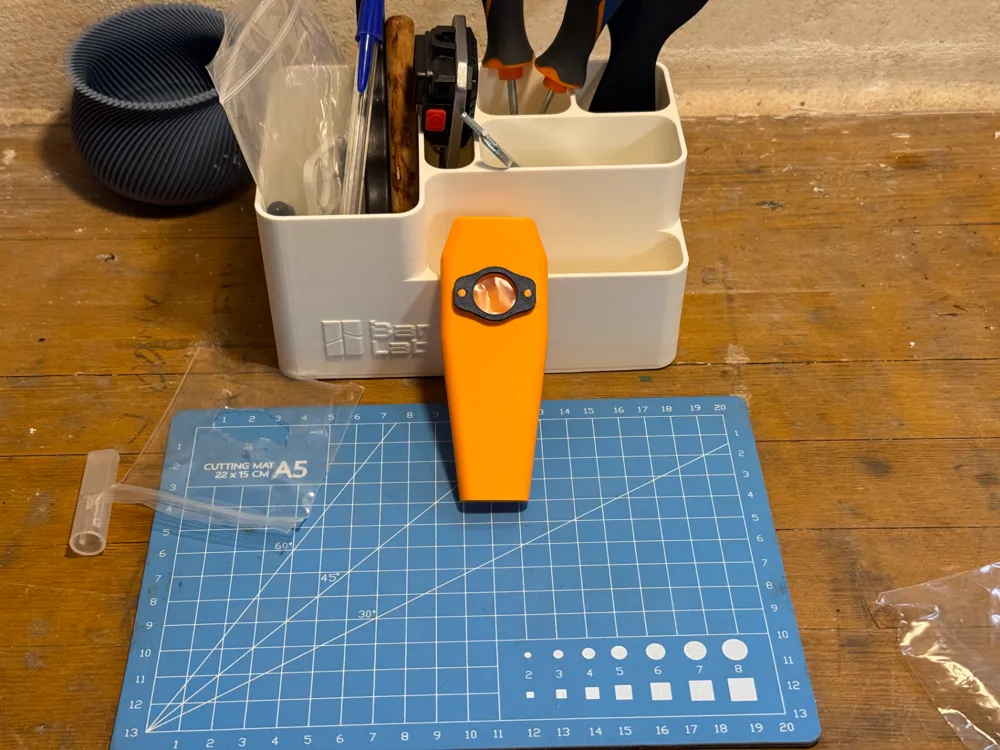
4. Trimming Excess Membrane
Use a craft knife or scissors to remove the excess plastic protruding from the edge of the lid.
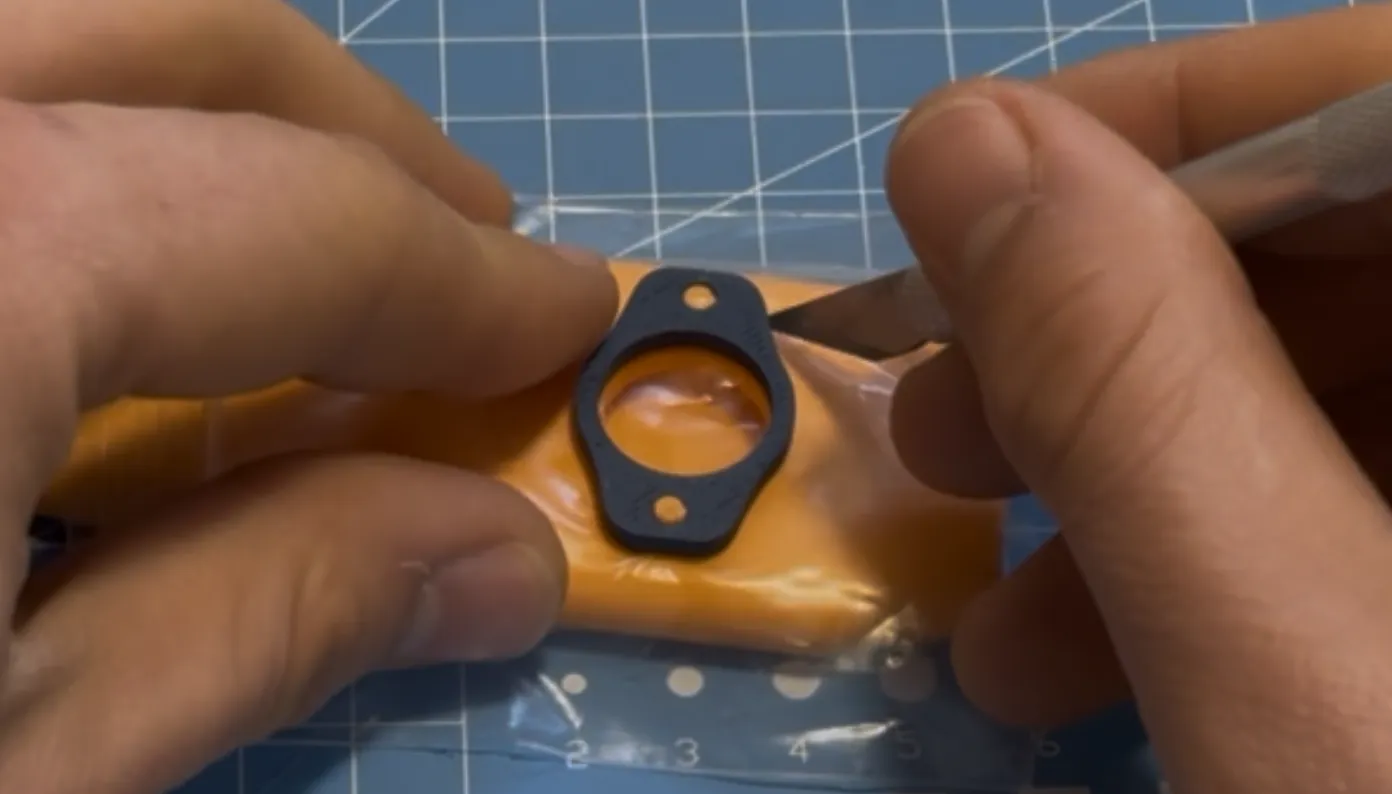
image 4: Removing excess plastic.
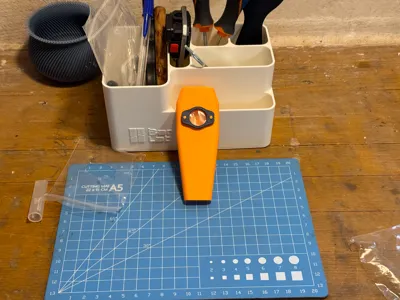
5. The Kazoo is Ready!
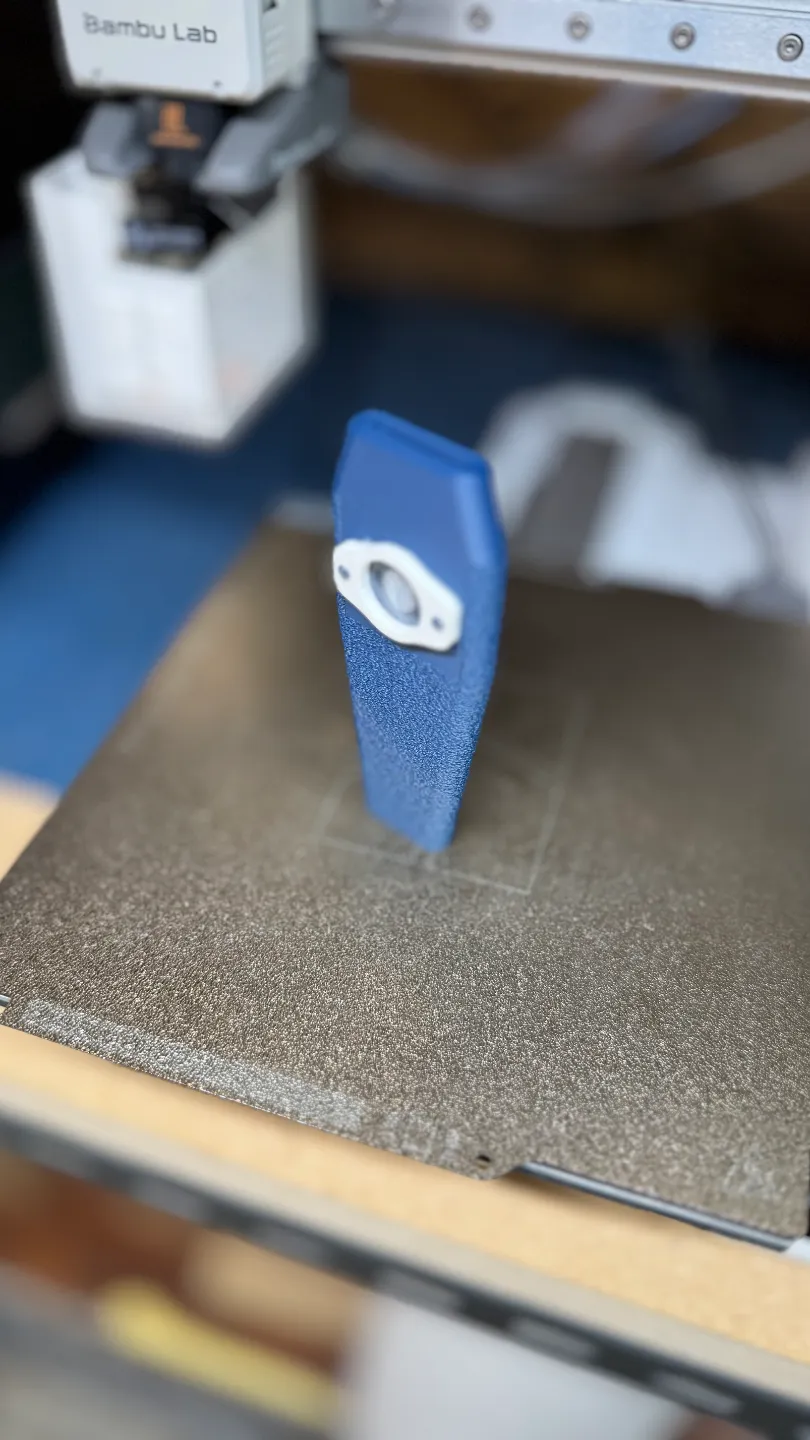
Once assembly is complete, the kazoo is ready to use. Remember to not blow into it, but to hum or produce a sound to achieve the vibrating effect.
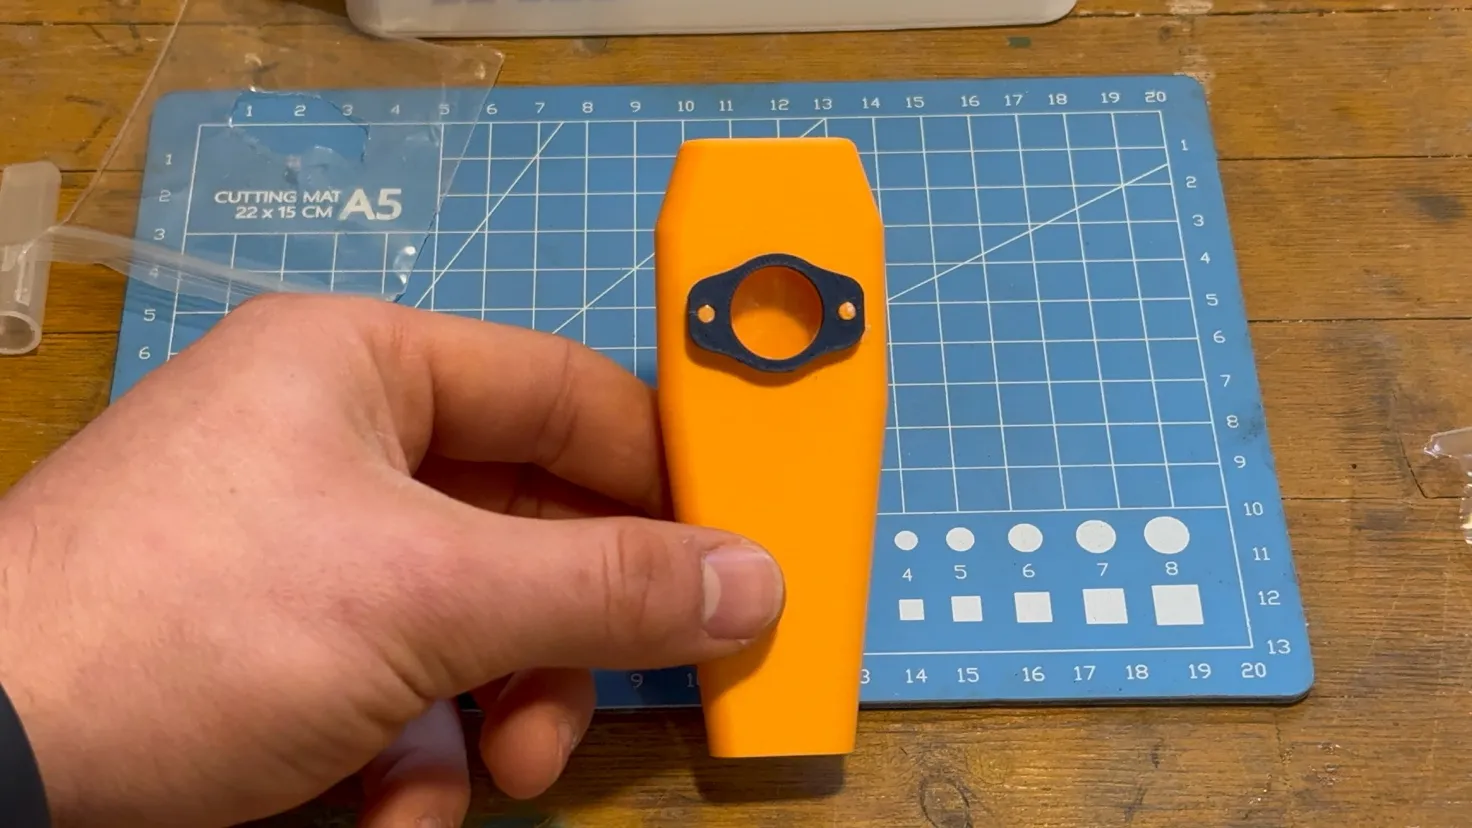 image 5: Assembled kazoo ready for use.
Tips for a Better Sound
- The quality of the membrane greatly affects the sound. If the kazoo does not vibrate well, try using thinner plastic.
- If the sound is too muffled, ensure the membrane is taut but not too stiff.
Have fun playing with your 3D-printed kazoo! 🎶
Documentation (1)
License

You shall not share, sub-license, sell, rent, host, transfer, or distribute in any way the digital or 3D printed versions of this object, nor any other derivative work of this object in its digital or physical format (including - but not limited to - remixes of this object, and hosting on other digital platforms). The objects may not be used without permission in any way whatsoever in which you charge money, or collect fees.


Comment & Rating (23)