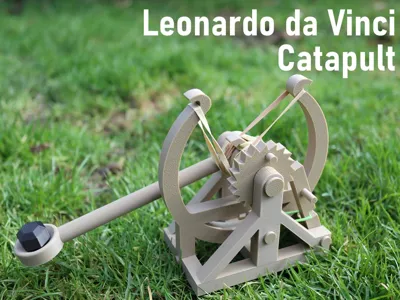
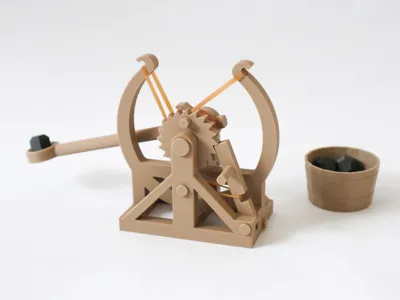
Leonardo da Vinci Catapult


Print Profile(2)


Bill of Materials

Description
Have some fun with this awesome catapult! Relive the experience of using a catapult from epic historical battles. It combines various elements from two catapults drawn by Leonardo da Vinci (Image below), although these catapults were never made into full scale. This includes the flexy arms of the above drawing and the gear/release mechanisms of the lower drawings, along with the frame and launcher. It fires relatively consistently and can be quite powerful, depending on the elastic bands used. No supports are needed.

This launcher can be quite powerful, so please take the necessary safety precautions!
- This design is shared for educational and recreational purposes only. The catapult uses elastic bands and can launch projectiles with force. Do not aim at people, animals, or fragile objects. Use responsibly in a safe environment. The creator assumes no liability for injury, damage, or misuse. Adult supervision is recommended if children are involved.
- Assemble under adult supervision. Elastic bands under very high stress could break the model.
- Wear protective eyewear when operating the launcher in case of rebounds.
- Only use the ammo supplied in this model kit.
Assembly video

Step by step instructions

| You will need:
|
 | 1. |
 | 2. |
 | 3. |
 | 4. |
 | 5. Glue the stopper into centre piece. |
 | 6. Use glue. See orientation of elastic band hooks. |
 | 7. |
 | 8. Push the concave-shaped pin through the centre piece and into the launcher. It is quite tight. |

| 9. Slightly bend the frame to insert centre piece. |
 | 10. |
 | 11. |
 | 12. |

| 13. Using the provided hook tool, loop the small elastic band around the clicking arm (see next). |
 | 14. |
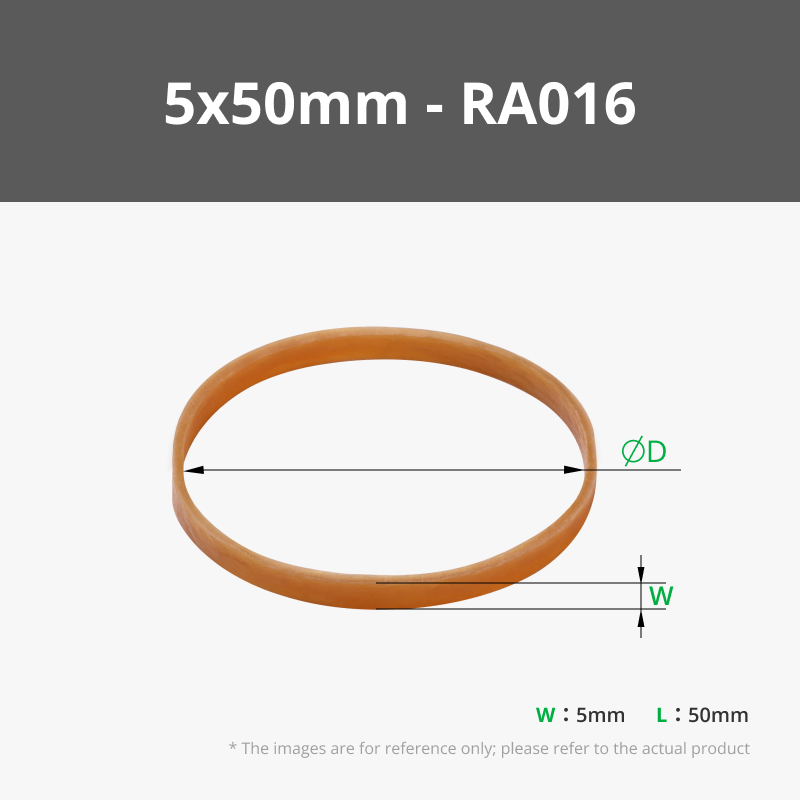
 | 15. Loop one elastic band around the right arm and underneath the centre piece. |

| 16. Keep looping the elastic band and hook it over the right hook (see next).
Caution: Do not over-stretch the elastic bands to a high degree. This will put too much tension on the plastic arms, which could snap under extreme tension.
To avoid this, make sure the elastic band is under a slight tension when the launcher is in its rest position. Manipulate the elastic band on the centre piece to create slack. |

| 17. It should look like this. |

| 18. The second elastic band goes over the top of the centre piece and then underneath it (opposite to the first elastic band).
Repeat the same procedure. Hook the elastic band onto the second hook. |
  | 19. It should look something like this. |

| Completed! |
Updates
08/12/2025: Increased the size of stopper pin and its hole in the centre piece. Increased number of walls for critical pieces to increase strength. Tightened up several pin joints. Increased diameter of clicking arm release pole for higher strength. Tested with elastic bands from maker's supply, so it's easier for others to find the same elastic bands. Updated instructions with photos of newly modified launcher. Also in in the last main photo.
Boost Me (for free)
License
You shall not share, sub-license, sell, rent, host, transfer, or distribute in any way the digital or 3D printed versions of this object, nor any other derivative work of this object in its digital or physical format (including - but not limited to - remixes of this object, and hosting on other digital platforms). The objects may not be used without permission in any way whatsoever in which you charge money, or collect fees.
Comment & Rating (150)