
Sushi Go Party Insert
Print Profile(2)


Description
This is my take on an insert for board game Sushi Go Party.
My goals for this were:
- Accommodate Sleeved Cards (I use these sleeves: Amazon.com: 10 Packs Arcane Tinmen Non-Glare Board Game Sleeves 50 ct Medium Size Card Sleeves Display Case : Toys & Games) I would think this would work well for non-sleeved cards as well
- Make it nice for picking the menu/cards by being able to flip quickly through, select, and put away the cards (separate 'slots' for each card type).
- Keep everything orderly when storing.
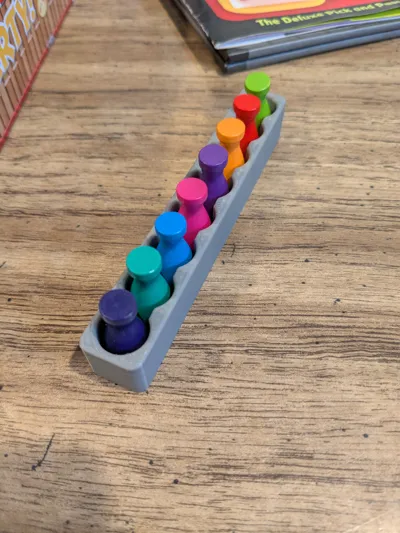
- Removable pawn holder (nice if wanting to allow all players easy access of choosing pawn)
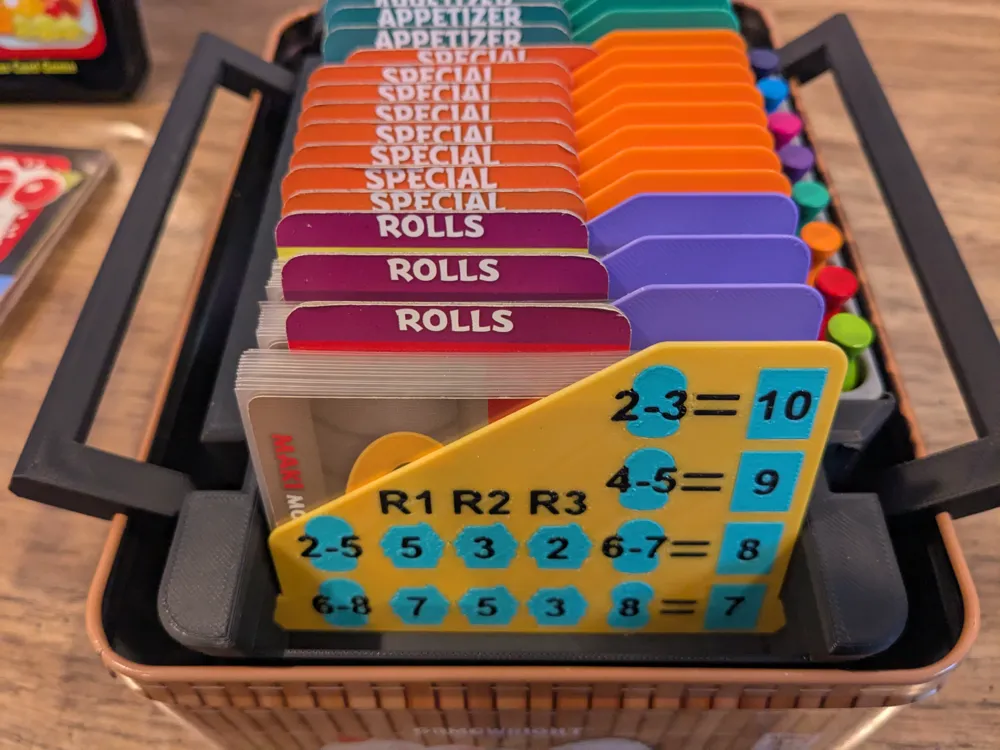
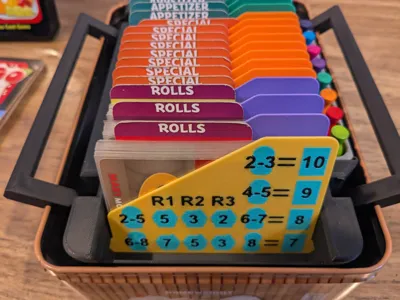
- Include quick reference to the number of player rules for cards and desserts.
This listing satisfactorily meets these goals for me, so putting it out here.
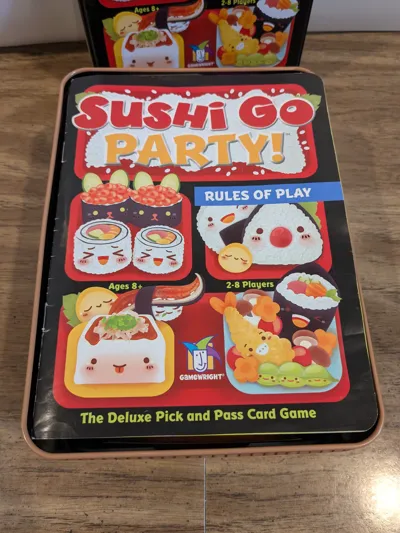
I think I have standard size tin, The top opening sizes on my tin are ~155mm x ~216mm (6.1 inches x 8.5 inches)
I printed everything with .2 layer height, 8% infill, No supports needed. I used various PLA
Component Descriptions
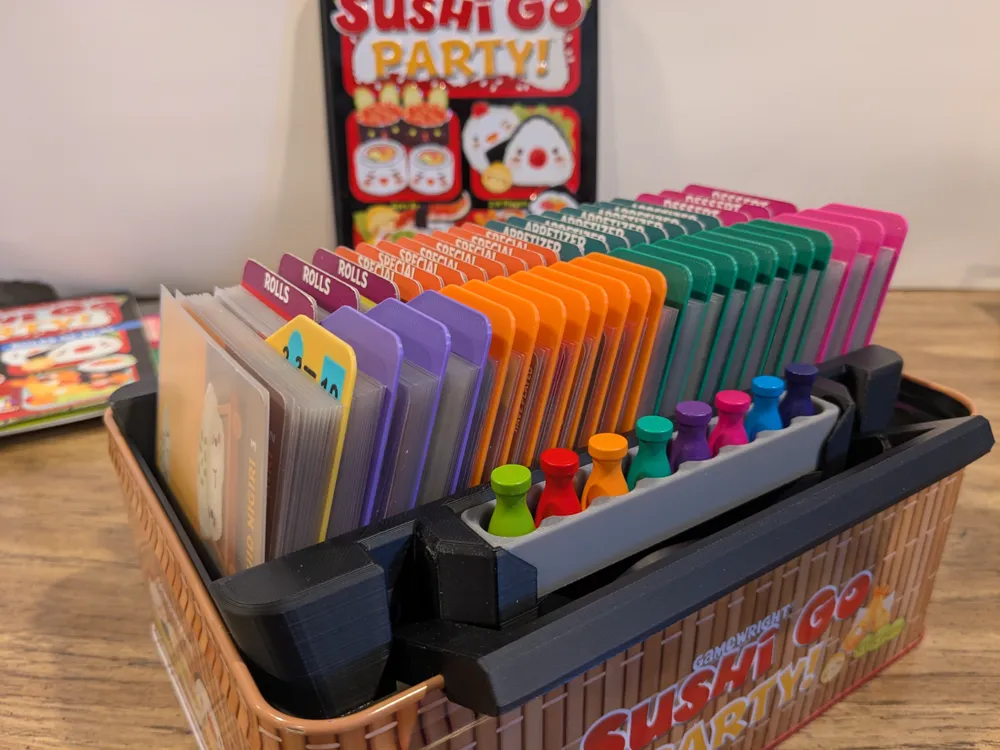
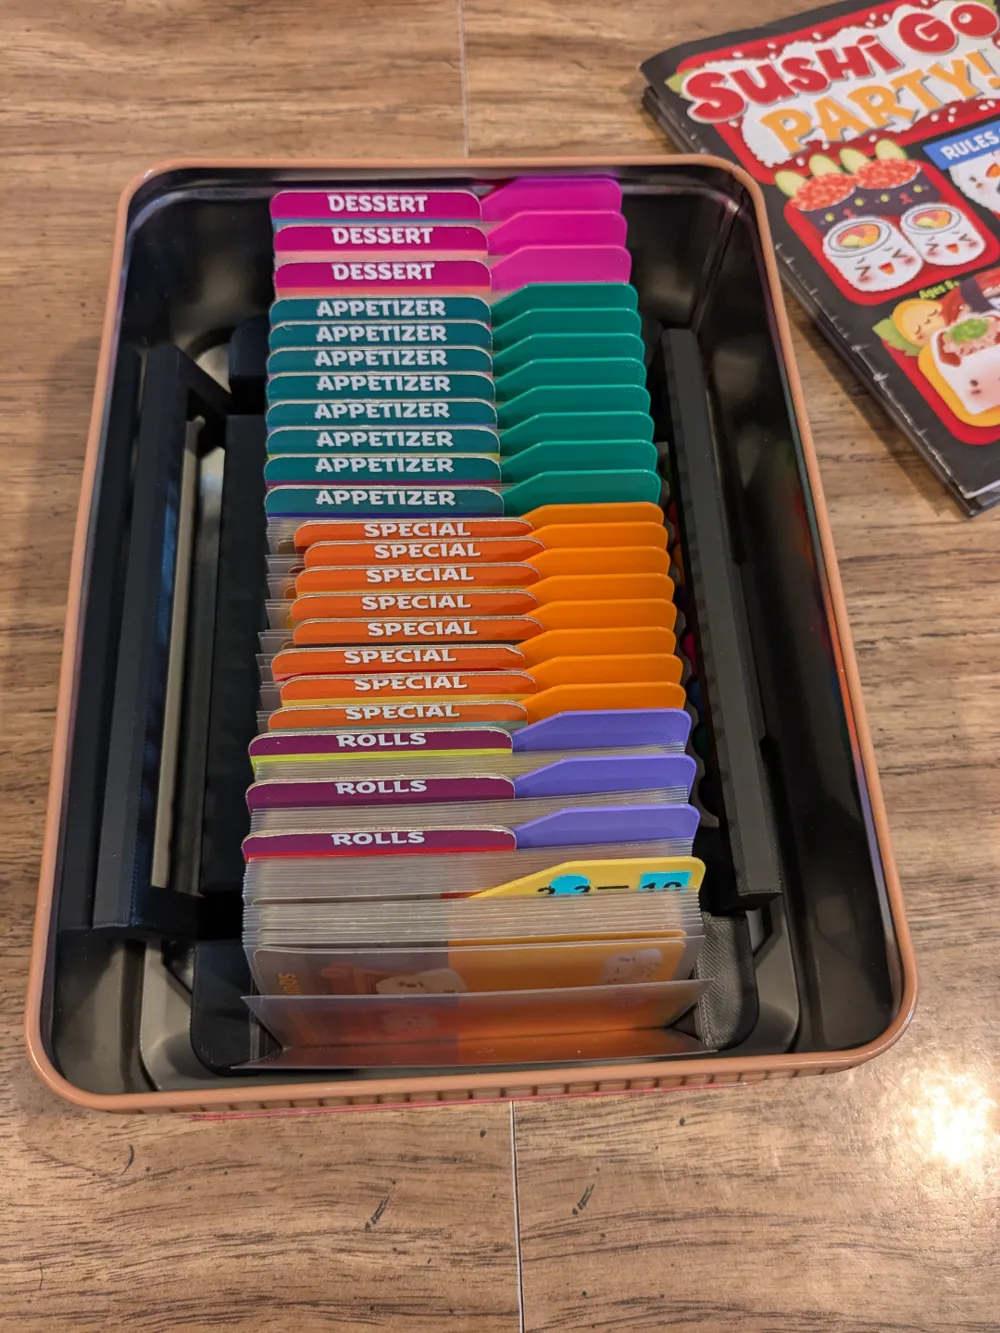
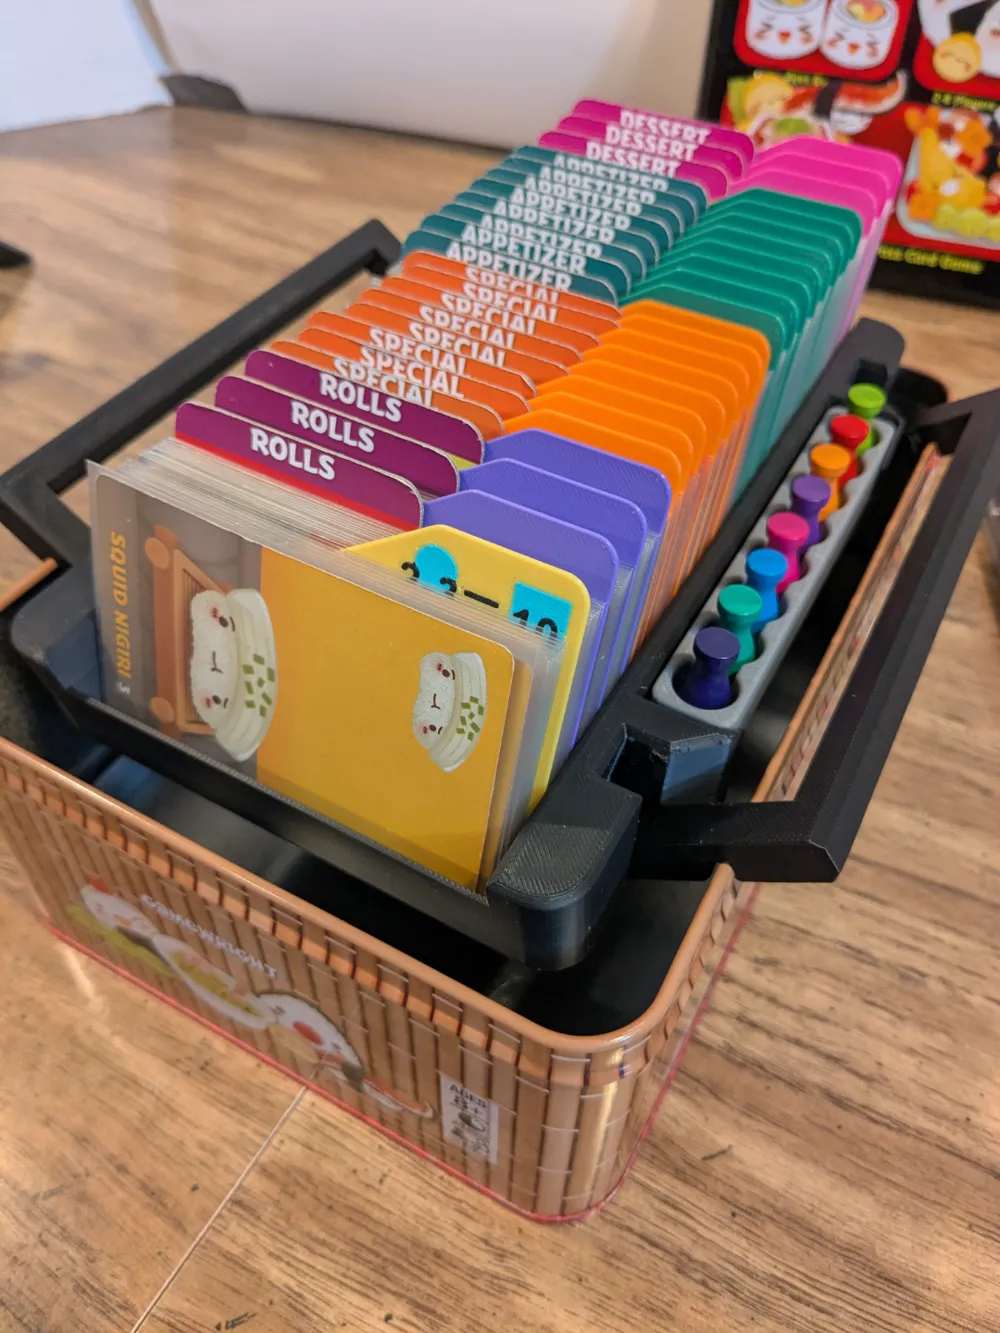
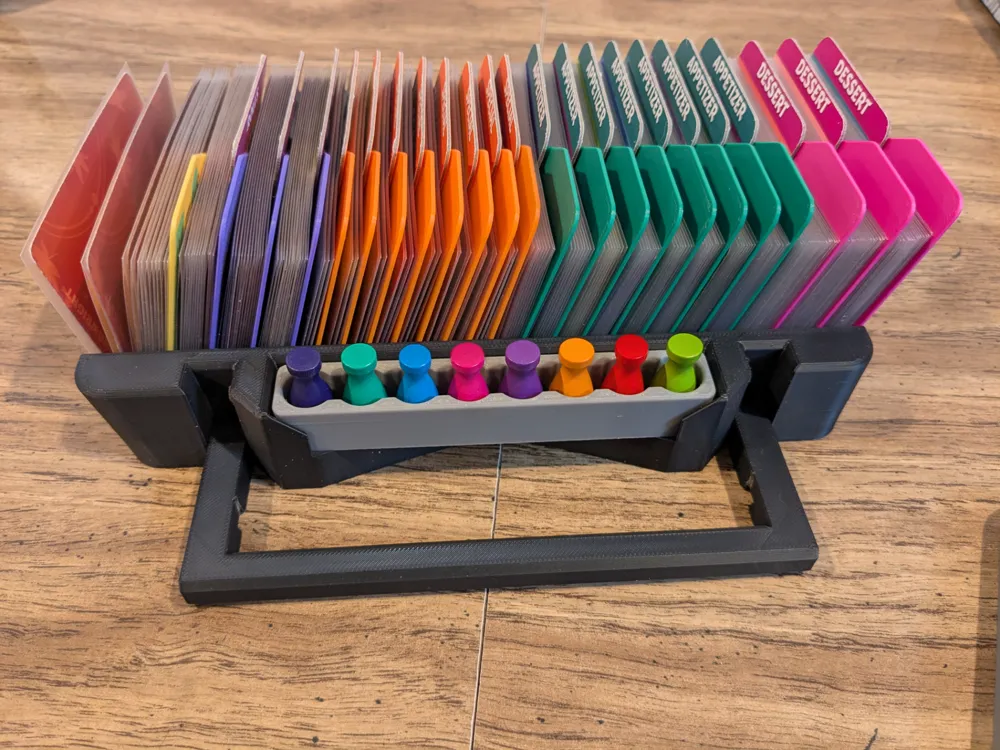
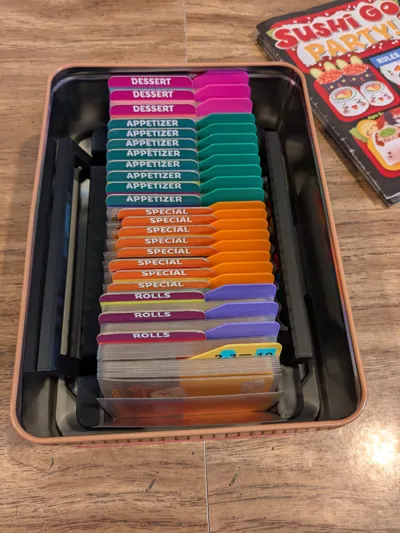
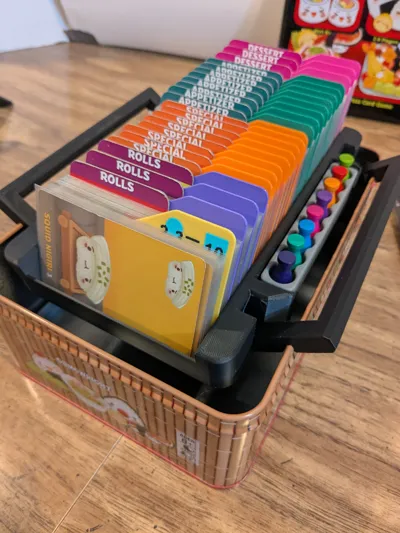
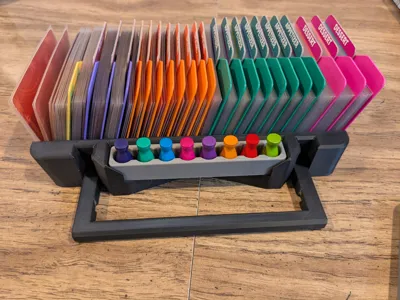
Main Card Tray: This is the star of the show, this holds all the cards, has place for the pawn holder. Dividers are added to this to make card slots (23) for each type of card.
There is a print in place element to this, as there are two 'handles' that swivel.
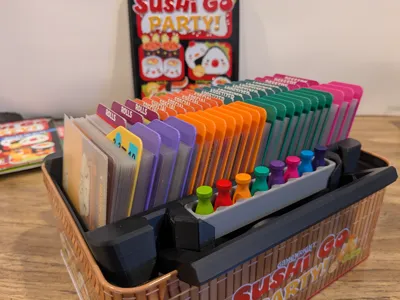
The Main card tray is designed such that it can be removed from the storage tin and can be set/suspended on top of the tin by the handles. The handle on the side with the Pawn Holder is designed to 'snap' into vertical position as it also ensures the pawns stay in place when storing.
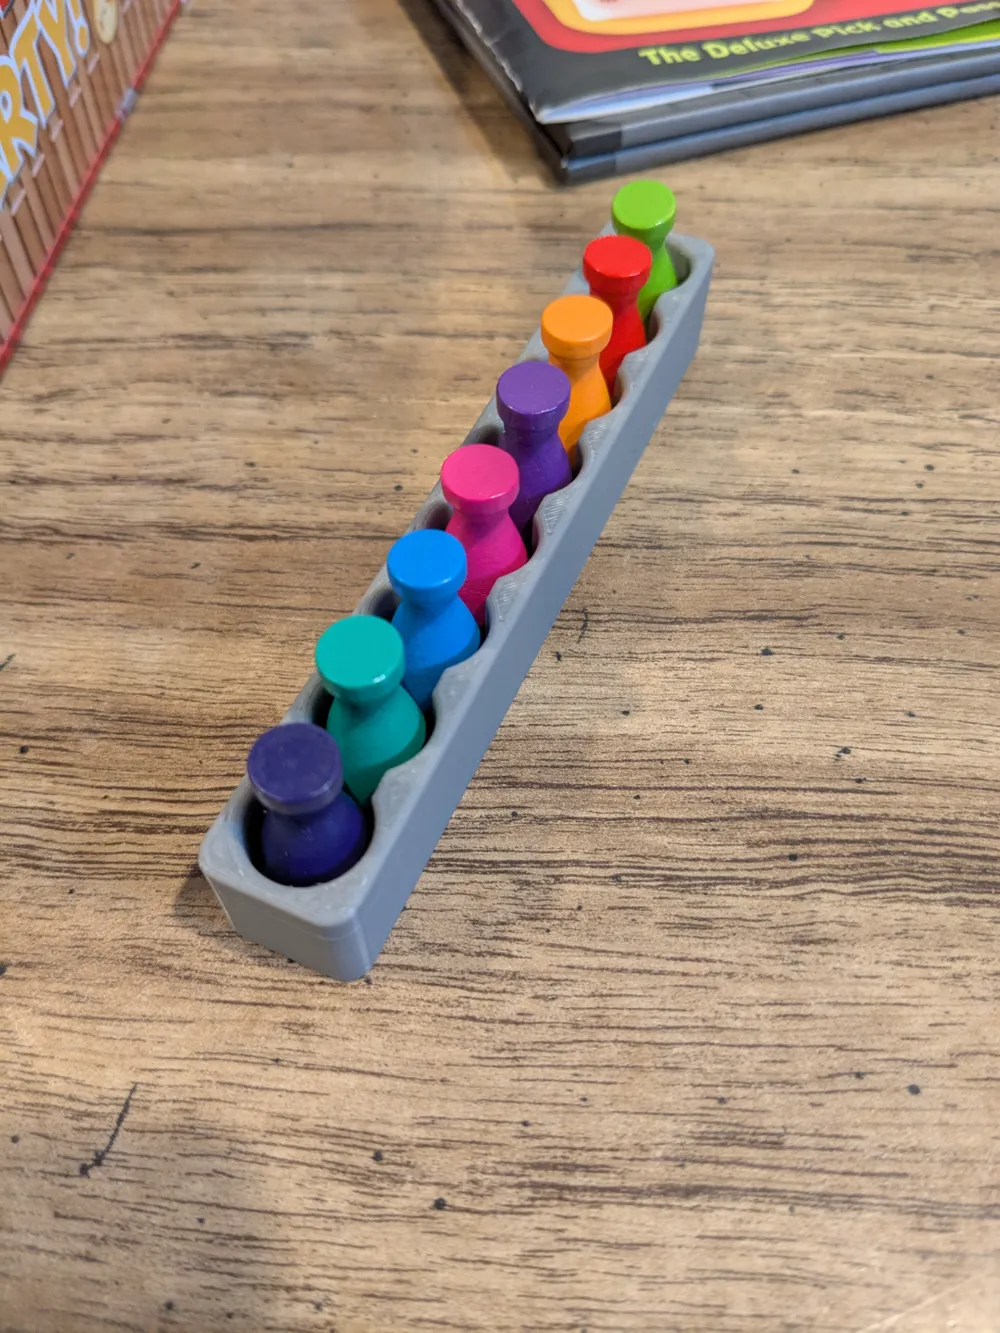
Pawn Holder: This holds the 8 pawns and can be set on table during setup if desired. TIP: The holder can easily be removed from the Card Tray by squeezing on the end pawns and lifting.
Divider: (X23 or X22 see Divider Nigiri below) - These are 1mm thick and fit into the Main Card Tray to create 23 separate card slots. These are designed such that they give range of motion, however they stay vertical at a point, meaning removing card sets behind or in front of them doesn't cause them to 'collapse' into the tray.
As seen in the pictures on this listing, I chose to print sets of these in different colors to match the different menu types. 8 for Appetizer in green, 3 for rolls in purple, etc.
NOTE: When the dividers are in the tray, they create different size 'slots' based on the number of cards in the given type. These go in order from front to back in the same order as they appear on the game's cardboard menu board. So, Nigiri, Rolls, Special, Appetizer, and finally Dessert in the back.
Assembling the dividers: When inserting these, will have to bend them to fit them in the slots on the base of the card tray. I bend in the middle and get one side in its slot, and then the other side. Once in the tray, these stay, and you can even lift the tray by grabbing dividers.
Divider Nigiri (multi color) X1 = To get my quick reference for game setup, I decided to use the Nigiri divider as Nigiri is always used in game so that divider is exposed(see picture on listing for what this looks like). The profile on here is designed to print this in 3 colors. This is optional, and a standard divider can be used for Nigiri as well.
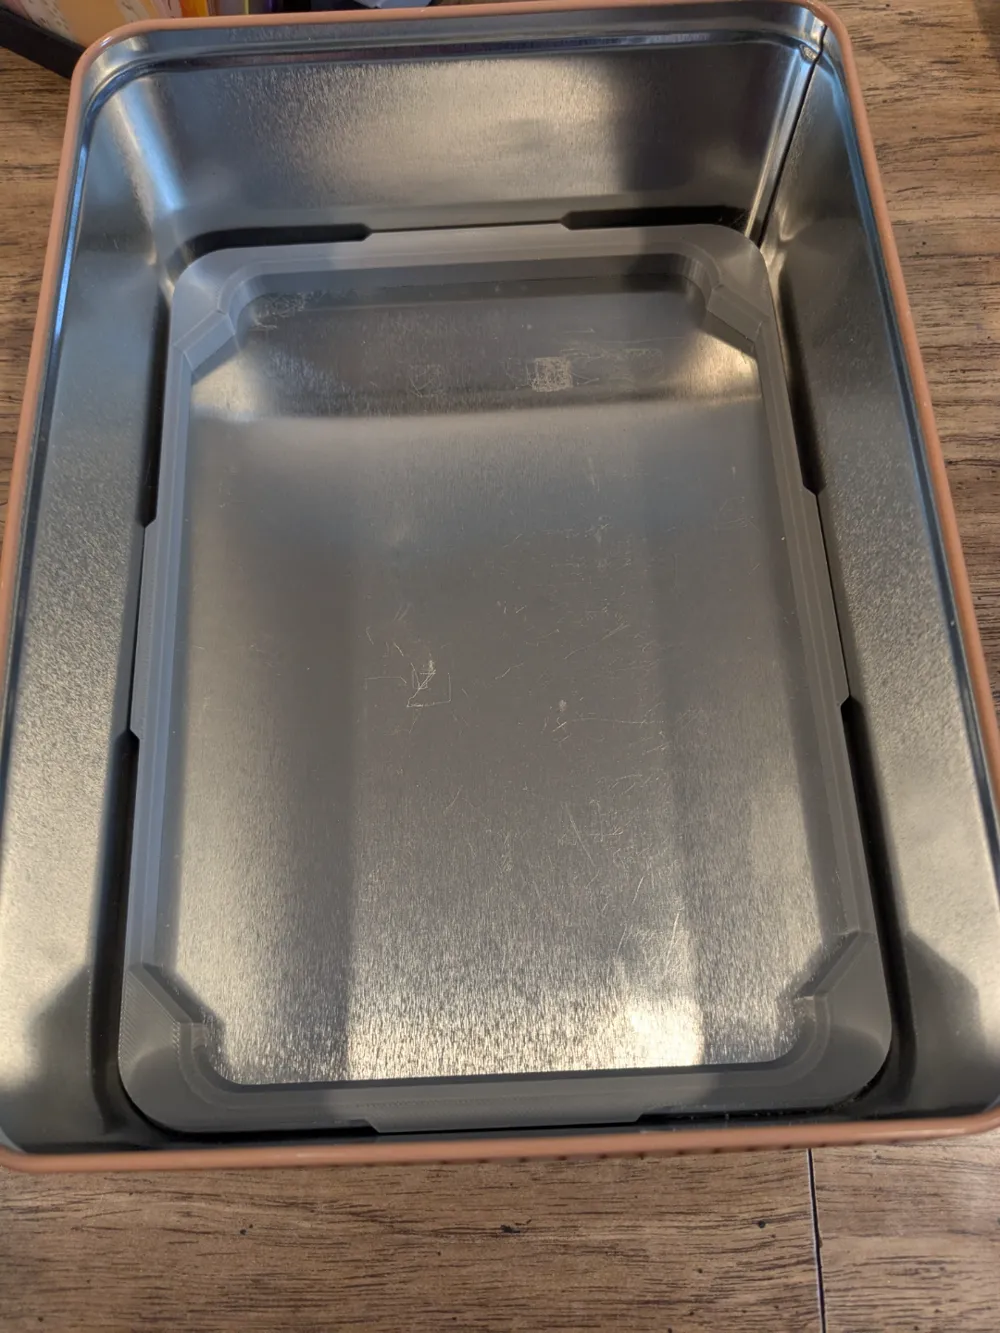
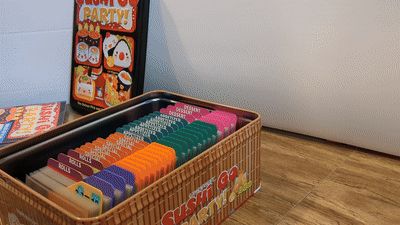
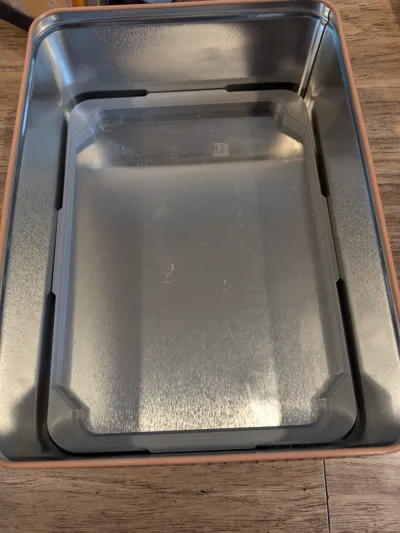
Inner Frame: This is designed to set in the tin (and stay there) and provides a 'pocket' for the Main Card Tray to sit in so it doesn't slide all over the place.
You can check out my other board game models in my E-2-Play collection: E-2-Play Board Game/Inserts | Collection - MakerWorld
Thanks for reading, if anyone does bother to print this, I would love to hear experience and see pictures. Happy printing.
License



Comment & Rating (179)