
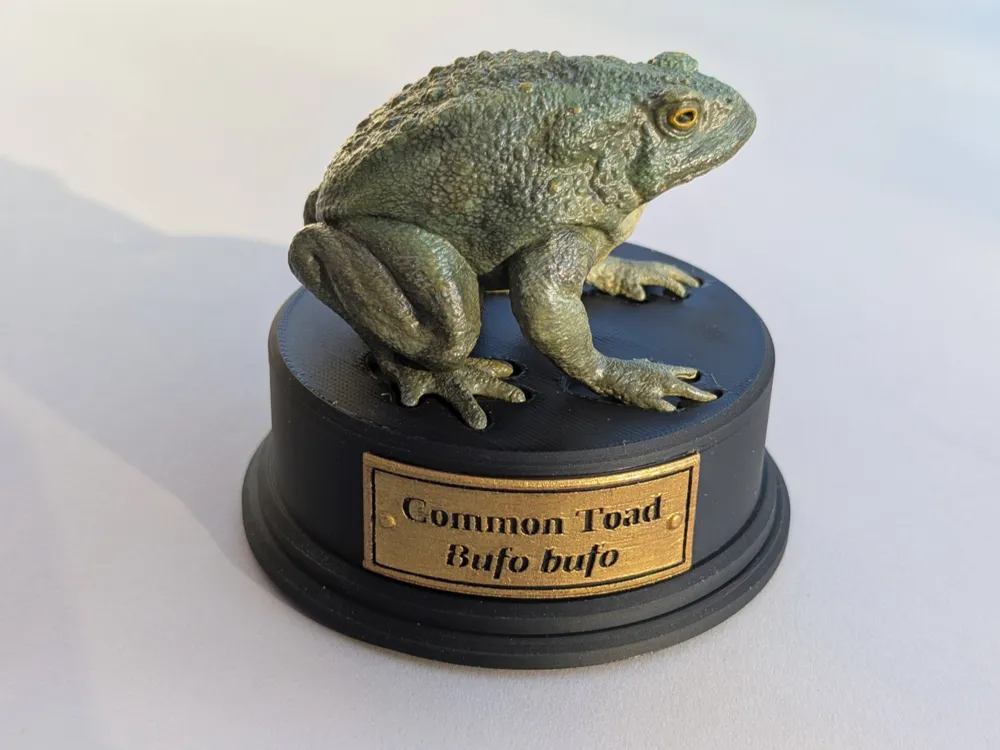
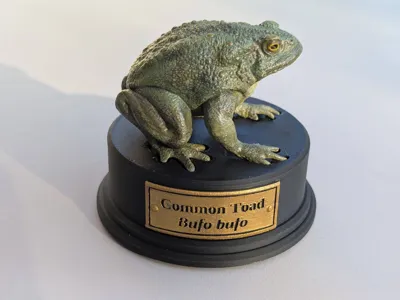
Realistic toad and display plinth
Print Profile(3)


Description

For commercial licenses please visit my Patreon
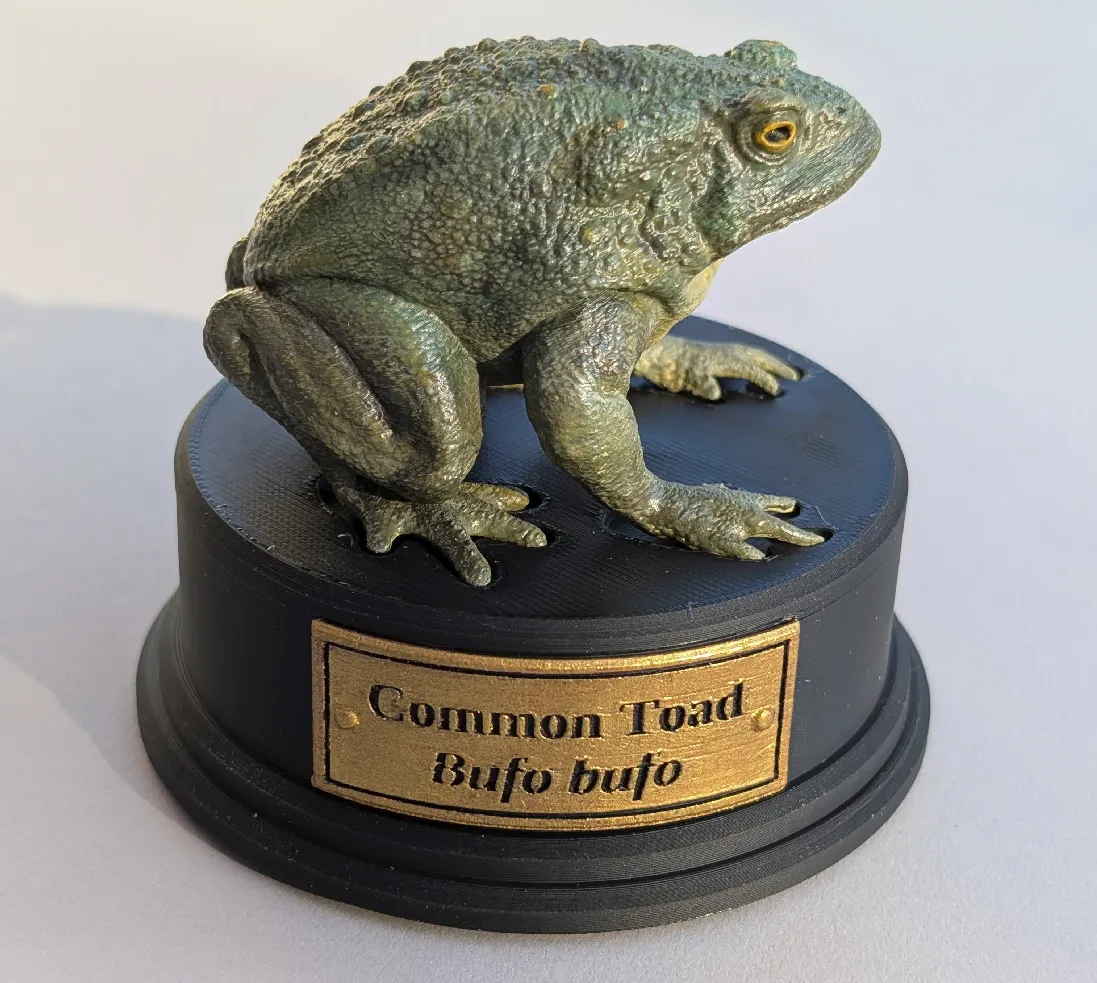
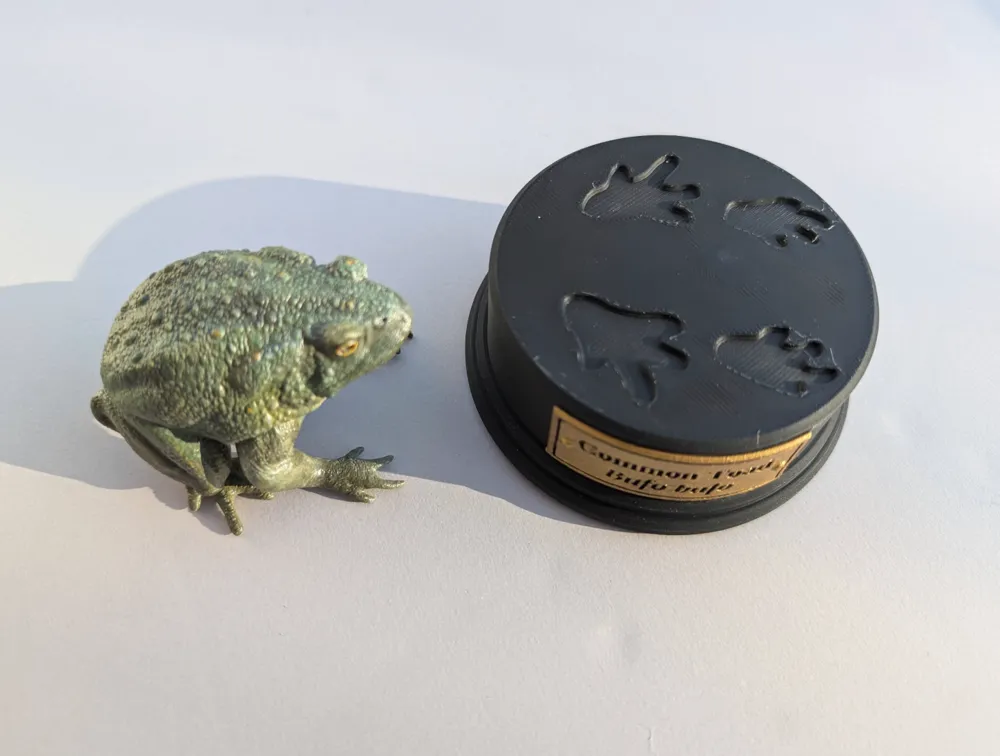
A realistic toad model with custom display plinth and plaque.
The toad model was created by Daniel Harrison and found here
The plinth and plaque are my new designs.
Also, no idea if this actually is a Common Toad (Scientific name: Bufo Bufo), but that's my best guess. Feel free to comment below if it's something else!
Printing
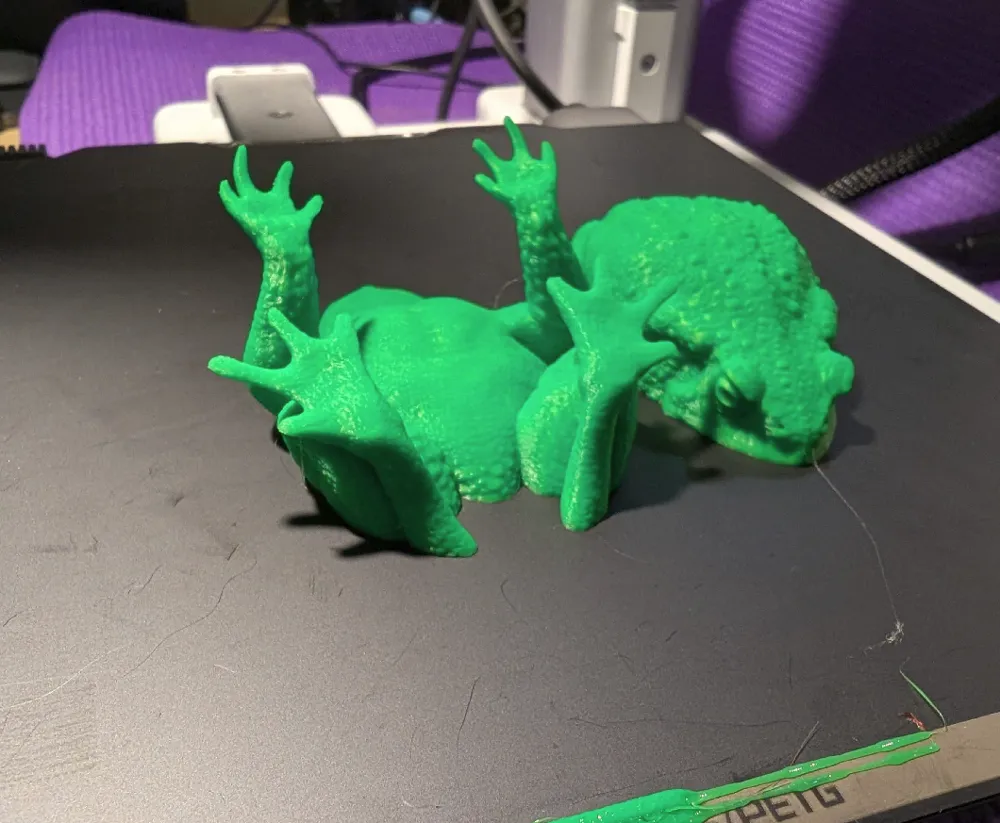
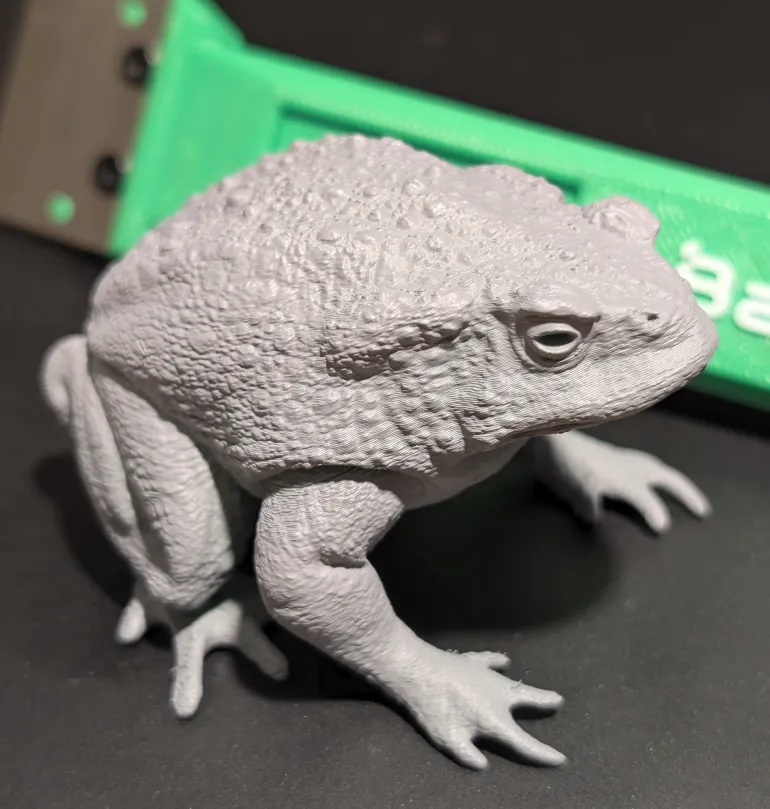
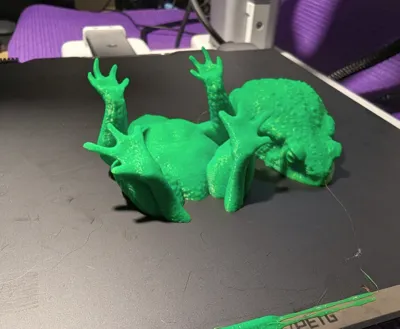
For the most realistic looking toad I suggest using a 0.2mm nozzle, splitting the toad in 2 and printing on a smooth plate (very important so the 2 halves join seamlessly). This means no supports are required and the finished print is absolutely flawless from every angle, especially when primed and painted, you wouldn't know it was 2 parts, or even that it was 3D printed.
If you want a quick easy print I've included a 0.4mm profile that prints in one piece and does have supports.
The plinth and plaque are easy prints, but would again advise a 0.2mm nozzle for the plaque and/or lowest layer height to maximise the detail of the text.
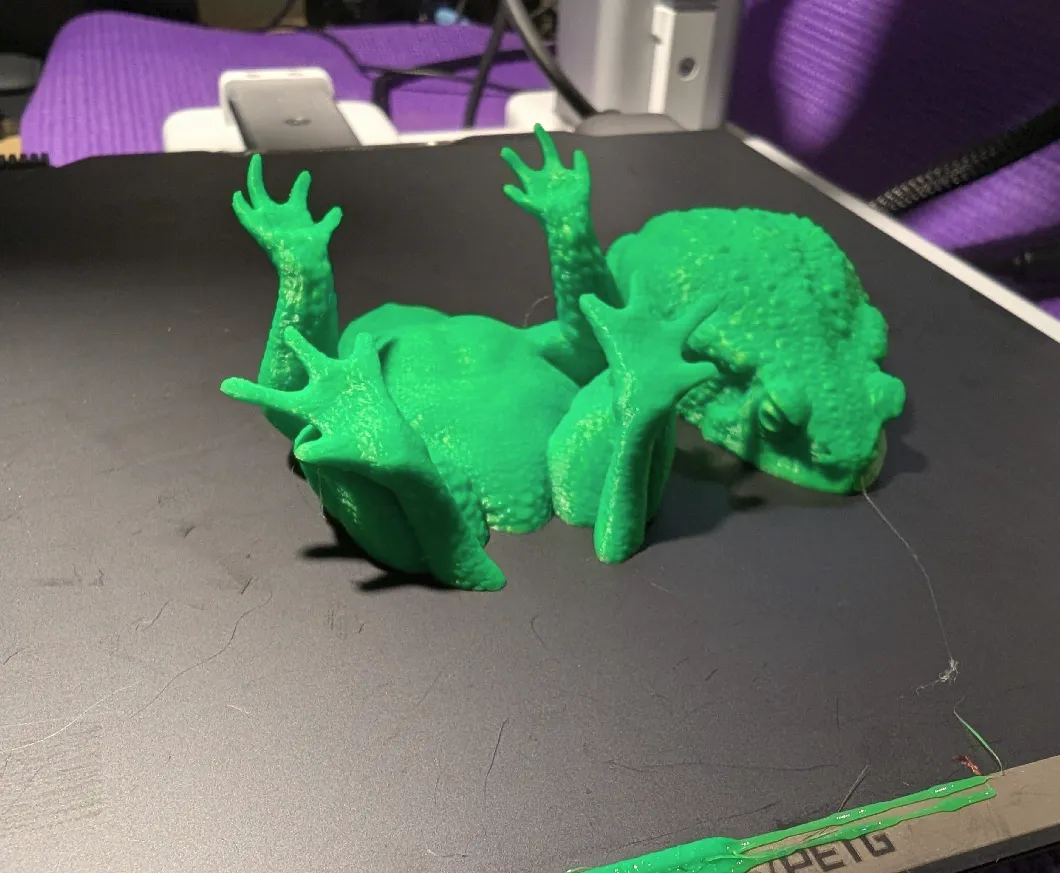
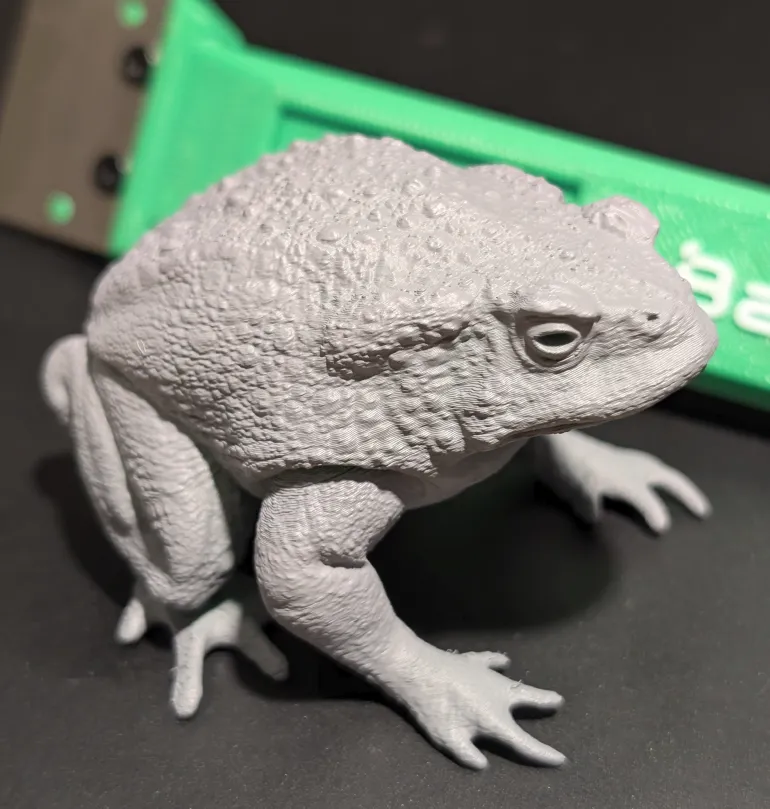
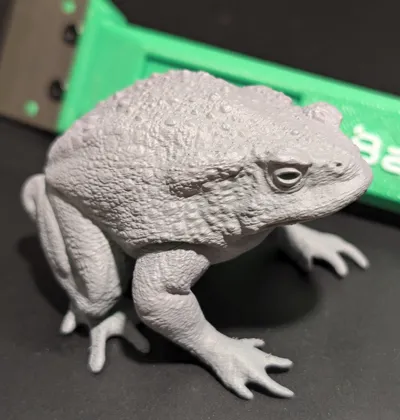
Green = 0.2mm version as printed, no supports! Grey = 0.2mm version glued together and primed
Assembly
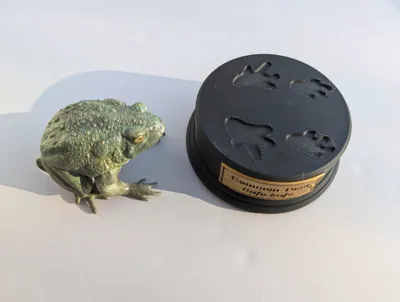
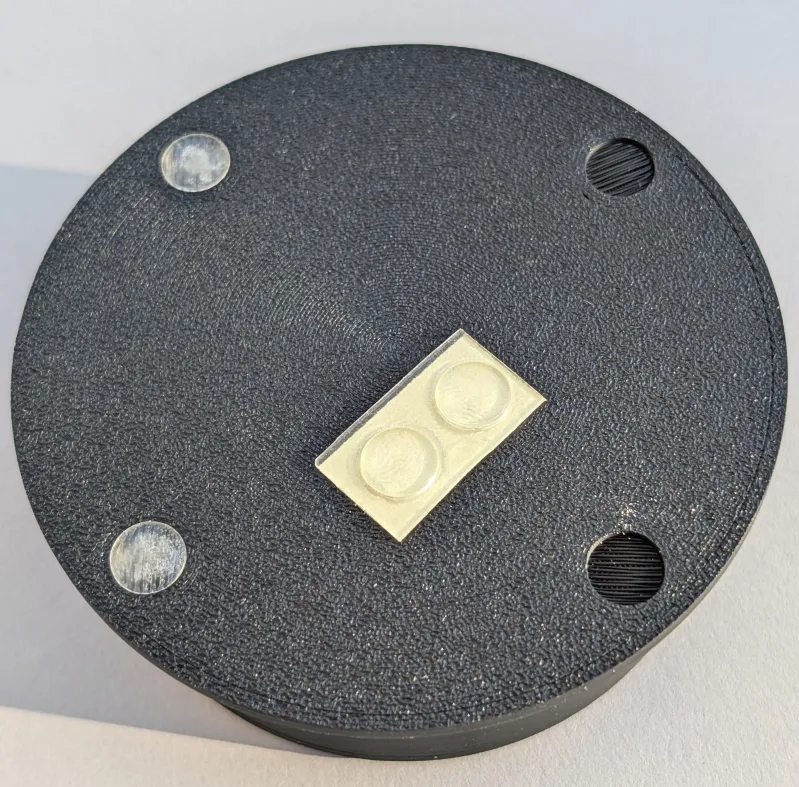
The 0.2mm profile includes dowels to help position the 2 halves before gluing superglue. The plaque also needs fixing with superglue (after painting obviously!). The plinth has indents on the bottom to fix optional rubber feet up to 8mm diameter. The ones I used were left over from some IKEA cupboard units and fit perfectly.
Painting
I'm no expert at painting so can only advise on what I did. First I glued the toad together and then primed both the toad and plaque with 2 very thin coats of spray primer to try and keep as much detail as possible.
I then just mixed up some green, yellow and brown acrylic to whatever looked right. I painted a slightly lighter belly, darker on top, I then added a few random lighter/darker splodges. I then finished with 2 coats of acrylic varnish.
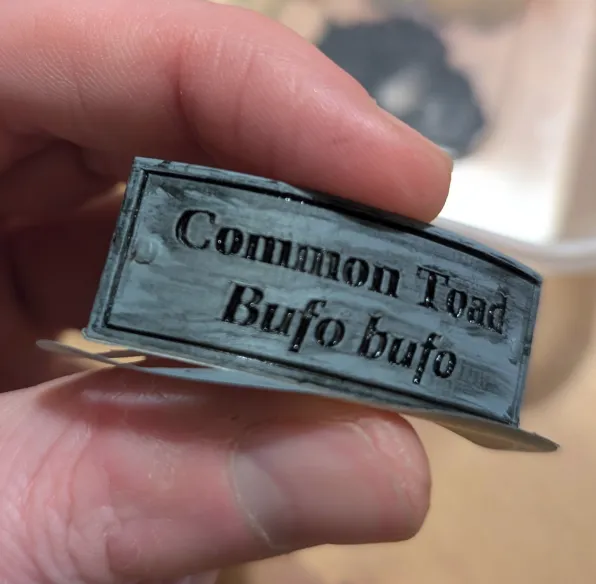
For the plaque I first painted the imprinted text with black. Don't worry too much about being neat, just fill the text with black. I then wiped off any black from the main part of the plaque and then let it completely dry (best to leave 24 hrs). Once dry I then used some metallic gold acrylic to carefully paint the plaque being careful to not let the brush dip into the text. This should give a nice clean contrast to the text.
For commercial licenses please visit my Patreon
This remix is based on

License



Comment & Rating (12)