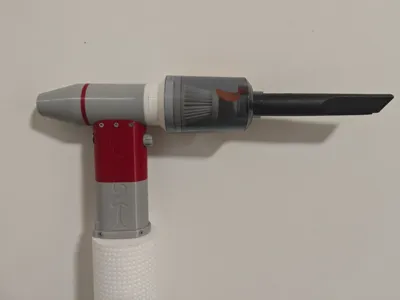
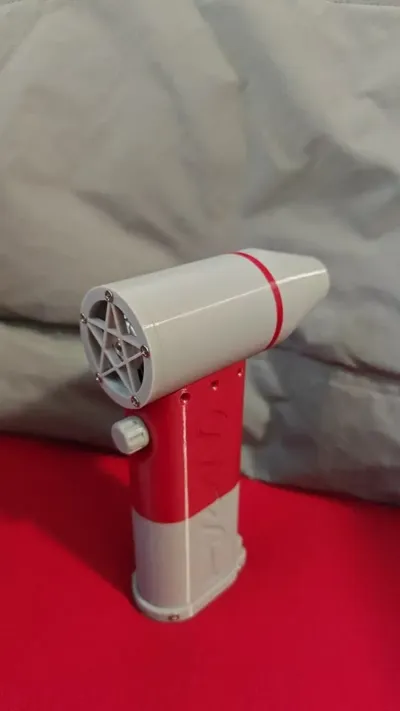
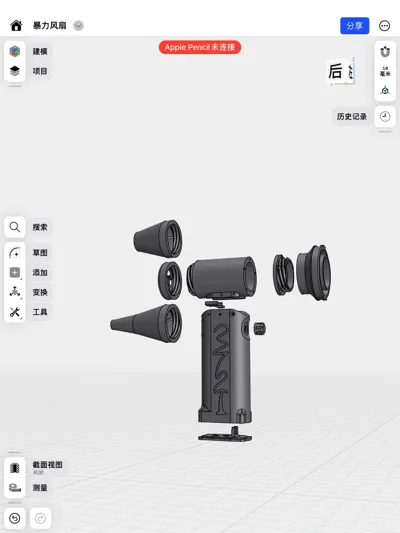
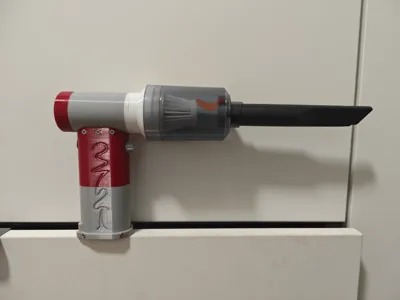
High-velocity fan/vacuum cleaner 29mm-21700-2s


Print Profile(1)
Description
Boost Me (for free)
Model Updates:
March 9, 2025: (For those who have already printed the older version, simply print the second vacuum cleaner part)
—Corrected missing screw holes in the battery compartment main body
—Added threaded connector model for the air intake
—Added a threaded coupling vacuum latch; the vacuum cover has been added to the bill of materials
—Updated the diameter of the motor's duct to 29.2mm, addressing feedback regarding tightness. If it's loose, use tape to compensate
Bill of Materials: (Direct purchase links are omitted due to frequent expiration; refer to images for purchasing)
Updated March 9, 2025 Vacuum Cover (disassembled from a complete vacuum cleaner purchased for 5.49 on Pinduoduo), inner diameter 51mm
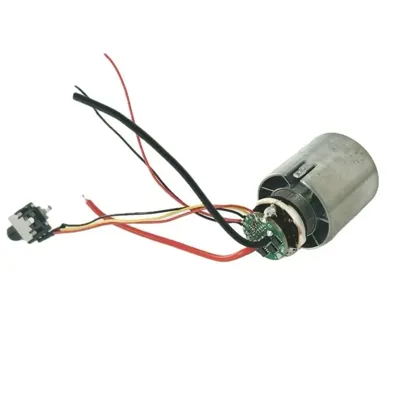
29mm ducted fan with ESC, 130,000 RPM, 7.4V-8.4V
21700 10C*2 (high-current power batteries are essential)
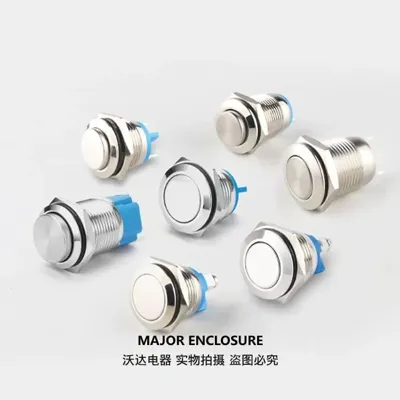
12mm self-locking push button switch
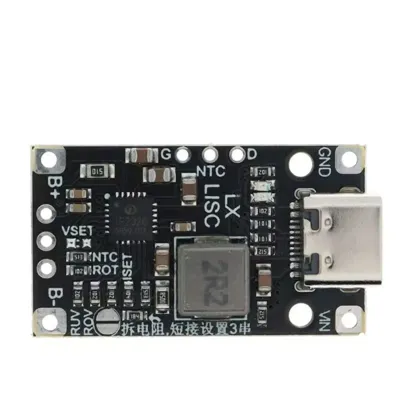
2S charging board (18mm*31mm), balanced connection. Refer to product details or contact the seller.
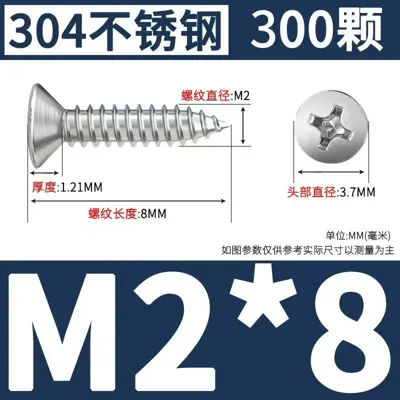
M2*8 countersunk self-tapping screws
Assembly Notes:
1-Due to the integrated ESC, the speed control knob is soldered. Therefore, the duct has a knob access hole. The “duct plug” model can provide adequate sealing; however, completely blocking it is not recommended as the battery requires some ventilation for cooling
2-After installing the motor into the duct, attach the speed controller and knob cap. This may be difficult to firmly secure. Use a tool through the 12mm switch hole to support the speed controller. I've printed other models before where this was too loose, and if the knob comes off, the entire unit must be disassembled to reattach the knob cap
3-It is advisable to extend the thick red and black wires from the motor ESC. Place the battery's positive and negative terminals near the charging board. Route the extended wires through the gap between the batteries, stripping the ends to solder them to the battery without cutting the wire. Finally, connect the ends of the extended wires to the charging board. This improves maneuverability
License
You shall not share, sub-license, sell, rent, host, transfer, or distribute in any way the digital or 3D printed versions of this object, nor any other derivative work of this object in its digital or physical format (including - but not limited to - remixes of this object, and hosting on other digital platforms). The objects may not be used without permission in any way whatsoever in which you charge money, or collect fees.
Comment & Rating (4)