
One-way Roller Guide for Table Saw & Router Table
Print Profile(1)

Bill of Materials



- HF1216 one-way bearing x 2:
Description
Features:
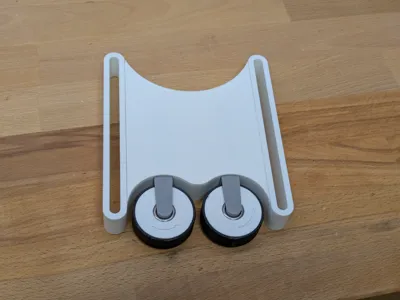
- Rubberized (TPU) rollers for extra grip
- Kickback protection due to one-way bearings (rollers will only turn one way)
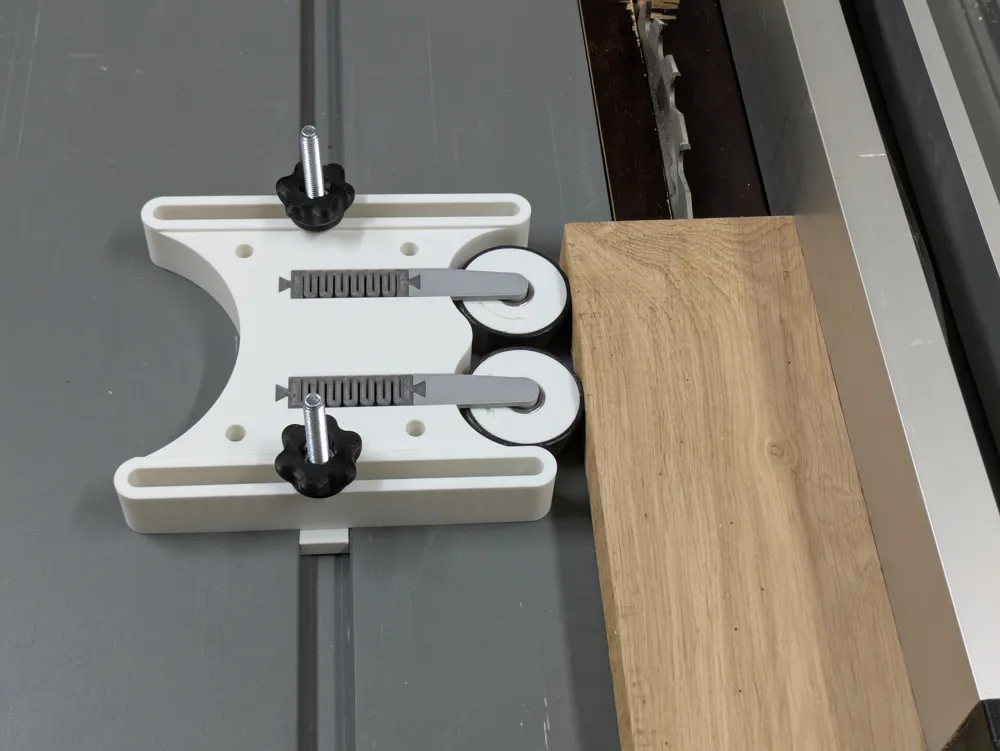
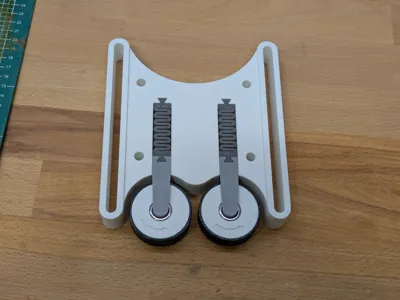
- Spring-loaded rollers for optimal pressure against the fence
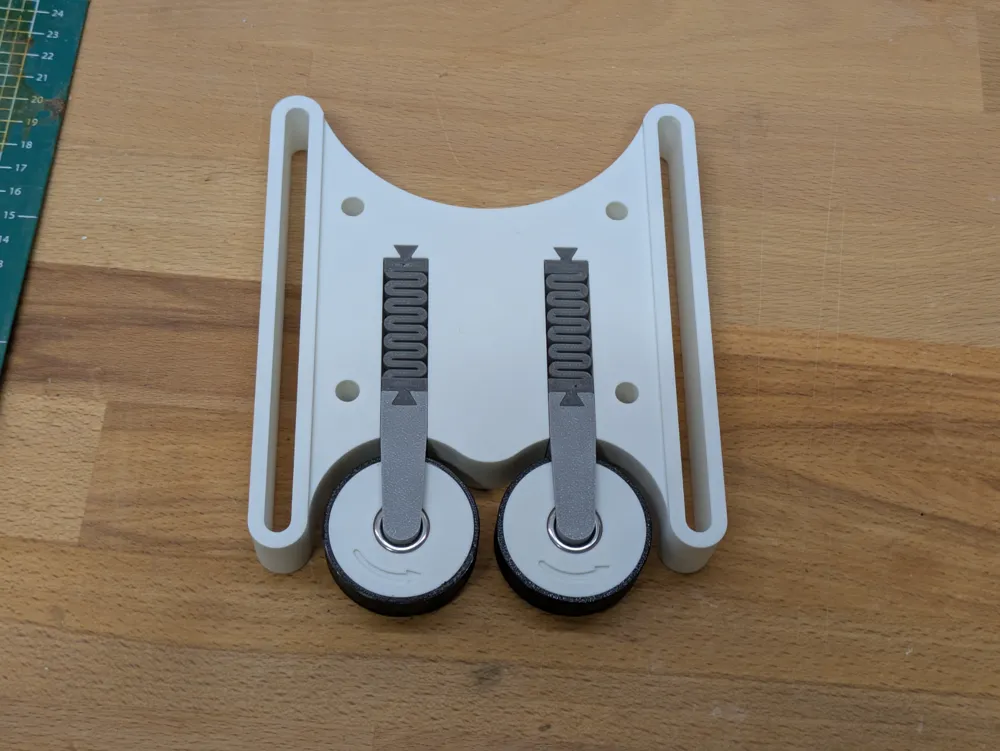
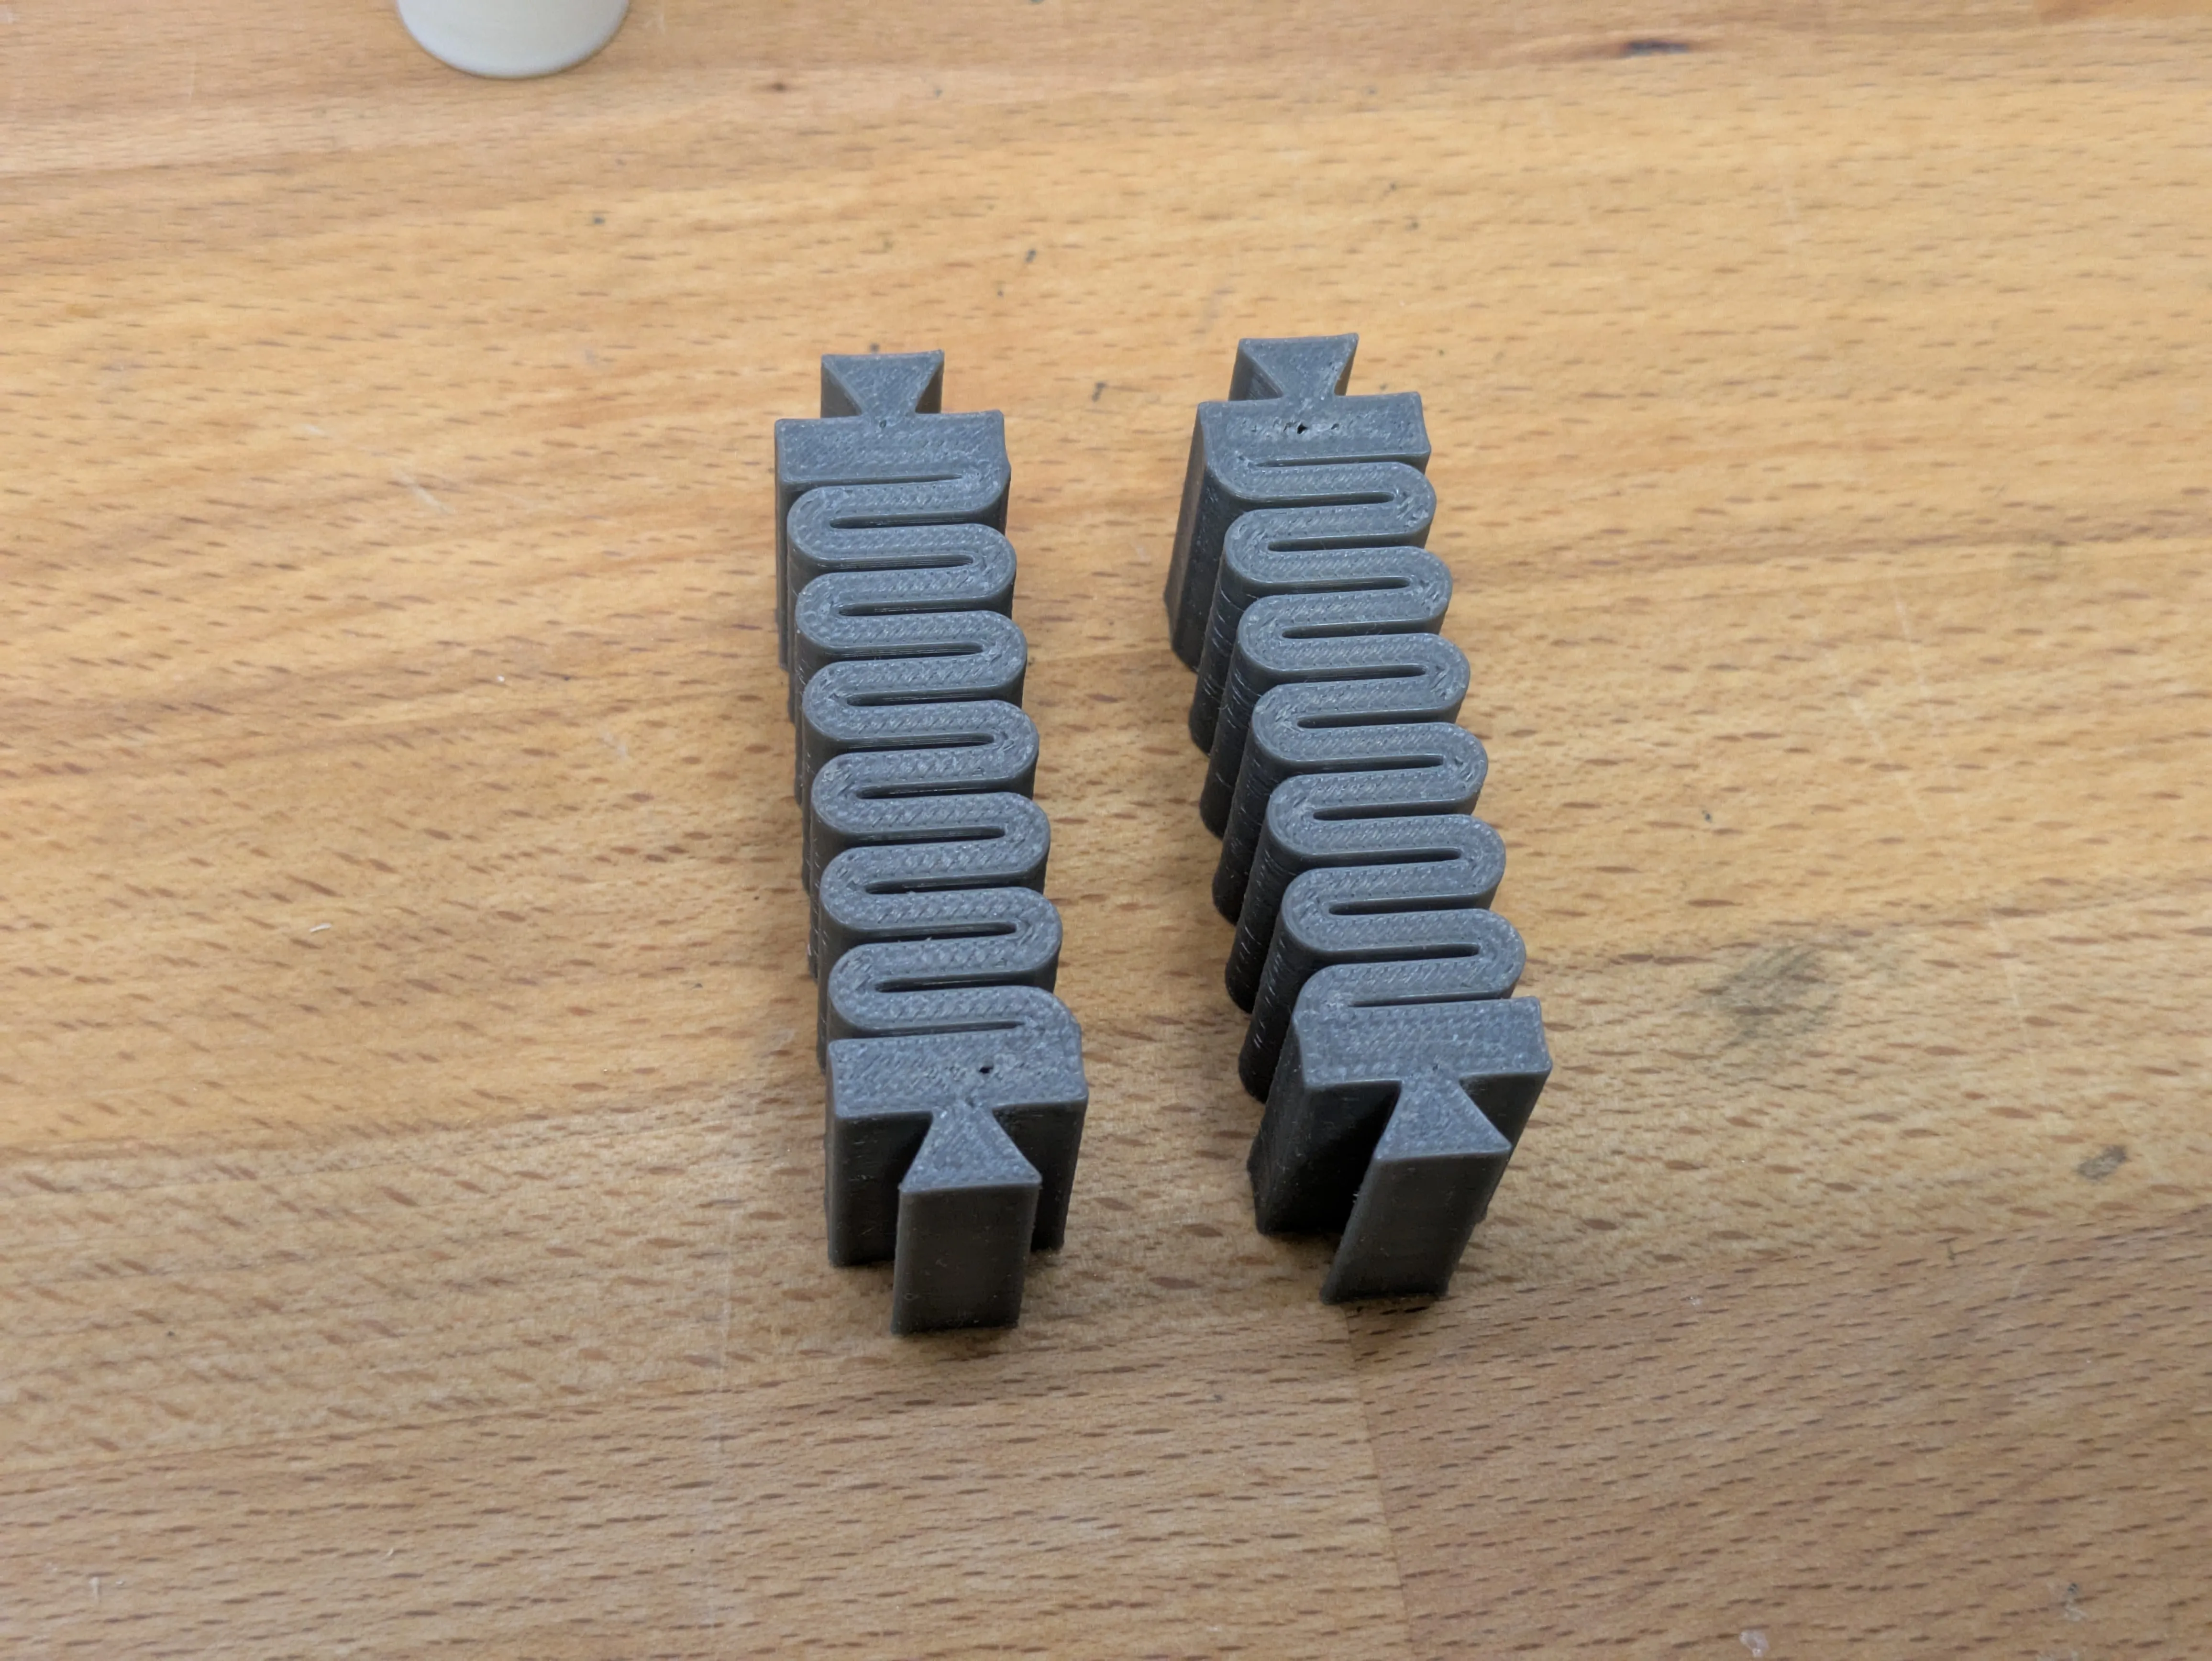
- Adjustable spring stiffness (Different strength spring designs provided)
- Extra long slots (for up to M8 screws) for narrow pieces
Important: You will need 2 HF1216 one-way bearings to assemble this project. You can get those easily at Amazon, ebay, …
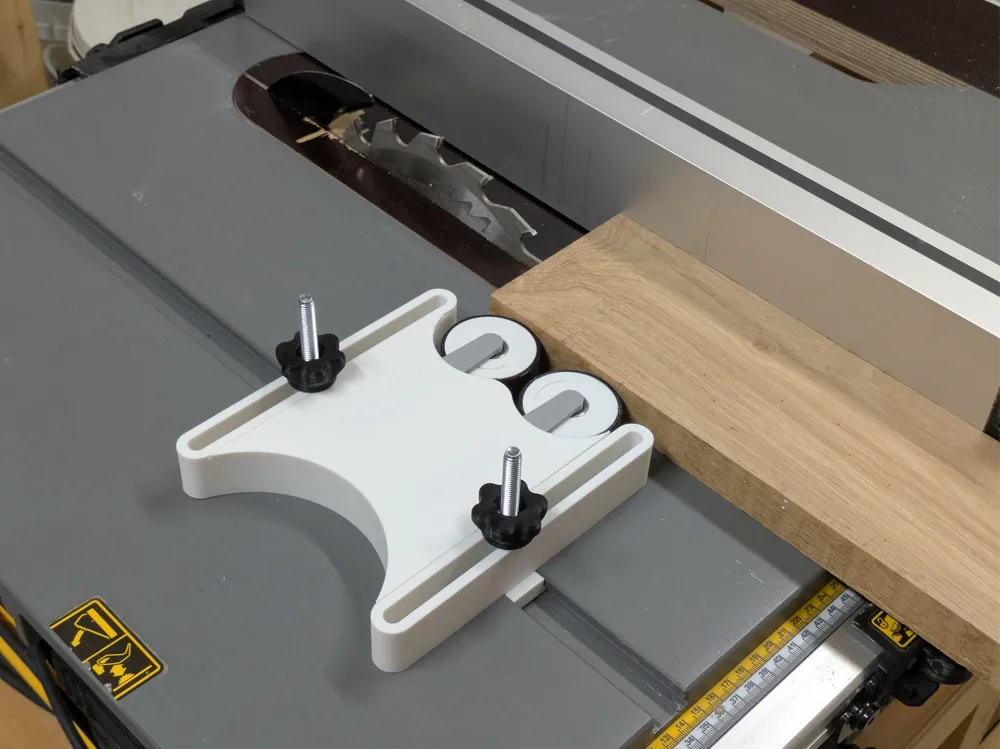
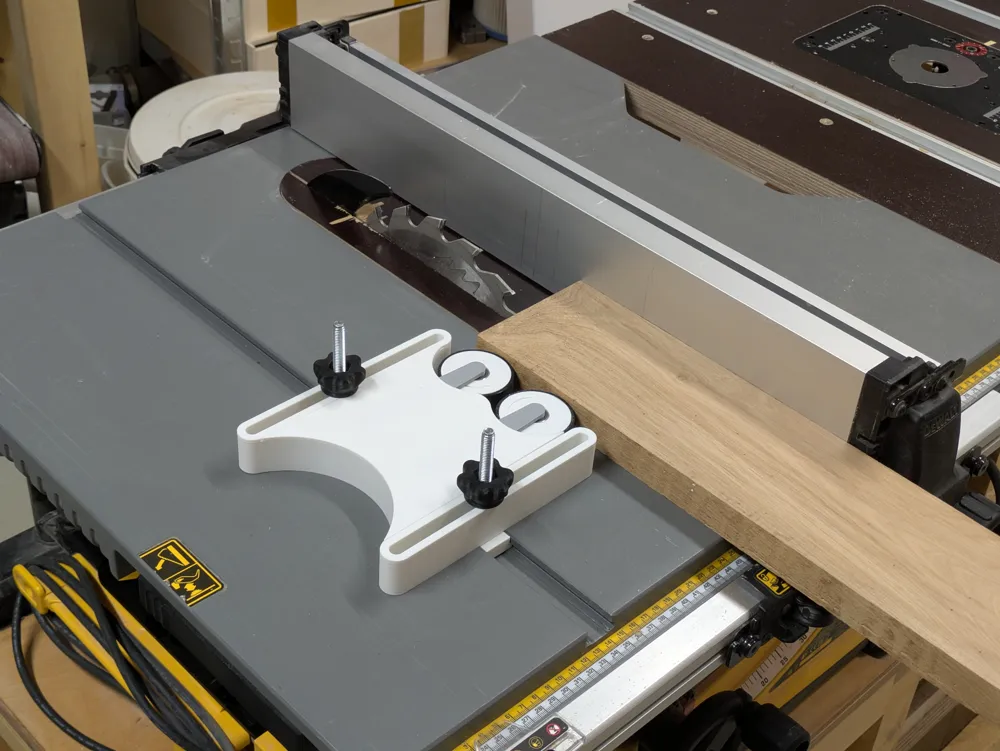
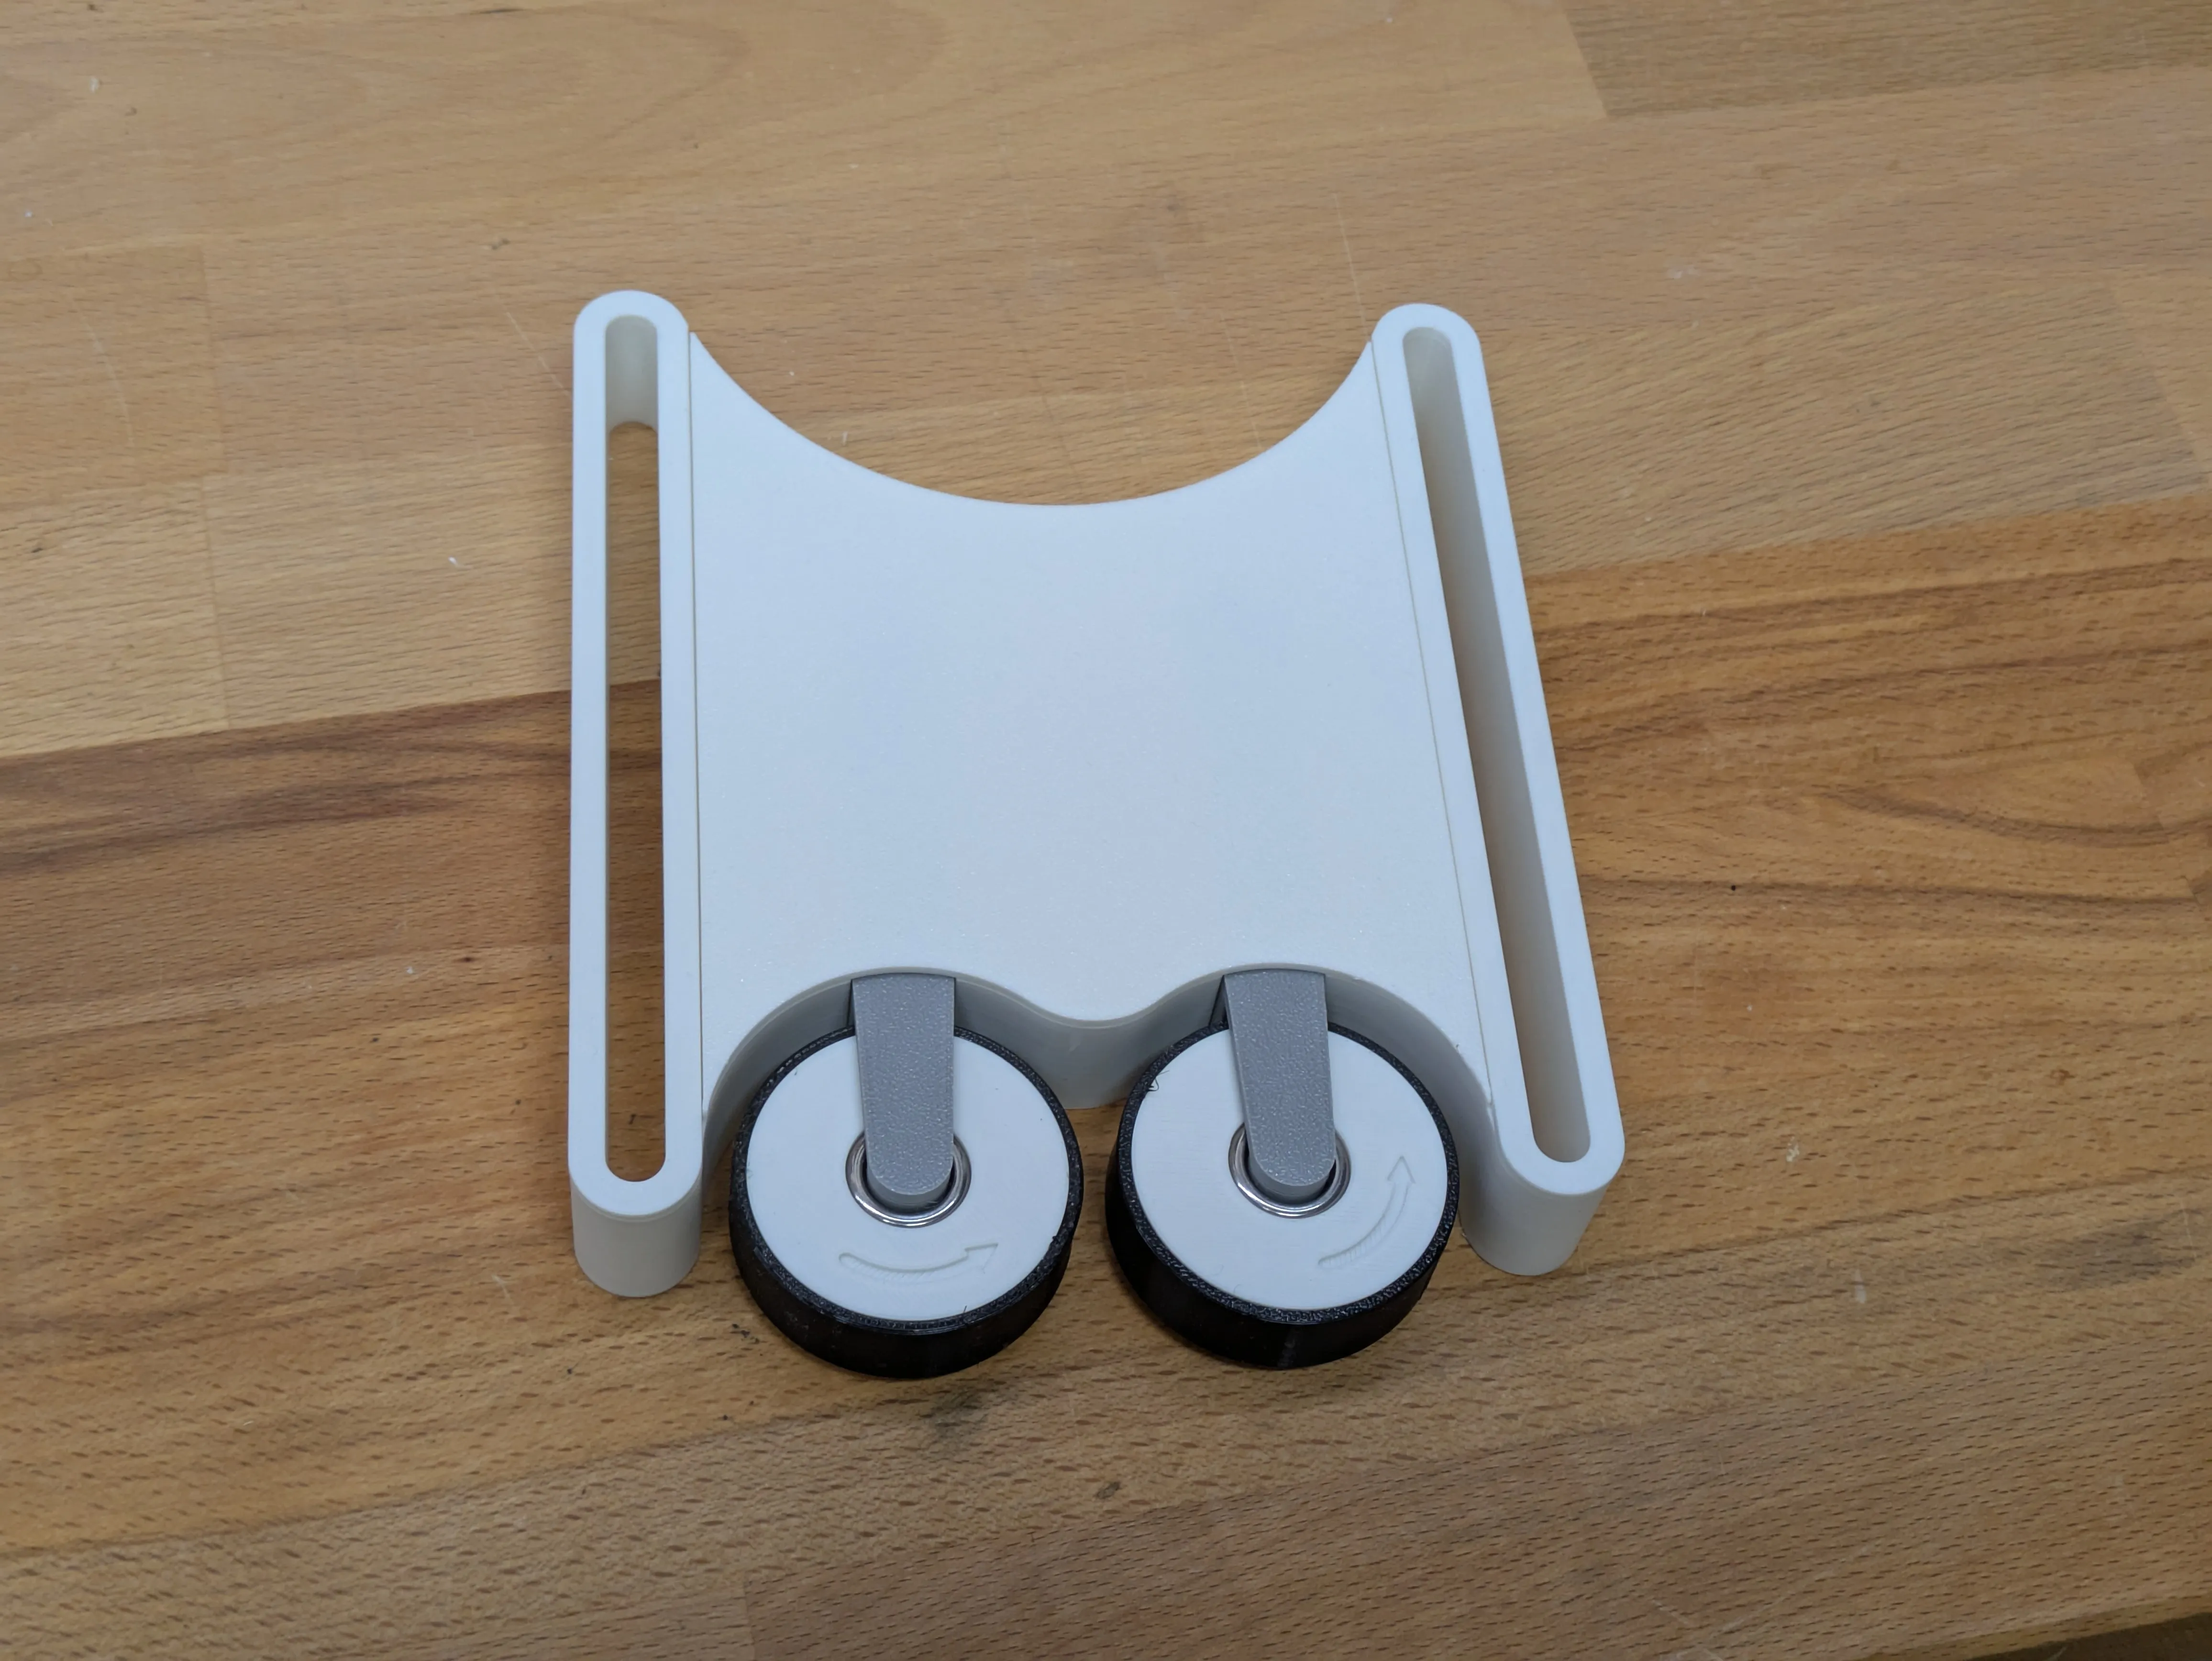
A one-way roller guide for all kinds of cuts on the table saw, band saw or router table. You can use this for all situations where you would otherwise use a feather board. The one-way bearings in the rollers help in preventing kickback and, since they are spring-loaded, they tightly push the work piece against the fence. You can choose between different strength springs depending on your preferences. Spring stiffness can also be adjusted even more finely by vertically scaling the springs.
Power tools are dangerous and even when using this guide, kickback can still occur. Please make sure you are staying safe!
Boost Me (for free)
Let me know if you want me to put out further woodworking tool modeals by giving me a boost!
Usage
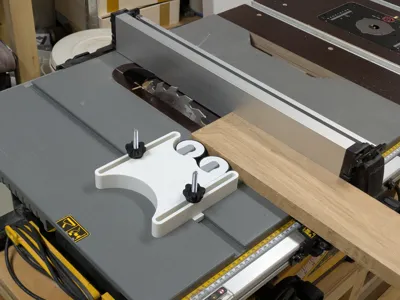
Grab a set of T-Nuts and star knobs, or print you own (e.g. T-Nuts for Miter Tracks, Star Knobs) to fasten it to your machine table.
Use it like you would with a normal feather board to help with guiding and aligning rip cuts and similar work. Make sure to push it tightly against the work piece before you tighten it down. Or you can move it over 1-2 mm after having aligned it with your work piece. This makes sure the spring force tightly pushes your work piece against the fence when you are doing the actual cut.
You can experiment with the different strength springs to find out what works best for you. Personally, I like the heaviest version printed in PETG. You can also fine-tune the springs by scaling them down vertically.
Oh, and send me a picture of what you've been making on the table saw, I'd love to see what you're building.
Printing Guide
The provided print profile uses 3 different types of filament:
- PLA for the body, the rollers and their supports
- PETG for the springs
- TPU for the rubber coating on the rollers
You might be able to get away with only PLA, but the results might be suboptimal. If you want to use PLA instead of PETG for the springs, you need to use the thinner variants as PLA is more stiff.
If you don't have TPU available, you can also stretch a piece of bicycle inner tube over the rollers or even coat them in something like Plasti Dip.
Assembly Guide
Print all parts
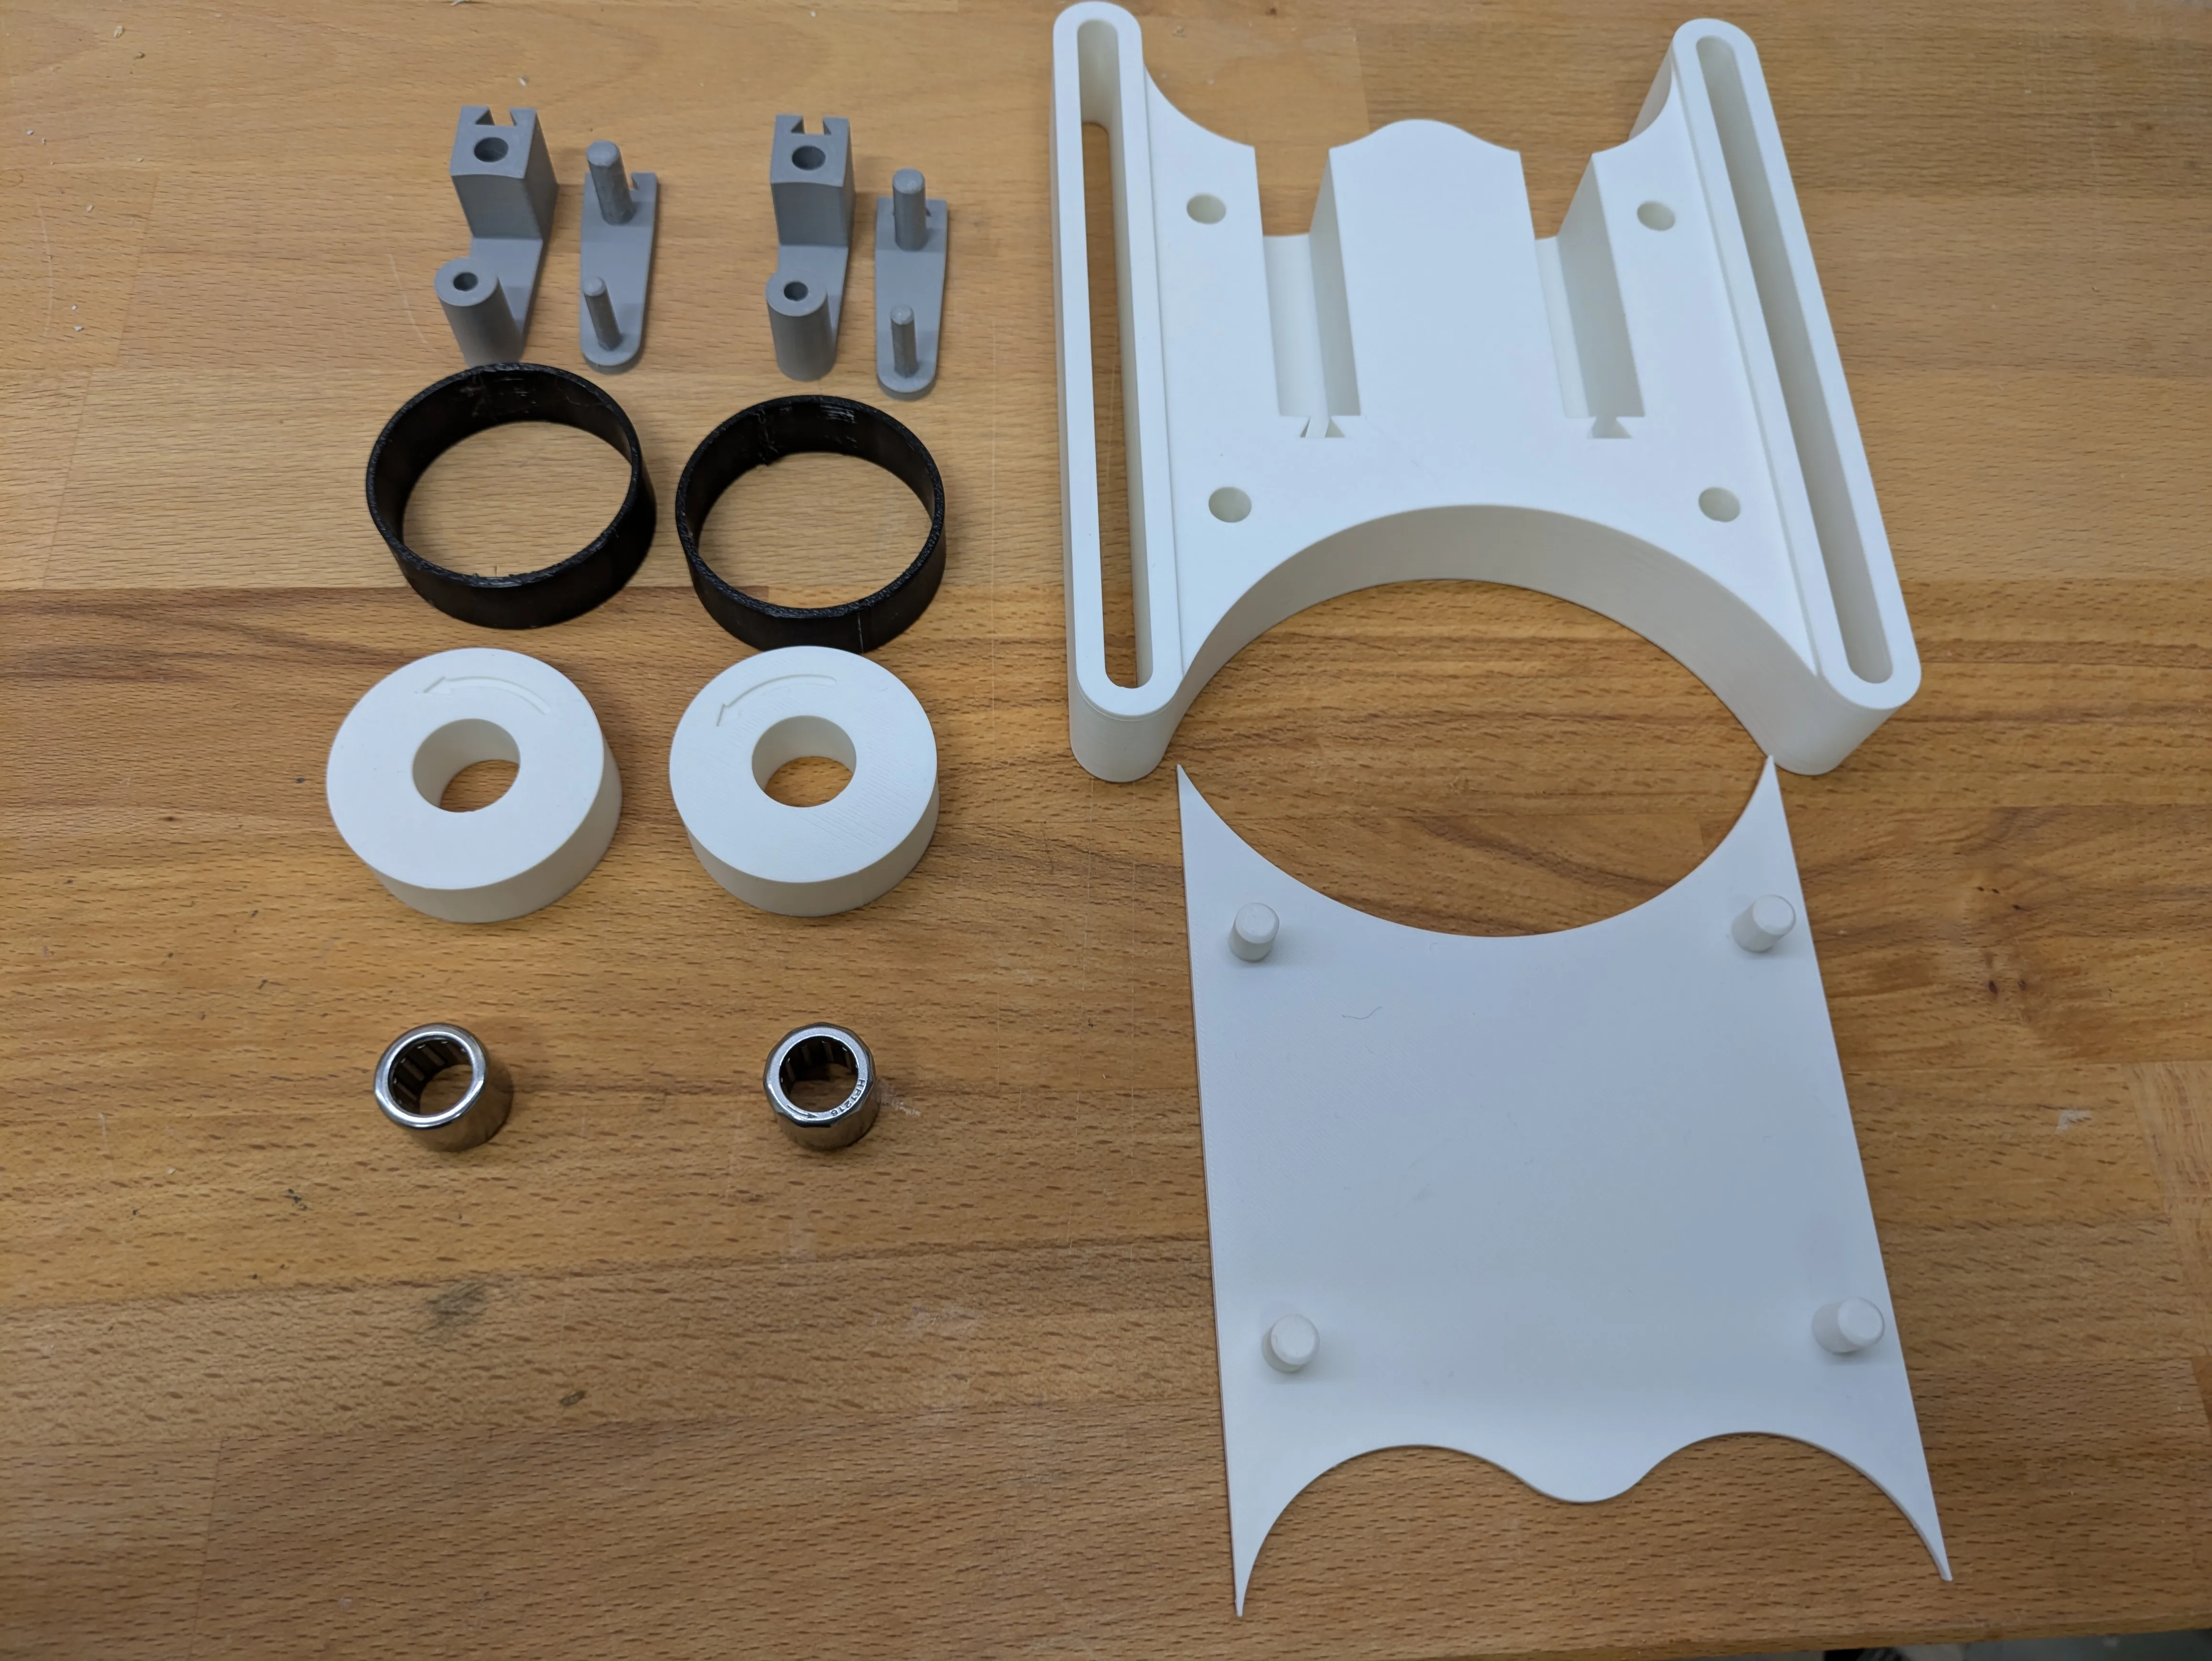
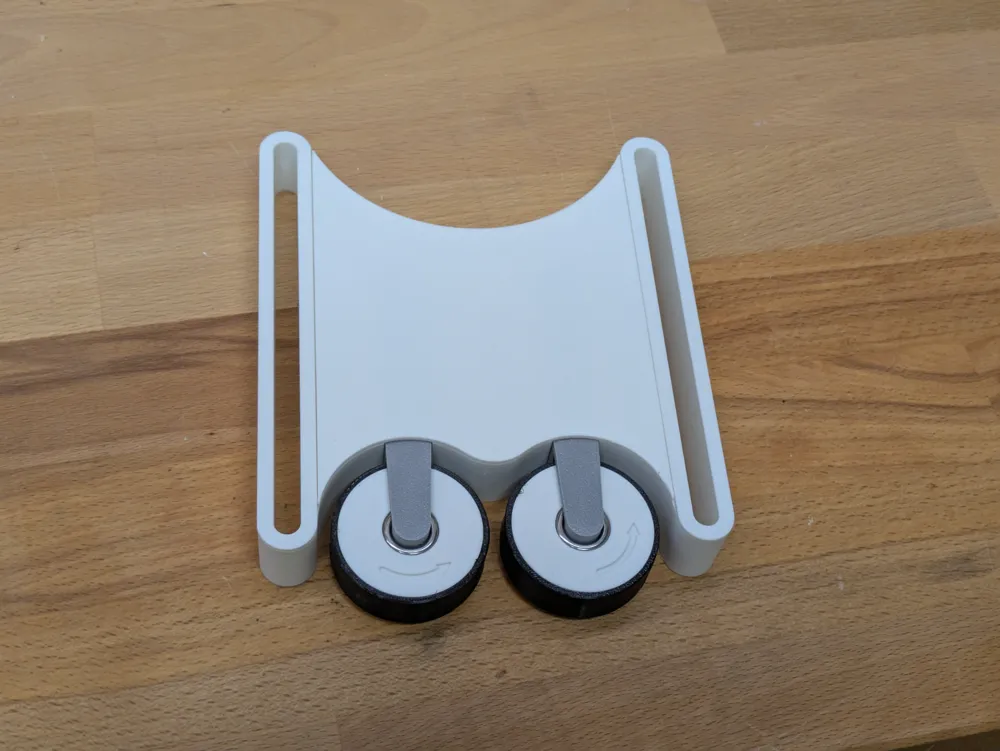
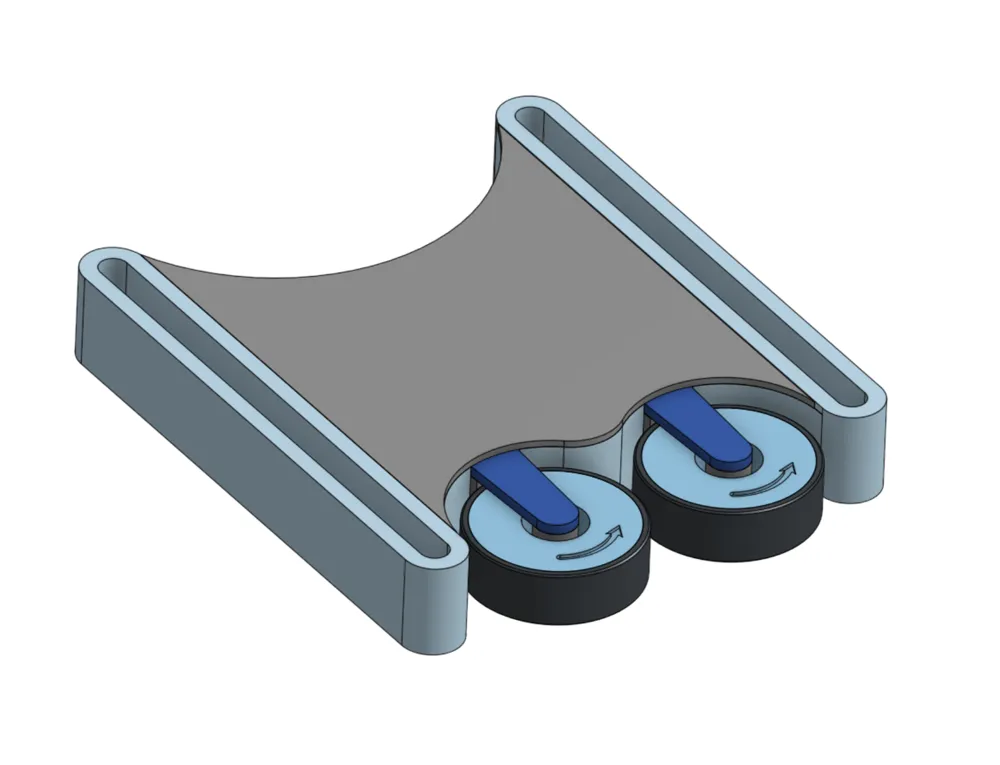
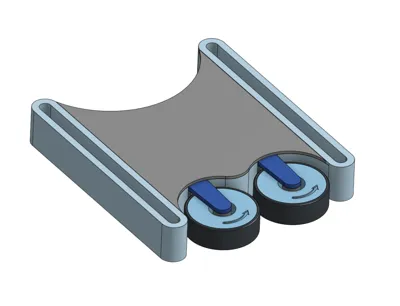
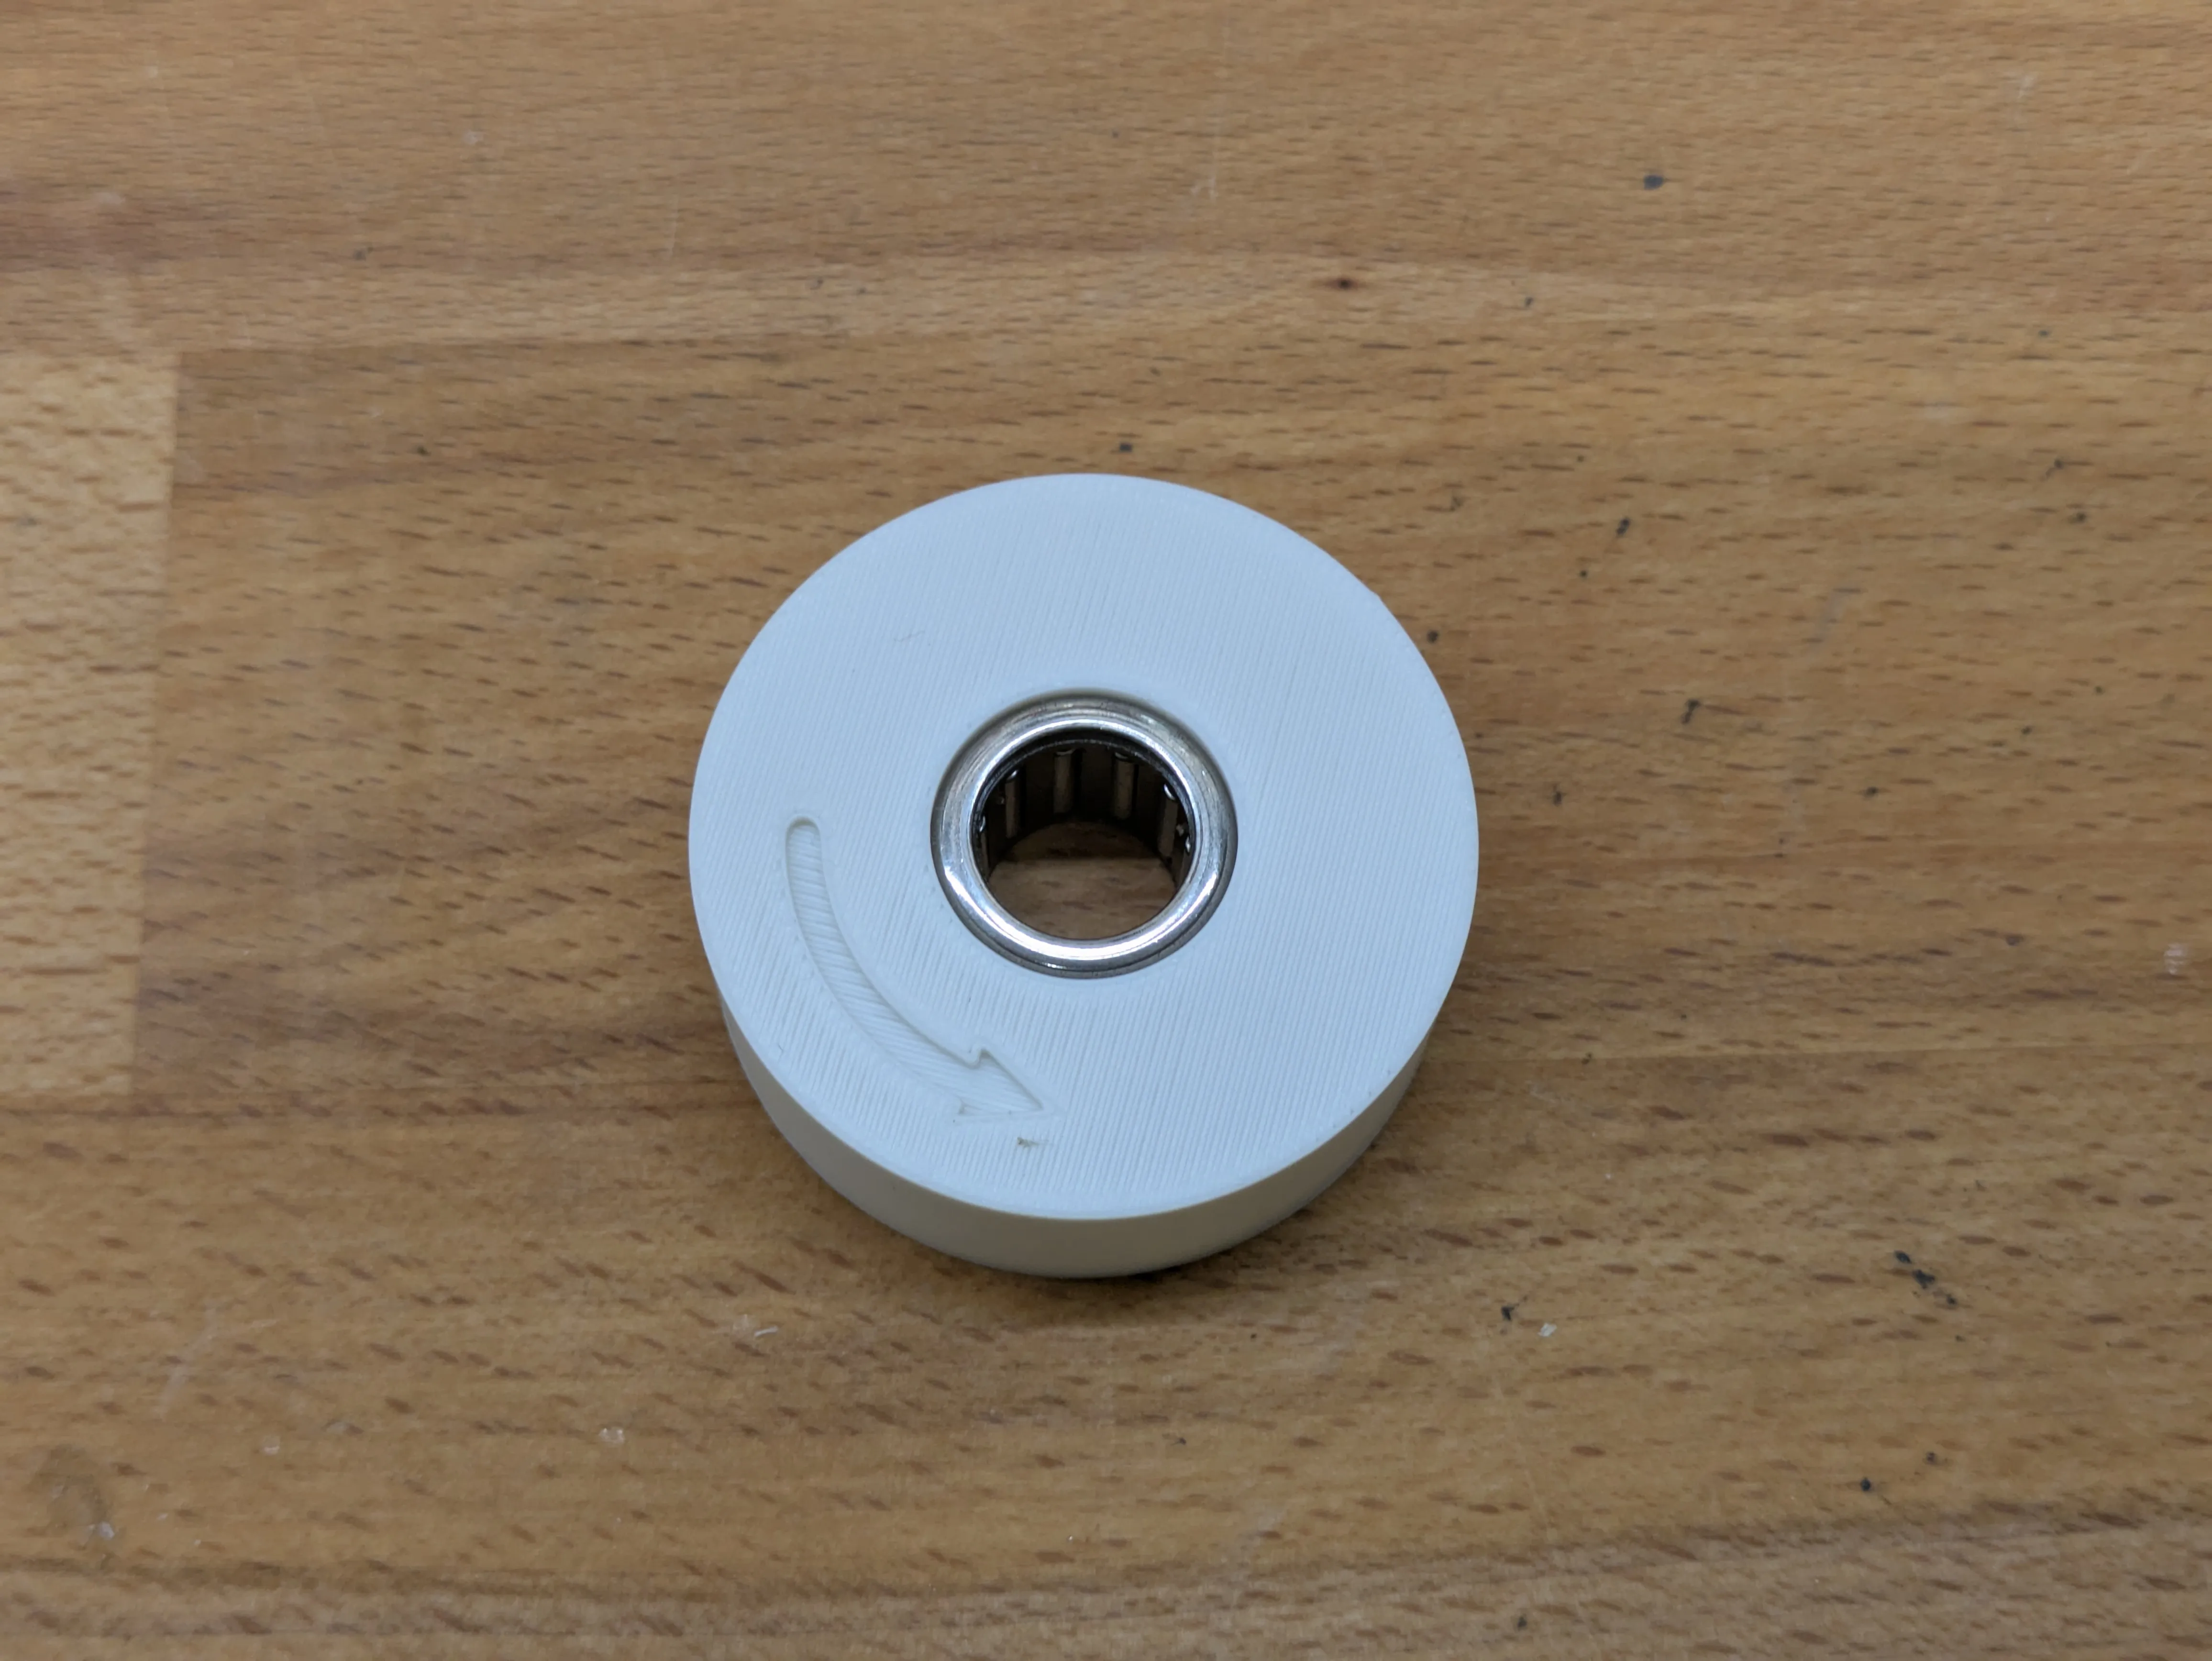
Press the HF1216 bearings into the holes in the rollers, making sure their rotation direction matches the arrows on the rollers. The direction arrows on the bearings I used were referring to the rotation of the inner part, so be careful and try it before committing. Make sure you get this right the first time, as getting the bearings out again is not easy.
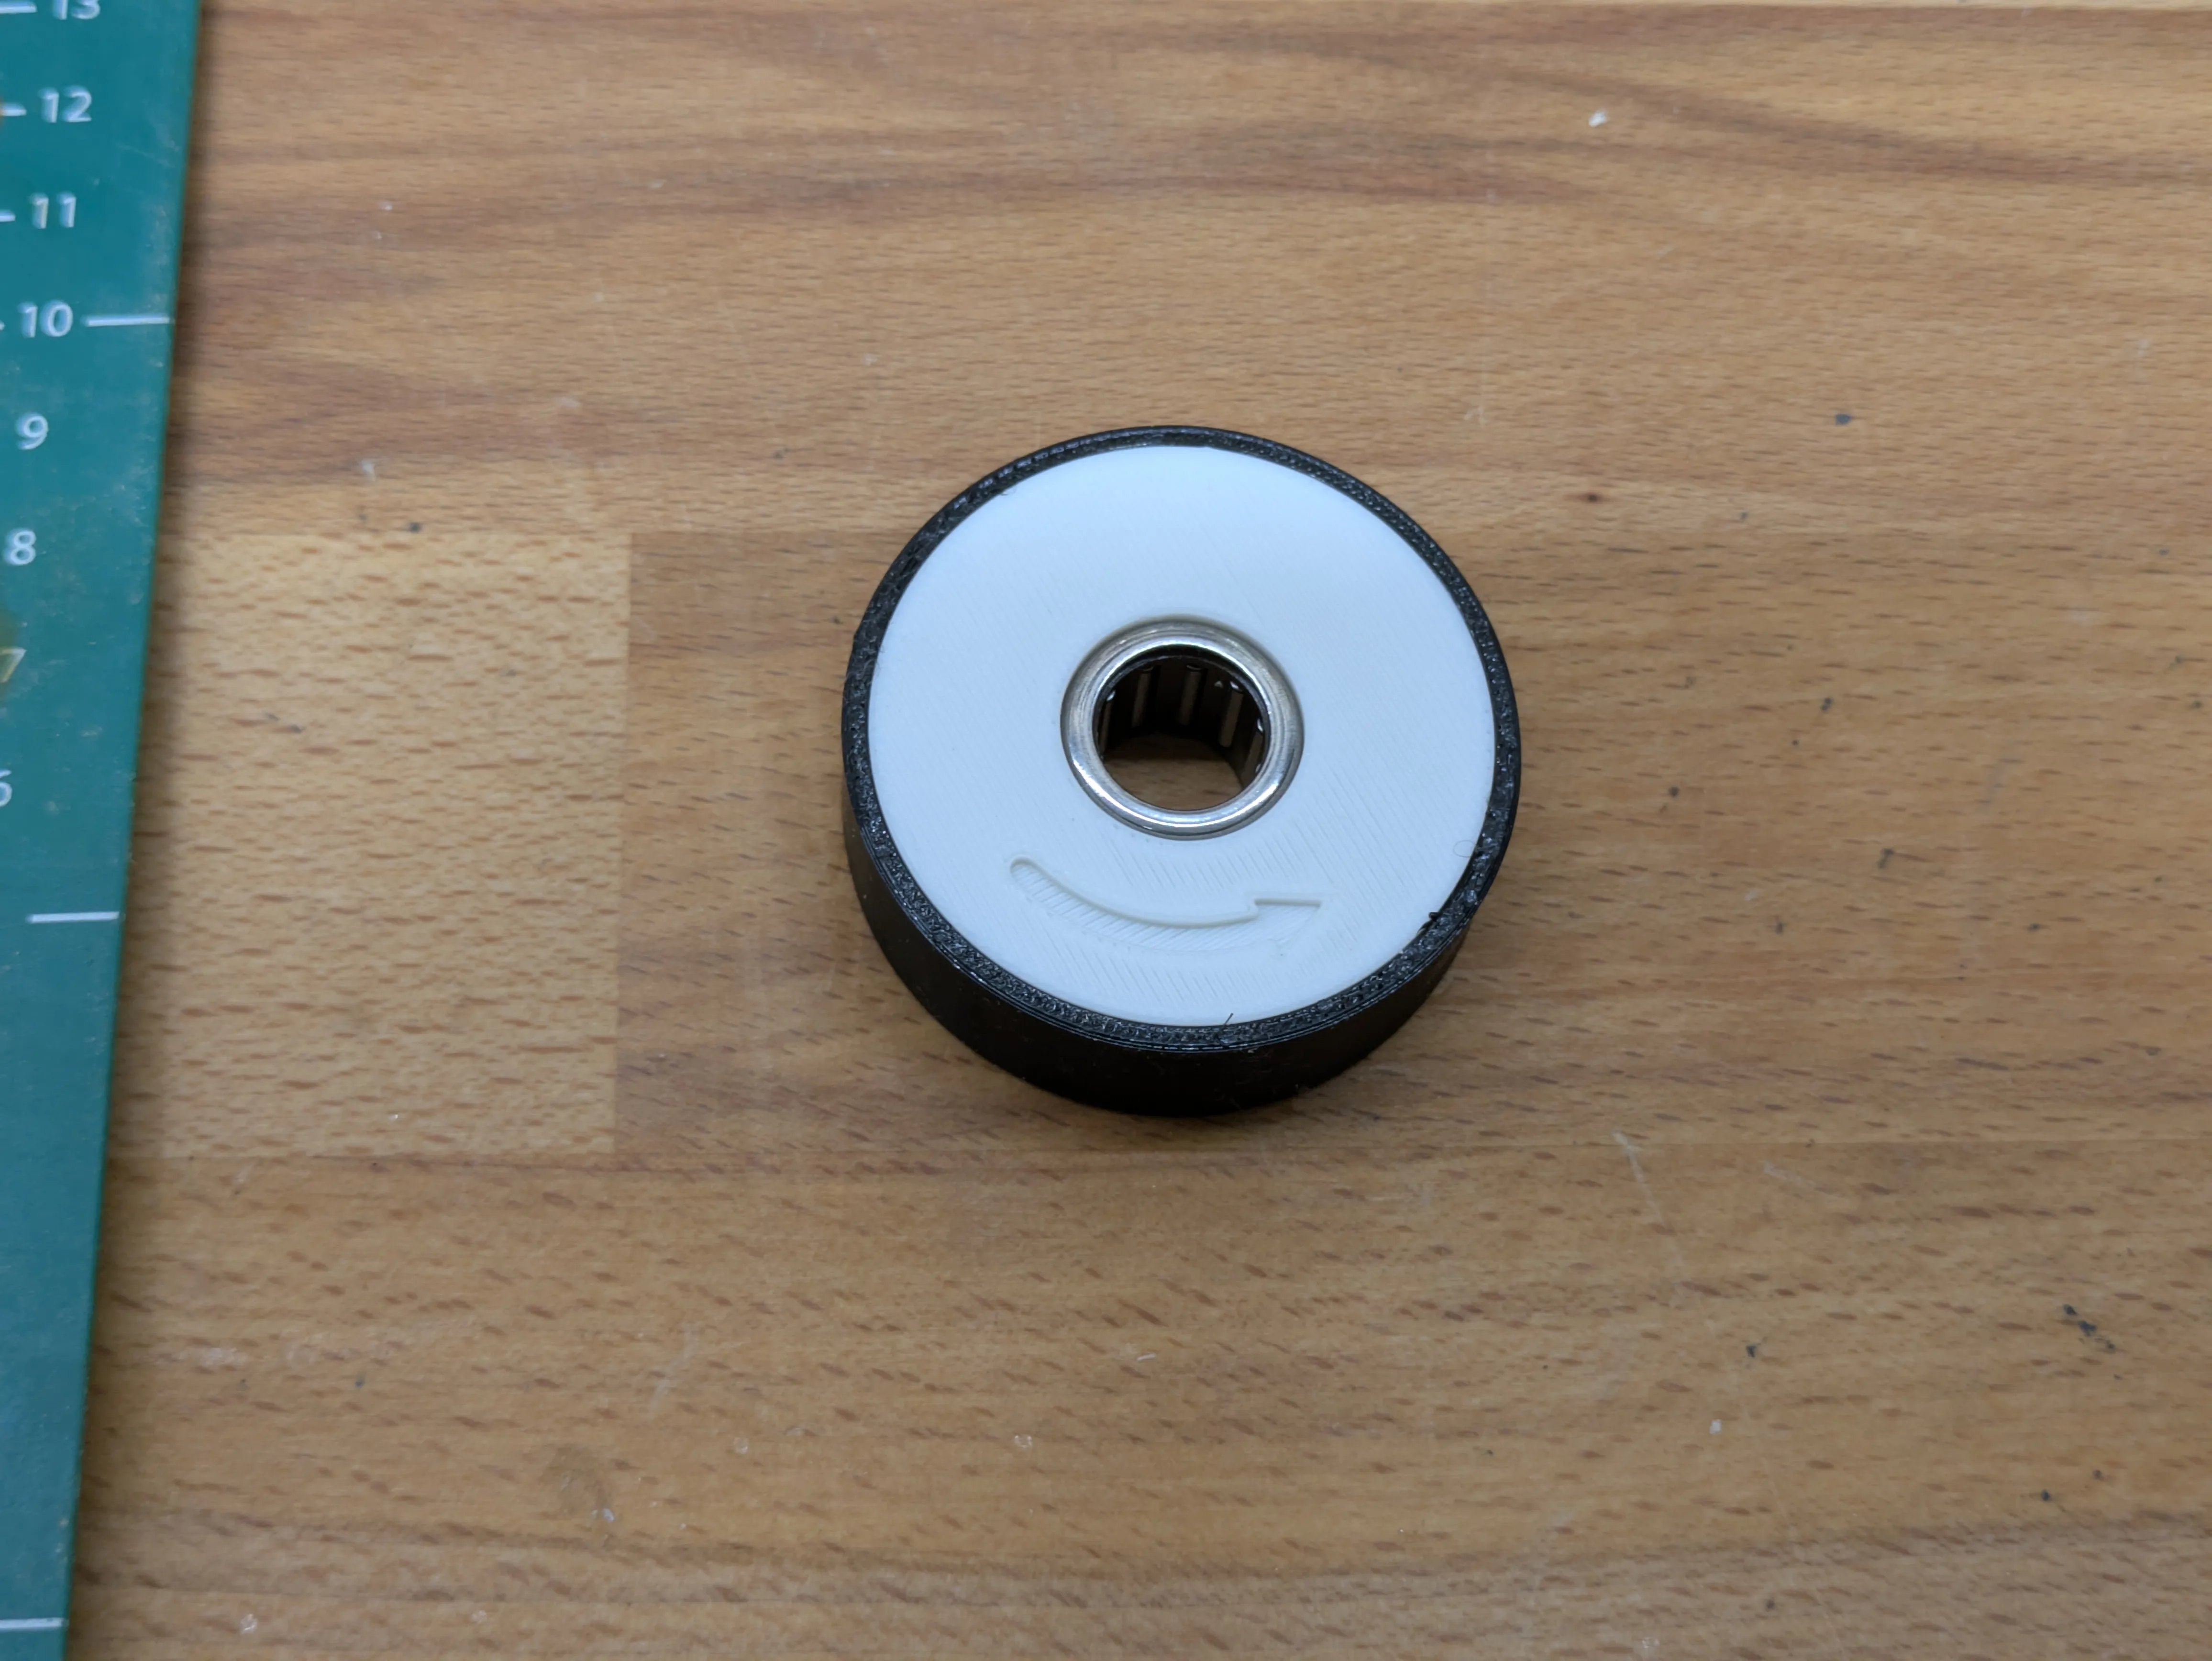
Slip the TPU outer parts onto the rollers (or, as mentioned above, a piece of bicycle inner tube)
Put the rollers on the axle pieces
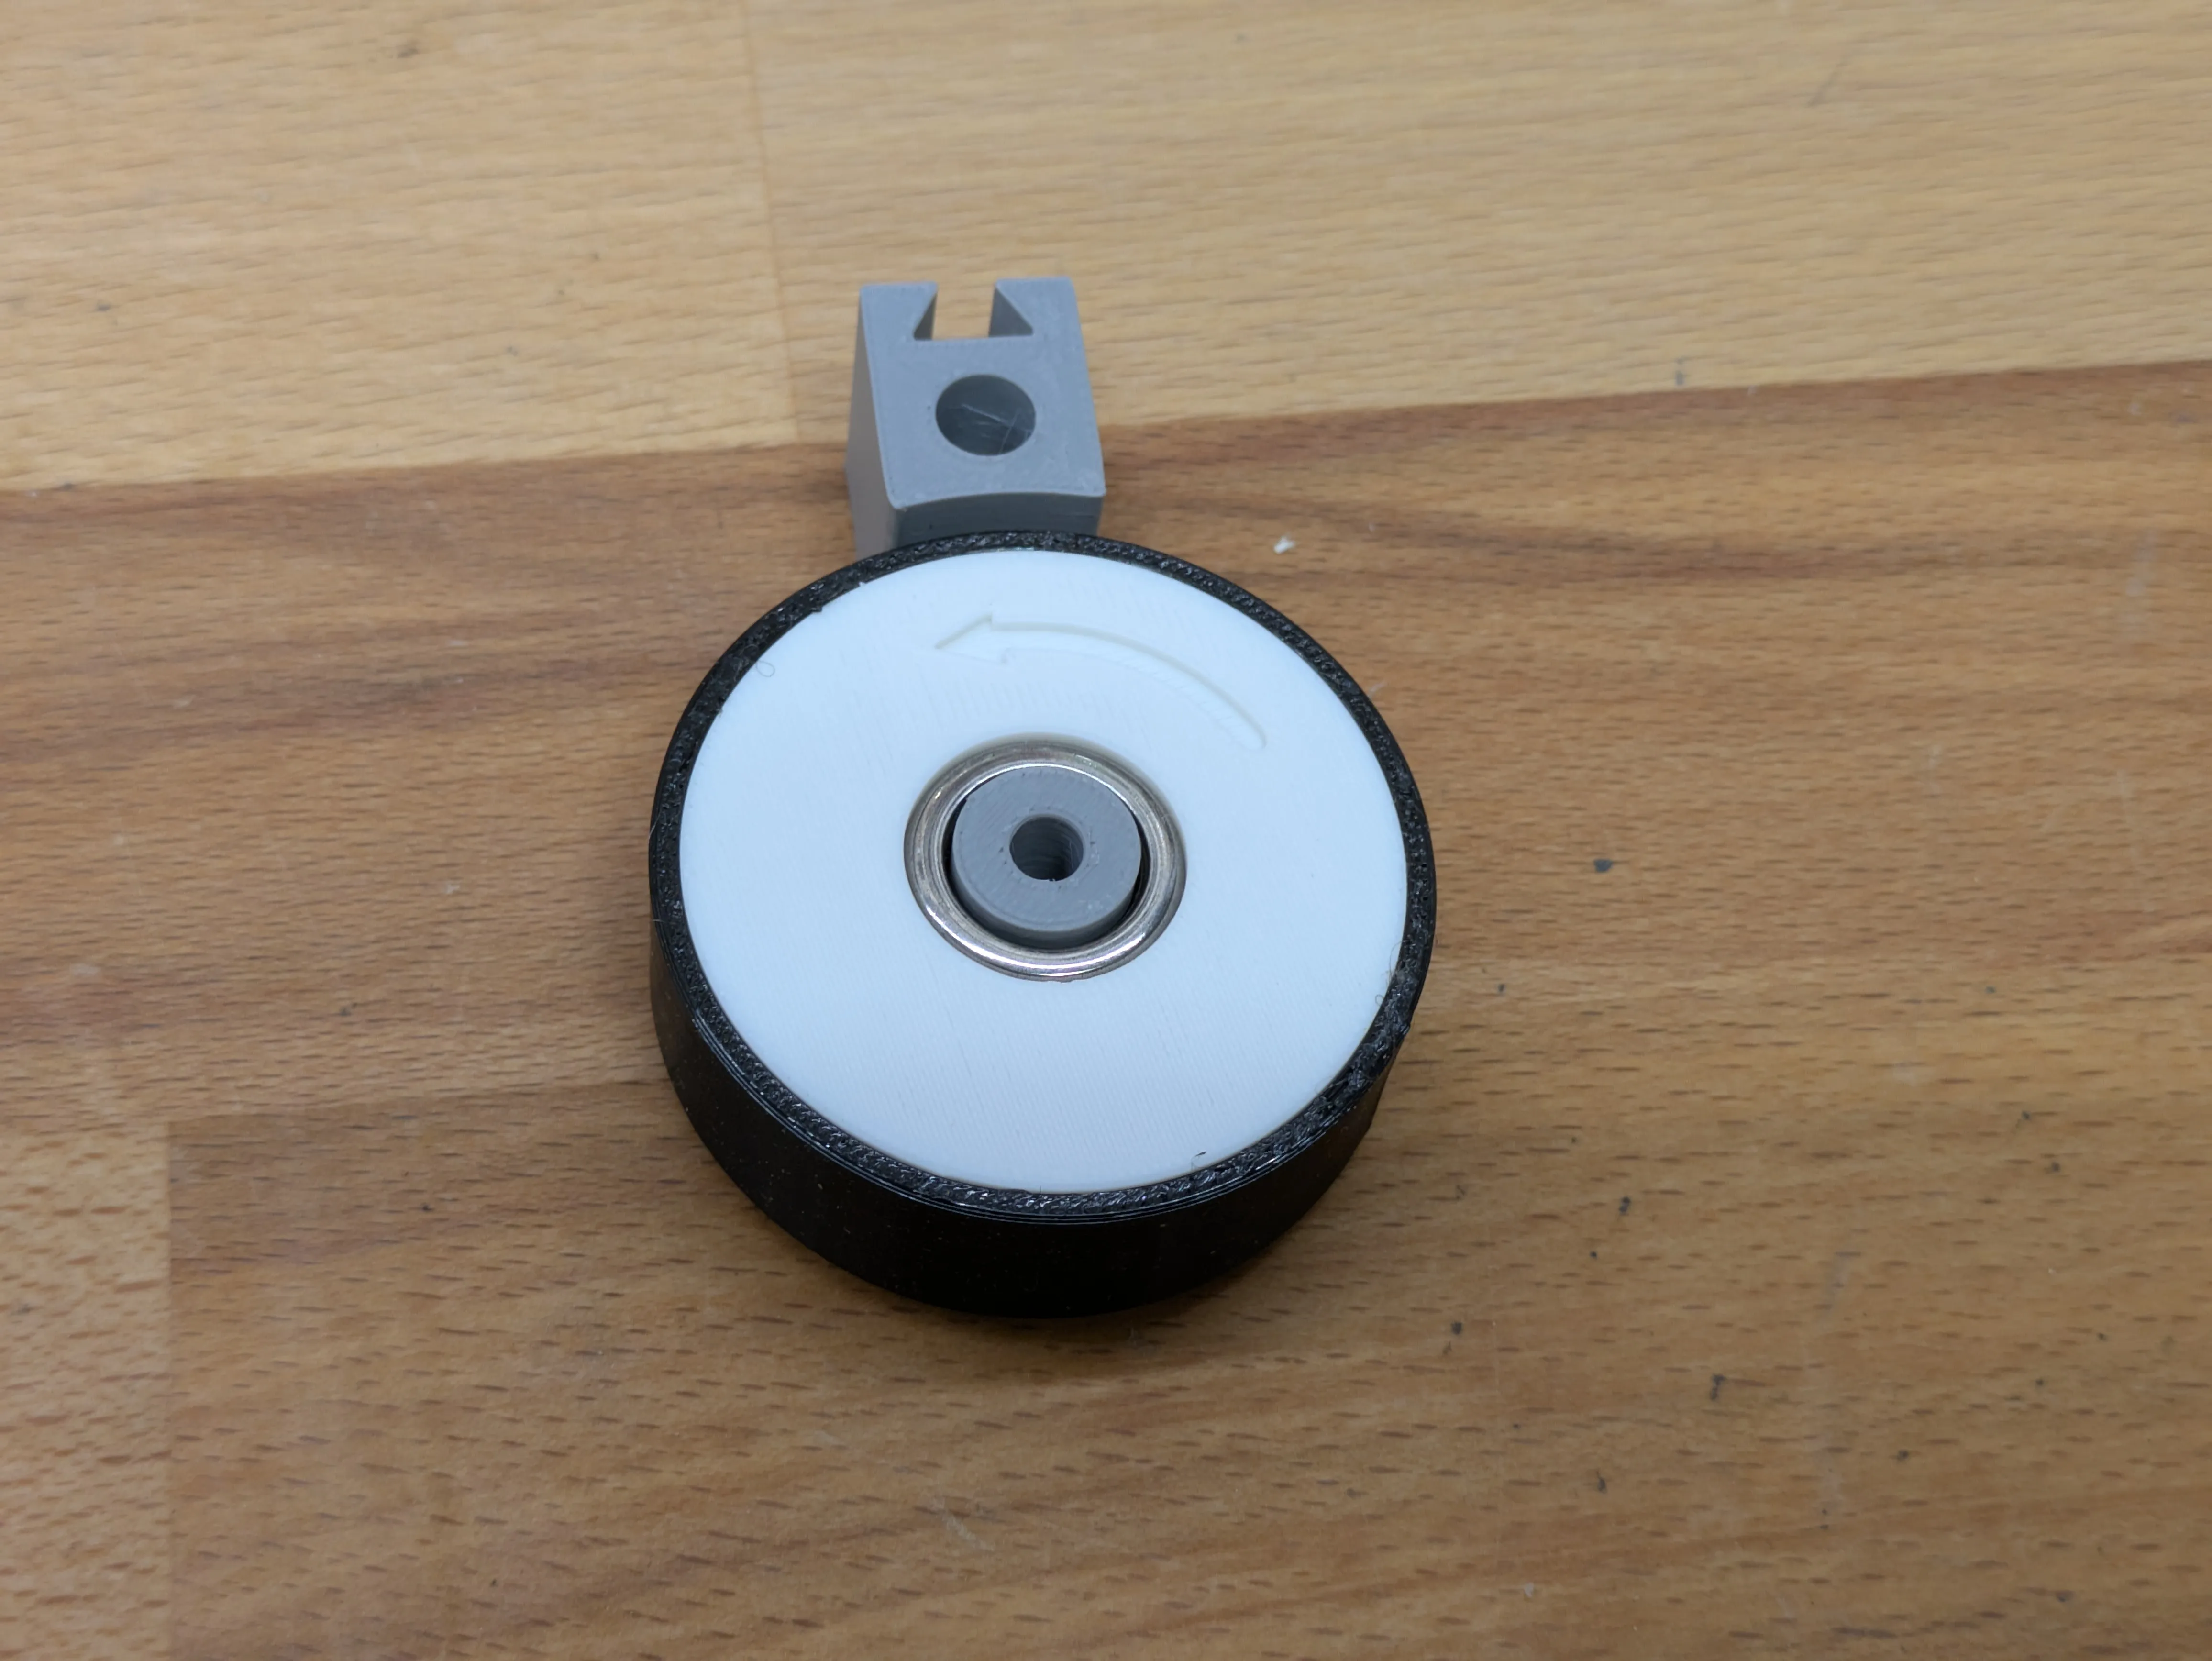
Lock them in place by pushing the lid down into the guide holes
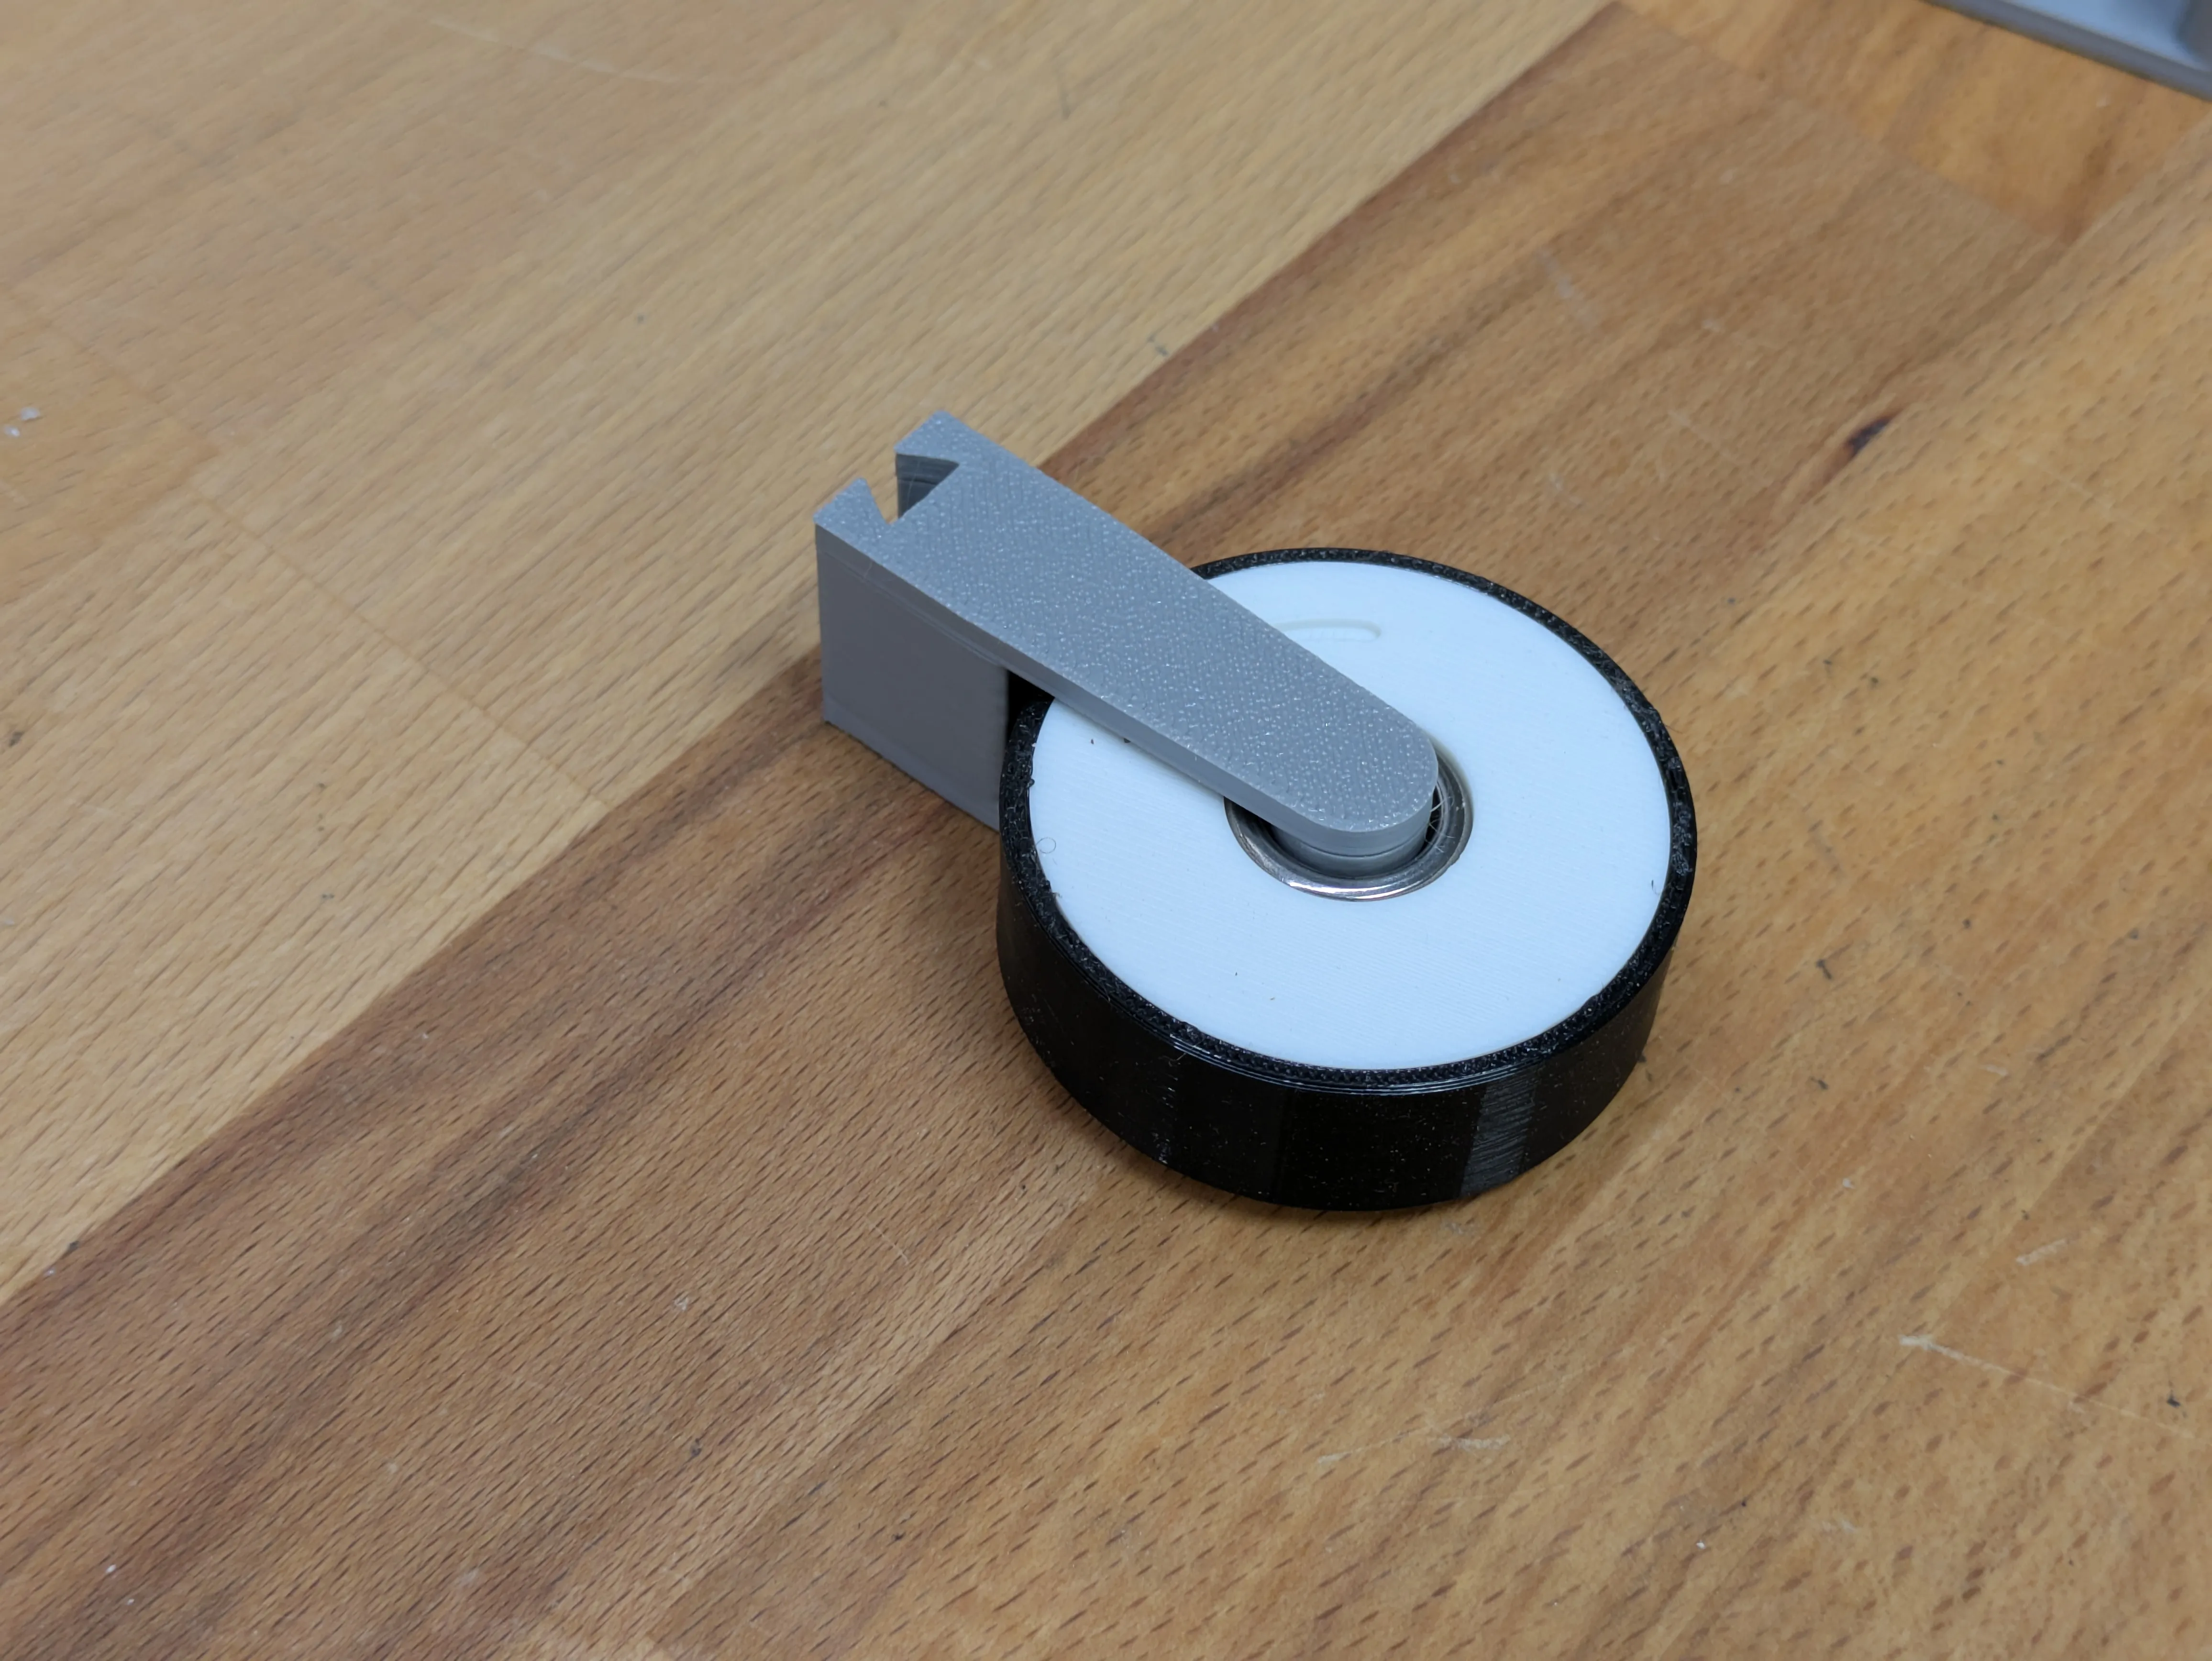
Connect the roller assemblies to the springs of your desired stiffness using the dovetails
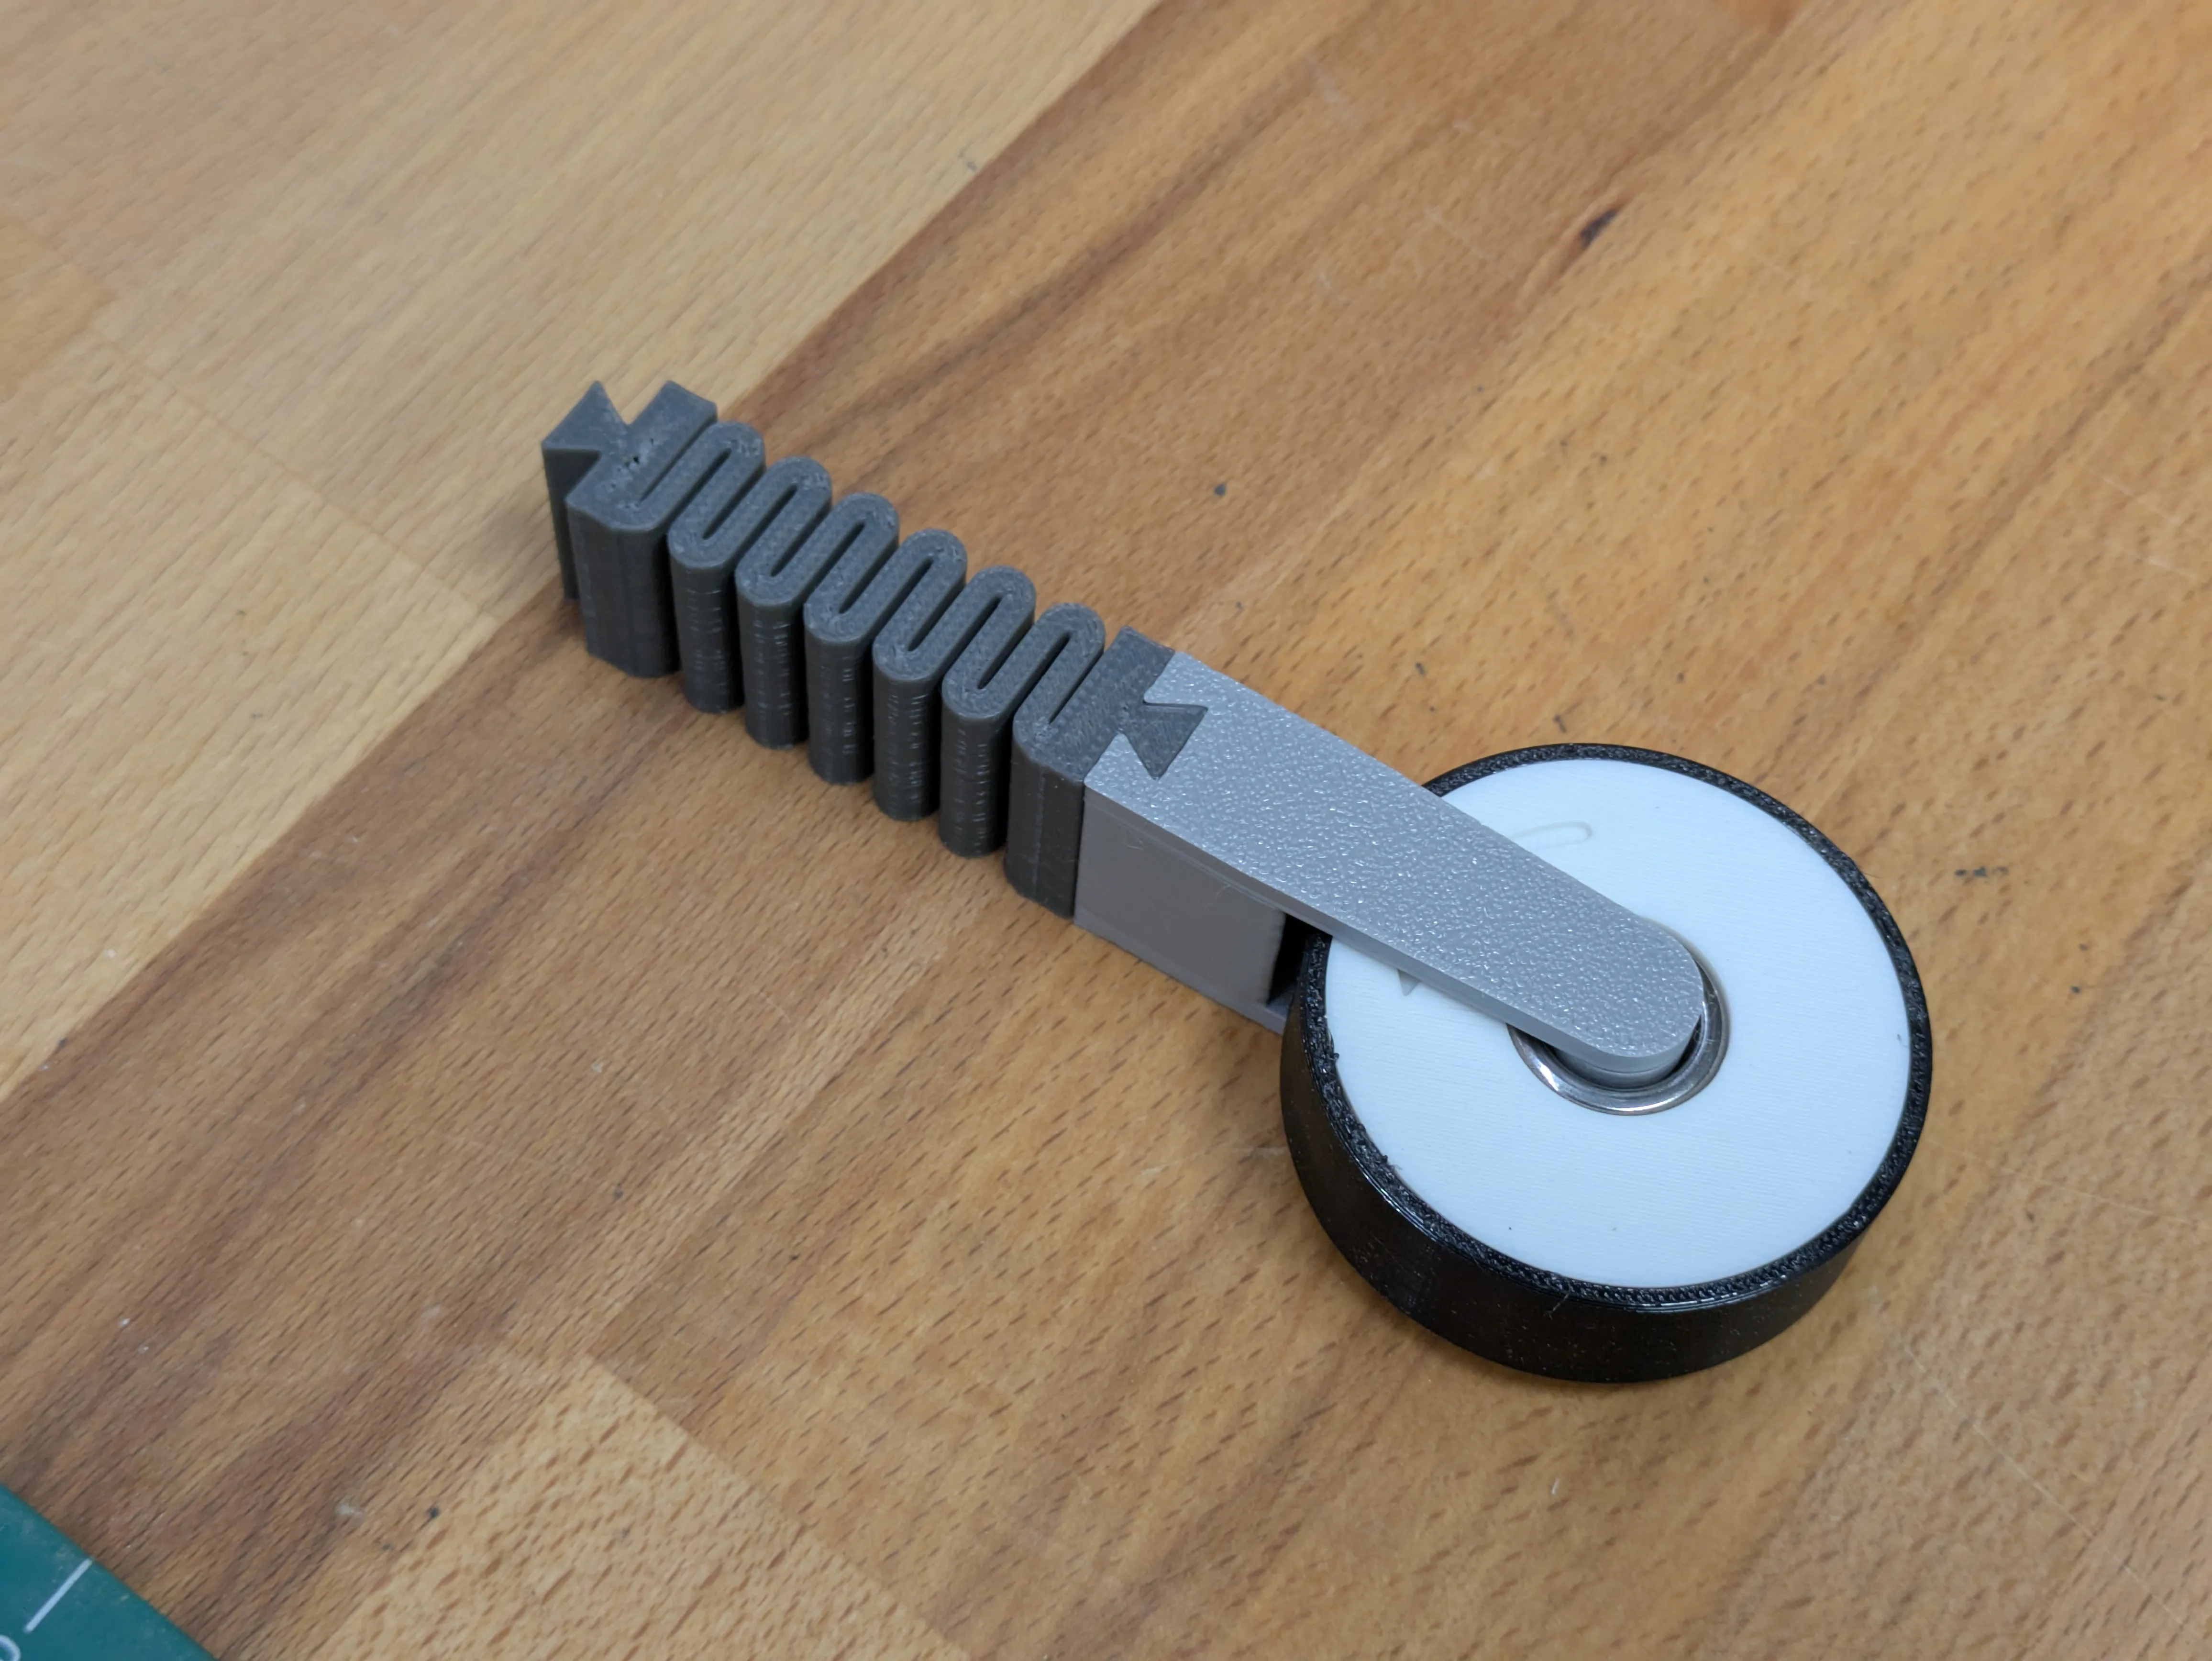
Put the spring/roller-assemblies into the slots in the main body
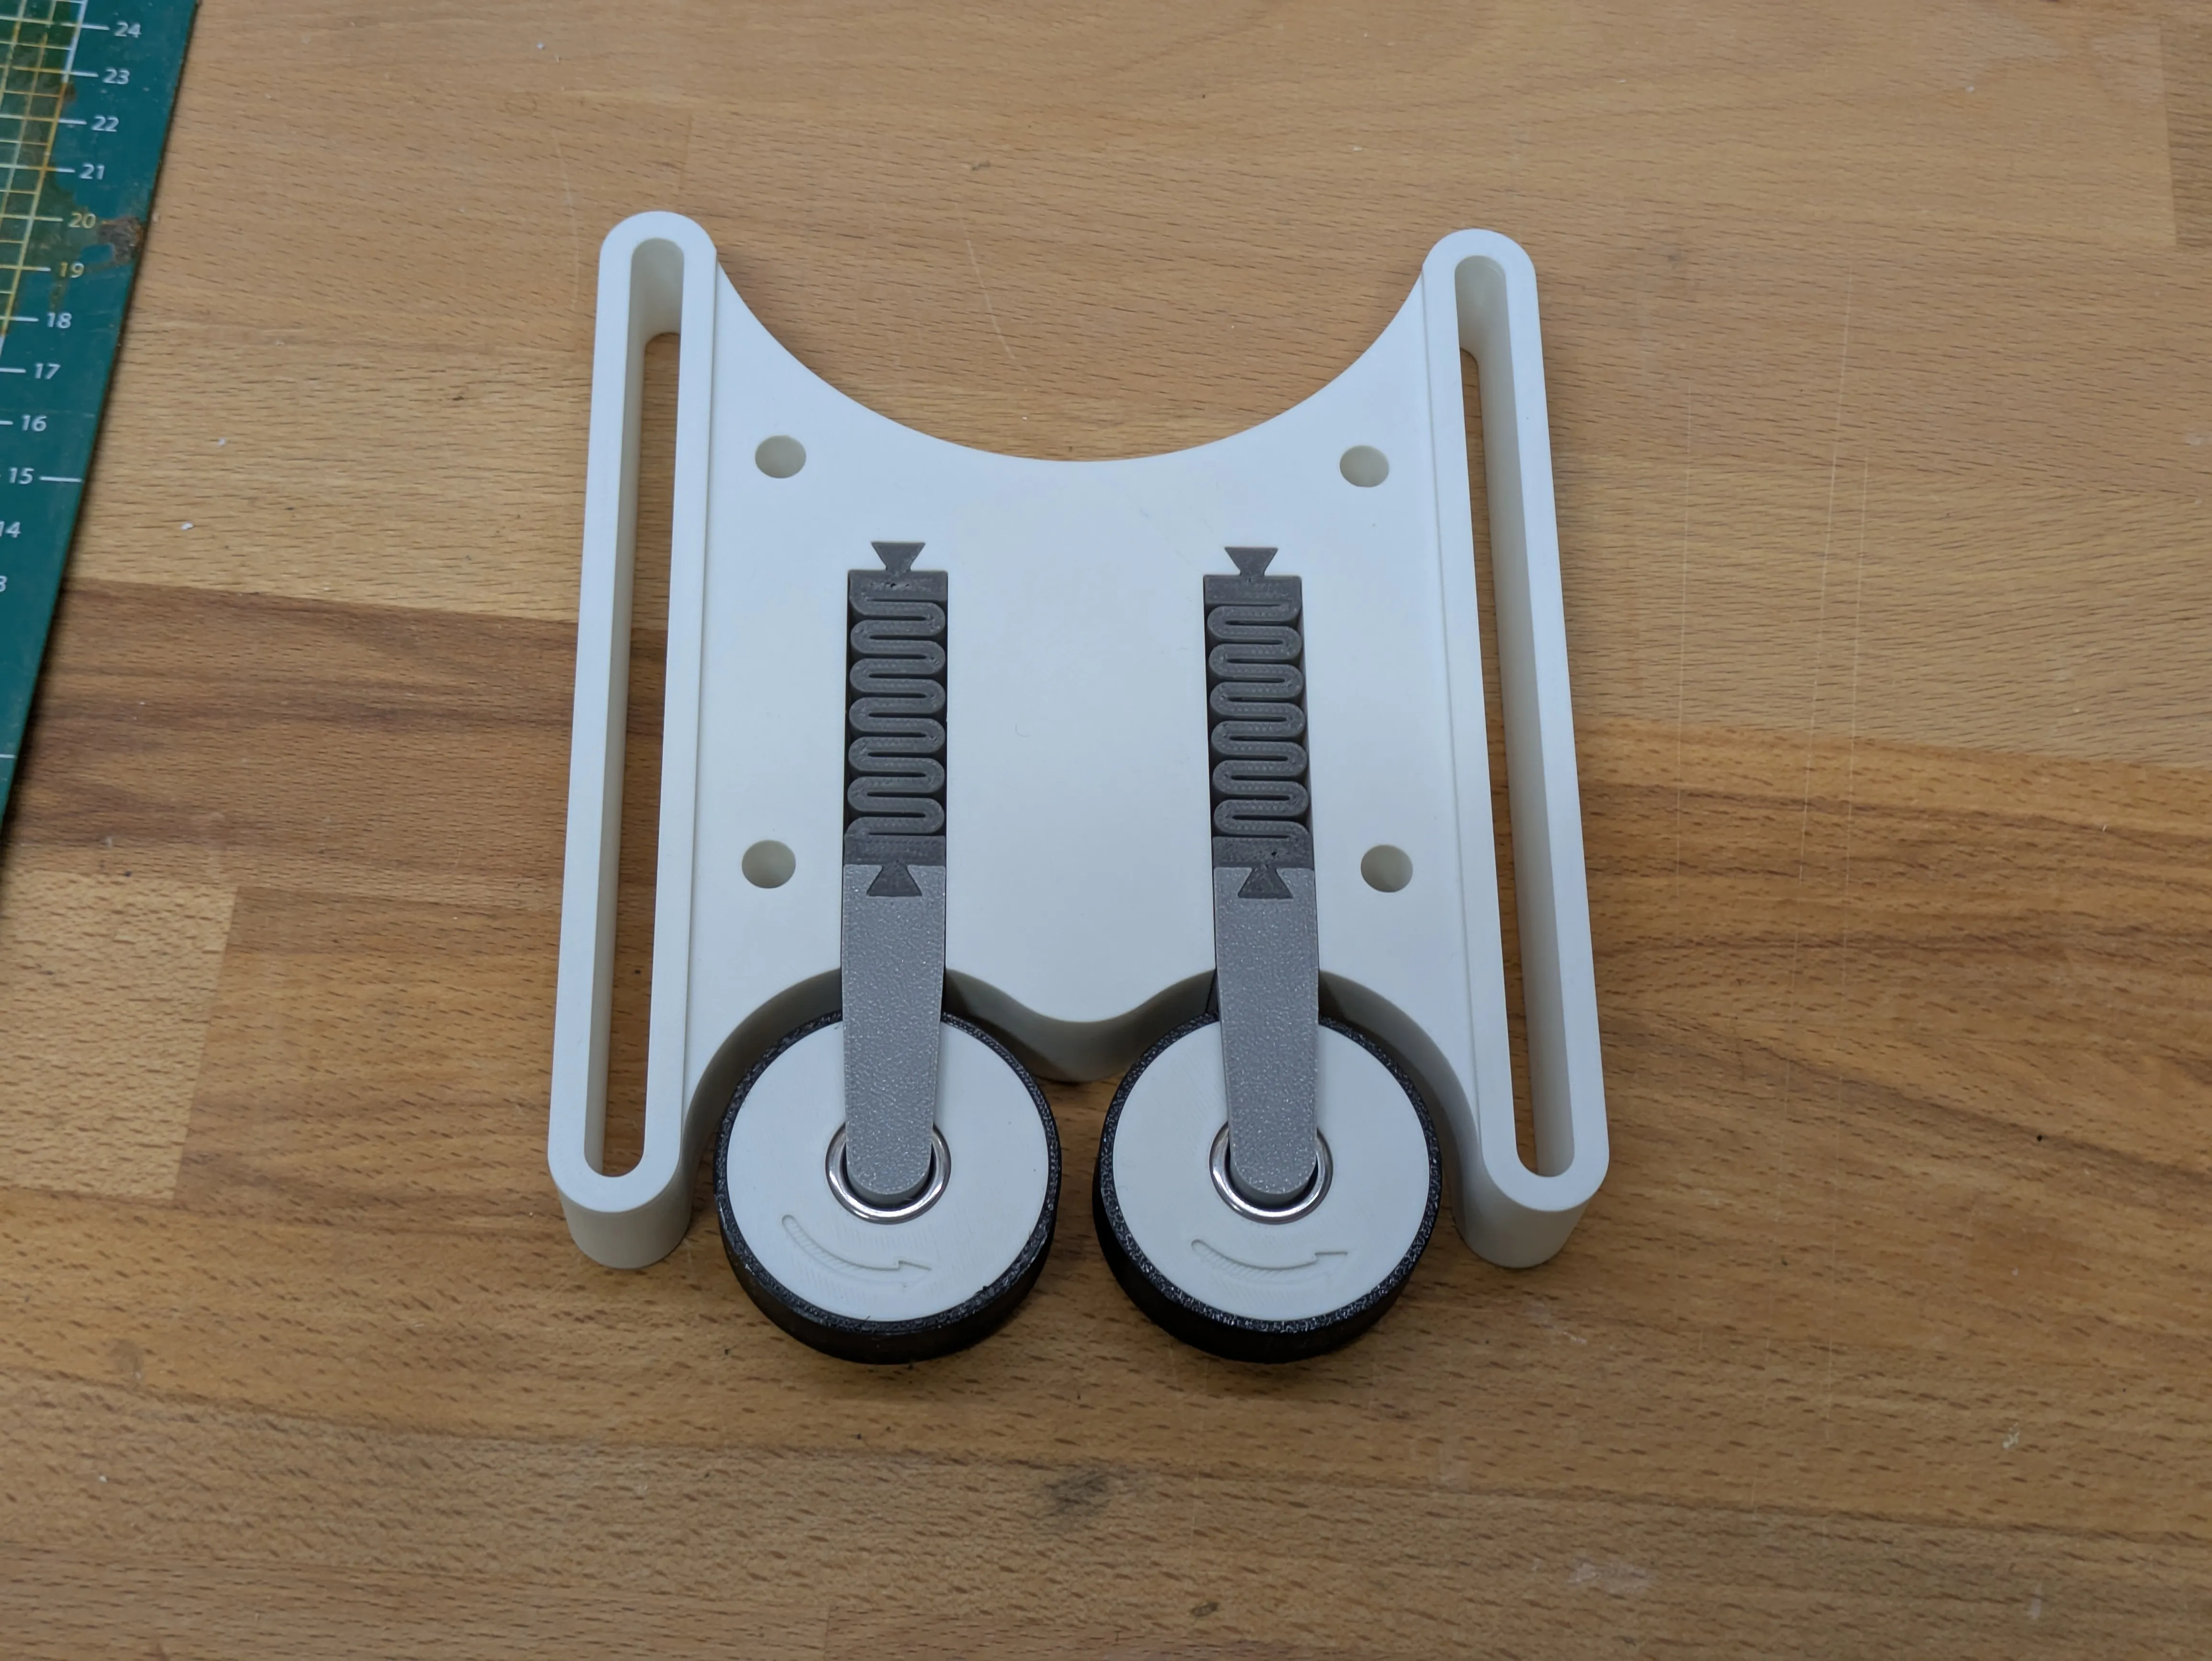
Push the lid onto the body
License

You shall not share, sub-license, sell, rent, host, transfer, or distribute in any way the digital or 3D printed versions of this object, nor any other derivative work of this object in its digital or physical format (including - but not limited to - remixes of this object, and hosting on other digital platforms). The objects may not be used without permission in any way whatsoever in which you charge money, or collect fees.


Comment & Rating (79)