
Motorized Suspended Monorail Kit
Print Profile(3)


Bill of Materials

Description
Motorized Suspended Monorail Kit
***Required: You must purchase the Maker's Supply Rechargeable Power Kit - ZC003 to use this kit ***
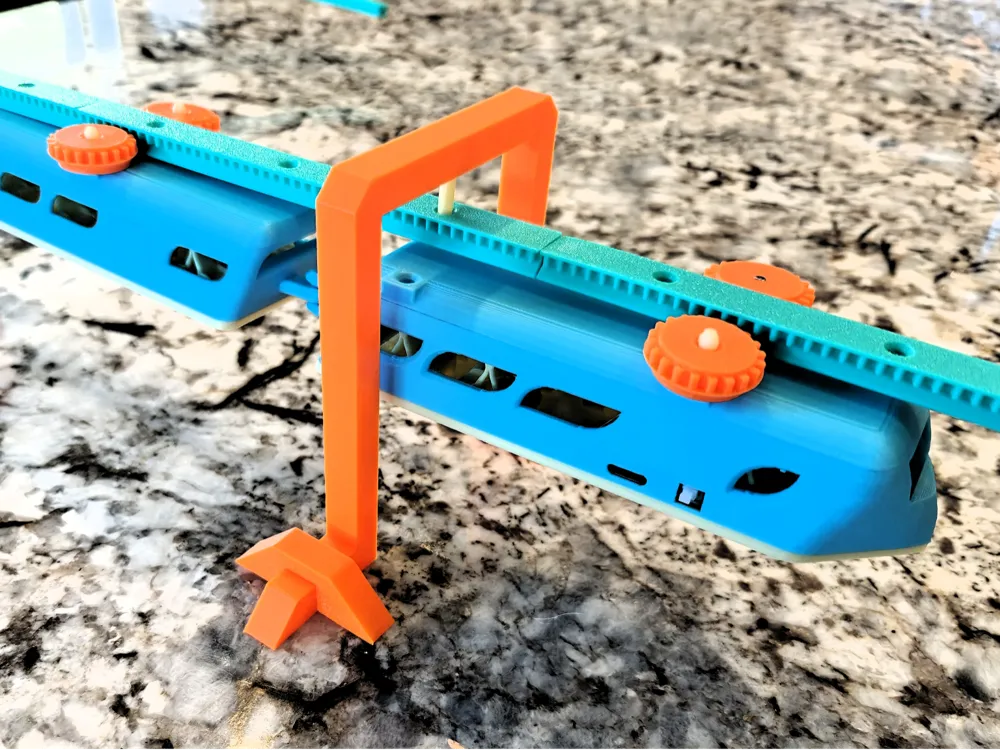
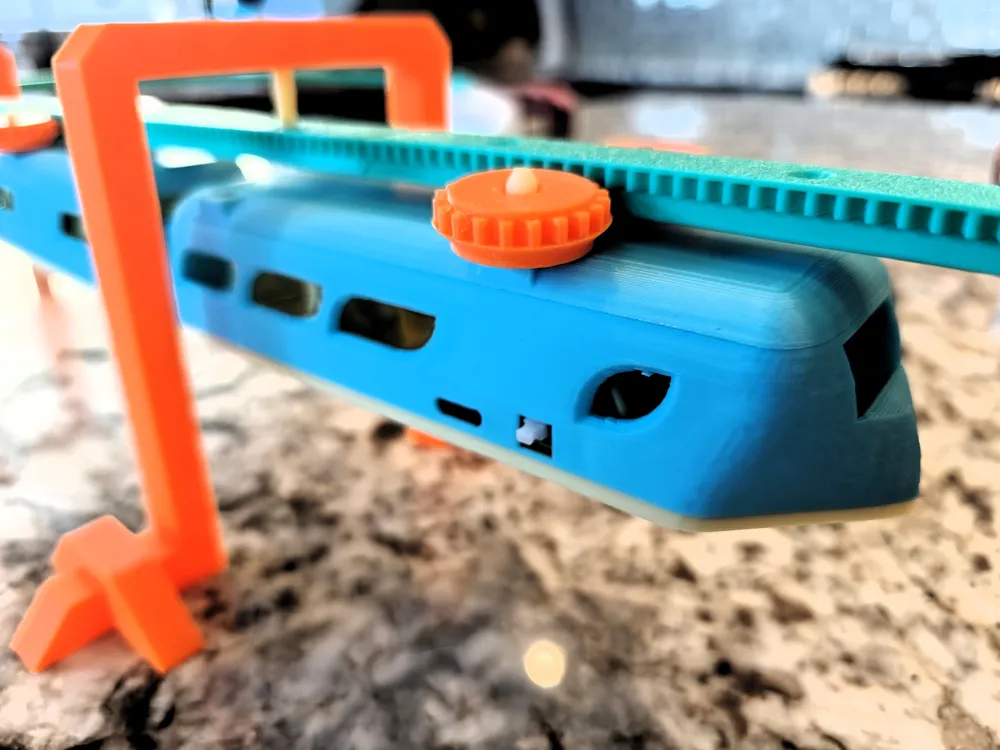
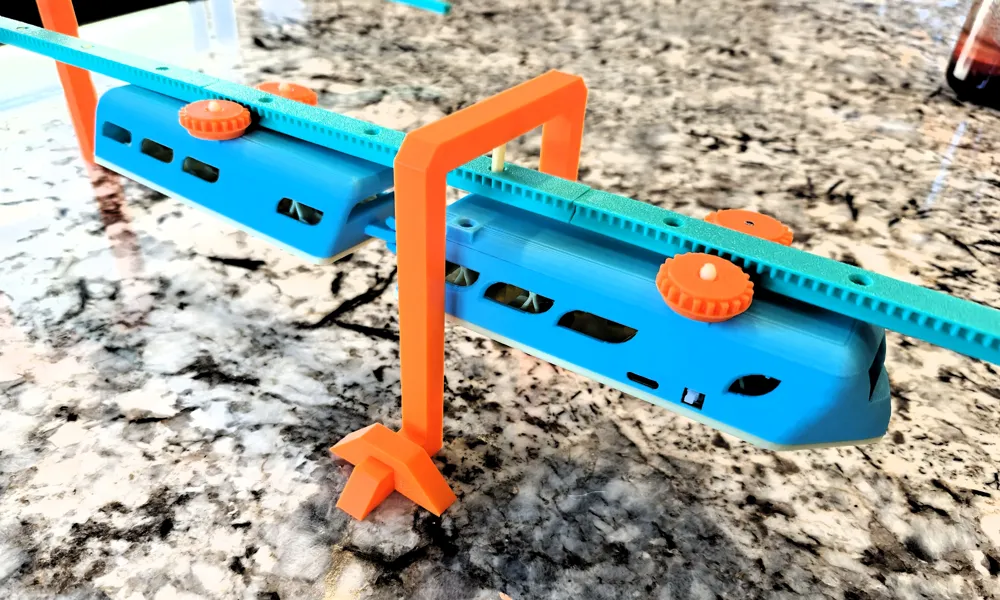
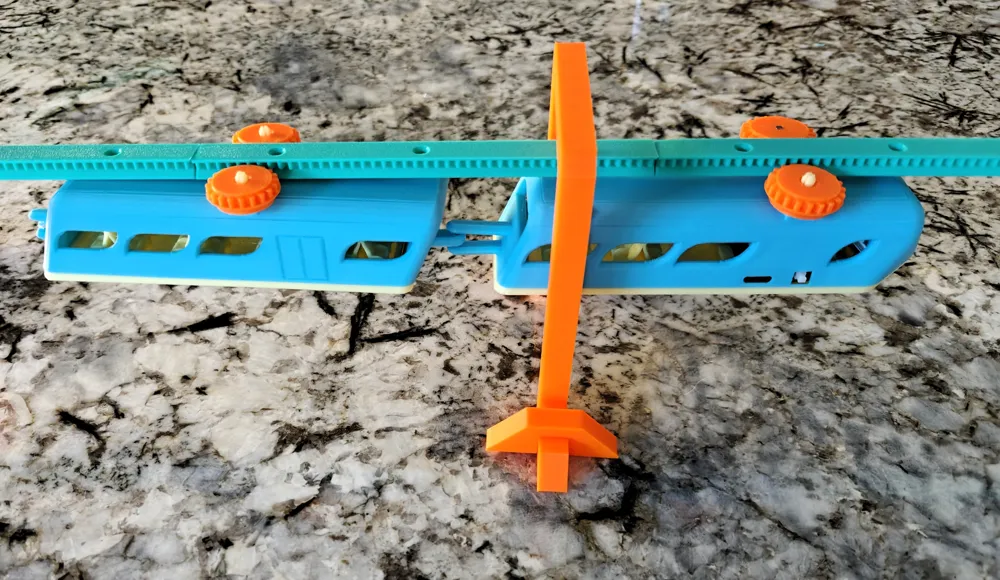
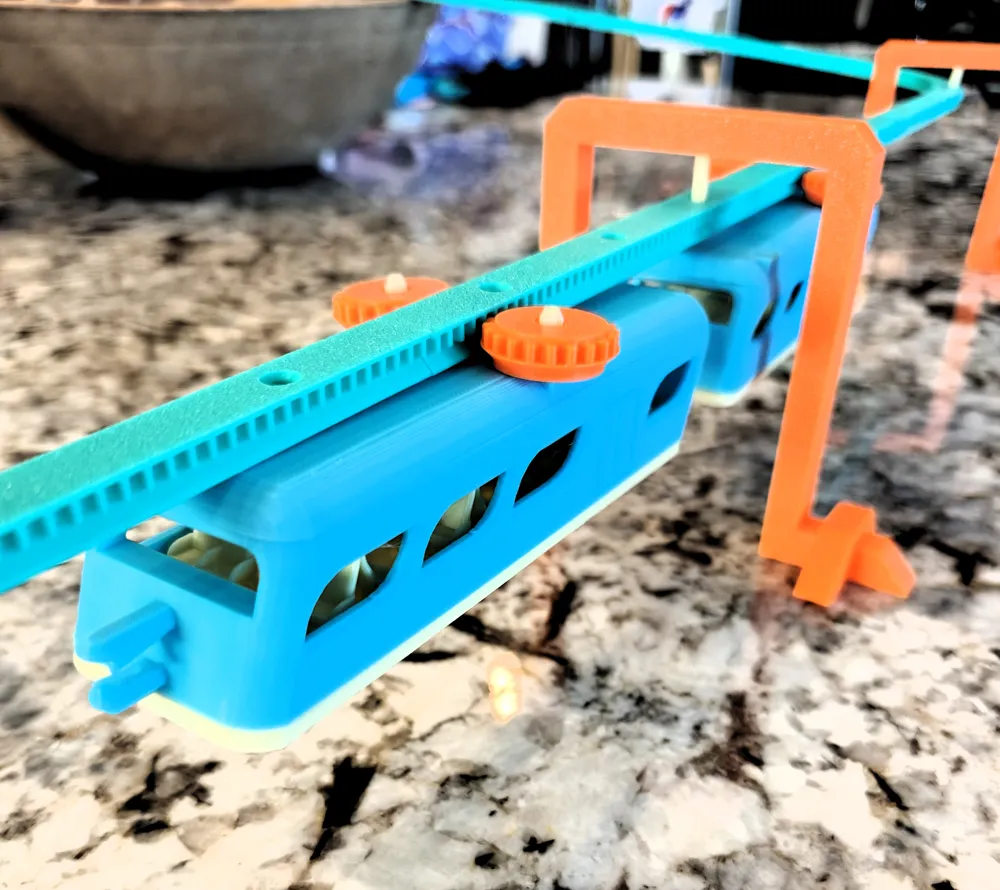
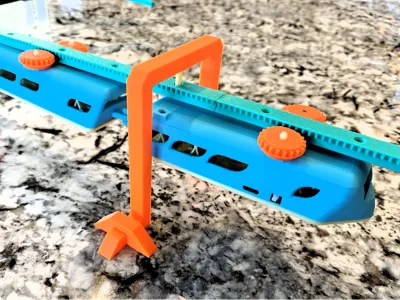
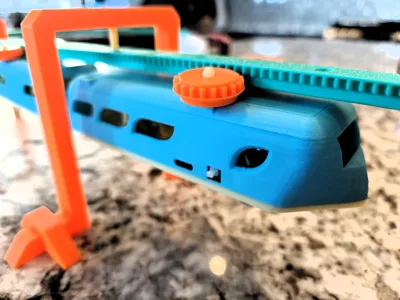
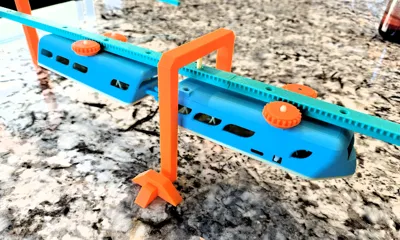
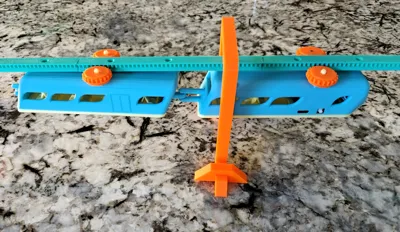
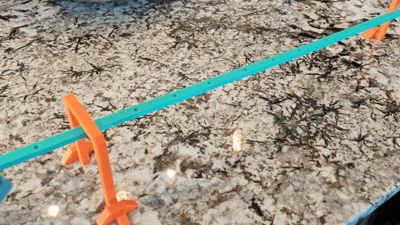
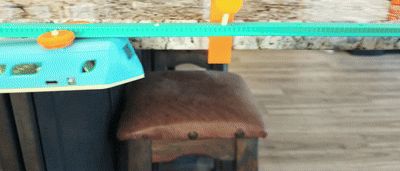

Experience the excitement of a futuristic transportation system with this Motorized Suspended Monorail Kit! Designed for creativity and customization, this kit allows you to build and operate your own suspended railway, complete with motorized movement.
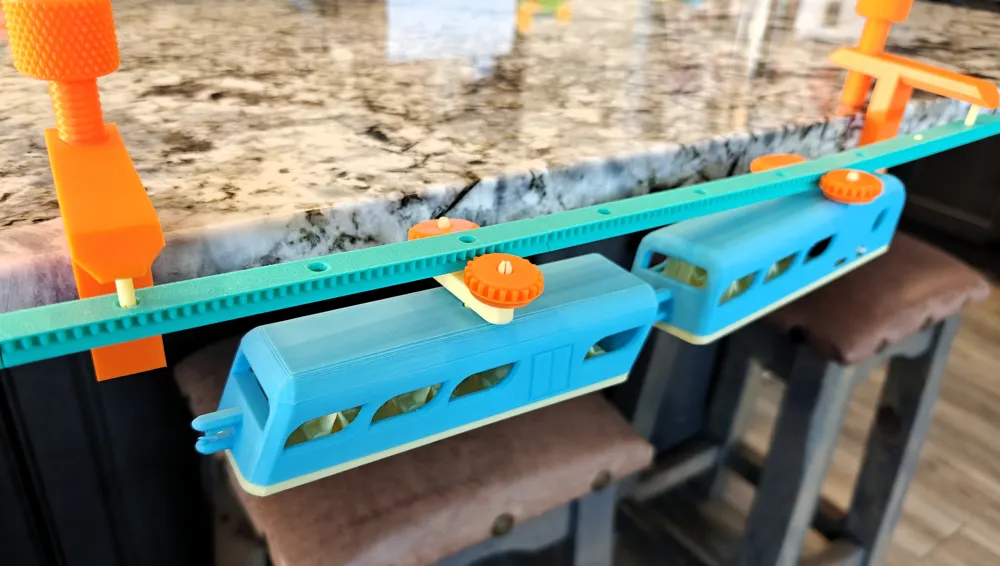
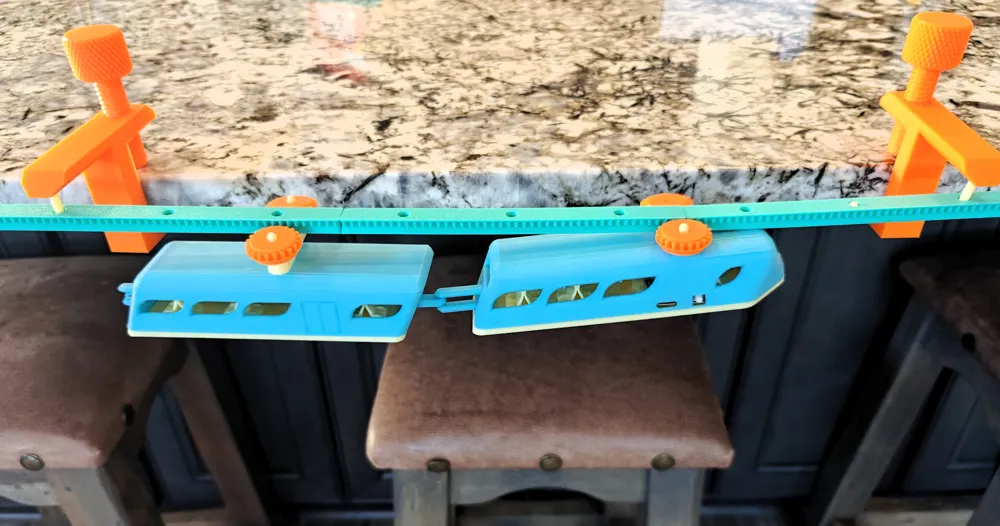


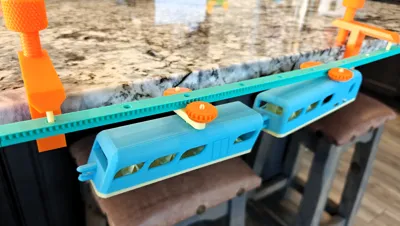
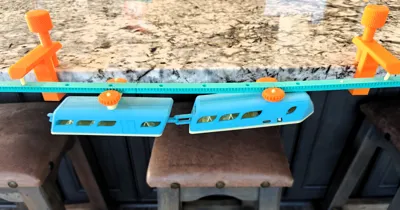
The track system can be easily attached to the edge of a countertop, desk, or table using the included 3D-printable clamp. Alternatively, set it up on any flat surface using the floor stand for a free-standing setup.
Note: This kit is a standalone system and is not compatible with other toy sets.
Features & Highlights
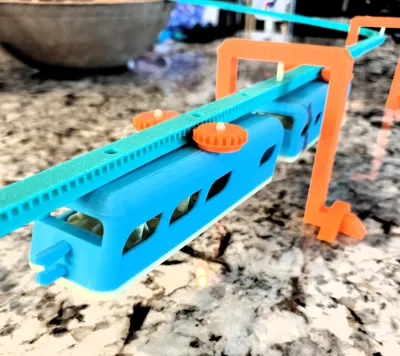
- Fully Modular & 3D-Printable – Assemble a custom railway using a variety of track sections, including straight, left-turn, and right-turn pieces. Most components are designed to be printed without the need for support structures, making assembly quick and hassle-free.
- Endless Expansion – Each train features a hitch system that allows you to attach multiple cars, letting you extend your monorail with as many additional units as you like. Simply print more cars and create a longer train for a more immersive experience!
- Motorized Movement – The built-in motor powers the train as it glides smoothly along the suspended track, adding an interactive and dynamic element to your setup.
- Versatile Setup Options – Choose between a suspended track for a sleek, elevated look or a floor-standing setup for a more accessible build.
This monorail kit is perfect for hobbyists, tinkerers, and 3D printing enthusiasts who enjoy modular design and hands-on customization. Start building your own monorail system today!
Printing Recommendations:
- Flip the tracks upside-down with the “holes” on the bottom. Use supports where the connector sticks out, but not under the holes.
- Use PETG for the tracks, since repeatedly assembling and dissembling them will eventually wear out the connections.
- Use supports for the main and passenger body, but don't use it for the roof or the floor.
Assembly Instructions:
Step 1: Install the Motor
- Place the motor securely into the motor mount, ensuring a snug fit.
Step 2: Attach the Motor Mount
- Snap the motor mount into the main train car.
- Thread the motor’s wire inside the train car to keep it organized.
Step 3: Secure the Floor
- Attach the floor piece to the bottom of the main train car, ensuring it clicks into place.
Step 4: Connect Electronics
- Plug both the motor and battery into the main circuit board.
- Fit the circuit board onto the floor inside the train car.
- Guide the on-switch and USB-C port through their respective fitted holes on the opposite side for easy access.
Step 5: Assemble the Train Body
- Snap the roof onto the main train car to secure the internal components.
- Assemble the passenger car, ensuring all pieces fit together properly.
Step 6: Install the Drive Gear
- Take the gear with the smallest hole and press it firmly onto the motor shaft. It should fit snugly without slipping.
- If you look closely, the end of the pin has a “D” shape so be sure to align it properly with the gear.
Step 7: Add Additional Gears
- Push a pin through each of the remaining gears to act as axles.
- Insert these gears into the designated holes on the roof of both the main and passenger cars.
- These can be tough to push through, if its too difficult try using a pair of needle-nose pliers to assist.
Step 8: Prepare the Track for Operation
- Set up your your desired track, but leave one piece of the track out. Roll this piece into the top of the carriage assembly, then connect it to the rest of the track.
Update 3/24:
Added a second pivot joint to the passenger lid so it doesn't wobble like in the GIF
Update 2/22:
-Lid of passenger has a single pivot so it doesn't get stuck around corners
Update 2/24
Minor adjustment to pivot on passenger
If you want to sell any of my stuff please visit my Patreon page by clicking here
Boost Me (for free)
Boost if you like my stuff!
Membership
You want to sell printed objects from my designs or just support my work? Now you can subscribe on Makerworld! Thank you!
License

You shall not share, sub-license, sell, rent, host, transfer, or distribute in any way the digital or 3D printed versions of this object, nor any other derivative work of this object in its digital or physical format (including - but not limited to - remixes of this object, and hosting on other digital platforms). The objects may not be used without permission in any way whatsoever in which you charge money, or collect fees.


Comment & Rating (54)