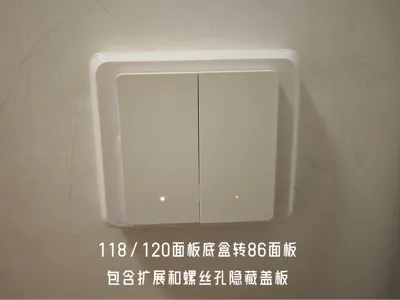
118/120mm Box to 86mm Panel Adapter: Switch and Socket Panel (with Expansion Plate)


Print Profile(5)

Description
Boost Me (for free)
3D printing a model often takes multiple test prints, which uses a lot of time. Providing a creator with even a small amount of PLA/PETG can help them test and share more helpful models like yours!
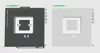
120/118 to 86 Conversion Back Box
Updated on 26/3/3, the comment section suggested updating versions with four screws fixed vertically and horizontally, which are file 6 and file 7. I don't have the corresponding back boxes, therefore this version has not been tested. If you print this back box, please share it in the comment section. I will update these images. Plate 1 and 3 are the normal flush versions, Plate 2 and 4 are the recessed versions for protrusions

Updated on 26/1/11, conversion boxes for 3-gang and 4-gang switches requested in the comment section. Because I do not have 3-gang and 4-gang back boxes, these two versions have not been tested. If you print this back box, please share it in the comment section. I will update the images for these two. Similarly, each print file has two versions. Please check if there are protrusions around the screw holes of your purchased switch or socket, in which case you need to print the recessed version with support
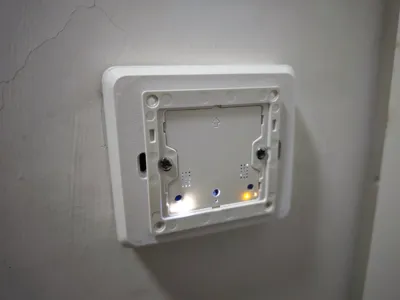
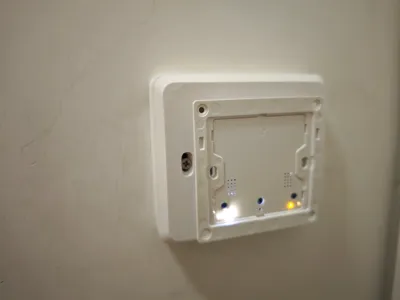
My home's previous renovation used 120 or 118 back boxes. Most switches on the market now use 86 back boxes, so conversion is needed. Also, because the bottom of the 86 back box is larger, space must be extended outwards. The bottom of the 86 panel needs to be almost entirely accommodated, hence this 120/188 to 86 back box extension part
All versions include two files. Please check if there are protrusions around the screw holes of your panel. If flush, use the Plate 1 version. If your panel has protrusions, please use the Plate 2 recessed version
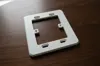
1. Using Plate 1 flush version


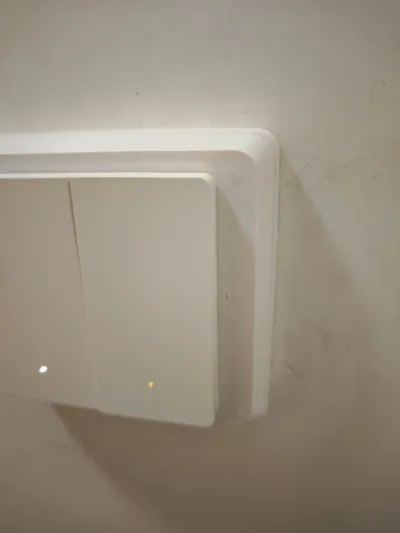
2. Using Plate 2 recessed version (The photo shows a Mi Home smart switch from International Electric)


Currently
1. The standard version extends outwards by 24mm, generally sufficient to accommodate switch and socket panels with a base depth of 22mm. If part of the panel's bottom can fit into the original 120 or 188*60mm back box, the range can be appropriately extended. You need to measure if the part that cannot fit is less than 24mm. M4*30 screws need to be replaced
2. The thickened version extends outwards by 33mm, generally capable of accommodating all switch panels, requiring M4*40 screws to be replaced
3. The ultra-thin version extends outwards by 15mm, generally only suitable for single 3-pin or 2-pin panels. Most of the back of the panel to be replaced can fit into the original back box, usually without needing to replace screws
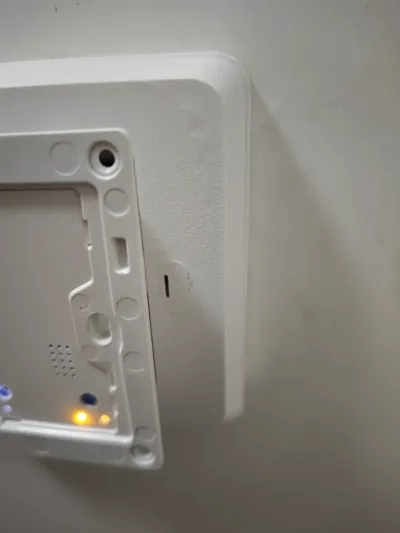
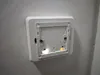
After screwing in, place the side of the screw hiding cover with the hole facing inwards for hidden installation, and it is also easy to remove with a flathead screwdriver. Also, because the back box for 118/120 panels needs to be larger than 120mm to completely cover previous installation marks, this size is required
M4 screws are generally used to install panels. After installing the extension module, the original screws may not be long enough, requiring M4*30 screws

Effect after using the hidden cover plate


Completed installation effect

The cheapest smart switch is used in the image, a Bluetooth switch from International Electric, priced at only 28
Wishing you smooth sailing on your print — no stringing, no failed prints!
If you found this helpful, a like would mean a lot! And if you download the files , you'll help me earn filaments from Bambu Lab. This lets me test-drive and share more awesome models with the community!
Want to see more?
Check out my other designs on my profile
License
You shall not share, sub-license, sell, rent, host, transfer, or distribute in any way the digital or 3D printed versions of this object, nor any other derivative work of this object in its digital or physical format (including - but not limited to - remixes of this object, and hosting on other digital platforms). The objects may not be used without permission in any way whatsoever in which you charge money, or collect fees.
Comment & Rating (1)