Gaggia Classic Water Level Indicator


Print Profile(1)

Description
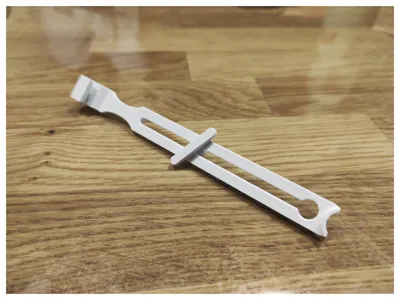
A water level indicator for the Gaggia Classic. The float is assembled, threaded through the holder, and clipped to the edge of the water tank. As the water level decreases, the float sinks. The fill level is easier to see from the outside of the tank. I positioned the float on the left edge—that's where I see it best. If desired, you can also print it in color for even better visibility.
It is important to print the float with low infill, otherwise it will sink. 7-10% worked well for me; the 3mf file uses 8%. The holder can be designed with a slightly higher infill; 20% is recommended, so it doesn't float upward. Printed with PLA.
Assembly instructions:
- Carefully assemble the float and weight until it is fully inserted.
- Thread the float assembly into the holder; the float is on the side of the hook.
- Clip the level indicator to the inside of the water tank and check its functionality.
License
You shall not share, sub-license, sell, rent, host, transfer, or distribute in any way the digital or 3D printed versions of this object, nor any other derivative work of this object in its digital or physical format (including - but not limited to - remixes of this object, and hosting on other digital platforms). The objects may not be used without permission in any way whatsoever in which you charge money, or collect fees.
Comment & Rating (15)