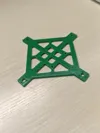
A Must-Build for Beginners! Minimalist 2-inch and 2.5-inch FPV Circle Frame


Print Profile(5)


Description
Boost Me (for free)
Thank you for your support
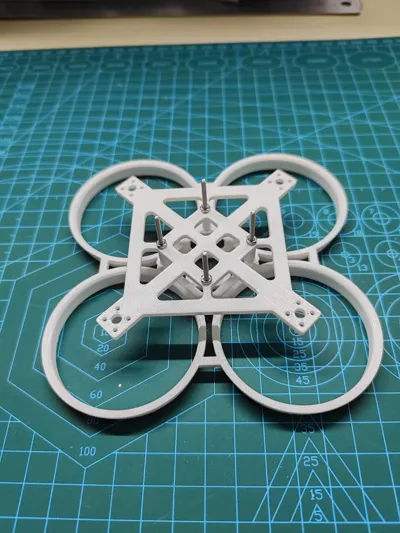
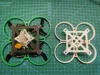
A minimalist 2-inch and 2.5-inch FPV frame for beginners, designed for line-of-sight flight without camera or VTX
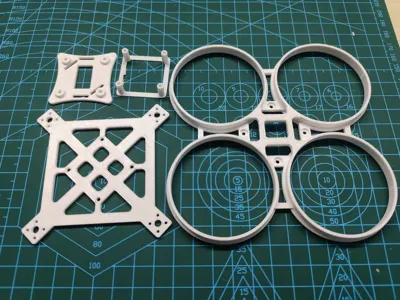
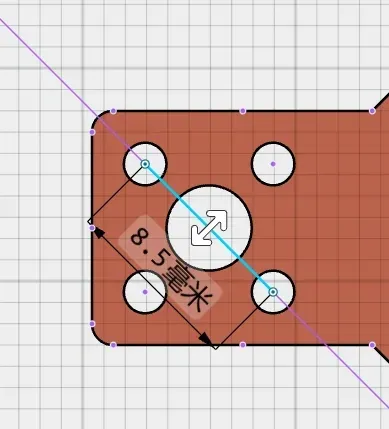
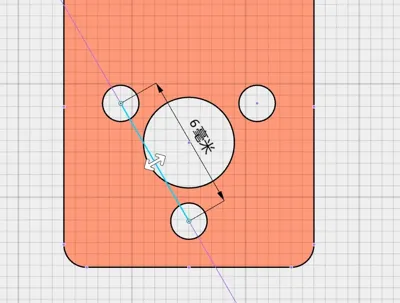
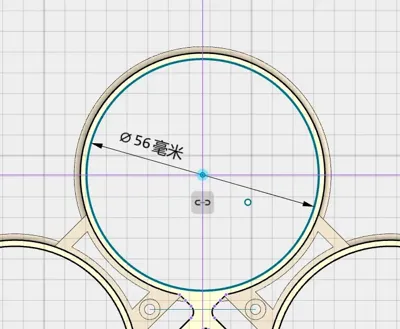
Flight controller mounting hole spacing: 25.5mm, motor mounting hole spacing: 8.5mm, circular frame diameter: 56mm, see image
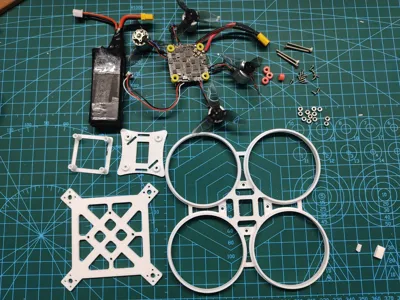
Assembly requires only 4 M2x30 screws + several matching nuts + 16 motor screws
The design is streamlined and assembly is straightforward; you could even ask a helpful vendor to solder the flight controller and motor wires, allowing for immediate use upon arrival (ensure sufficient motor wire length, routing them from the side)
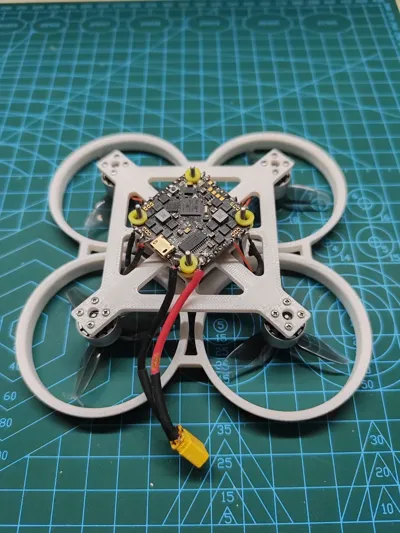
An all-in-one flight controller is recommended; the space beneath the motor mounts can accommodate a receiver and antenna. The flight controller could also be mounted here, however, my flight controller's USB port is obstructed by the motors. If your flight controller isn't obstructed, you can remove the four pillars for further simplification
Select a flight controller based on your target aircraft; experienced users can continue using it for larger aircraft upgrades
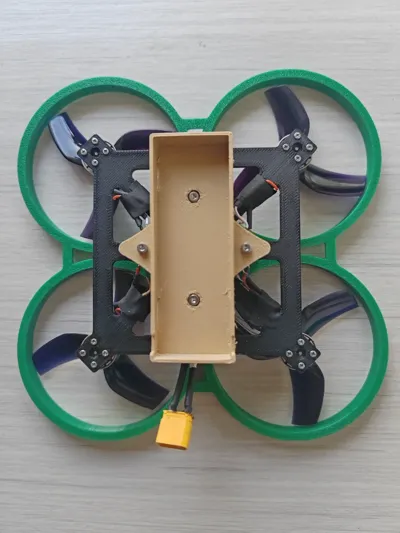
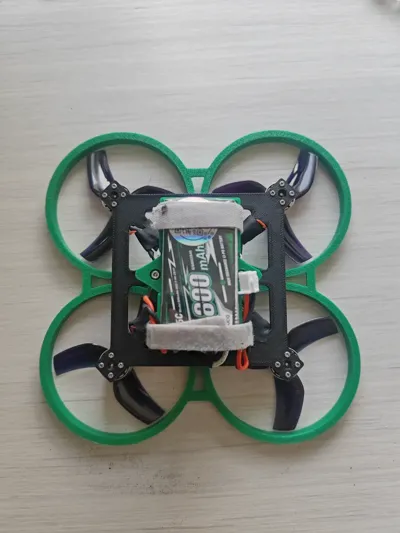
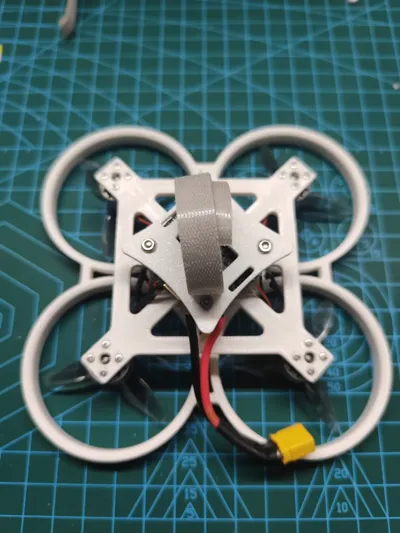
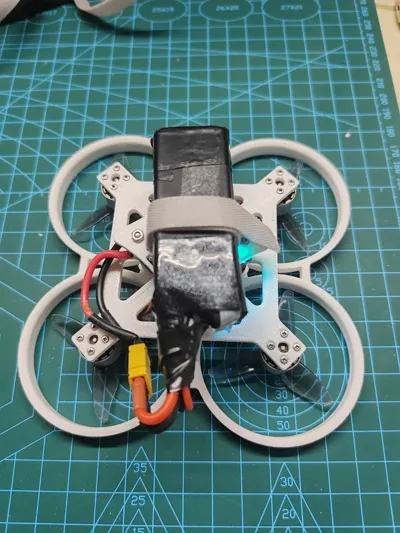
Batteries can be mounted above or below; top mounting allows for the use of the battery tray lid, which can be modified by breaking off an edge if sizing is an issue
The height of the frame to the circular protector can be adjusted using nuts; when slicing, avoid reinforcing the circular protector, as excessive rigidity compromises its protective function. Screws can be inserted from top to bottom, allowing for quick replacement of a damaged protector
My configuration is a Jinghang F411 AIO flight controller, 1104 motors, and a 2S battery, for reference
License
You shall not share, sub-license, sell, rent, host, transfer, or distribute in any way the digital or 3D printed versions of this object, nor any other derivative work of this object in its digital or physical format (including - but not limited to - remixes of this object, and hosting on other digital platforms). The objects may not be used without permission in any way whatsoever in which you charge money, or collect fees.
Comment & Rating (3)