
Super Decathlon Stick Training Airplane (No Glue)
Print Profile(1)

Description
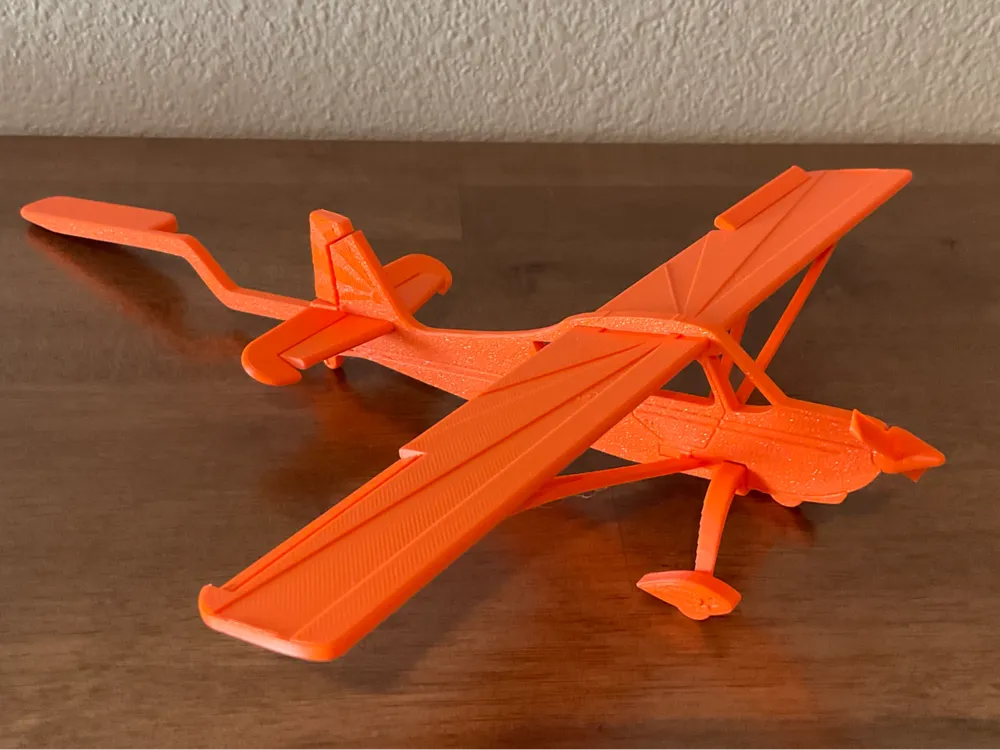
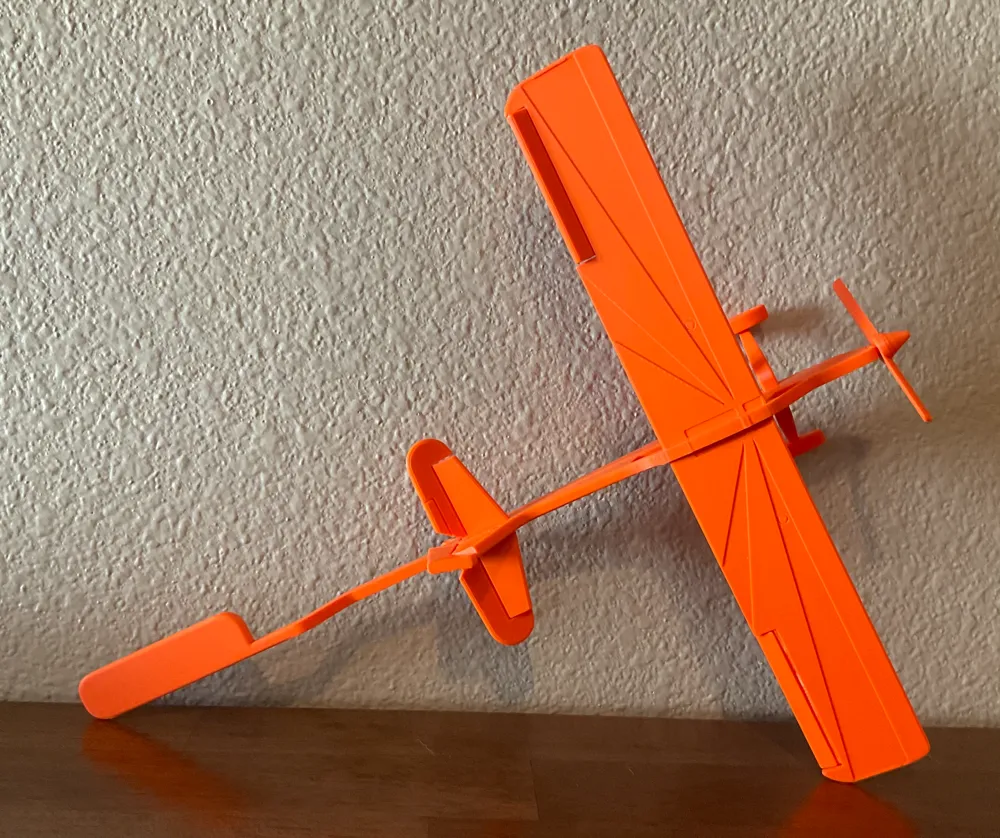
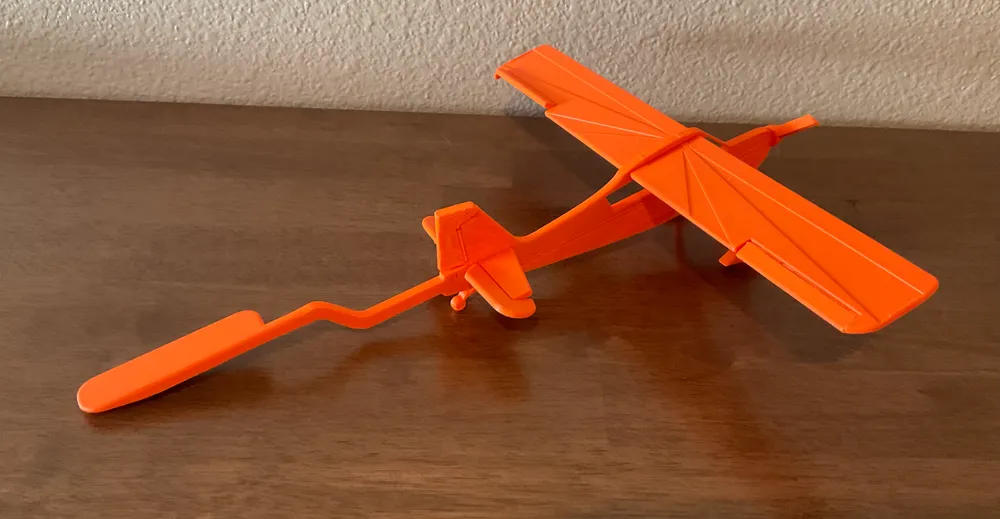
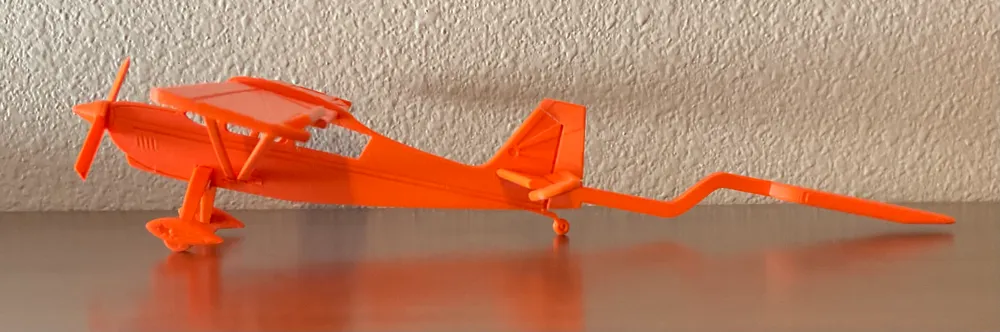
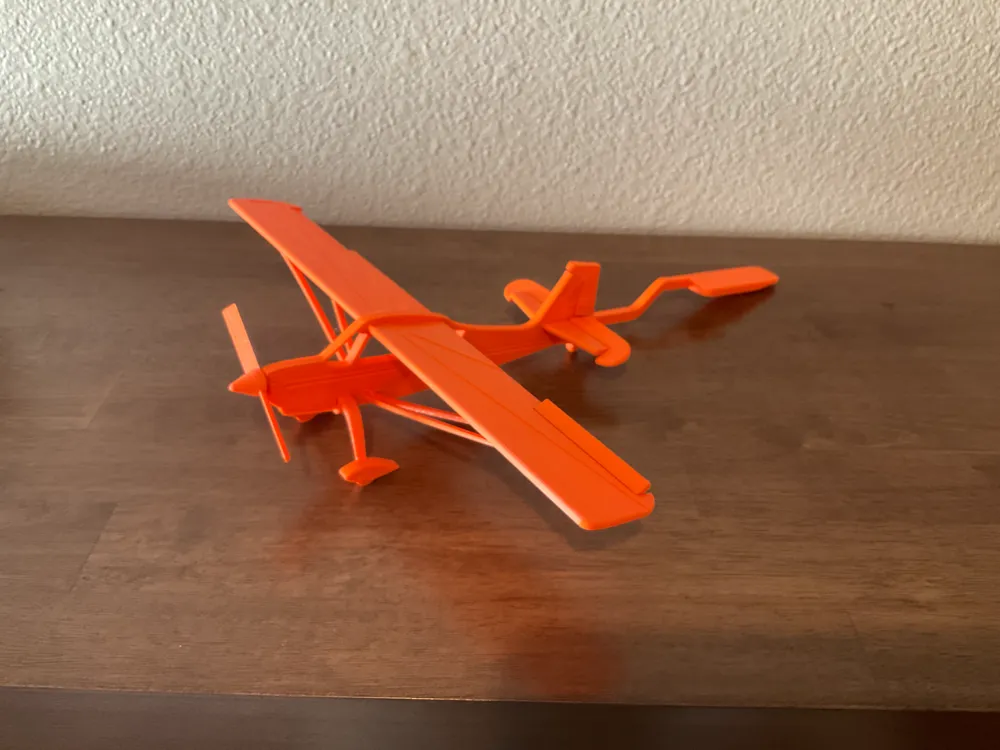
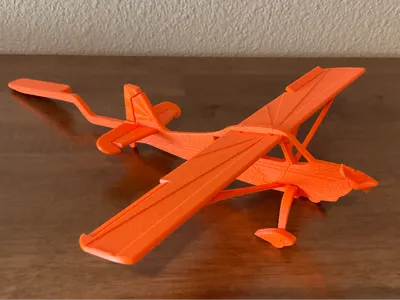
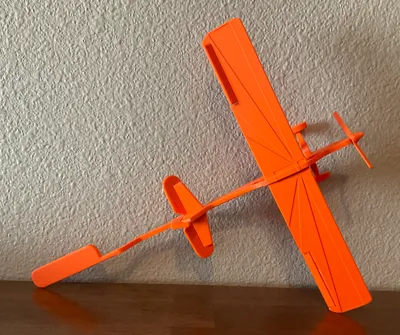
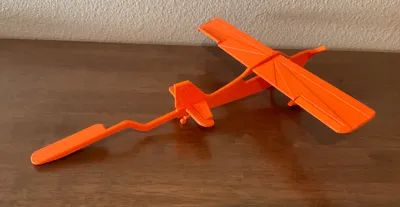
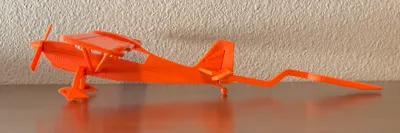
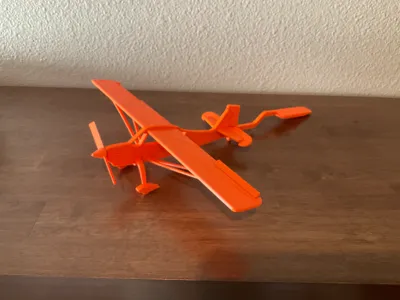
Aircraft Model Overview: This American Champion Aircraft Super Decathlon (8KCAB) model is a representation of an aerobatic and tailwheel trainer aircraft, renowned for its ability to perform inverted flight and sustain forces up to +6/-5 g's. This model serves as an excellent training aid for flight instruction, featuring movable controls and propeller. The addition of a stick on the back allows for easier demonstration of aerobatic maneuvers. The handle is designed to easily feel the aircraft orientation.
Material Recommendations: For optimal durability and to avoid brittleness during assembly, PETG-HF is recommended over PLA, which can be prone to breakage.
Assembly Instructions:
- Main Wing Installation: Begin by inserting the main wing into the fuselage with the strut holes facing downwards, ensuring the sunburst design is on top. Use the window outline on the wing to center it correctly.
- Rear Struts: Insert the rear struts into the designated back slot of the fuselage. Note the slots are of different sizes; choose the appropriate one. The strut side should face towards the propeller, with the aft side used for alignment with pliers if necessary.
- Connecting Rear Struts to Wing: Secure the rear struts to the wing. Minor bending of the wing might be required to fit the strut ends properly.
- Front Strut: Place the front strut into the fuselage slot ahead of the rear struts, closer to the propeller. Align the strut side near the rear struts, with the other end forward for press fitting with pliers. This step may require firm force.
- Connecting Front Struts to Wing: Attach the front struts to the wing, possibly requiring slight bending of the wing for secure attachment.
- Stabilizer: Insert the stabilizer into the tail section of the fuselage.
- Landing Gear and Wheels: Attach the wheels to the landing gear legs. Clean any loose plastic from wheel holes with a razor blade. Slightly pre-bend (gently) the axles with pliers for easier wheel fitting, ensuring the flat face of the landing gear faces the propeller. If using wheel pants, orient them correctly.
- Fuselage Attachment: Connect the landing gear to the fuselage, which might require slight pulling of gear legs together for a snug fit.
- Propeller: Attach the propeller to the model. Pre-bending (Gently) the propeller shaft with pliers can facilitate this step.
- Control Surfaces: Move the control surfaces to break them in. Although it might feel like they're breaking, they are designed to bend. They can endure repeated movement, typically surviving over 100 cycles in testing. They have not been tested to failure.
This model provides an engaging and educational experience, ideal for aviation enthusiasts and flight training professionals.
License

You shall not share, sub-license, sell, rent, host, transfer, or distribute in any way the digital or 3D printed versions of this object, nor any other derivative work of this object in its digital or physical format (including - but not limited to - remixes of this object, and hosting on other digital platforms). The objects may not be used without permission in any way whatsoever in which you charge money, or collect fees.


Comment & Rating (6)