High-power, high-humidity DIY humidifier, low-cost and simple, constantly updating...


Print Profile(3)

Description
Northern climates are notoriously dry, particularly during the heating season when underfloor heating operates in a near-constant desiccation mode. Without a humidifier, indoor humidity in my home lingers around 10%. Observing numerous humidifier designs within the community, I embarked on my own 3D printing endeavors, yet the results proved underwhelming, falling short of expectations. My bedroom, approximately 22 square meters, yielded limited success even with a community-inspired siphon humidifier utilizing a pet water dispenser. Previous methods—mopping, air-drying laundry, and manual sprinkling—offered some relief, but remained inconvenient and presented a tripping hazard.
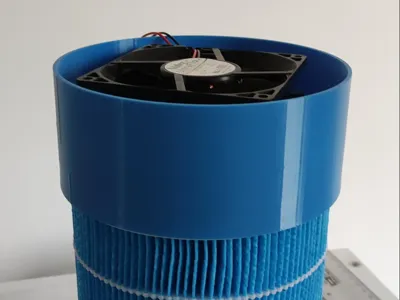
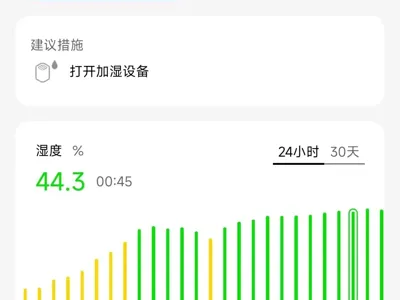
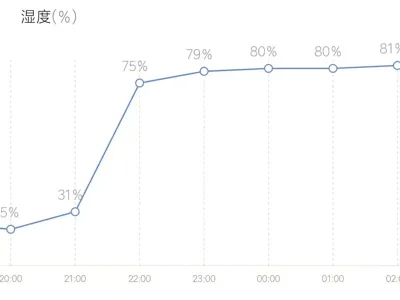
Consequently, I undertook the design and 3D printing of this customized humidifier stand. As the heating season draws to a close in mid-February, this project prioritized simplicity, affordability, and practicality. The results have been exceptionally positive. My Xiaomi smart thermometer displays 81% humidity at the air vent. With the humidifier positioned at the foot of my bed, the noise level remains negligible, and the humidity at the far end, my bedside table, consistently stays above 40%.
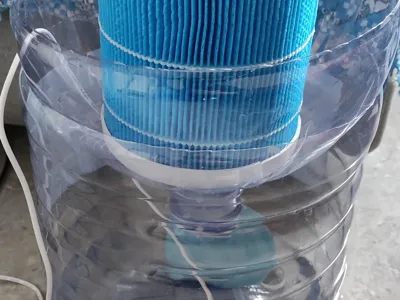
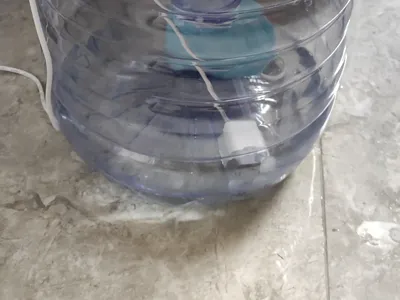
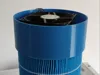
Key materials include a miniature water pump, a Xiaomi smart humidifier filter (Mijia, 14.2cm diameter), a 9025 fan, a mobile phone charger, a 12V power supply (a 12V boost cable offers greater economy), and a plastic water bottle (cut and inverted). Four bolts and nuts are also required.
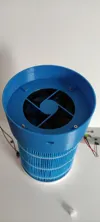
Typically, with a 12V power supply, humidity levels are even higher. For sleeping, I usually reduce the voltage to 9V for quieter operation. Many areas remain perfectible, primarily because summer approaches within a few months, limiting the return on investment. Given the limited duration of the heating season, suggestions are welcome, as continuous refinement is ongoing. Assembly is straightforward, as illustrated. No specialized materials are required; readily available substitutes suffice. My chosen water pump and fan operate at 5V and 12V respectively, thus necessitating separate power supplies, allowing for filter drying without activating the pump.
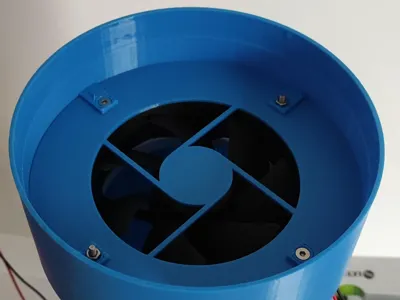
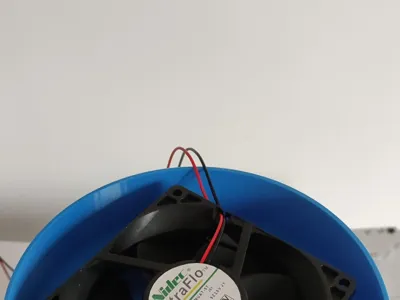
The fan is oriented upward.
February 20th: Added a 12025 fan size bracket, with integrated wind baffle, printed as a single piece. Adjust support settings as needed. Consider replacing the base with a flat-bottomed container for improved pump placement and noise reduction.
March 10th: Modified the 12025 fan bracket filter interface thickness to address support removal damage. Adjust support parameters as appropriate. Due to differing filament used, parameter adjustments are not included. A recommended top Z-offset is 0.16, with four layers for the top contact surface.
License
You shall not share, sub-license, sell, rent, host, transfer, or distribute in any way the digital or 3D printed versions of this object, nor any other derivative work of this object in its digital or physical format (including - but not limited to - remixes of this object, and hosting on other digital platforms). The objects may not be used without permission in any way whatsoever in which you charge money, or collect fees.
Comment & Rating (1)