
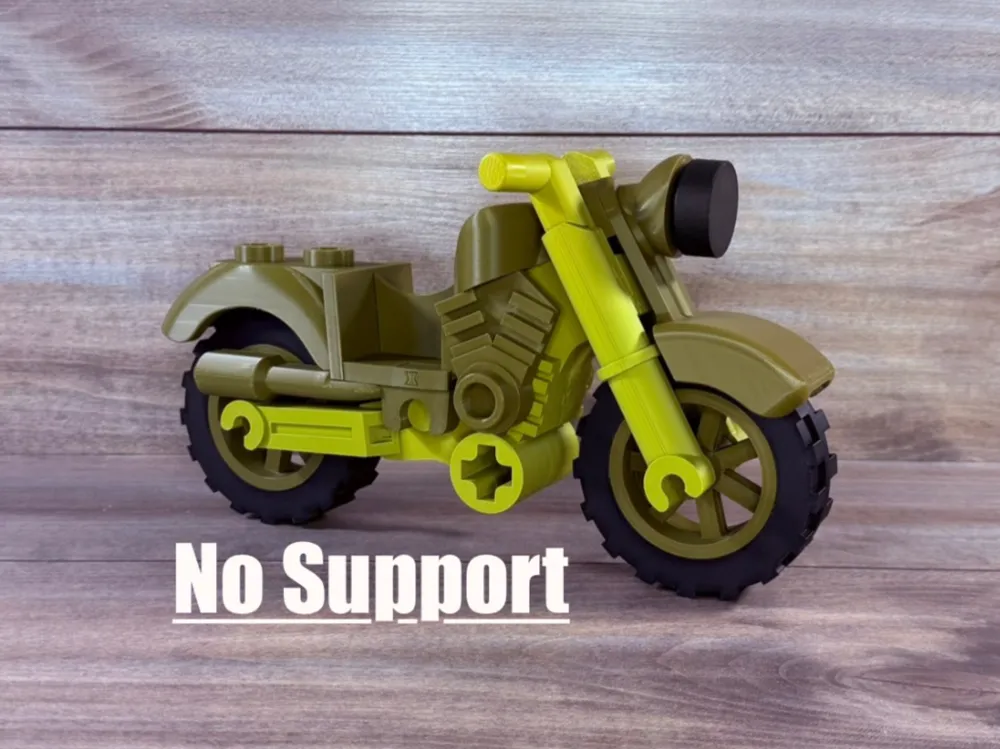
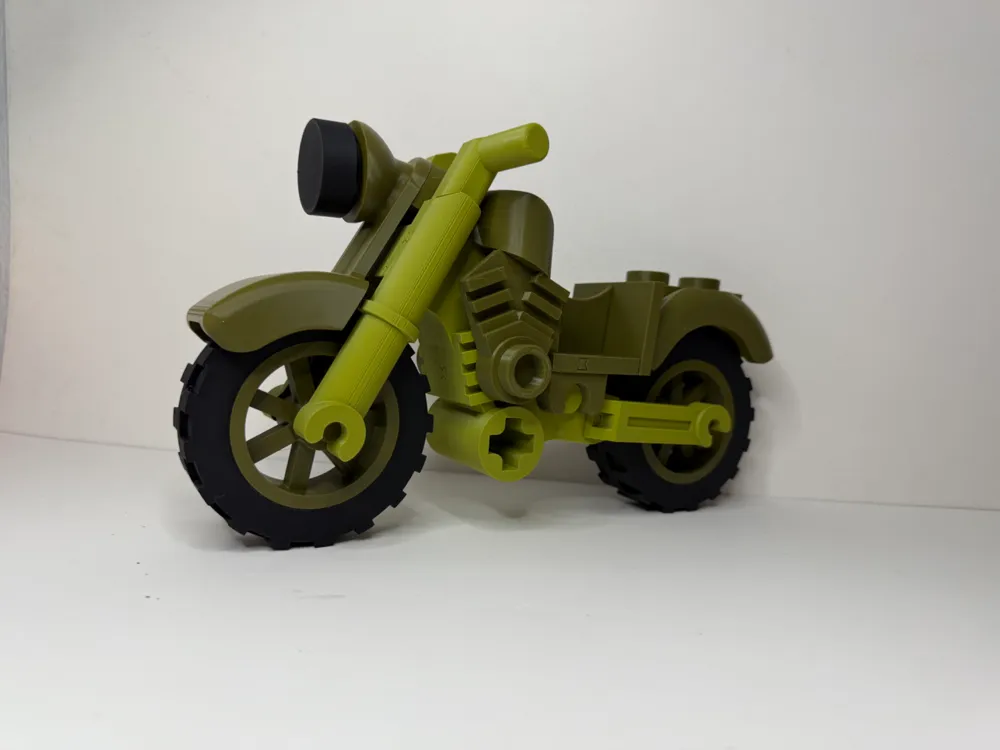
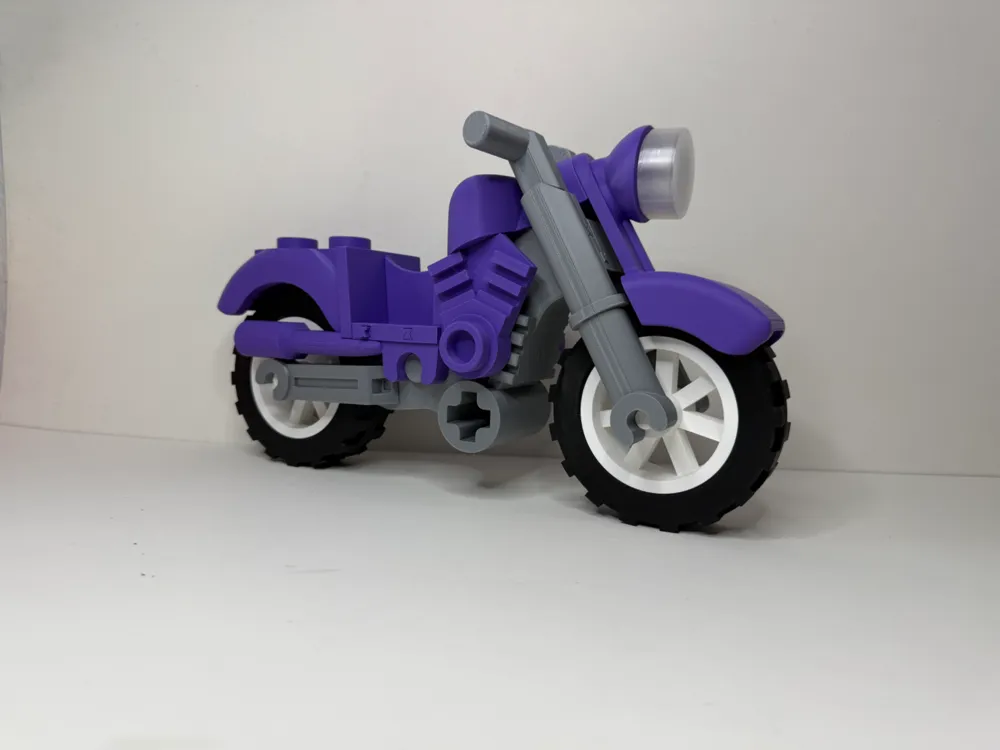
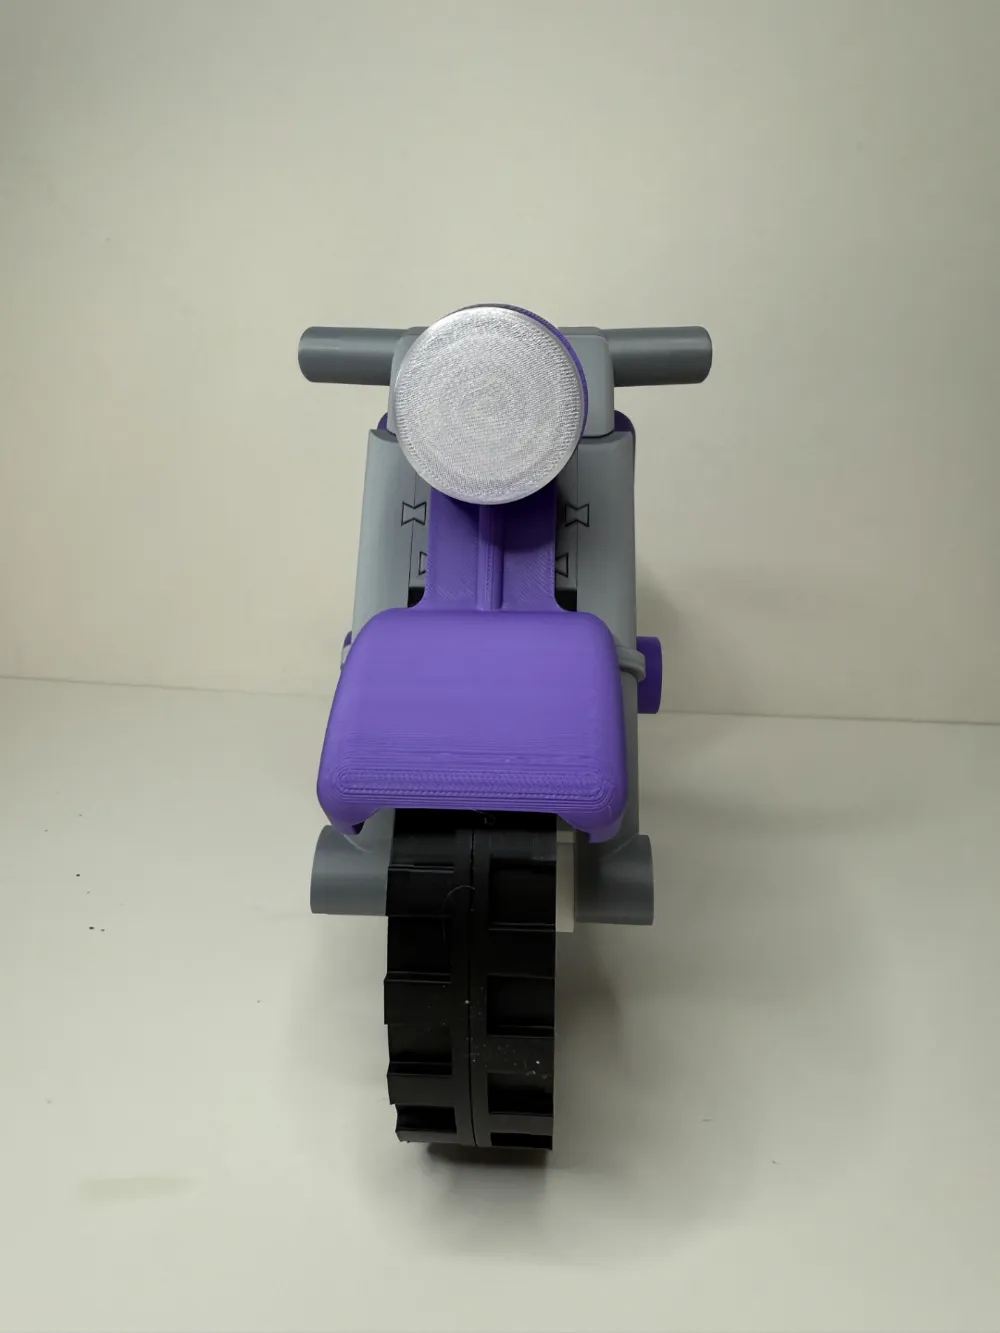
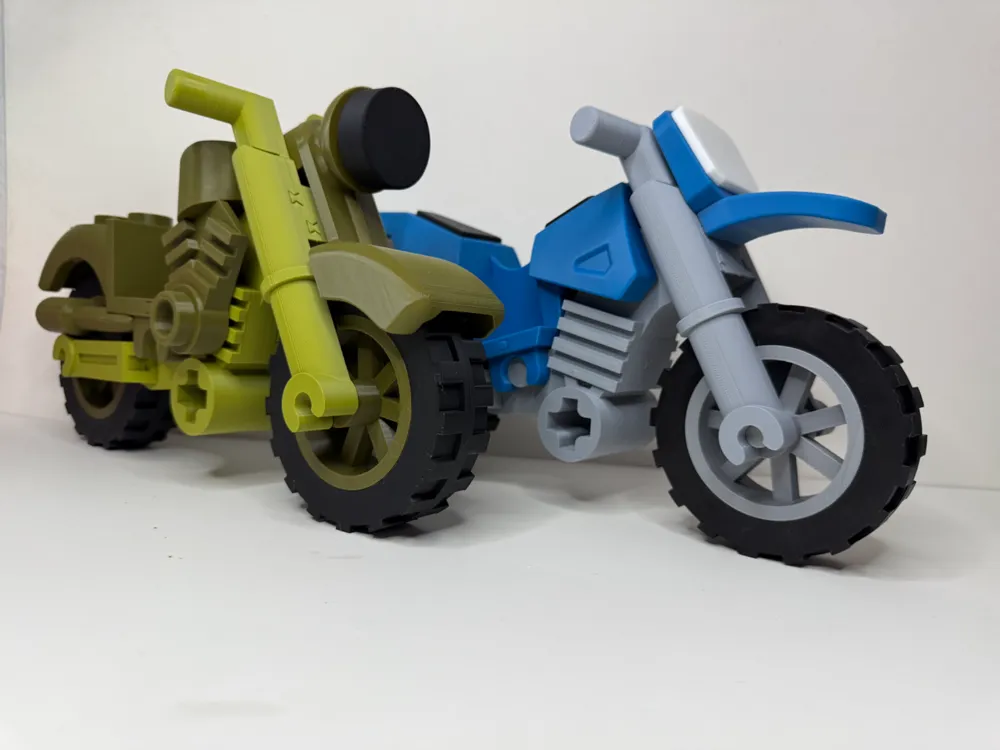
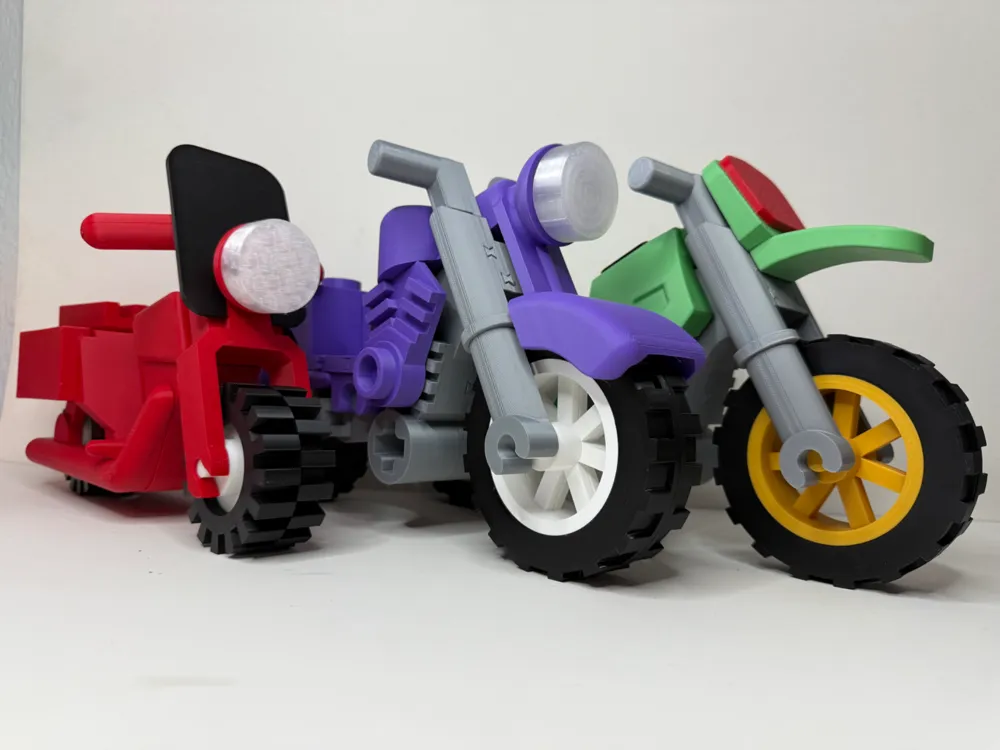
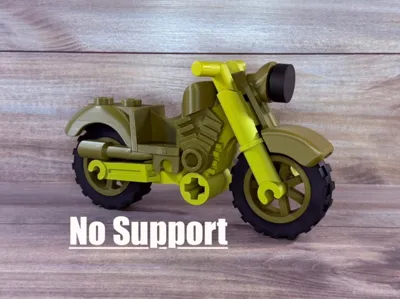
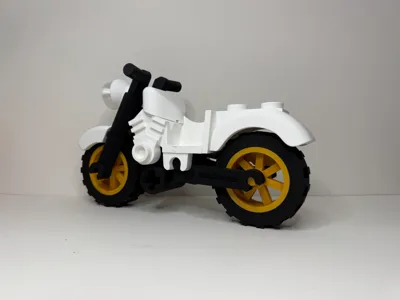
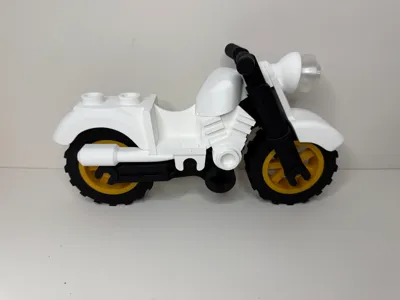
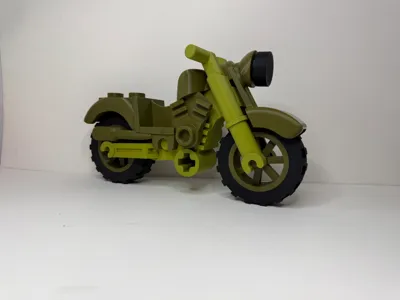
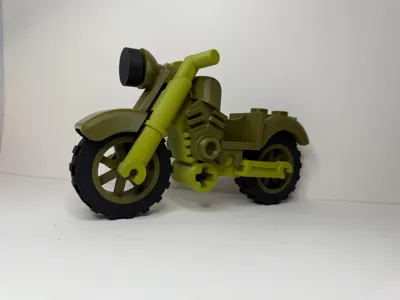
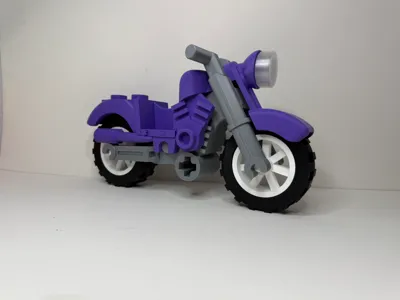
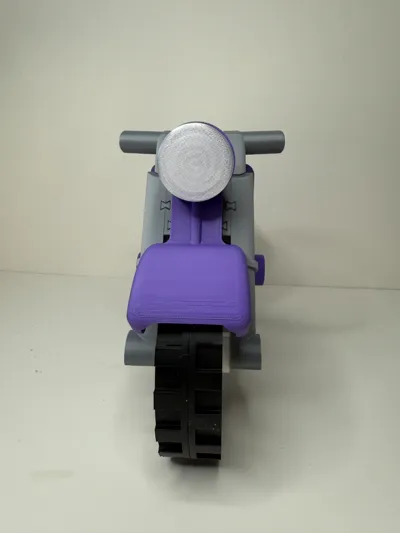
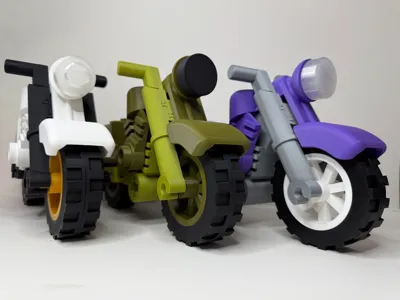
Big Brick Vintage Motorcycle 500% no support
Print Profile(2)


Description
Boost Me (for free)
If you like my models, please consider dropping me a boost, comment and rate the profile! Any of these things keeps me motivated to Keep going! Thank you!
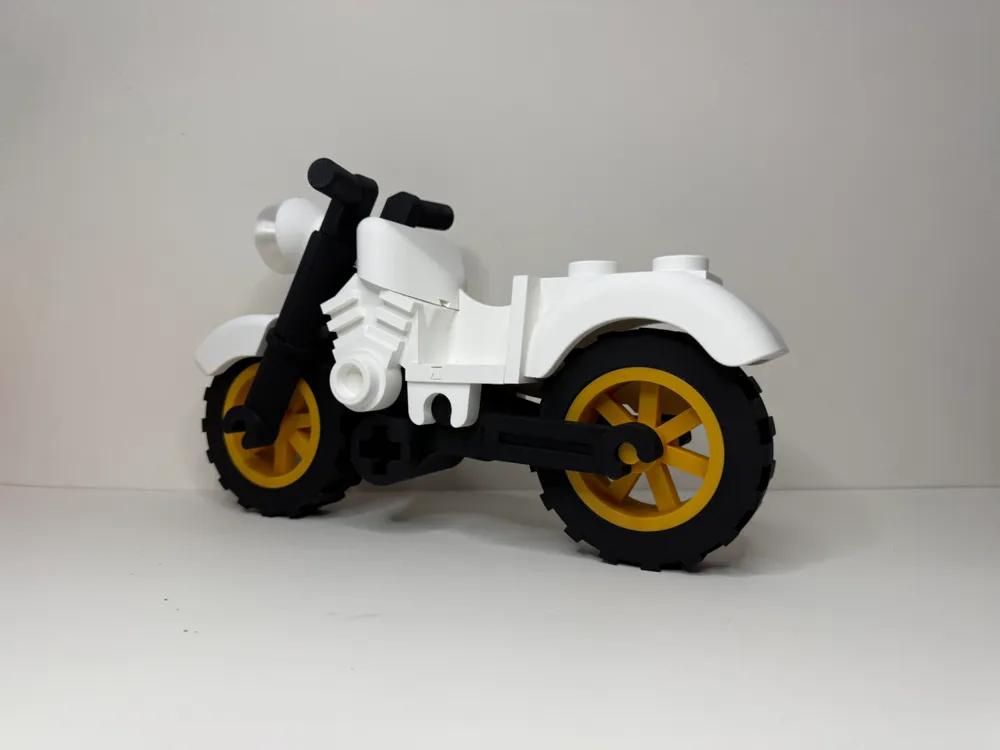
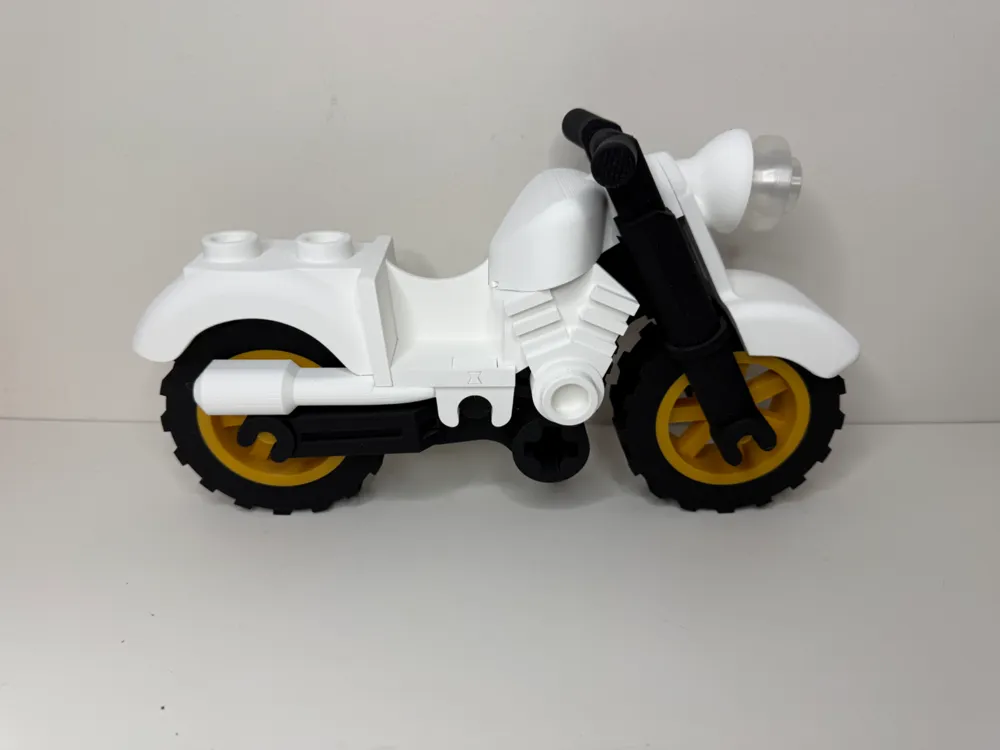
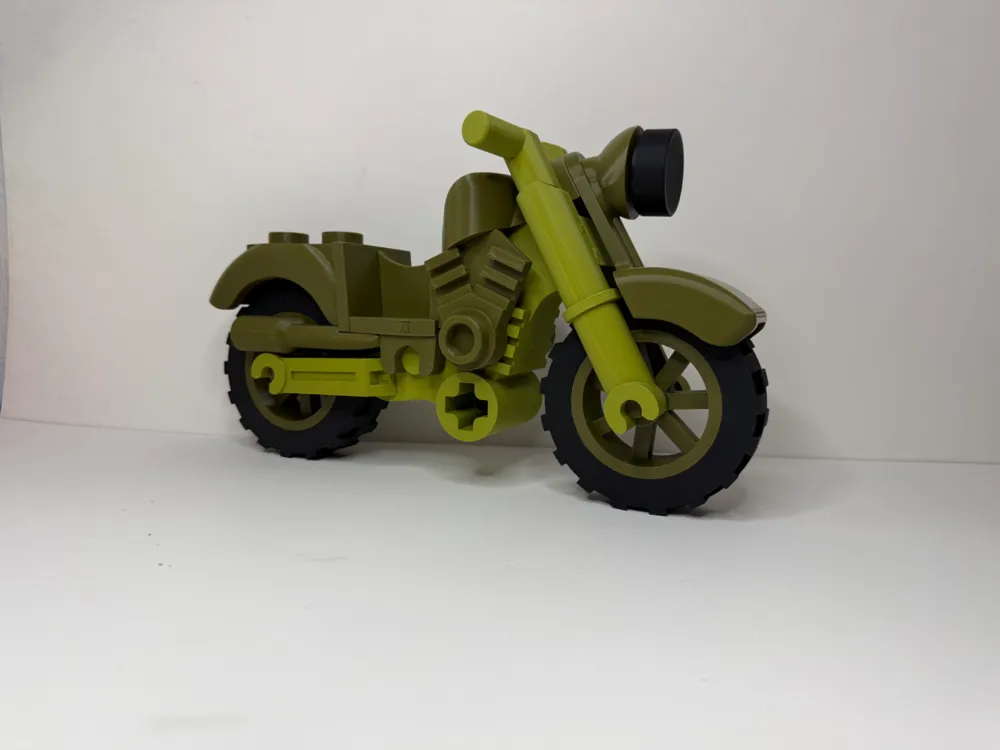
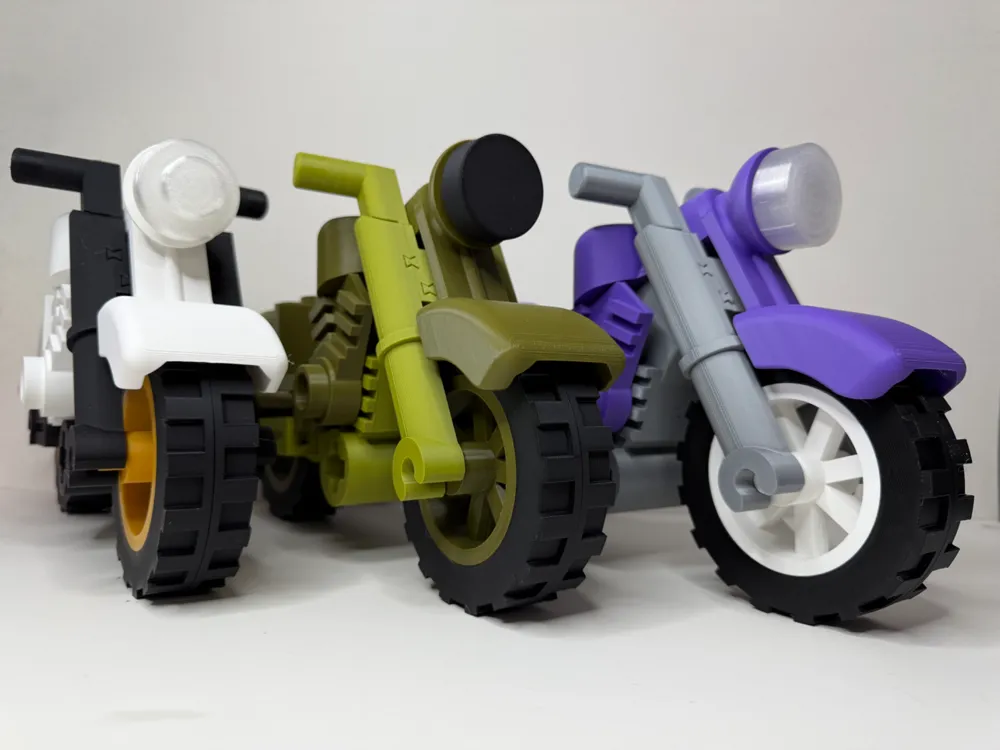
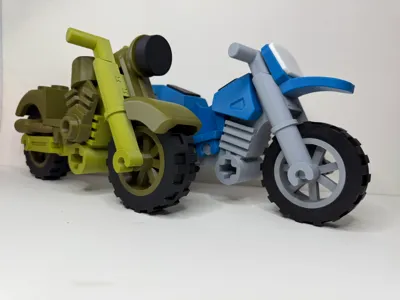
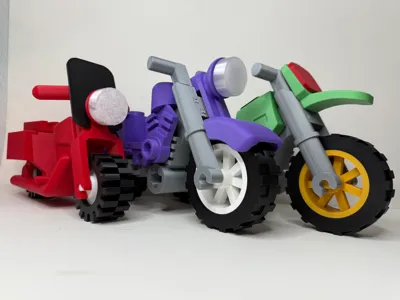
Love motorcycles? Well heres a vintage style brick motorcycle thats 5 times the size of the popular brick version! It prints without the need for supports or ams! Plus it's fun to assemble!
If you like this one, be sure to check out my other brick bikes and models!
PLEASE READ INSTRUCTIONS FULLY BEFORE ASSEMBLY!
To assemble:
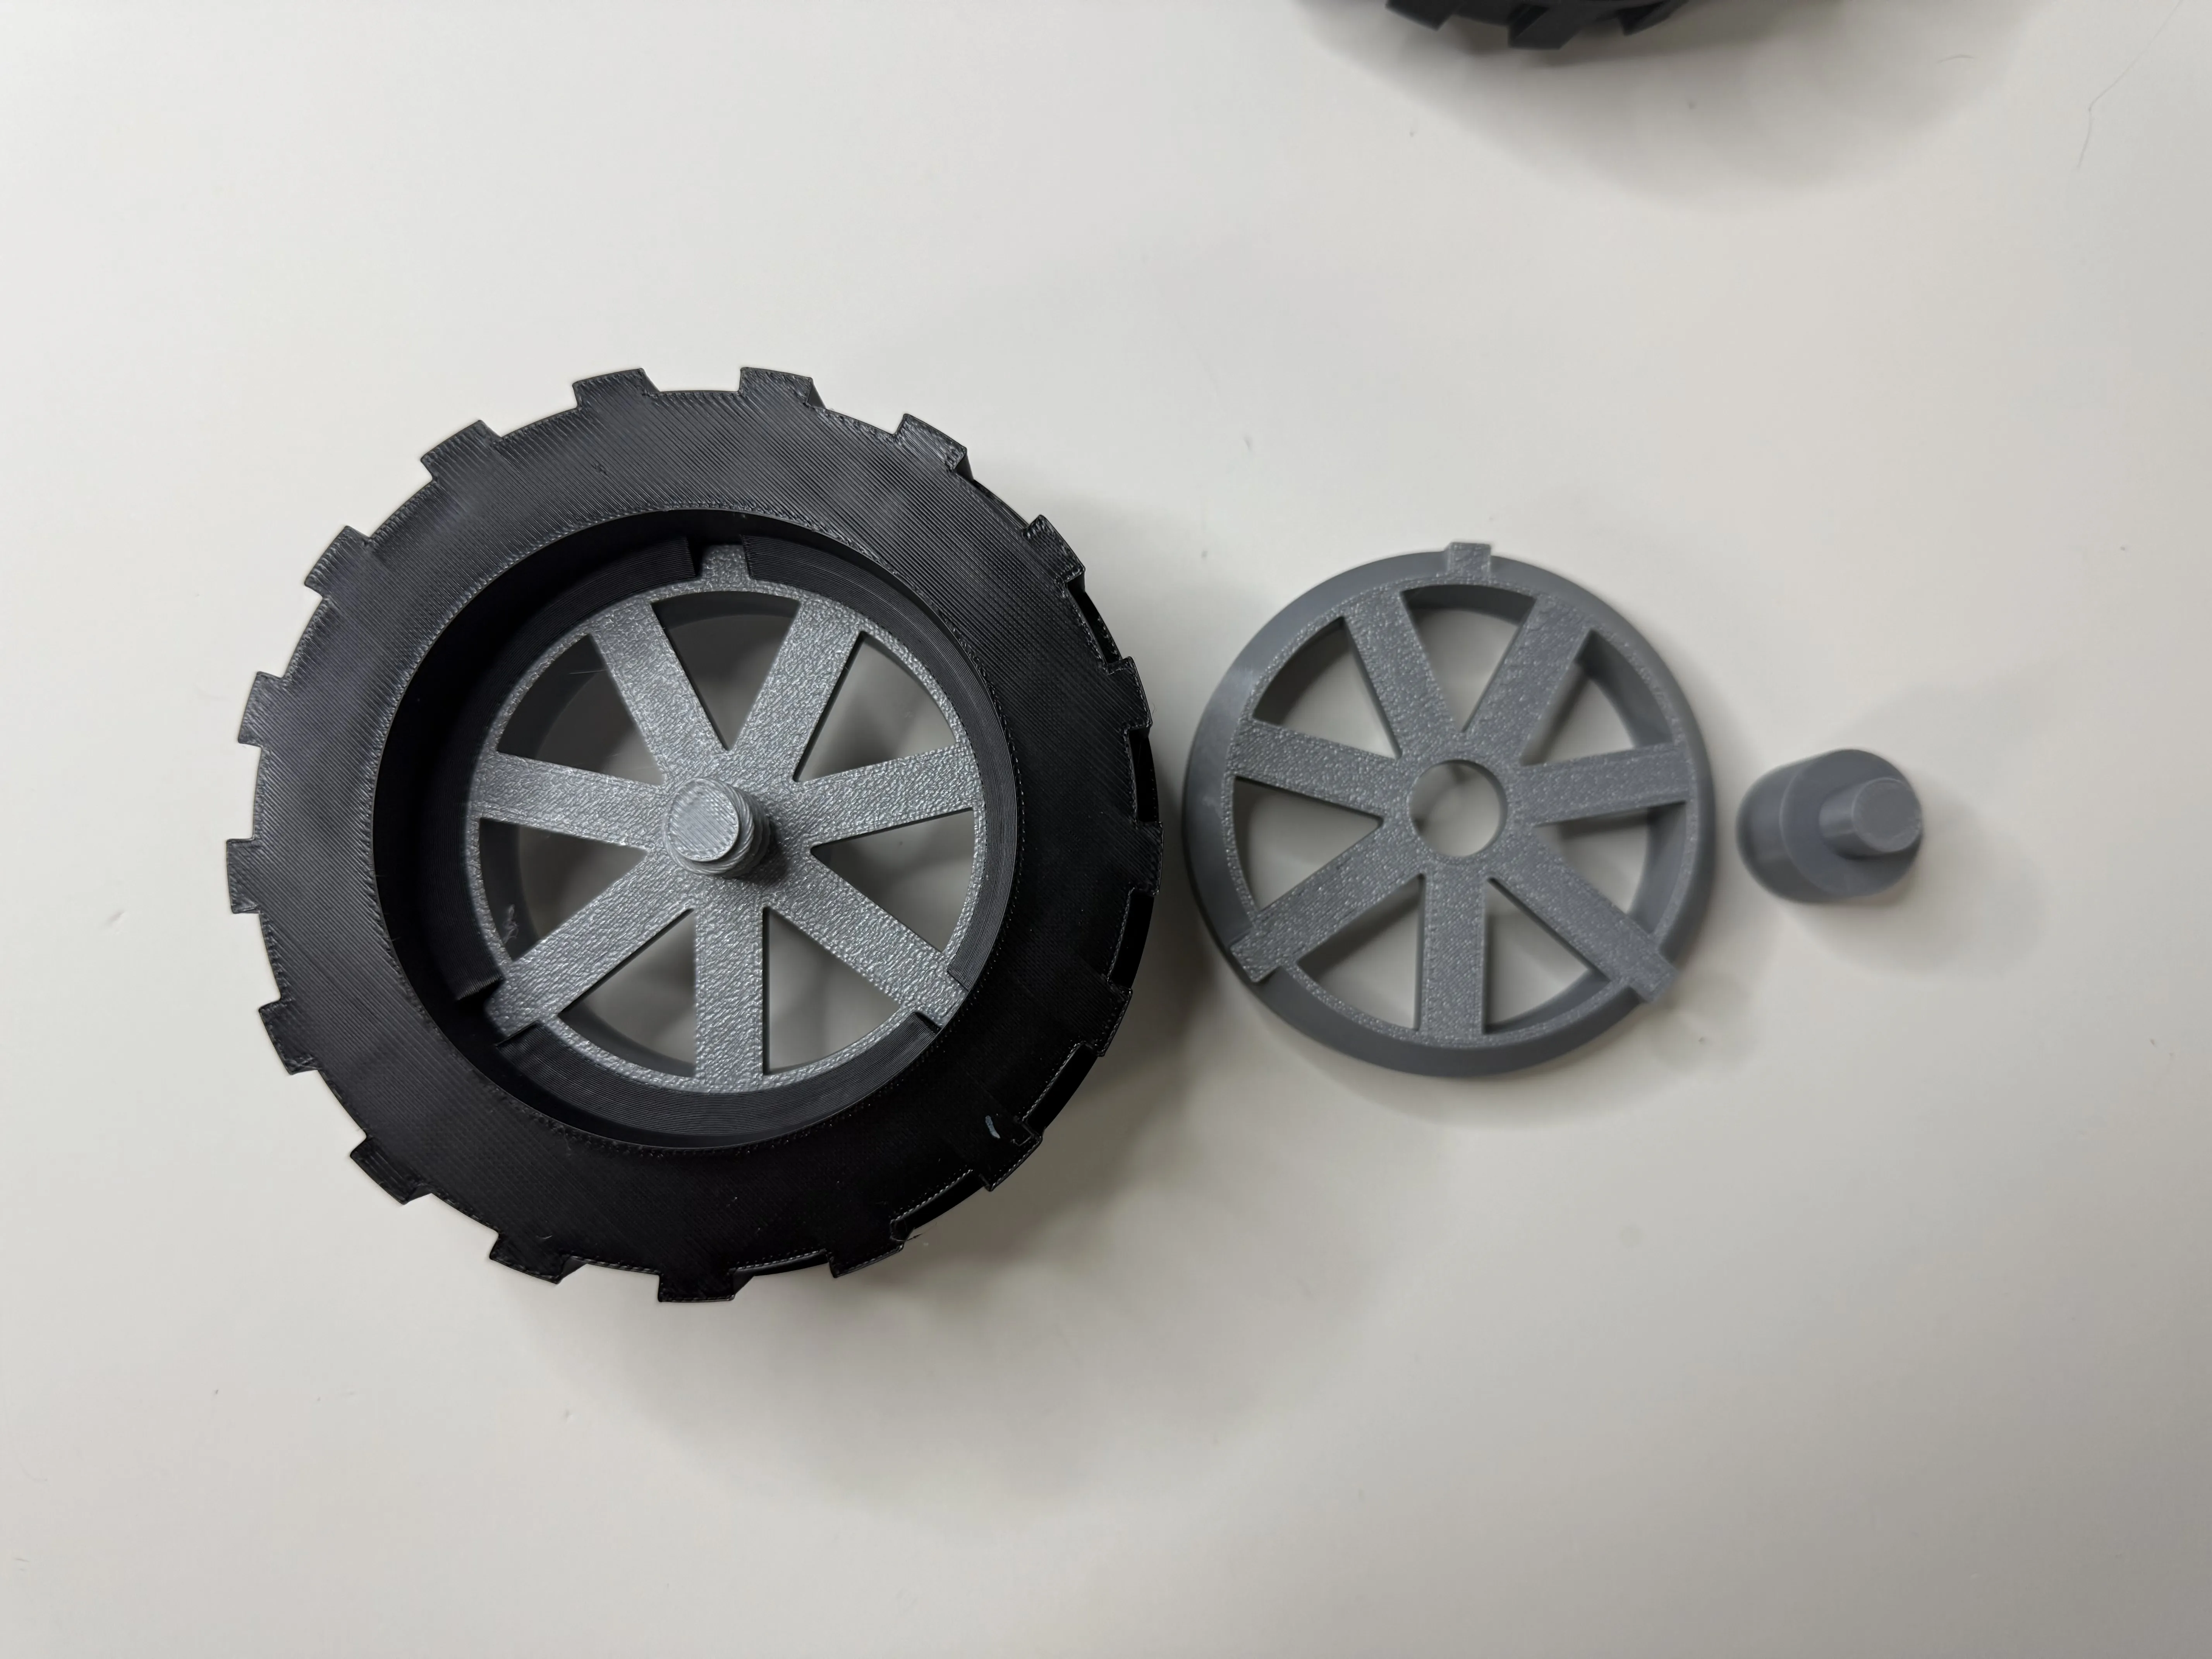
Starting with the wheels and tires, insert the 3 pins into the tire, place the tire halves together noting the notches in the tire are offset and making sure the tread alternates side to side. Place the wheel half with the hub into the wheel then the other half again noting the orientation of the slots and screw the other hub into the assembly. I find it best the work the screw back and forth before assembling.
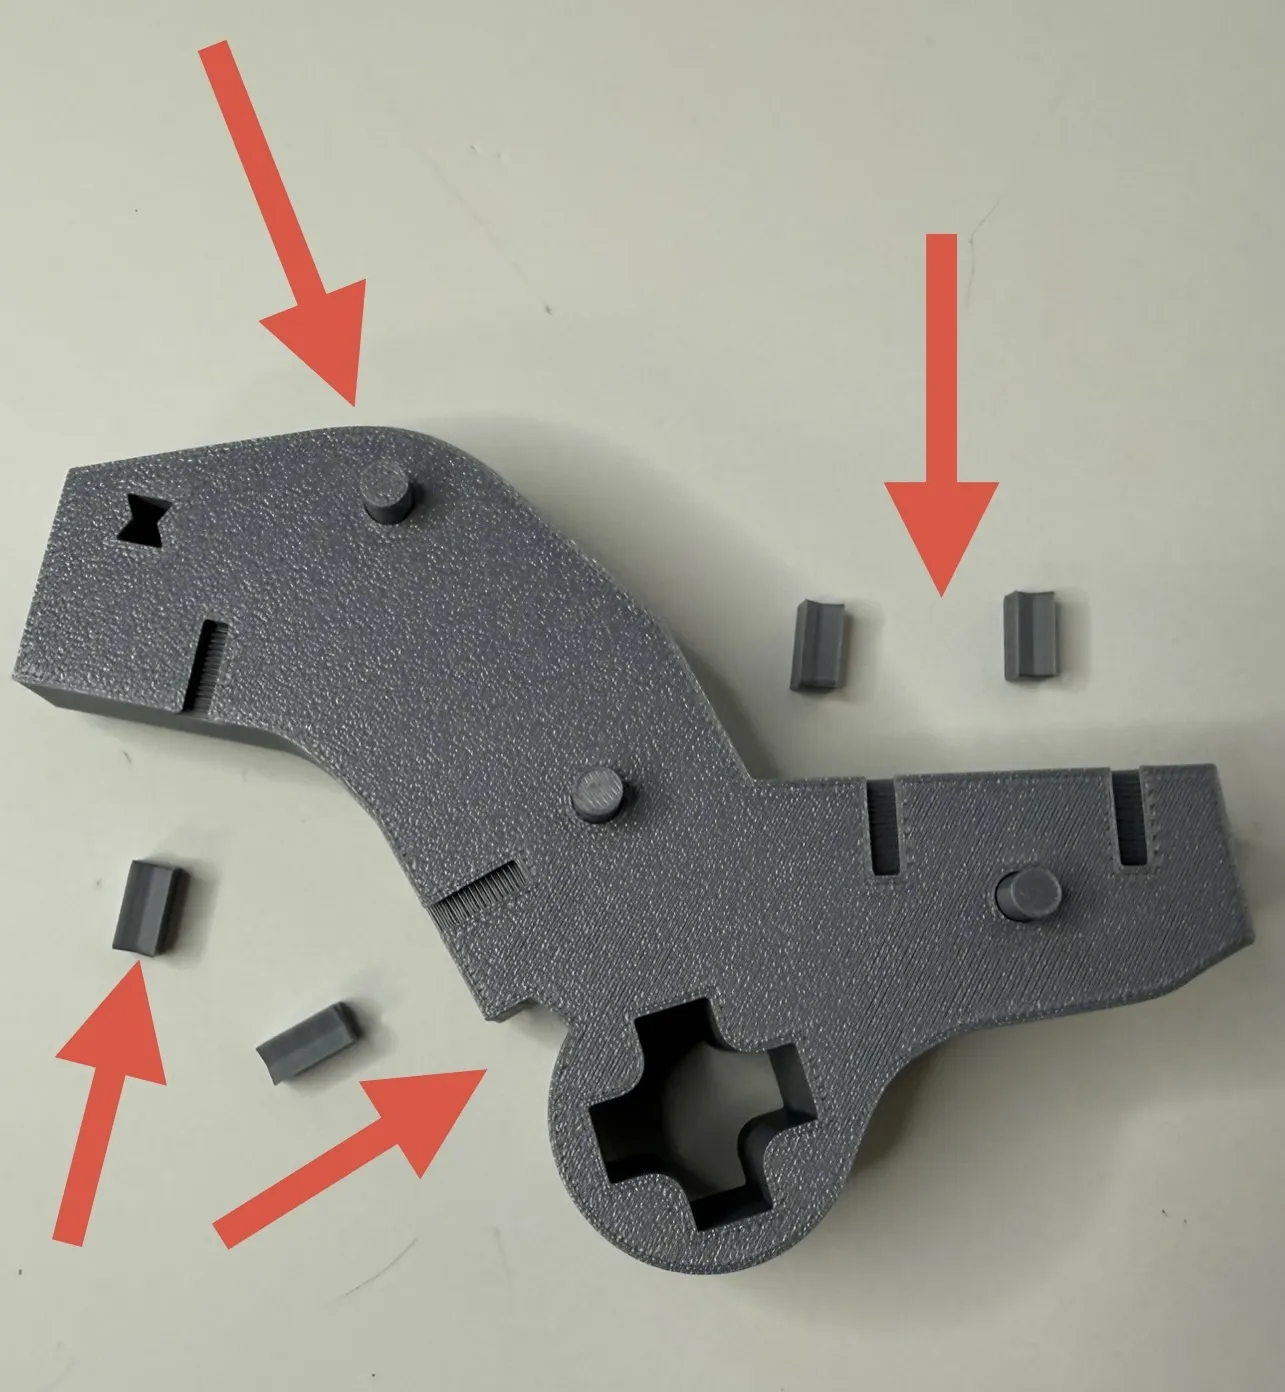
Now take the two main frame halves and insert the alignment dowels as shown. Place the halves together and insert the retention pins as shown to lock it together.
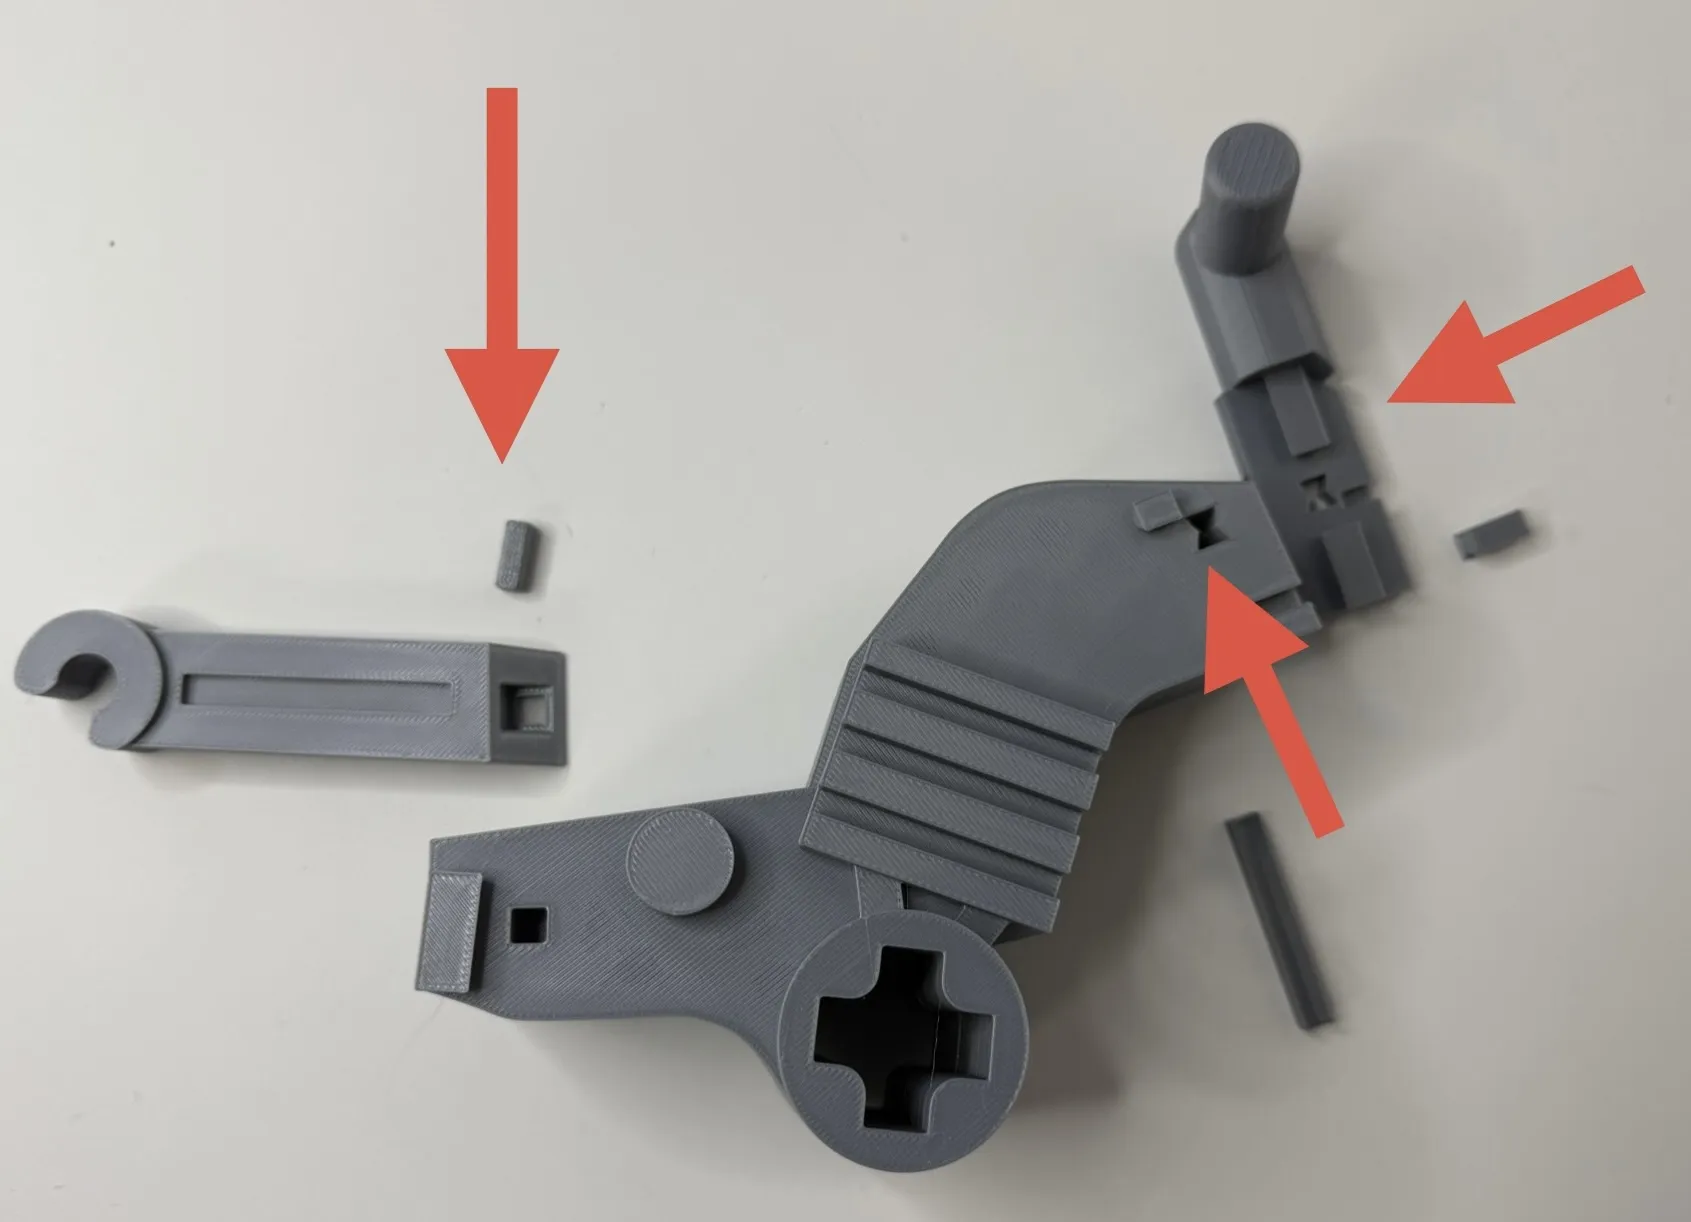
This picture shows the locations of the handlebar and swingarm parts and the pins that lock them in. Slide the handlebar parts onto the dovetail on frame and lock them with the cross pin and pins from the front. DO NOT INSTALL THE SWINGARM YET!!!
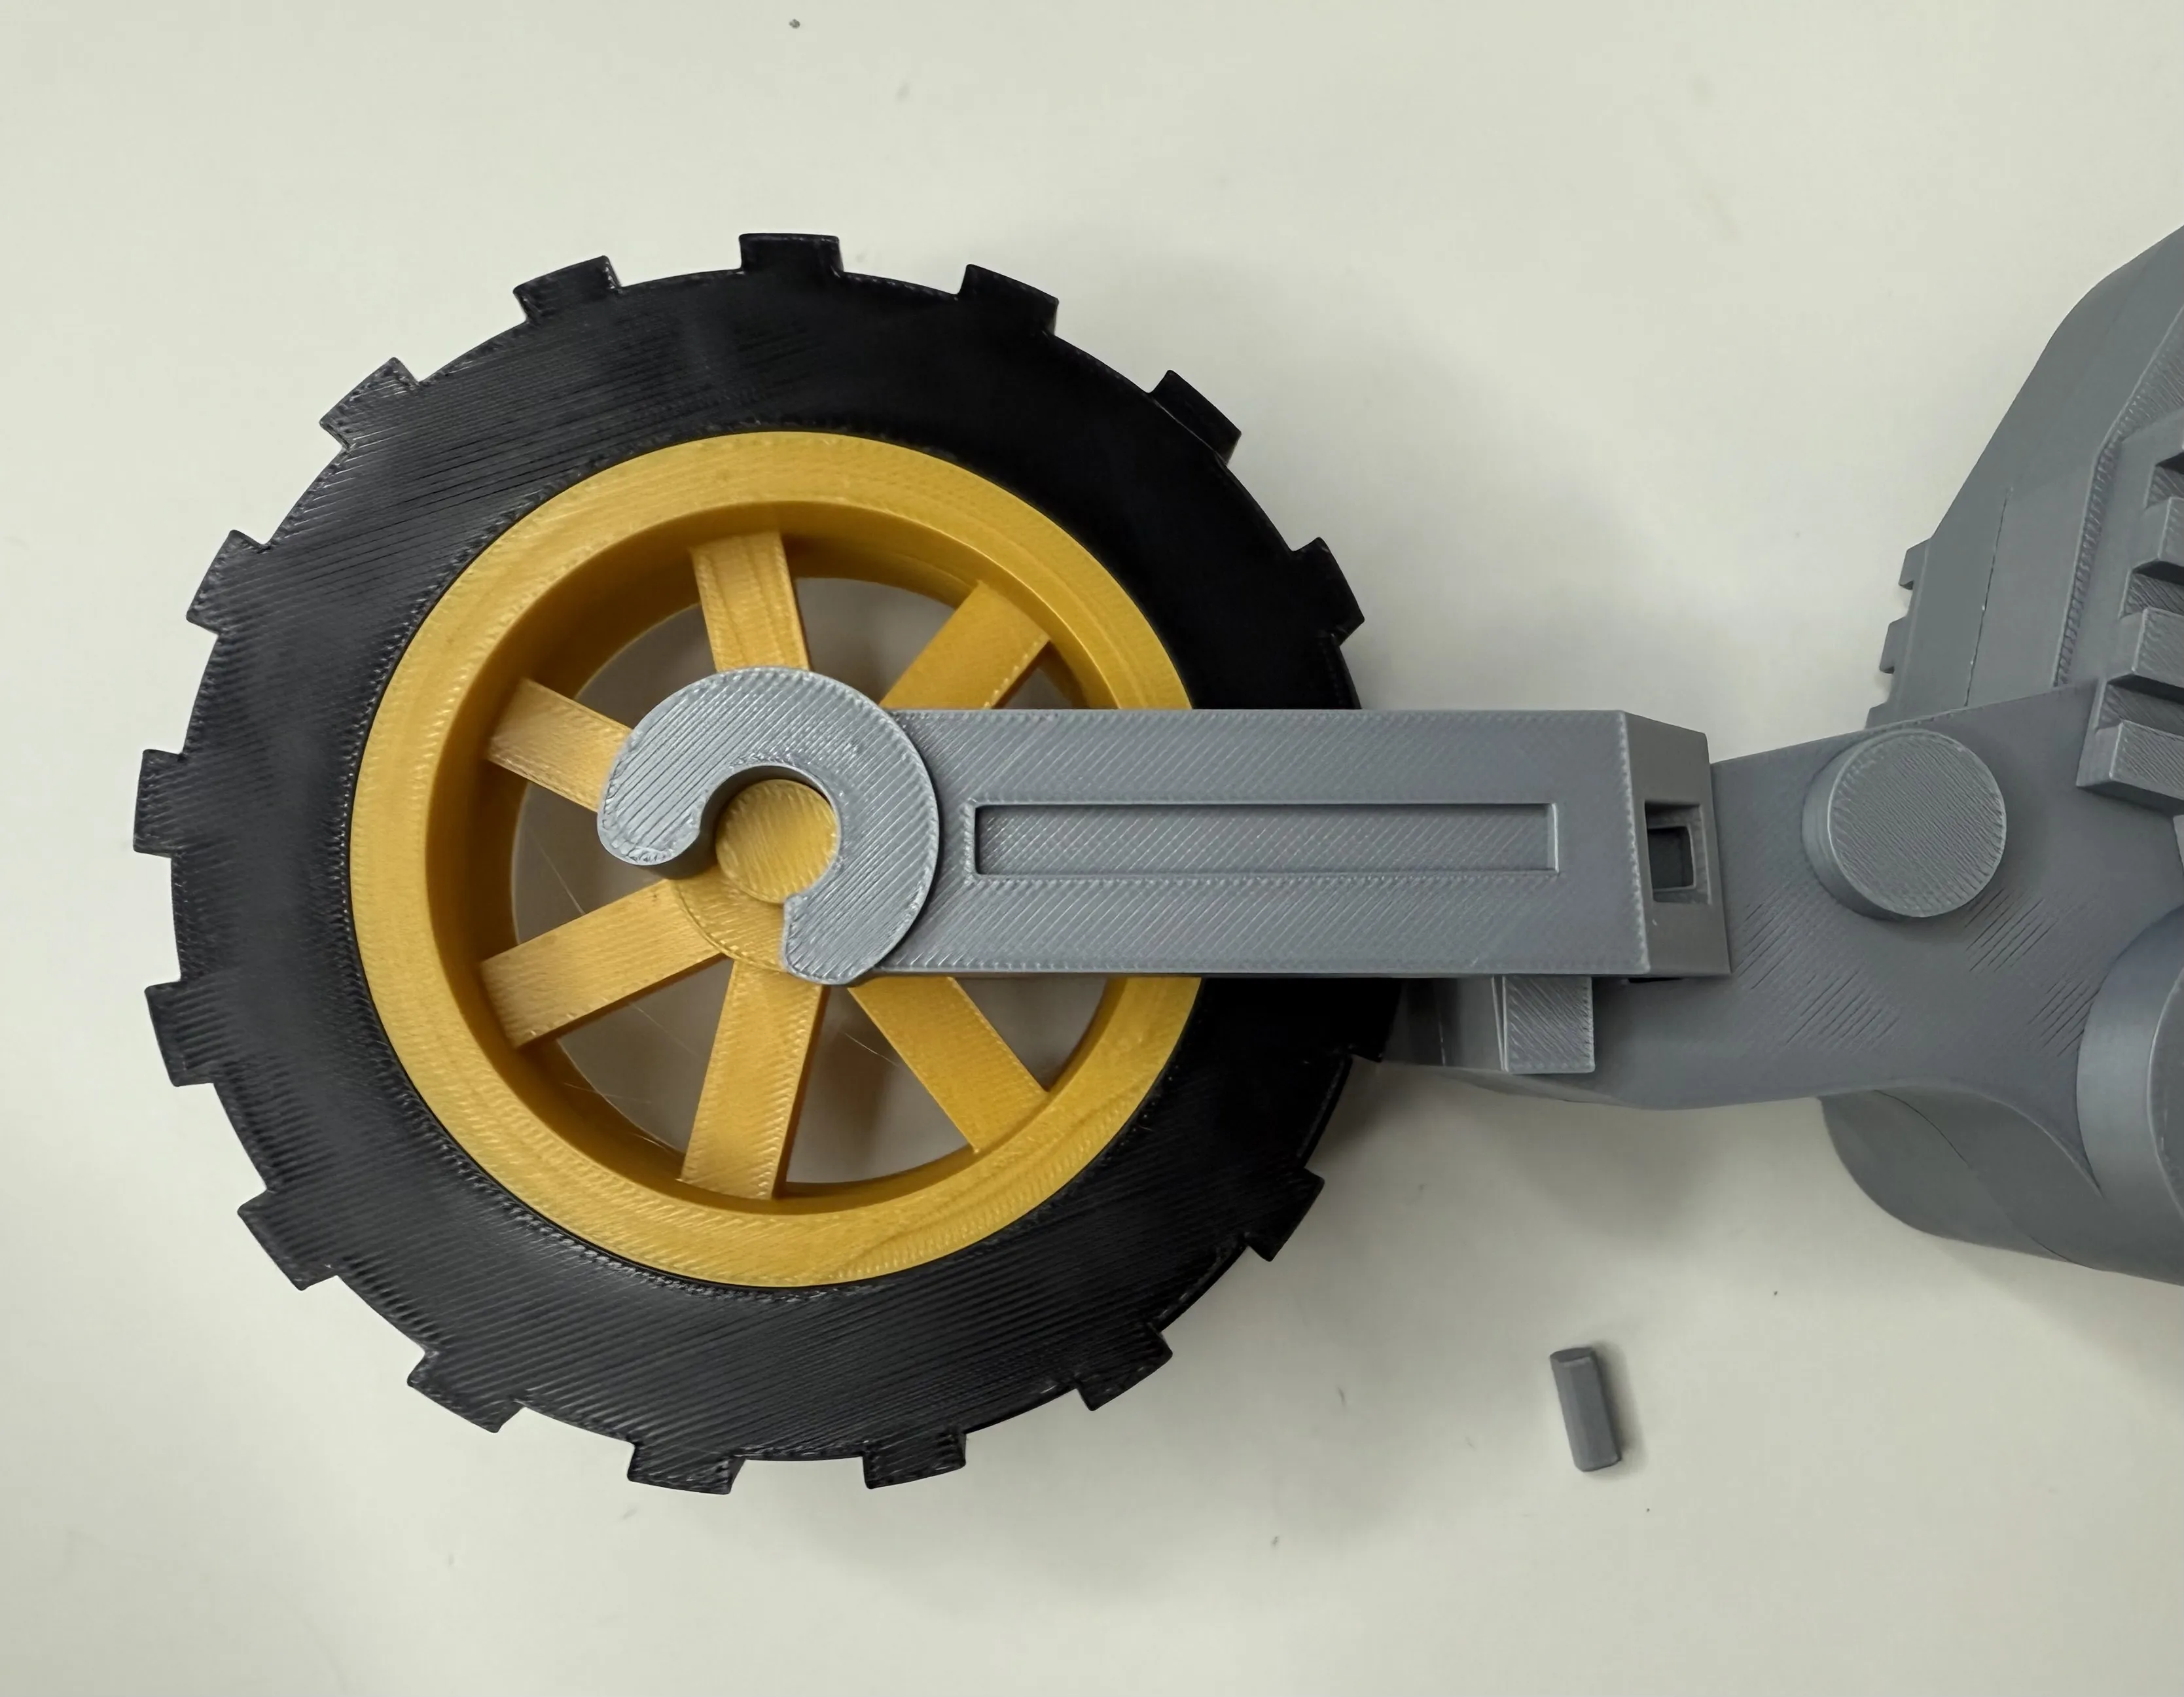
I recommend putting the swingarm parts onto the wheel and slide the swingarm onto the dovetails, locking them in place with the pins through the front. The wheels can be clipped in but this is a safer way to install the wheel.
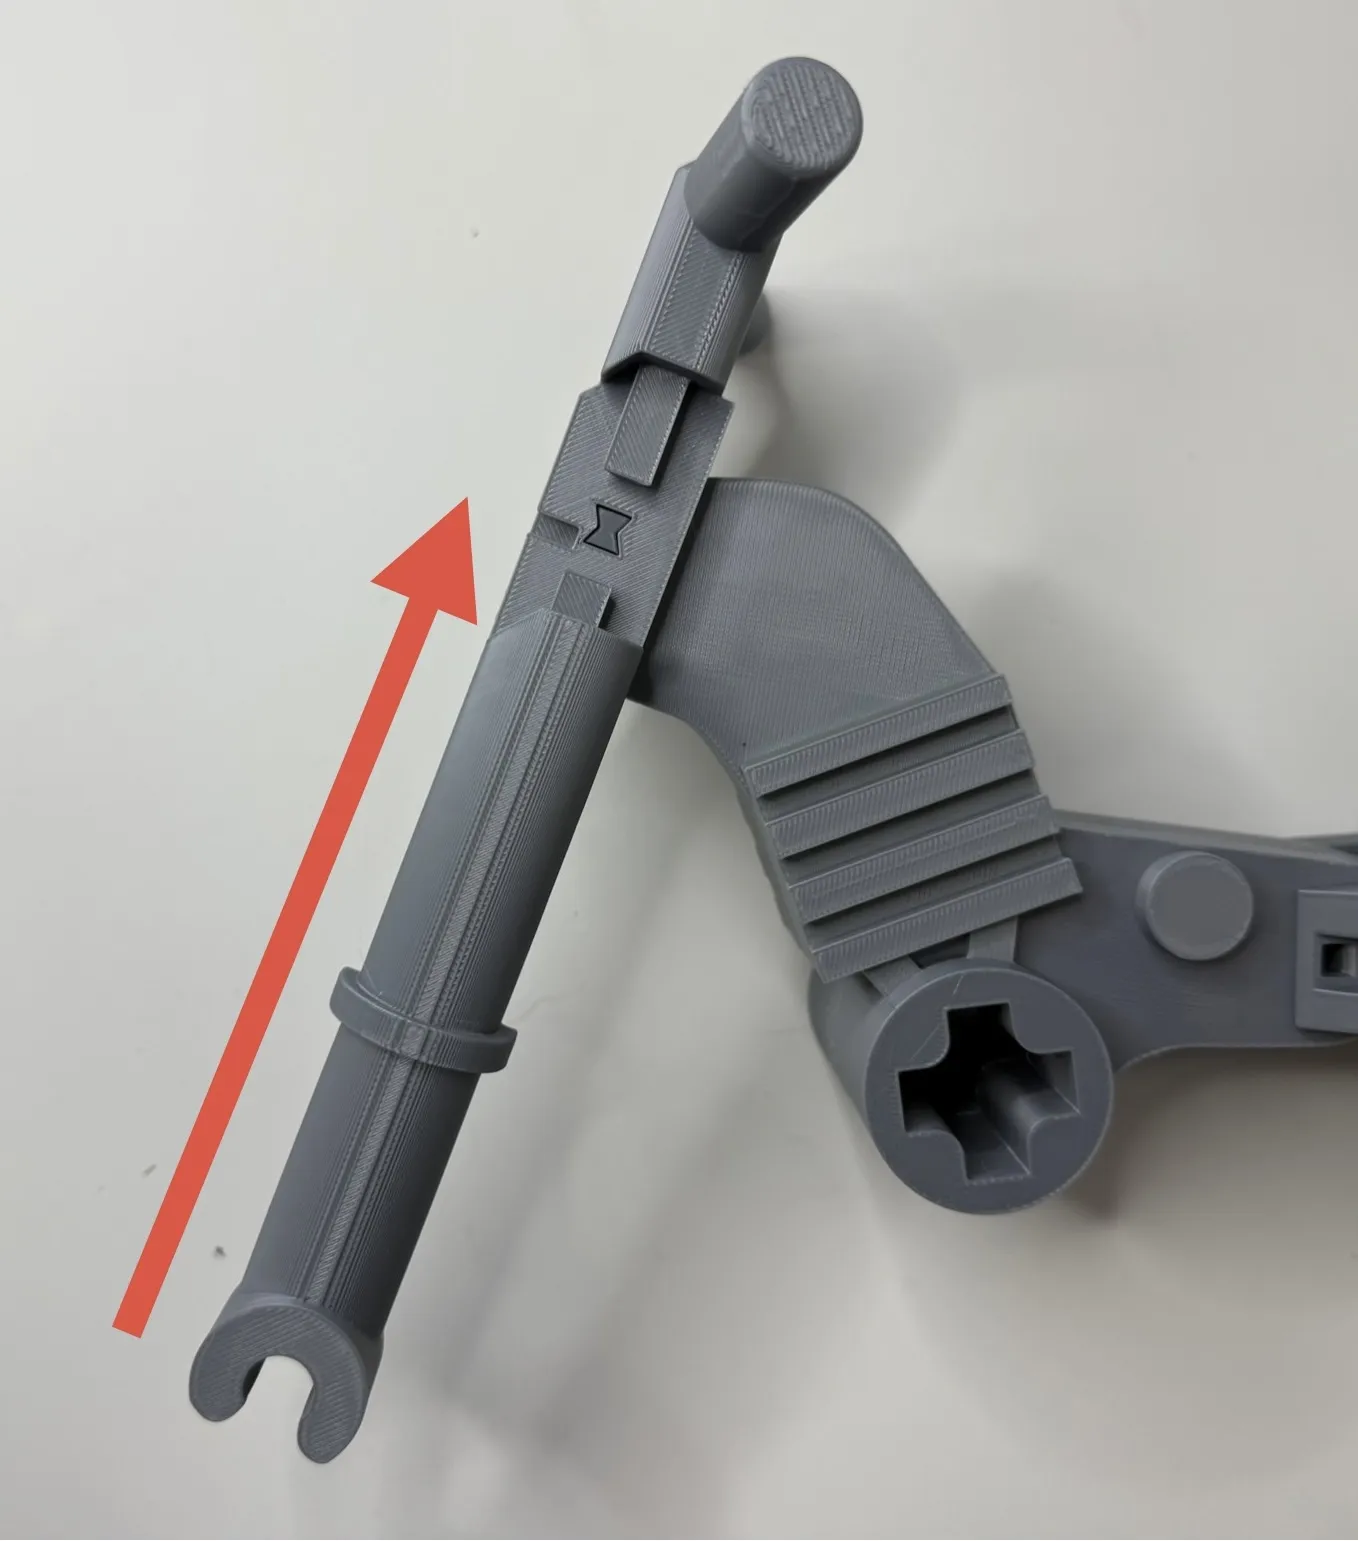
I recommend installing the front wheel in the same manner by sliding the forks onto the wheel before sliding the forks on as shown.
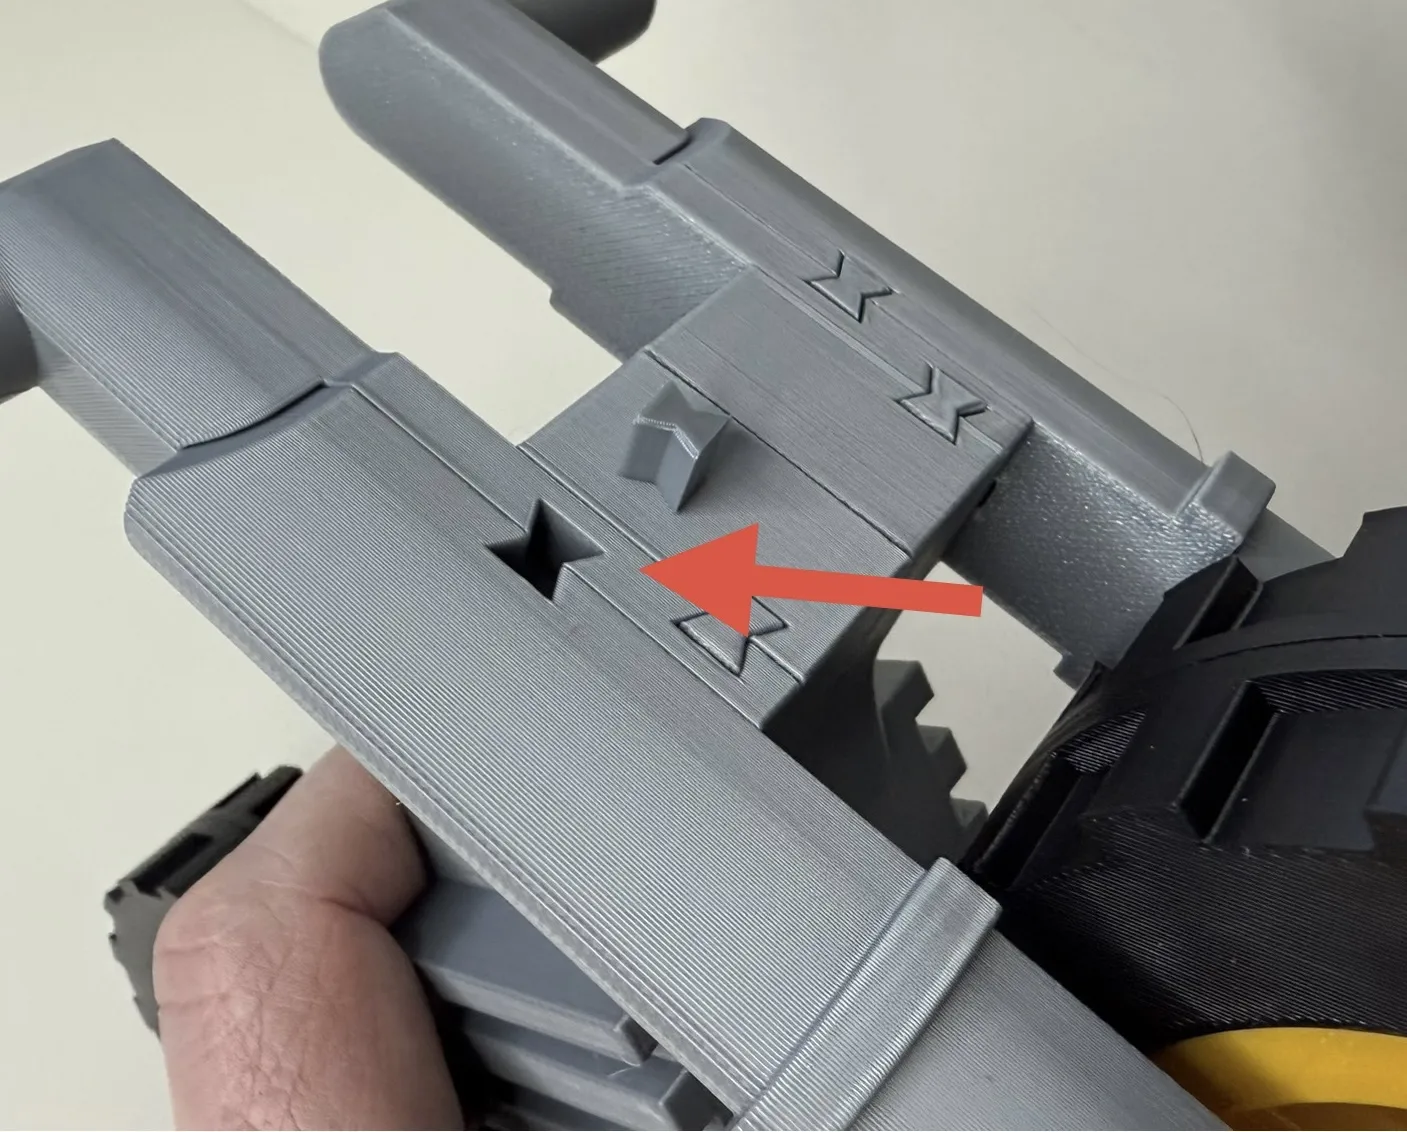
Insert the retention pins to lock the forks on as shown. This photo also shows the front handlebar pins better.
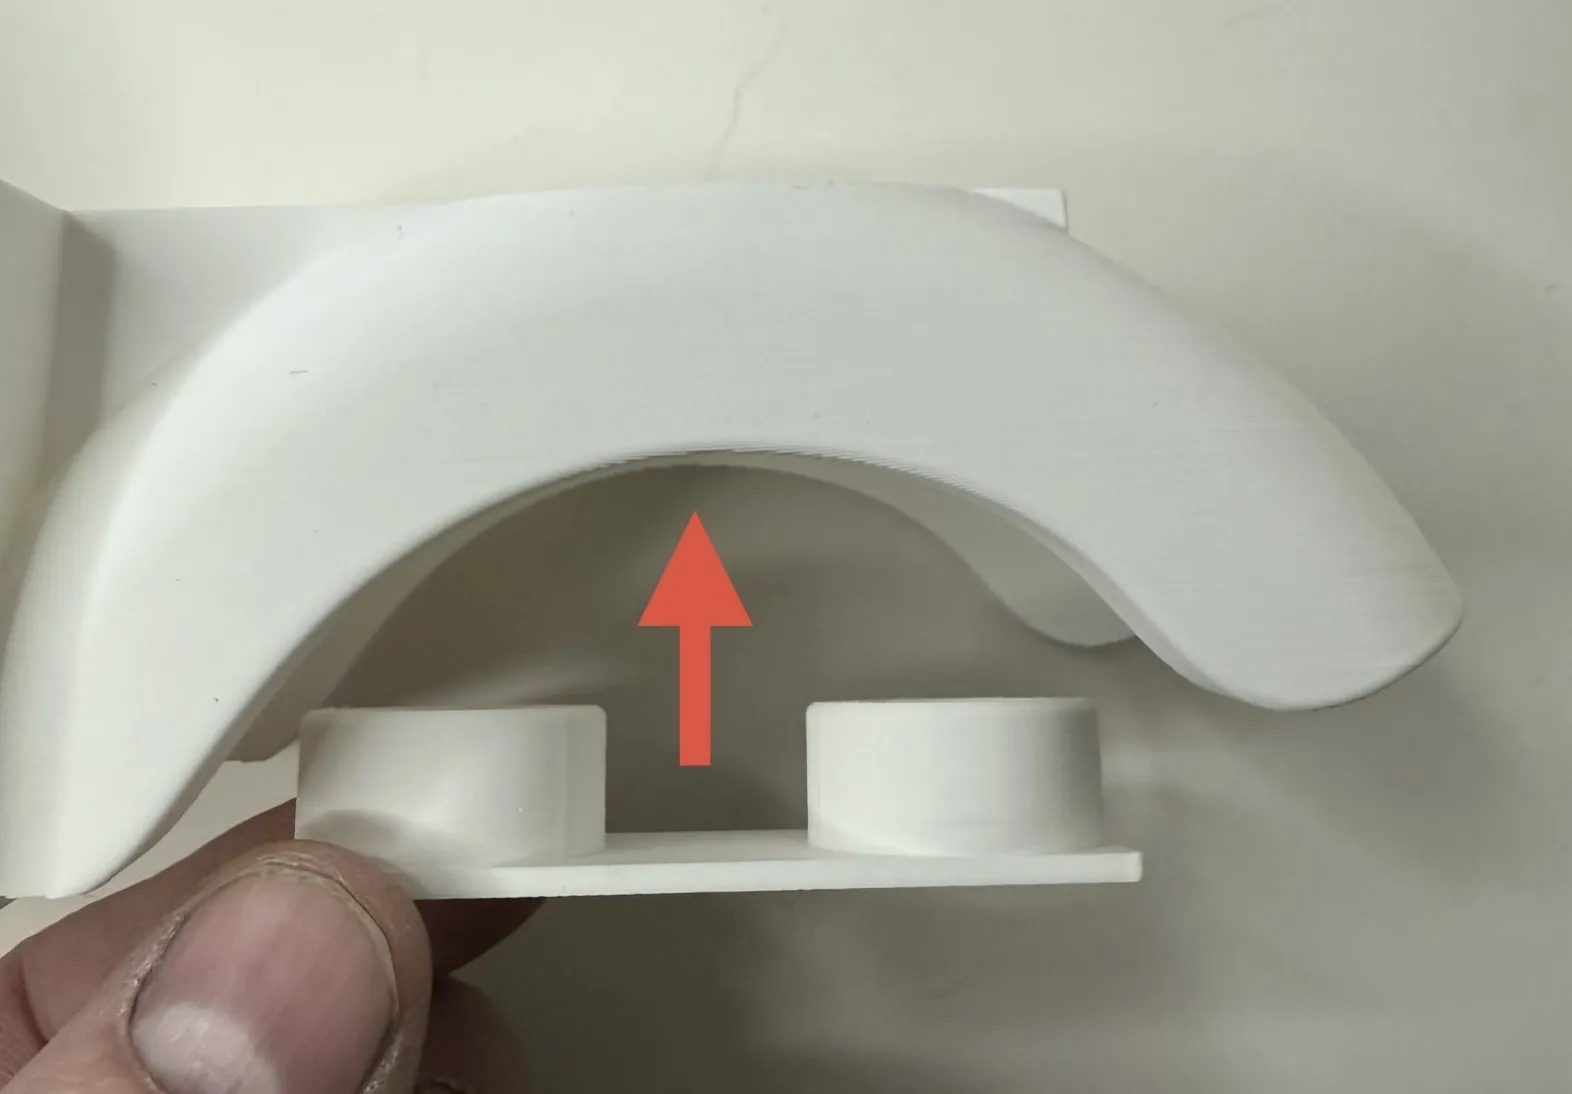
Moving to the body, slide the stud plate into the rear fender from the bottom and set the fender aside.
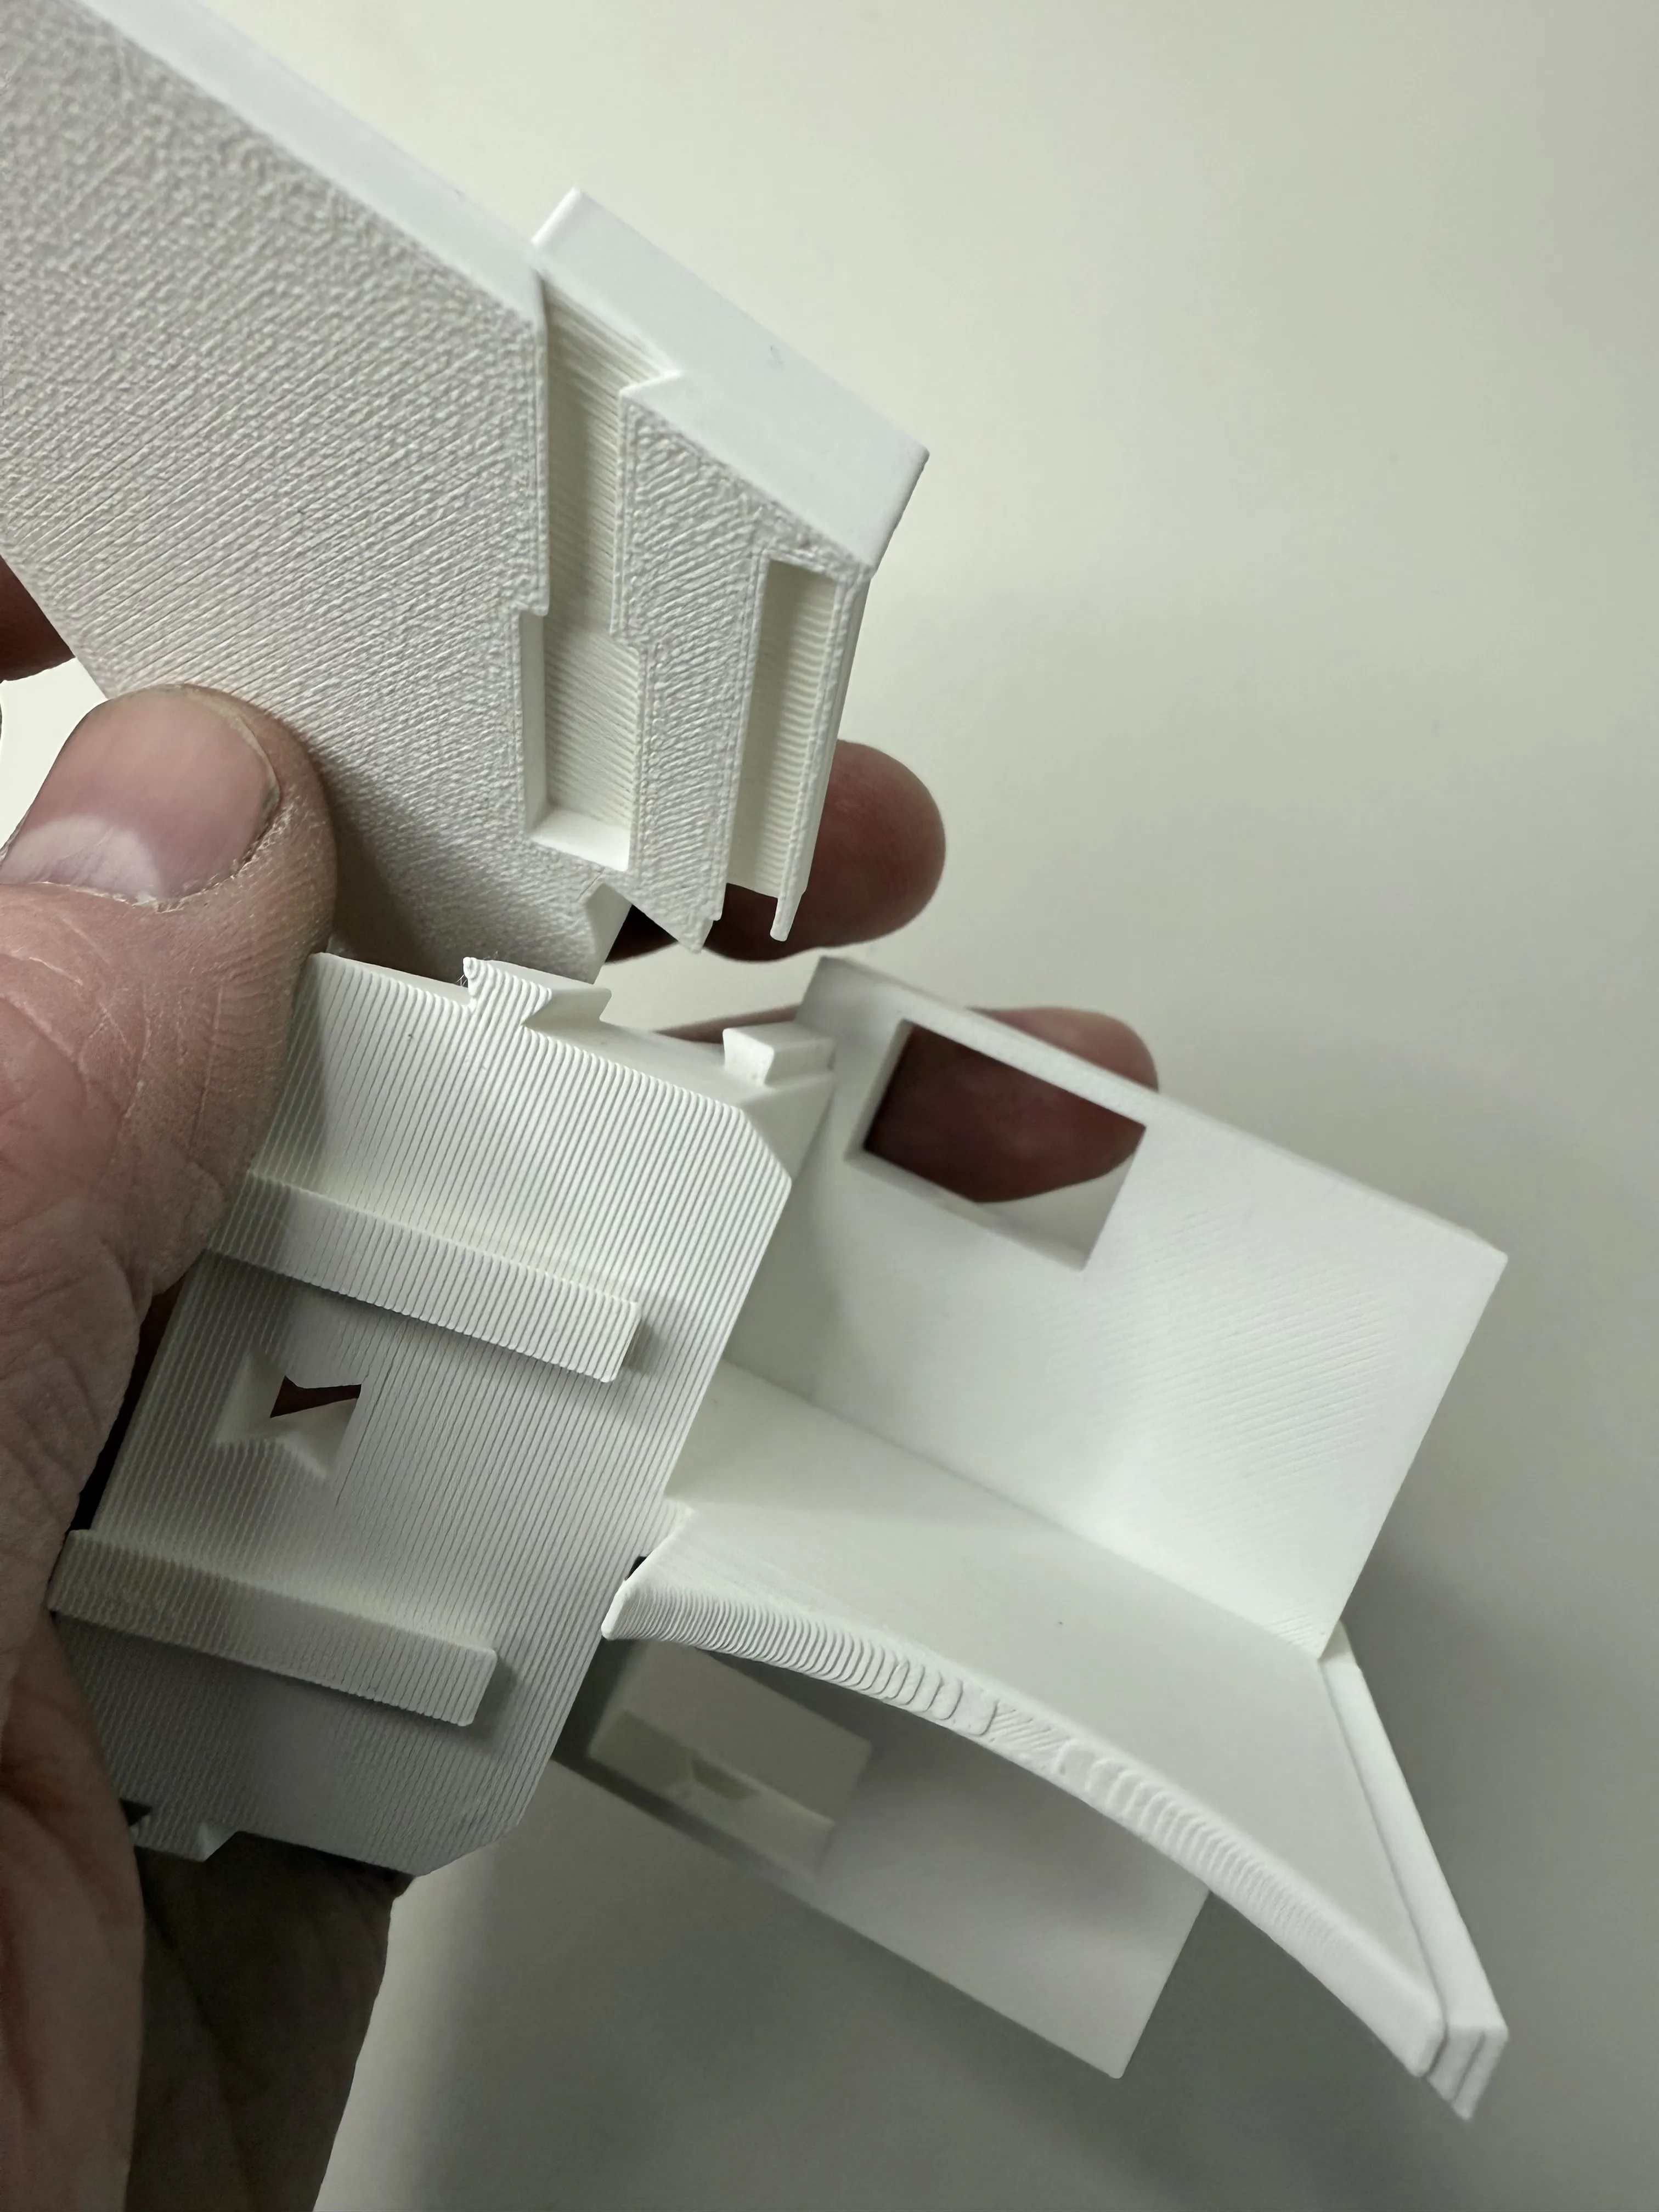
Next, slide the engine covers down onto the seat portion. Start by aligning the slot on the back of the cover and then pus down. Repeat for the other side.
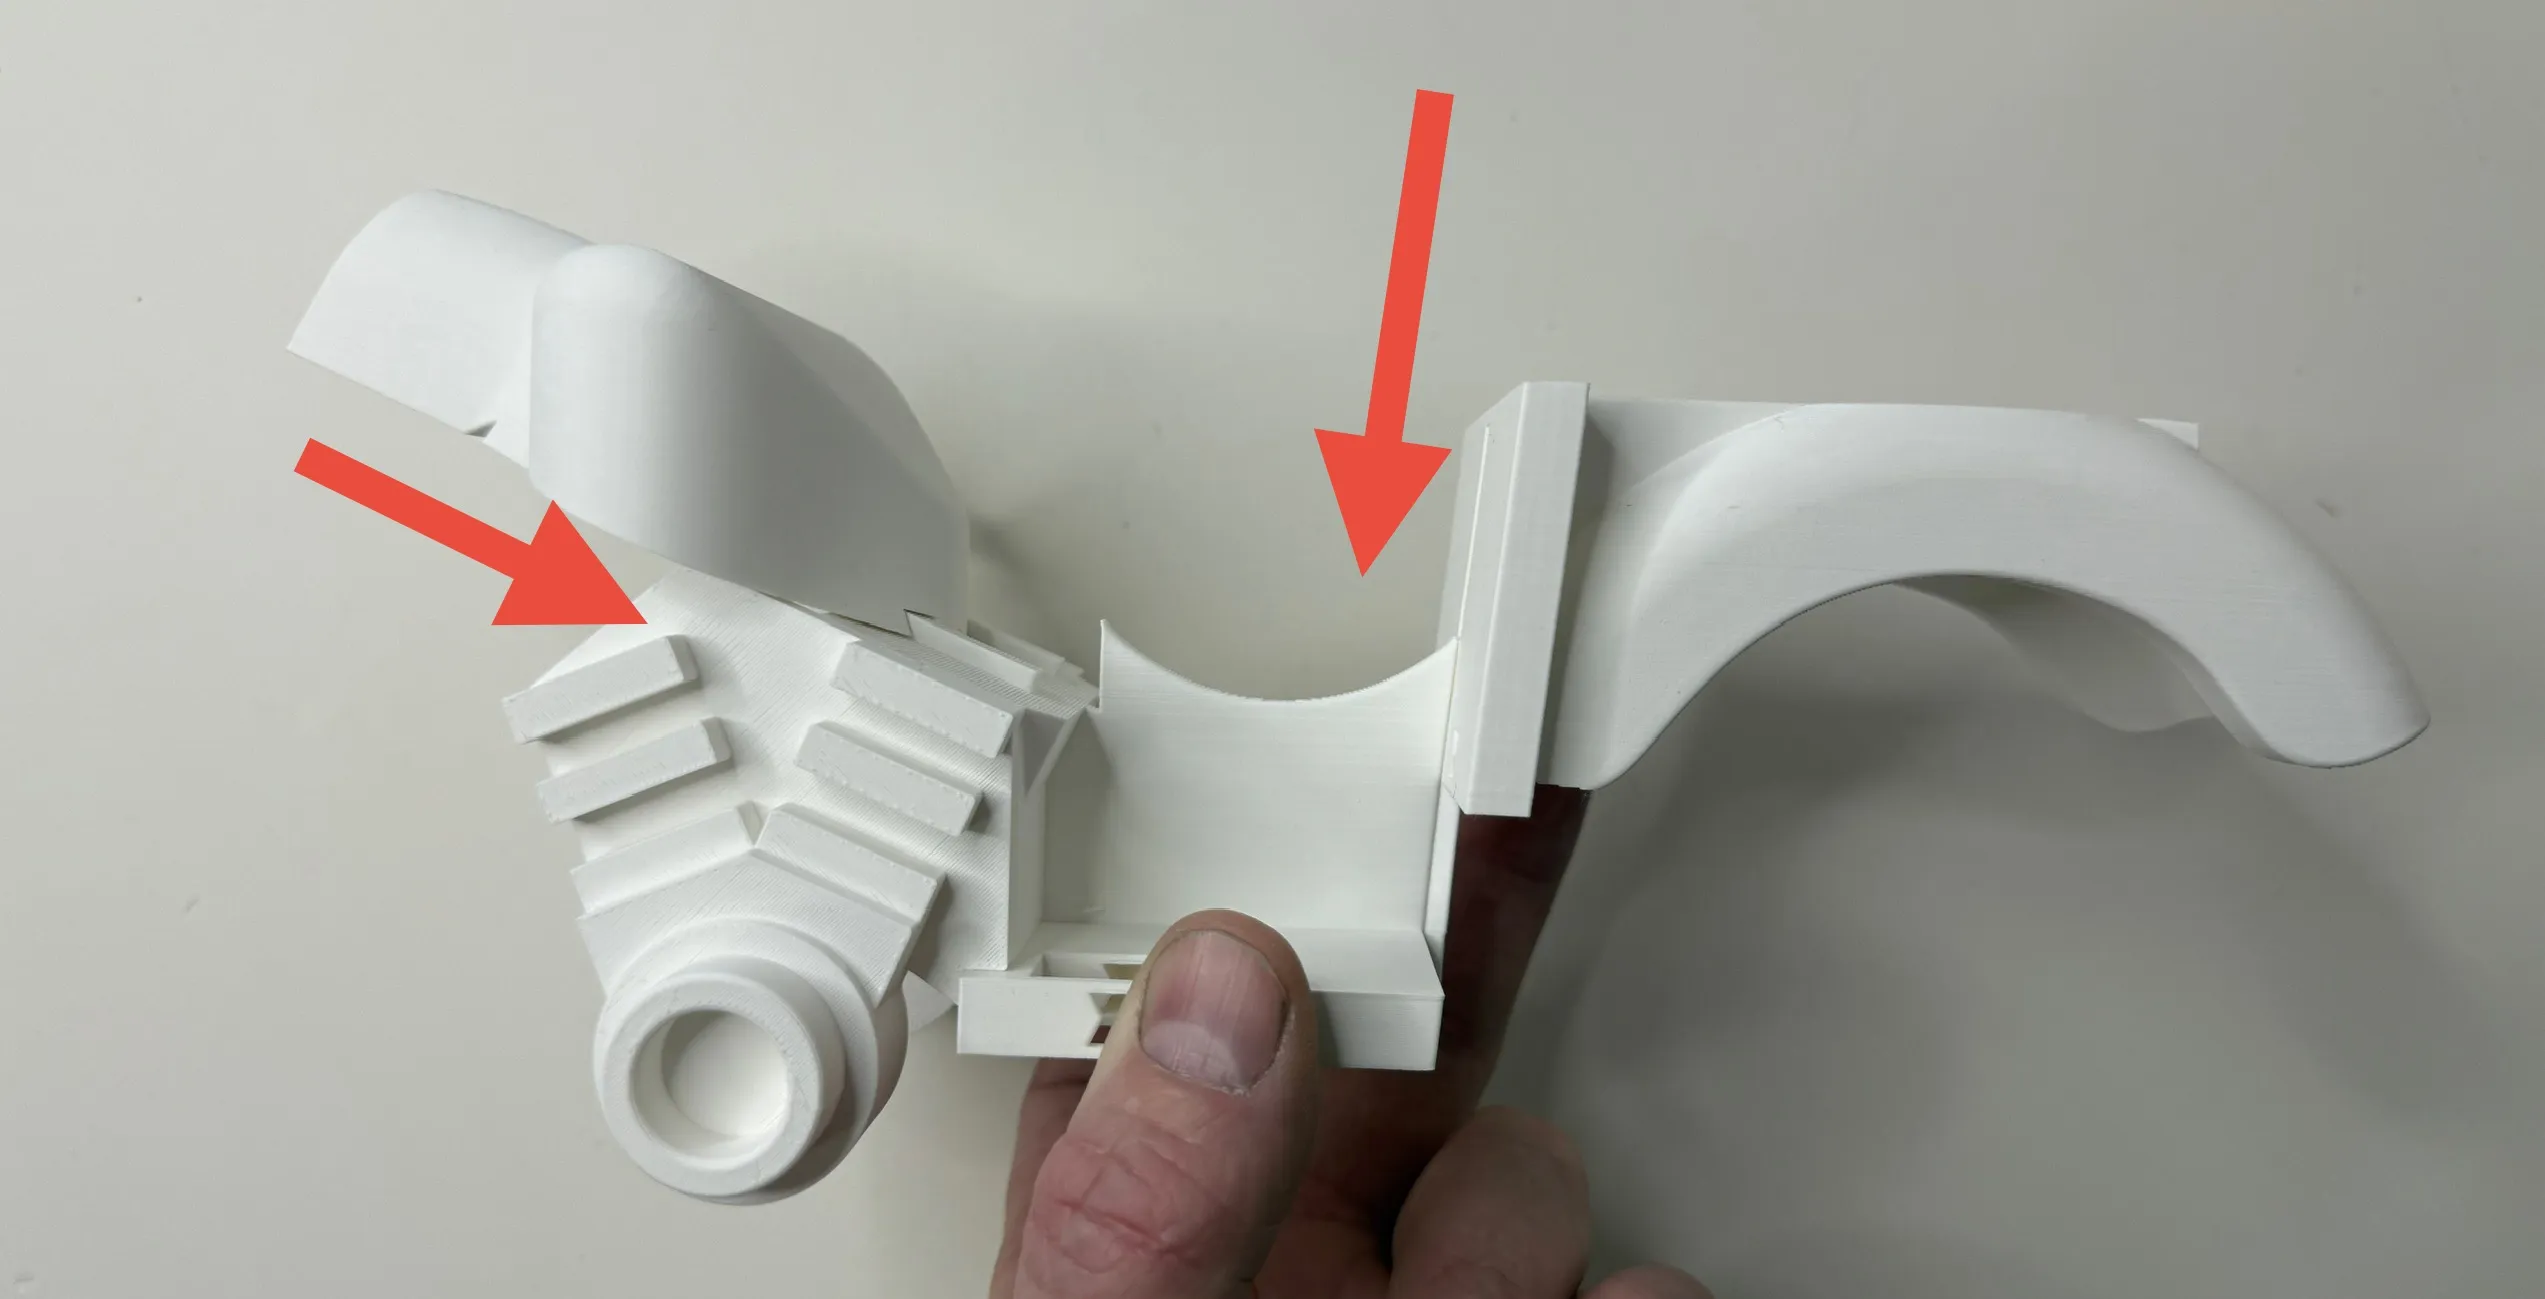
Slide the rear fender down the spine of the seat and the gas tank back as shown.
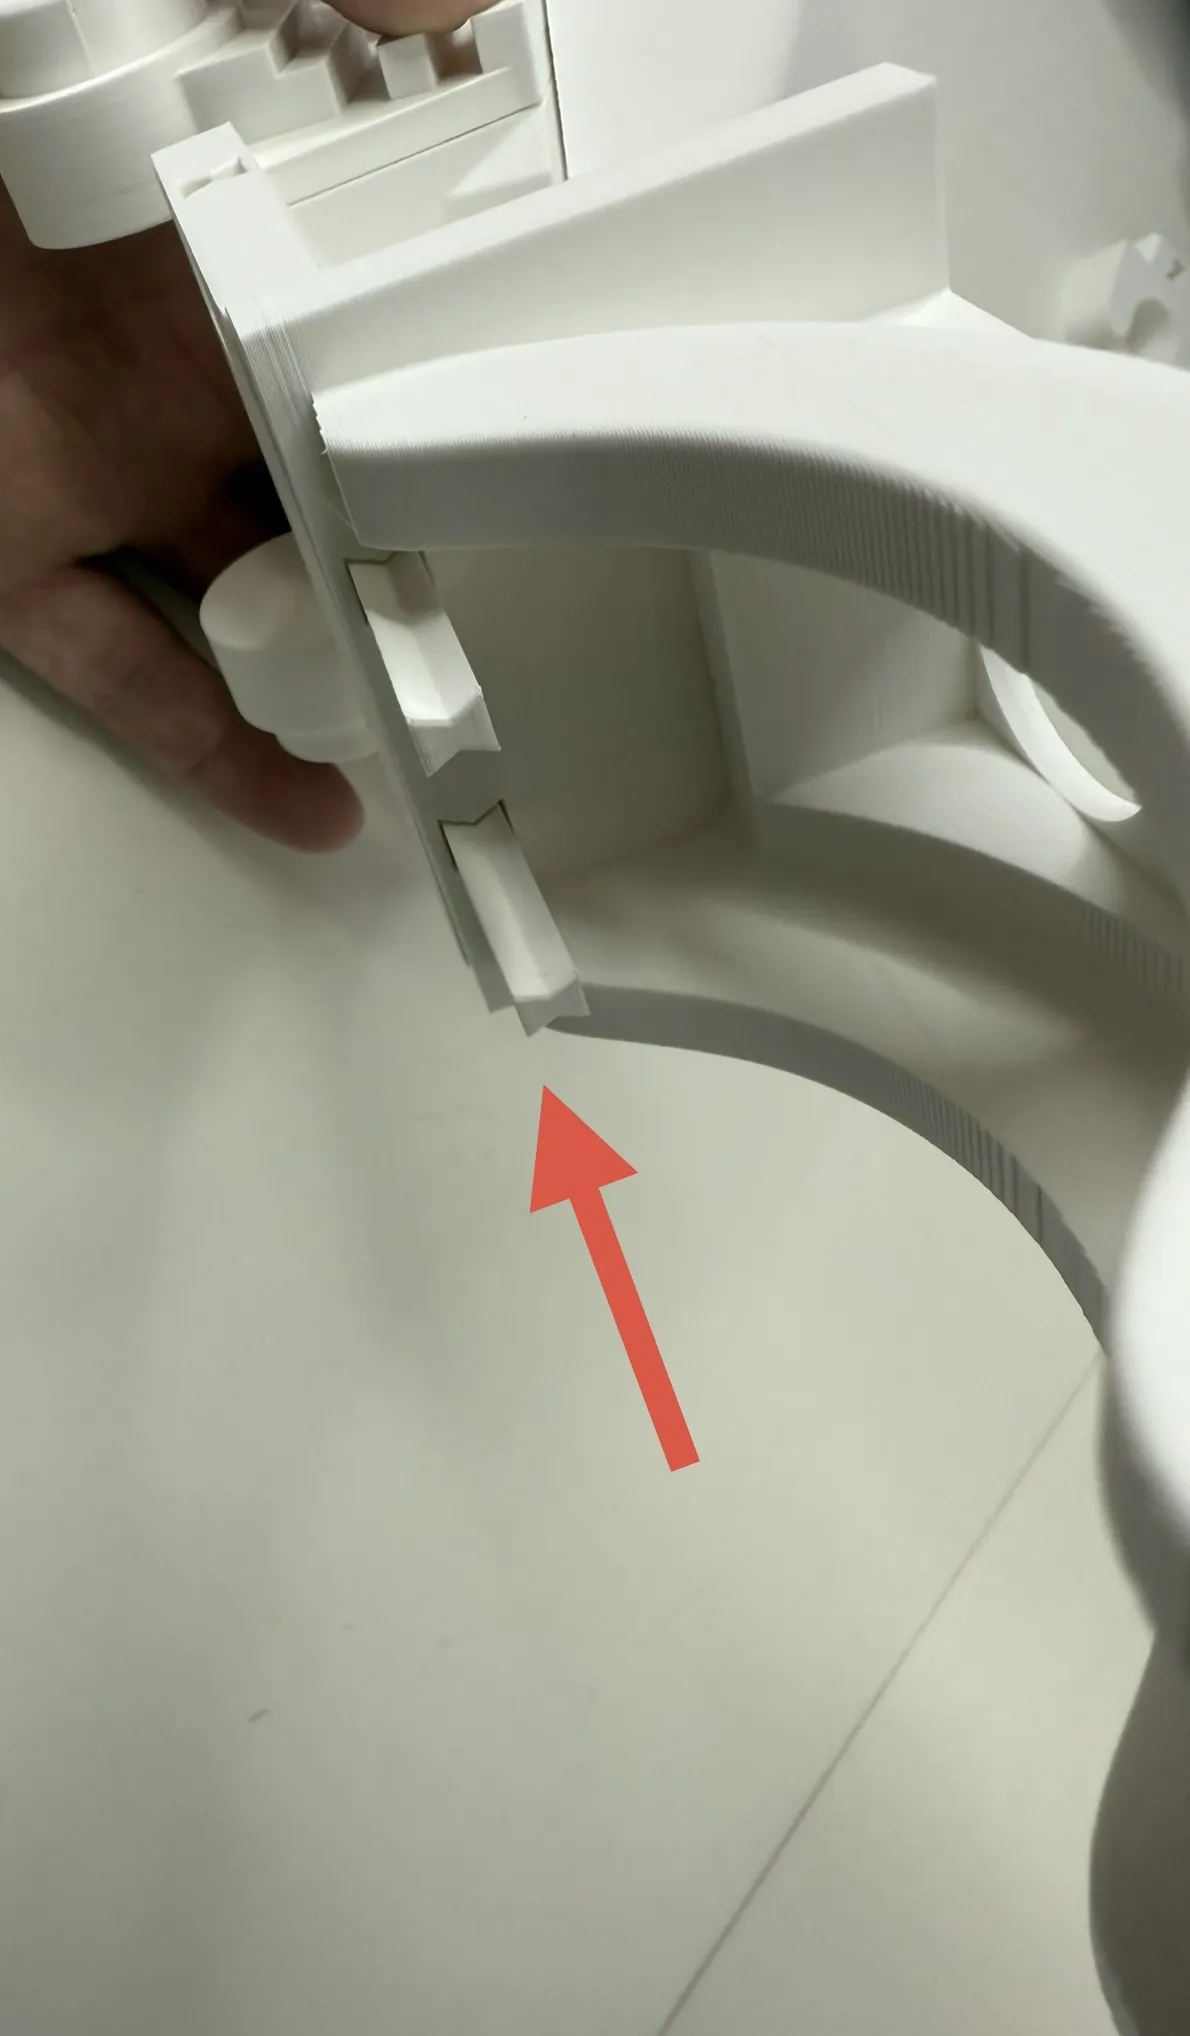
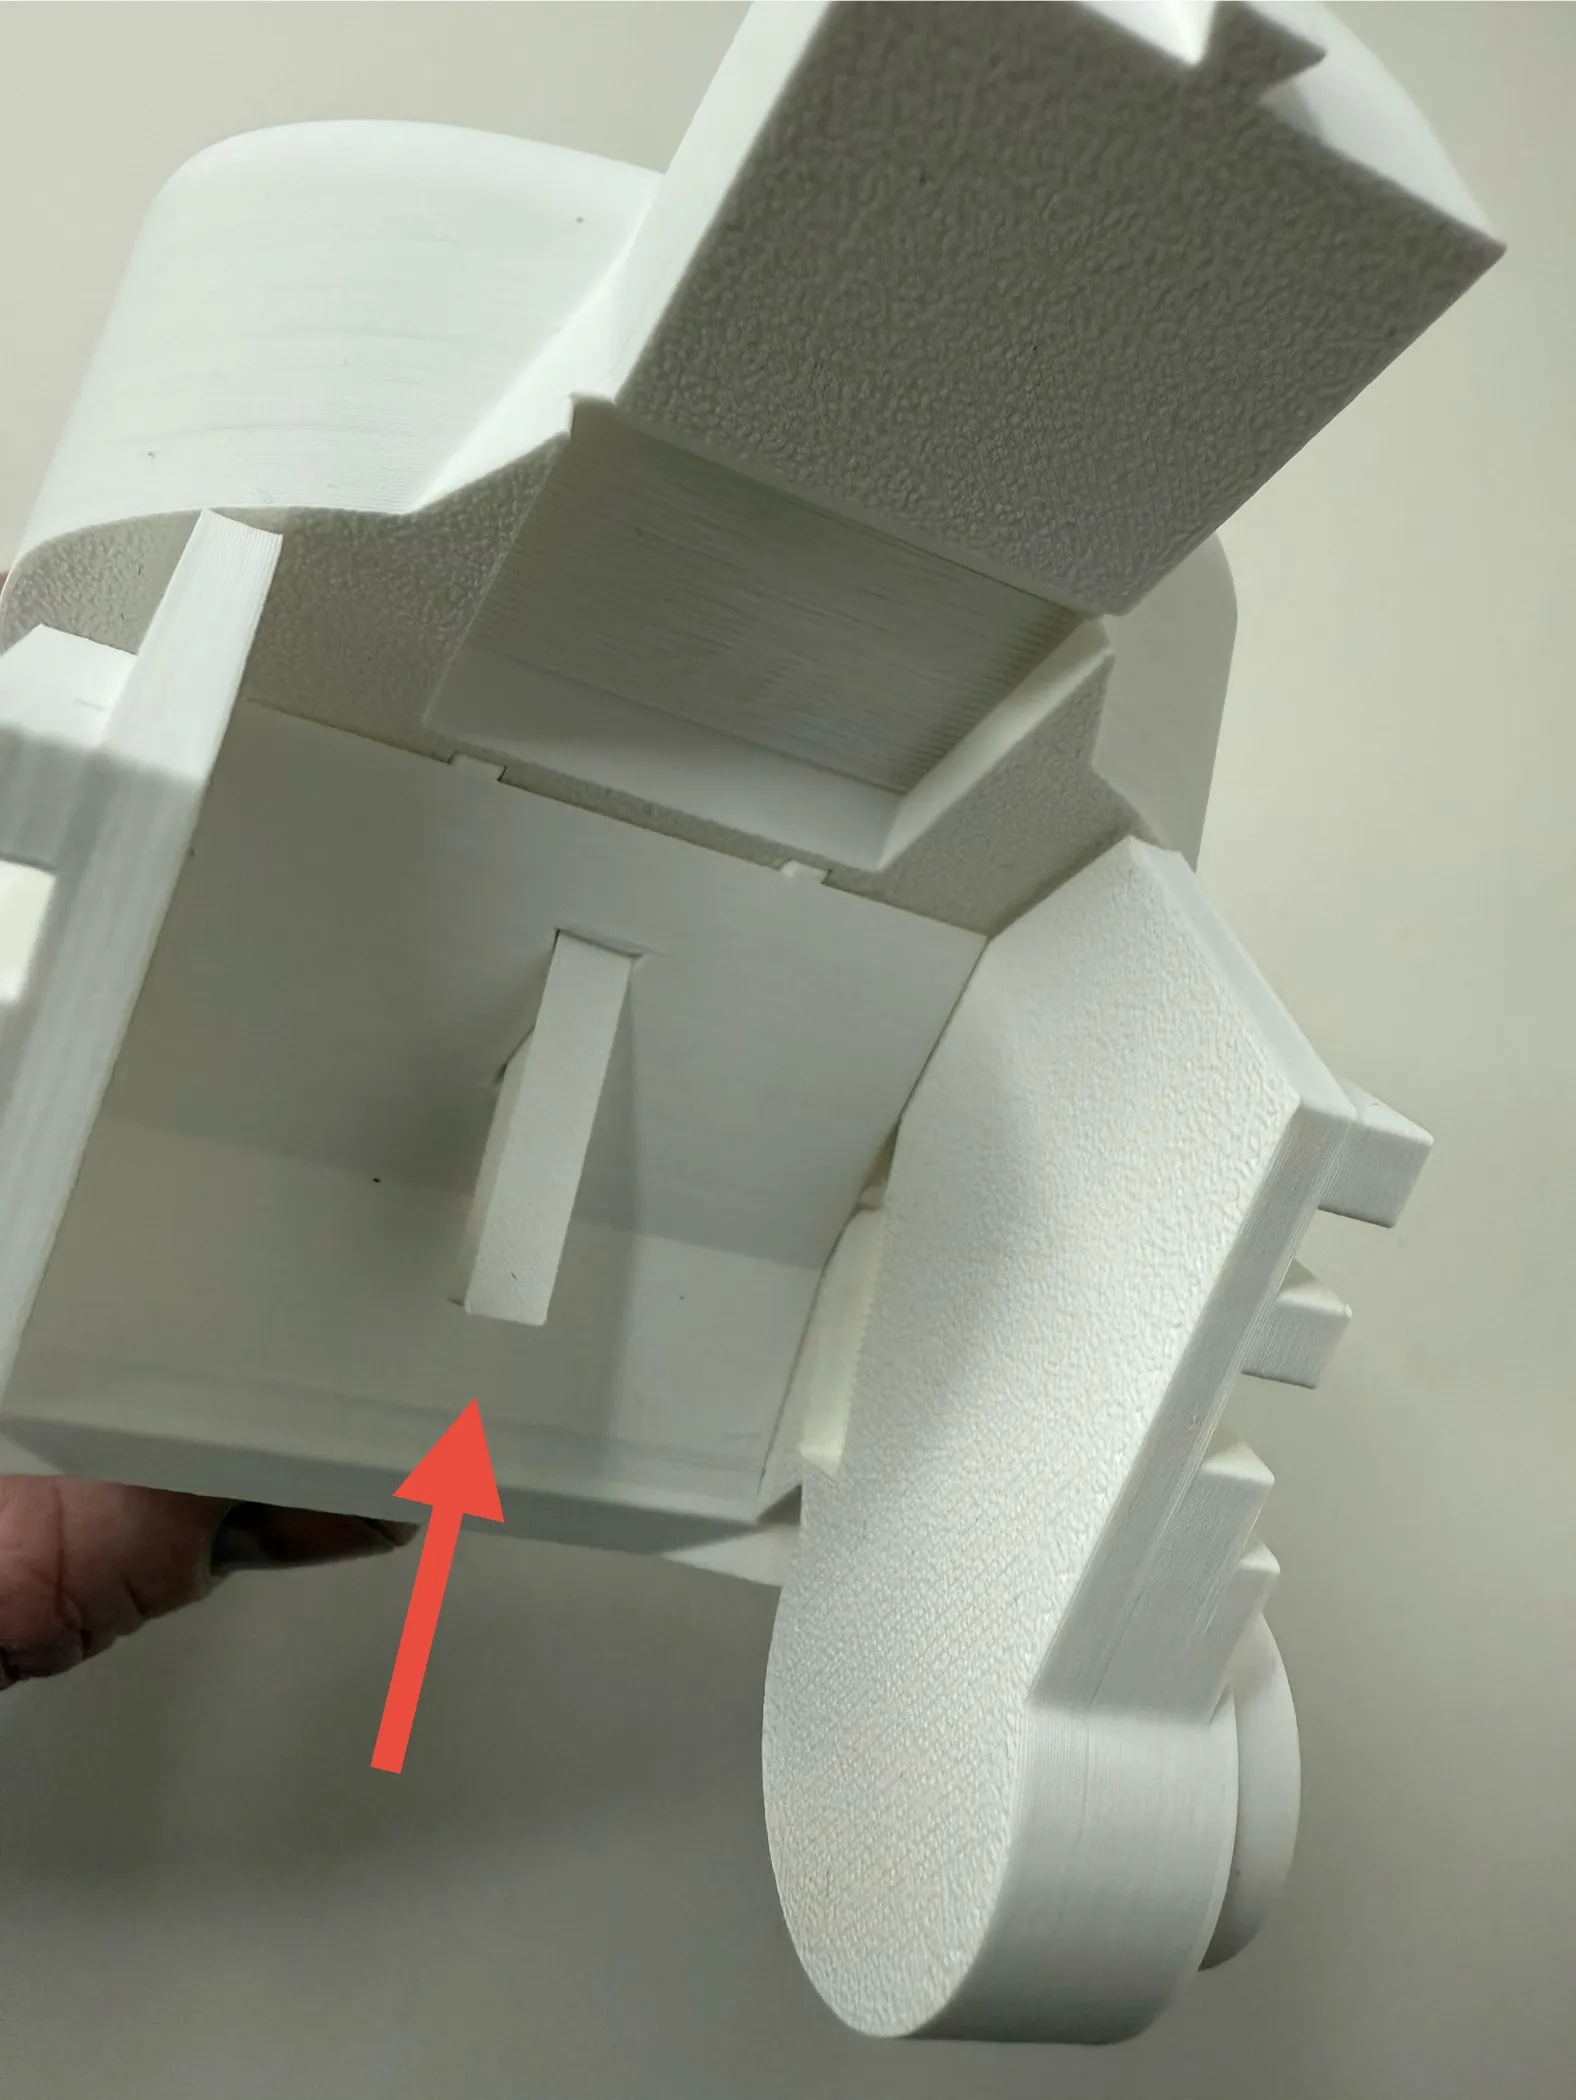
There are four lengths of retention pins, take the longer of the two pairs of pins and insert them into the rear fender to lock it to the seat and the shorter of the two single pins into the seat and tank as shown to lock them in place.
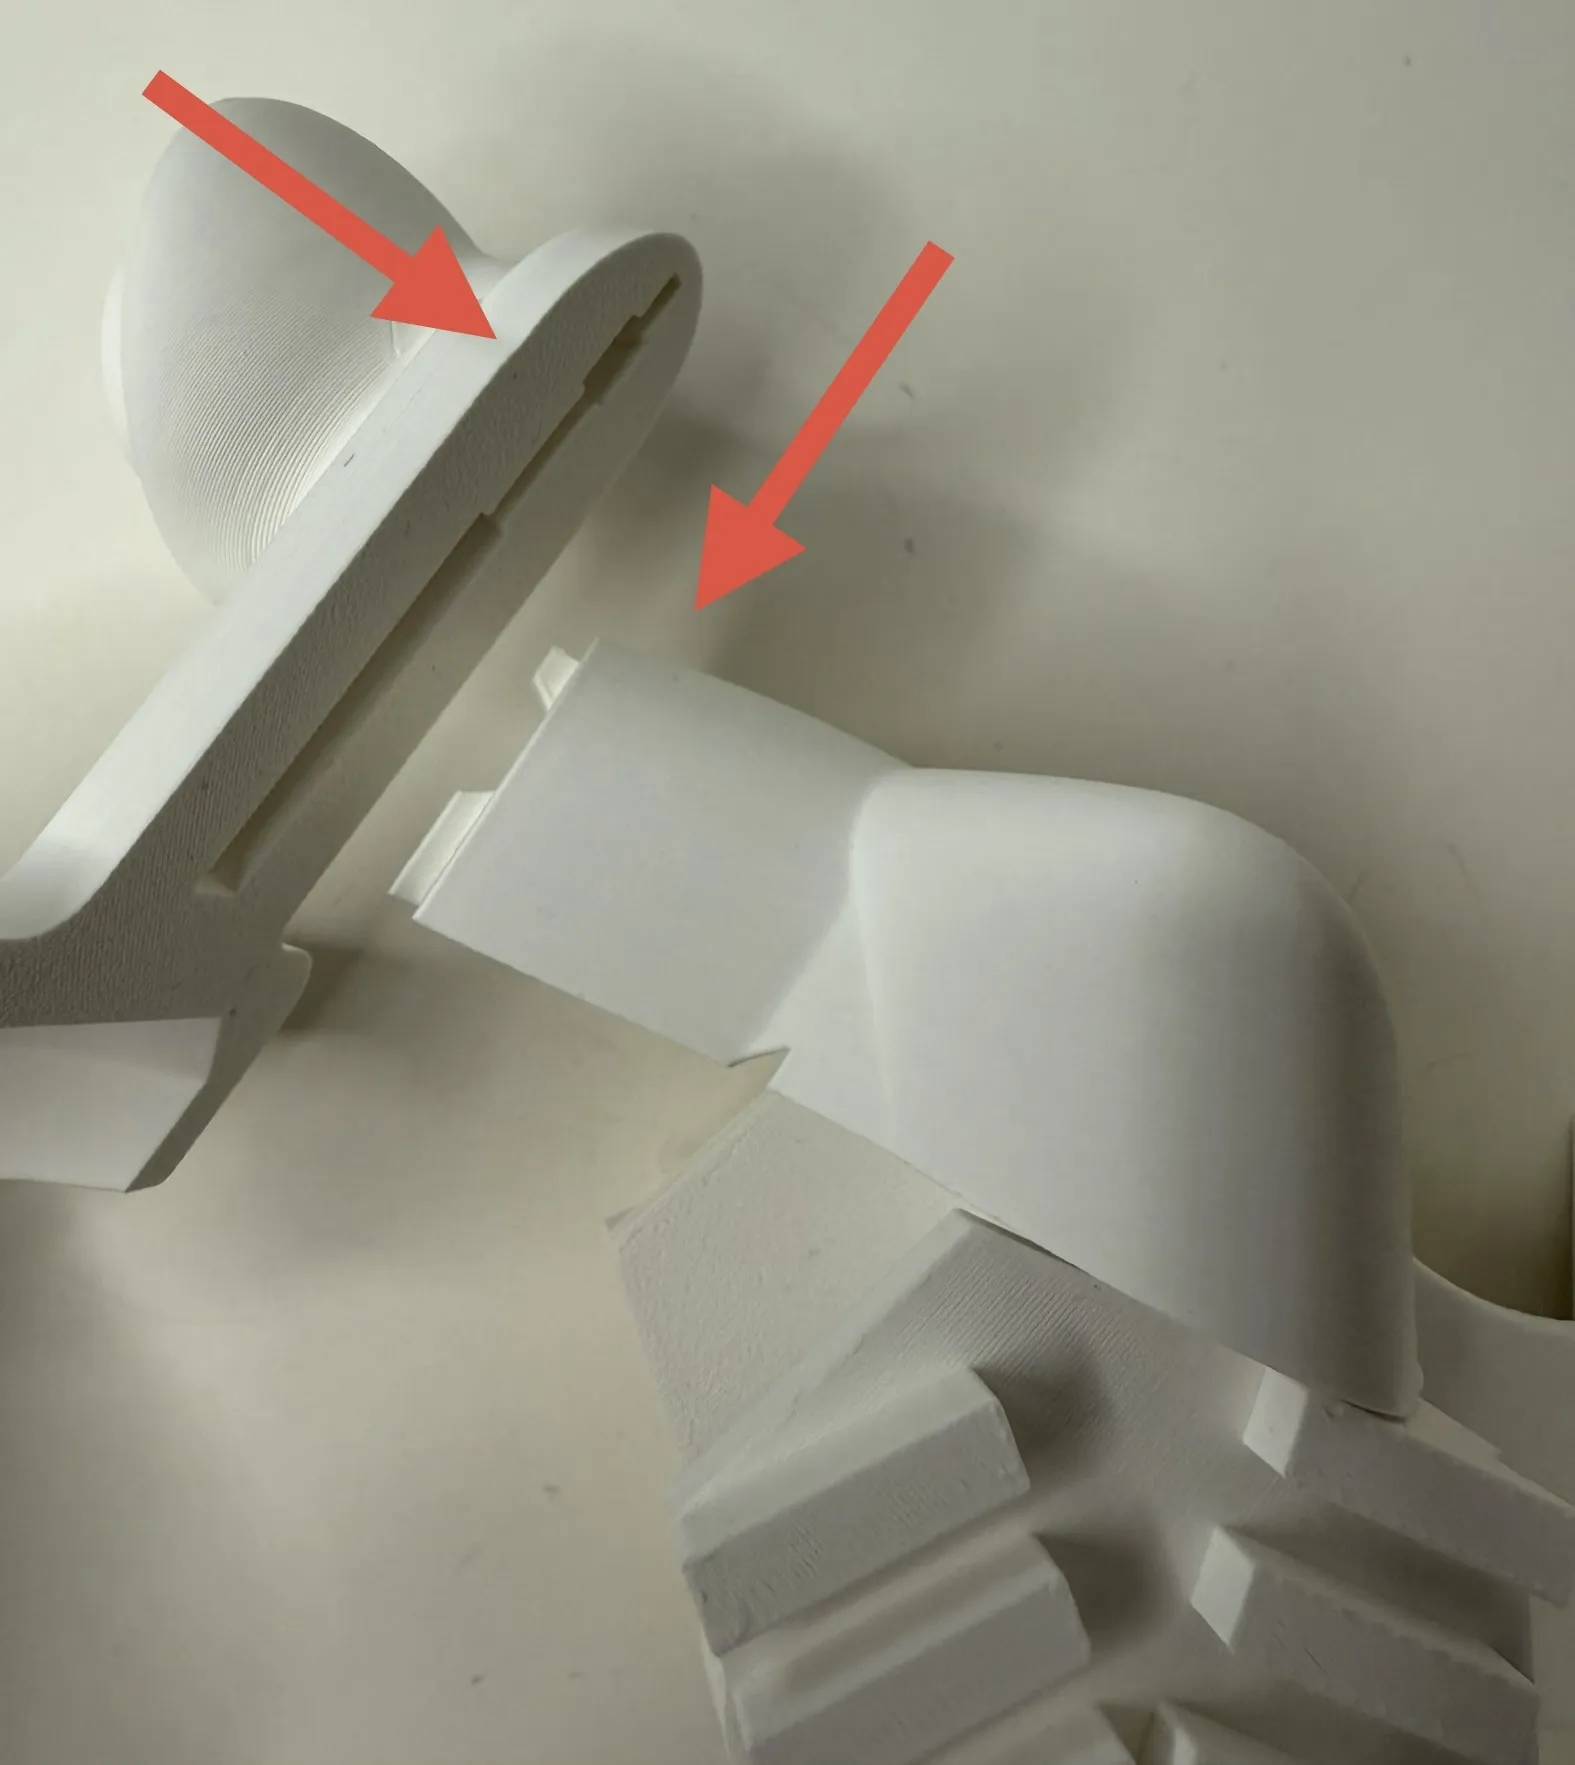
The front fender slots onto the front of the tank and slides down.
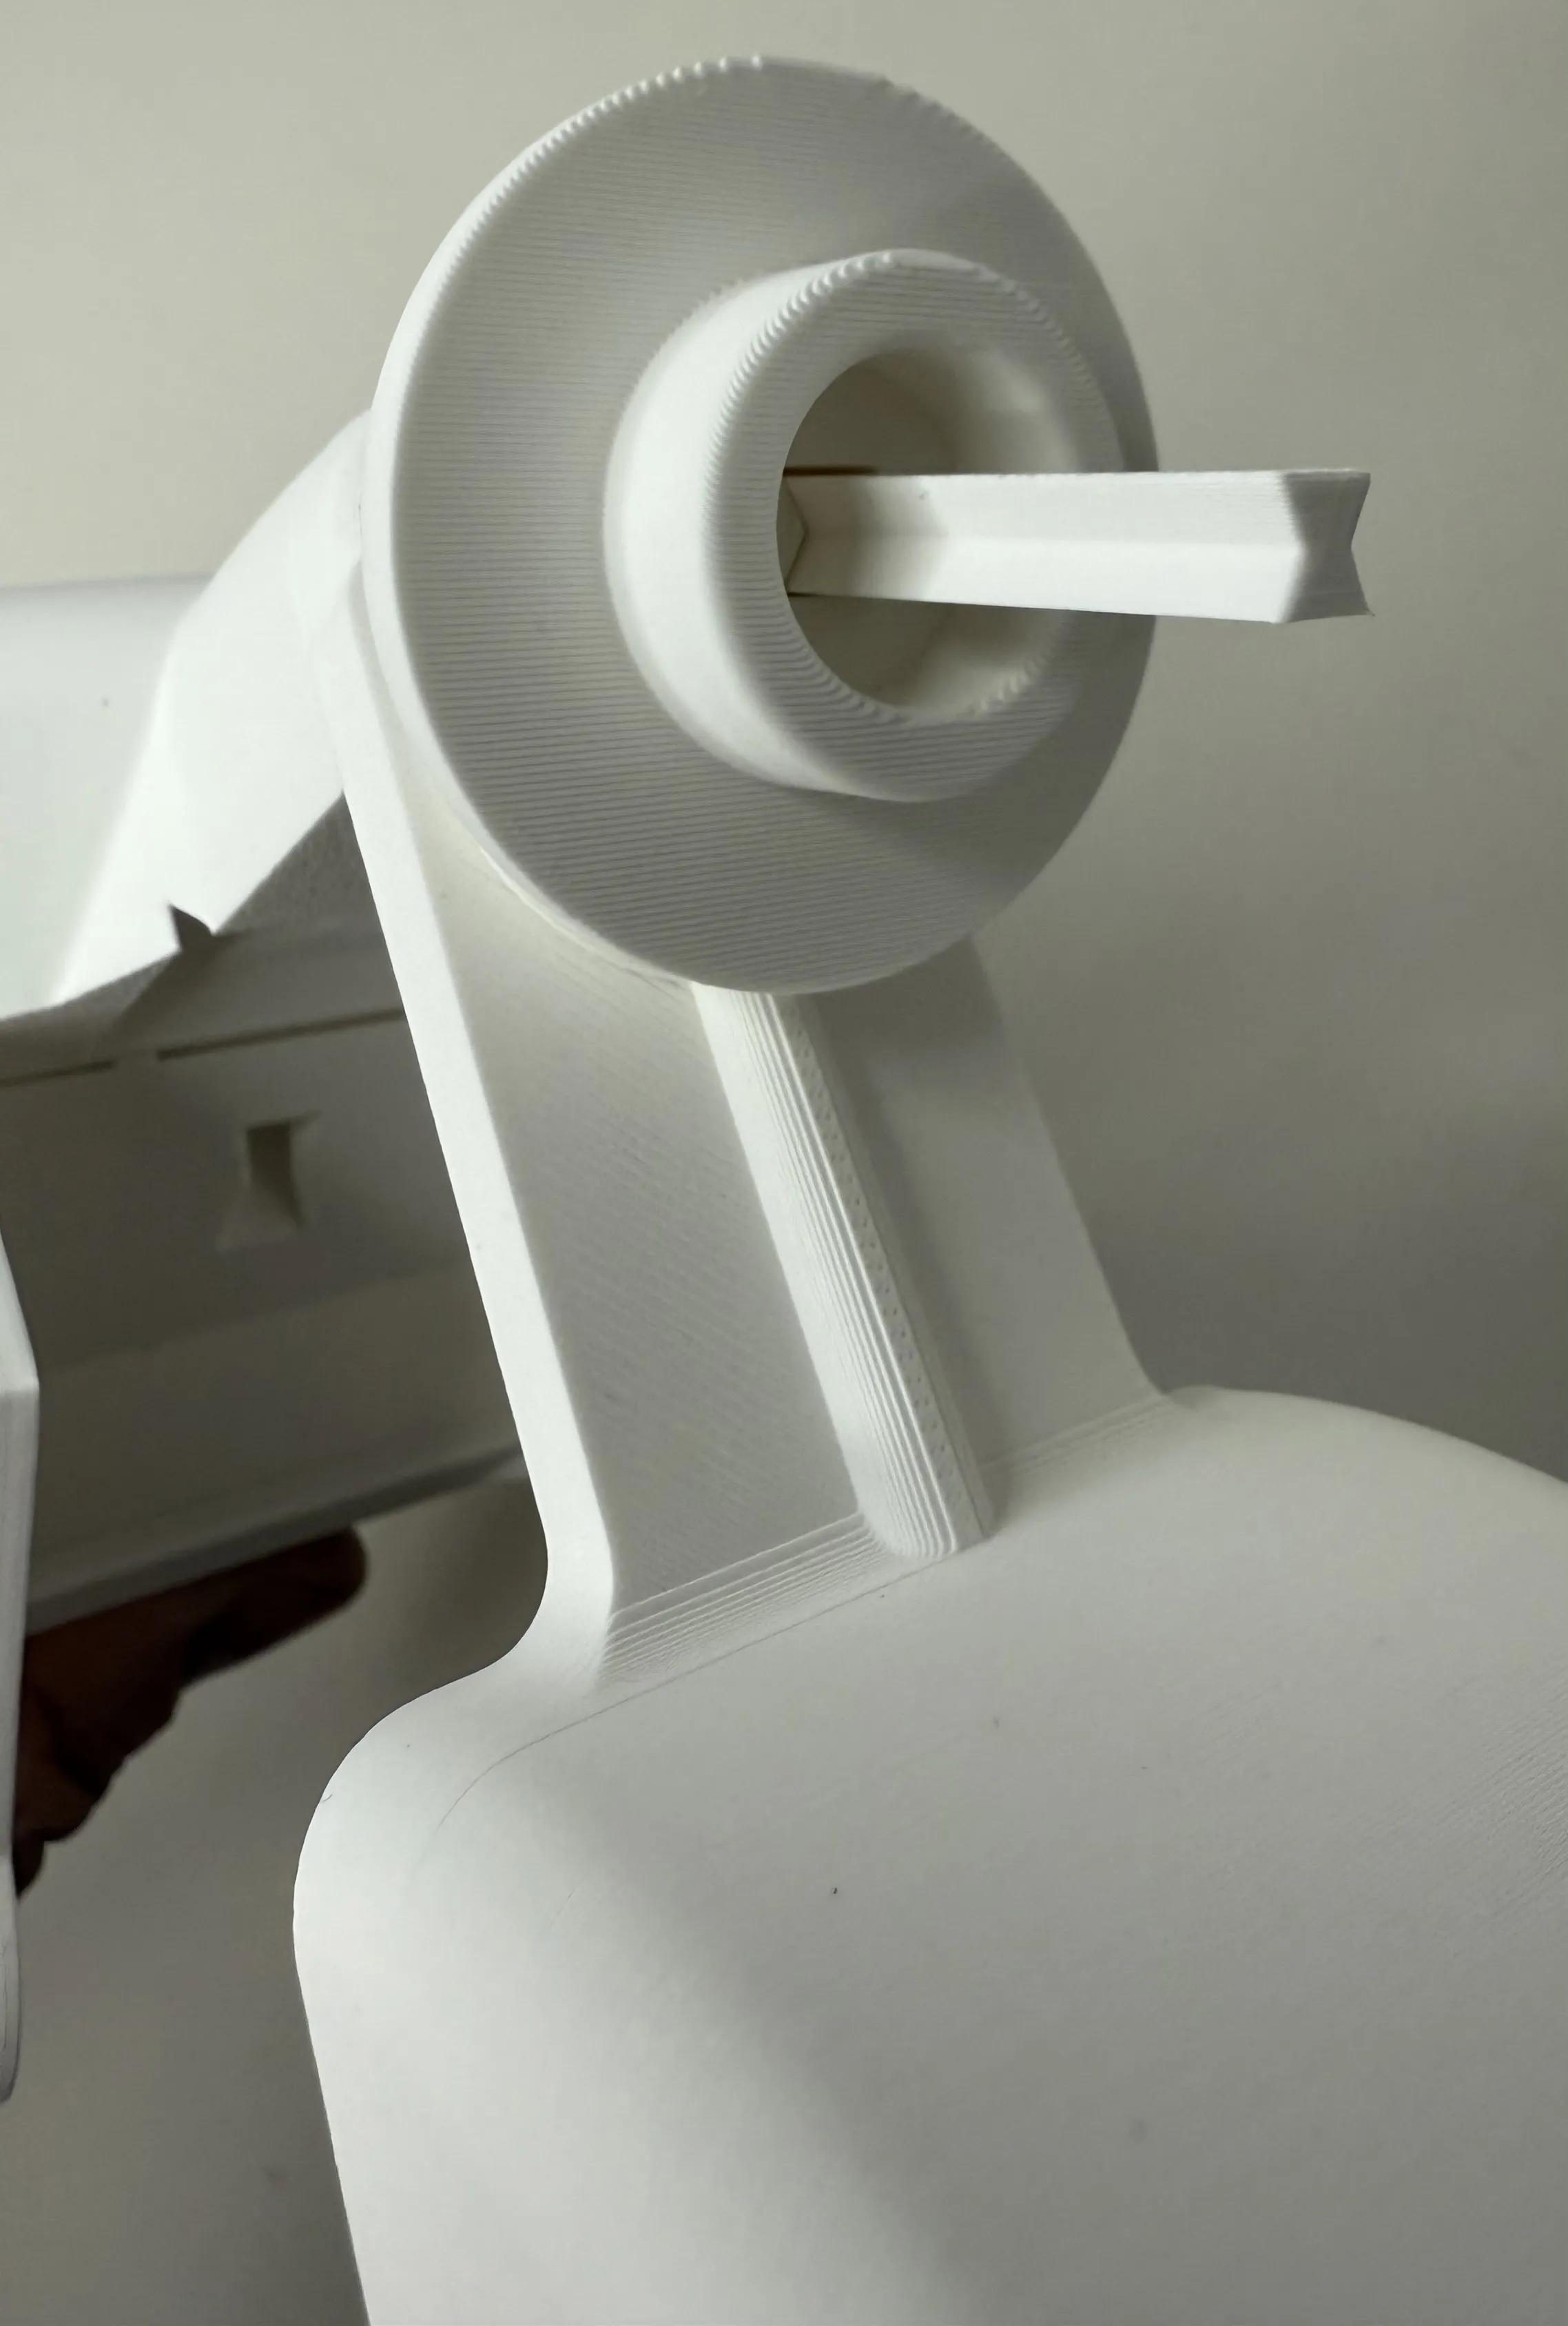
Lock in place with the longer of the single pins.
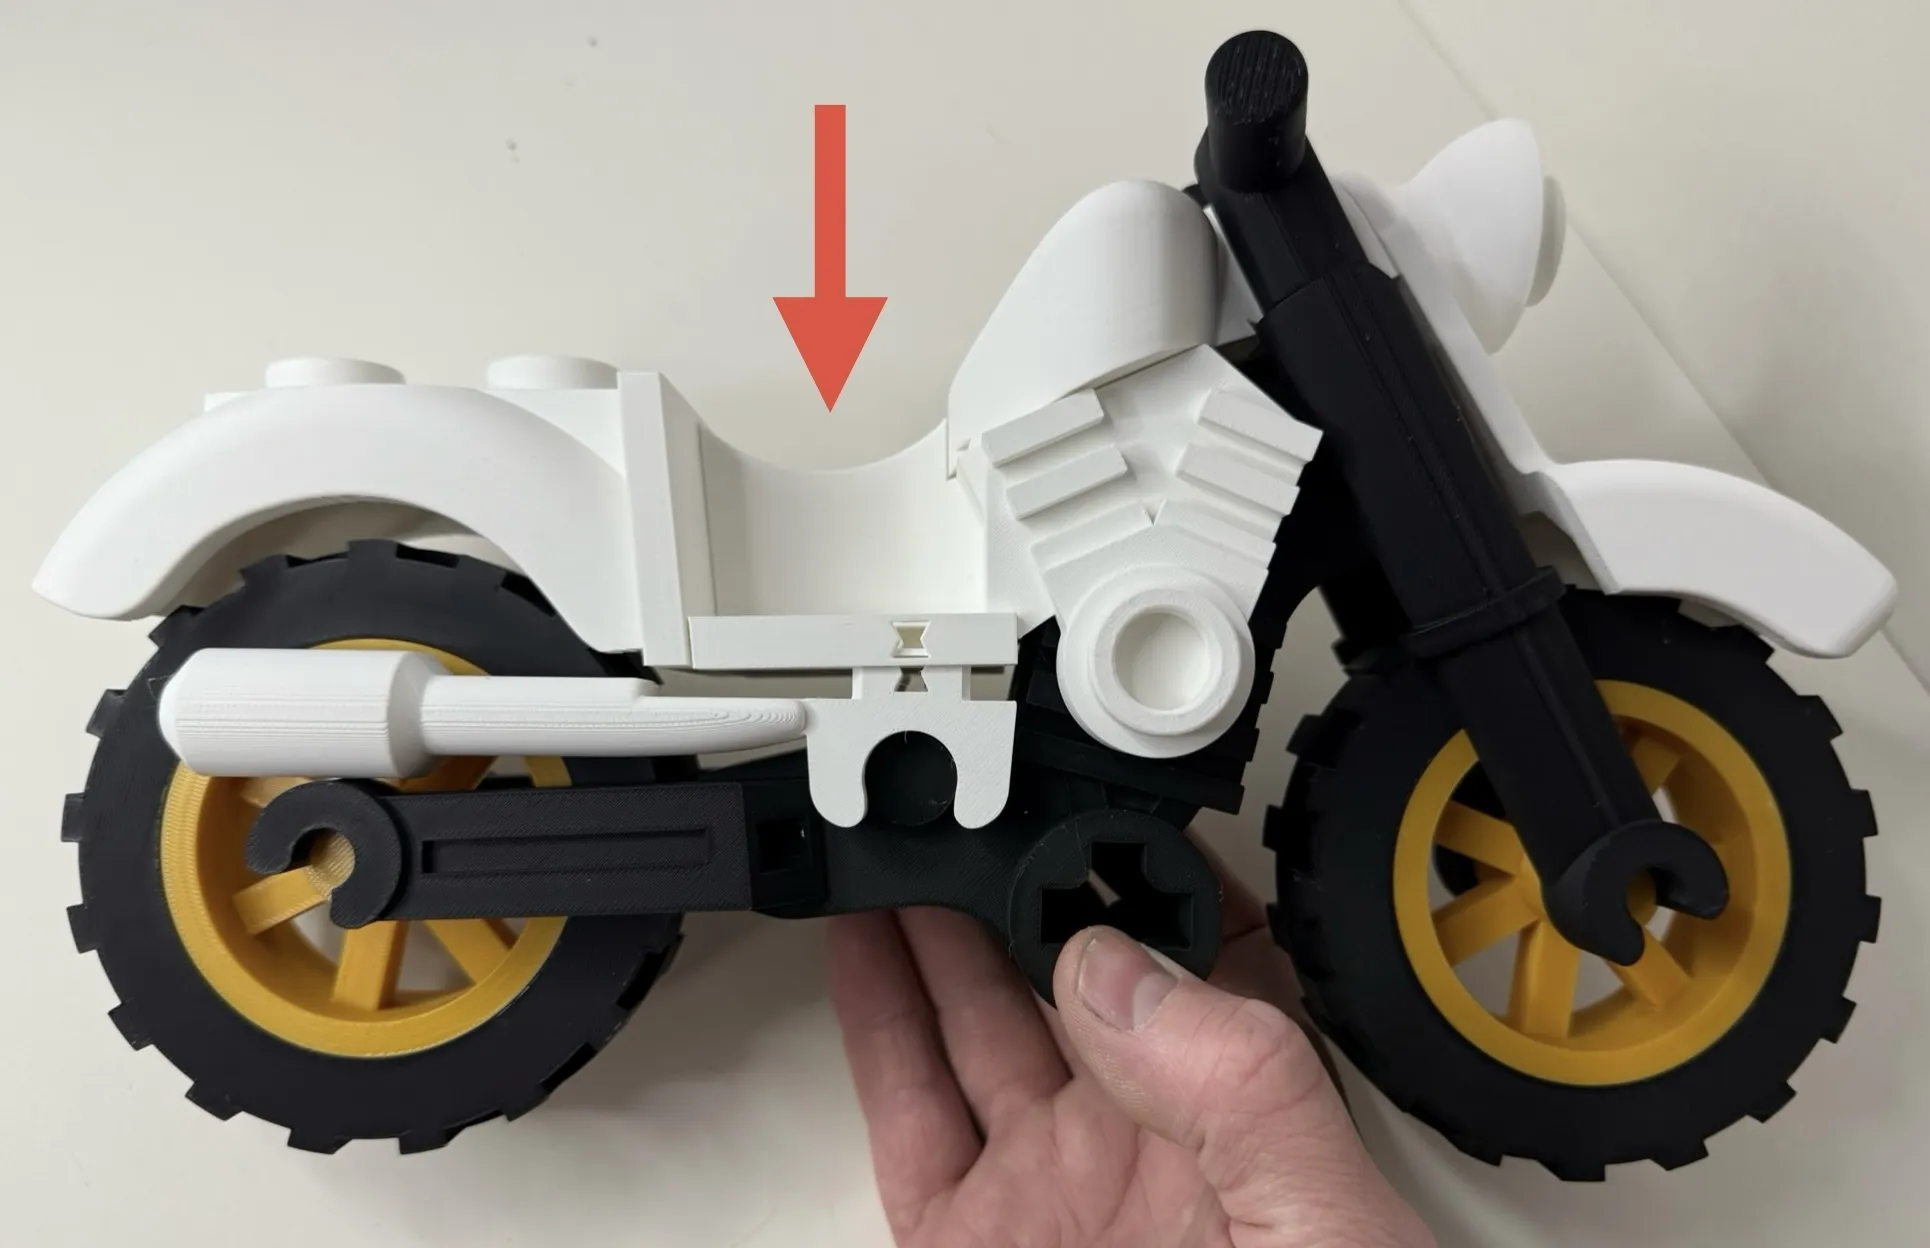
Lastly, slide the body clips onto the frame and then slide the body down on the clips. Slide the remaining shorter pair of pins into the seat to lock it together. Choose which headlight, if any you like and thats it! Ready to cruise!
Membership
Thank you for checking out my models. If you enjoy them or want to sell prints, please consider joining. Everything helps to continue to create new models!
License

You shall not share, sub-license, sell, rent, host, transfer, or distribute in any way the digital or 3D printed versions of this object, nor any other derivative work of this object in its digital or physical format (including - but not limited to - remixes of this object, and hosting on other digital platforms). The objects may not be used without permission in any way whatsoever in which you charge money, or collect fees.


Comment & Rating (19)