
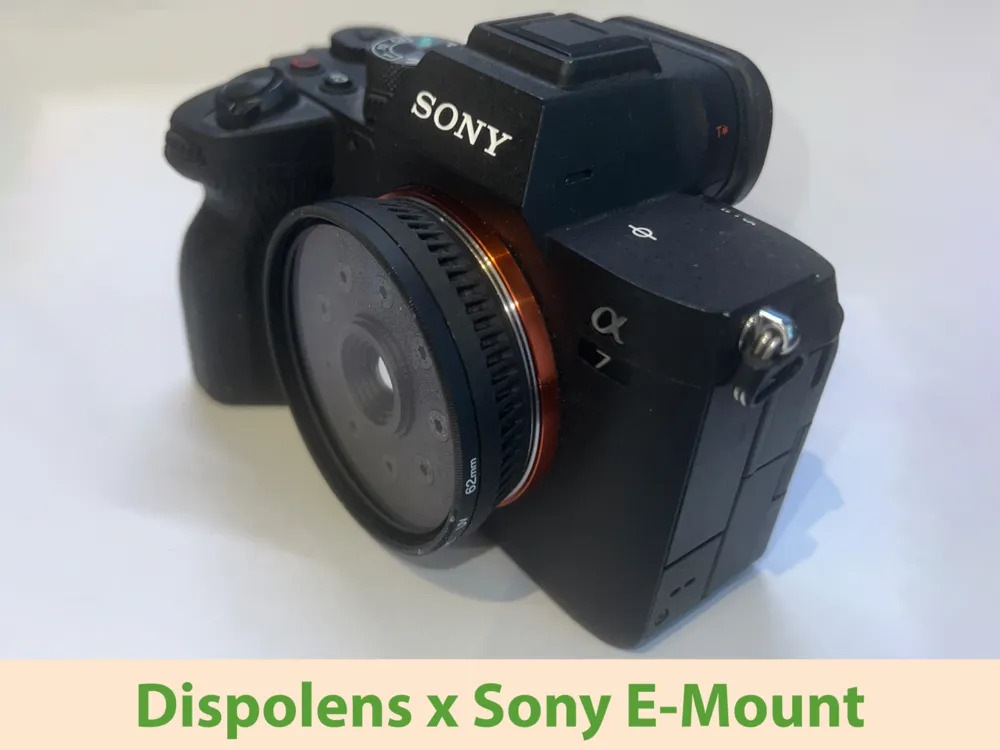
Sony E Mount - Disposable Lens Mount
Print Profile(2)


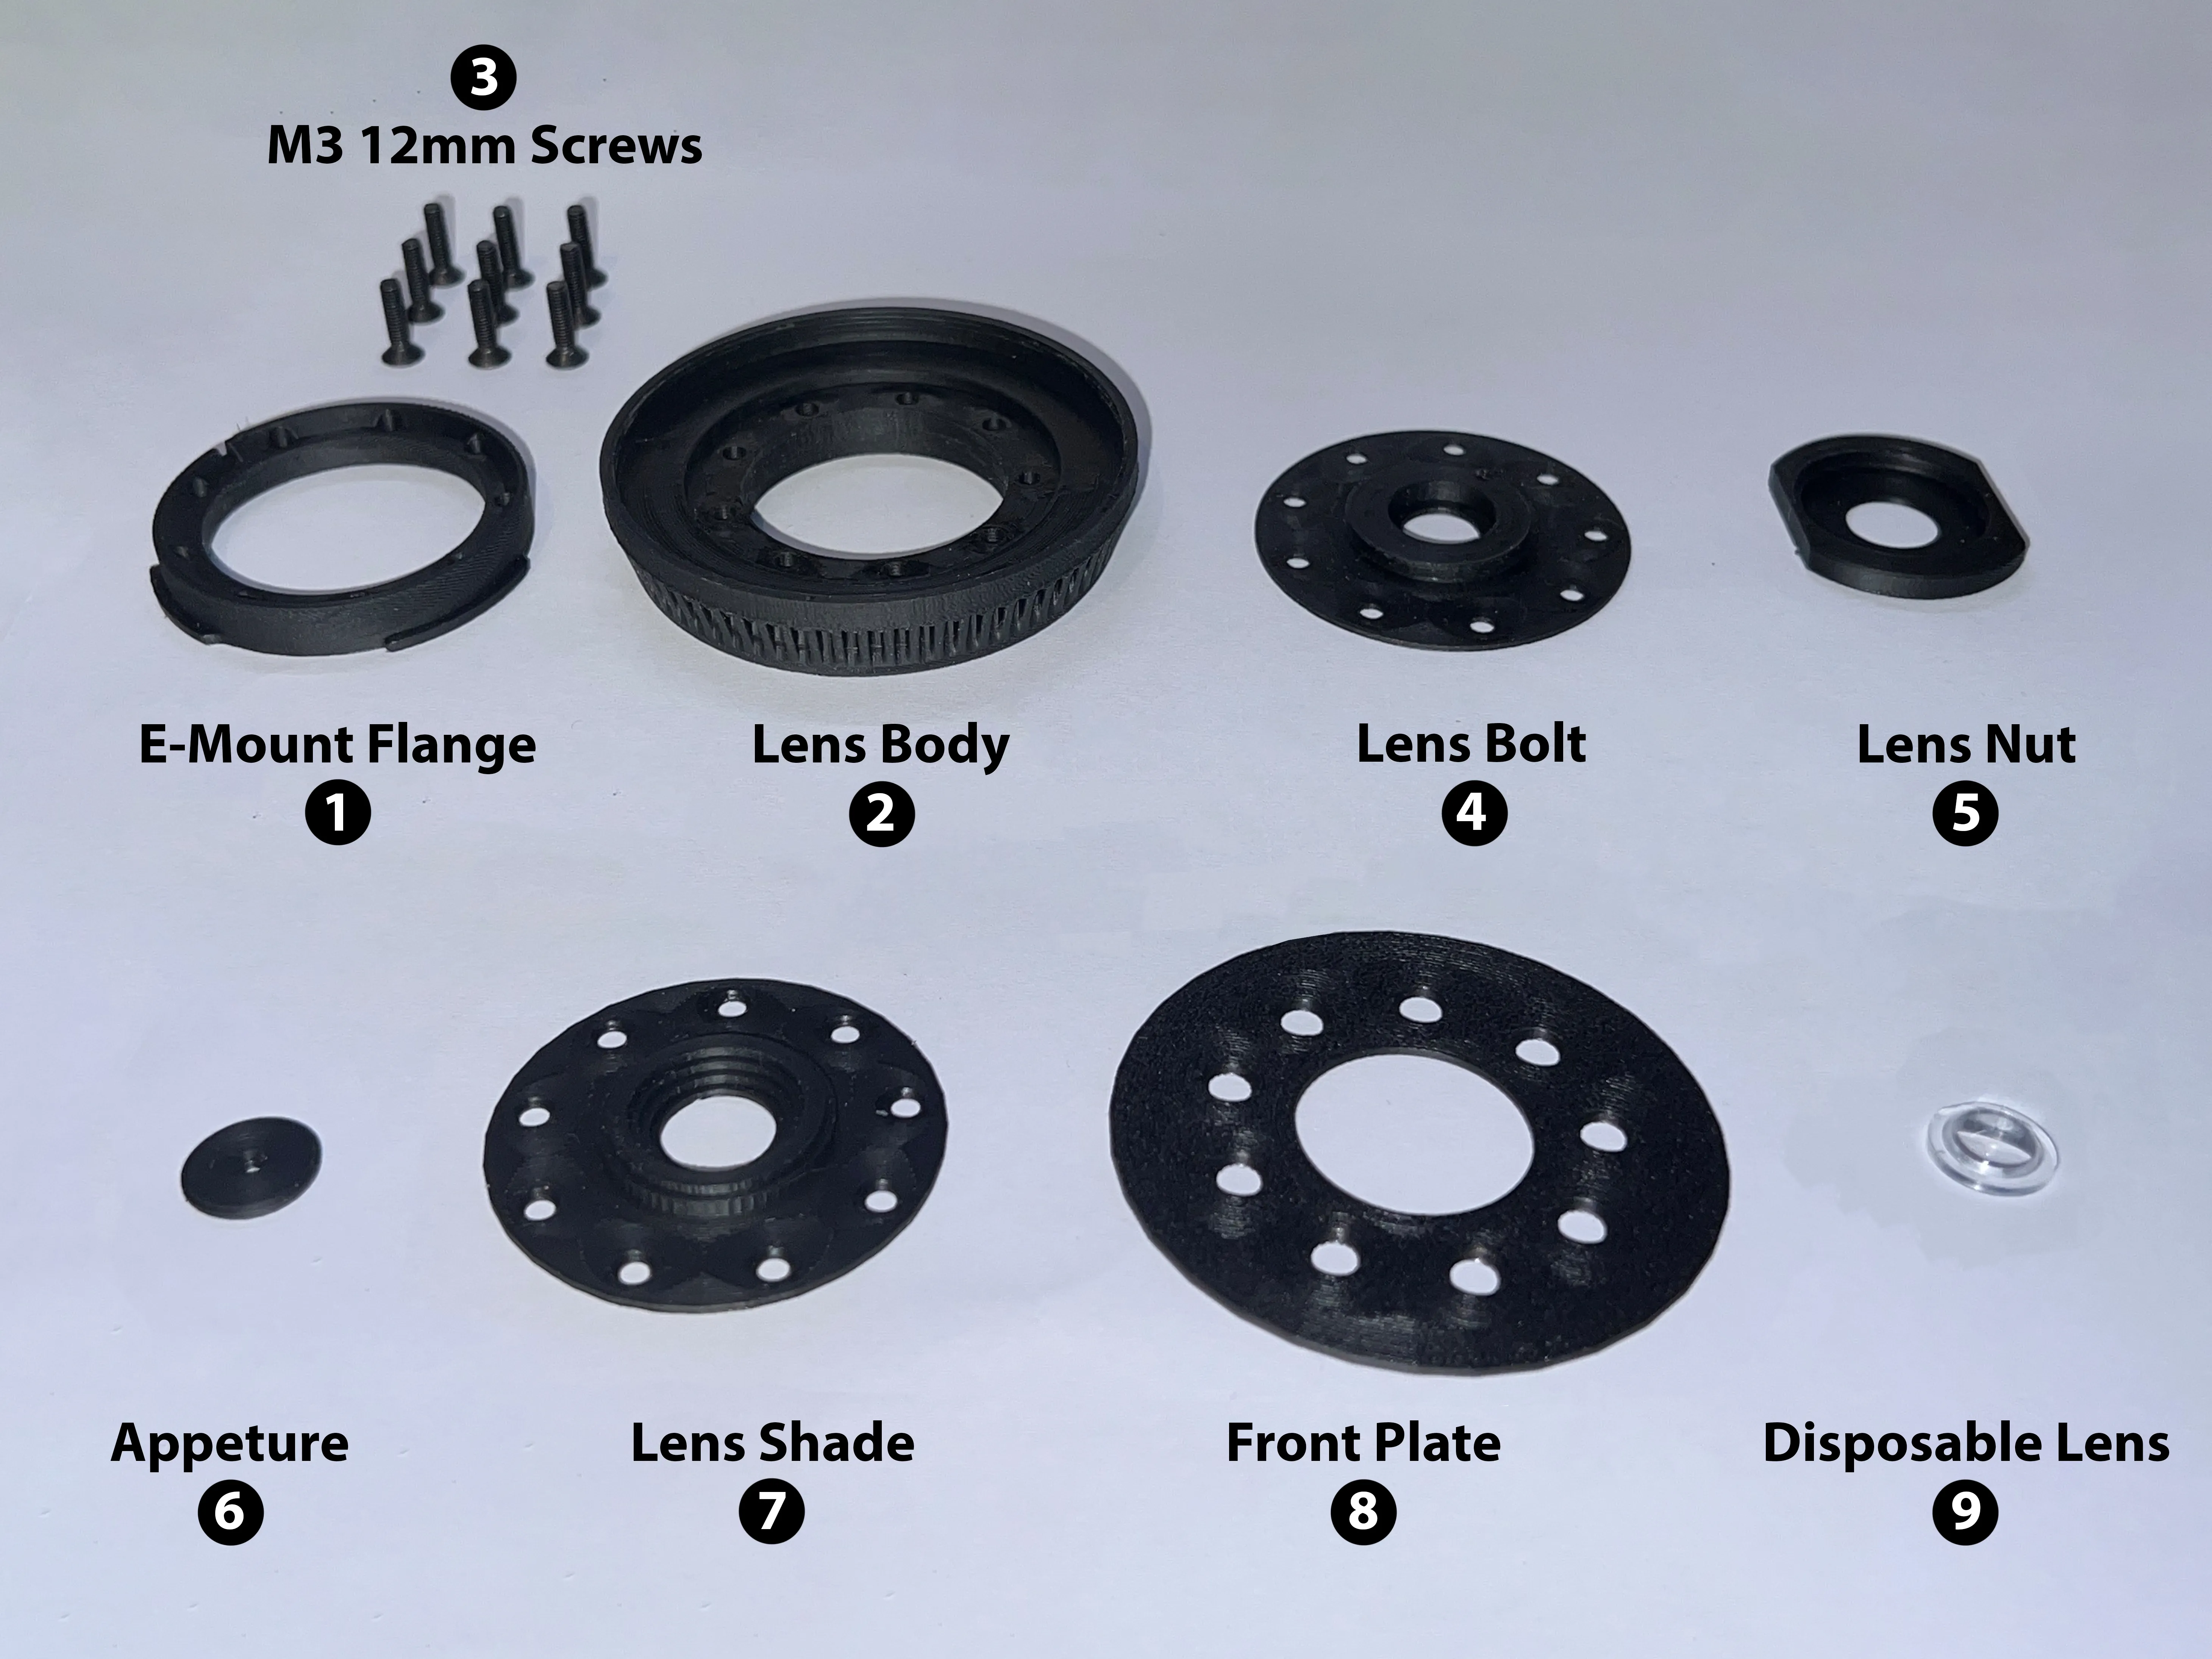
Bill of Materials
Description
UPDATE: V2 Has been uploaded as a print profile for better focus!
This design is enspired by volzotan's design.
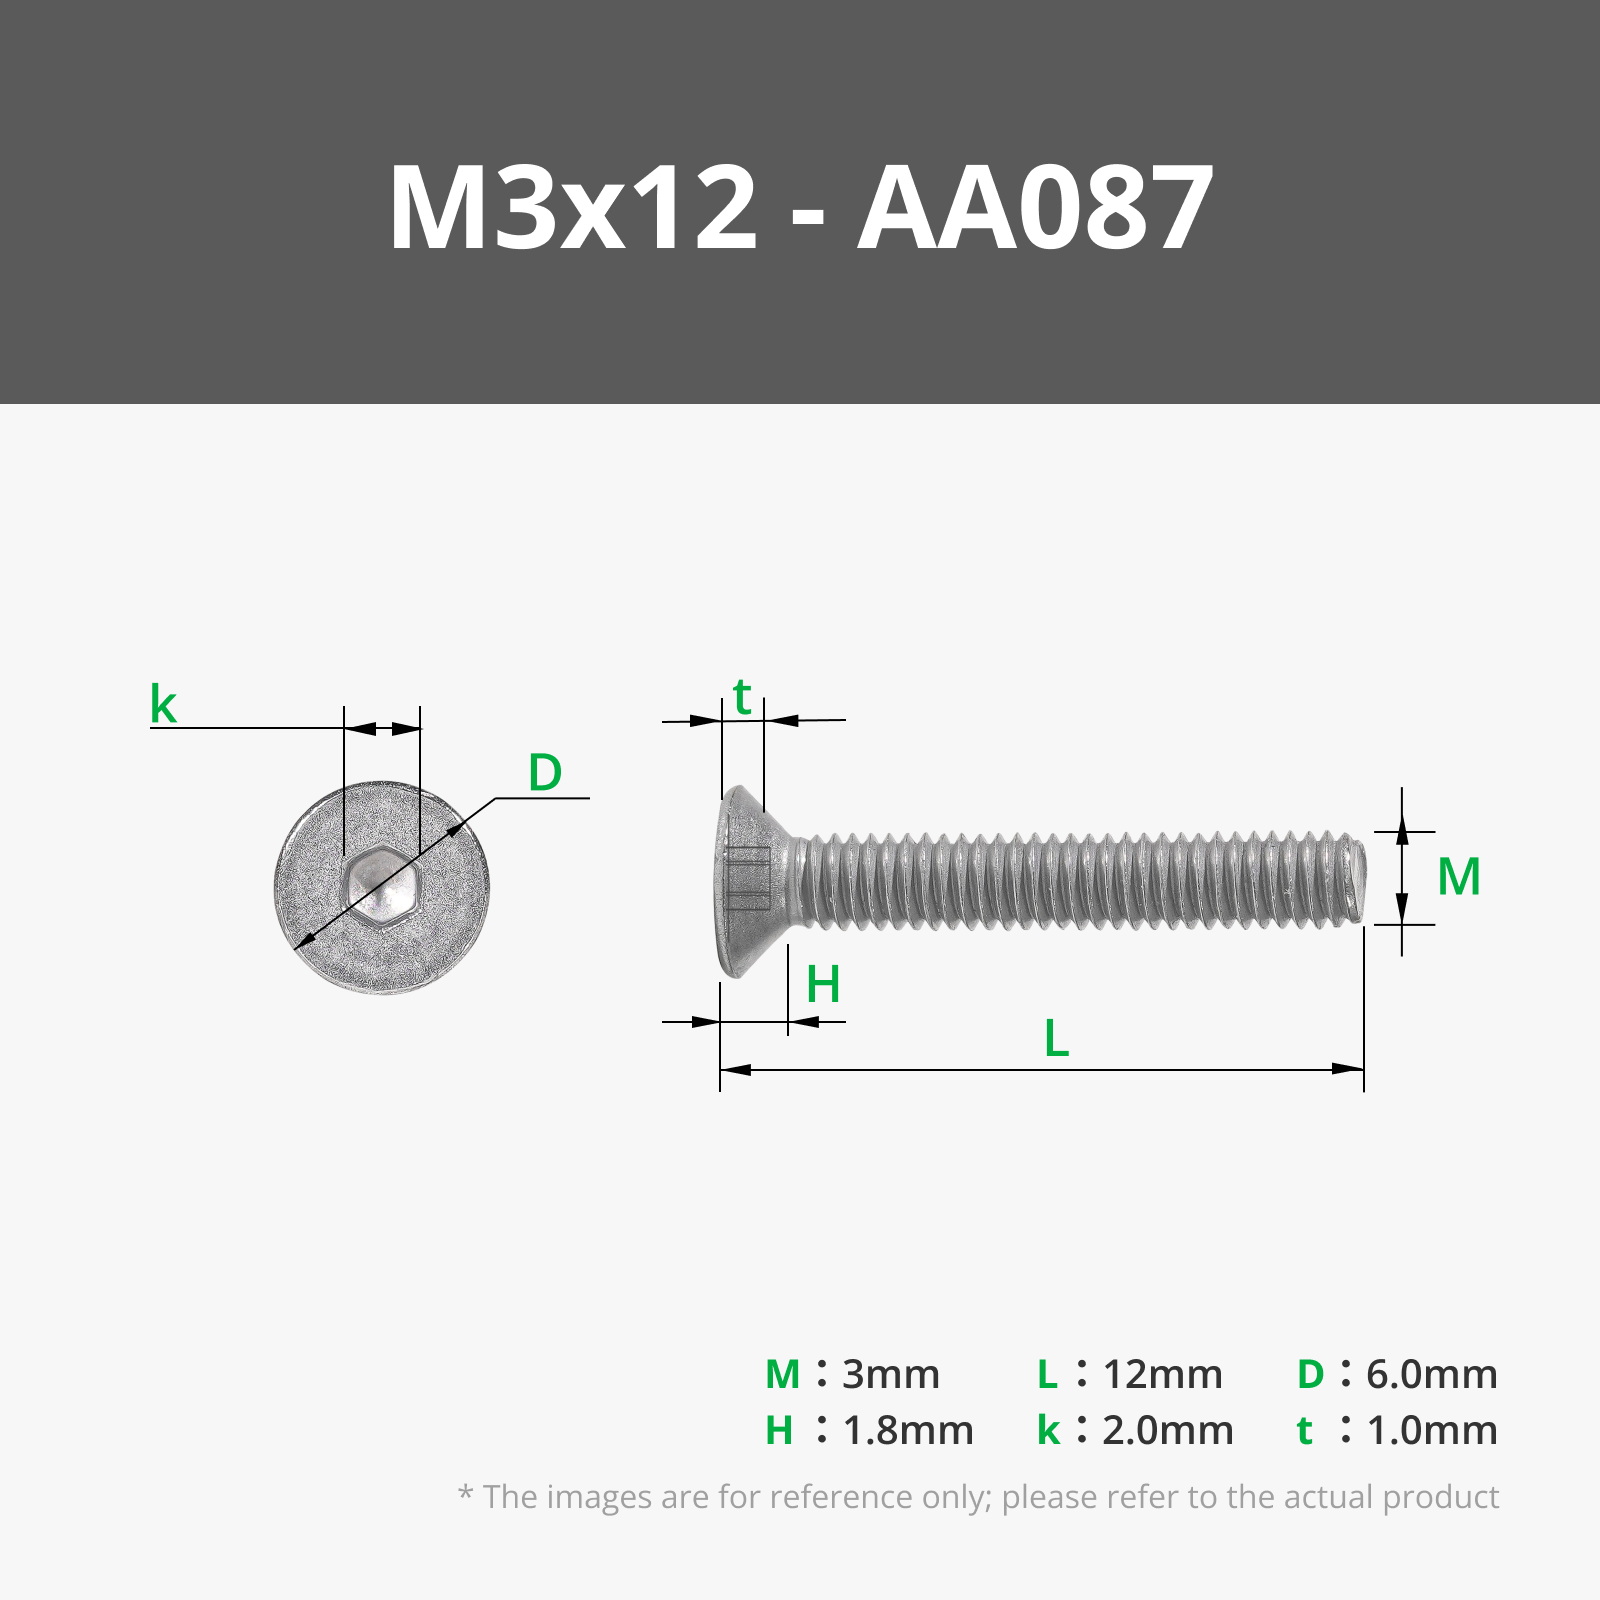
The Lens Bolt, Lens Nut and E-Mount Flange have been kept largly the same to volzotan's desisgn, other than the fact that 9 M3 screws are needed (This was due to availability and a design choice). I highly recommend using screws, as the distance of the lens to the camera sensor is important for a clear image.
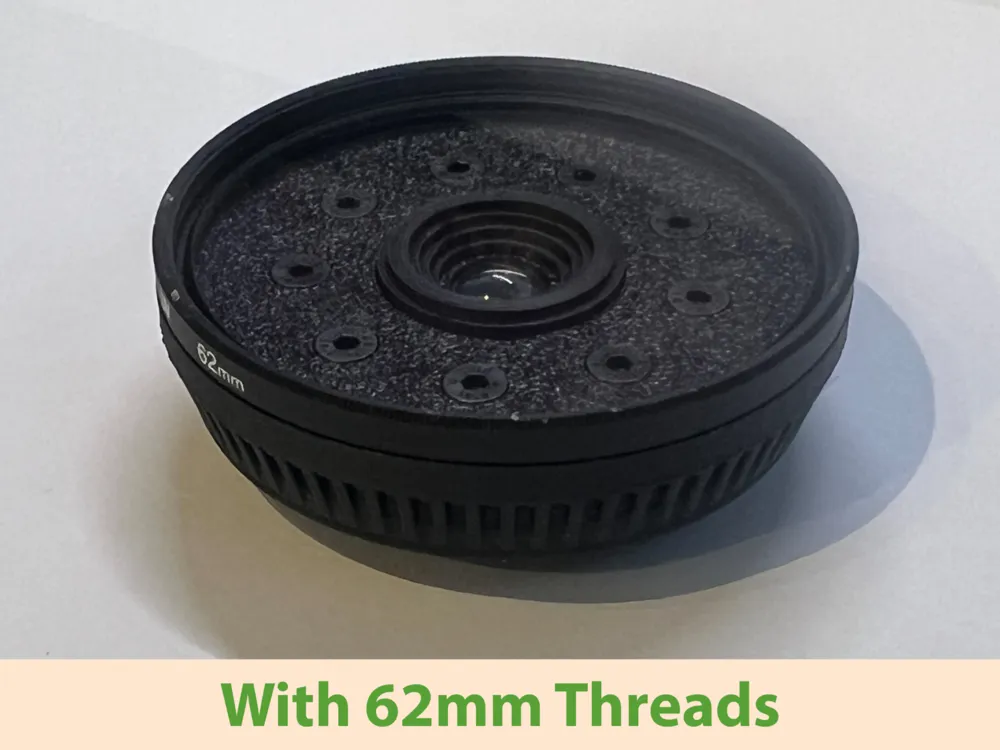
The parts have been designed in such a way, that the texture of your print bed will be put on display, instead of having the typical top surface layer lines.
Currently the lens is designed, so that a 62mm lenscap and even a 62mm filter can be screwed on! (again this was based on what was available to me and I could add other variants depending on requests)
Pre-Sliced ready to print
Part info:
!! Please note the E-mount Flange will print with a brim: this is needed as there is little adhesion area initially !!
Step 1:
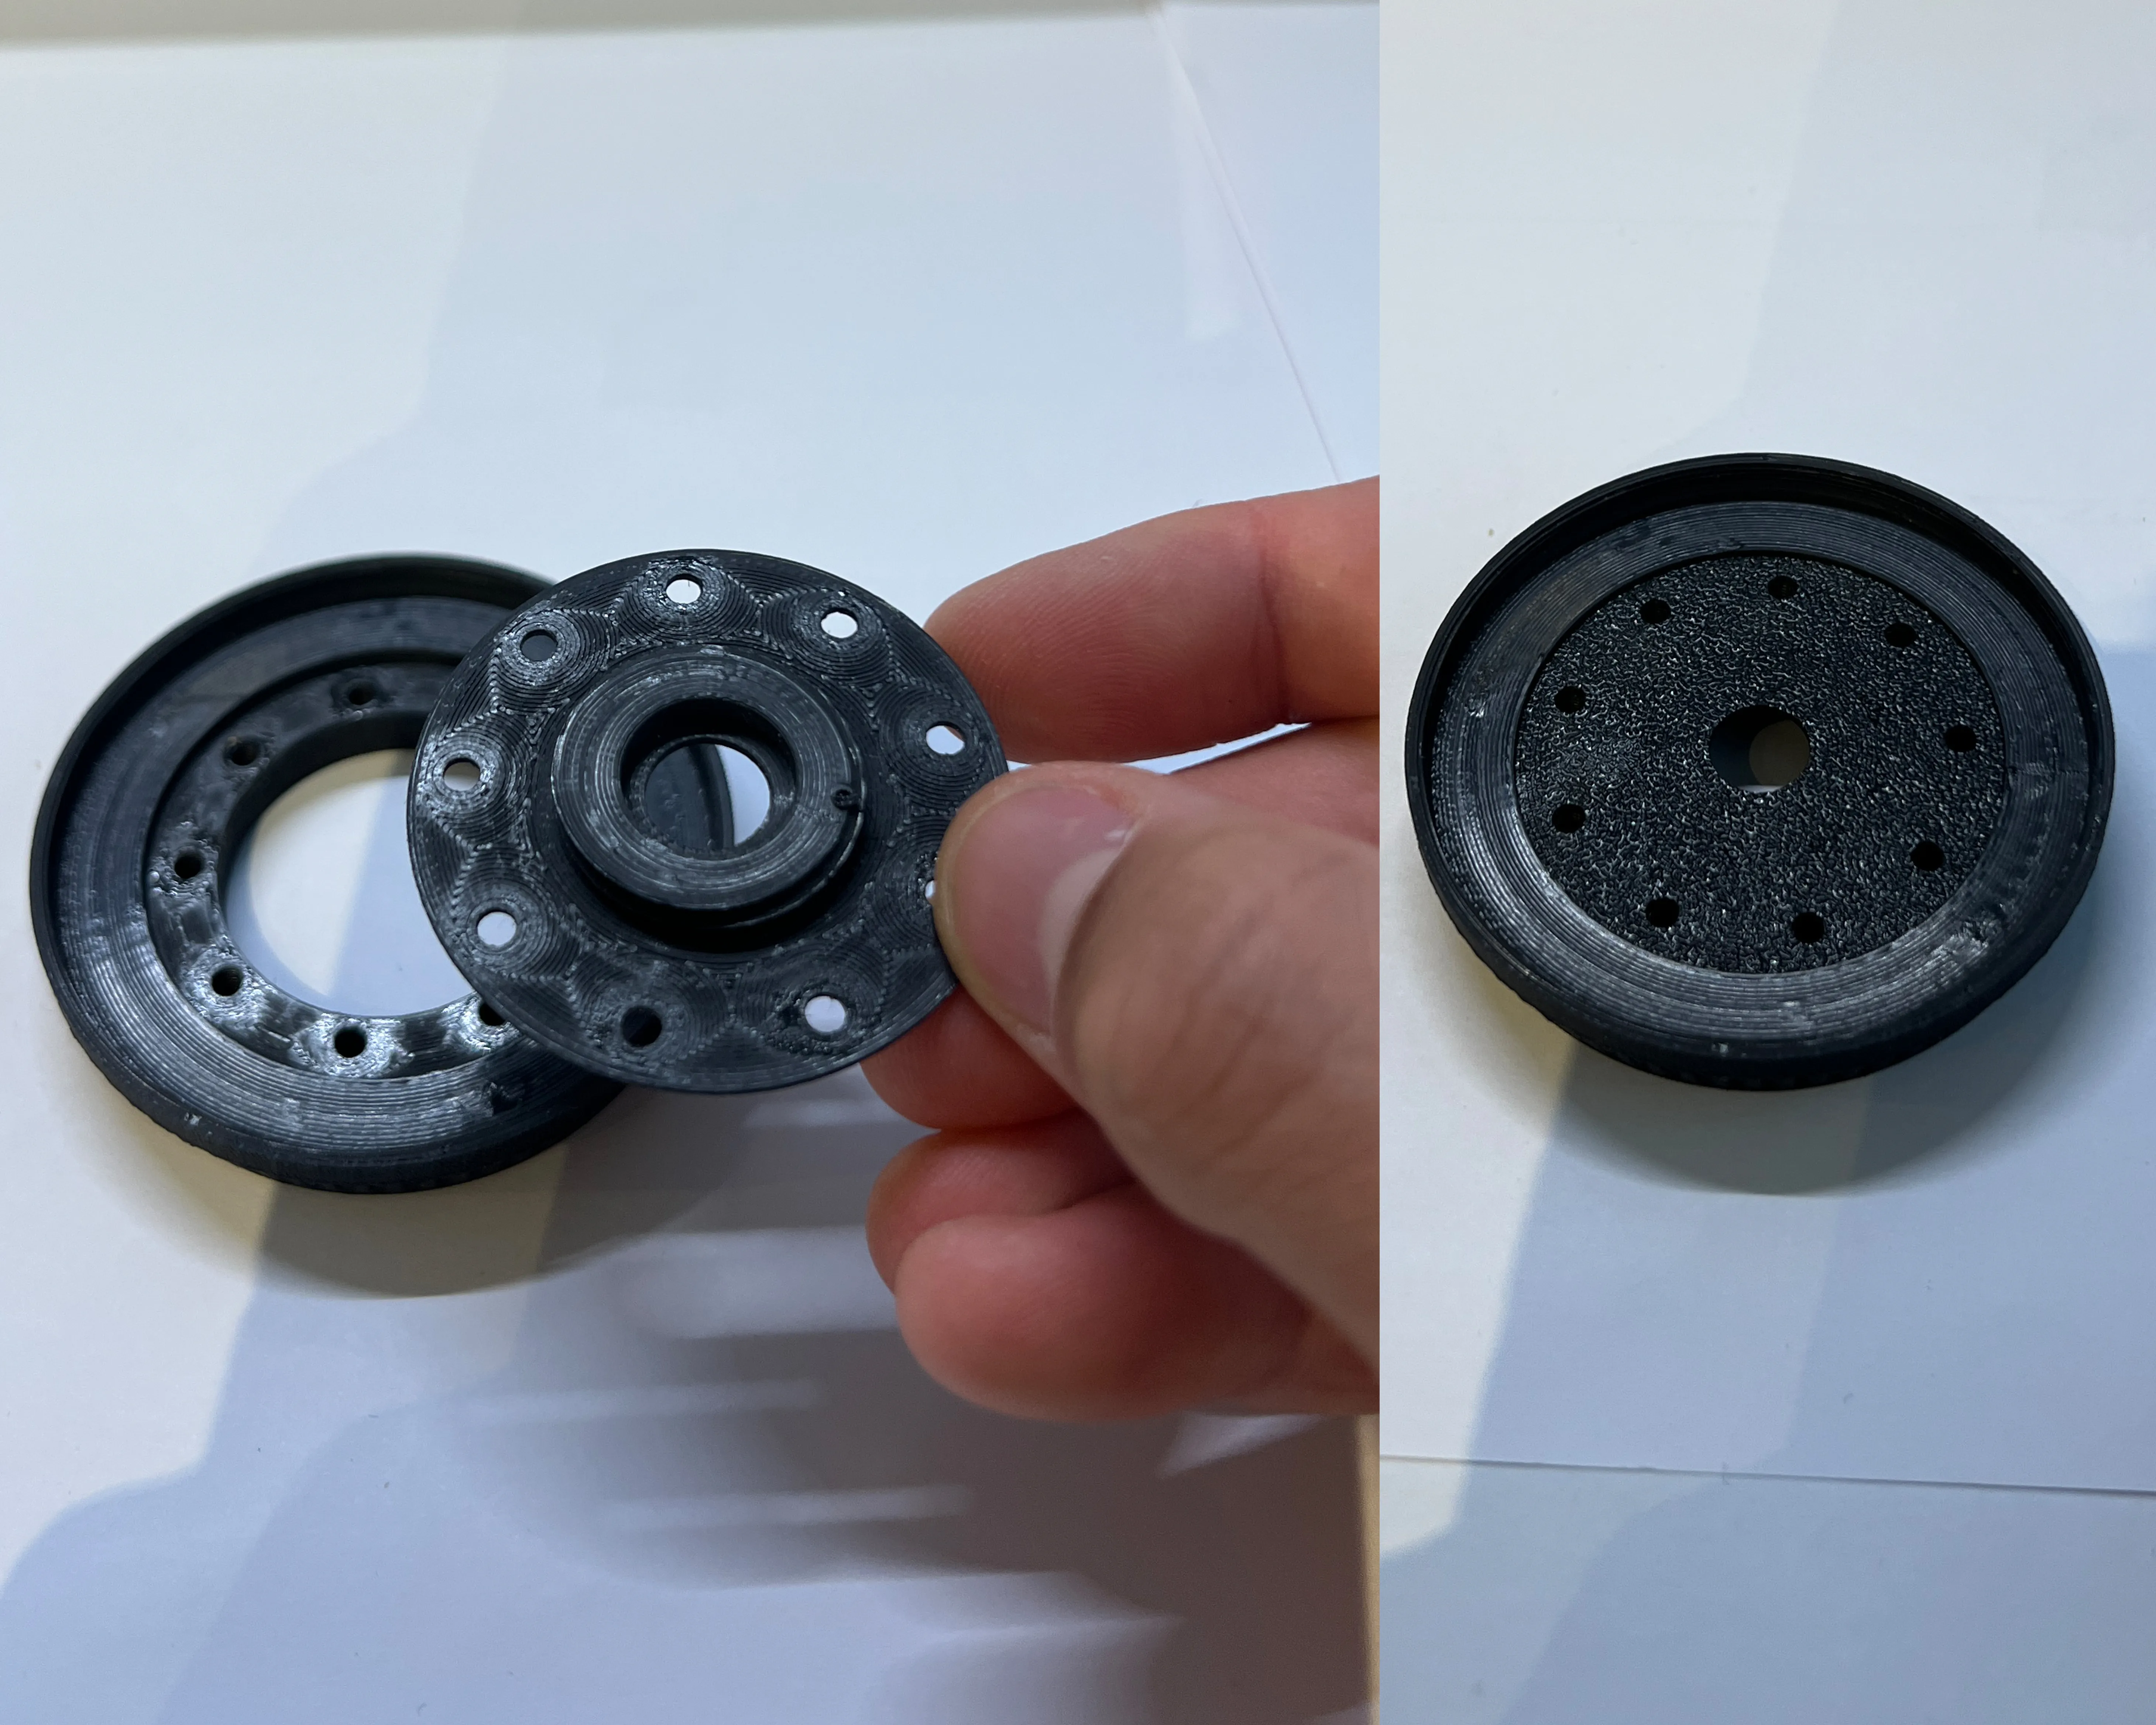
Place the Lens Bolt (4) facing down into the Lens Body (2). The fit should be tight.
Step 2:
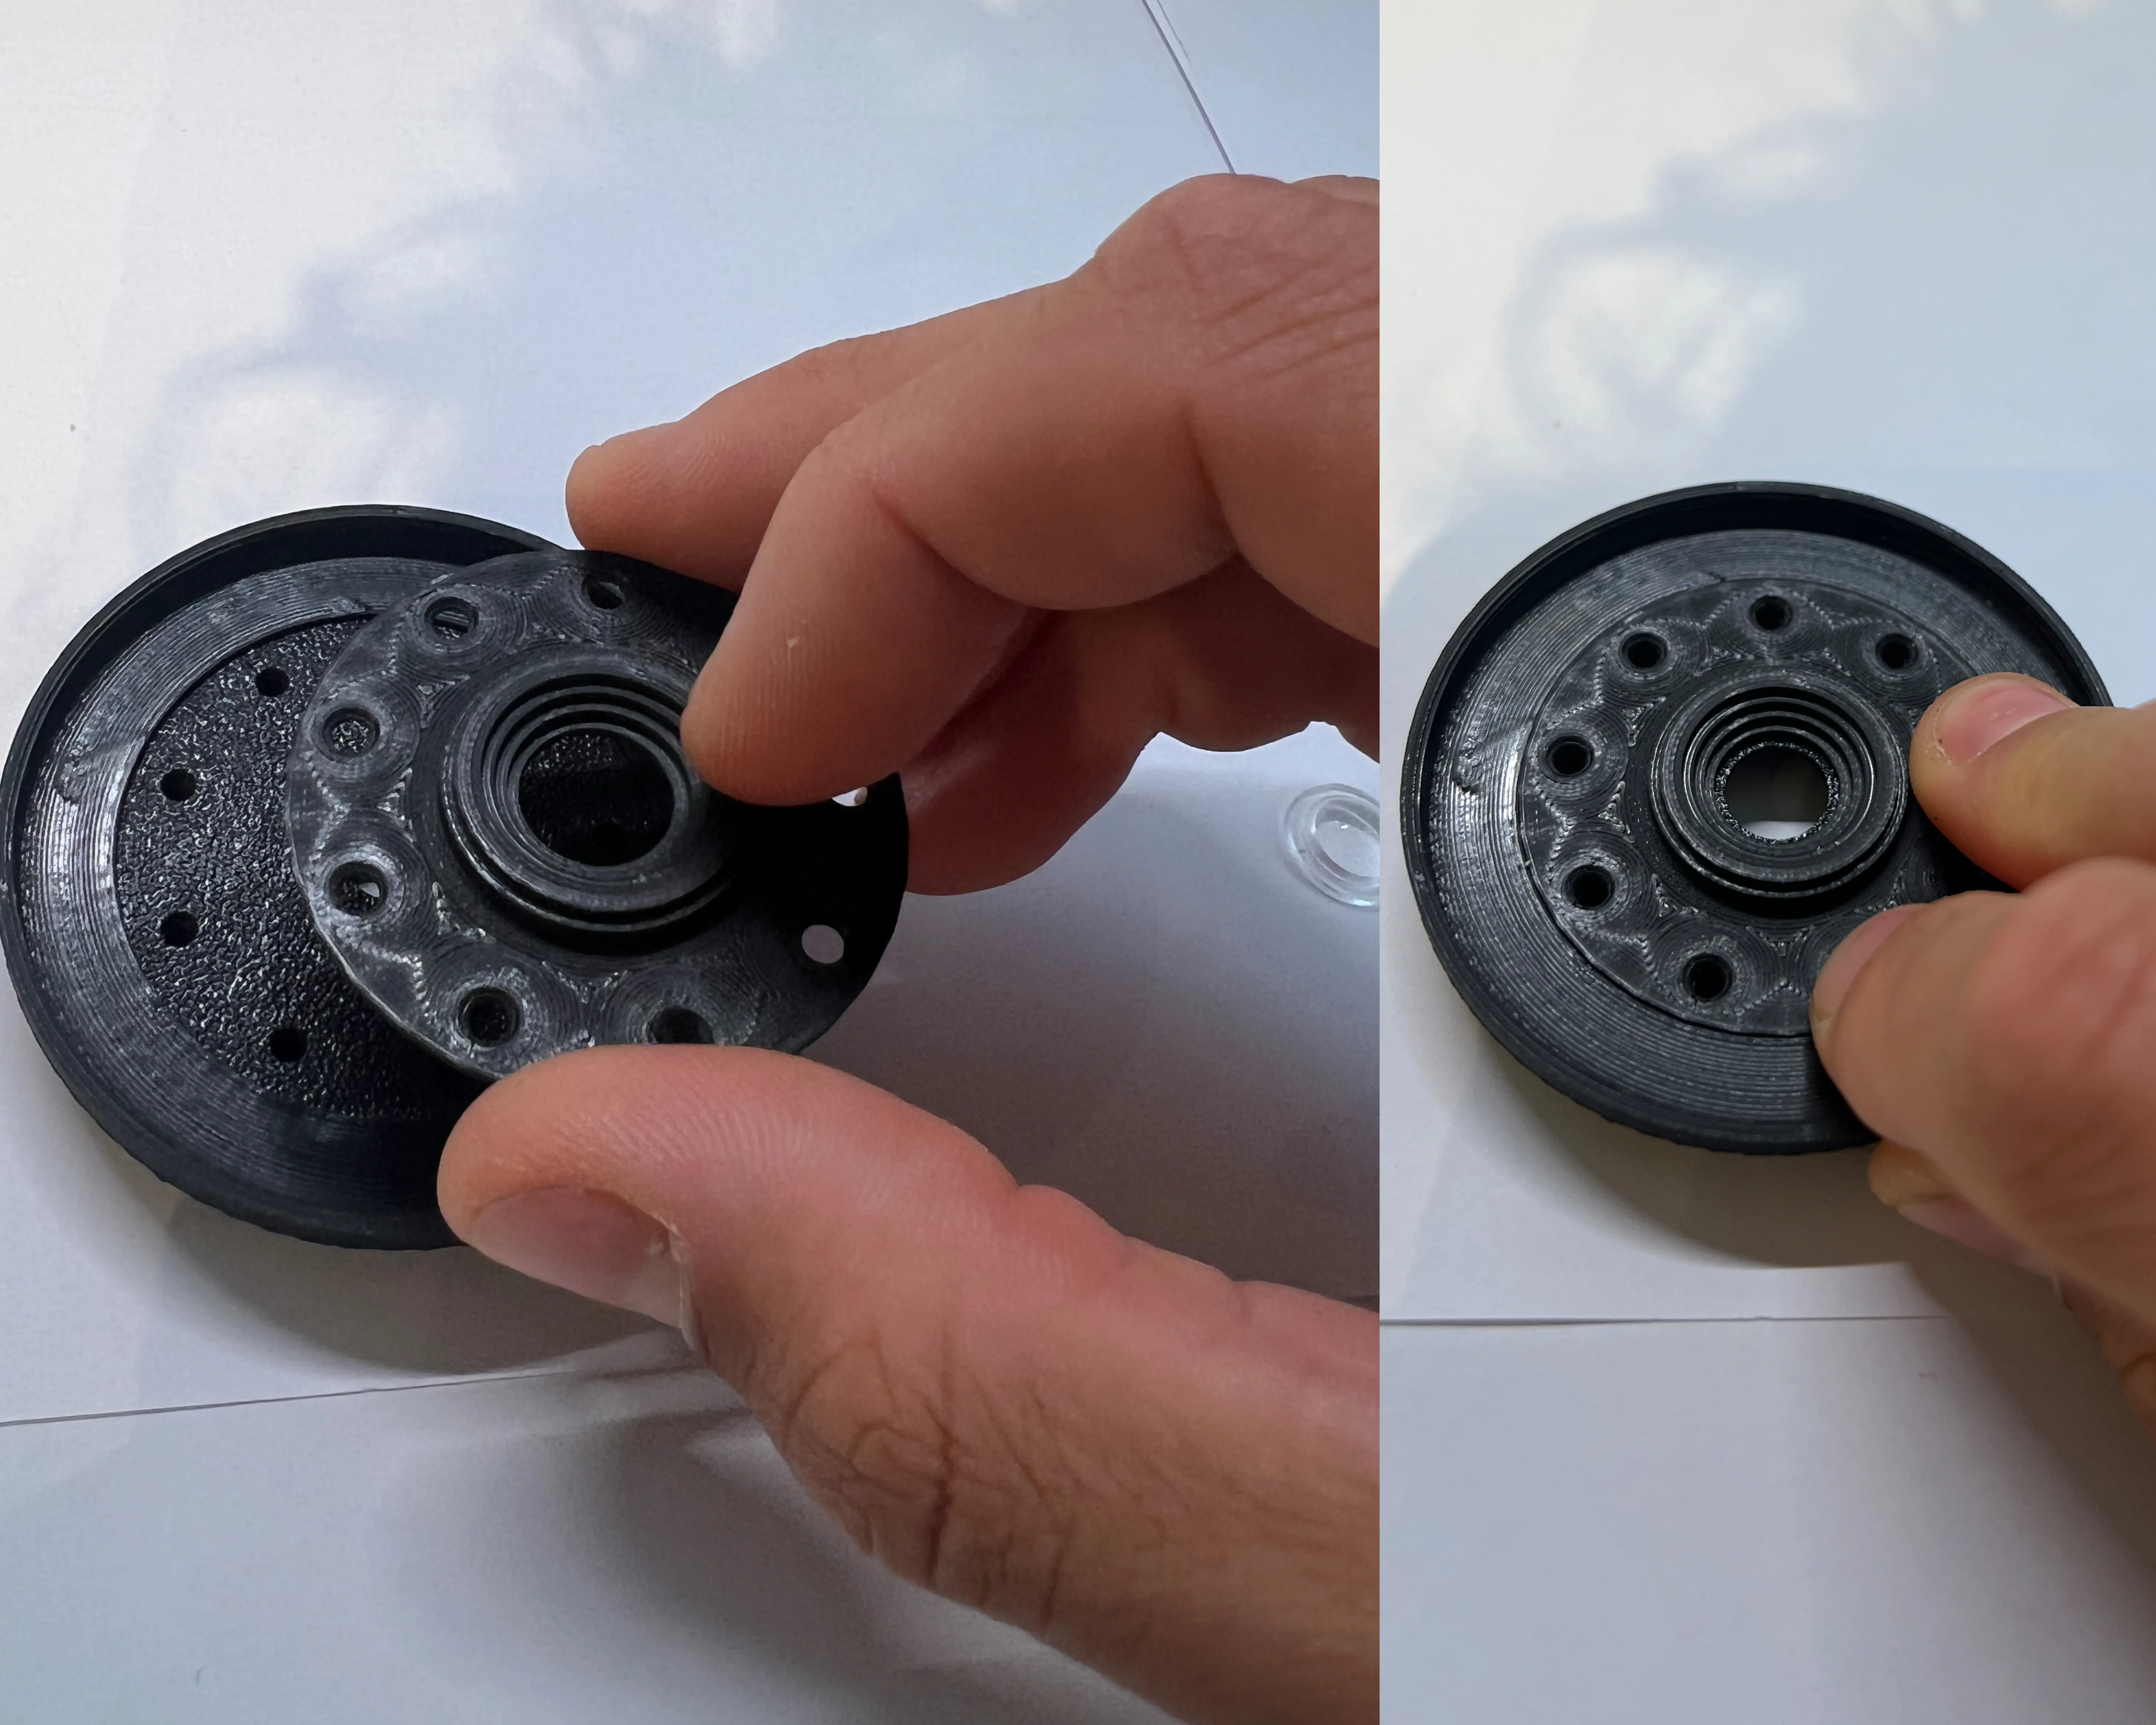
Place the Lens Shade (7) into the Lens Body (2) over the Lens Bolt (4).
Step 3:
In this step, the Front Plate (8) is placed onto the Lens Body (2).
[The Front Plate could be printed in a different colour to add some flair]
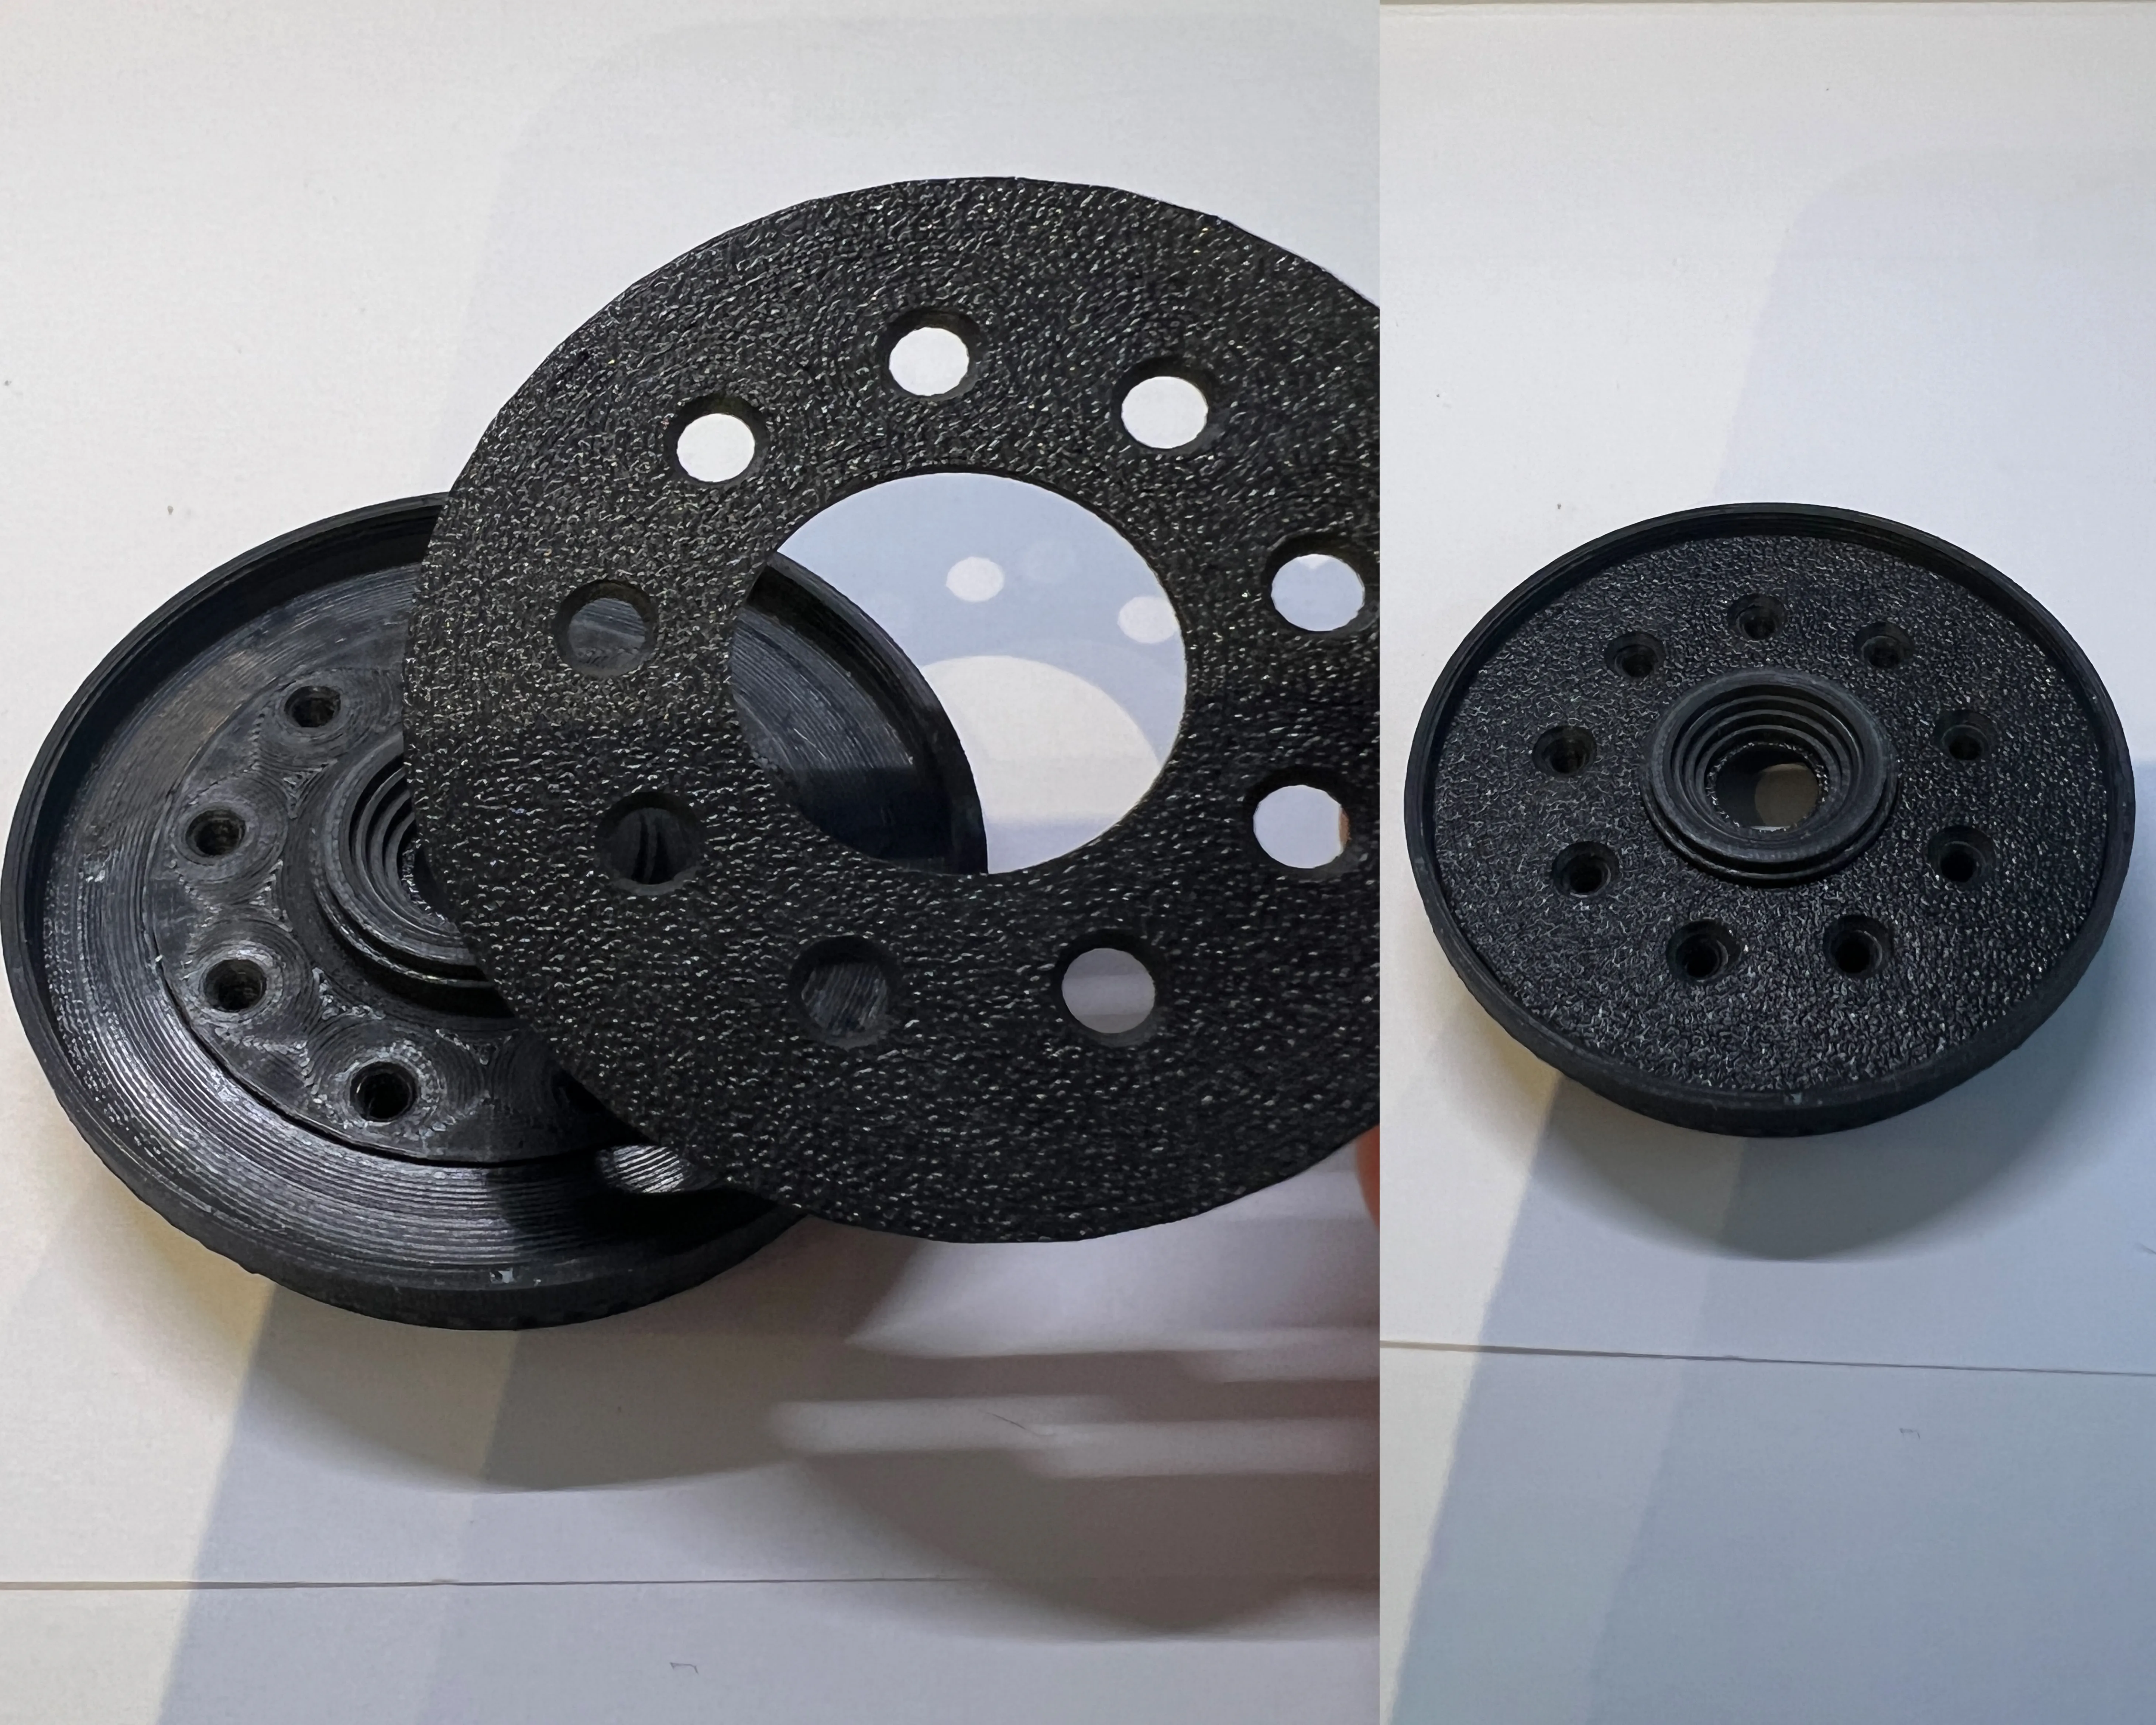
Step 4:
Screw in the Bolts (3) halfway into the Lens Body (2). Afterwards place it onto the E-Mount Flange (1) and screw in the rest of the way.
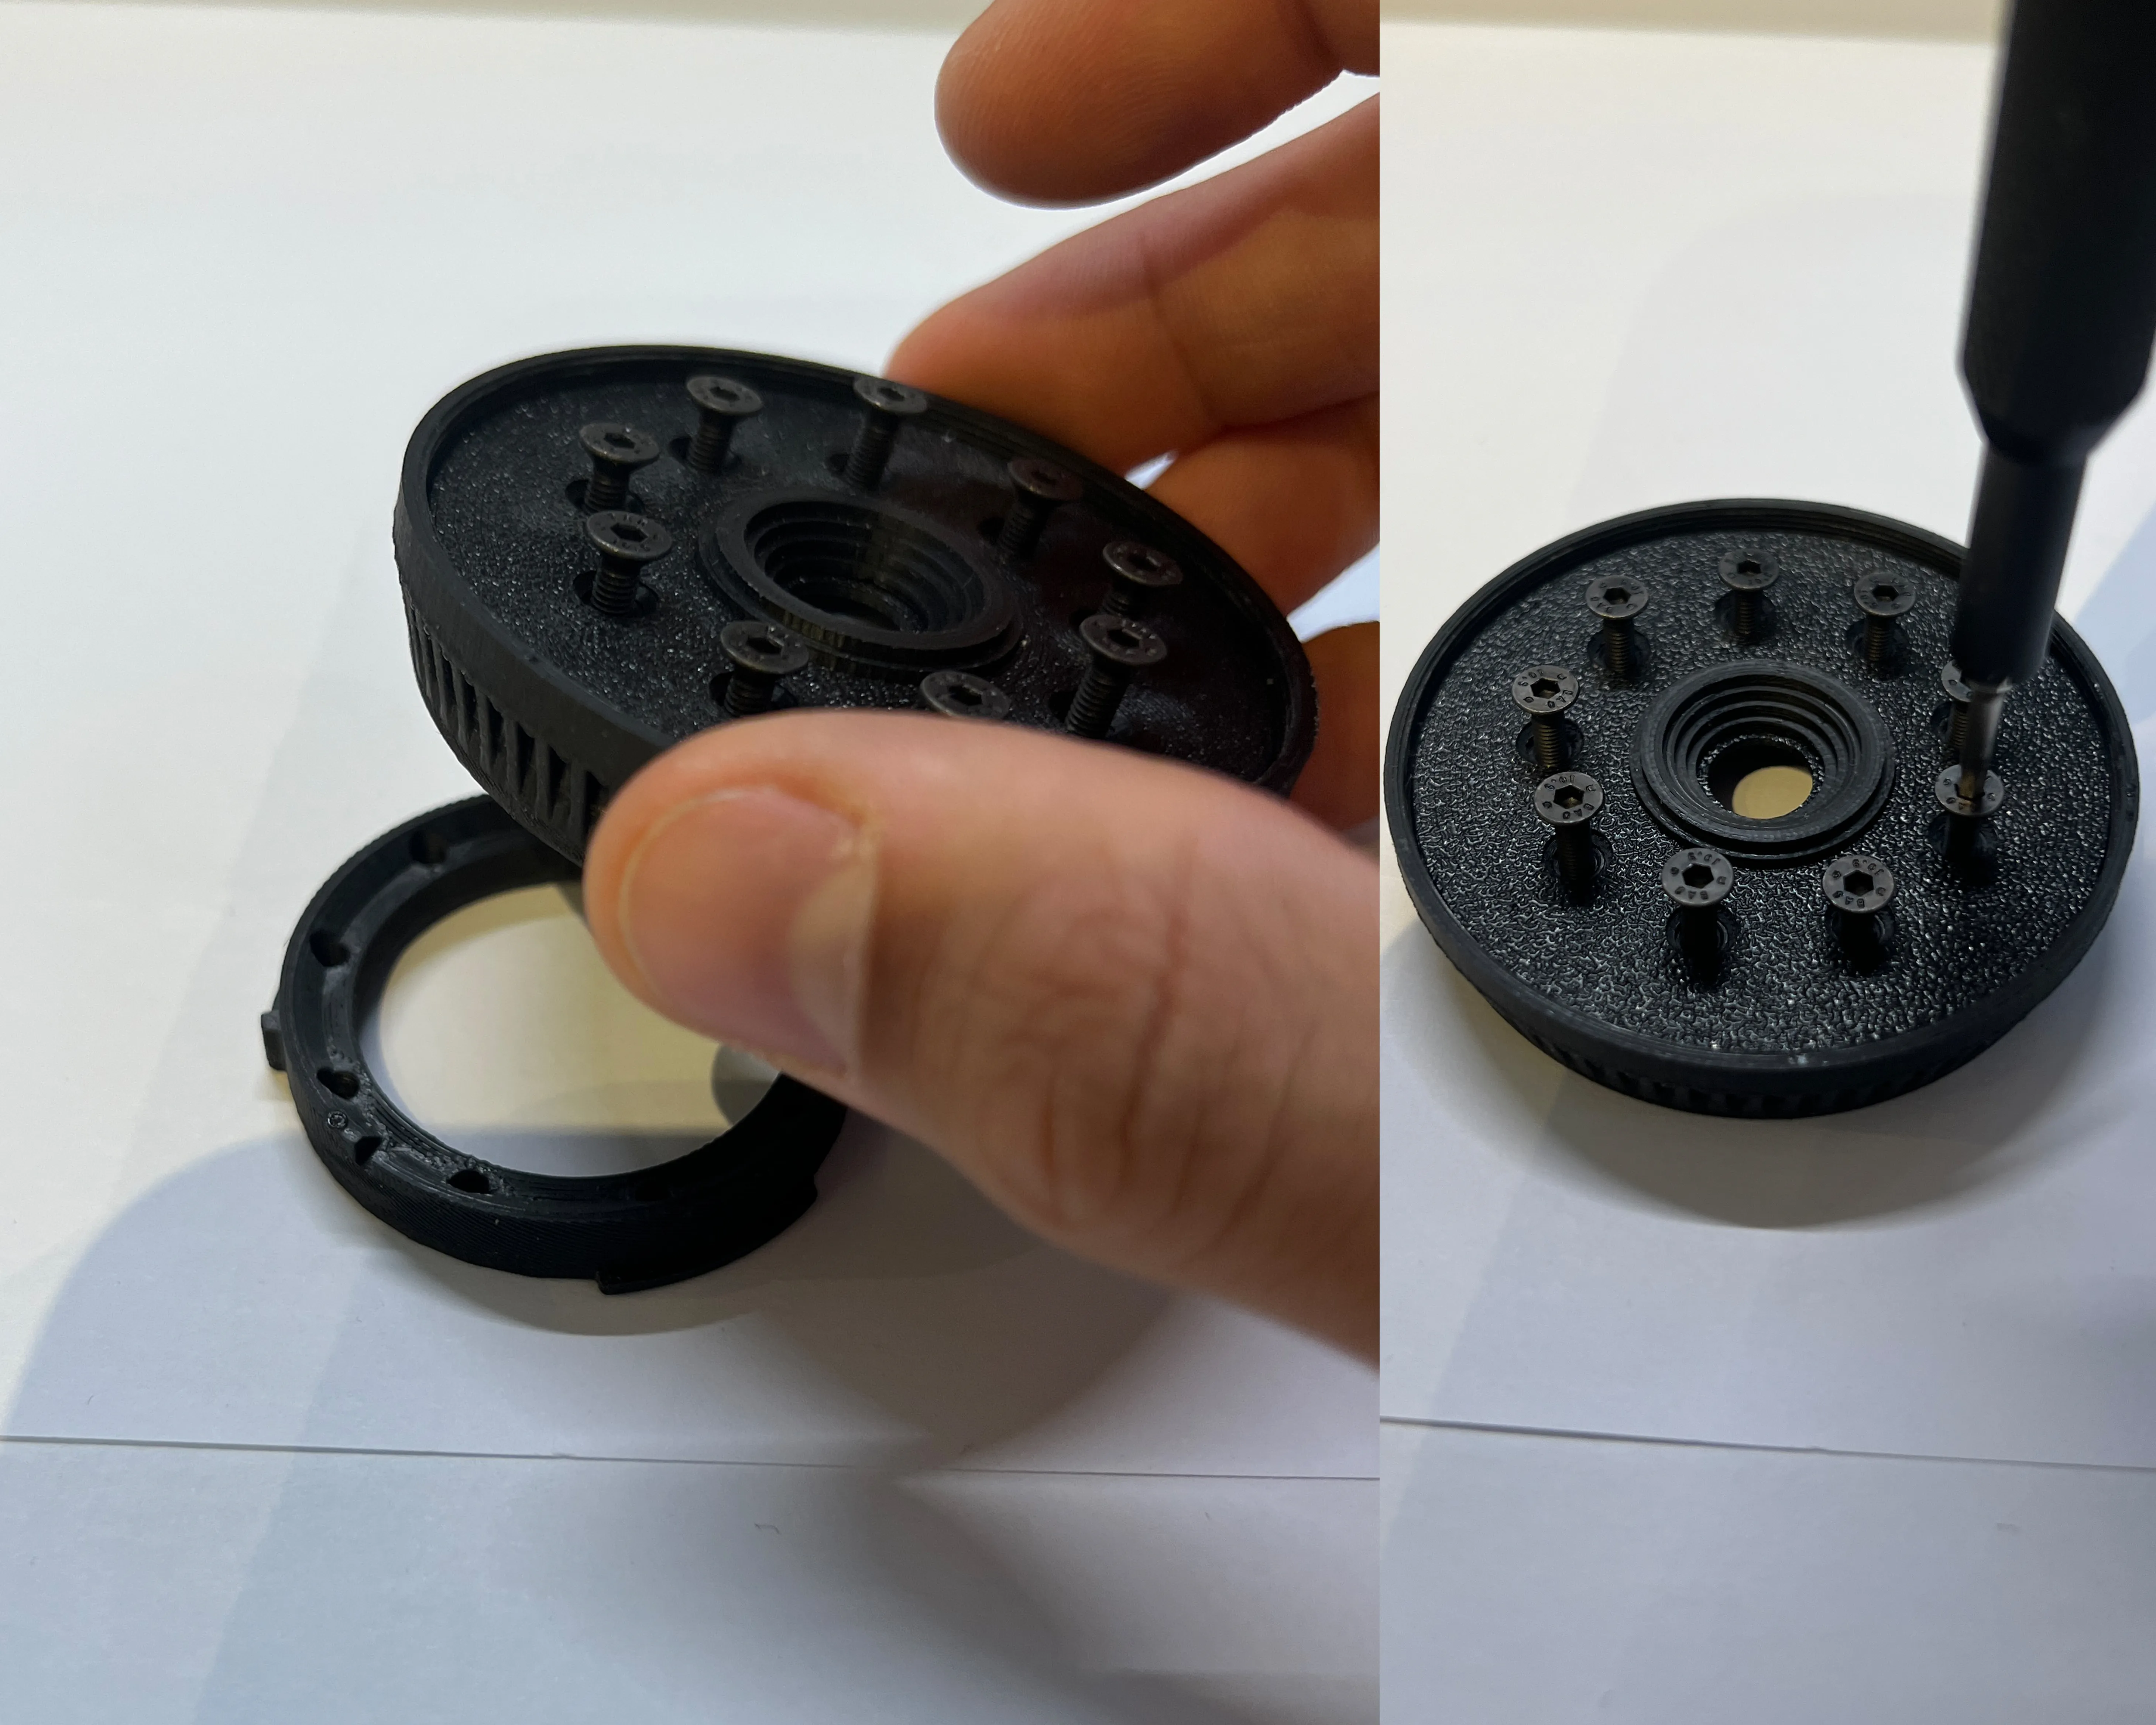
Step 5:
Turn everything around and add the Disposable Lens (9). Add the Appeture (6) and finally screw on the Lens Nut (5)!
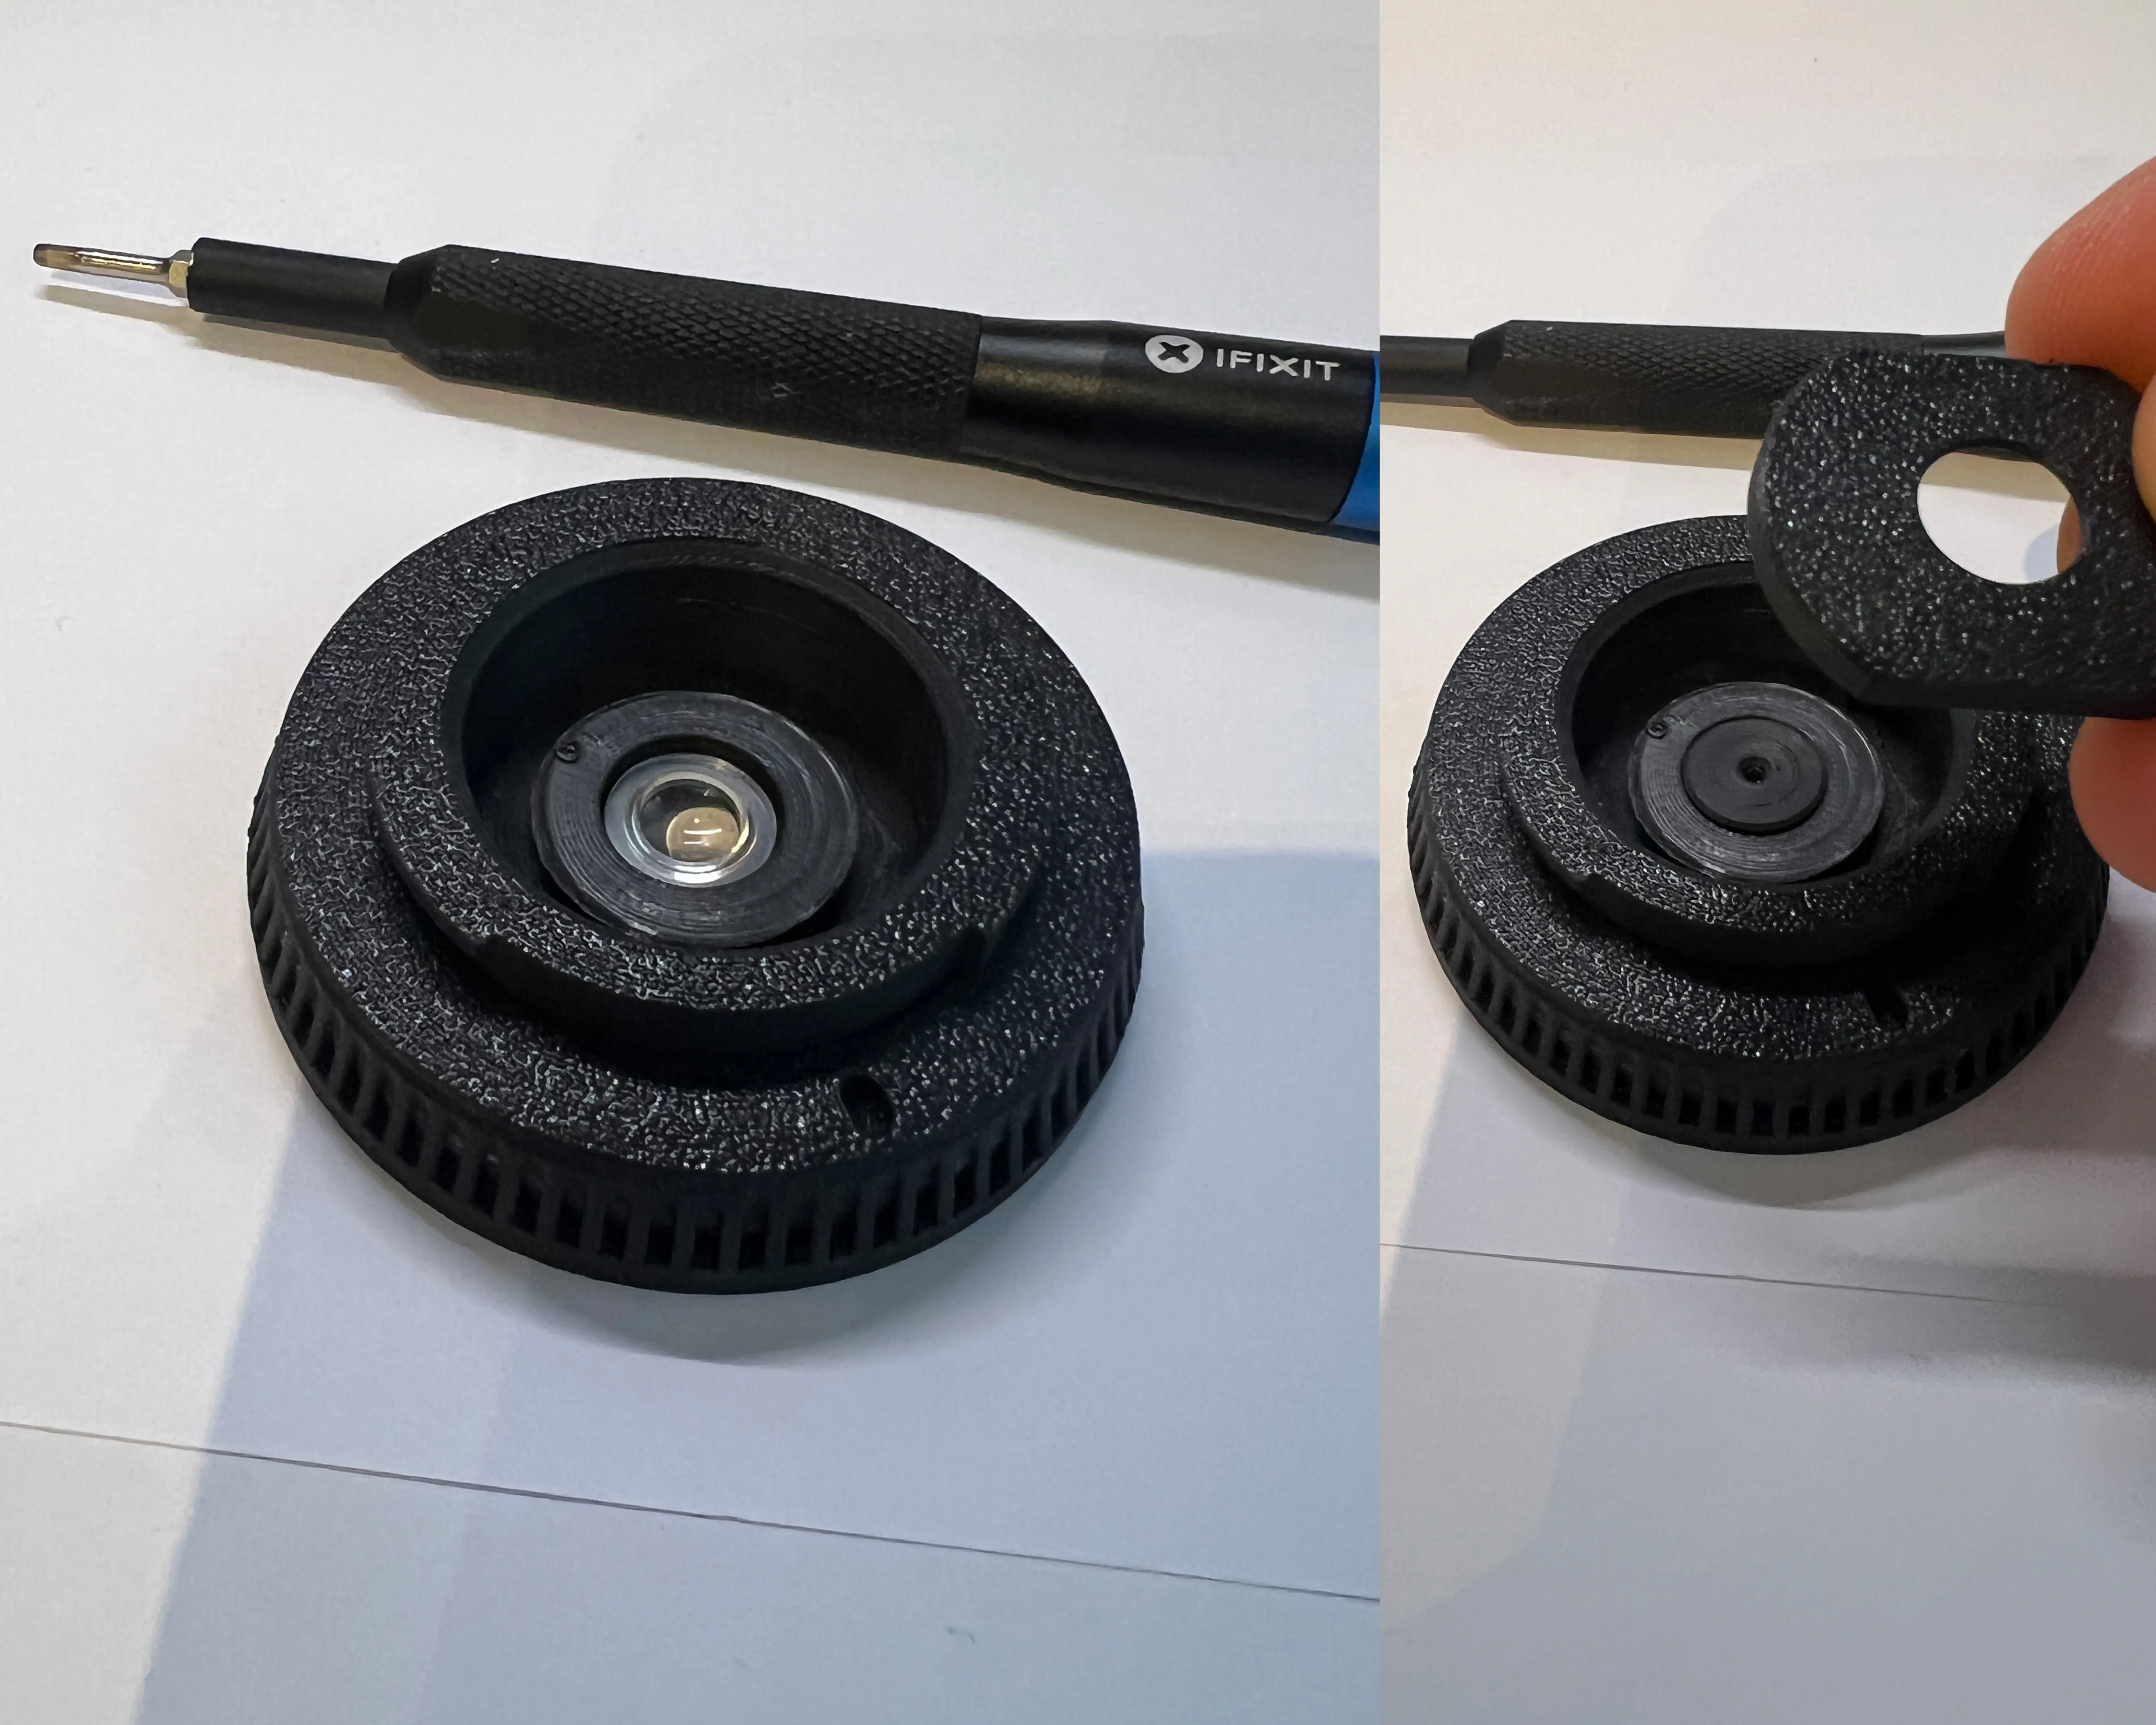
Step 6: Enjoy!
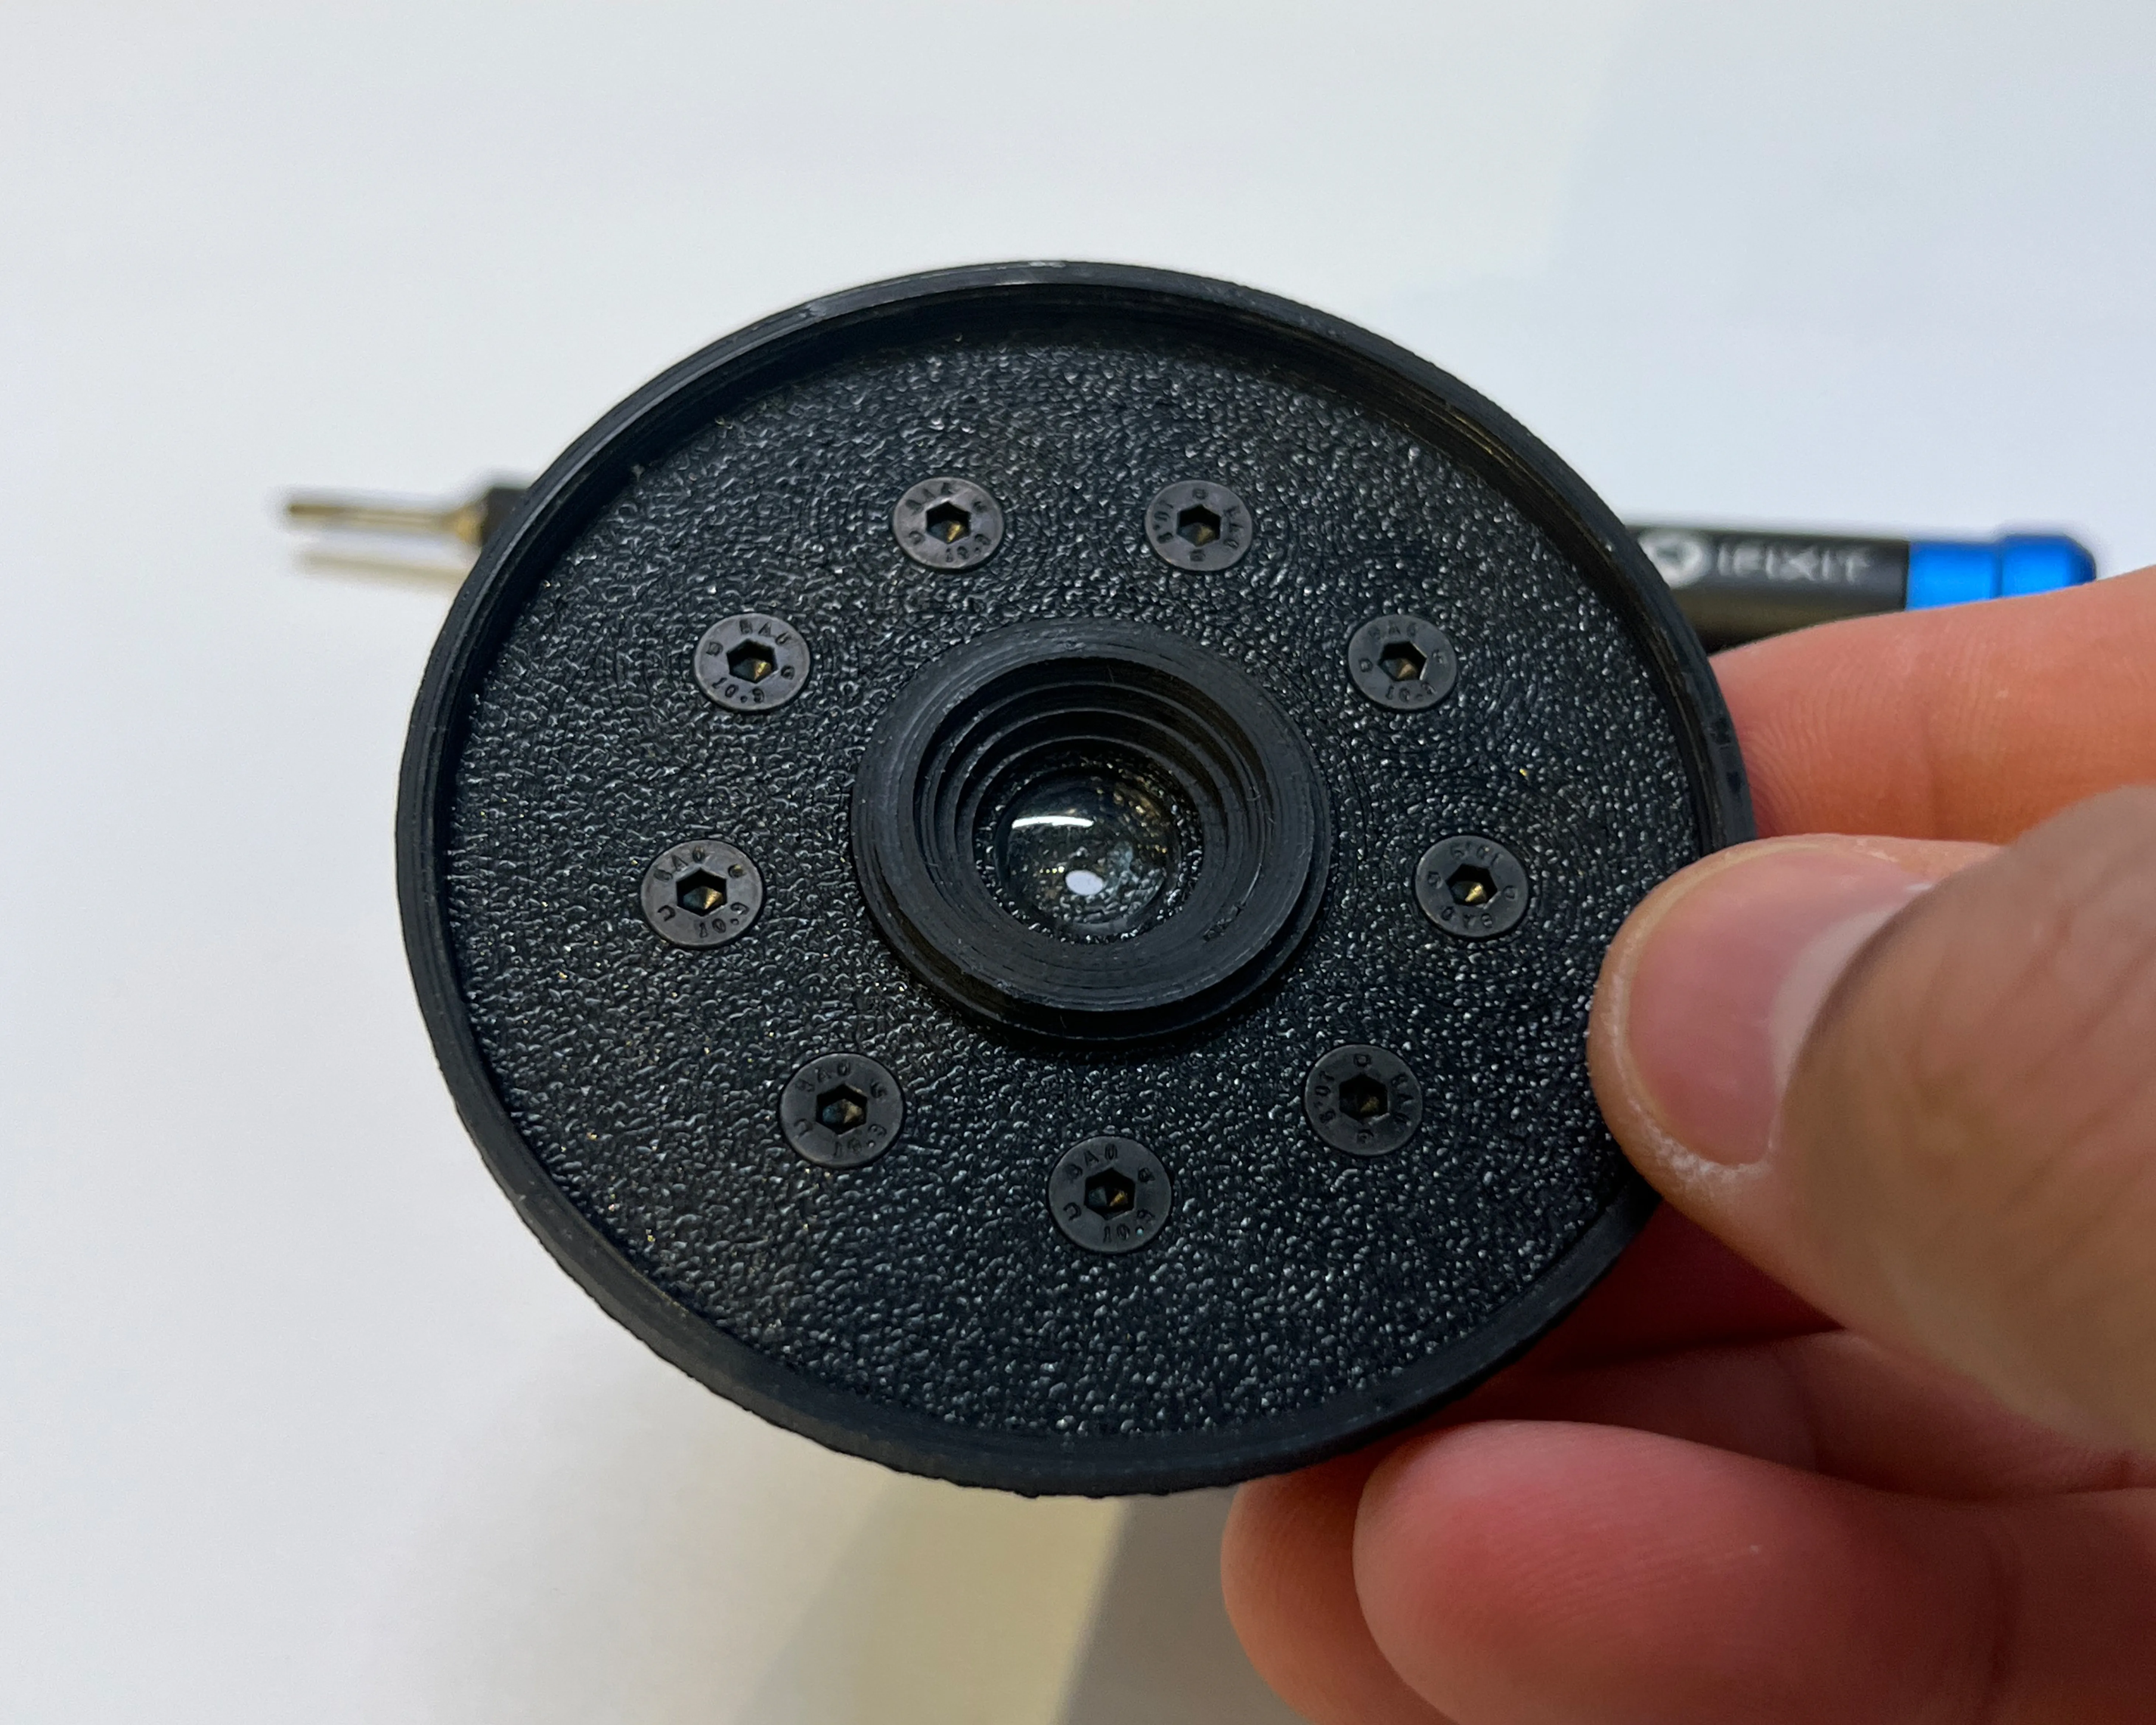
Thank you and enjoy my second Modell!
Boost Me (for free)
If you enjoy this design, your support means the world to me! A rating, a like, or a boost would help make this model more popular and reach other 3D printing enthusiasts.
This remix is based on

License



Comment & Rating (42)