Search models, users, collections, and posts

Youtube Subscriber/Viewers Counter

IP Report
GIF

Print Profile(1)

All
X1 Carbon
H2D Pro
X2D
P1P
P1S
A1 mini
A1
H2C
H2S
P2S
H2D
X1
X1E
A2L

Youtube Subscriber/Viewers Counter - Full
Designer
16.5 h
6 plates
5.0(2)

Open in Bambu Studio
Boost
62
138
28
9
45
20
Released 

Description

Welcome!
 

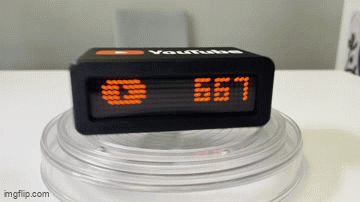
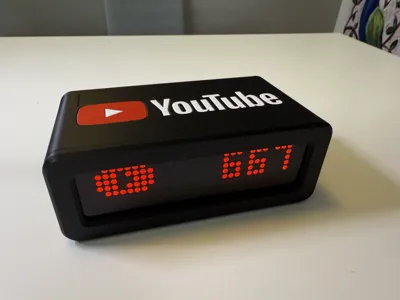
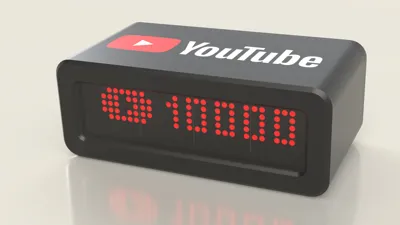
This is our first YouTube project ever! if you want to have a cool small desk gadget that shows your subscriber amount and changes live! this project is for you.

The YouTube Subscriber/Viewers Counter uses the Google API to access the public data, will update every 10 seconds for the subscriber counter, and the viewer counter updates once every 24 hours ( due to the YouTube API issue). 

What will you need for this project? (includes affiliate links).

Electronics:

ESP32 Dev Board - Link
MAX7219 Dot Matrix - Link

Hardware:

M3 Thread Inserts - Link
M3X8 Screws - Link
Acrylic - Link
6x3 Magnets - Link

For The Battery (wireless) Version:

Battery - Link
BMS - Link
On/Off Switch - Link

Printed Parts:

1x Main Body - Single-color.
1x Main Body - Multi-color.
1x Magnetic Front.
1x Back with Switch hole - For battery version.
1x Back - Regular version.
1x Acrylic Template.

Code:

Makerworld (and Bambu Labs) does not allow adding code files (ino) to the project anymore. GG BAMBU LAB - Link for code here


Added Zip file, includes 3 files, you will need Arduino IDE to install it.
You will also need a Google API Key and YouTube Channel ID, make sure to check the video for the step-by-step instructions.  (Credit for the Original code made by ReadyFreddy on GitHub. I modified his code for my project).
 

I added 2 different wire diagrams for the two versions, one with the battery and one without.

Assembly Instructions:


Hope you enjoy this project! if you make one please share it with us :D


Comment & Rating (28)

(0/1000)

Boosted
The opening for the MAX7219 is too small. It is set to 128.4mm while the display you linked is 132mm.
The designer has replied
0
Reply
The opening is just perfect as it should be, please check the video for the assembly or print the part and test it :)
0
Reply
Boosted
Replying to @Printing_Pilot :
I'm guessing my board has different tolerances with the distance between the panels. Even bending the circuit board I can't get it to fit in. It's almost an entire column that's covered. I scaled the X axis to 103.11% and printed only the screen section to test fit before I started a whole new body (printing now), then I'll scale the rest the same. I'll post the finished project once it's done
0
Reply
Replying to @baizej :
How did this turn out? I'm curious it it would make the magnet holes turn oval.
0
Reply
can this be used for facebook page follower counter?
The designer has replied
0
Reply
yes. you just need to write the automation for it.
0
Reply
Replying to @Printing_Pilot :
you made that sound easy haha ill have a google around haha
0
Reply
Replying to @FKCreations :
well look at the Instagram automation I've made. It will probably be the same with just changing minimal stuff
0
Reply
I have around 960k subs, I would like to use this as a counter for my 1M subs milestone. But I guess the screen isnt big enough to show changes in digits. Is there any work around? just give me a general direction and I will figure the rest out.
The designer has replied
0
Reply
to be specific I want the display to show, 961250 instead of 961.2K just so that I can see the changes precisely.
0
Reply
what does it show, you can chage the format from 1,000,000 to 1M
0
Reply
Hello how high can it go as I already have 3M views and 1.5K subscribers
Show original
1
Reply
I have just done the electronic side of things your tutorial is excellent and easy to follow for a complete beginner if I was to go to a bigger LCD screen instead of the dot matrix would I need to change the code
0
Reply
did you change the code?
0
Reply
Do you make one for tracking TikTok '?
The designer has replied
0
Reply
Yes its in here look at my models
0
Reply
What electronic components are required for this
The designer has replied
Show original
0
Reply
Read the post.
0
Reply
amazing
The designer has replied
0
Reply
thanks
0
Reply
good job
0
Reply
this looks great!
0
Reply

License

This user content is licensed under a Standard Digital File License.

You shall not share, sub-license, sell, rent, host, transfer, or distribute in any way the digital or 3D printed versions of this object, nor any other derivative work of this object in its digital or physical format (including - but not limited to - remixes of this object, and hosting on other digital platforms). The objects may not be used without permission in any way whatsoever in which you charge money, or collect fees.