
Print Profile(2)


Description
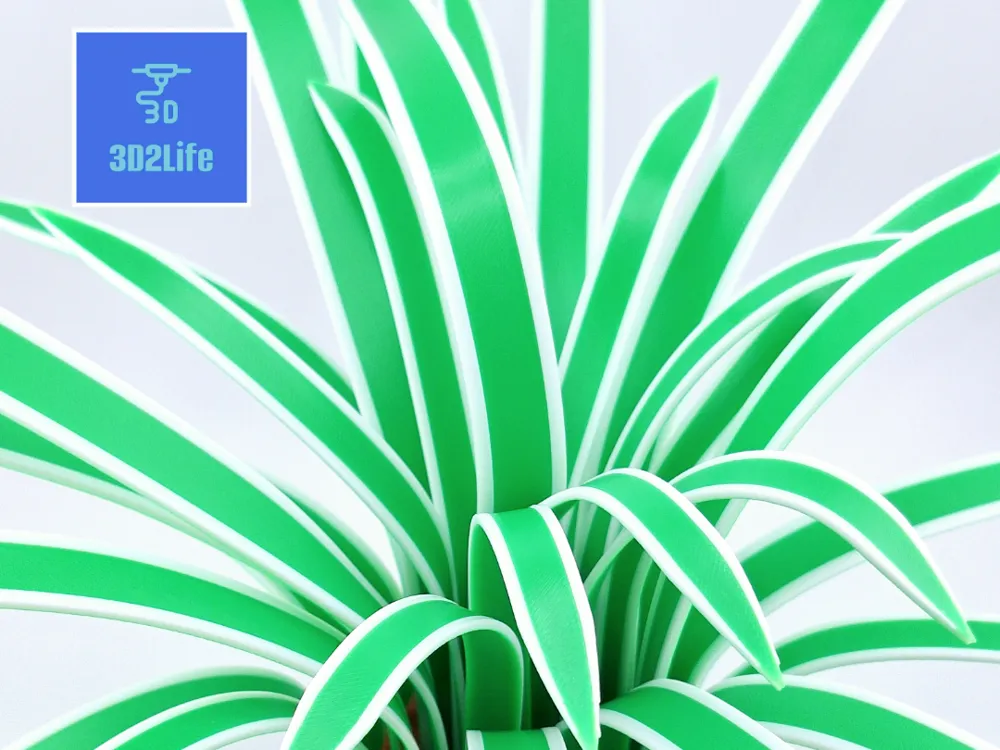
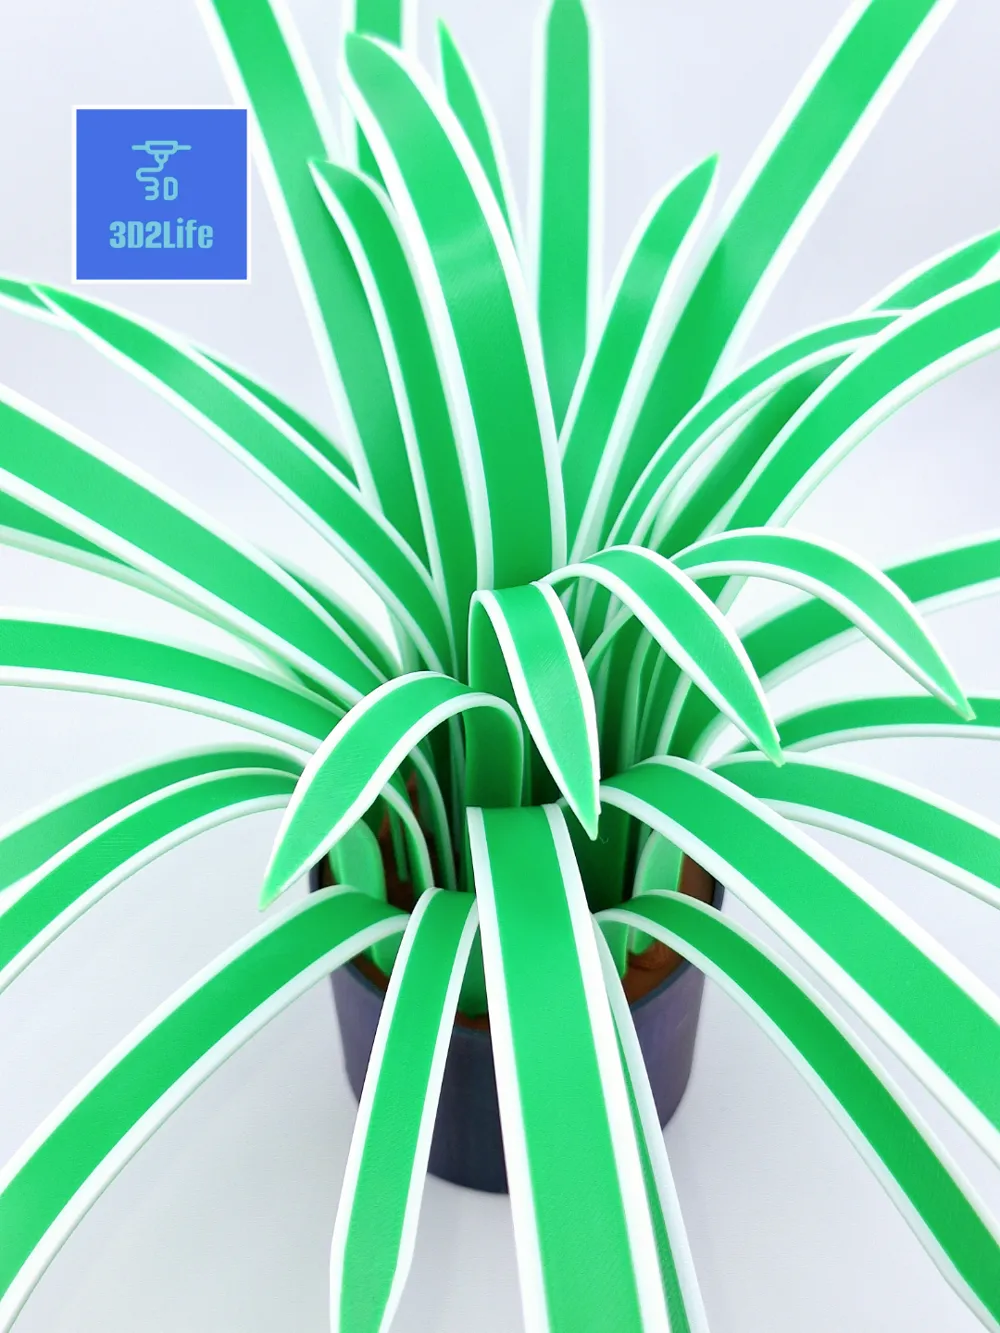
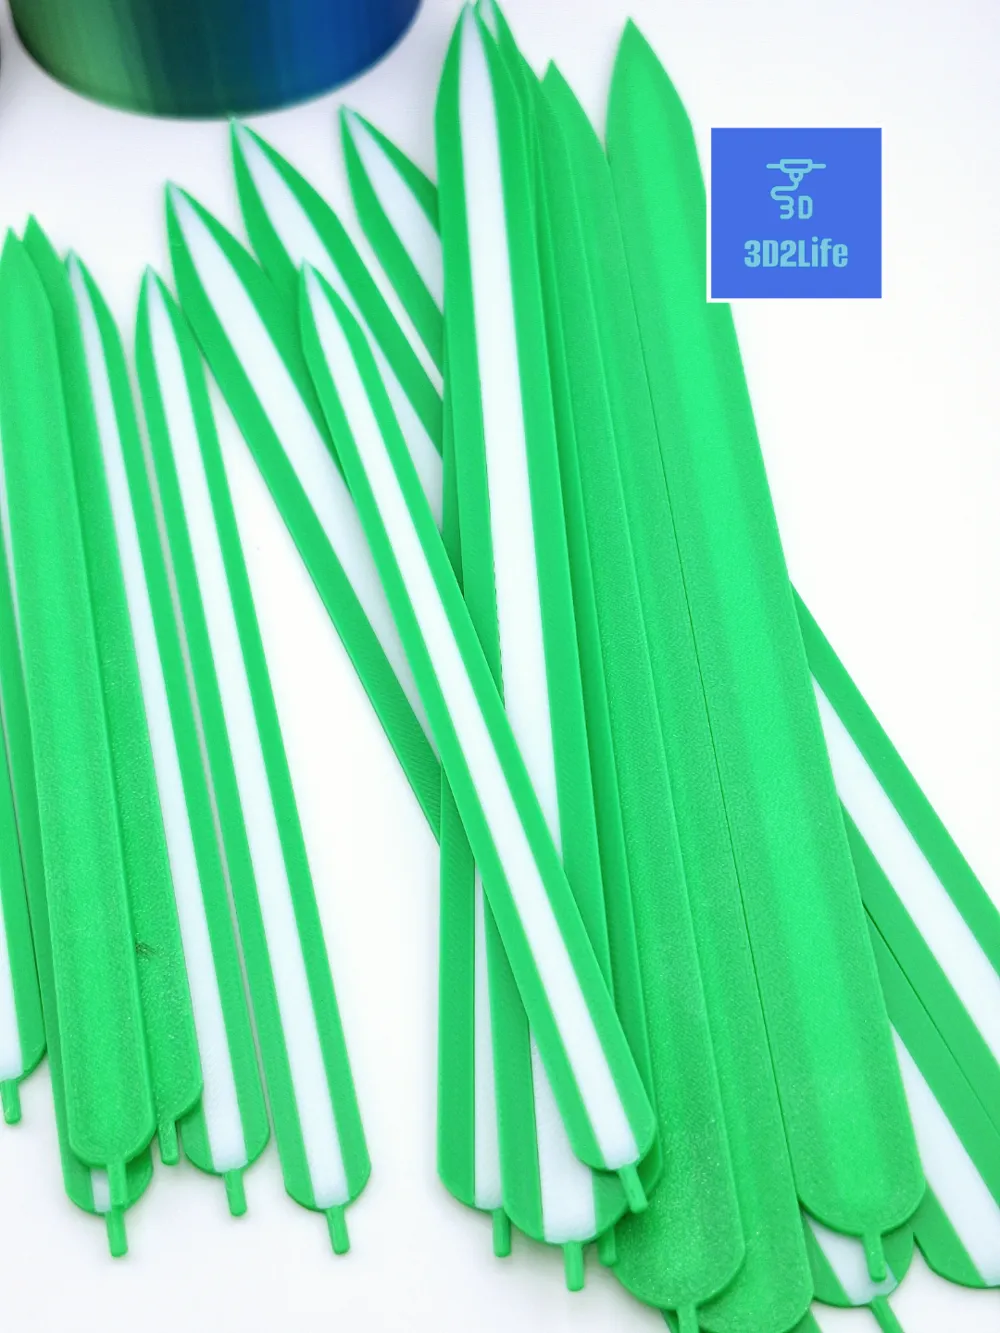
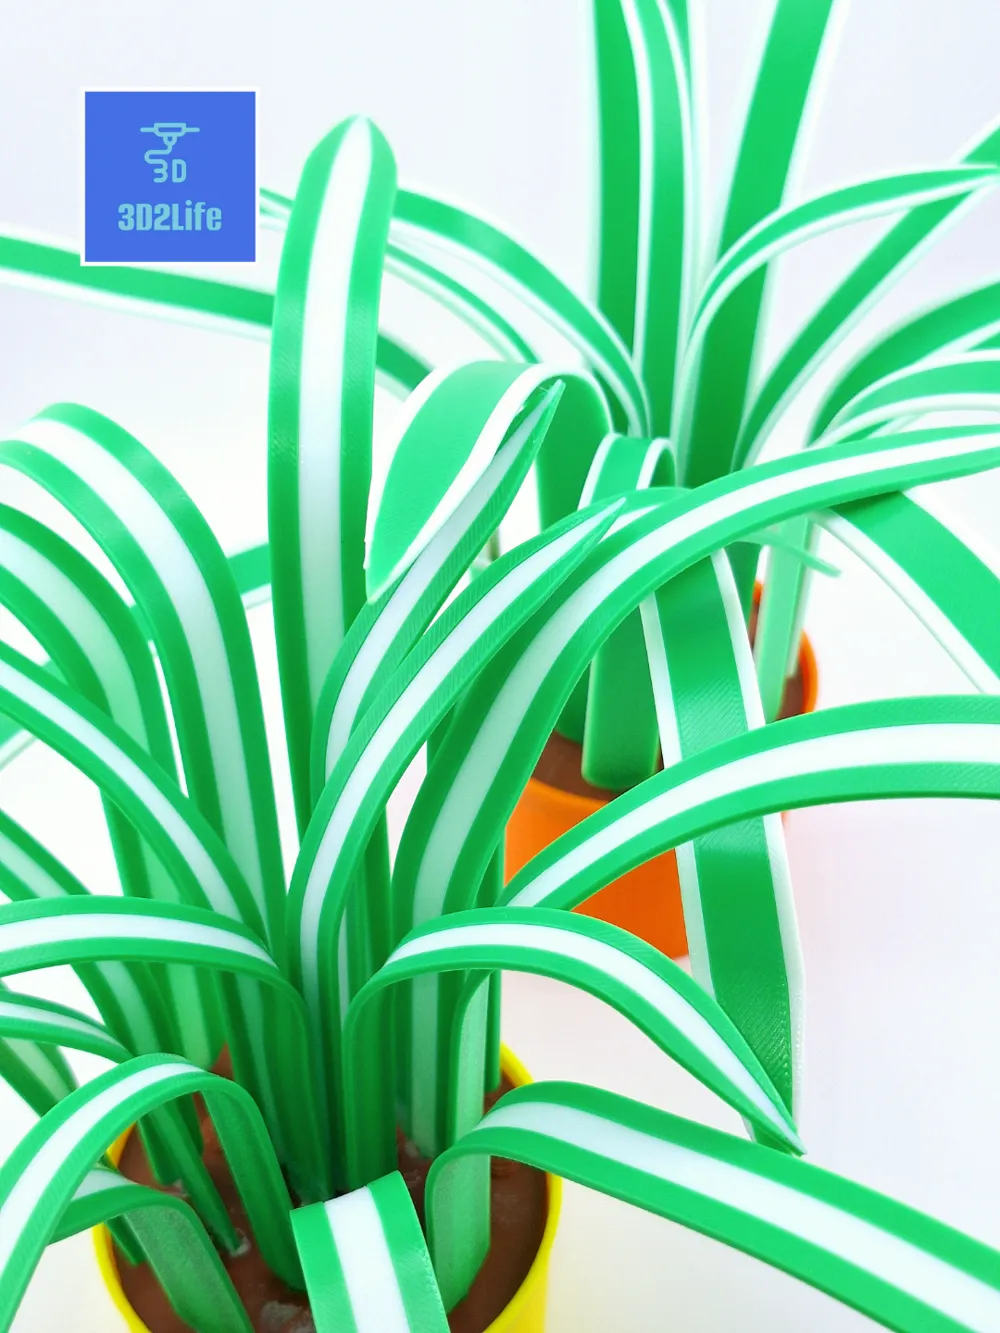
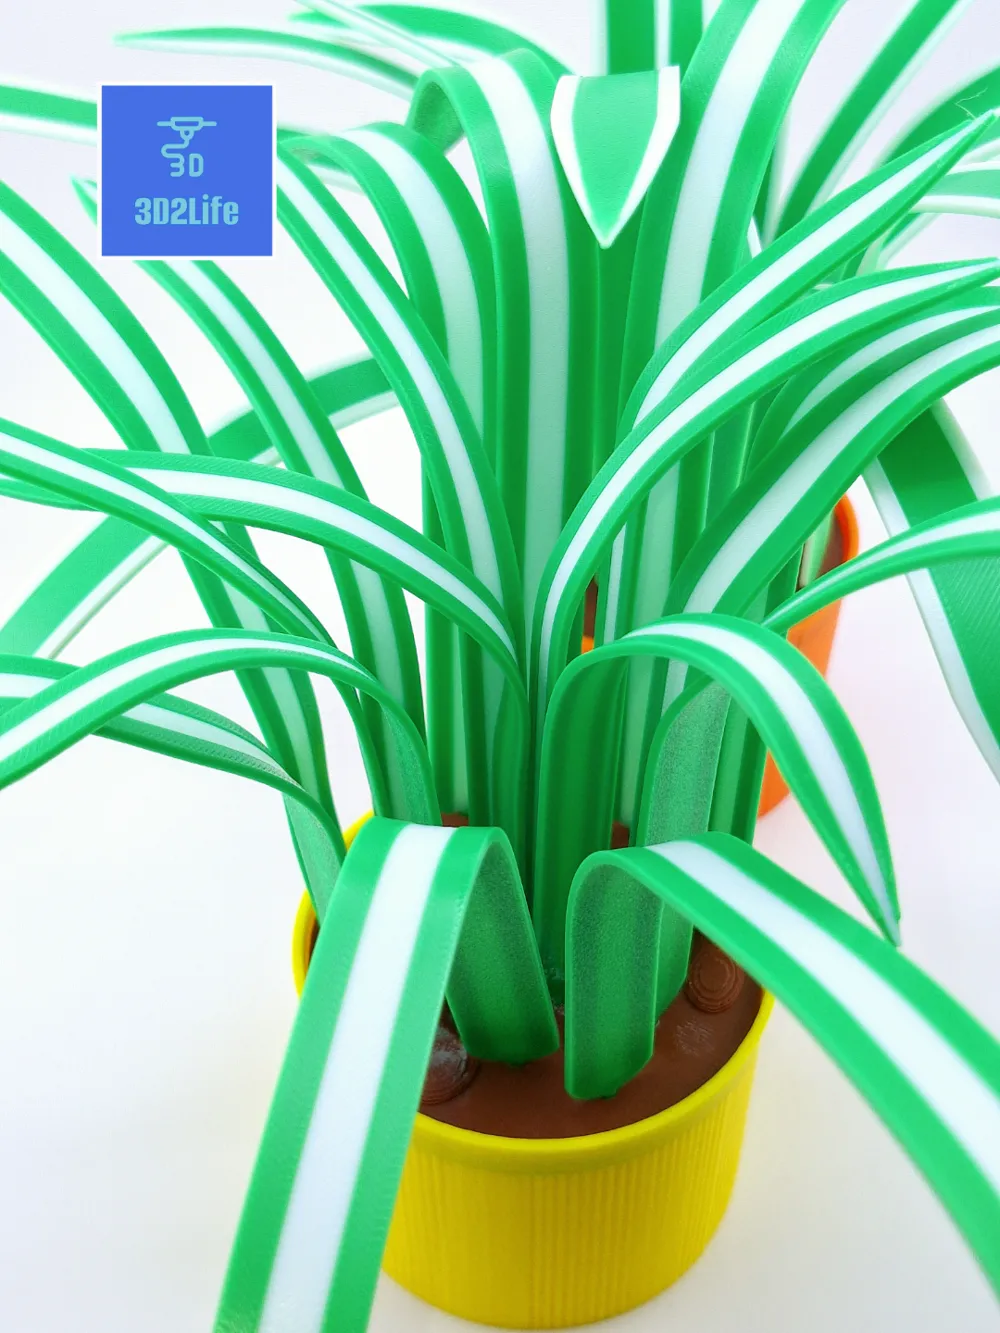
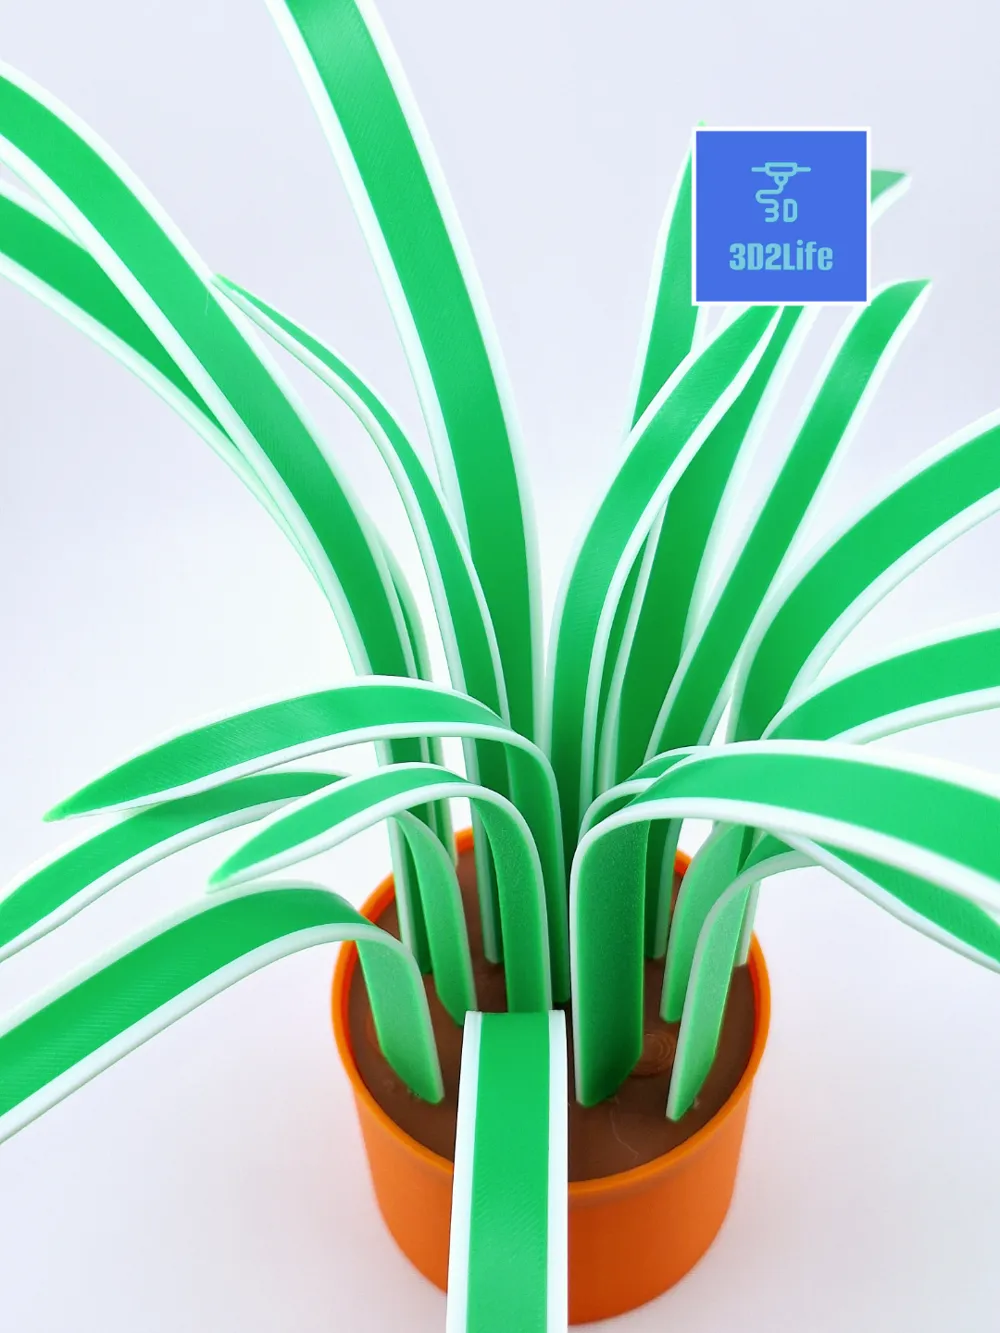
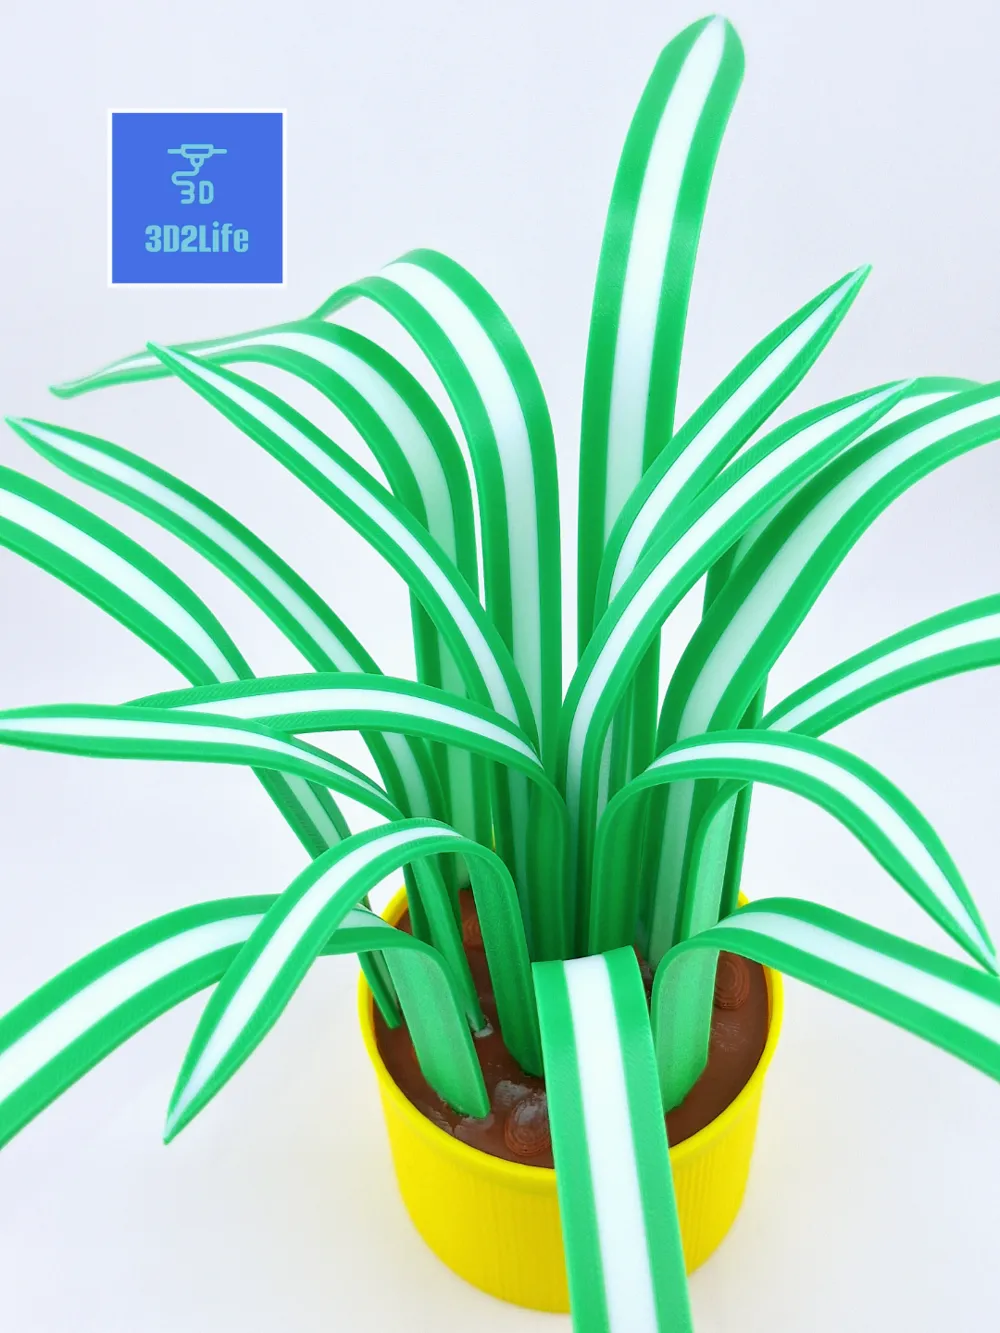
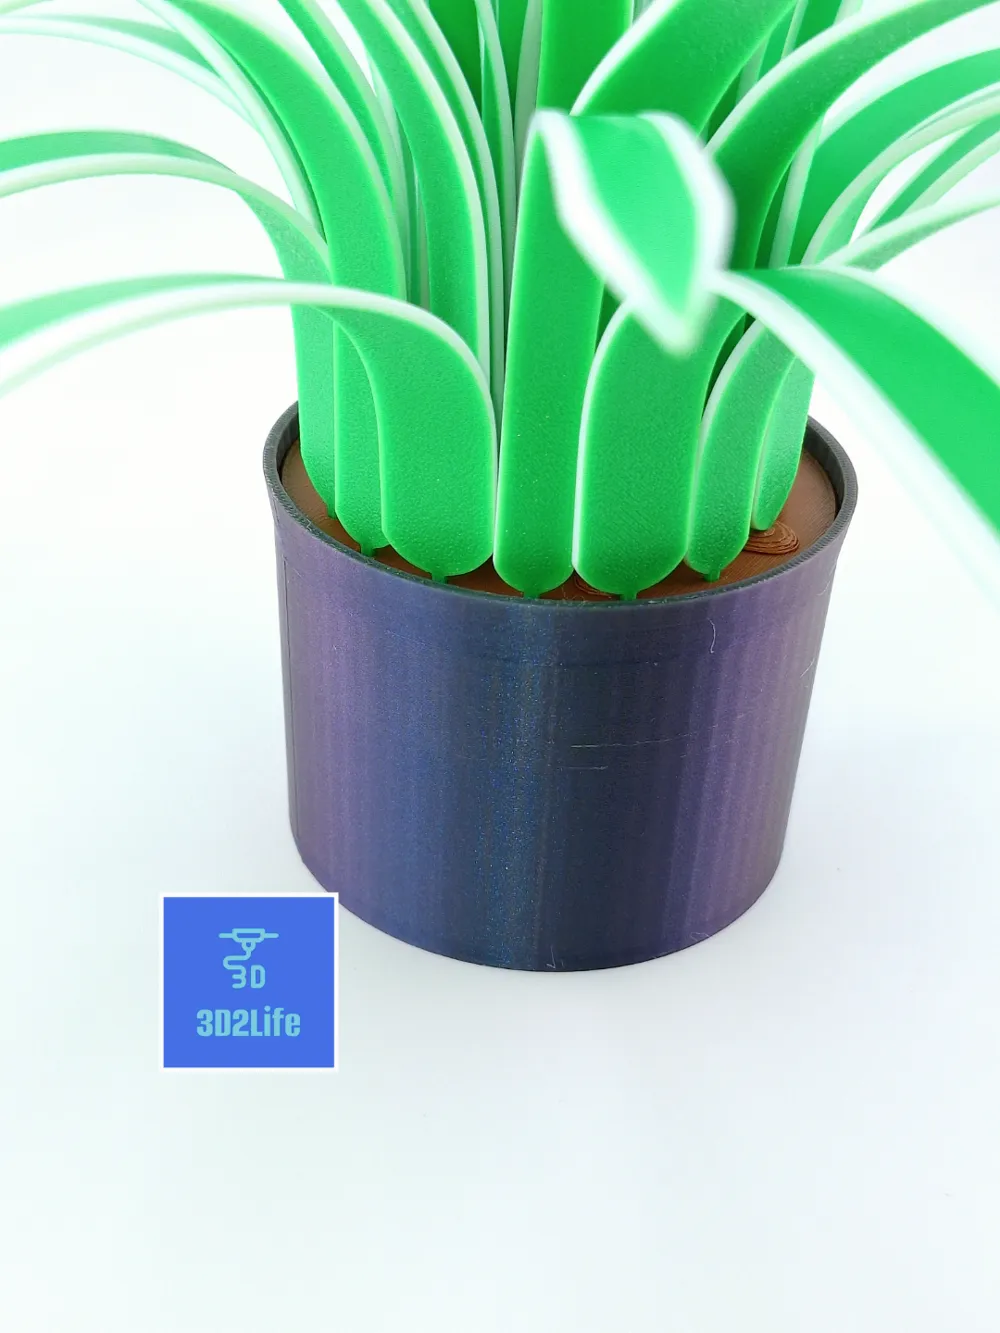
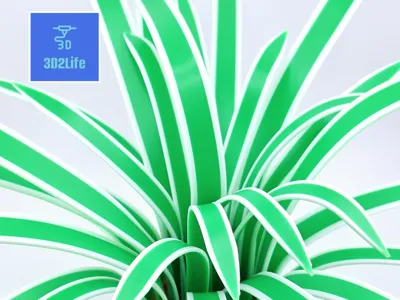
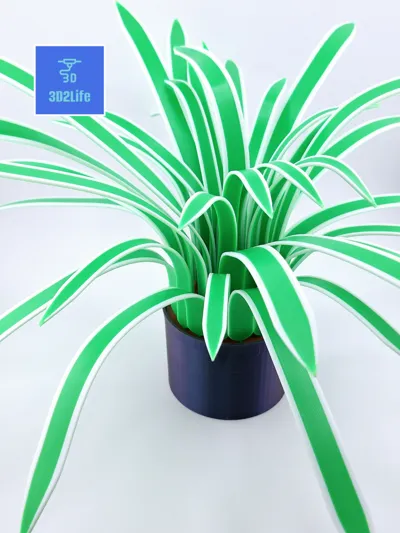
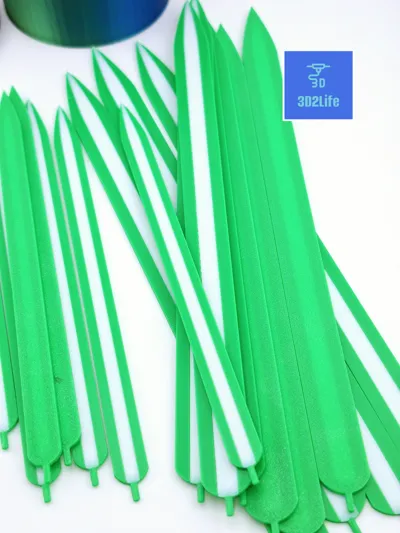
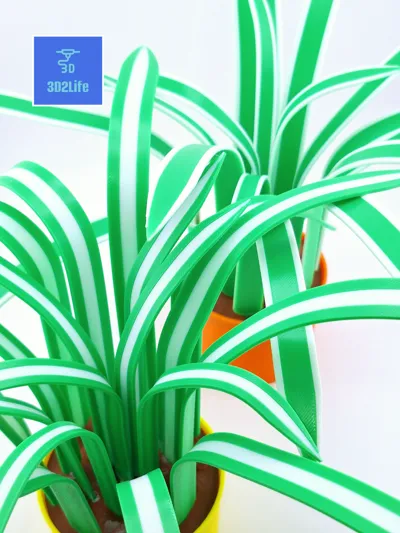
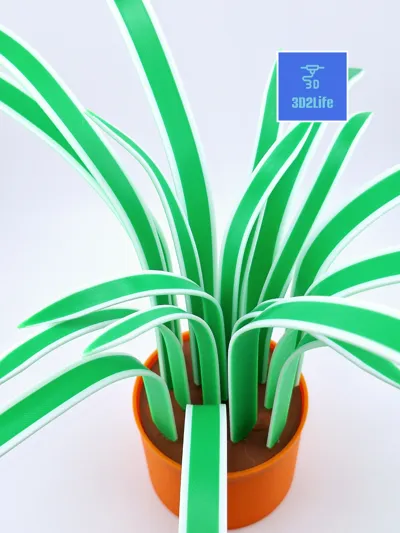
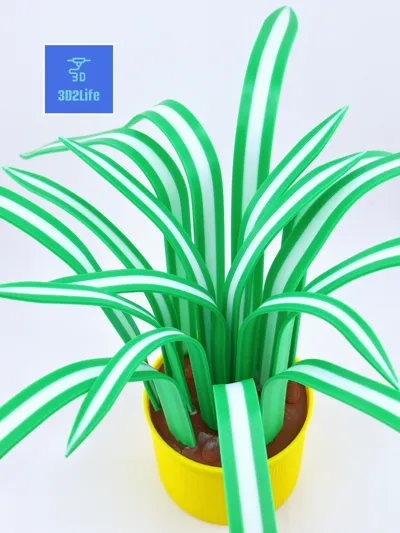
Spider Plant! Also known as spider Ivy. I've personally grown some form of this plant over my entire life. I've grown 3 different varities. There is a all green, which I didn't put a print profile, but it would be easy just to make sure to click the colors for the leaves in green when you print it. I personally have at the moment the green with white stripe in the middle and the green with white stripes on the edges. Both are really beautiful. These are the two styles I've created for you to print!
Spider plants are known to be effective in cleaning the indoor air by absorbing different chemcials in the air. These are of course all in studies done with the plant. This artifical plant will not do that, but if you have a spot that you want to add a little green in a room you will be able to do that with this.
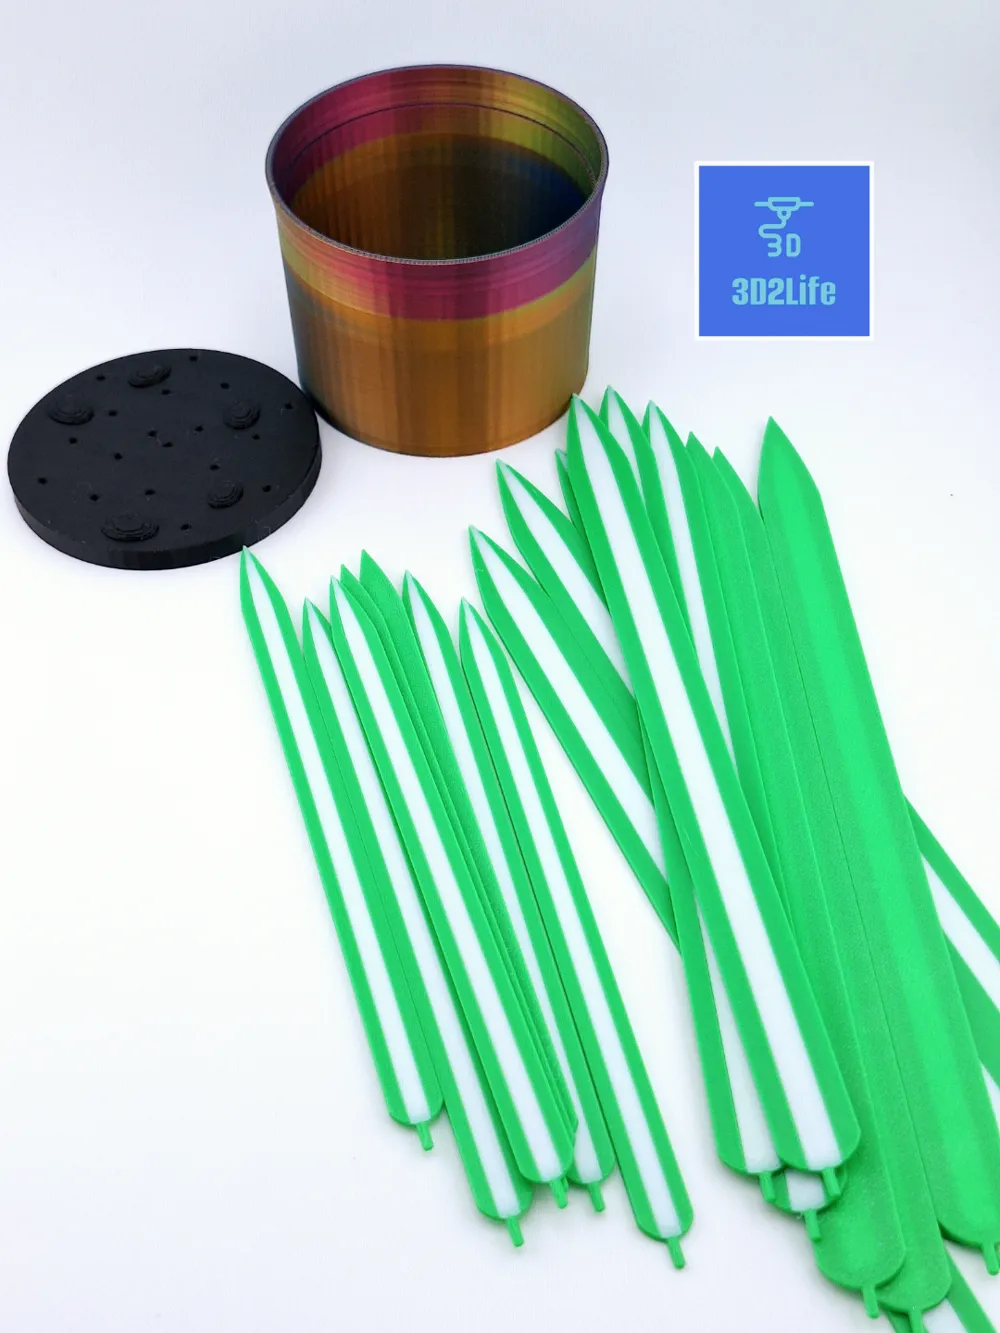
Depending on your type of printer will depend on how many times you will need to print certain build plates to get what you need. It's up to you on what base you print.
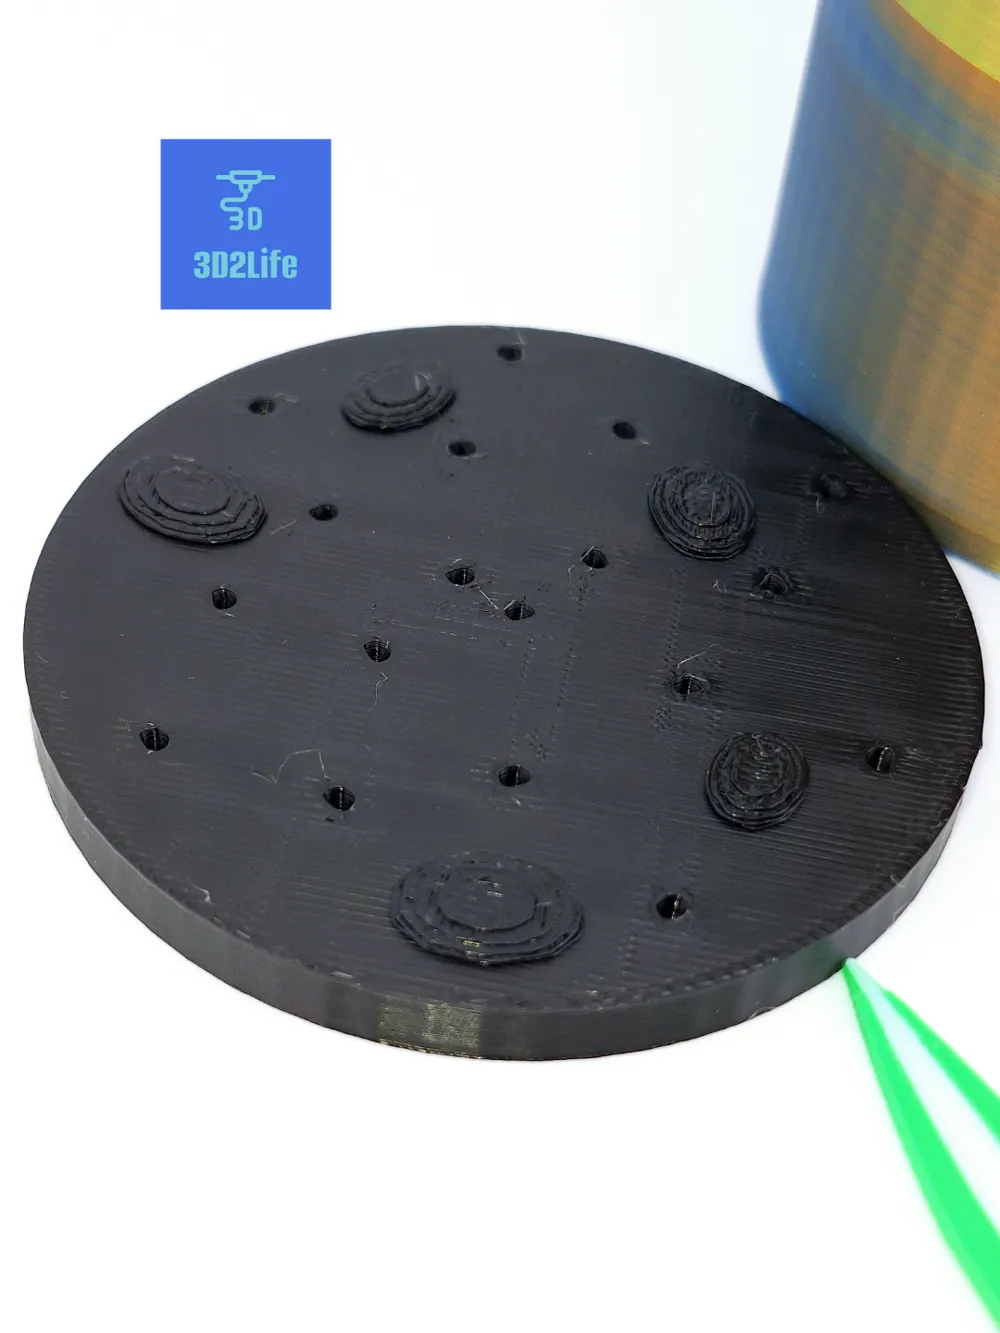
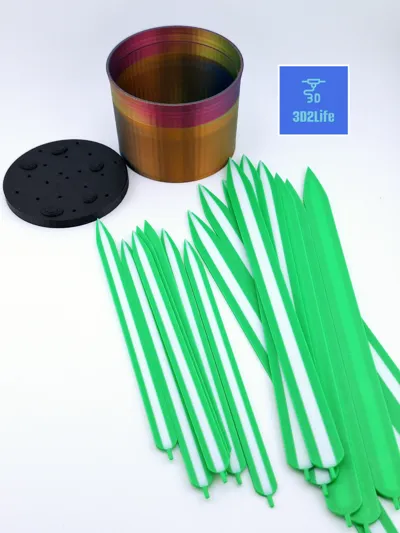
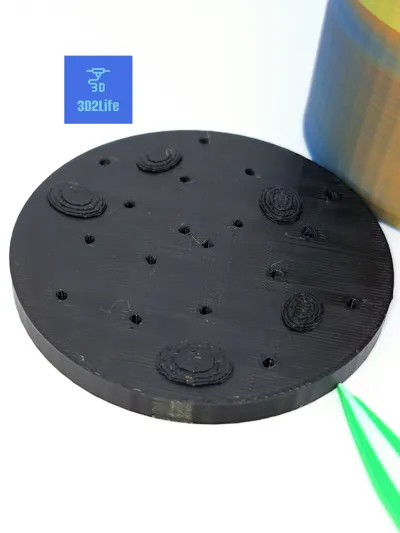
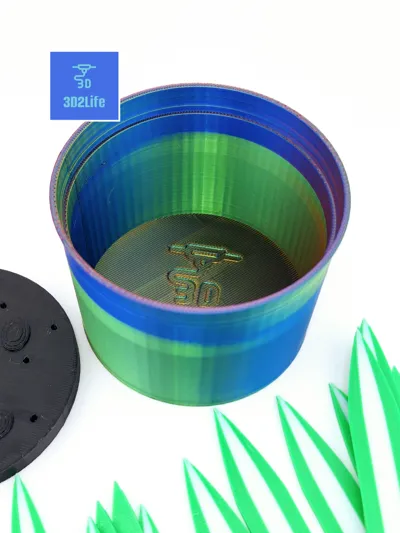
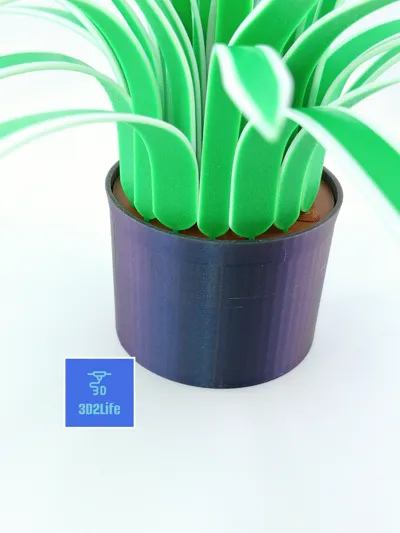
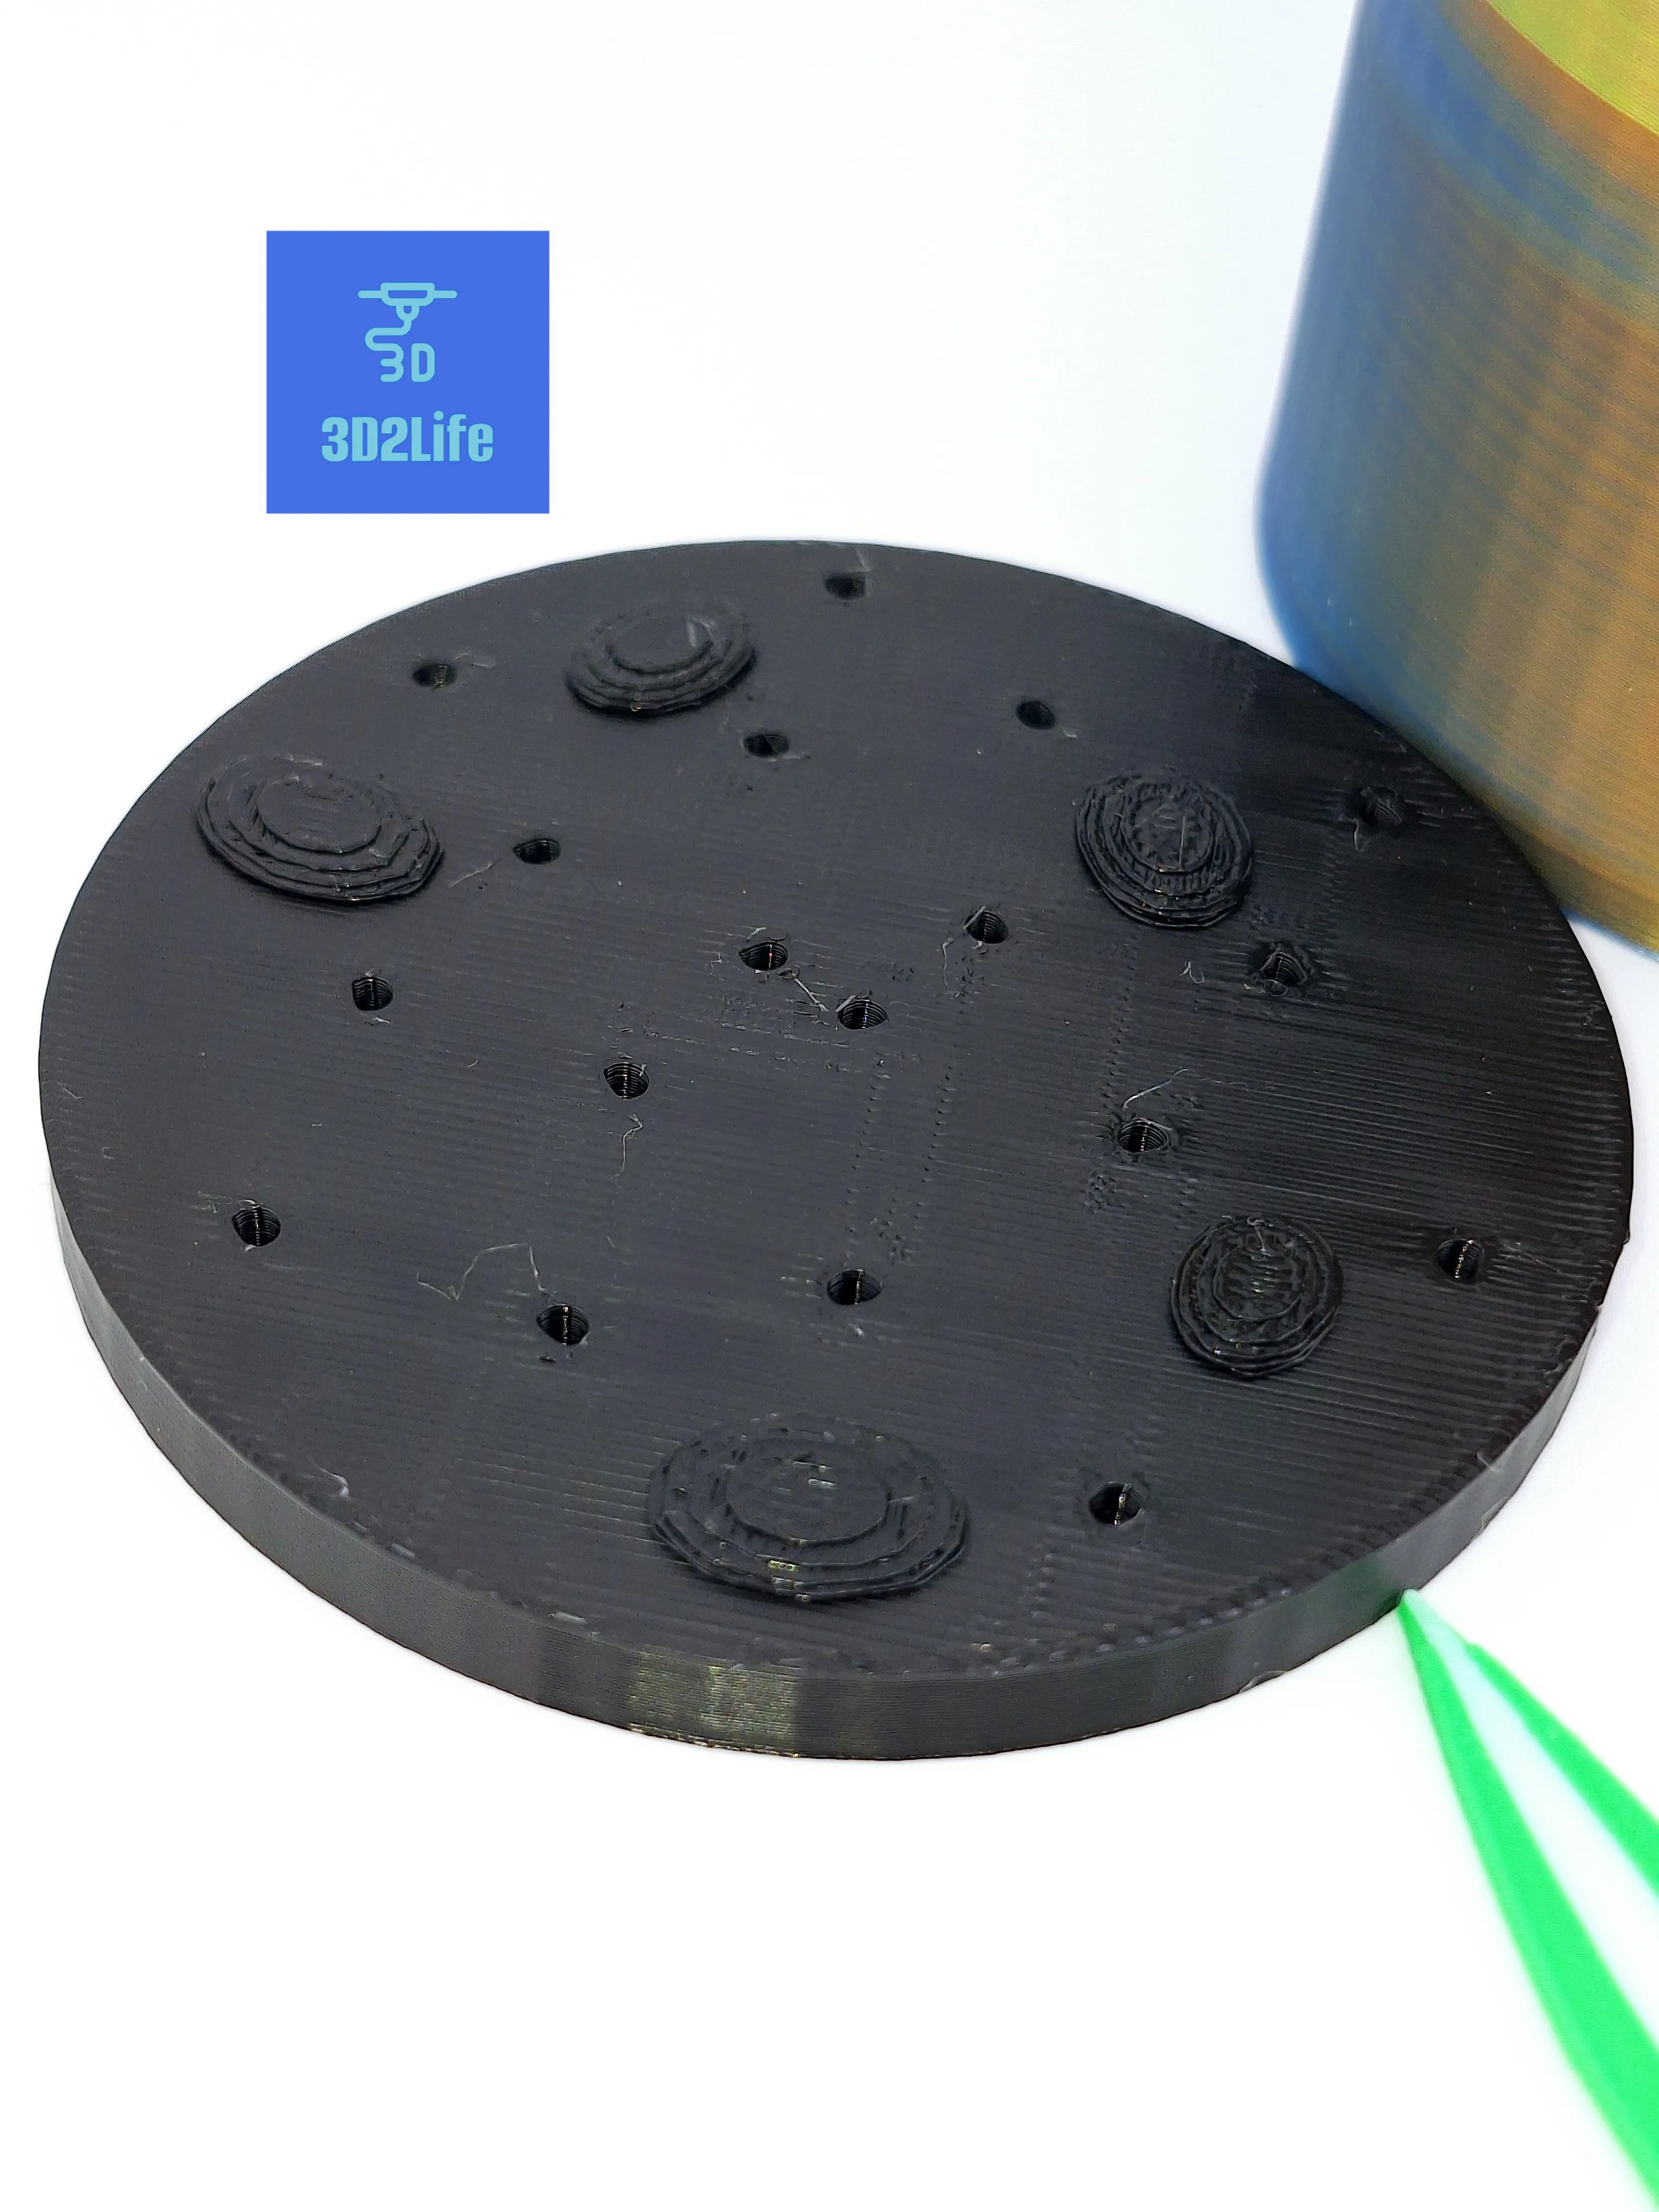 The one base has 18 leaf holes and the other has 36 leaf holes. Both build plates are labeled. You can pick the color of the base/soil you want for yours. I used both brown and black in mine. I like how both turned out. The holes have a flat spot facing outwards for the most part. Some of them are not all perfectly lined out, but this creates just enough uniqueness to the leafs once placed into the holes. It is really up to you if you want to glue them in. I used super glue on mine.
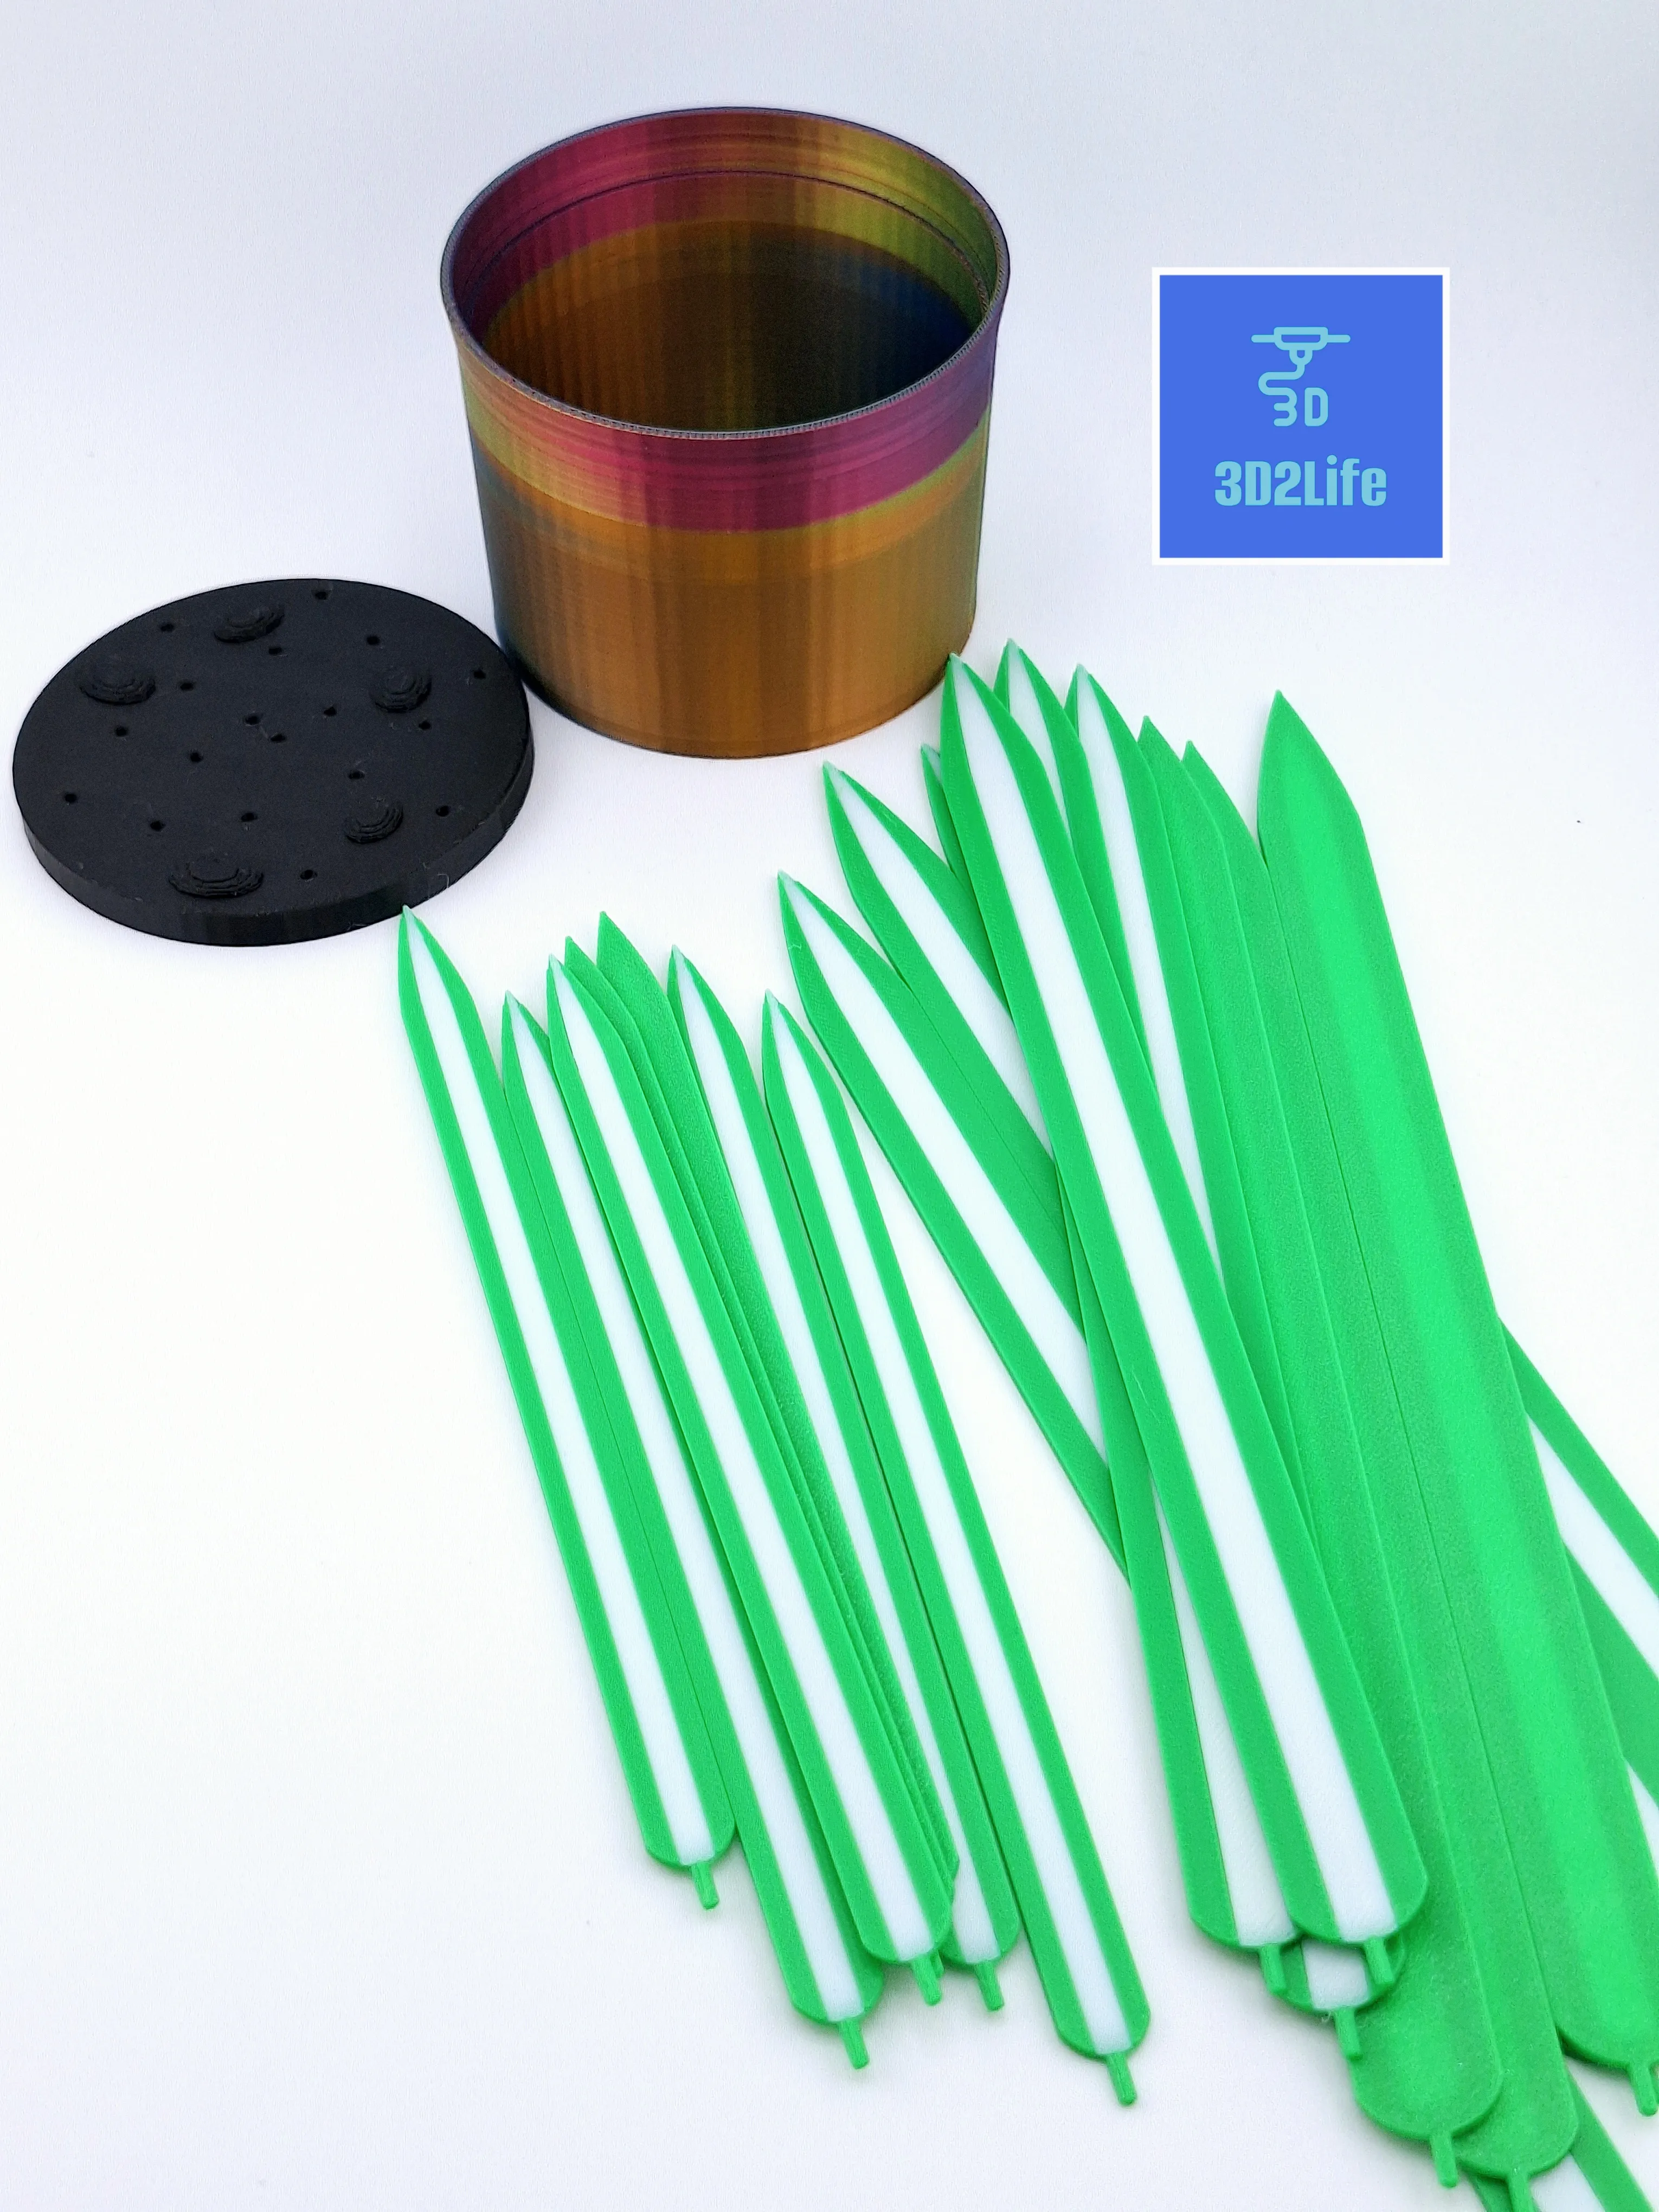
This will take a little bit to complete this project, but it will look amazing after. So once you decide how concentrated you want it to look then start to print. Also make sure to select the style of leaves and print those only for that one pot. The one pot will fit both bases (18 leaf or 36 leaf). Don't resize the leaves. If you do it will effect the part that plugs into the base. On the A1 mini, the larger leaf, only 2 at a time can be printed. If you have the P1's, X1's, or an A1 you can print each leaf bed 1 time, if you are doing the 18 leaf base or if you chose to do the 36 leaf base you will want to reprint the leaf sytle 1 or leaf sytle 2 again depending on which one you decided to go with. If you are printing this on the A1 mini you will need the one print bed of the smaller leafs and 5 print beds of the larger leafs to have a total of 18. If your going for 36 you will need to double it.
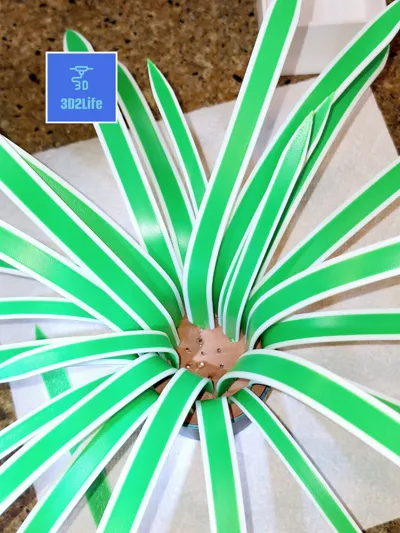
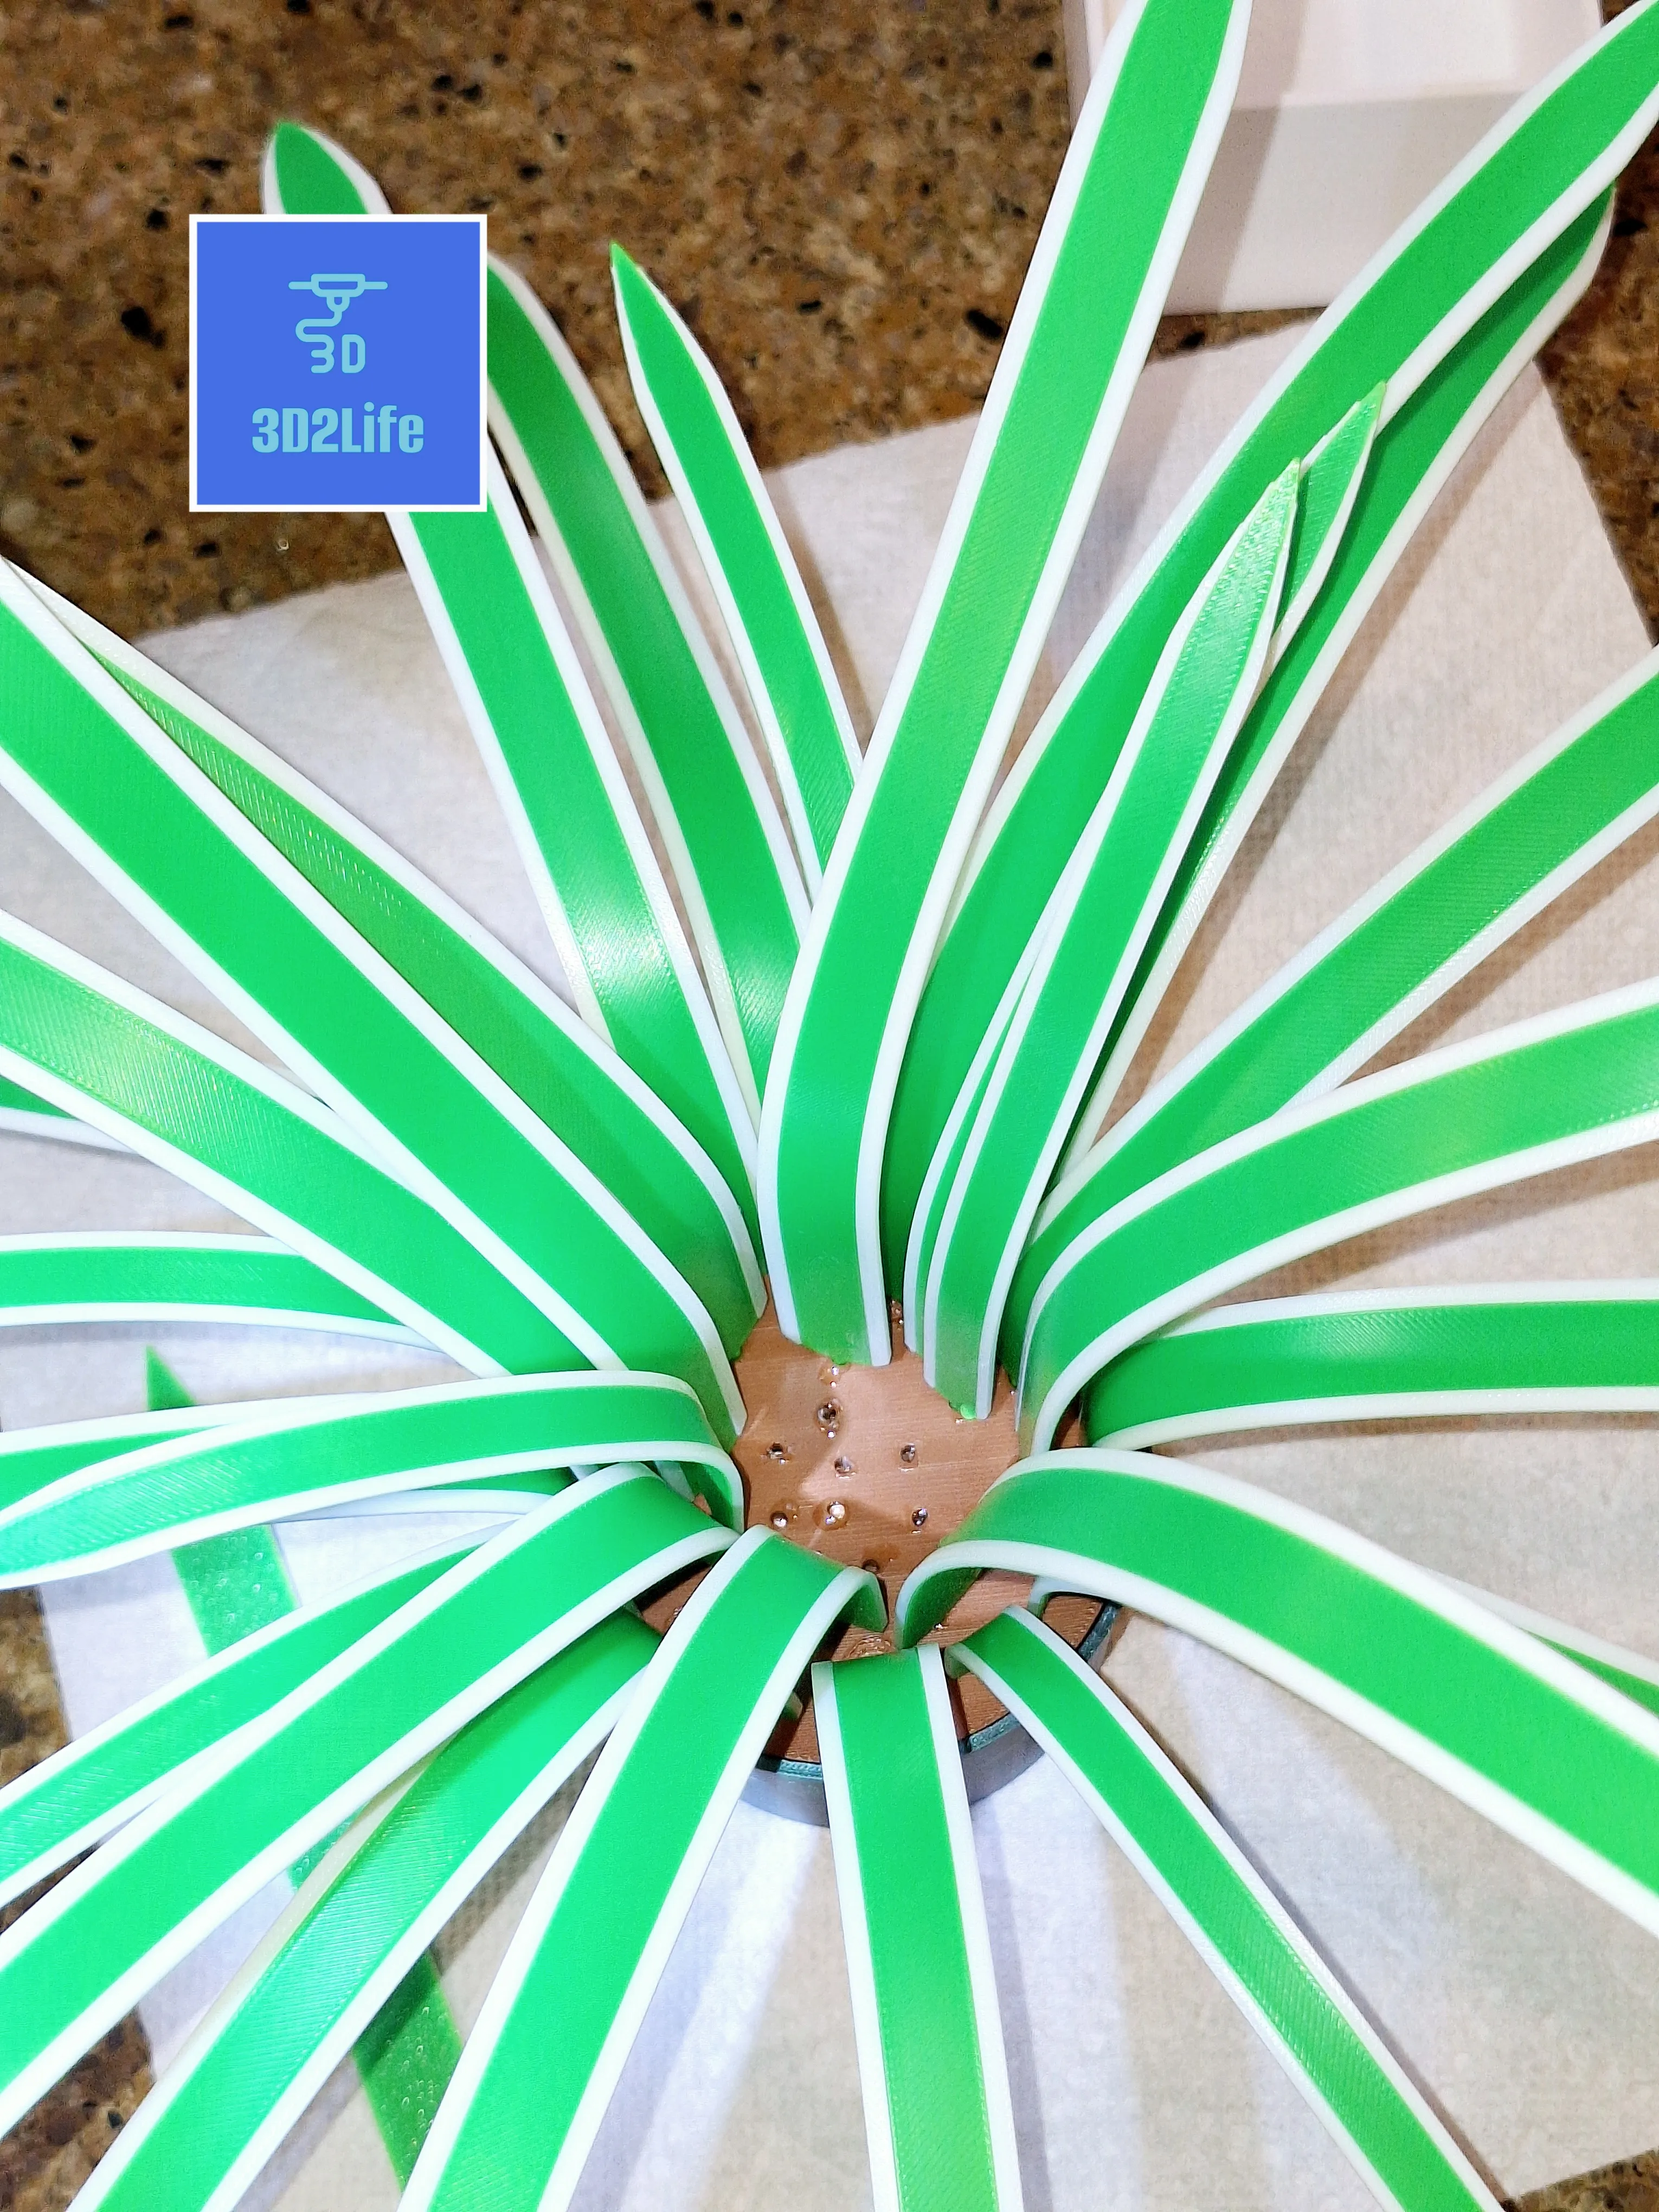 The 18 hole base is really easy to just start to place the larger leaves on the outside and work around the edge and then put the remaining smaller ones on the inside. The 36 hole base takes some creative challenge to figure the patterns out to make them work. There is no right or wrong way to do it. You have to play with the fit and glue as you go.
You can either use a heat gun, hair dryer, or even hot water. I tried all the methods. I recommend heating them and creating the shapes/bends first then place them into the base. Start with the larger leafs on the outside edge. This will allow you to reshape one if you need to after. On the 36 hole base you will have to use a few smaller leafs on the outter edges to get them all filled in. Twisting them a bit gives it a more natural look too! Using the hot water is time consuming, but really looks a bit more natural in my opinion. I used a bowl to create some of the nice shapes of the leaves.
These leaves are a little thicker, but it allows for a better shape of the leaf after heating and doesn't mess with overall look how it works. Took a bit of trial and error to find something that worked well but didn't feel to fragile either.
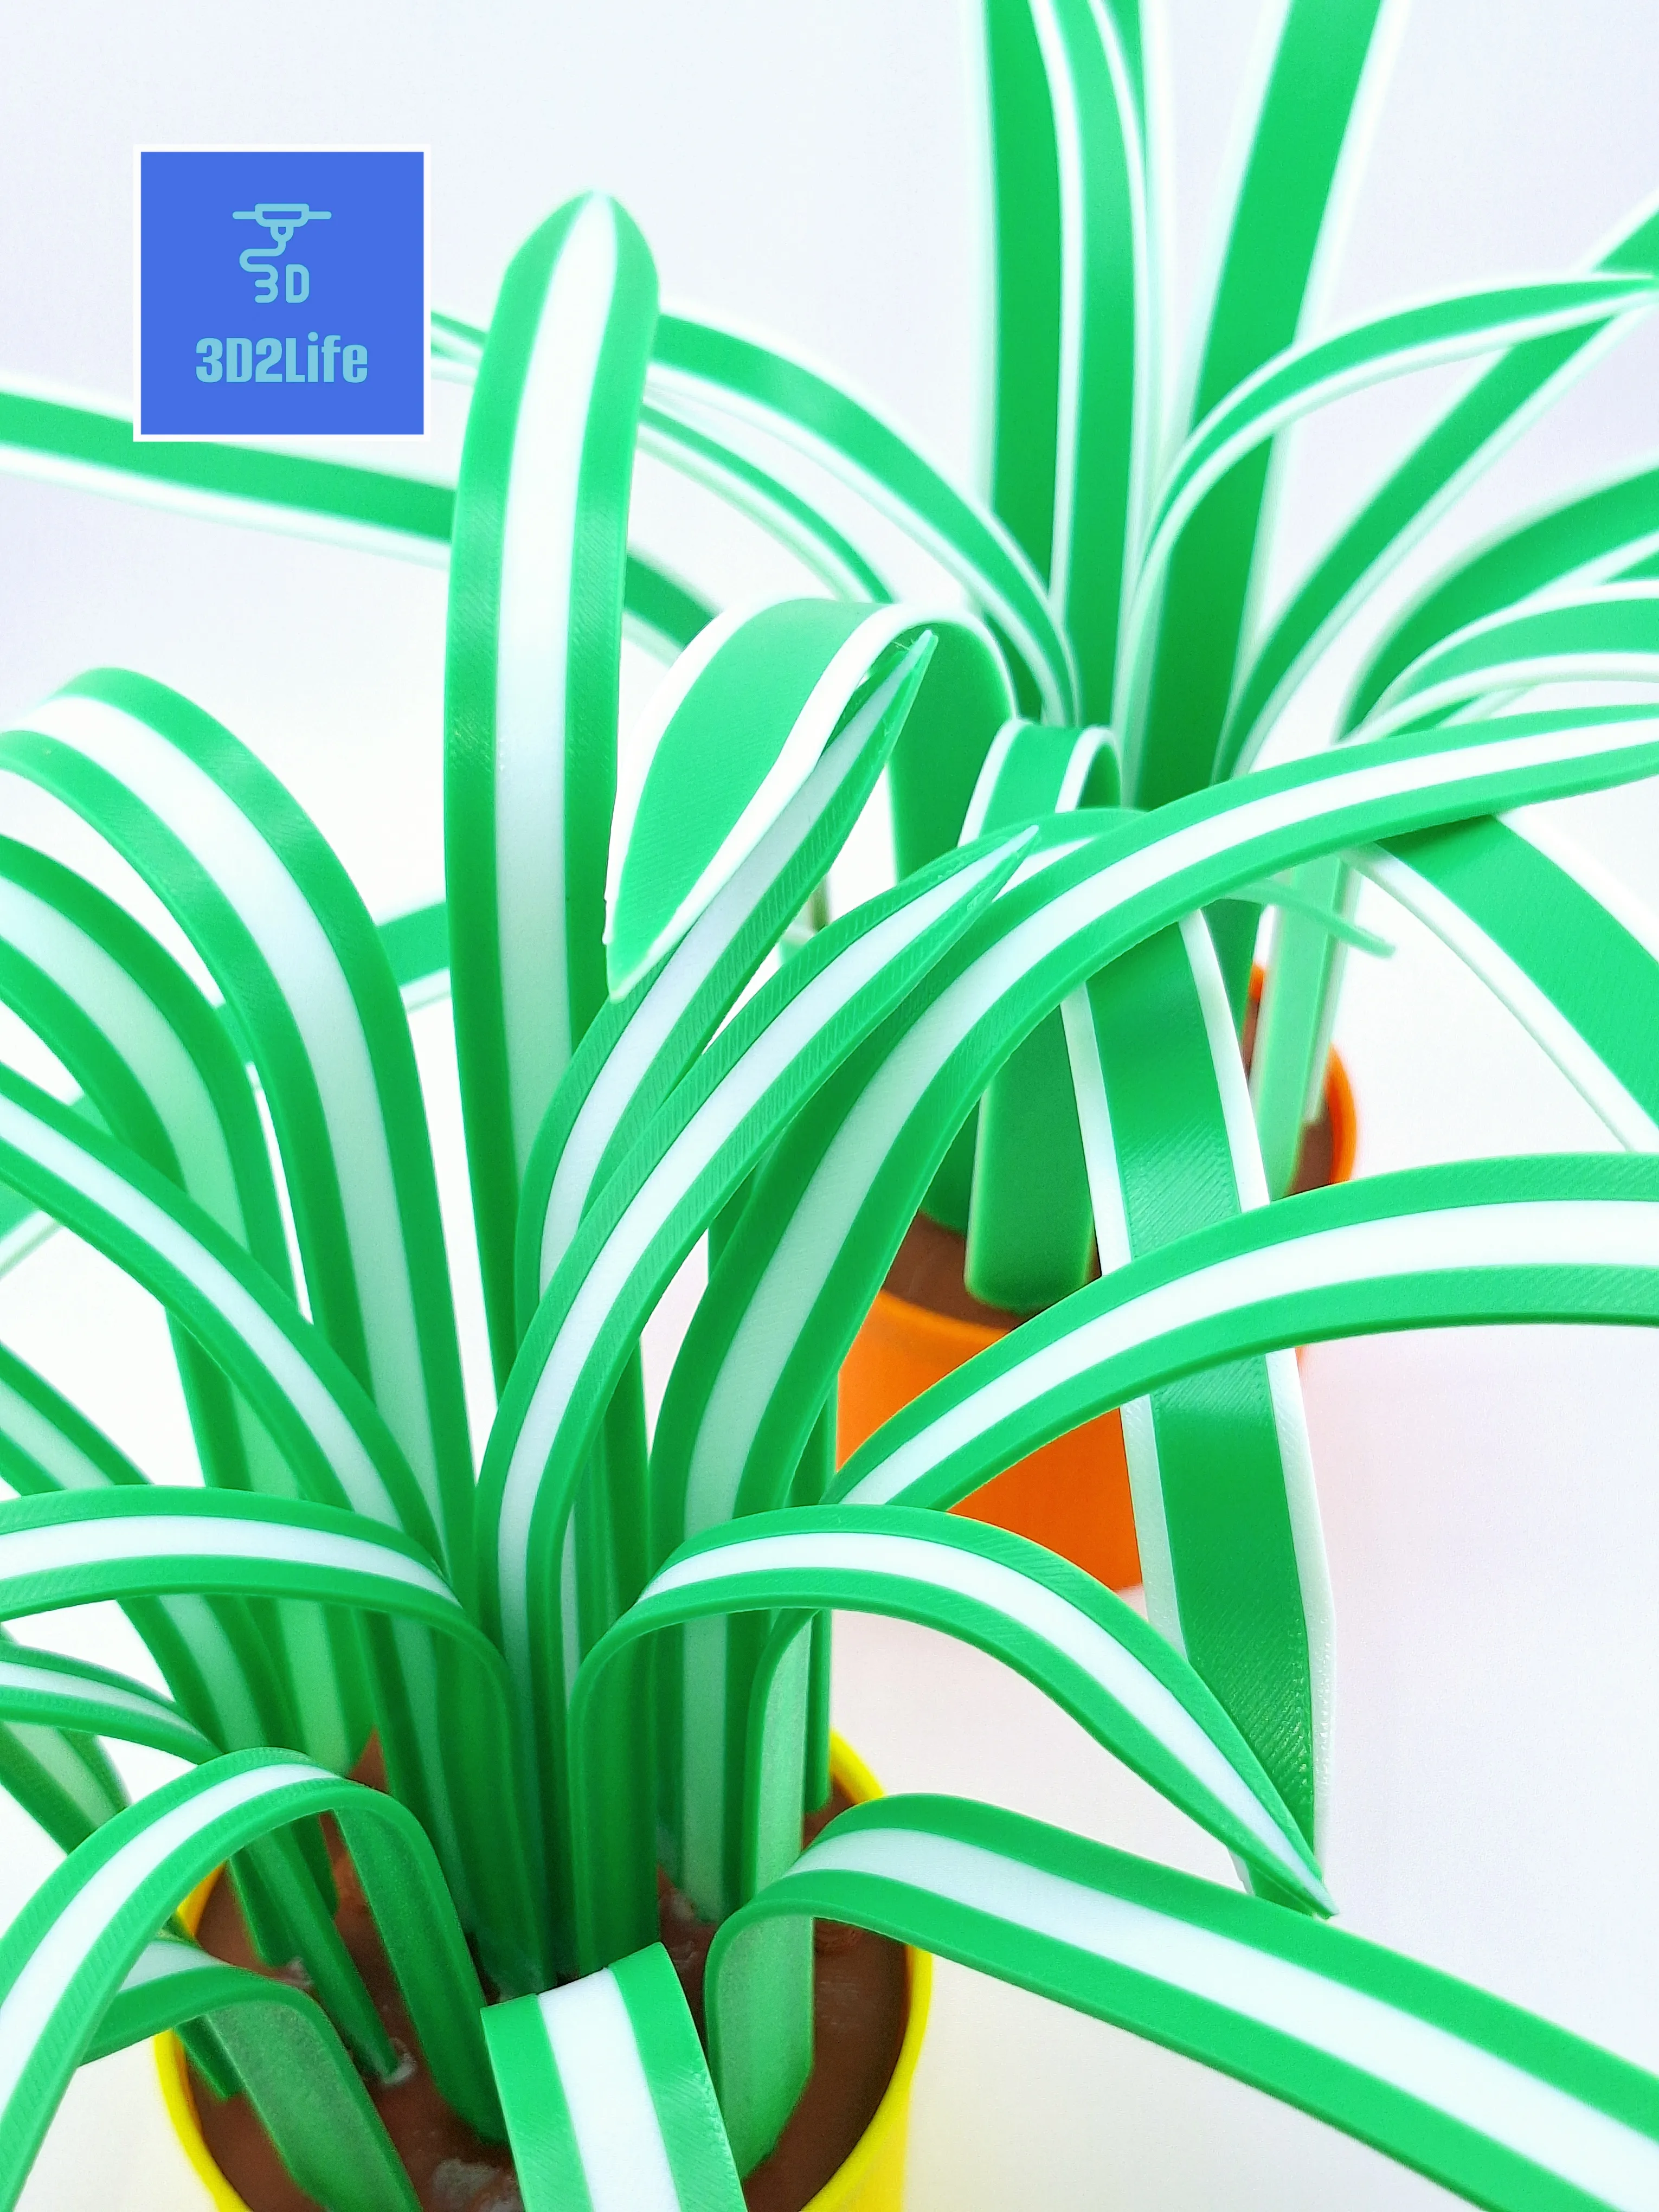
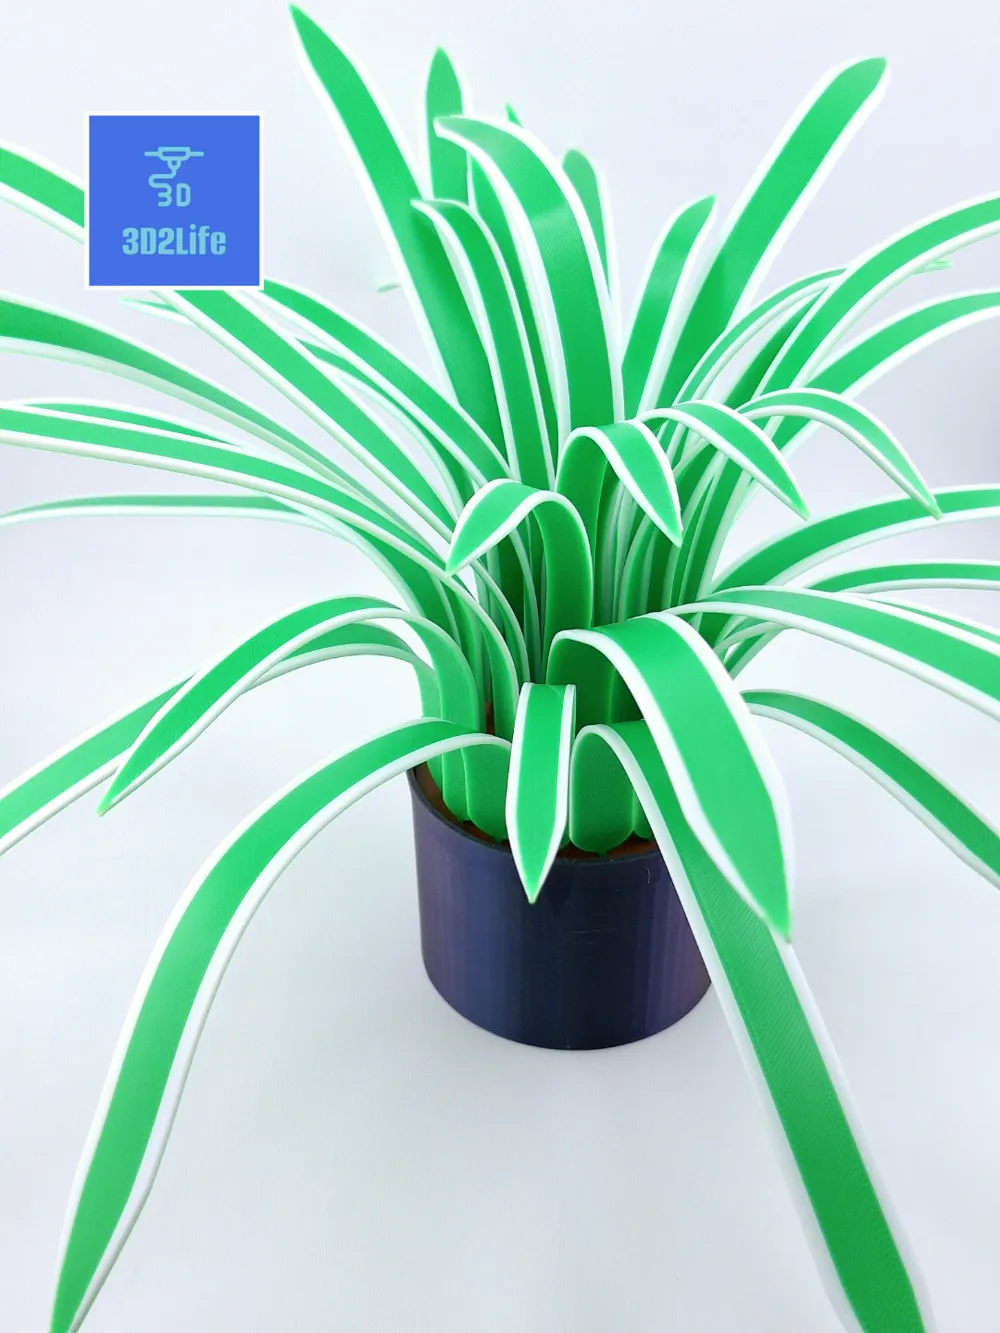
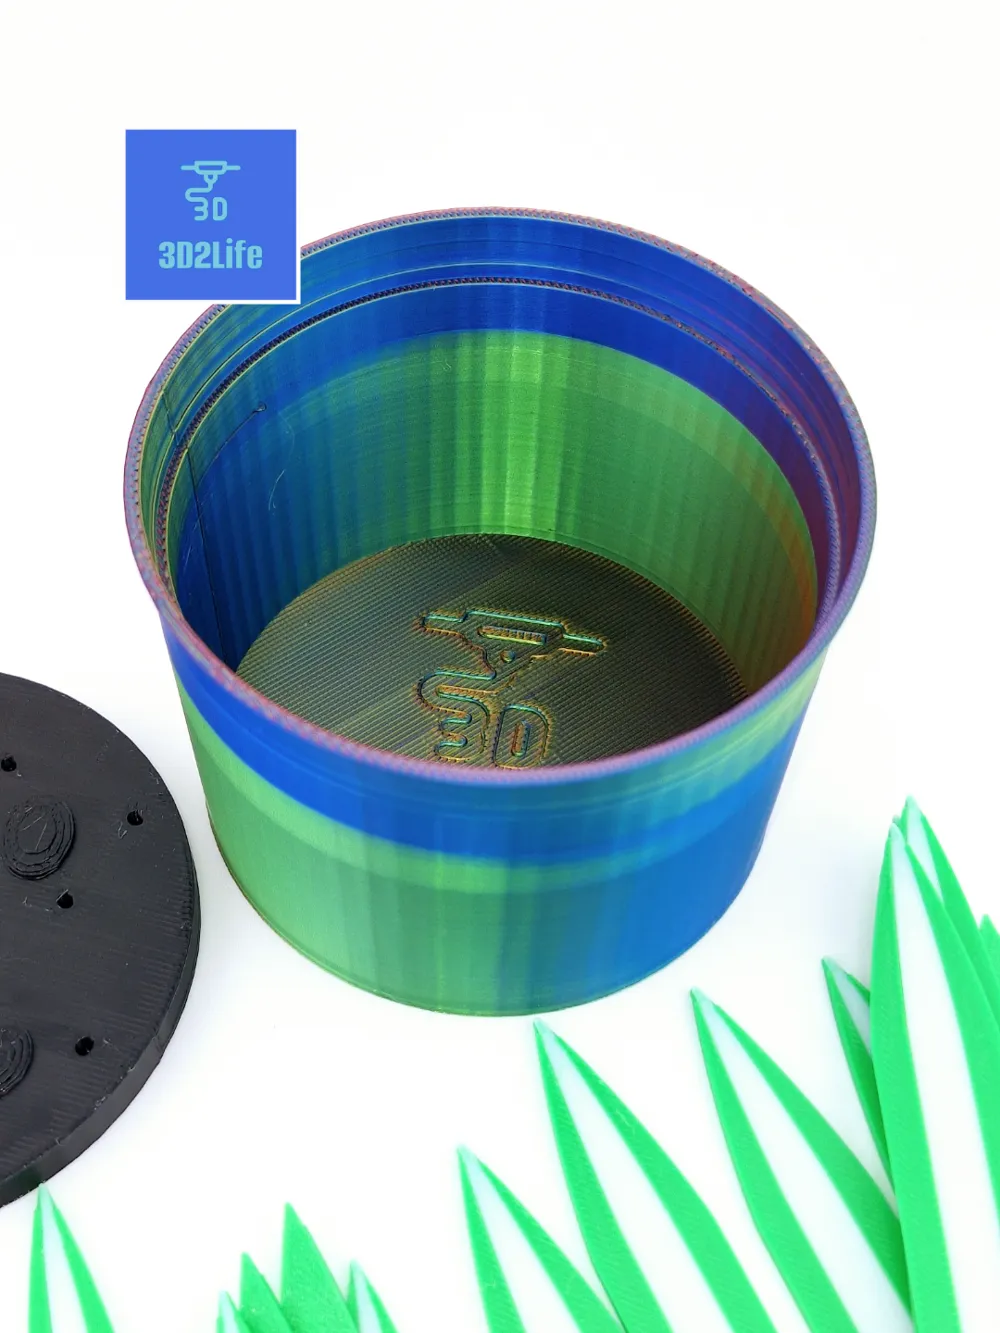
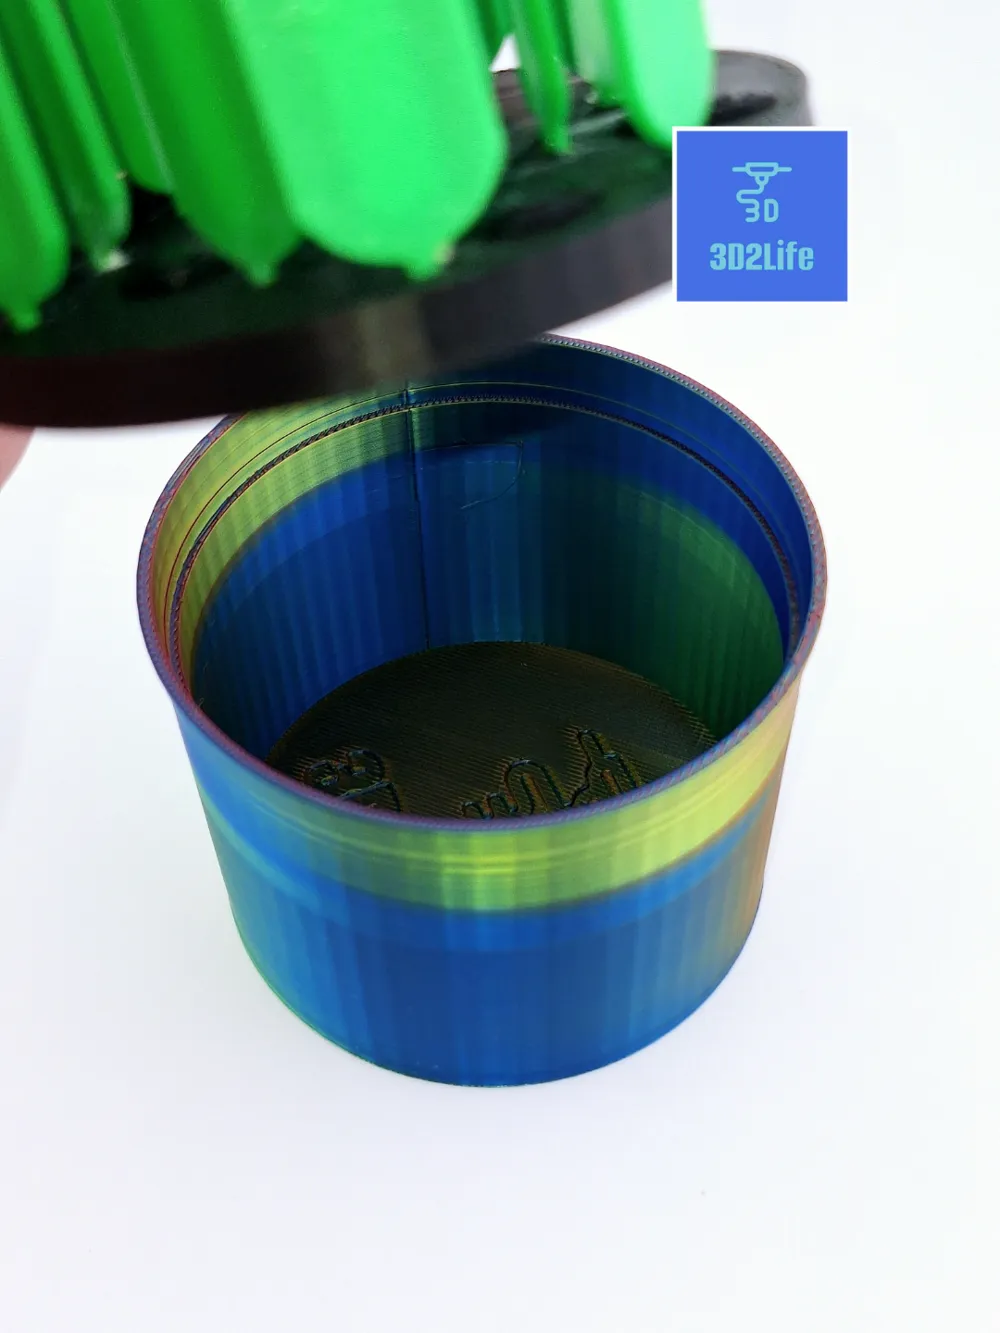
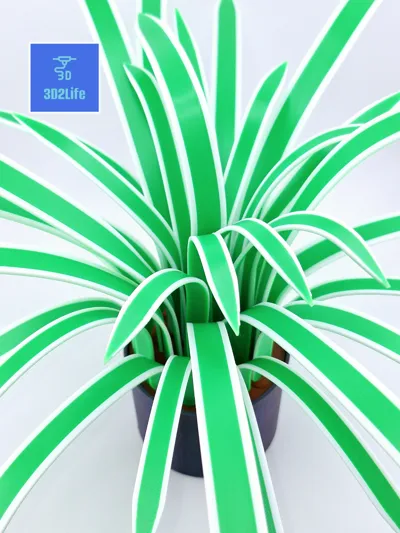
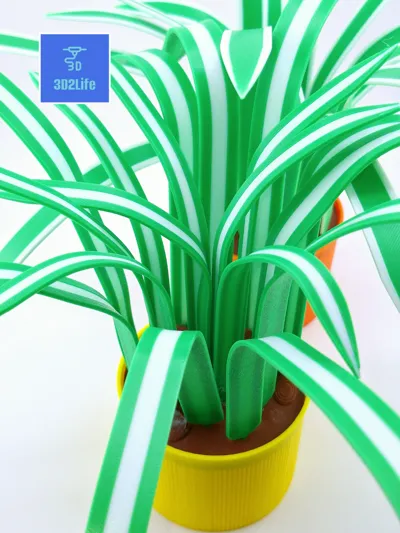
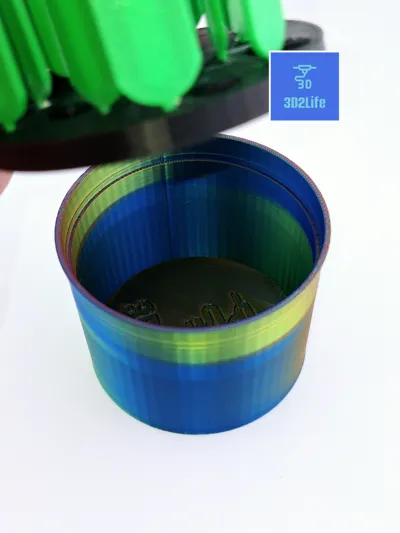
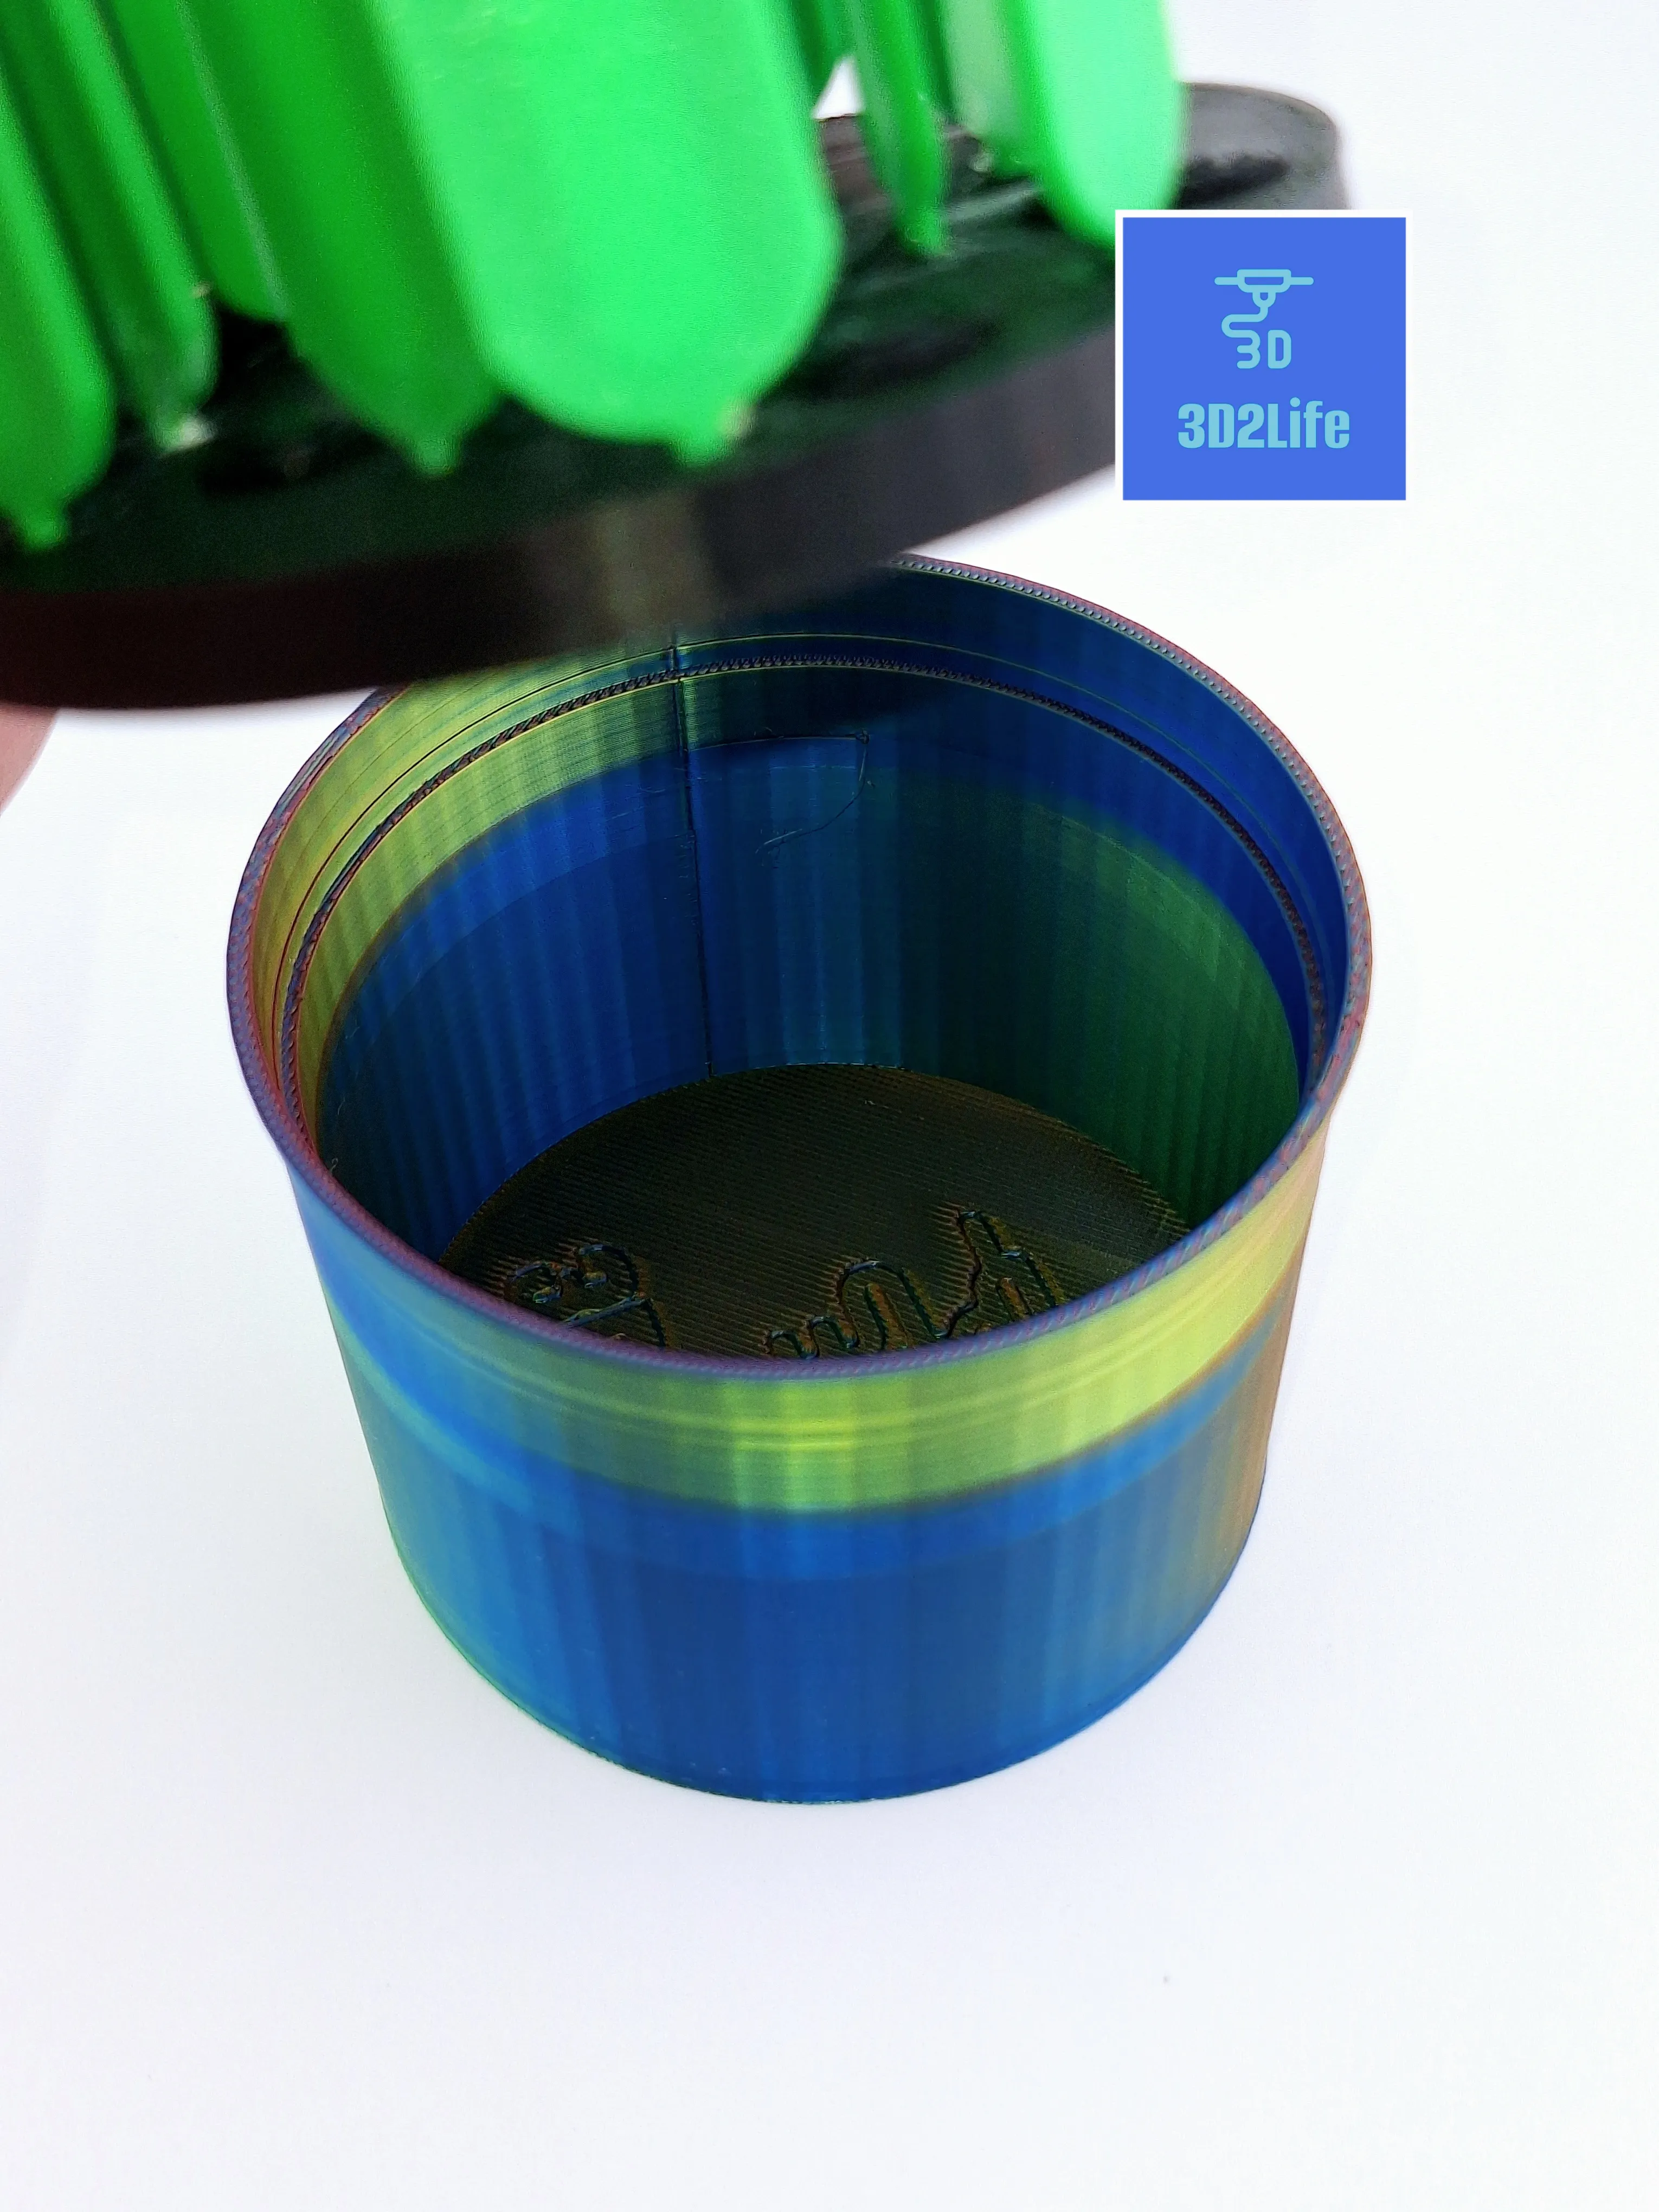
Depending on the style you picked you will end up with something like this. After the glue is setup for the leaves. It's really up to you if you wanted to use the base pot as a spot to hide stuff or glue it in too. If you decide to glue it in. Run a bead of glue in the inside of the pot on the little ledge. Place the plant and base back inside and give it a little while to setup. It will be one. You could even add some marbles or rocks inside before hand if you want it to have a little weight to it. Or leave it unglued and hide your favorite candy or money inside. It's really up to you! Enjoy your project!
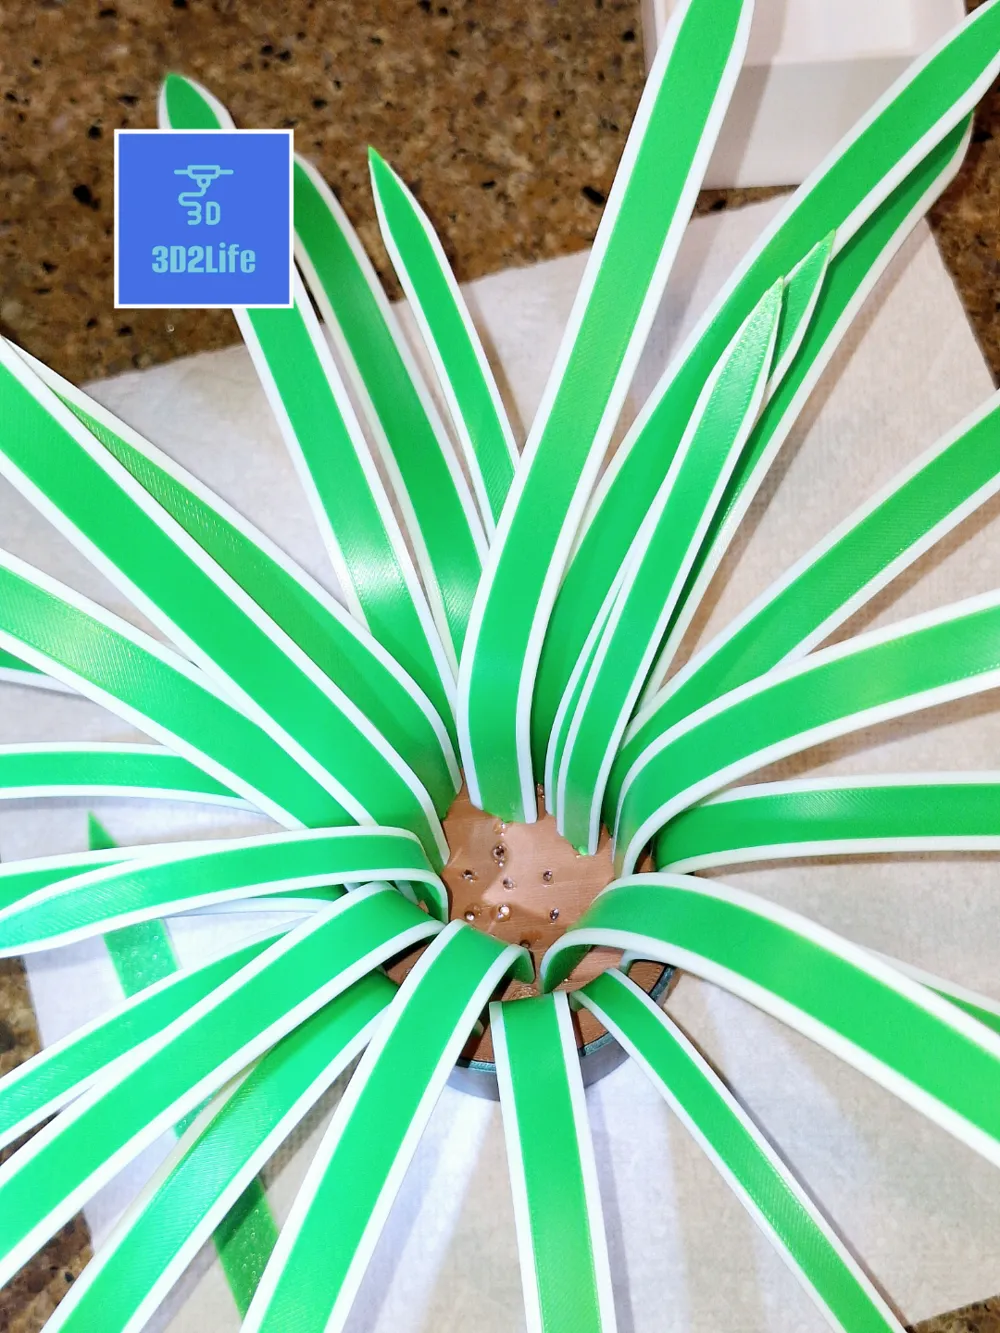
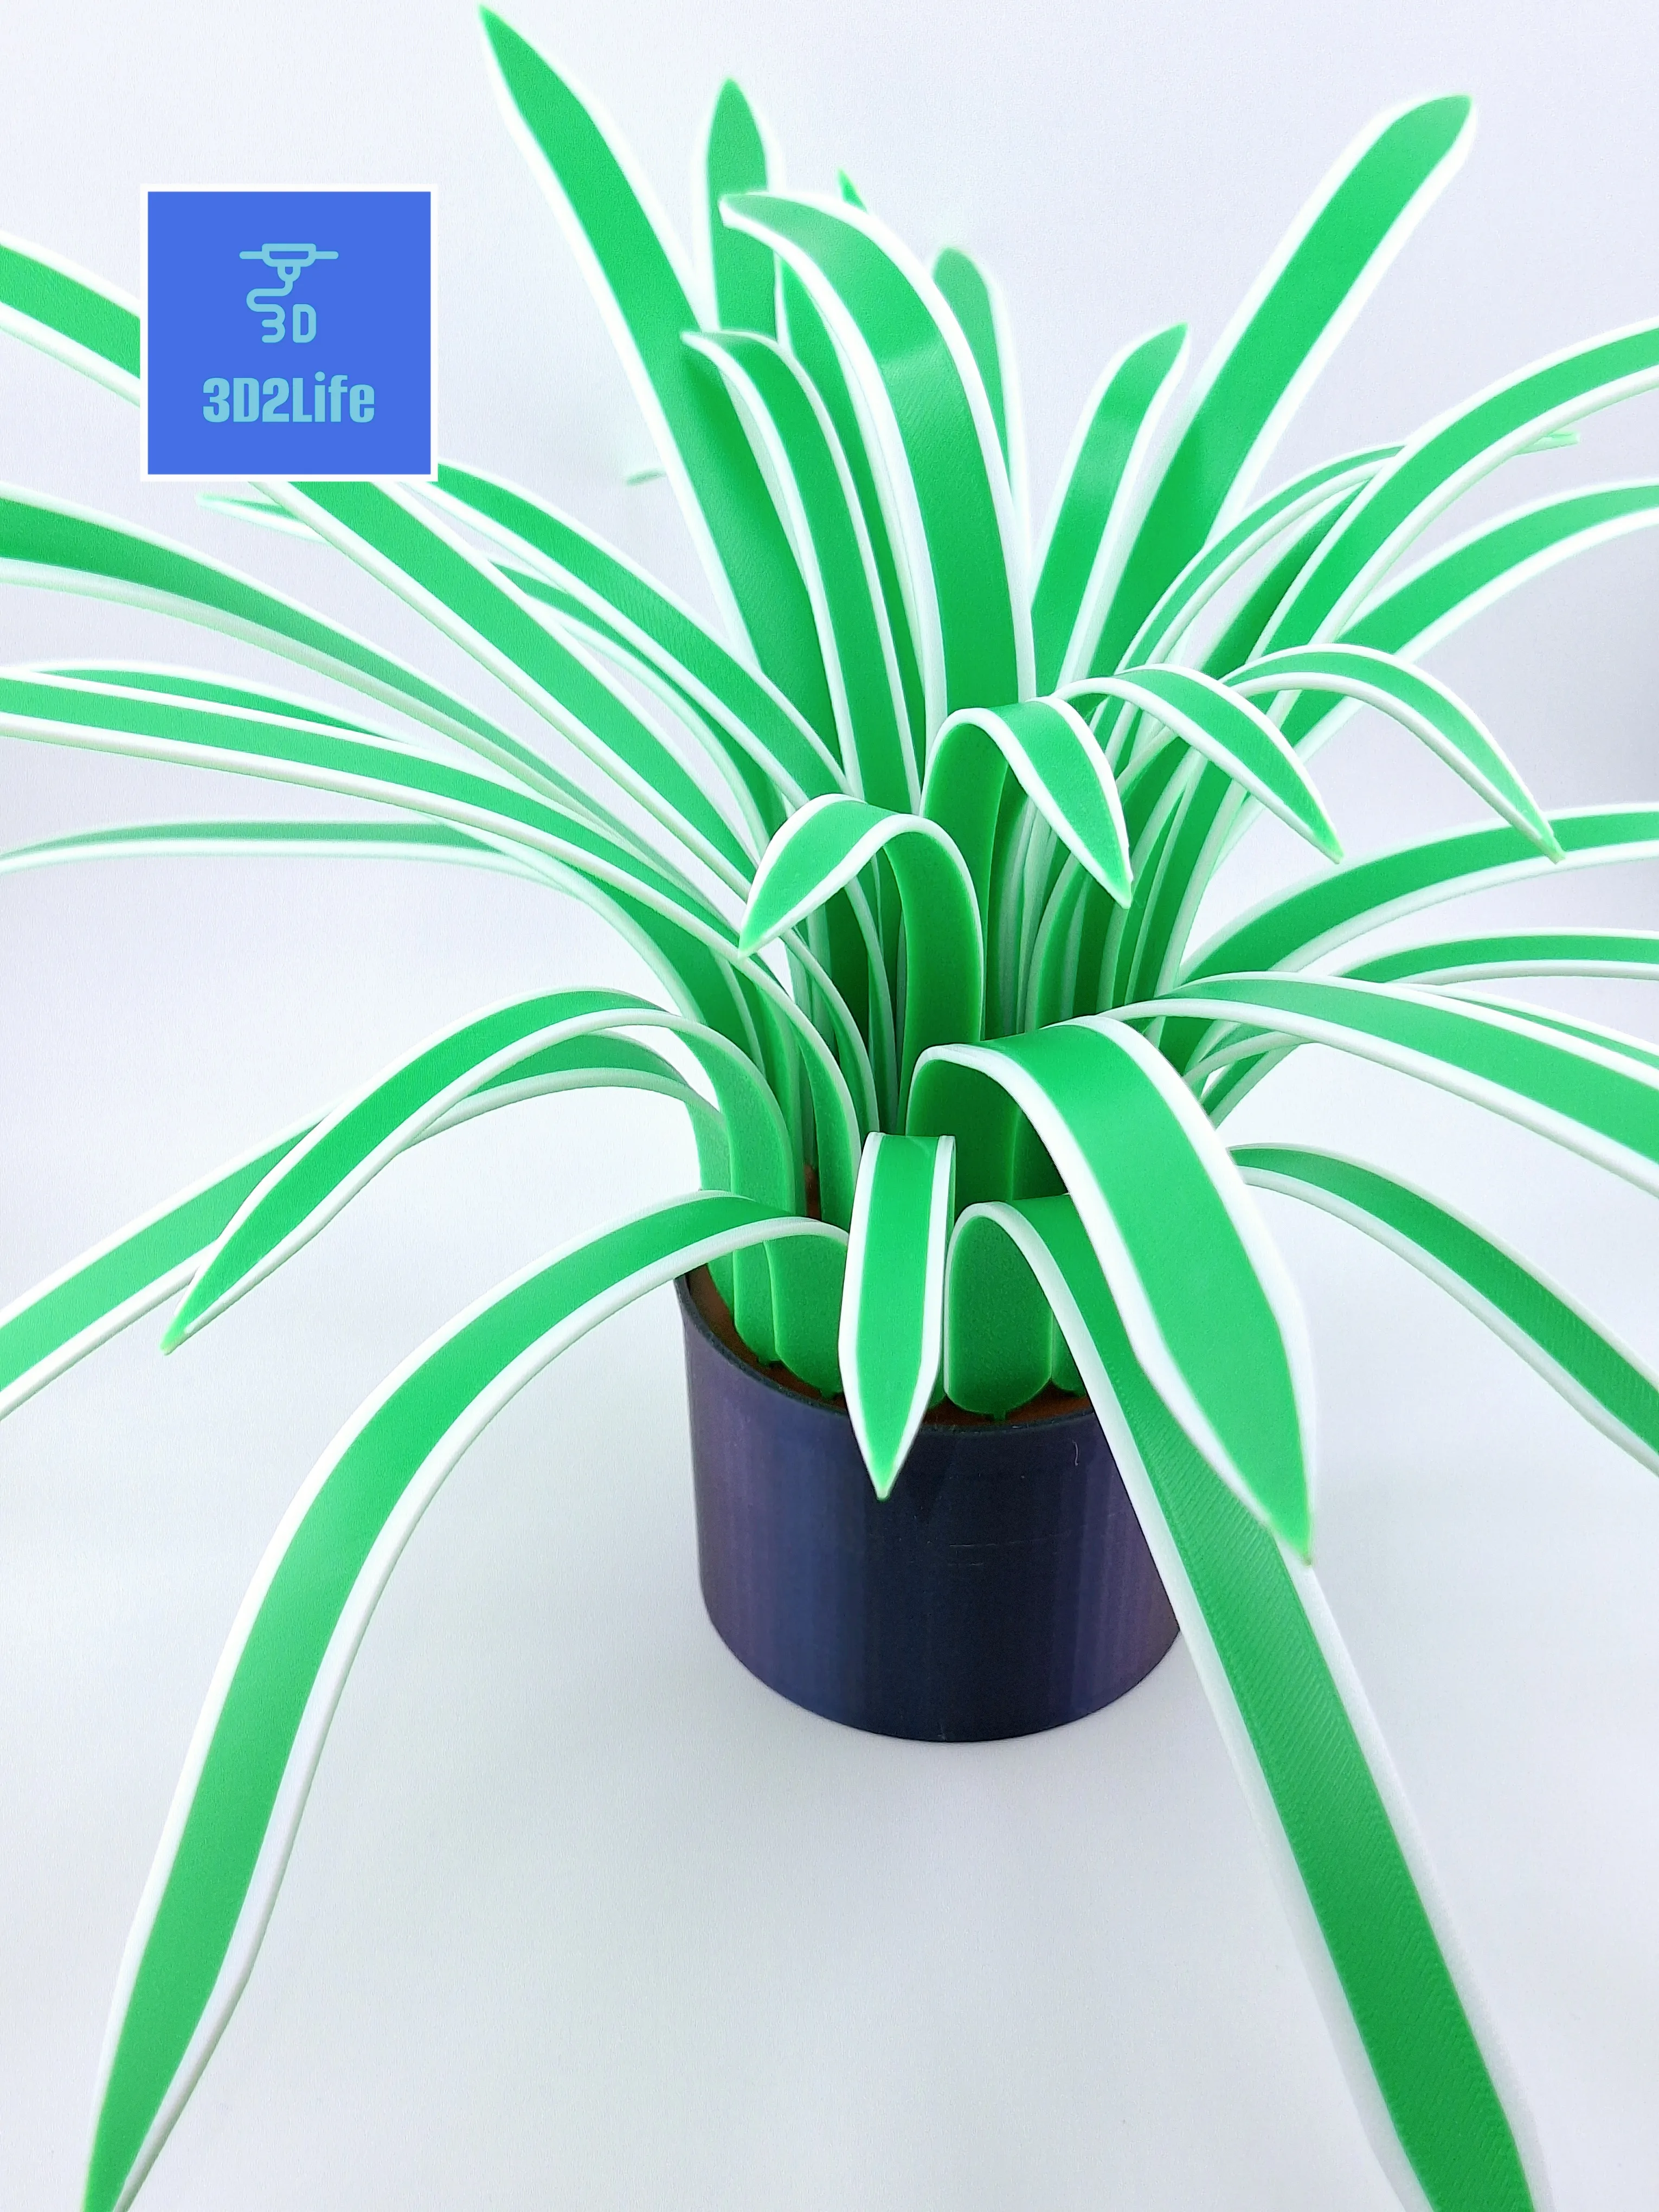
 This one is what the 36 hole base looks like! It's my favorite!
Boost Me (for free)
License

You shall not share, sub-license, sell, rent, host, transfer, or distribute in any way the digital or 3D printed versions of this object, nor any other derivative work of this object in its digital or physical format (including - but not limited to - remixes of this object, and hosting on other digital platforms). The objects may not be used without permission in any way whatsoever in which you charge money, or collect fees.


Comment & Rating (29)