
Creality K1c Upgrade Exhaust Radial-Fan+HEPAFilter
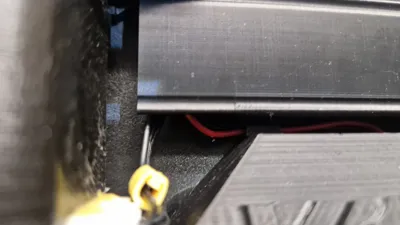
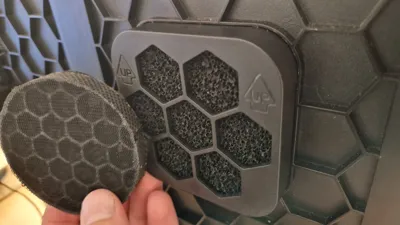
Print Profile(1)

Description
Ger:
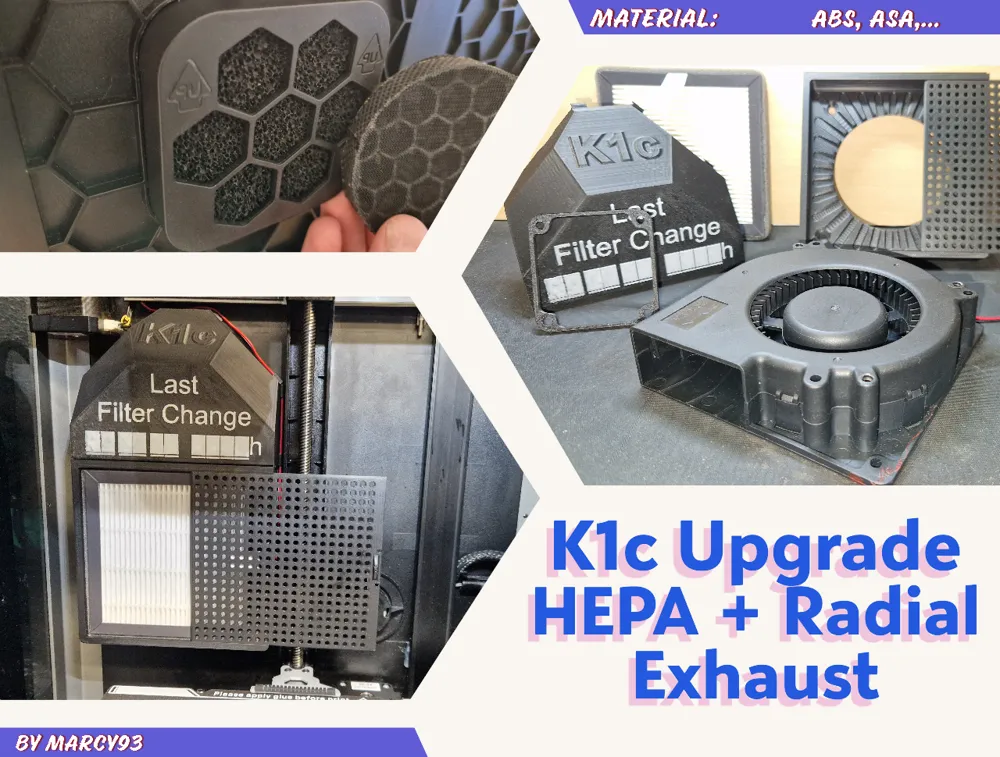
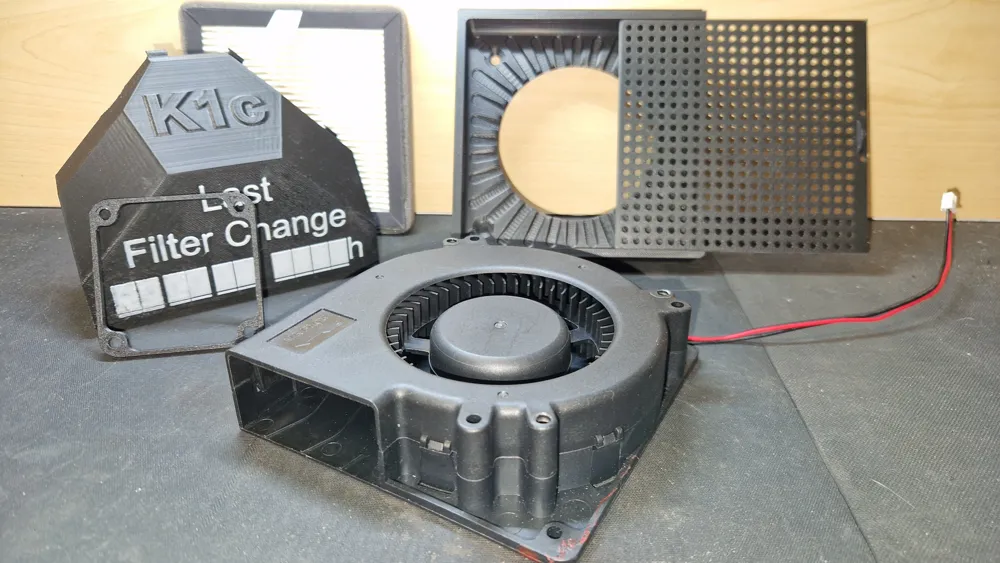
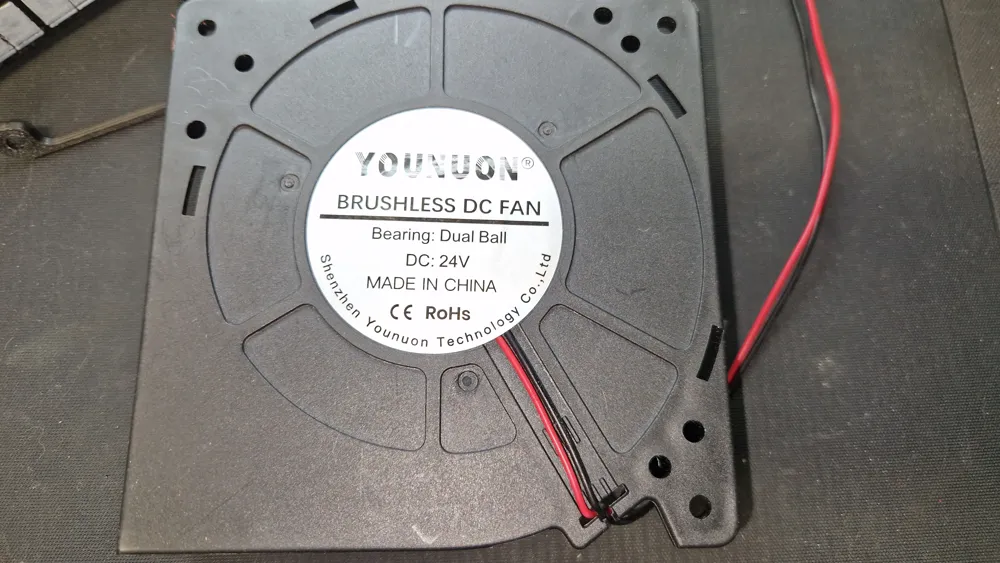
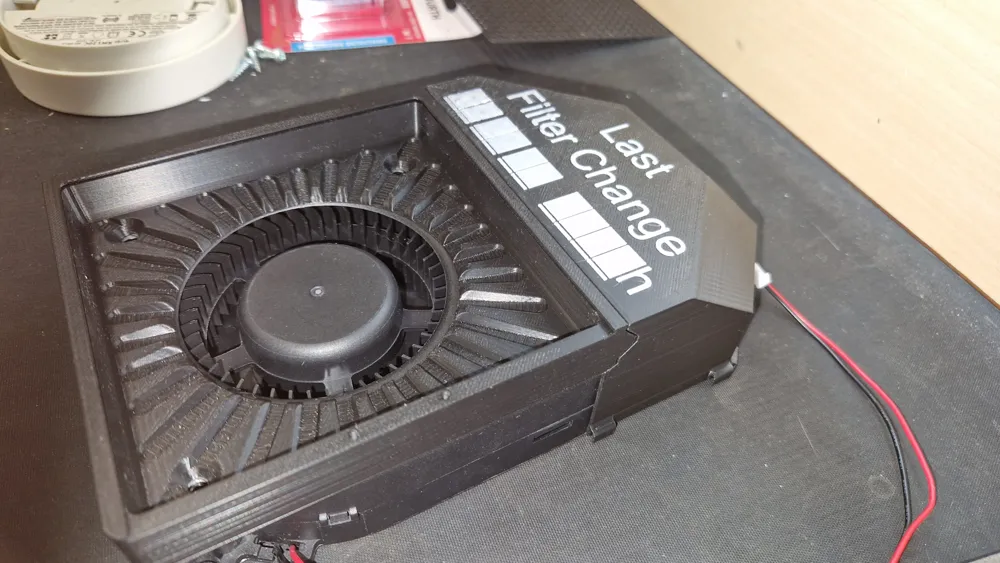
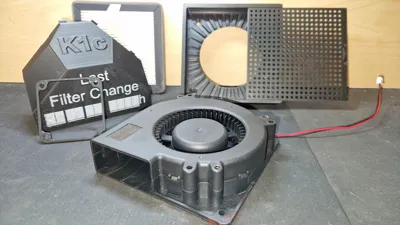
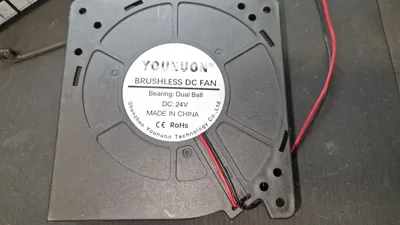
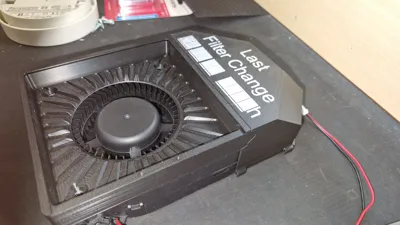
This modification replaces the original 24v axial fan with a high-performance 24v 0.5a radial fan (12032 = identical to the side fan model)
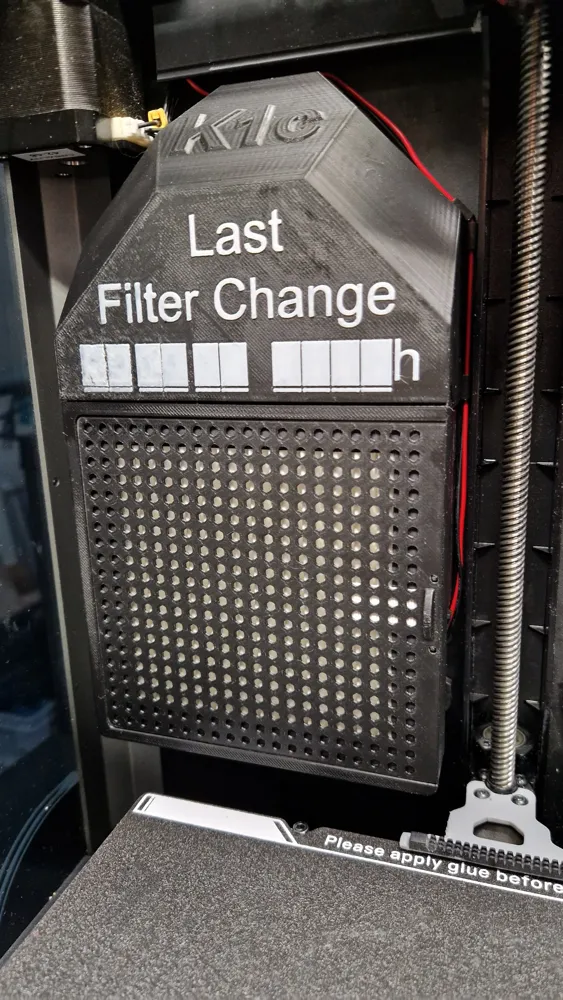
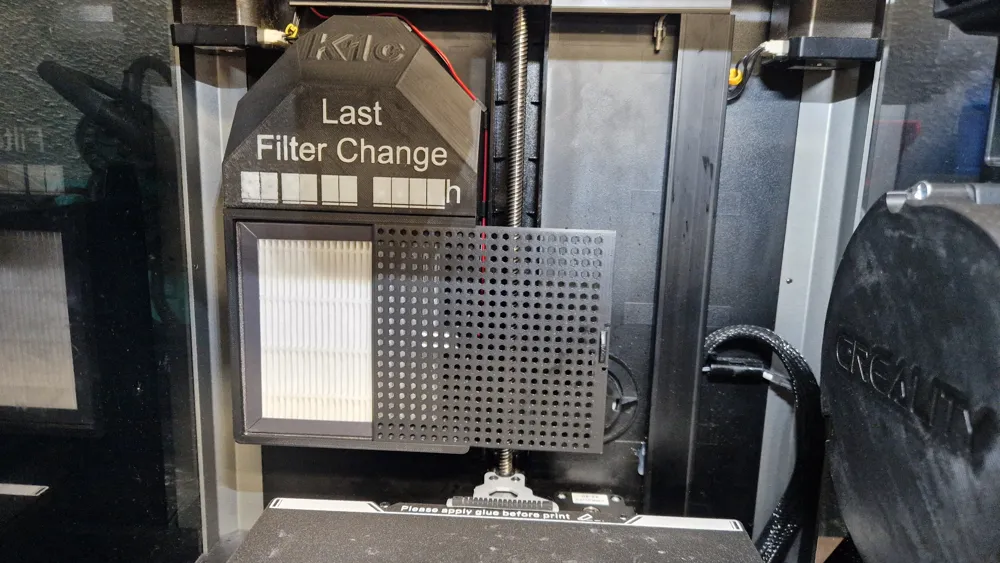
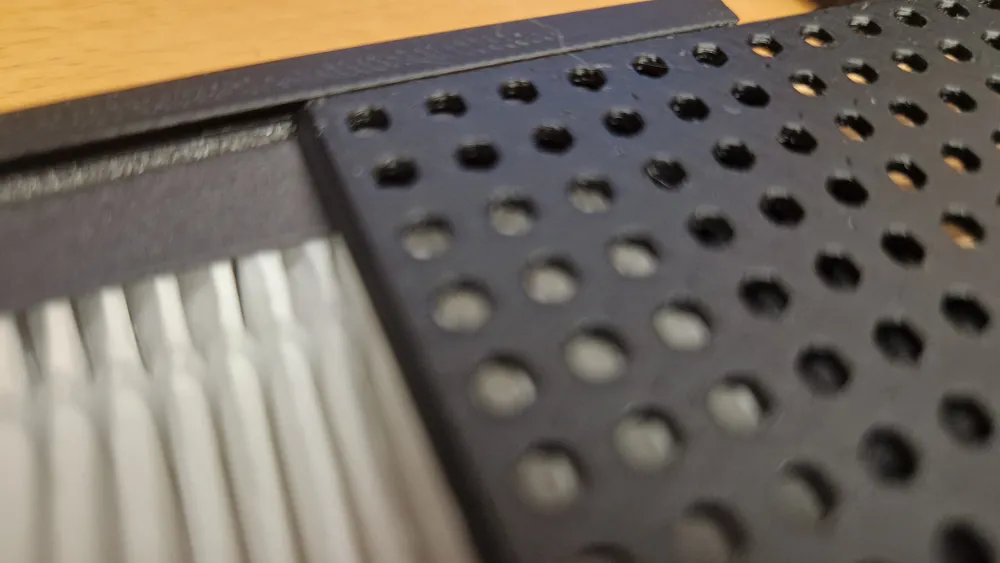
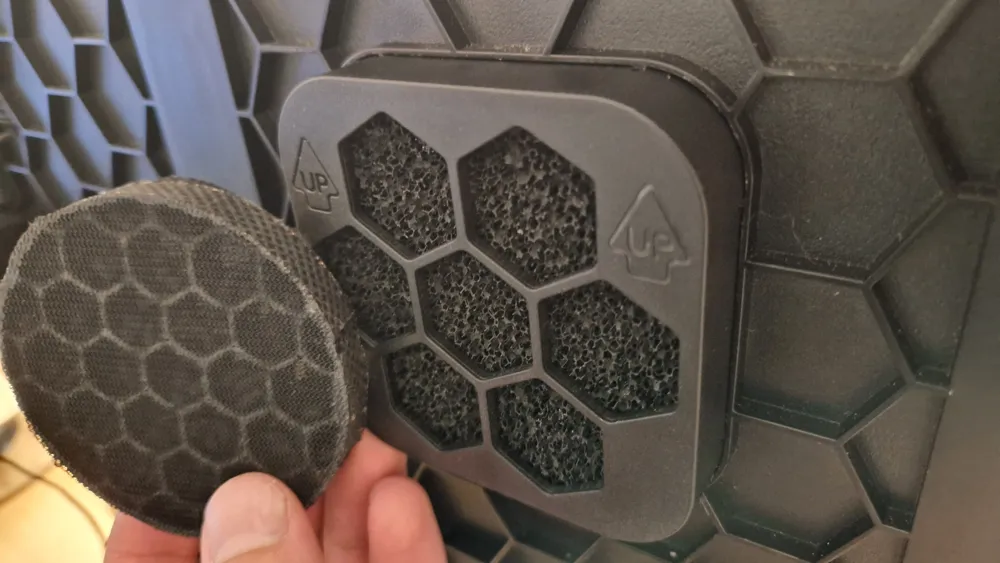
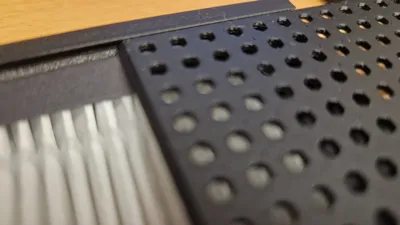
This configuration draws air through a HEPA filter, subsequently expelling it through an activated carbon filter.
(Designed for the K1c; compatibility with K1 or K1max models is undetermined)
Required Components:
- Radial fan 12032 24v 0.5a: 120MM Turbo Gebläse Fan 5V 12V 24V DC Buchse 12cm 120x120x3 2mm 12032 kreisel Lüfter AC 100V 220V 240V Gebläse - AliExpress 7
- HEPA filter 115x115x12mm: 3-in-1-Verbindungsfilter/HEPA-Filter für Nobico PM2.5, Staub, Formaldehyd, Pollen, Gerüche, Luftreiniger, Teile, Ersatzfilter - AliExpress 6
- Activated carbon filter mat for self-cutting / Original Creality activated carbon filter 5Pcs Hohe Dichte Aktivkohle Schaum 130*130*10mm Filter Solder Rauch Absorber ESD Fume Extractor für Luft Filtration Werkzeuge - AliExpress 1420
- Self-tapping screws or screws with nuts
- Adhesive may be an alternative fastening method, though not initially intended
Print Settings:
- Material: ABS, PETG, ASA, or any filament maintaining dimensional stability at slightly elevated temperatures
- Supports: Tree (auto)
- Layer height: 0.08-0.2mm (0.10mm used in this instance)
- Minimum wall thickness: 2mm
Installation Notes:
This modification involves printer alterations, undertaken entirely at the user's risk. No liability is assumed for any resulting damage; proceed only with complete confidence in your abilities.
(This guide, targeting experienced users and professionals, omits excessive detail)
- If a nozzle cleaning rubber holder is installed, ensure it does not interfere with the sliding cover.
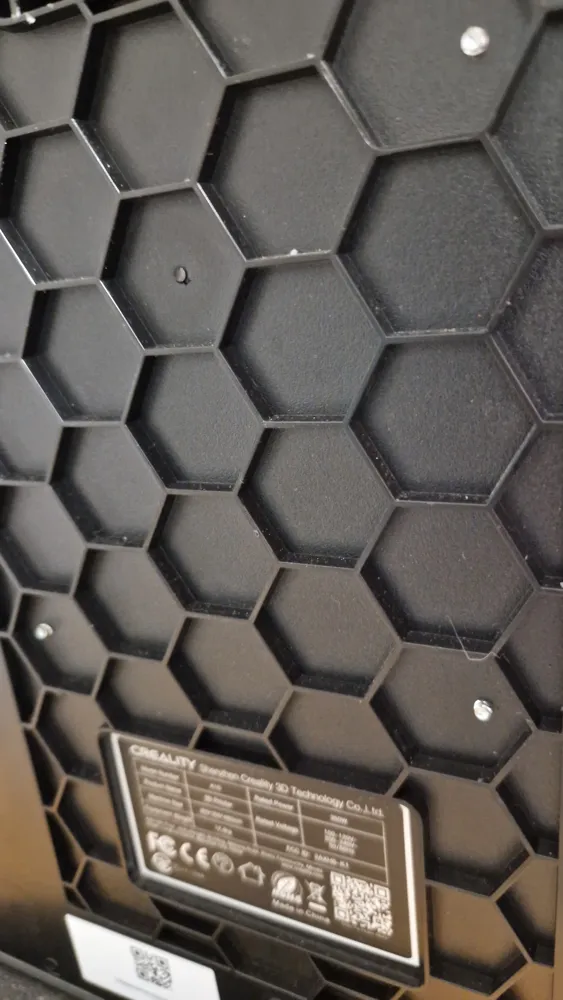
- At maximum speed, the print chamber experiences greater air extraction than inflow; this factor requires consideration. Consequently, a Ø20mm hole was drilled into the filament holder, accommodating an air filter.
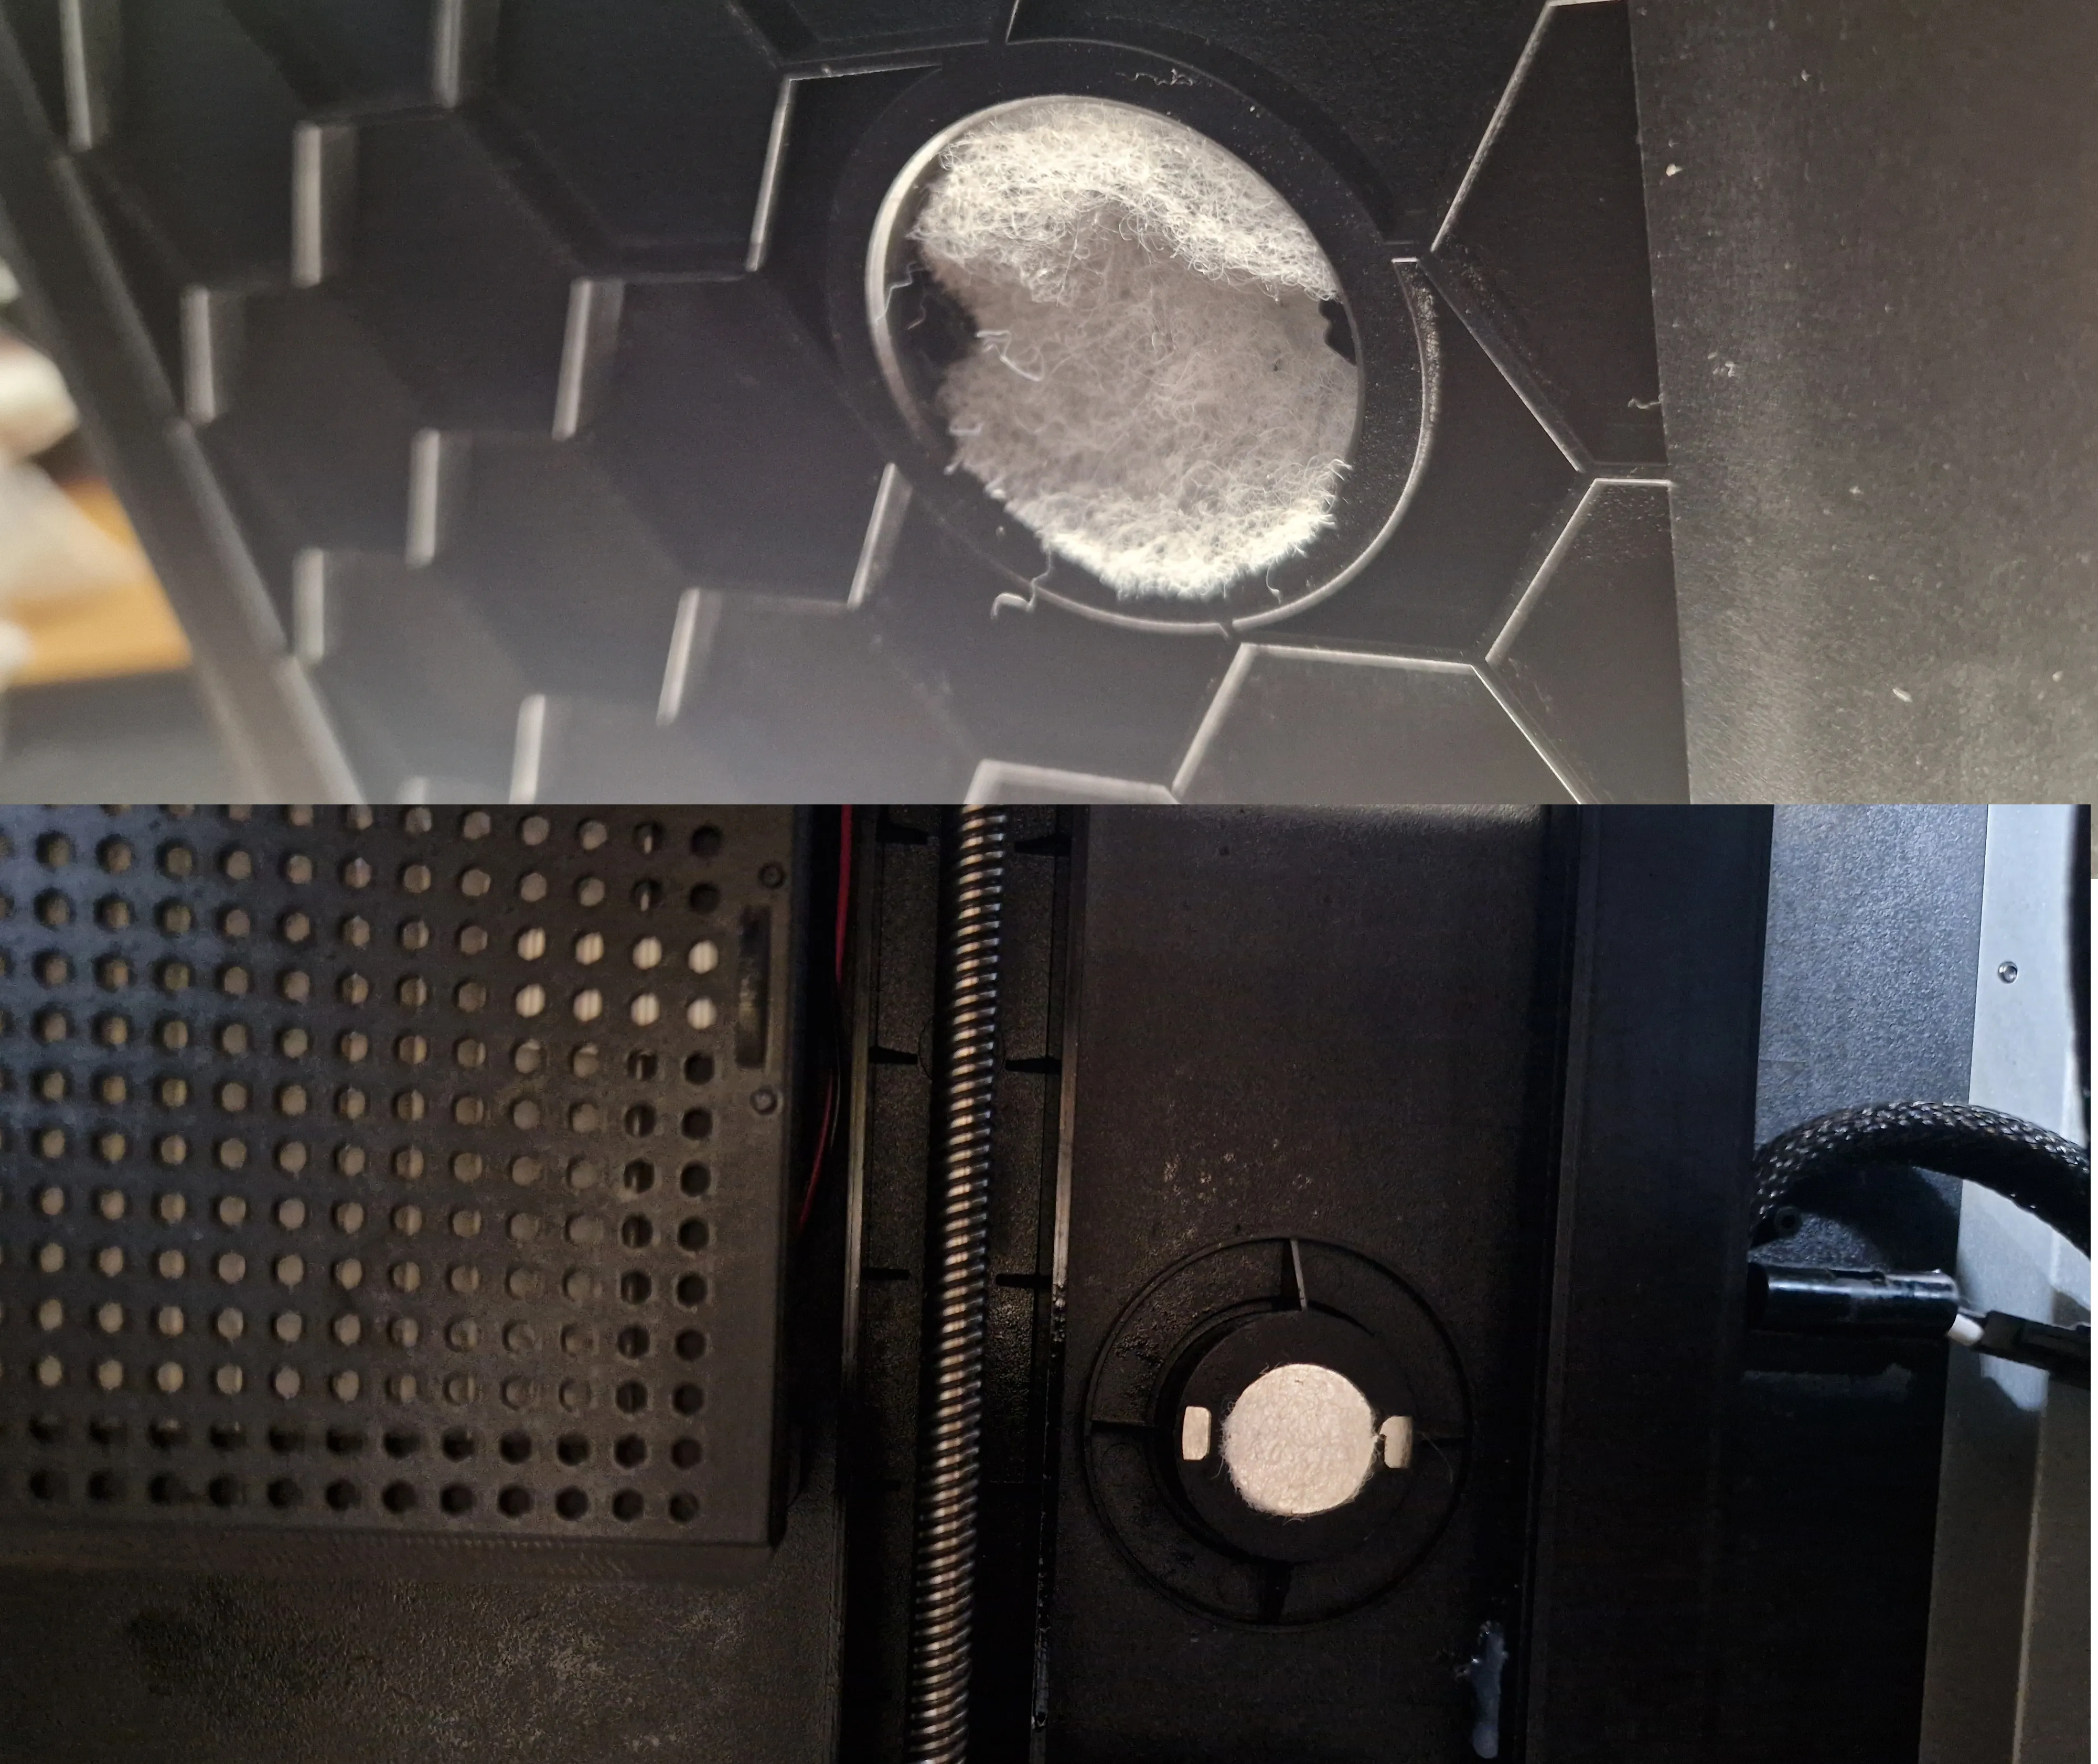
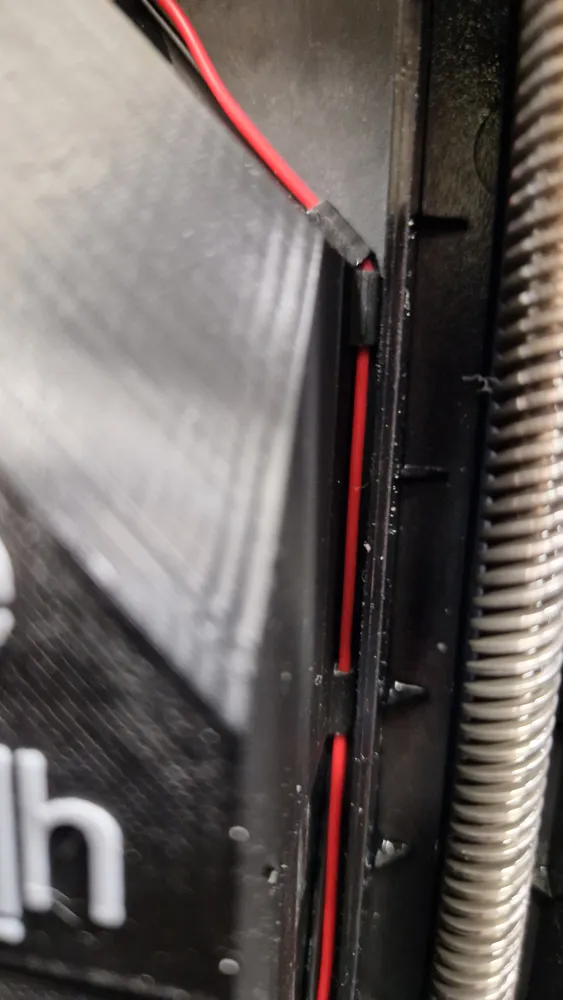
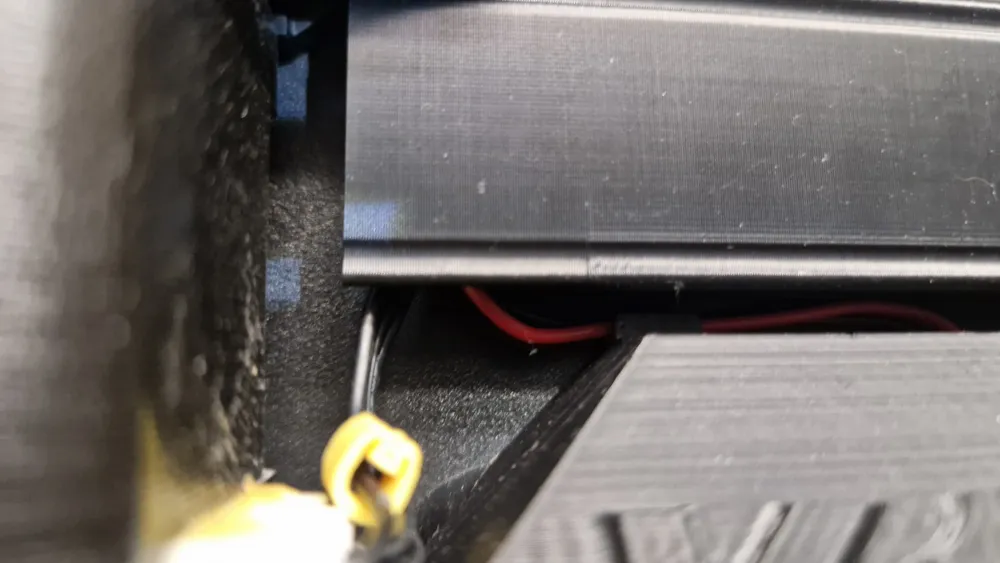
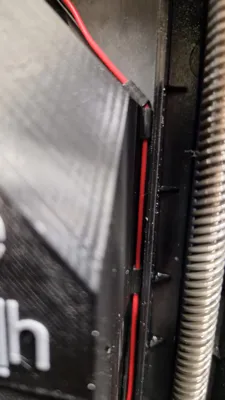
- Before tightening the air duct, secure the cable.
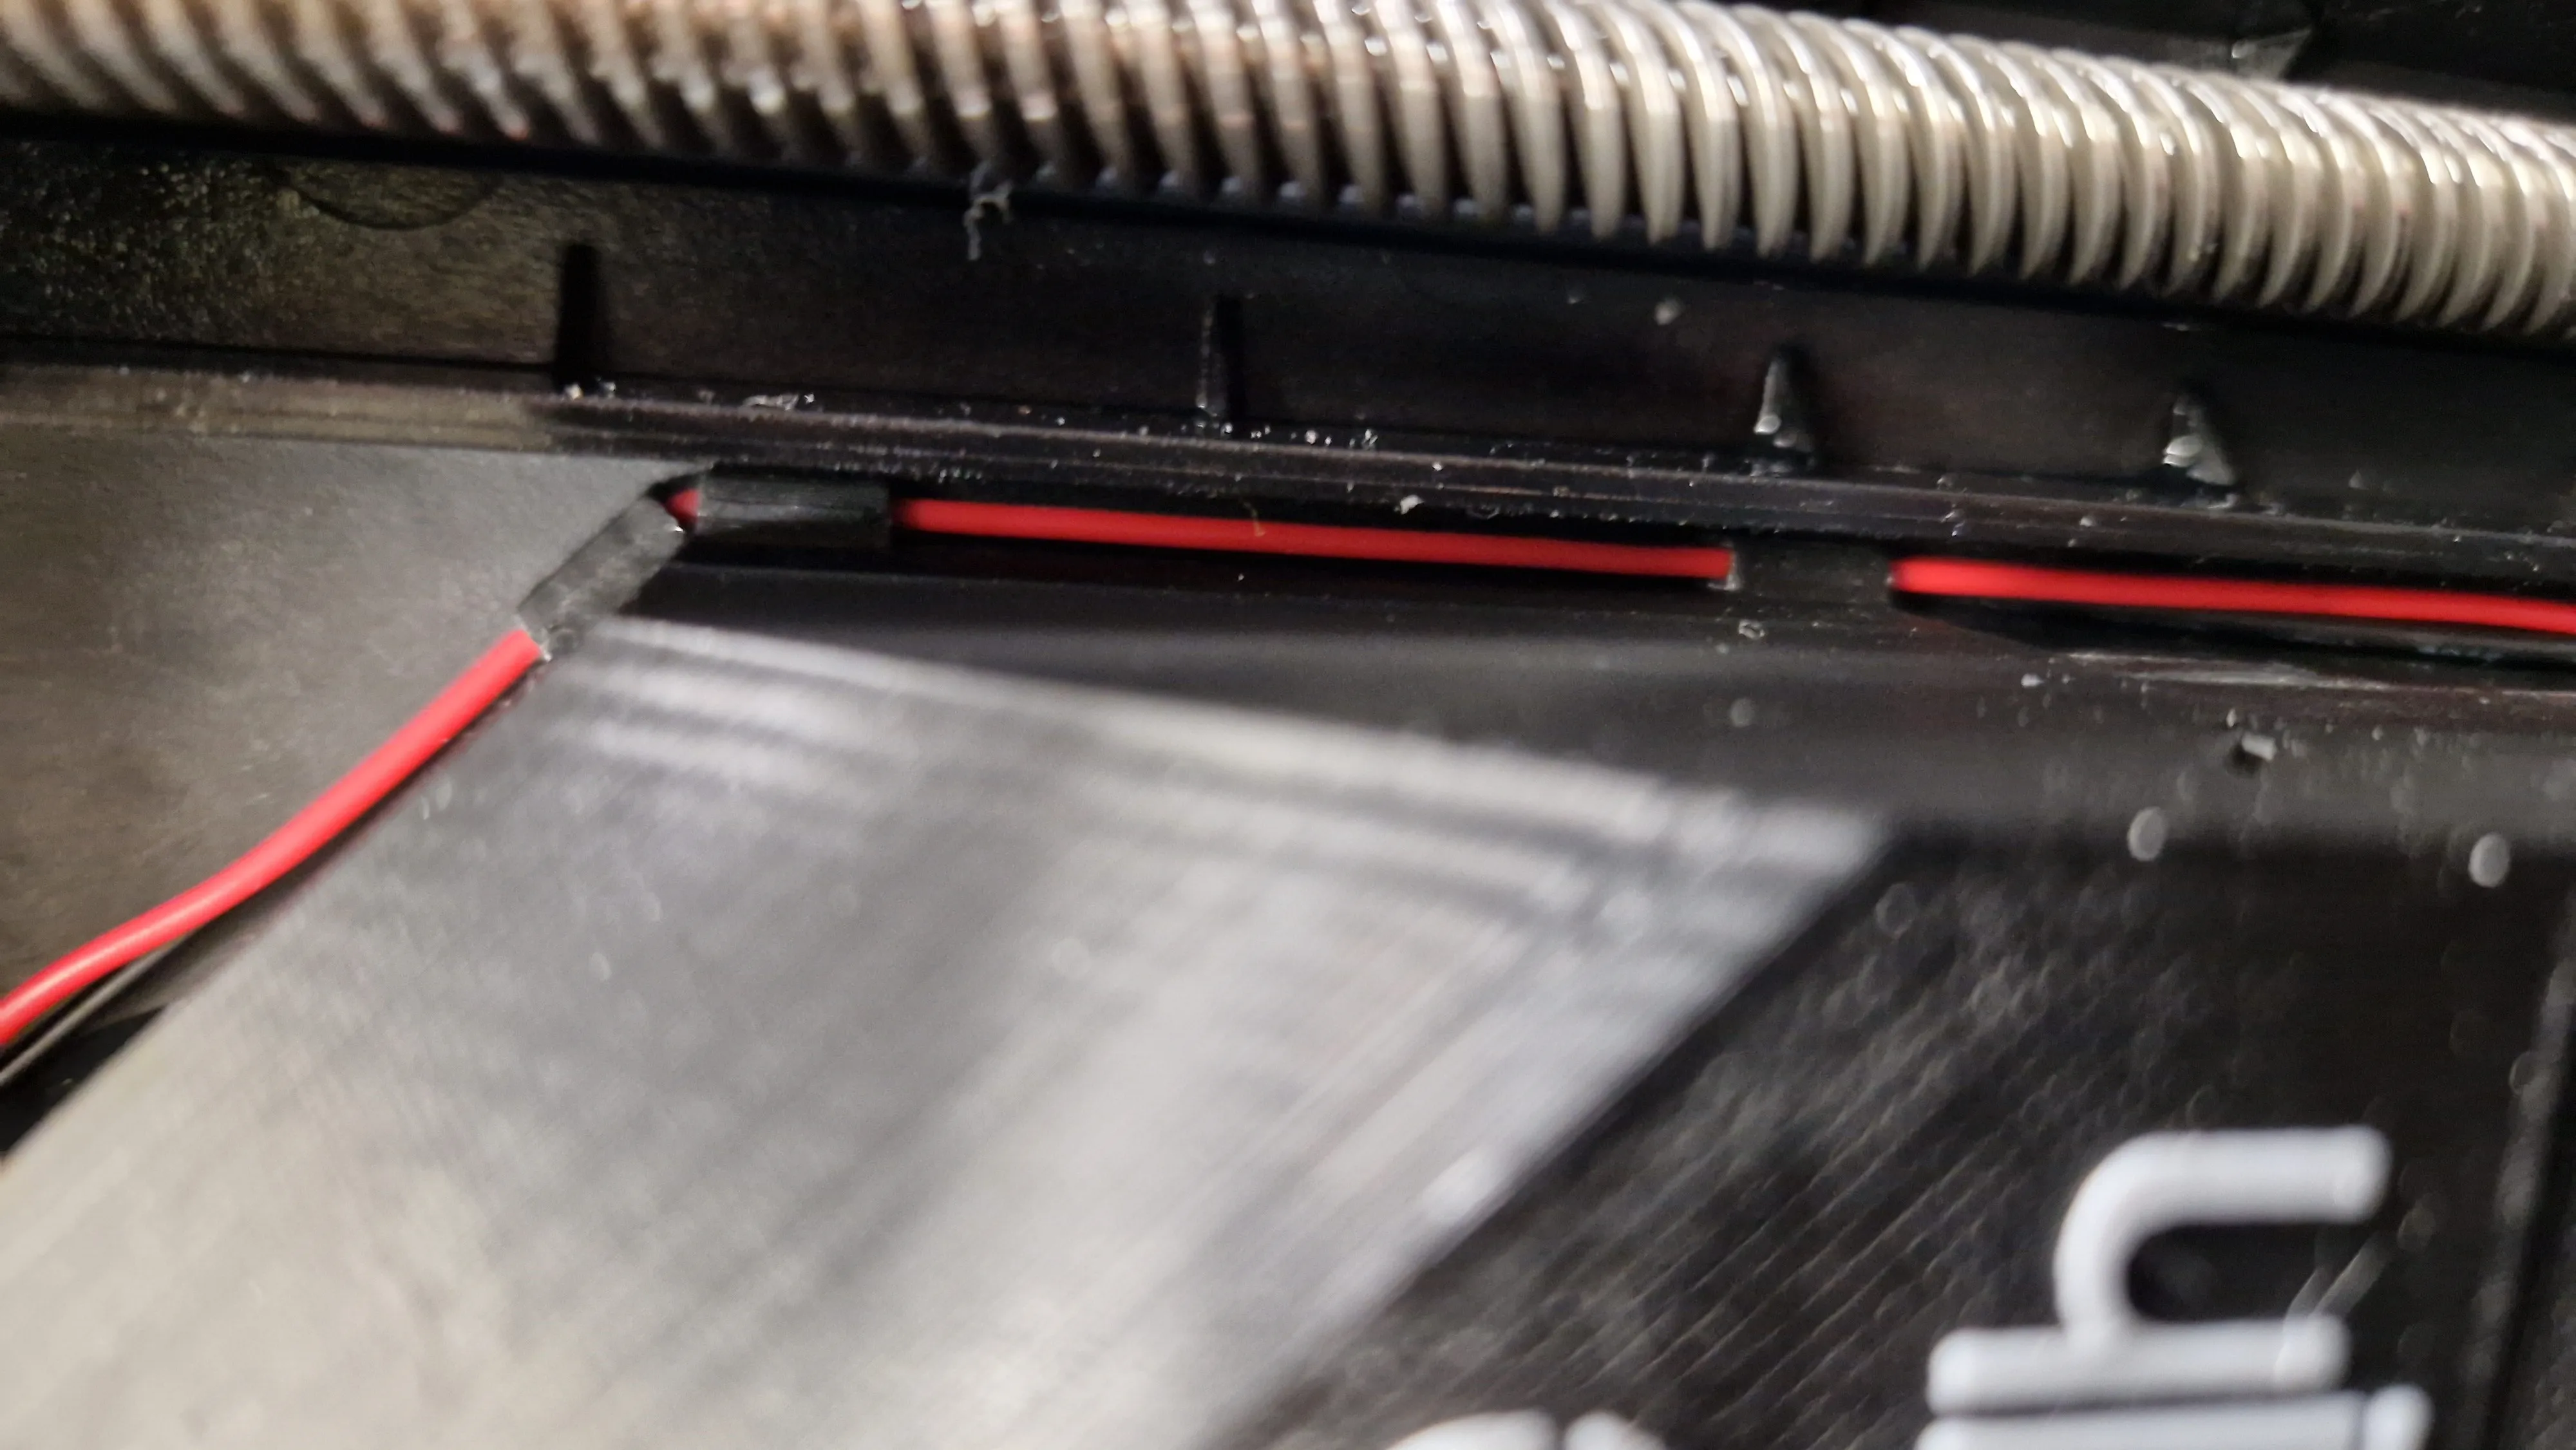
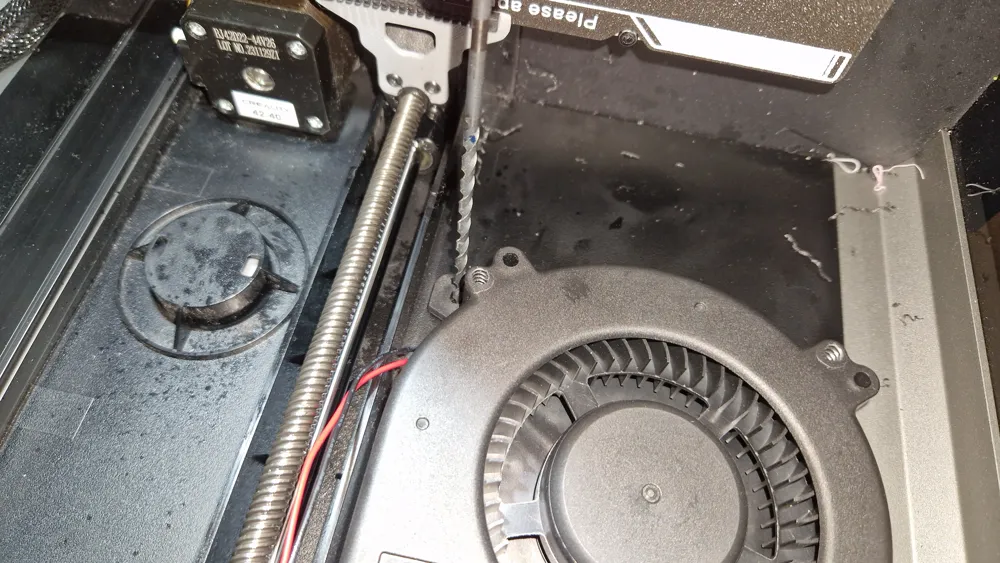
- Precise hole placement for the fan is crucial during drilling.
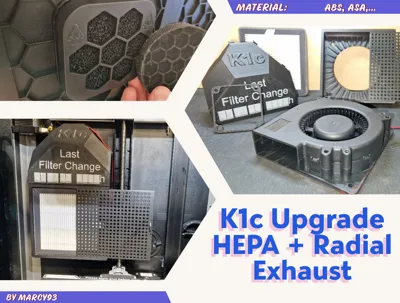
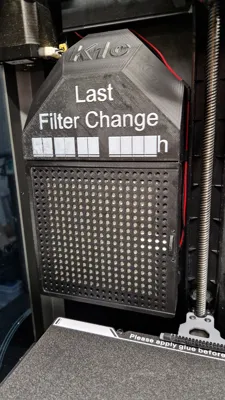
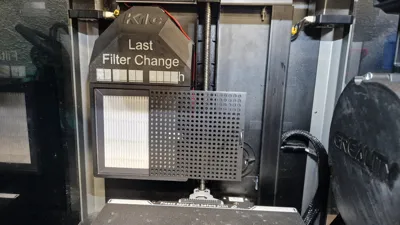
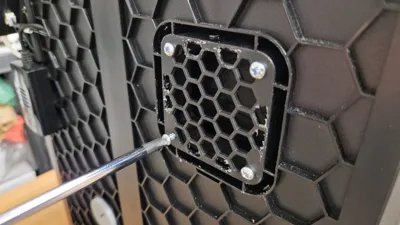
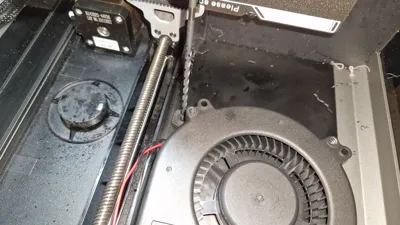
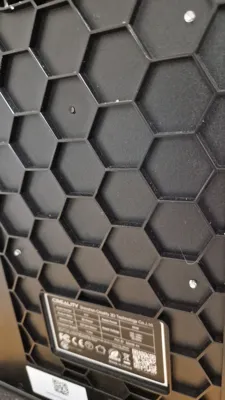
Installation (Refer to Images Above)
- Mount the air duct
- Securely press the fan against the air duct
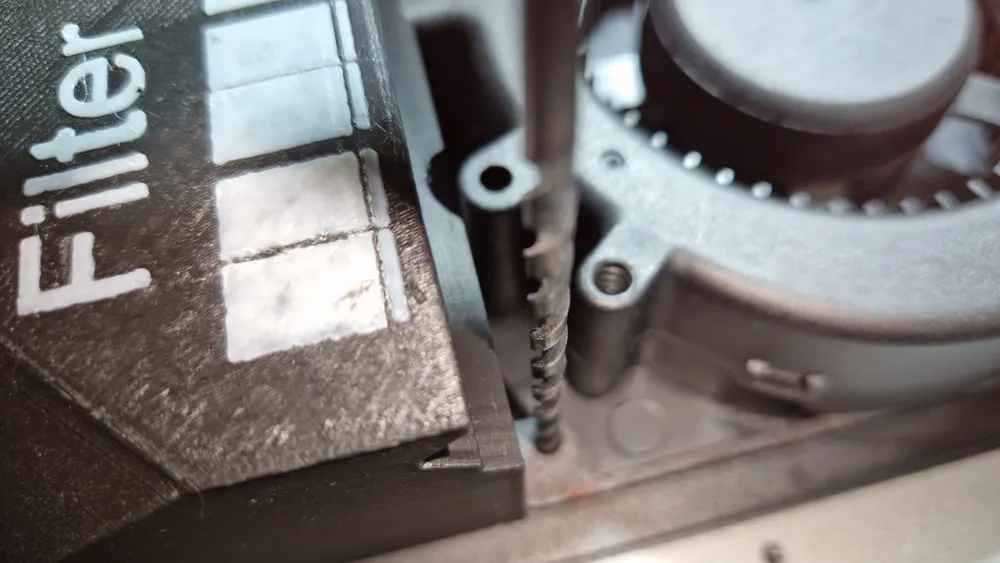
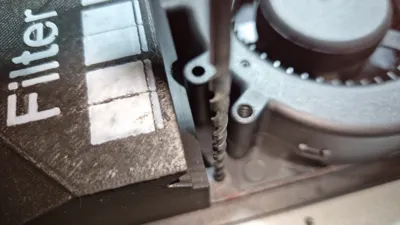
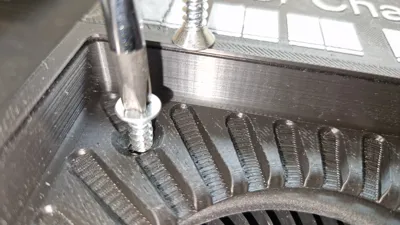
- Insert the drill bit through the fan's apertures and manually rotate to mark the position
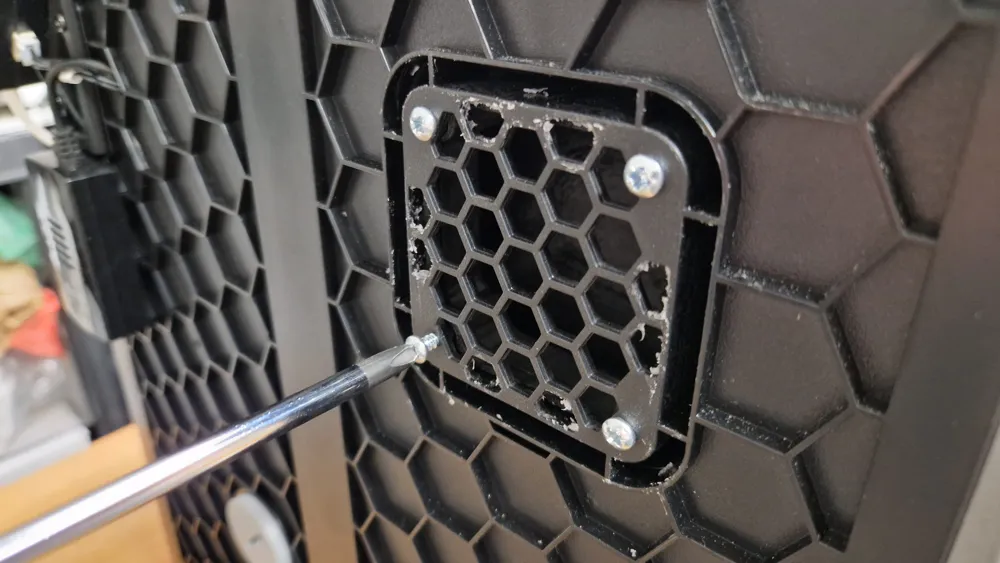
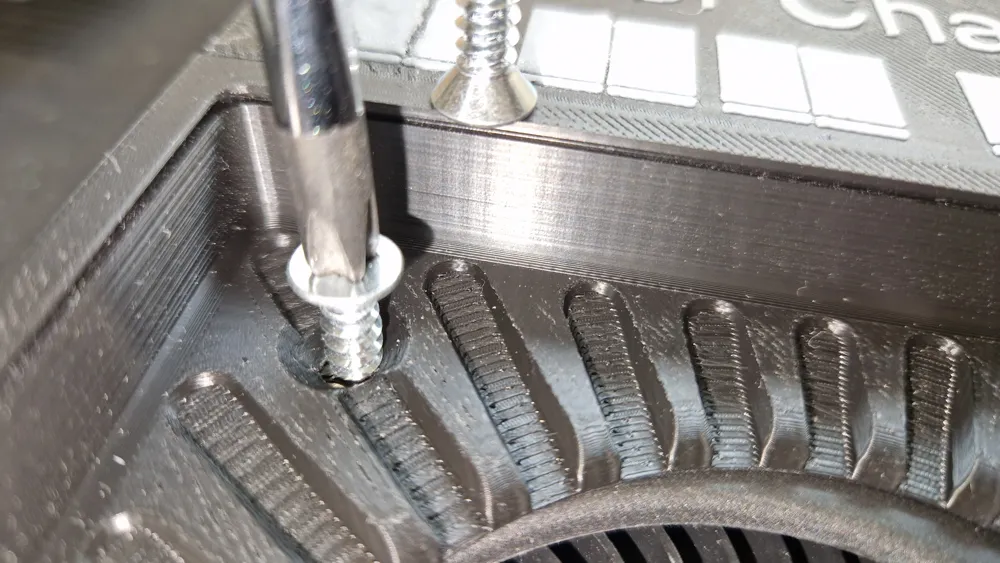
- Drill the holes and affix the fan to the enclosure using either self-tapping screws or screws with nuts
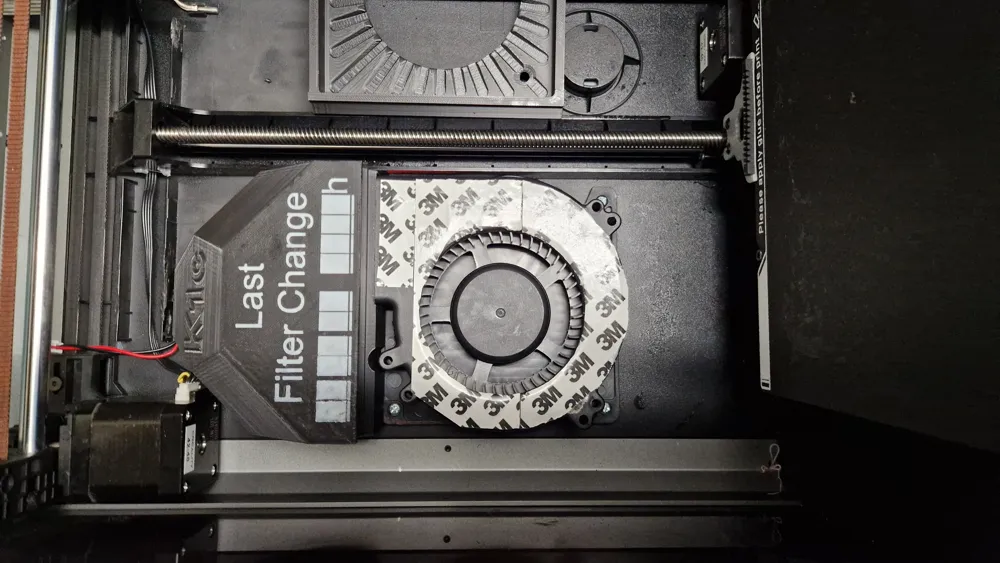
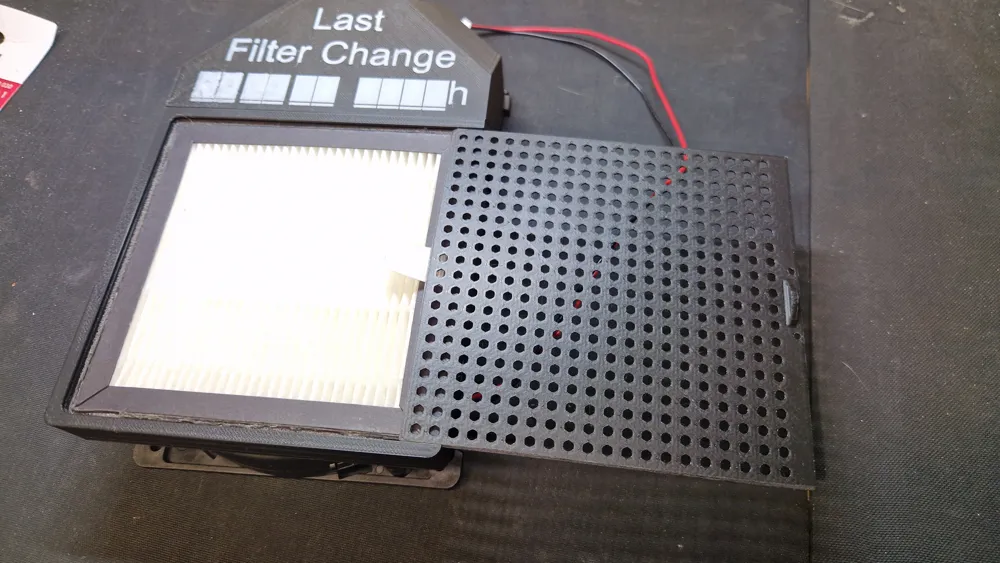
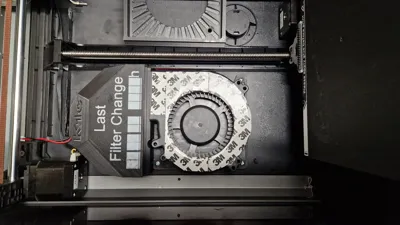
- Attach the filter housing to the fan (optional: augment with thin double-sided adhesive tape for enhanced stability and sealing)
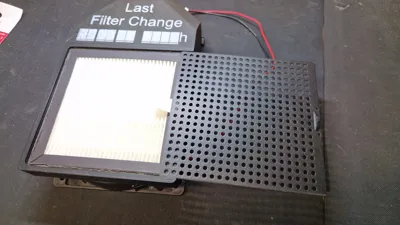
- Insert the filter
- Gently lift and slide the sliding cover into place until it engages with the retaining pins. Repeat the gentle lift to open.

For simplified filter replacement, this macro has been incorporated into the printer:
[gcode_macro Filter_Change] gcode: G90 G28 SET_PIN PIN=fan1 VALUE=0 G0 Z230 F600
[Feel free to contact me with questions, suggestions, or minor modification requests. Your support is also greatly appreciated :D https://www.paypal.com/paypalme/clwmarcy ]
Eng:
This upgrade replaces the original 24v axial fan with a high-performance 24v 0.5a radial fan (12032 = same model as the side fan)
It draws air through a HEPA filter and expels it through an activated carbon filter
(Intended for the K1c, I don't know if it's compatible with the K1 or K1max)
Purchased parts:
- Radial fan 12032 24v 0.5a: 120MM Turbo Gebläse Fan 5V 12V 24V DC Buchse 12cm 120x120x3 2mm 12032 kreisel Lüfter AC 100V 220V 240V Gebläse - AliExpress 7
- HEPA filter 115x115x12mm: 3-in-1-Verbindungsfilter/HEPA-Filter für Nobico PM2.5, Staub, Formaldehyd, Pollen, Gerüche, Luftreiniger, Teile, Ersatzfilter - AliExpress 6
- Activated carbon filter mat for self-cutting / Original Creality activated carbon filter 5Pcs Hohe Dichte Aktivkohle Schaum 130*130*10mm Filter Solder Rauch Absorber ESD Fume Extractor für Luft Filtration Werkzeuge - AliExpress 1420
- Self-tapping screws or screws with nuts
- Alternatively, adhesive may be used, but this was not my initial approach
Print settings:
- Material: ABS, PETG, ASA, or other dimensionally stable filament at slightly elevated temperatures
- Supports: Tree (auto)
- Layer height: 0.08-0.2mm (I used 0.10mm)
- Minimum wall thickness: 2mm
Installation instructions:
This modification alters the printer; proceed at your own risk. I assume no liability for any damage; use only if confident in your abilities.
(This guide, for experienced users and professionals, is less detailed)
- If you have a nozzle cleaning rubber holder, ensure it won't hit the sliding cover.
- At full speed, more air is extracted than supplied; consider this. I drilled a Ø20mm hole in the filament holder and added an air filter.
- Before fastening the air duct, secure the cable.
- When drilling the fan holes, ensure precise placement.
Installation (see images above)
- Install the air duct
- Press the fan firmly against the air duct
- Insert the drill bit through the fan holes and manually rotate to mark the positions
- Drill the holes and attach the fan using self-tapping screws or screws and nuts
- Screw on the filter housing (optionally add thin double-sided tape for better grip and sealing)
- Insert the filter
- Slightly lift and slide in the cover until it clicks into place. Lift slightly again to open.

For easier filter changes, I added this macro:
[gcode_macro Filter_Change] gcode: G90 G28 SET_PIN PIN=fan1 VALUE=0 G0 Z230 F600
[Feel free to contact me with questions, suggestions, or small changes, or if you'd like to support me :D https://www.paypal.com/paypalme/clwmarcy ]
I extend my gratitude to HENLOR Henlor | Veröffentlicht - MakerWorld , whose K1 CAD files proved invaluable during modeling, significantly reducing measurement time.
Explore his other creations
License

You shall not share, sub-license, sell, rent, host, transfer, or distribute in any way the digital or 3D printed versions of this object, nor any other derivative work of this object in its digital or physical format (including - but not limited to - remixes of this object, and hosting on other digital platforms). The objects may not be used without permission in any way whatsoever in which you charge money, or collect fees.


Comment & Rating (0)