
MagLev Tardis




Print Profile(2)


Bill of Materials




Description
Maglev TARDIS – A 3D Printable Levitating Time Machine

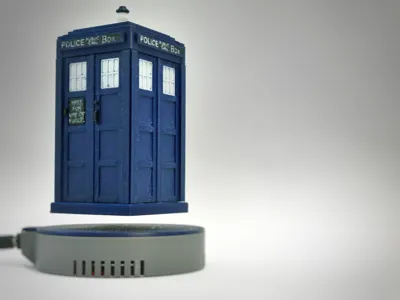
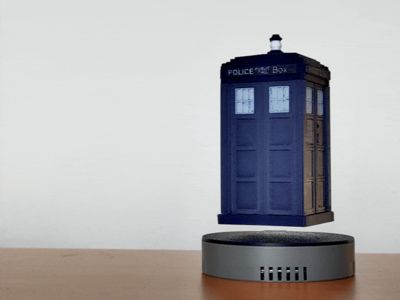
Bring a piece of time-traveling magic to your desk with the Maglev TARDIS, a 3D printable model designed to float effortlessly using the Bambulab Magnetic Levitation Kit. This highly detailed and iconic design is inspired by the classic British police box, making it an eye-catching display for any fan.
Key Features:
- Levitating Design: Utilizing magnetic levitation technology, the TARDIS hovers above its base, spinning smoothly and creating a mesmerizing display.
- Highly Detailed 3D Model: Every panel, window, and sign is carefully crafted for accuracy and aesthetic appeal.
- Push-Pin Assembly: The TARDIS pieces are designed to be assembled using push pins that lock securely into place, ensuring easy and sturdy construction.

- Integrated Lighting: The top lamp and windows are illuminated by the maglev puck from the Bambulab kit, enhancing the display with a soft glow.
- Control Panel Design: The top side of the lower base is modeled after the iconic control panel for added detail and authenticity.
- Perfect Fit for Bambulab Maglev Kit: Custom-made to work seamlessly with the magnetic levitation system, ensuring a stable and balanced levitation.
Whether you’re a Whovian, a maker, or a tech enthusiast, this Maglev TARDIS is a must-have. Download now and start your journey through time and space!
Assembly Instructions for Maglev TARDIS
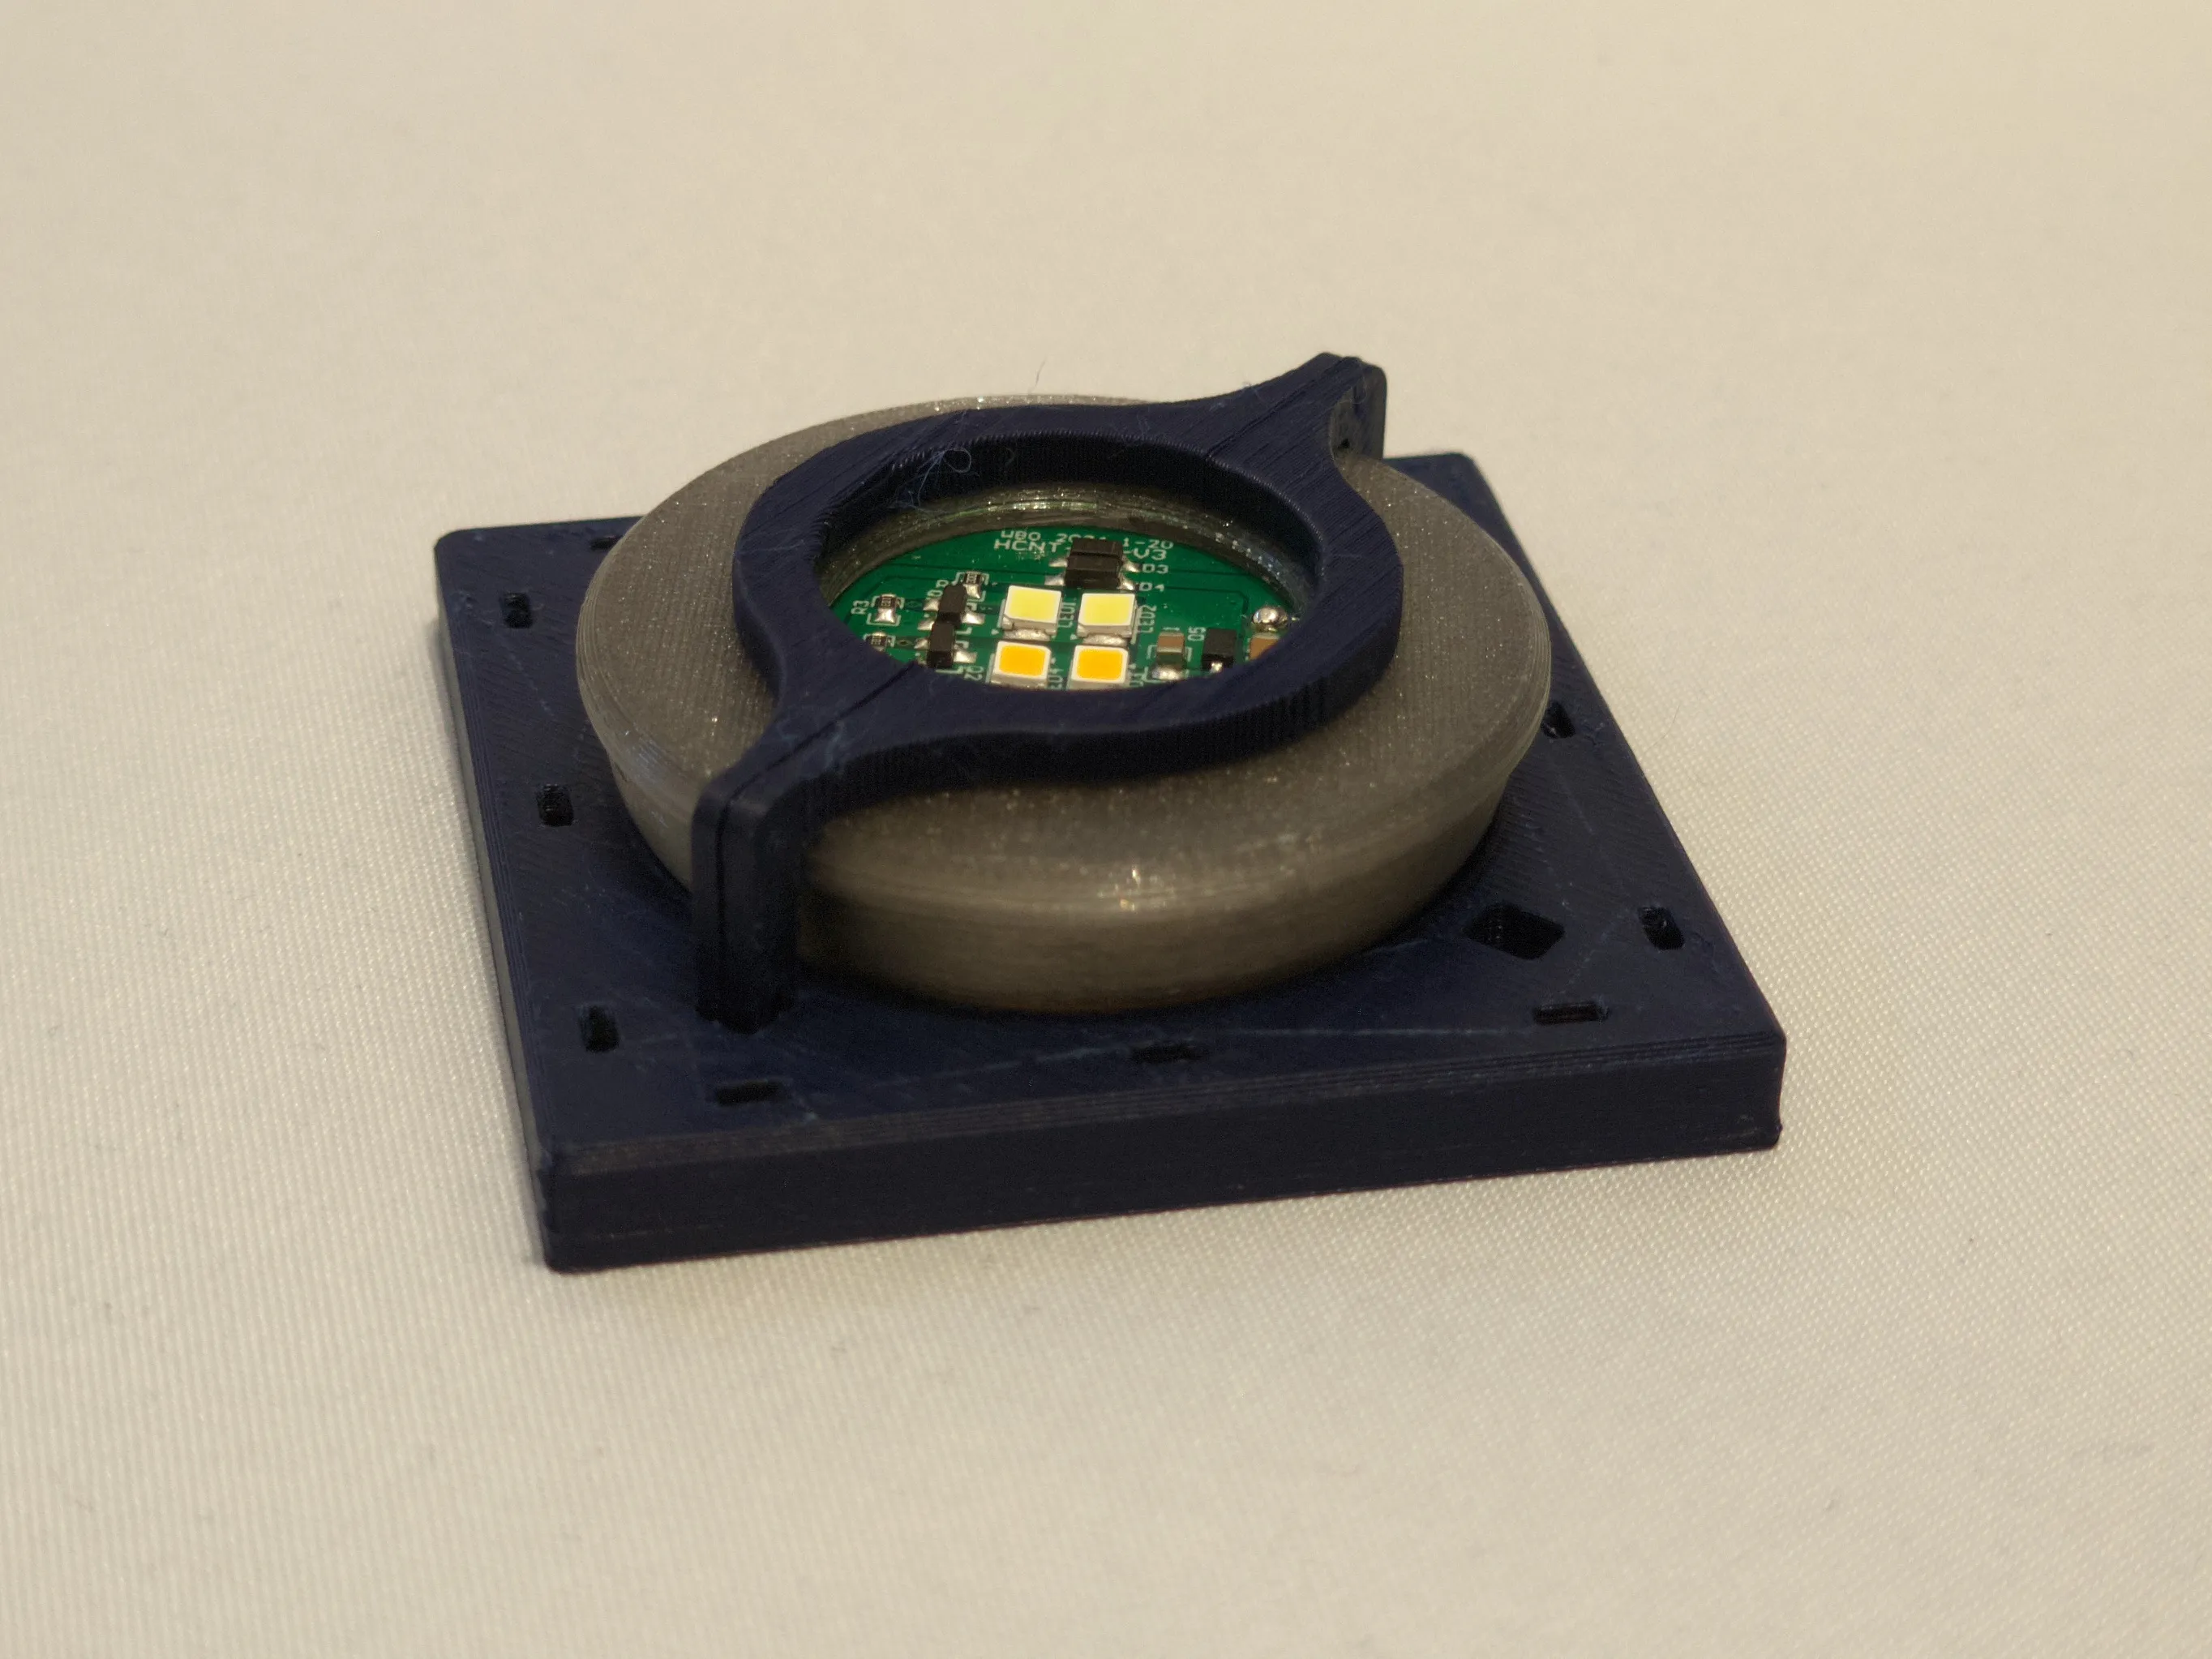
Secure the Maglev Puck: Place the Bambulab maglev puck into the bottom piece and secure it using the integrated clamps.
- Attach the Sidewalls: Connect all sidewall panels to the top piece using the built-in slots.
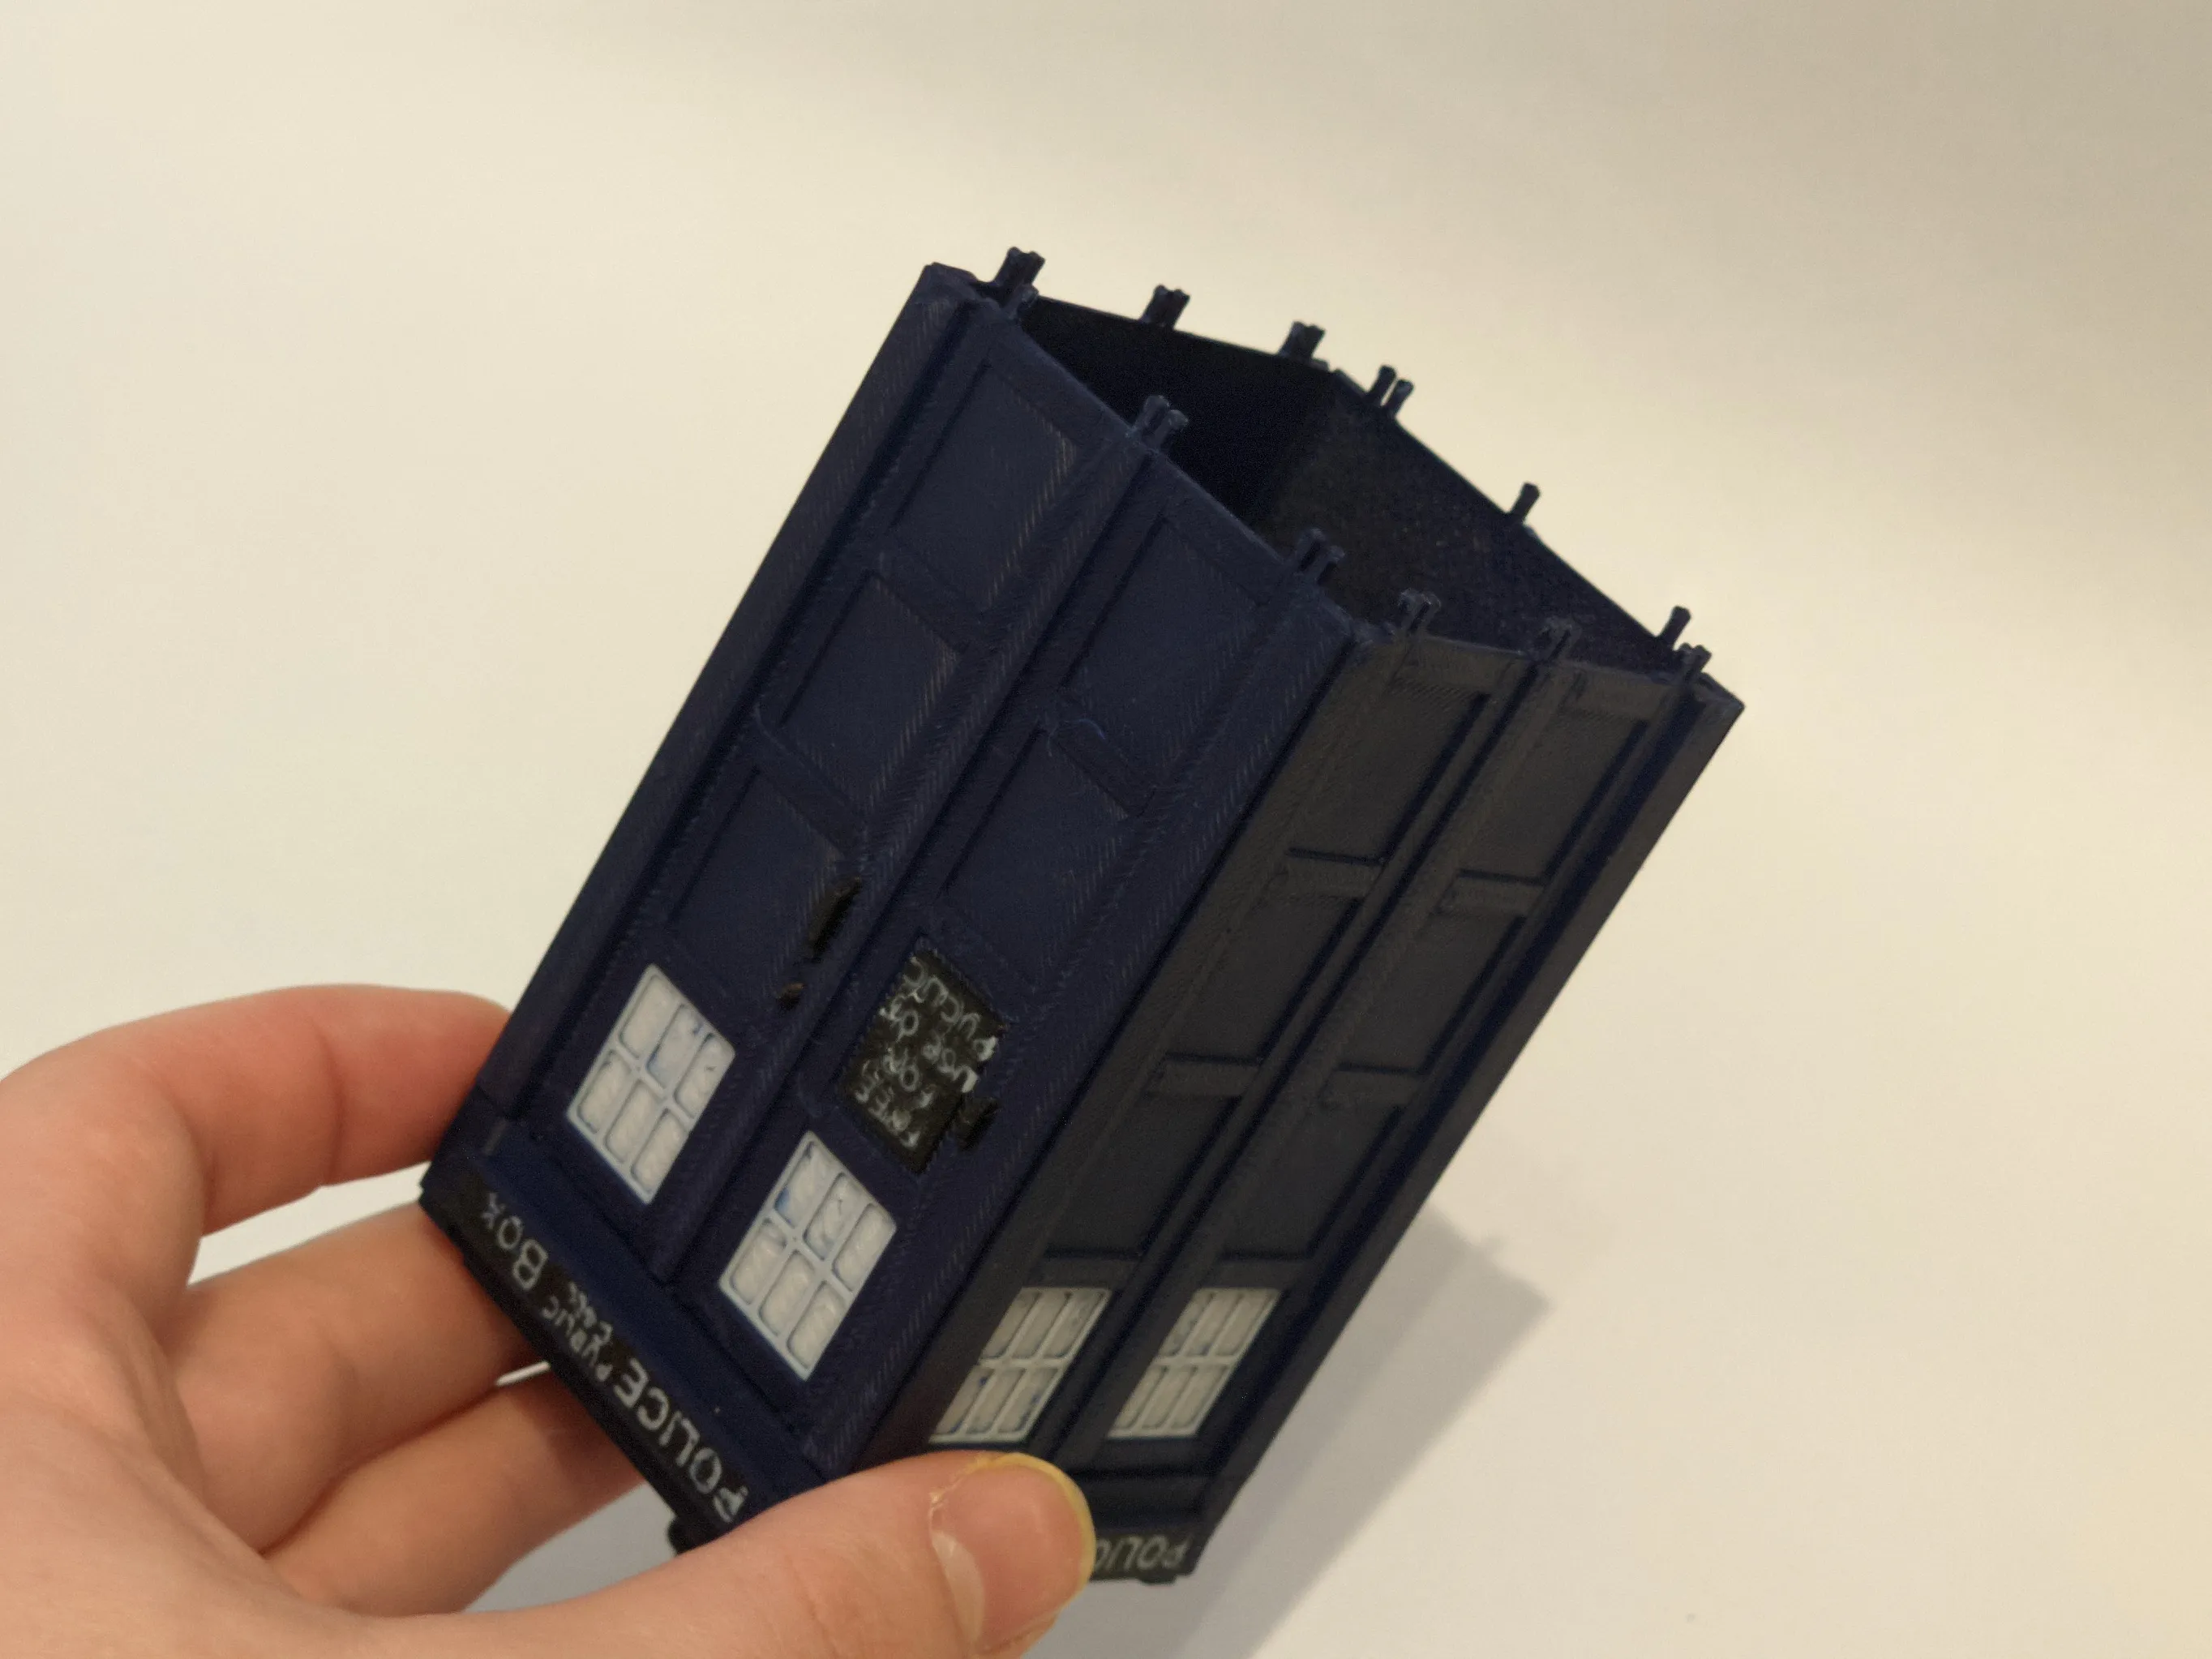
- Combine Top and Bottom: Push the top piece with the attached sidewalls onto the bottom piece until it locks into place with the push pins.
- Assemble the Base:
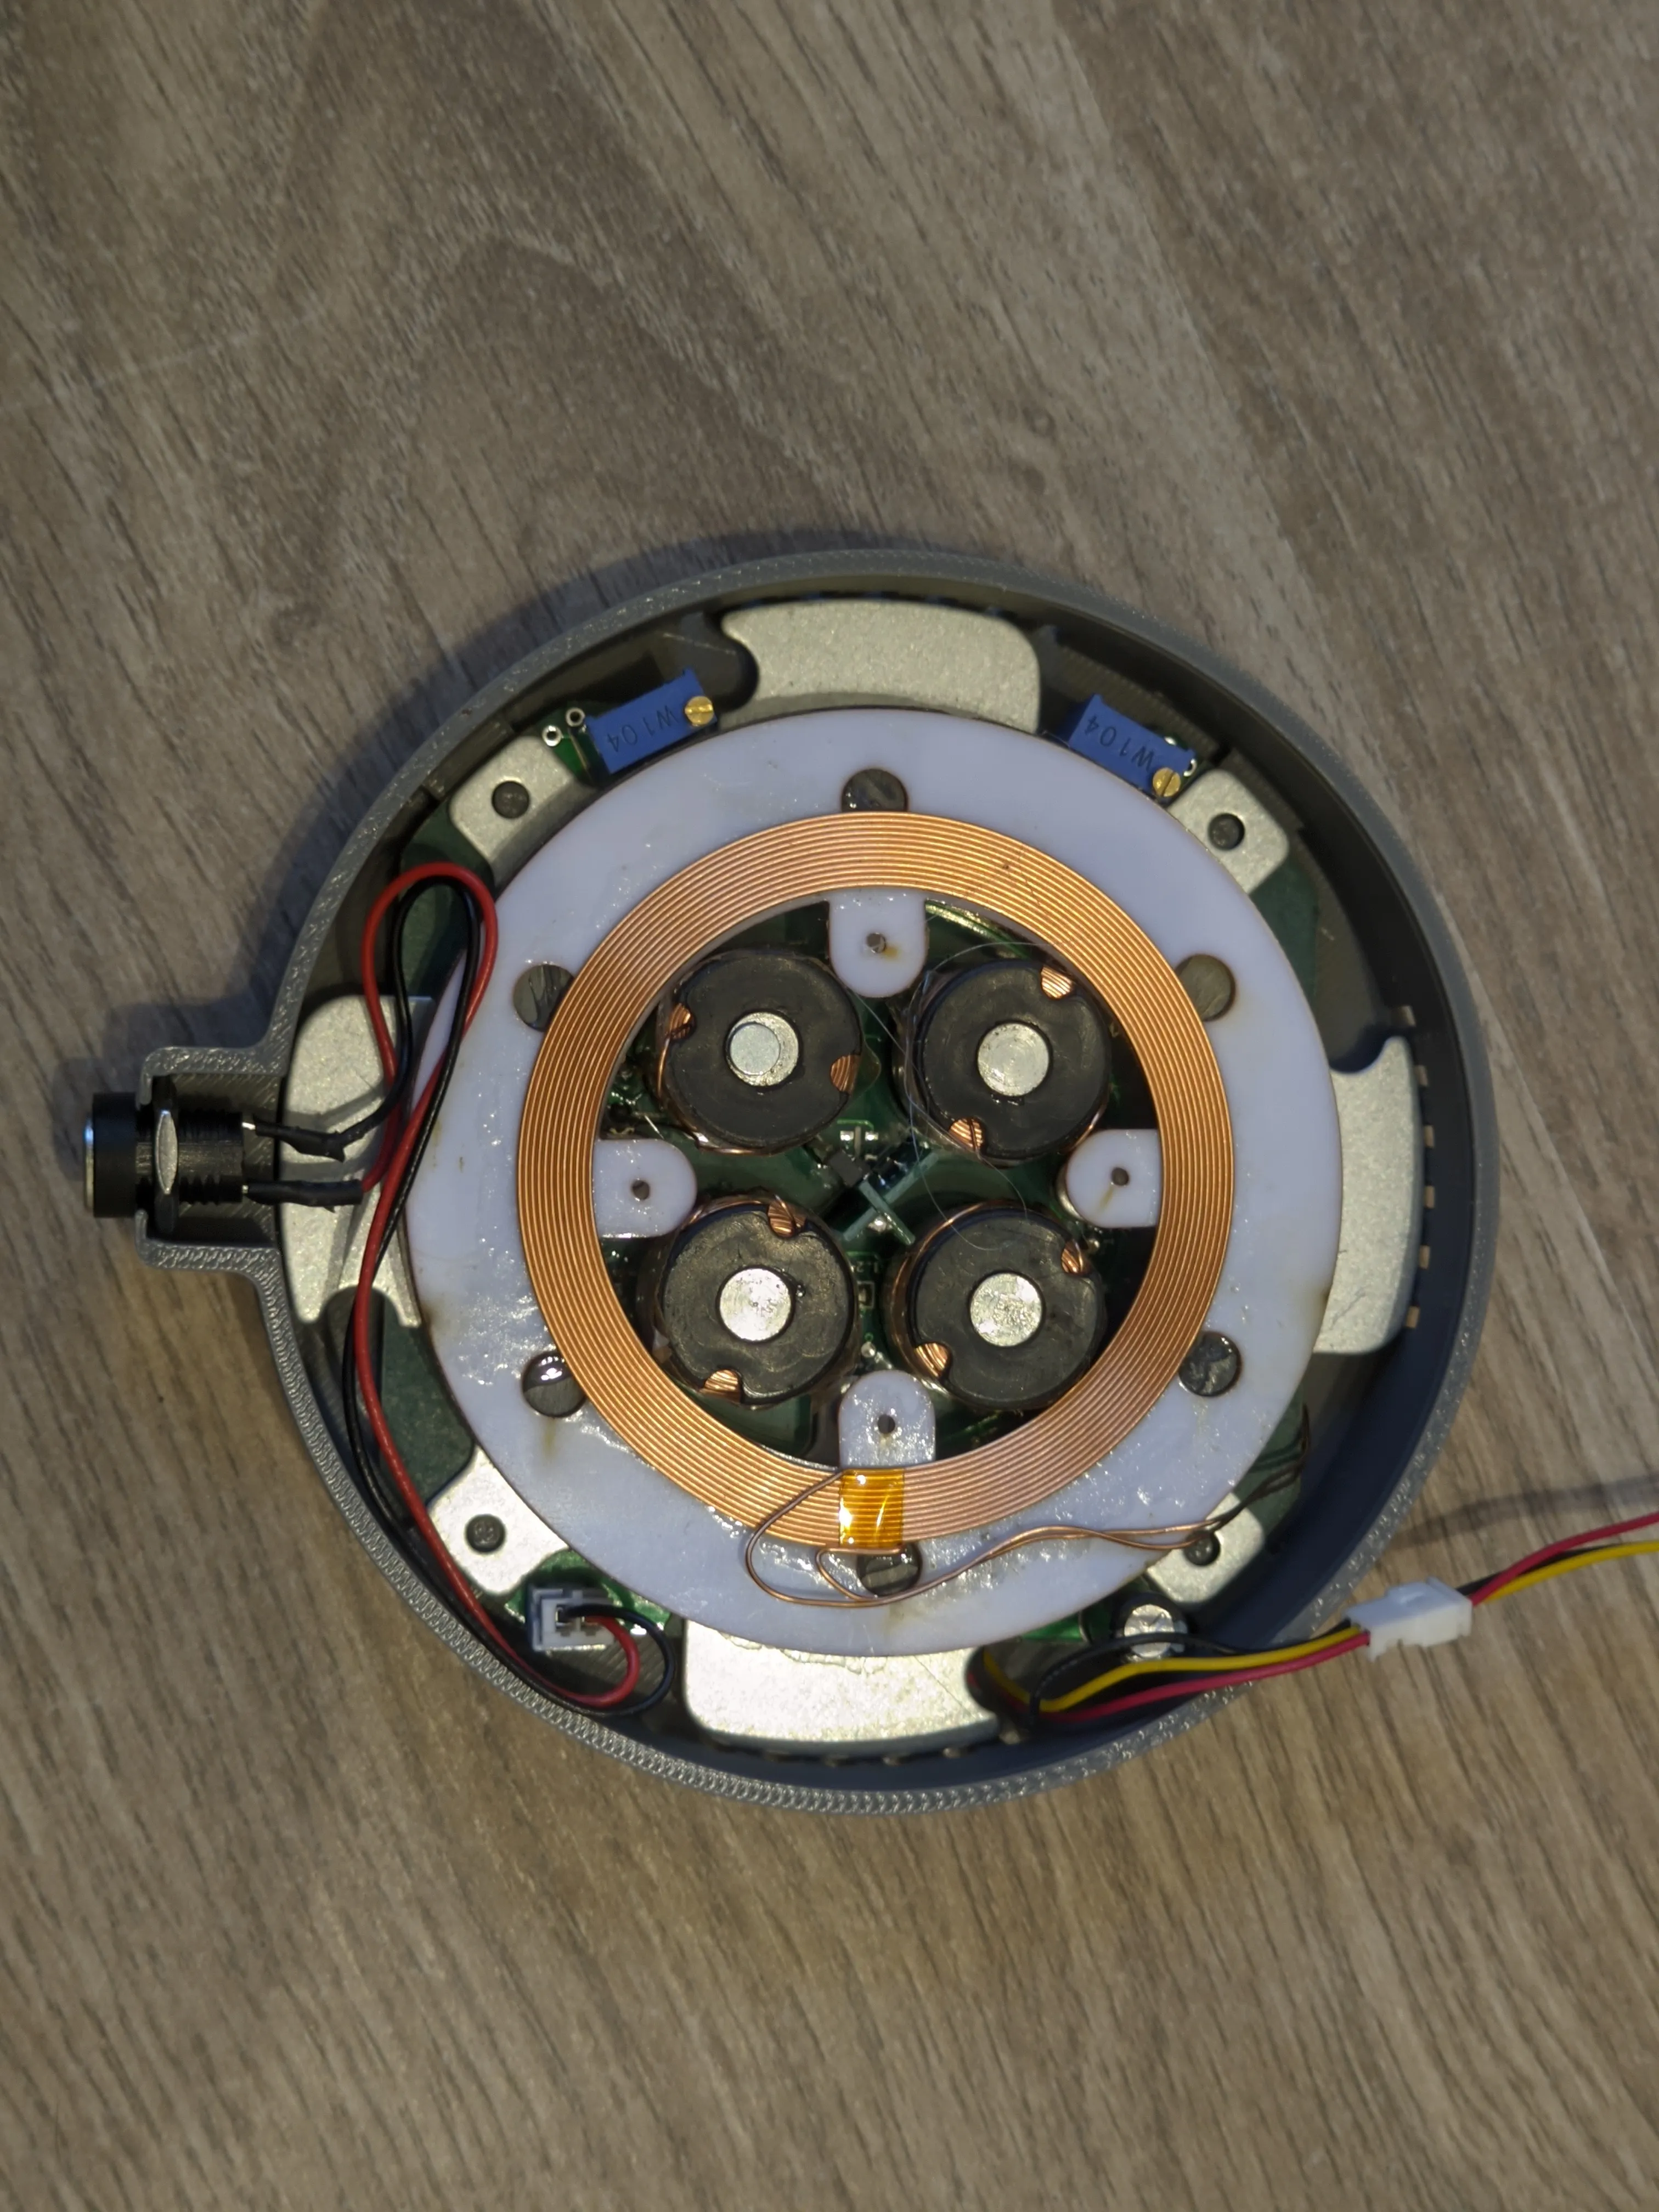
- Remove the original cover from the Bambulab magnetic levitation base.
- Insert the maglev base into the 3D-printed control panel base, ensuring the levitation mechanism is centered.
- Align the printed pins with the holes in the maglev base.
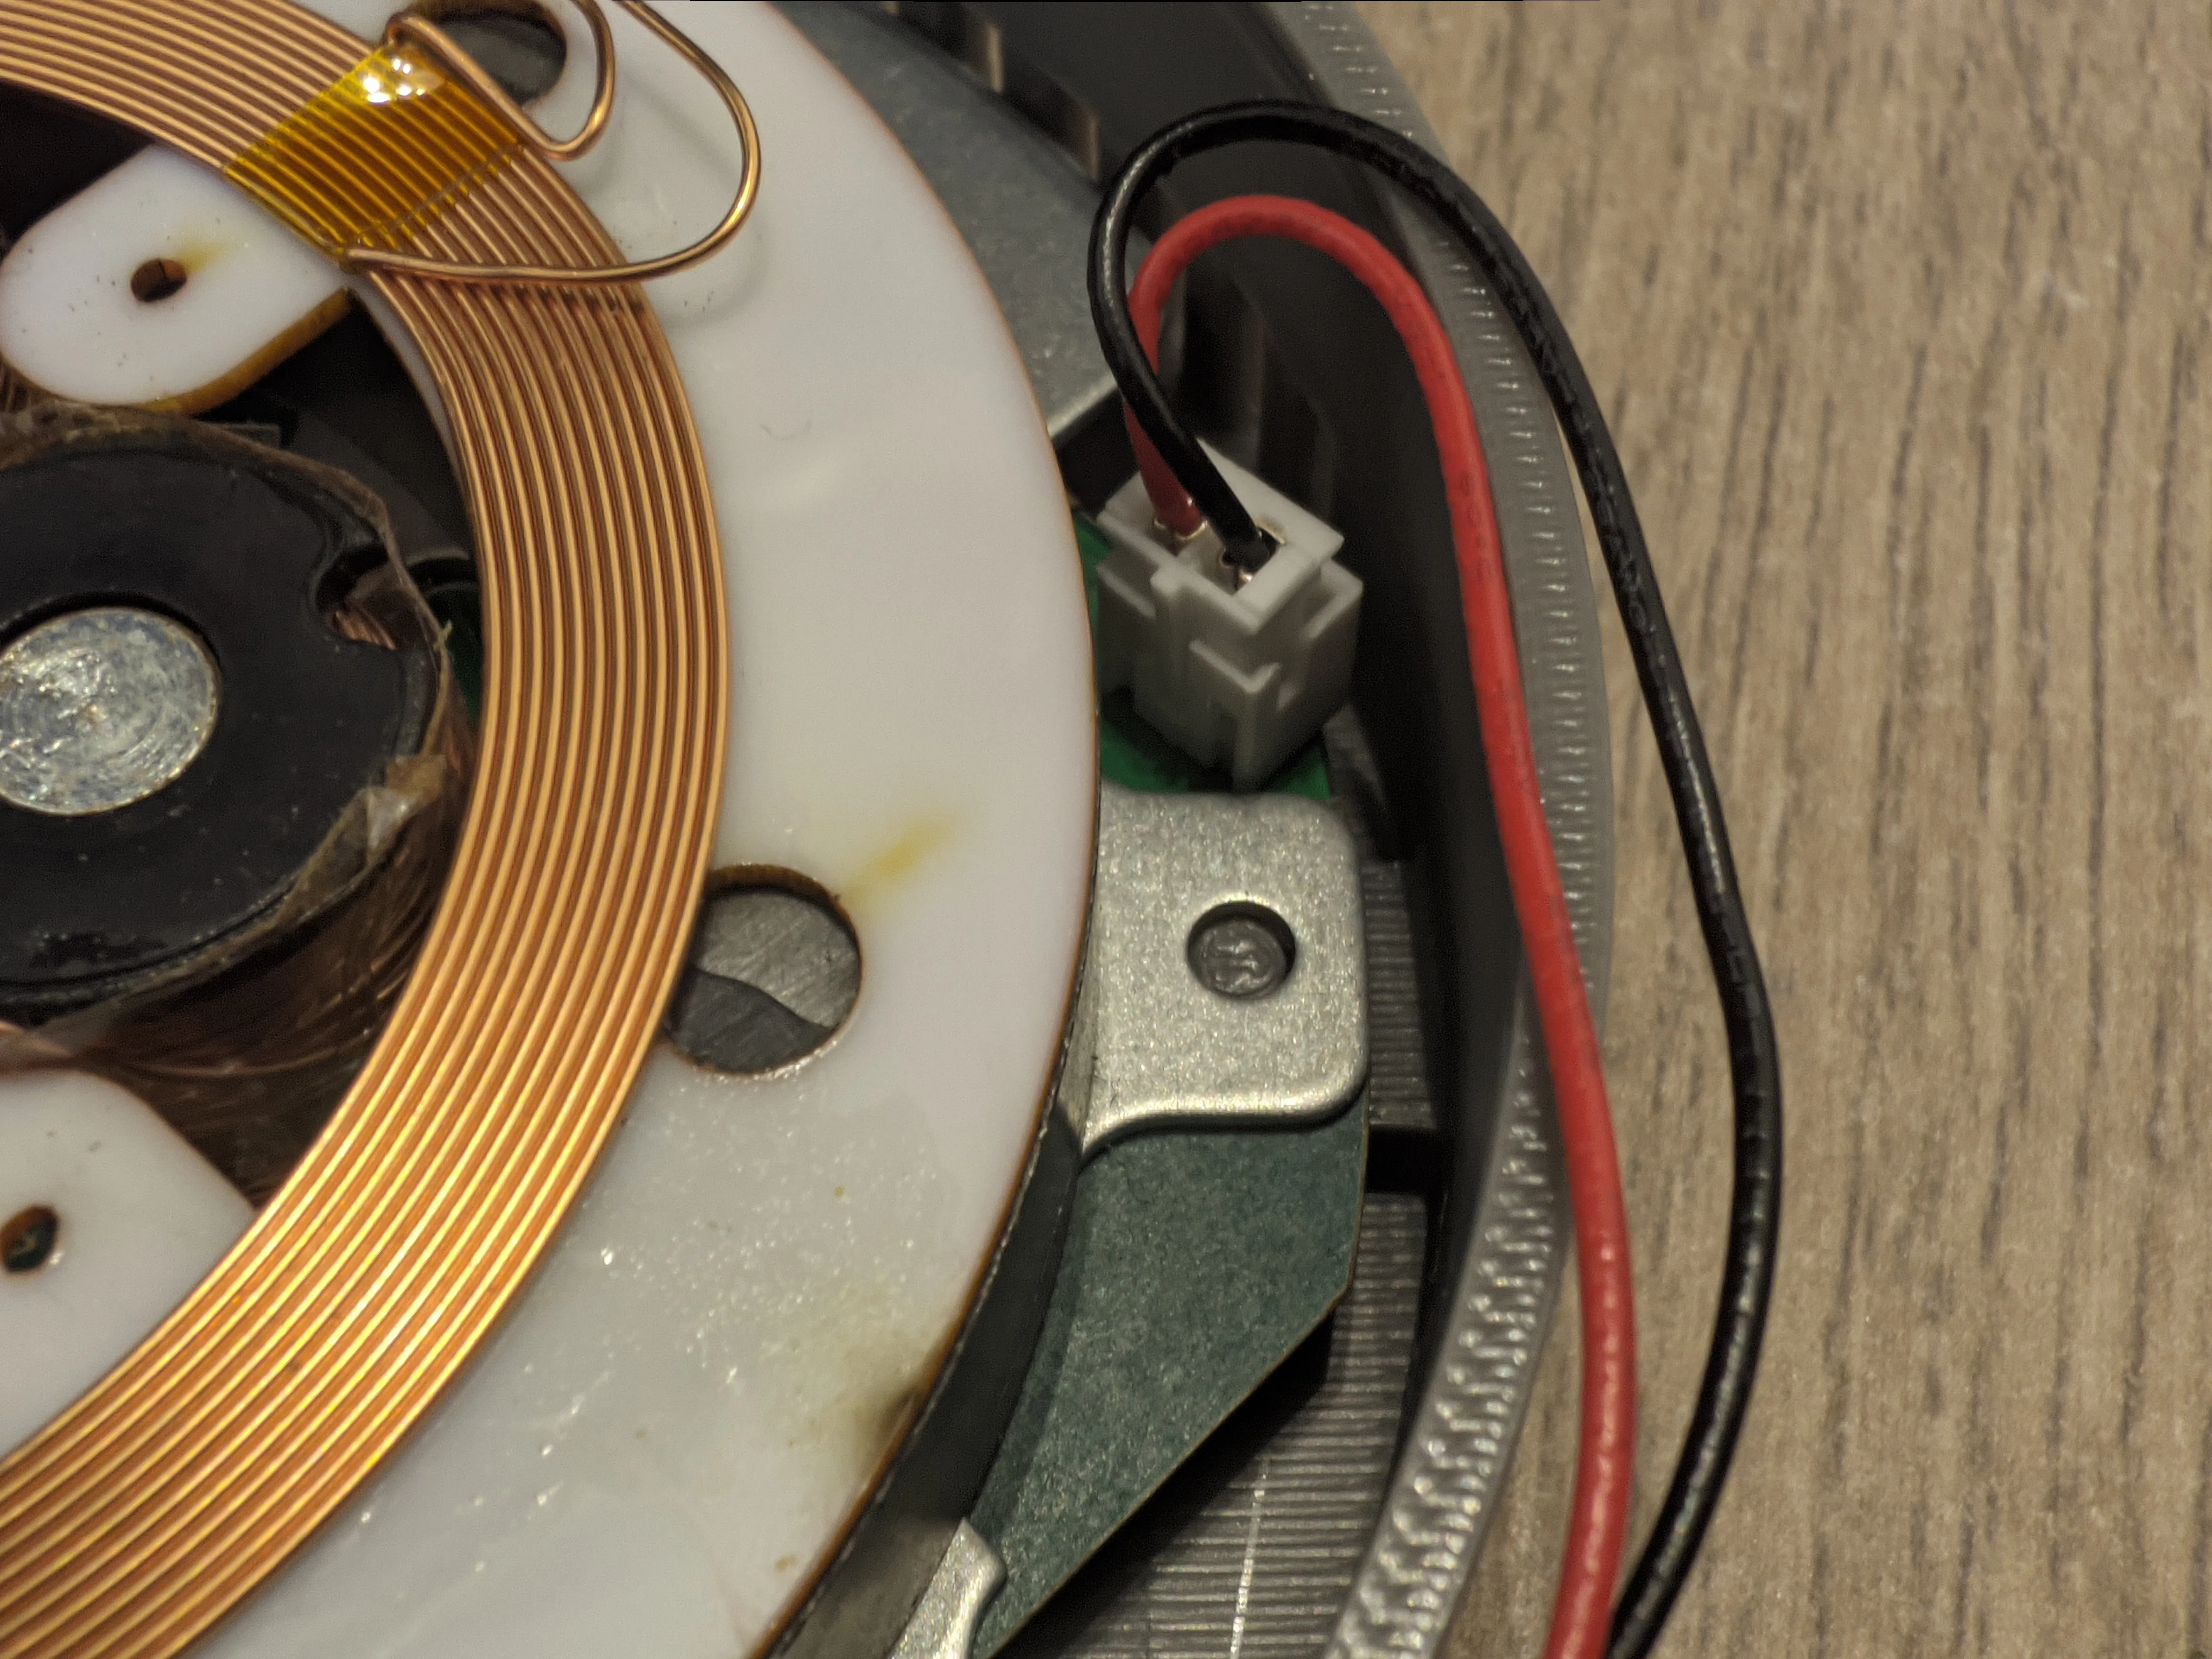
- Secure the power socket within its designated slot on the new base.
- Attach the lid to the base and press down gently until aligned and secured.
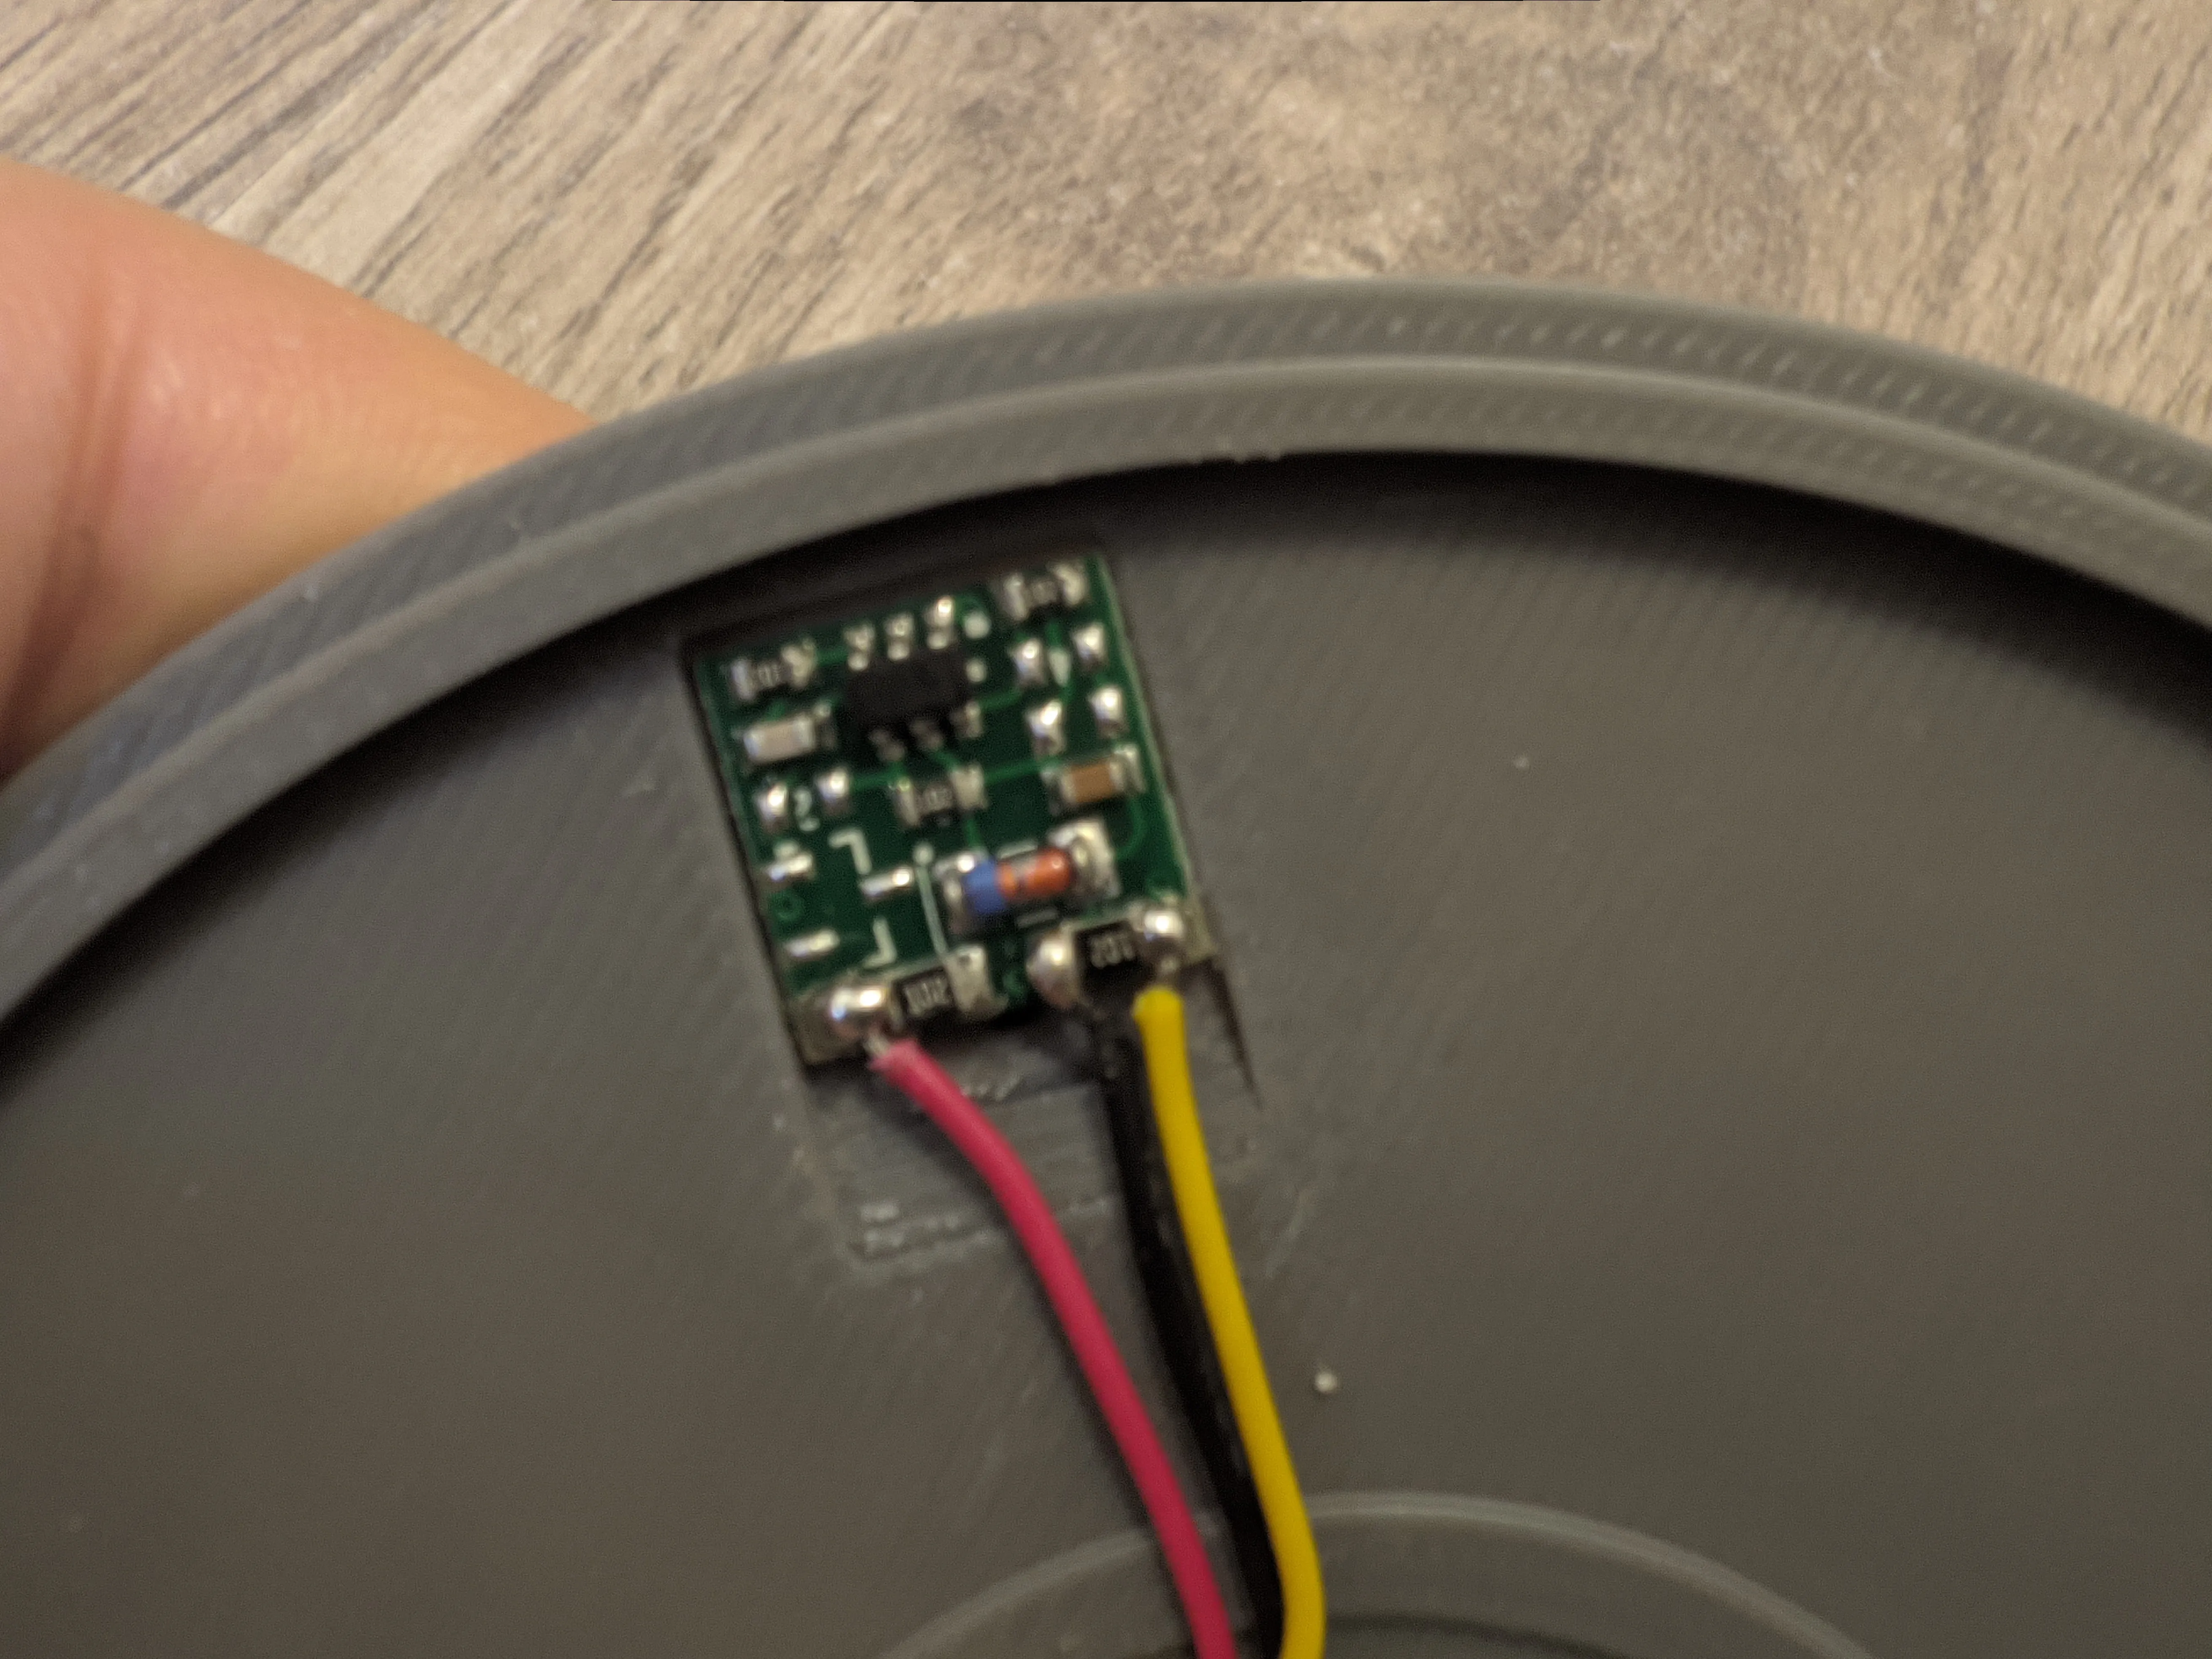
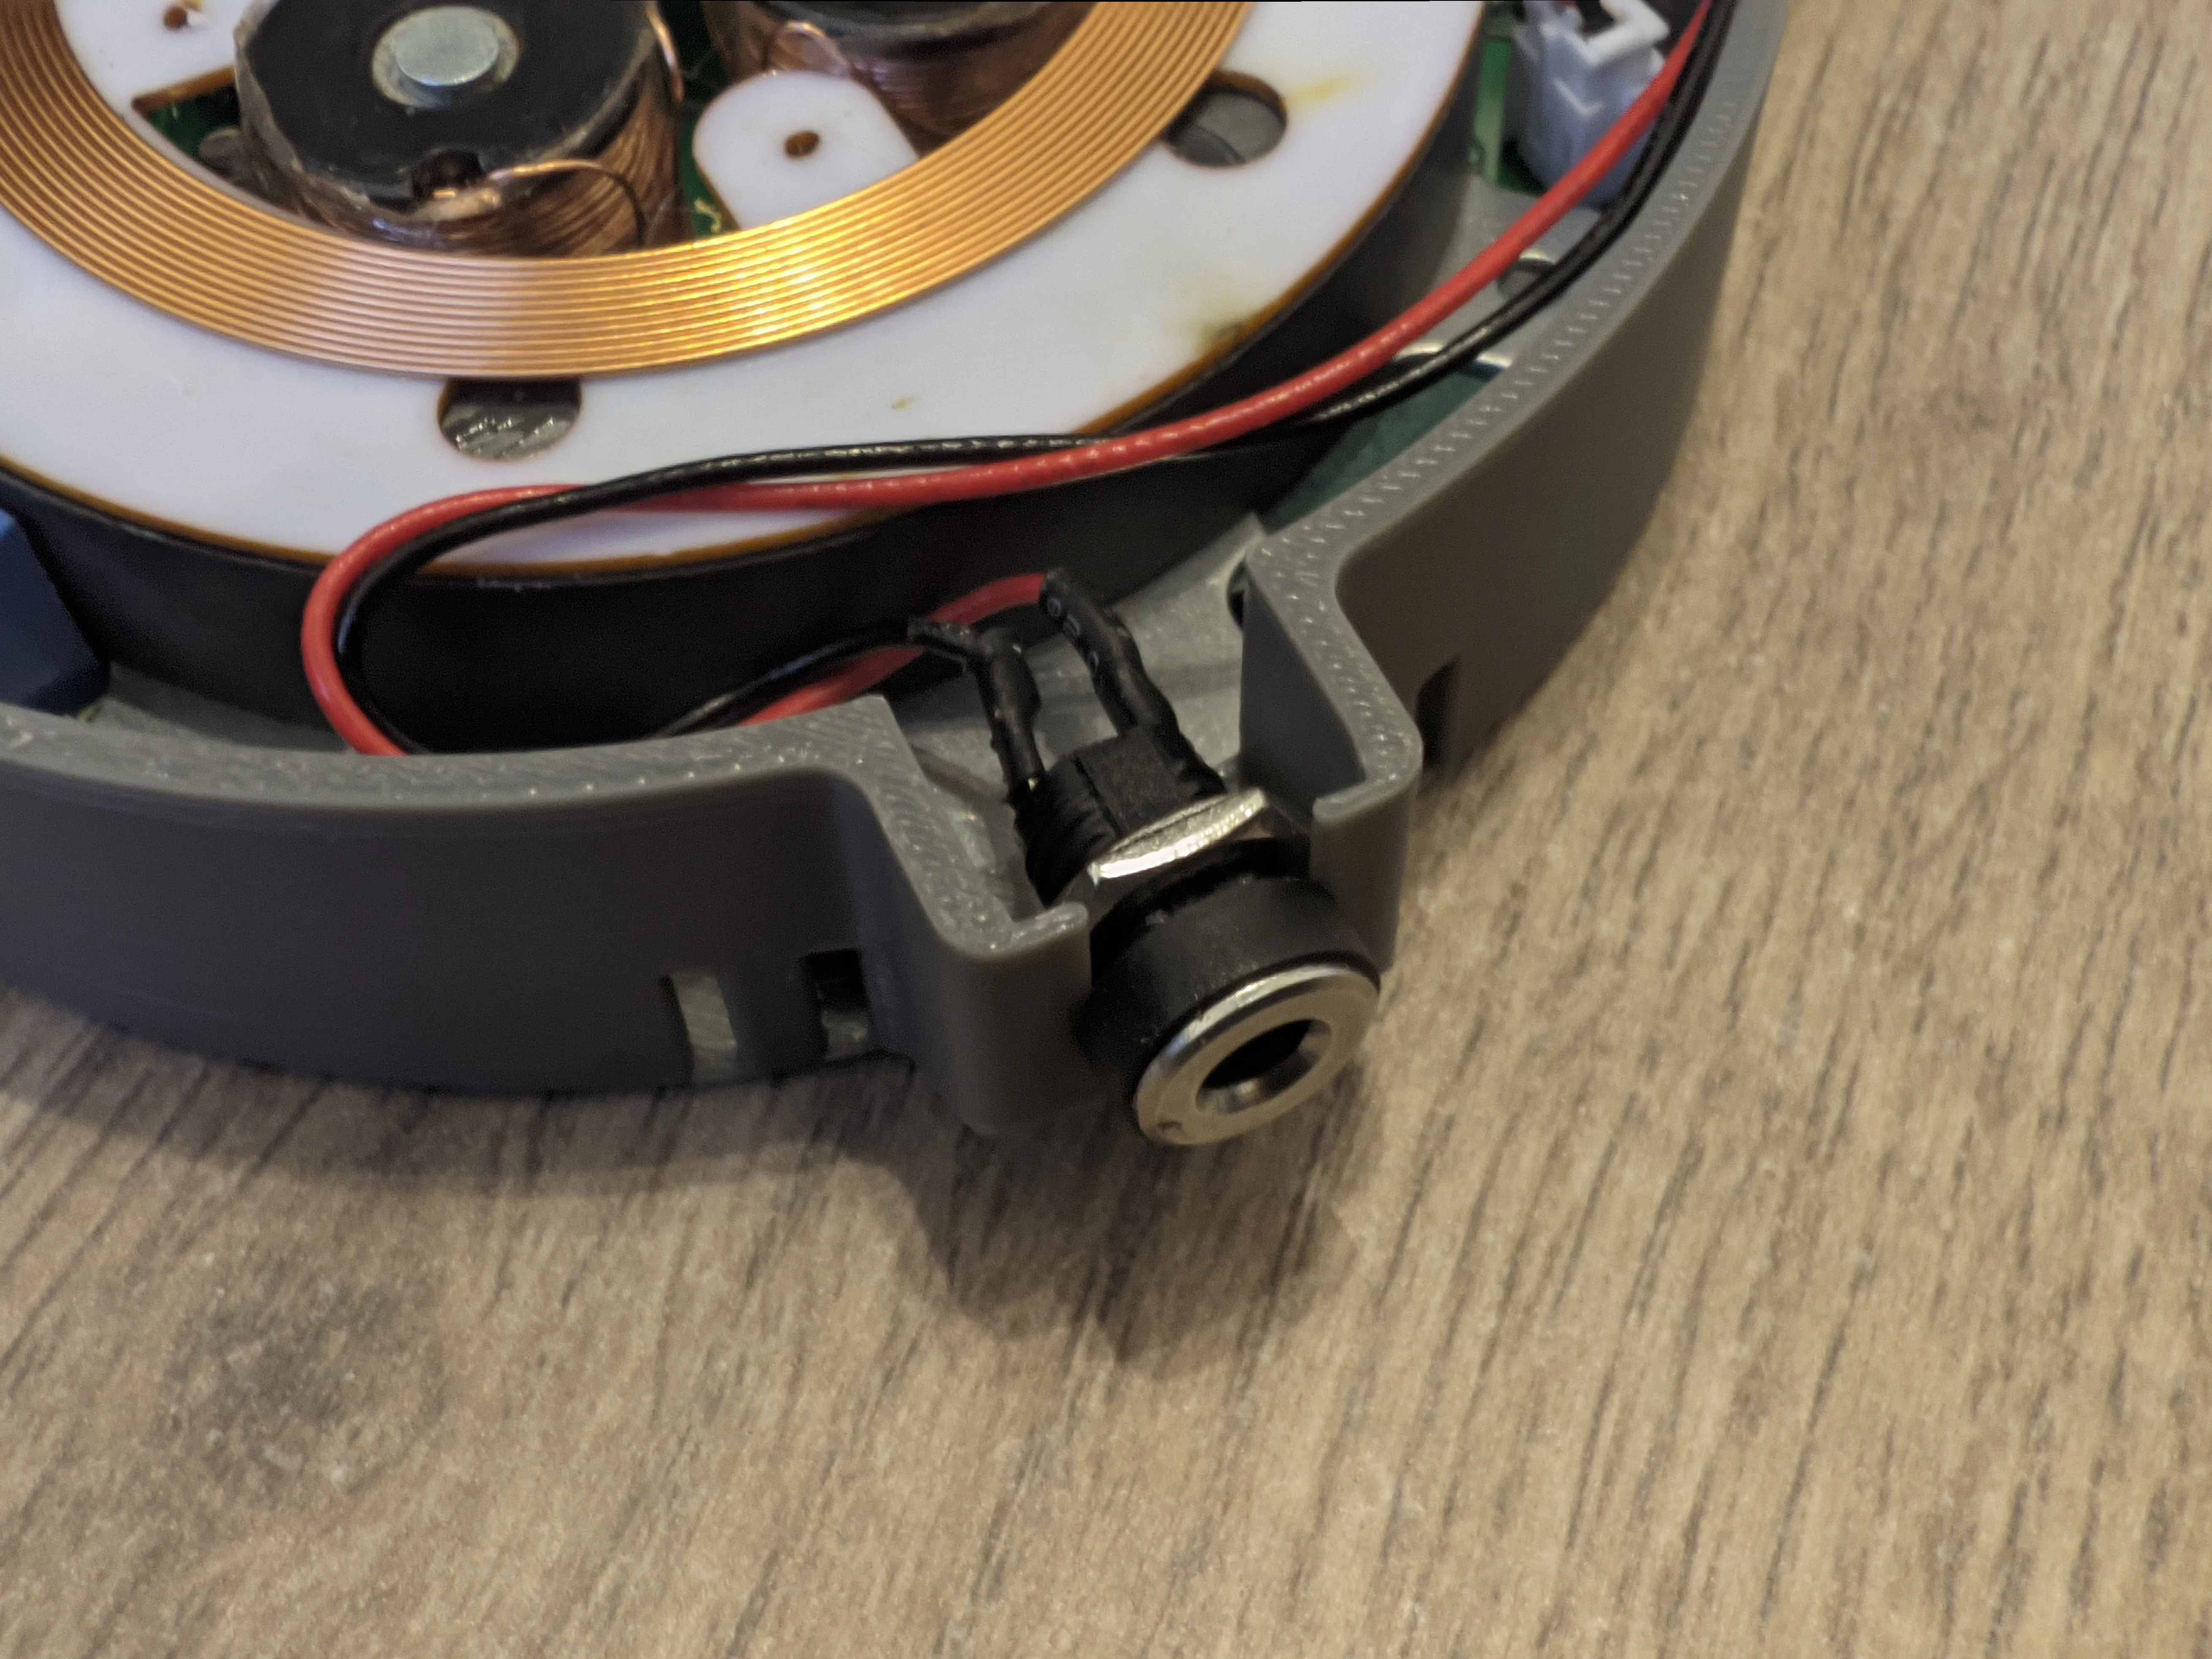
Enjoy your floating Maglev TARDIS and let it spin through time and space! 🚀✨
Video build guide an review by Tina Tries:
License

You shall not share, sub-license, sell, rent, host, transfer, or distribute in any way the digital or 3D printed versions of this object, nor any other derivative work of this object in its digital or physical format (including - but not limited to - remixes of this object, and hosting on other digital platforms). The objects may not be used without permission in any way whatsoever in which you charge money, or collect fees.


Comment & Rating (149)