
Stern Pinball - Jaws: The Orca Wheel Topper
Print Profile(1)




Description
For Non-Commercial, Personal User Only
You are permitted to download and use this model for your own personal projects only. You may not distribute, sell, or share the digital files of this model with others, nor create and sell physical objects based on this model in its current, modified or adapted form.
About This Model
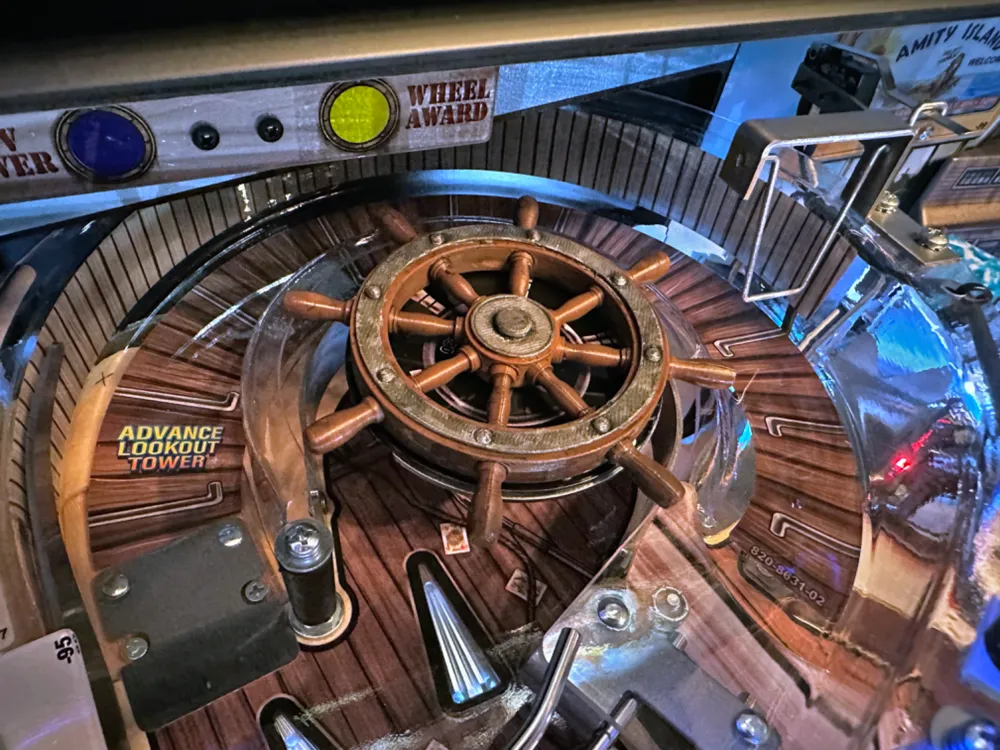
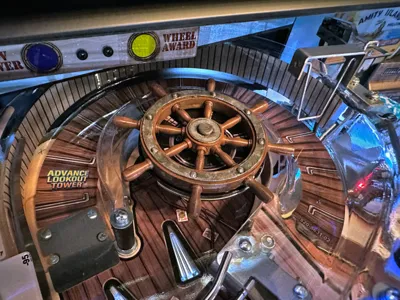
If you have a Stern Jaws pinball machine, in either the Premium or LE trim, you can print out this Ship's Wheel and place it on top of the stock plastic in the upper playfield.
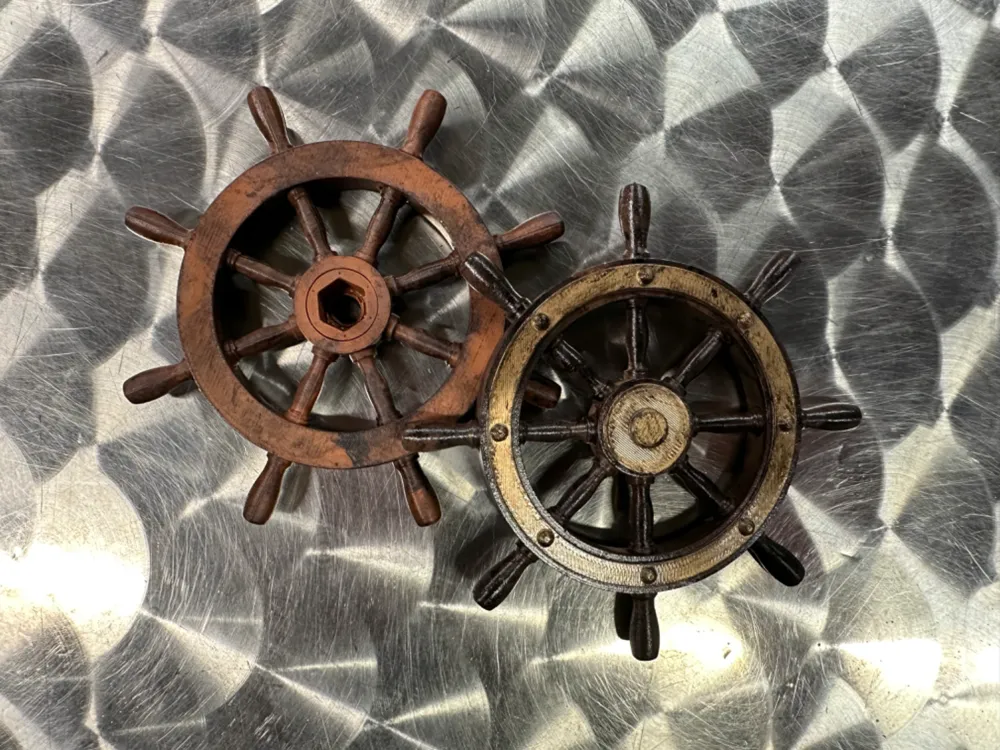
I first started out with using Gid's “Ship's Wheel” model (from Printables) and reworked it to fit the dimensions of the stock plastic, shorten the spokes as to not interfere with the ball as it travels the ramp, and created a brand new hub that provides an interface for the 10-32 Nut on the stock spinner assembly.
Choose Your Wheel Style
The print profile here has a total of six plates, but you only need to use 2 to 3 depending on the style you want. I've created multiple options which range from multicolor (AMS) to having the ability to physically paint components prior to assembly (as seen in my photos). At a minimum, you need to print a plate for each of the following:
Wheel
- If you do not want to do any type of post processing (painting for example) then you should print the “Wheel (AMS)” plate.
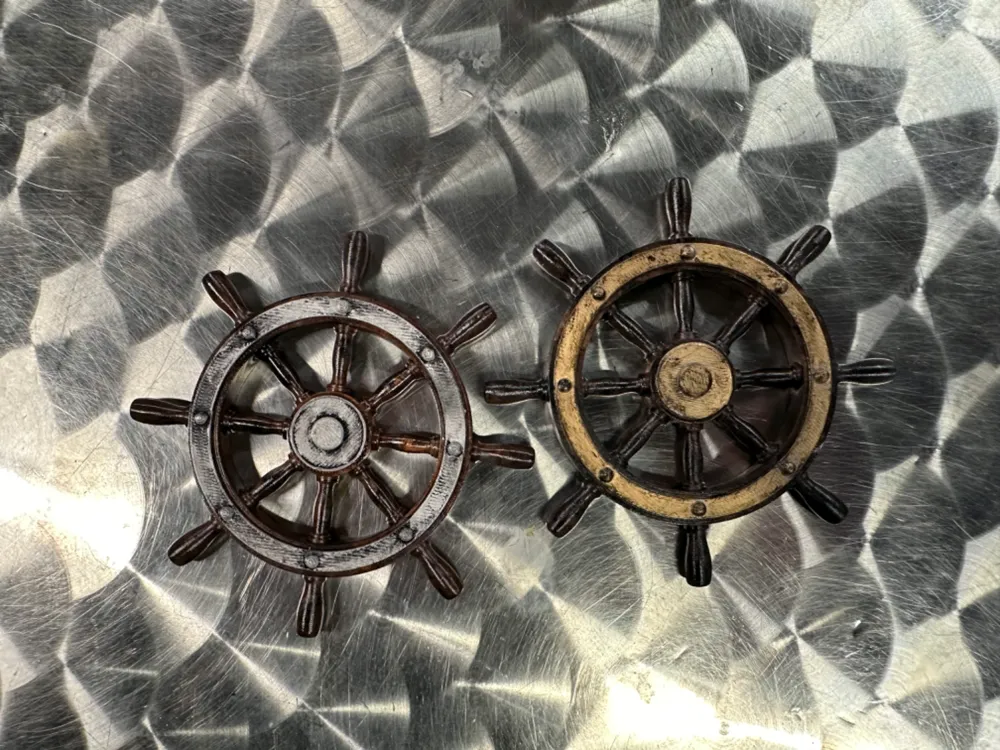
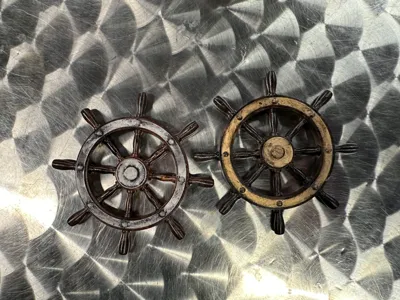
- If you would like to distress both the wheel and “metal accents” after printing, you should print both the “Wheel (Split)” and “Wheel Cover (Split)” plates. You will end up gluing the wheel and hub cover to their main components.
Spokes
- I have two different styles of spokes that allow either a single color appearance or a with “metal” grips at the end. Neither of these use a brim around each spoke as I found it to cause tolerance issues, but if you feel the need to use it then print “Spokes (With Brim”).
Installing The Wheel
This couldn't be easier and you don't need to disassemble the spinner or use any tools. If your printer is finely tuned / calibrated then you can literally just place the wheel over the 10-32 Nut on top of the stock assembly. If you find it a bit loose, there are a couple options for you:
- Teflon / Plumbers Tape - Wrap a layer or two of Teflon tape around the nut prior to placing the wheel on top of it.
- Double Sided Tape - You can use double sided tape between the stock plastic and this wheel to secure it.
- Adjust X/Y of Nut Housing - If you download the print profile and open it in BambuStudio you can use the Objects Pane to locate the “10-32 Nut” object (located with the Hub assembly) and adjust the X and Y settings for your needs. Do not adjust the Z setting!
About The Model Photos
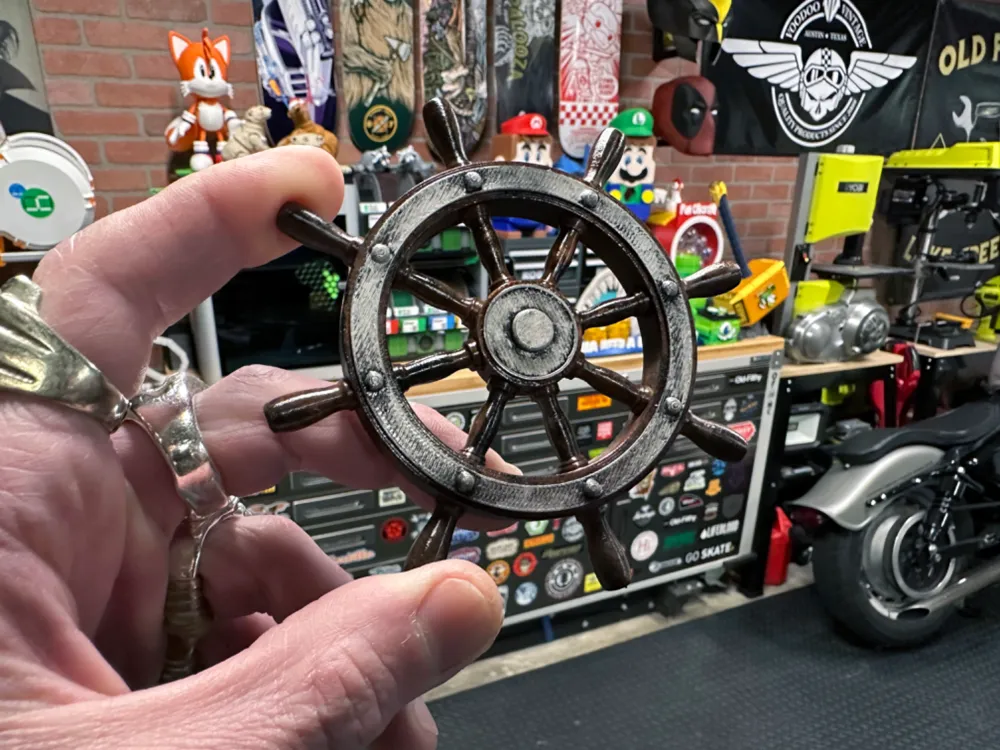
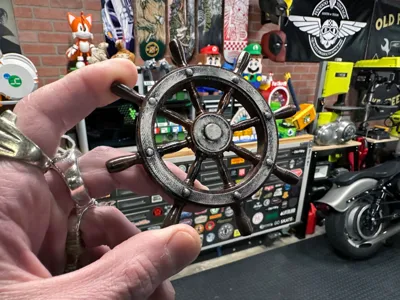
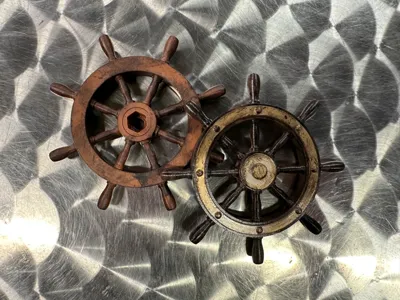
The wheels in the photos, for those wondering, are all printed using the “Split” plates. The Wheel , Hub and Spokes received both some acrylic paint as well as model wash. The “metal” accents were printed in black and then aged using Rub N' Buff (Pewter and Gold). After gluing the accents to the main components, and then adding the spokes, I used Clear Gloss spray to seal it all up and give a nice shine under the pinball lights.
License

You shall not share, sub-license, sell, rent, host, transfer, or distribute in any way the digital or 3D printed versions of this object, nor any other derivative work of this object in its digital or physical format (including - but not limited to - remixes of this object, and hosting on other digital platforms). The objects may not be used without permission in any way whatsoever in which you charge money, or collect fees.


Comment & Rating (34)