
Print Profile(11)


Description
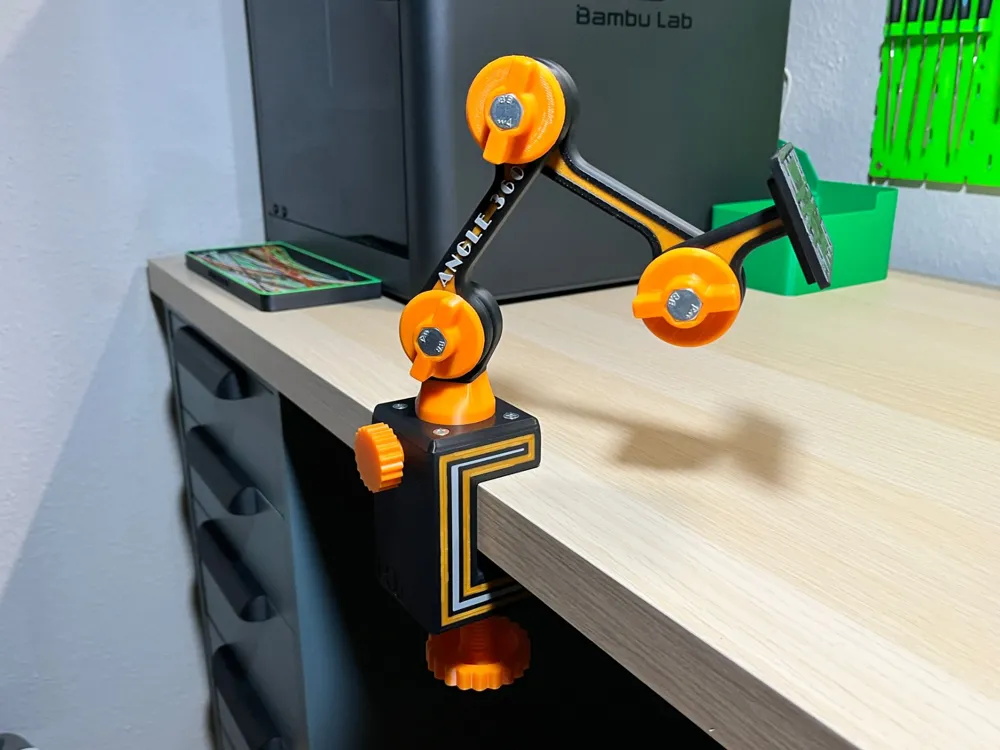
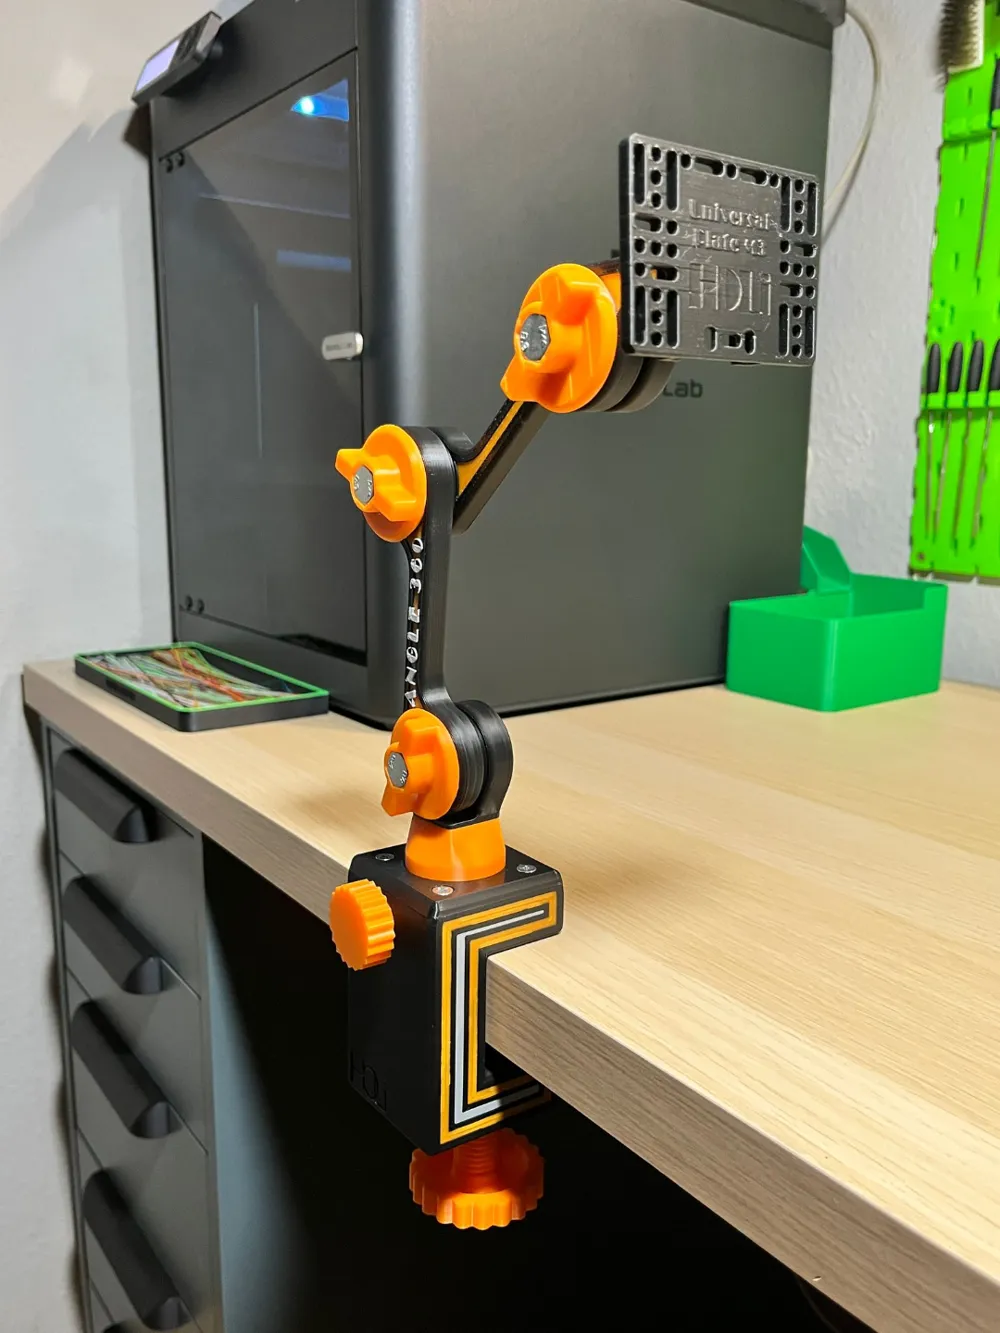
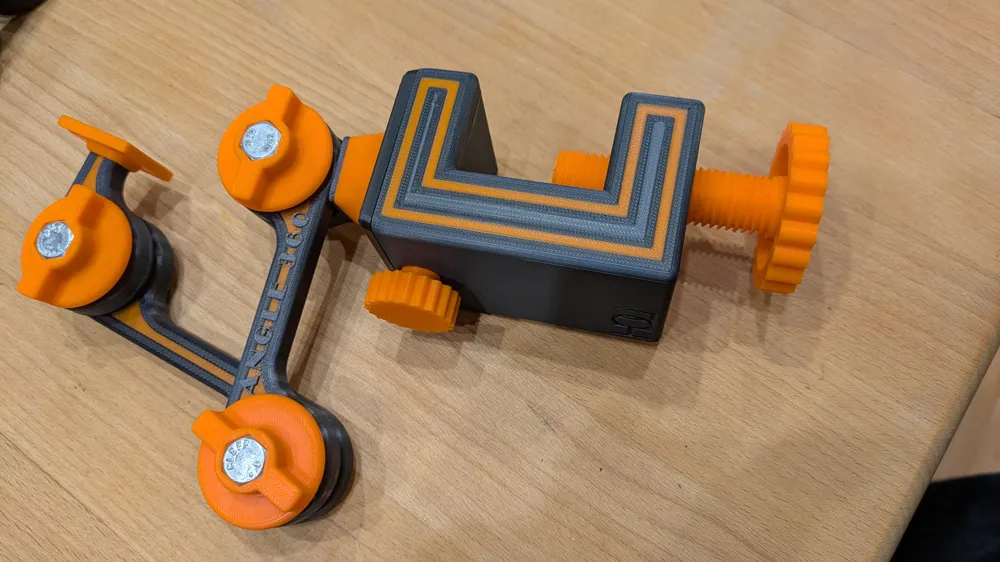
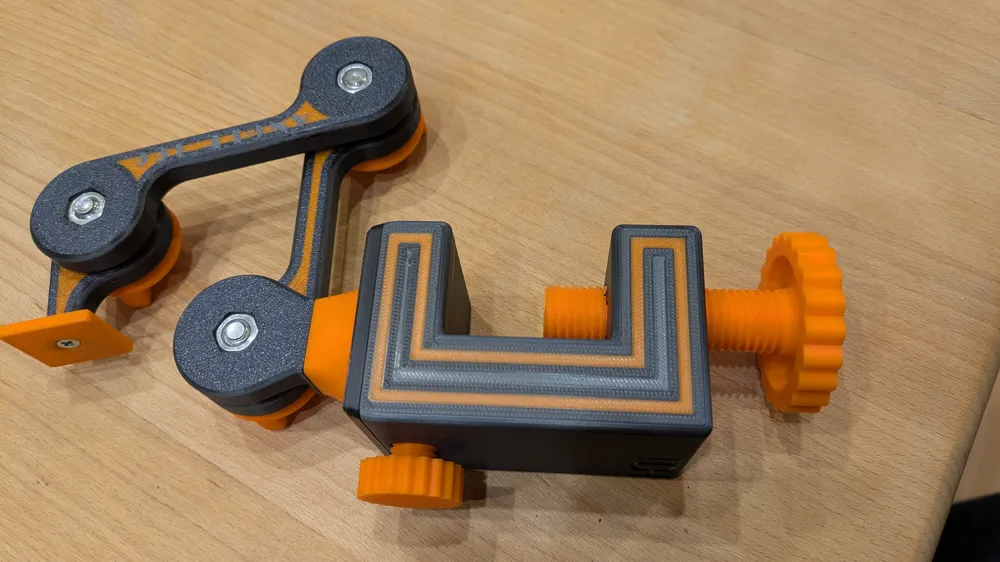
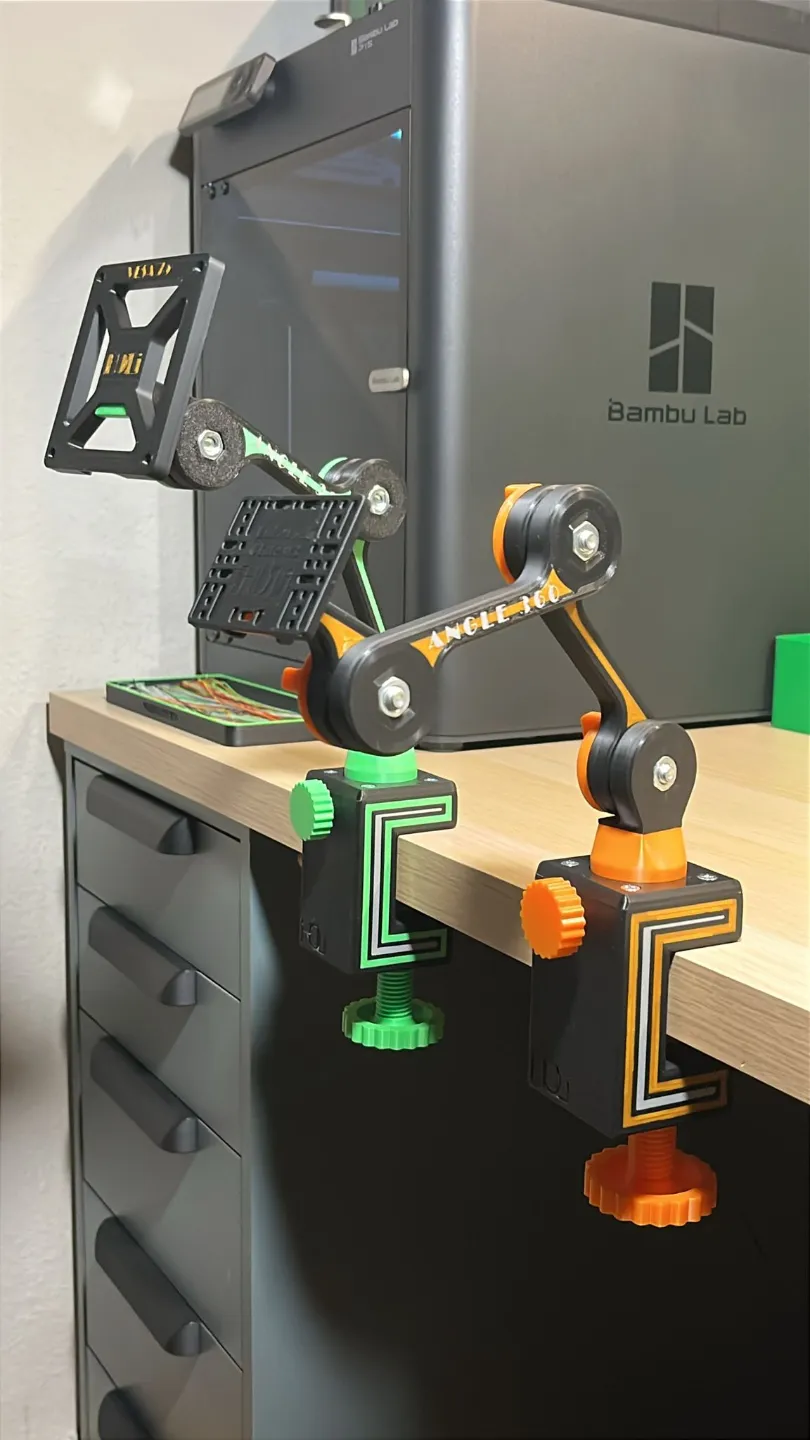
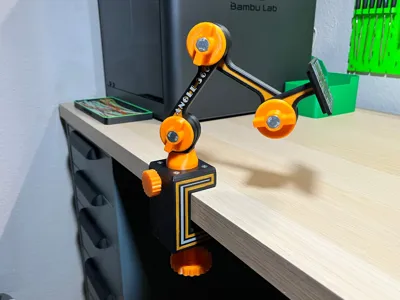
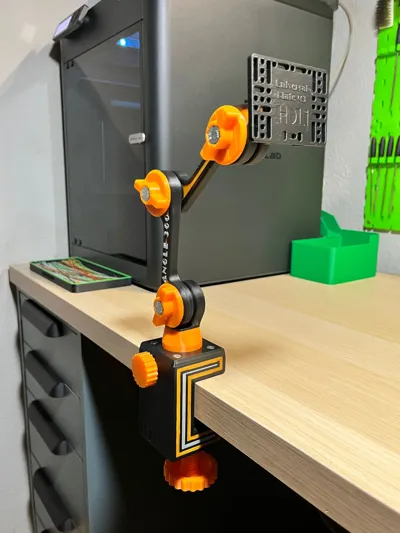
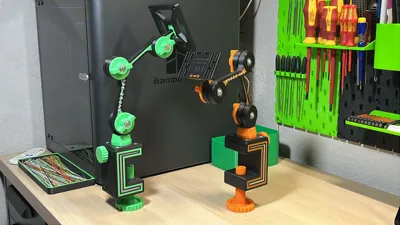
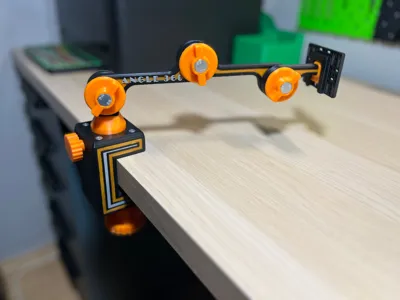
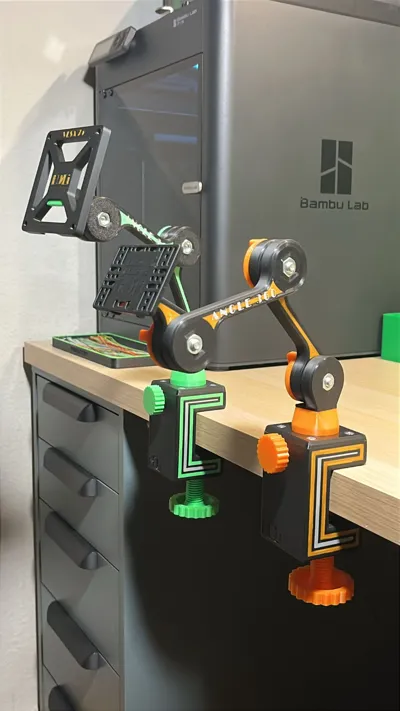
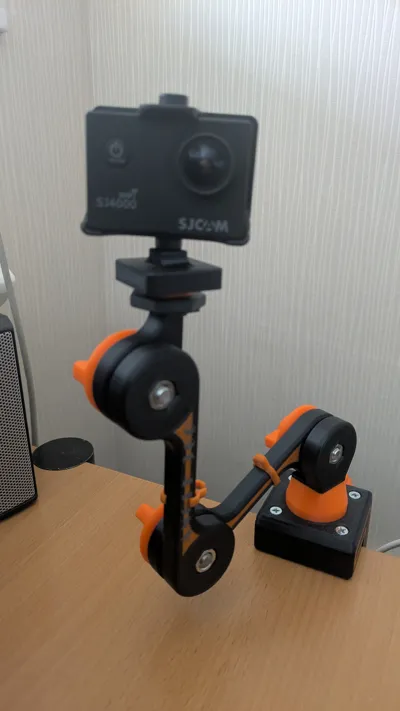
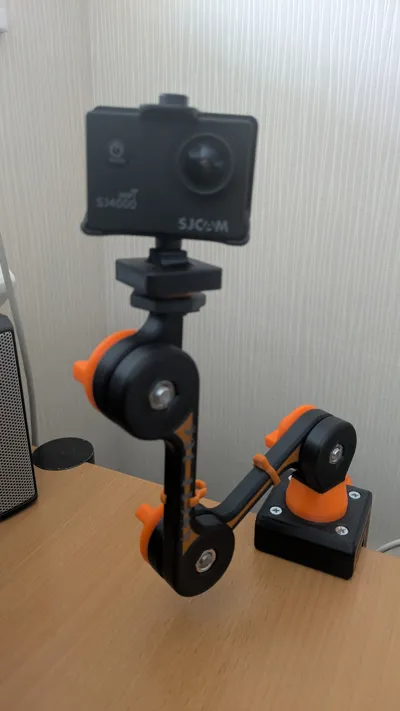
HoLi Angle360 - Universal stand with clamp attachment - soon also for easy Filament Spool Rewinder -
Published and planned Extensions:
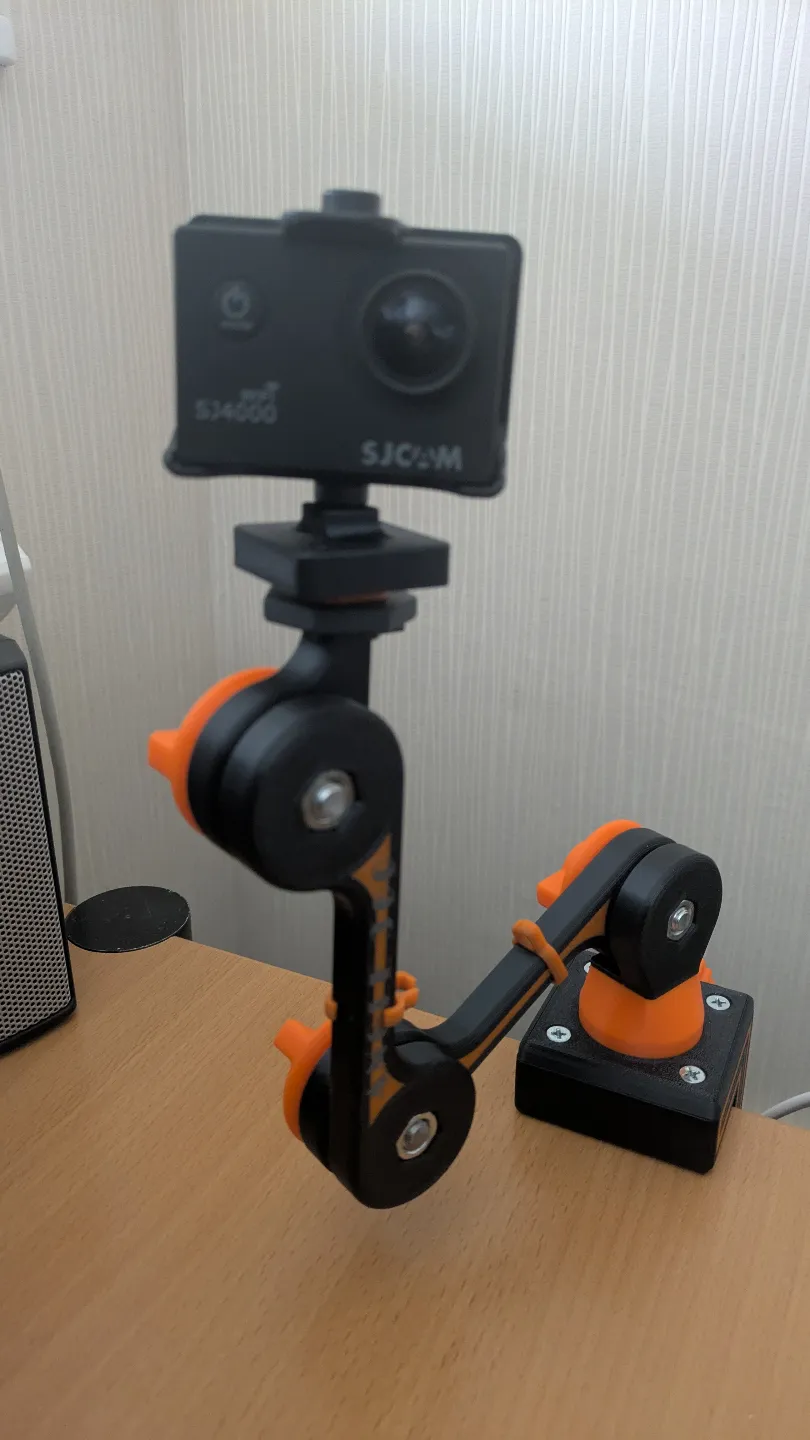
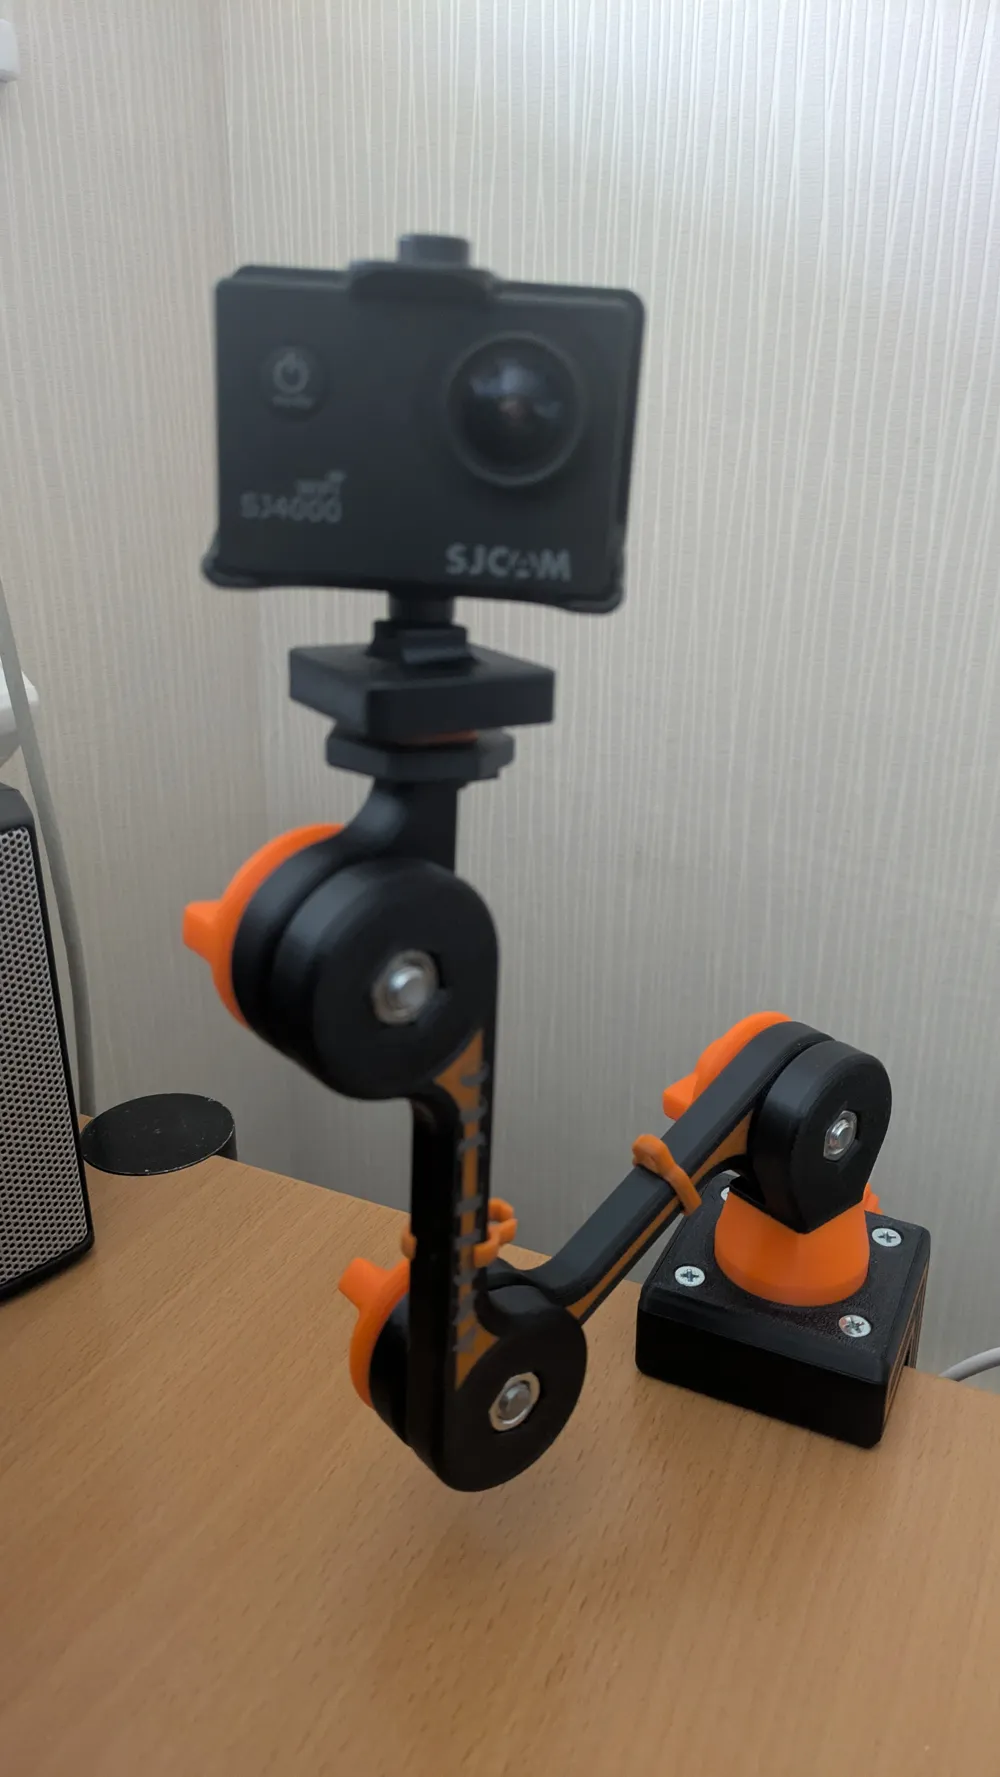
- Cam mount with ¼" screw
- 360° rotatable top plate
- Anti-slip pad
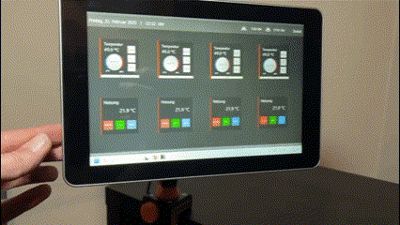
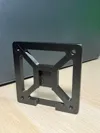
- Vesa 75+100mm
- Cable Clip small/large
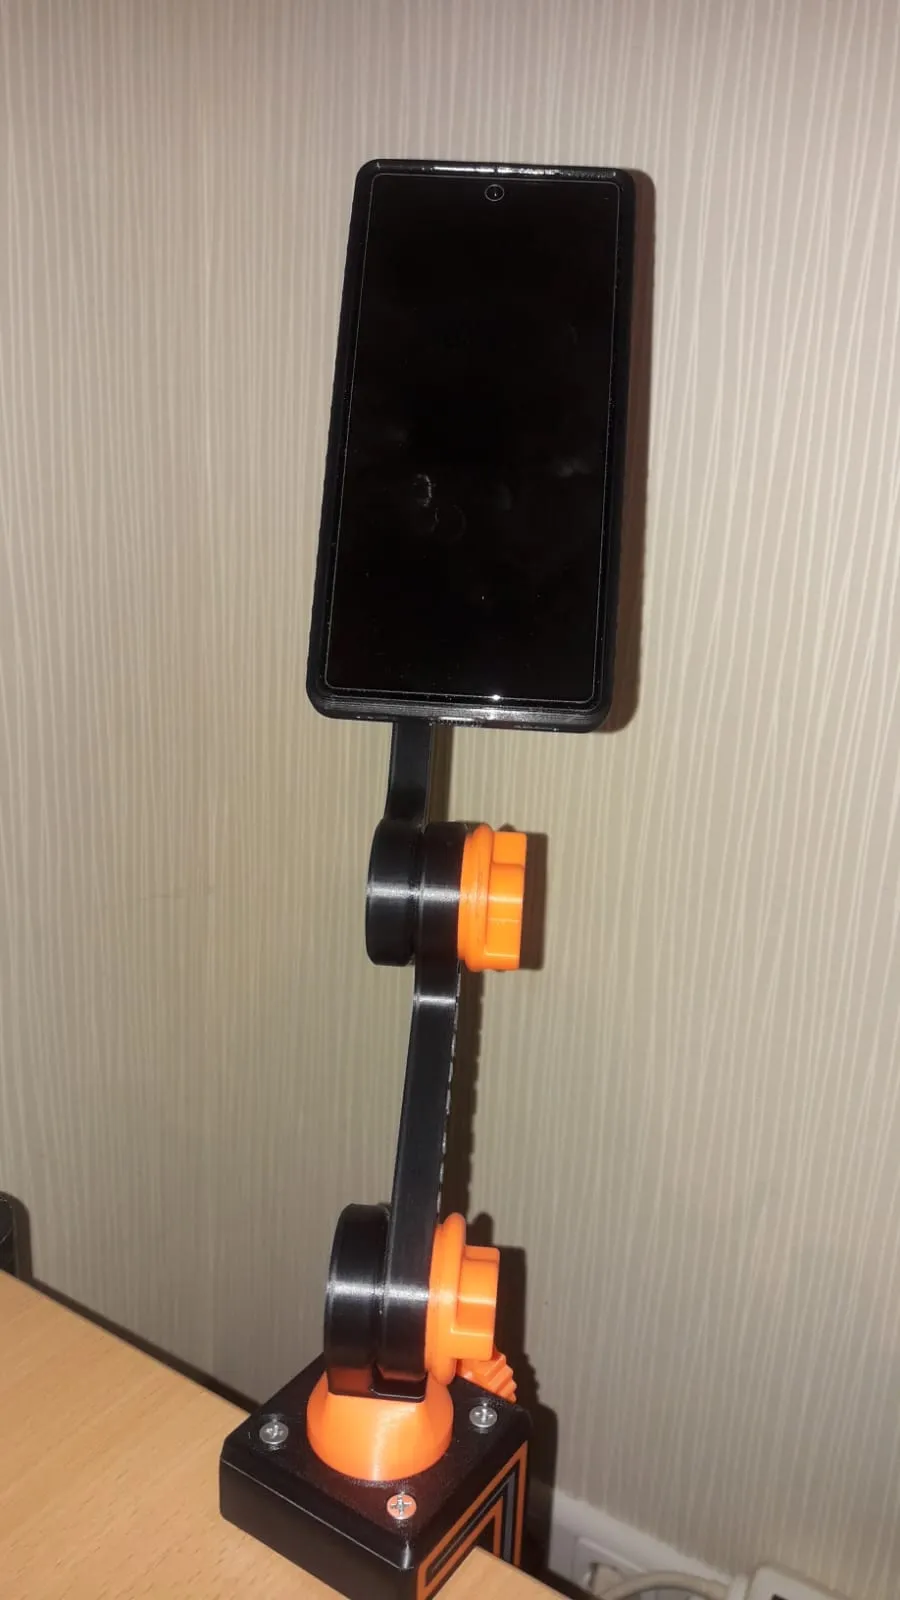
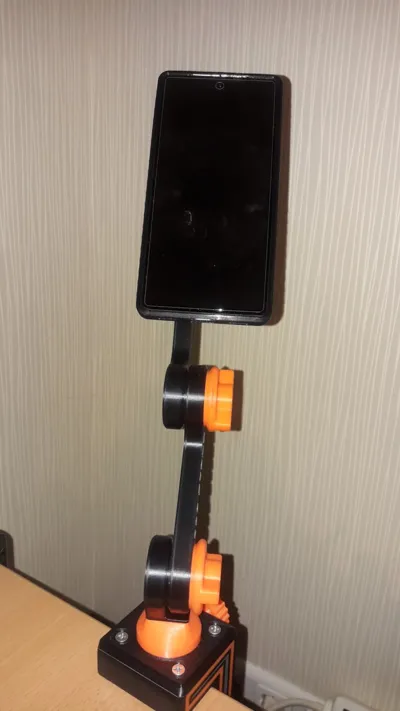
- minimalist phone clamp holder
- Magnetic holder
- 90° rotated arm

- Action Cam Mount (GoPro)
- Phone holder for resting - Macro shots -

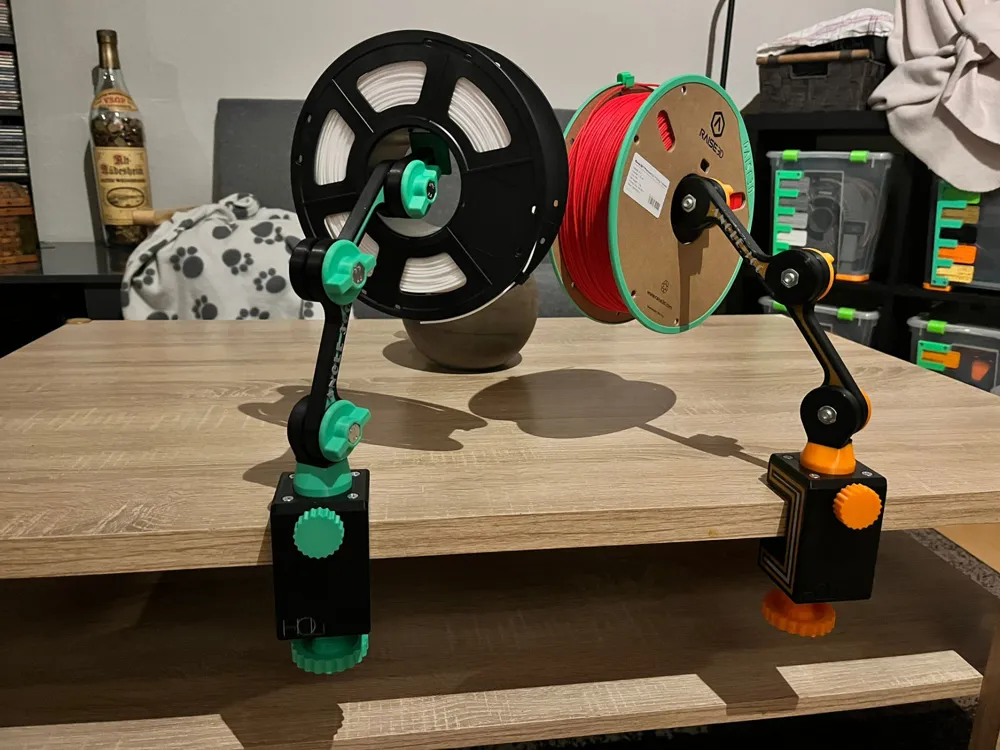
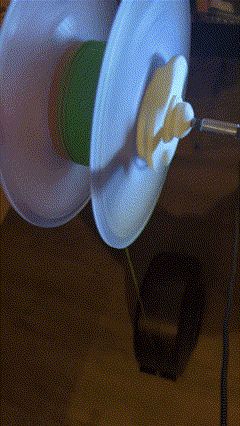
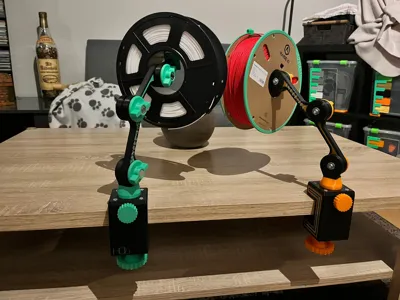
- Filament Spool Rewinder (hand crank / cordless drill) here
- Wall mount here
- soon: etc…
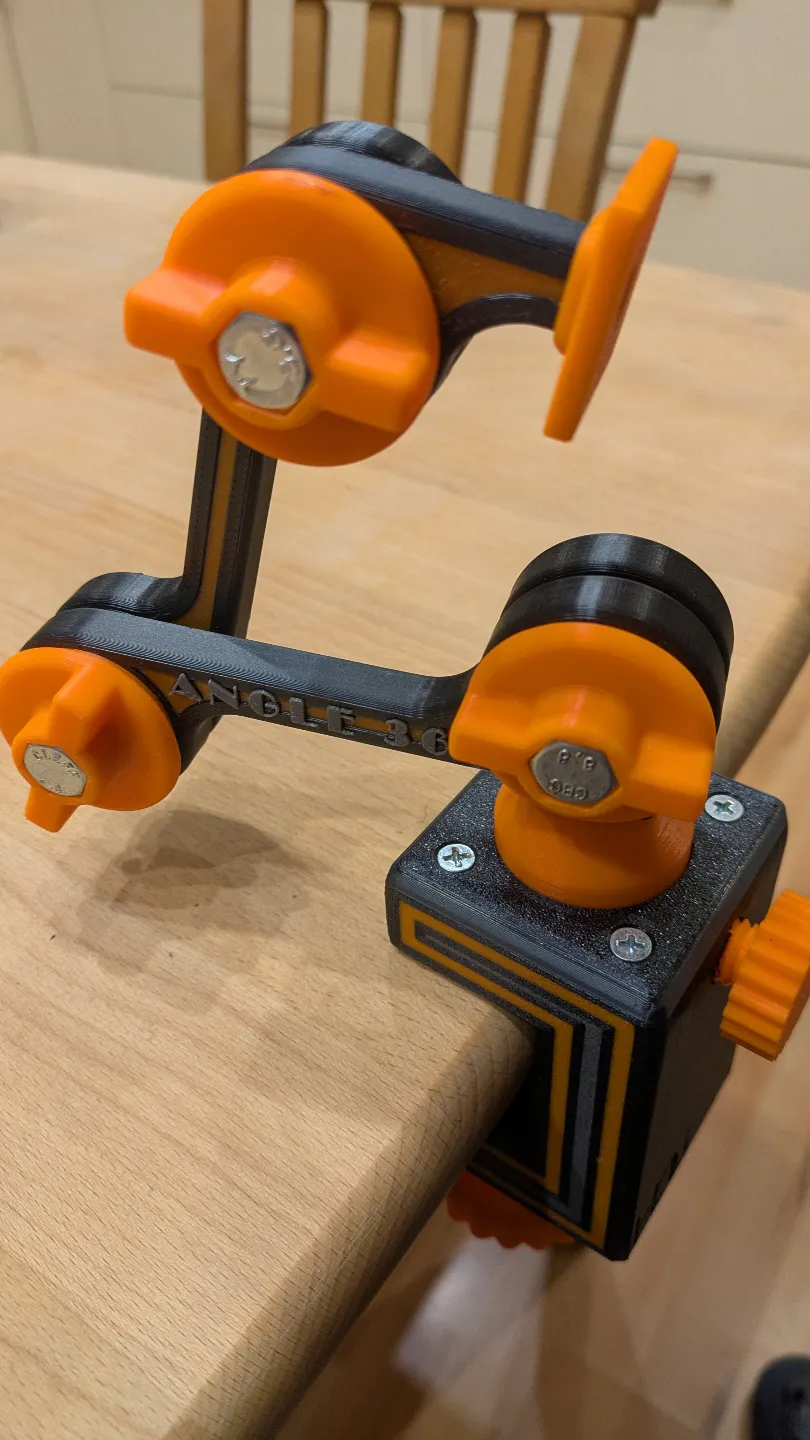
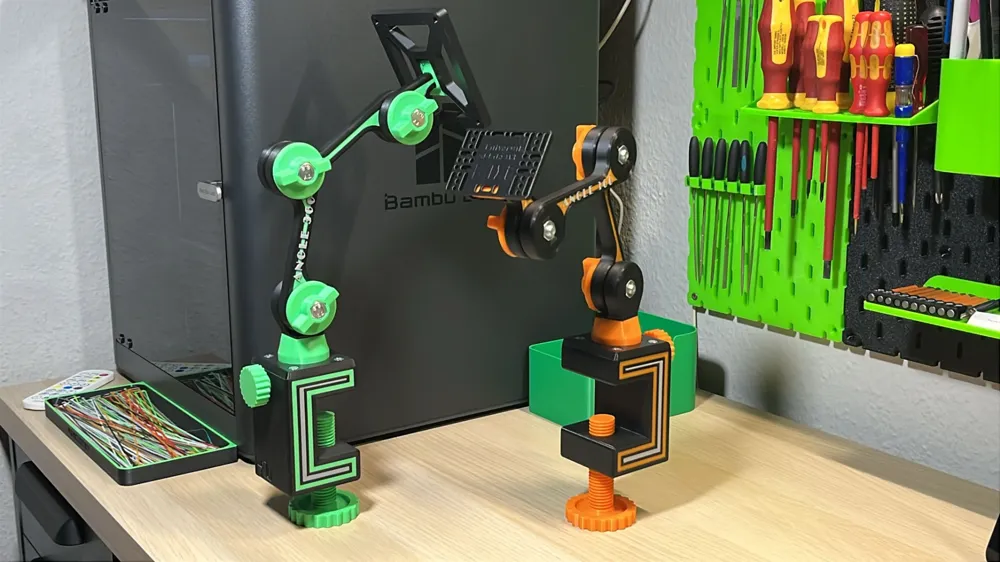
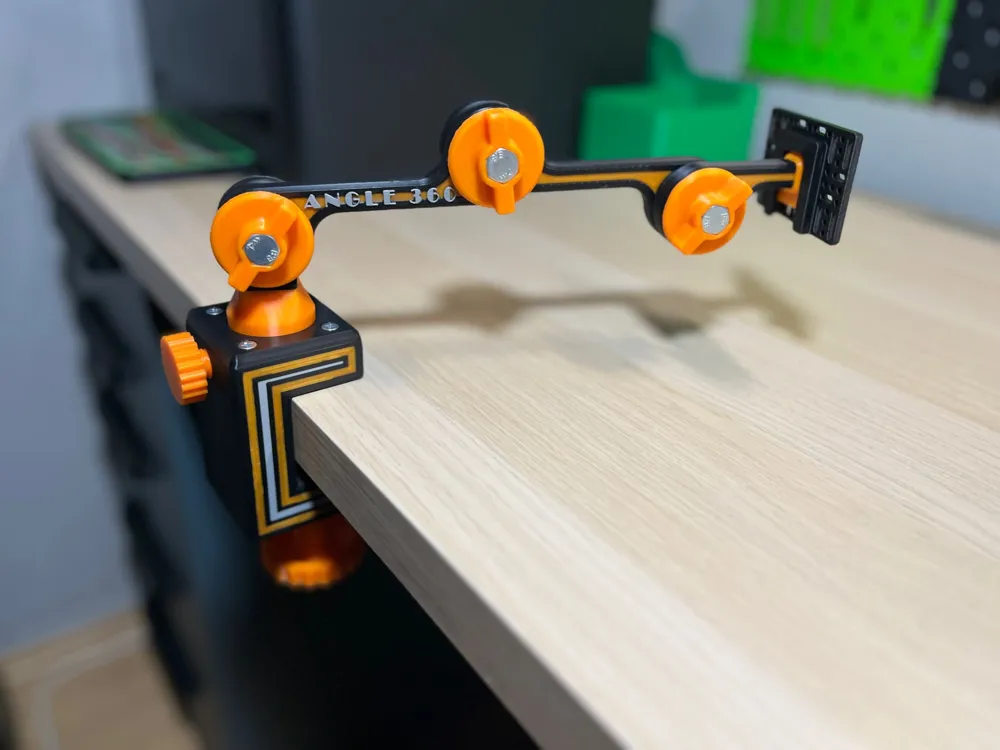
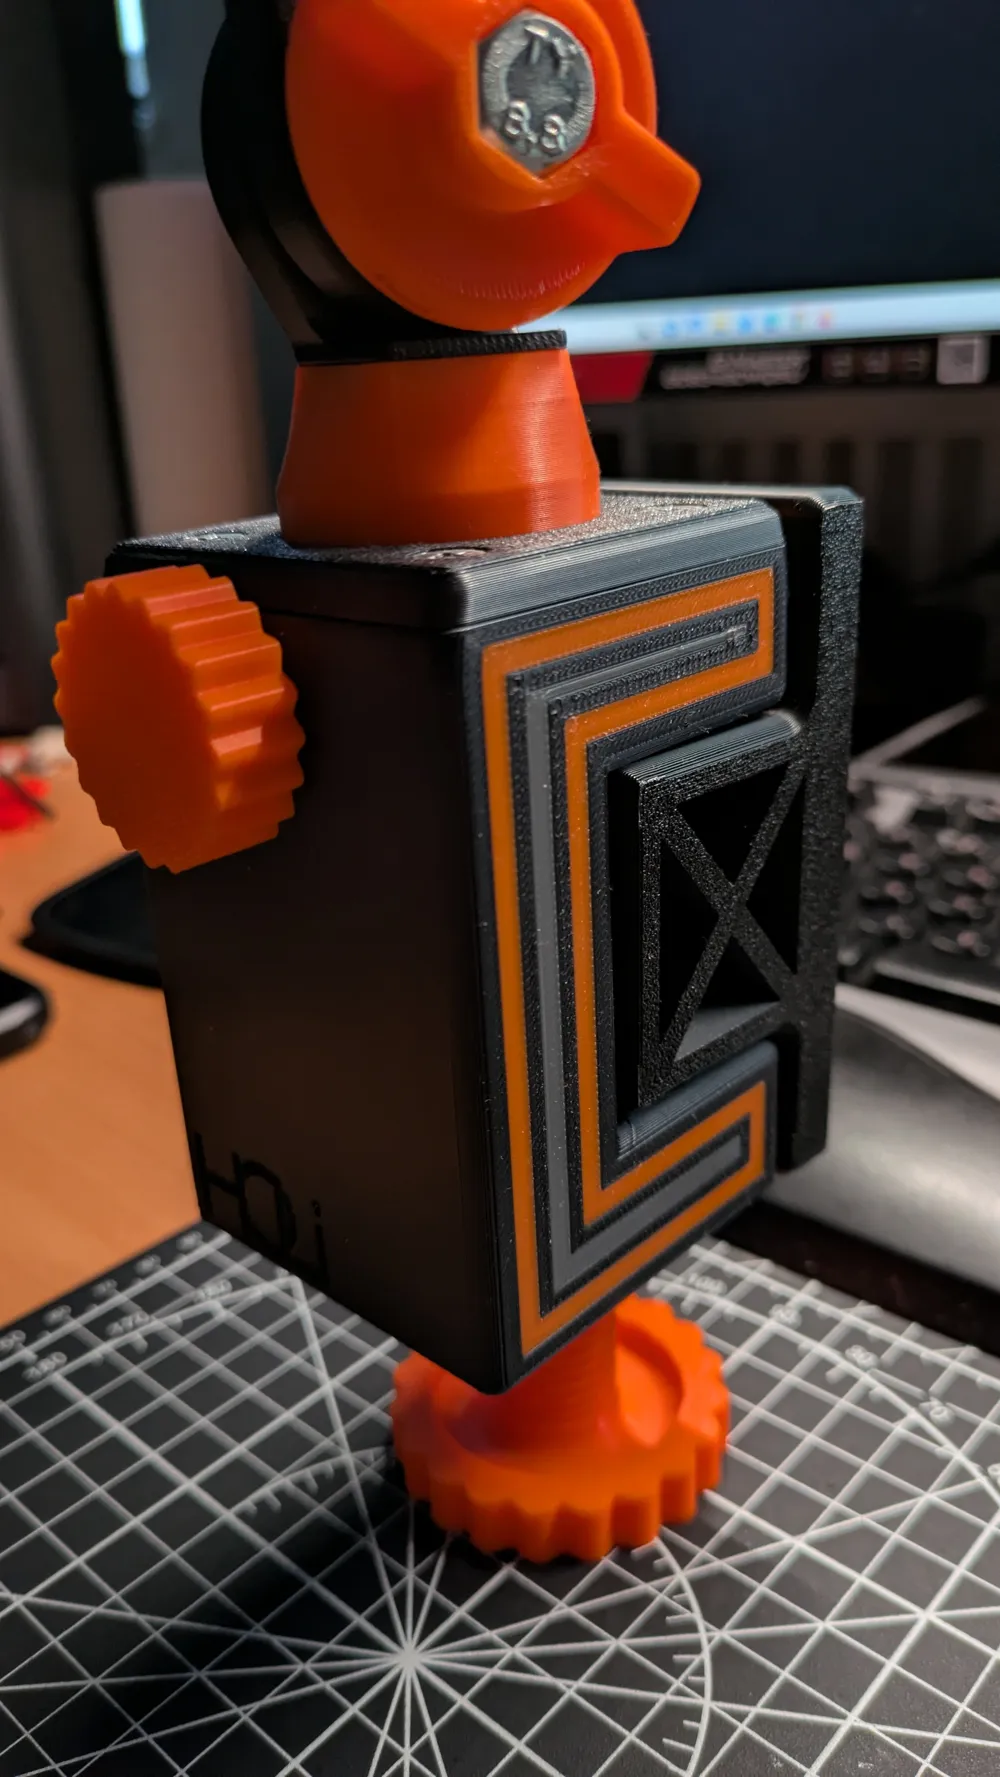
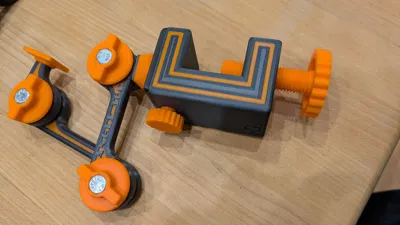
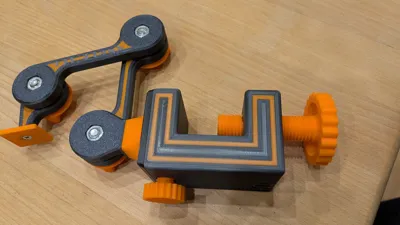
The base module with the universal plate M3 consisting of:
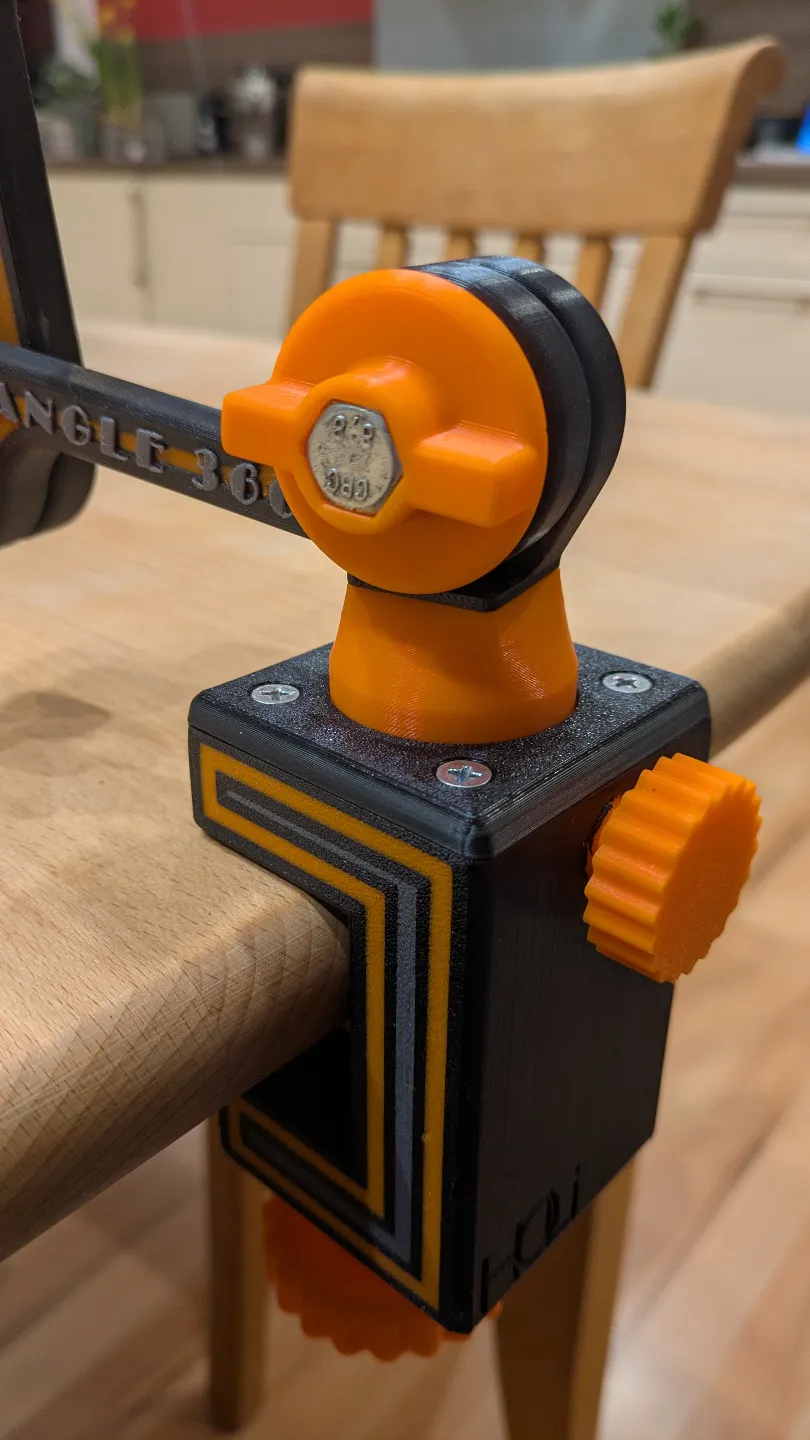
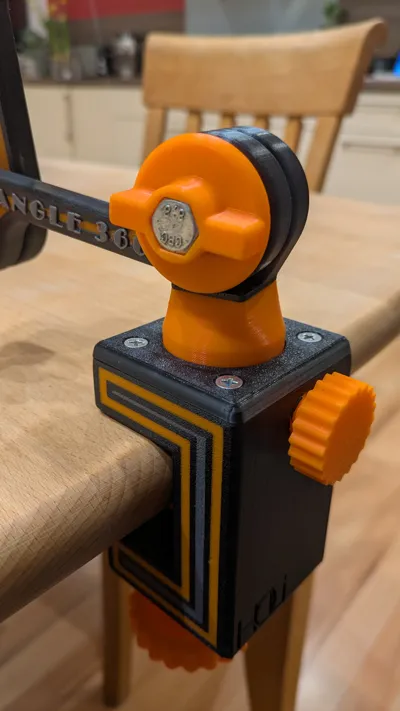
- Clamp attachment for worktop thicknesses from 1 mm to 45 mm
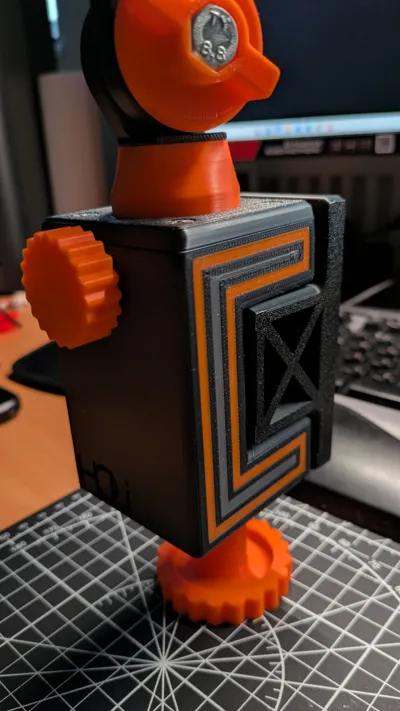
- 360° rotating turret with brake screw and cover plate
- Plug-in arm for rotating turret
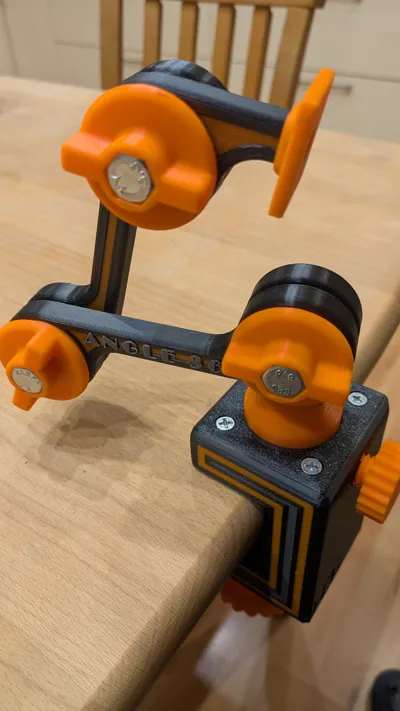
- 3 articulated arms (2x long, 1x short)
- 3 rotary switches
- Base mounting plate
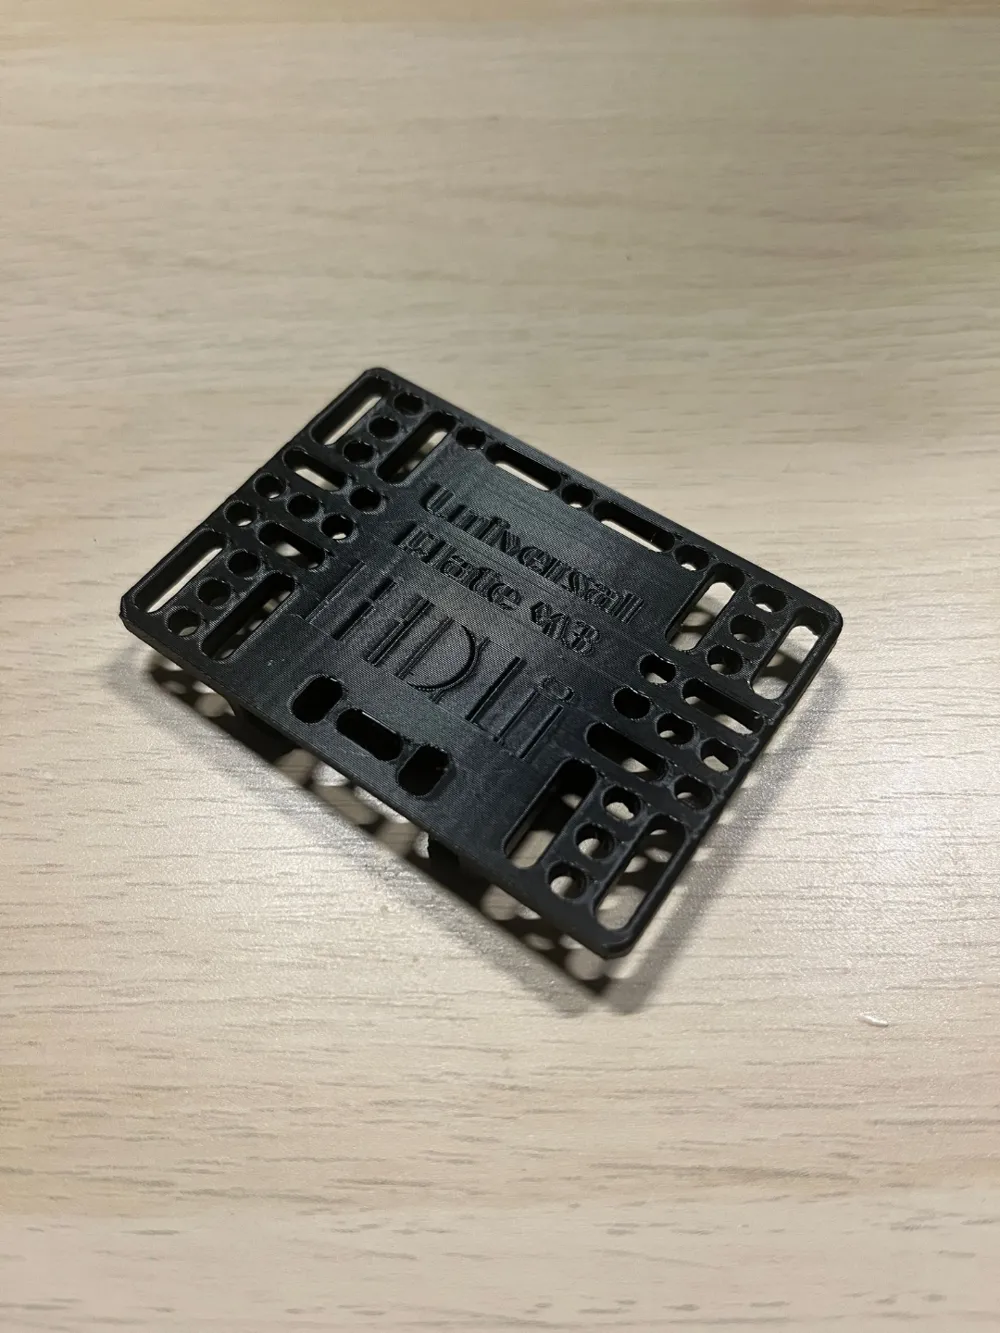
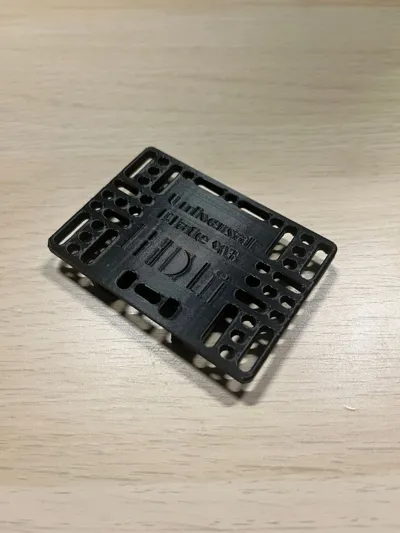
- Universal plate M3 with integrated mount
Video on assembly and extensions (5x playback speed) including construction details, animation of the stand and existing accessories in functional representation, material list, photos with applications and the final load test
The extensions will be added as print profiles shortly…
The long version is available here…
When designing, we always made sure that the parts for the universal stand are relatively easy to print. The goal from the beginning was that the stand could be printed entirely with PLA, to be able to print it with any 3D printer in principle, which significantly influenced the overall construction
The printing of individual parts requires very little support. The components were designed so that various areas can simply be colored in the slicer - but it's not a must. We deliberately avoided melt-in nuts, as not everyone has them readily available. Therefore, openings, drill holes, etc., were planned accordingly so that they would withstand the desired load, as we intended for more than just 300 grams of load capacity to be possible. Recommendation for M4 screw holes: pre-drill with 3.2mm or 3.5mm drill bit or tap the M4 threads to prevent stripping. The selection of screws, nuts, and washers is manageable and might be available in the required sizes in many households
The arm joints were initially planned more simply, but clamping the flat surfaces against each other did not hold. The solution here was, on the one hand, to increase the friction surface, and on the other hand, for the surfaces to clamp against each other when tightened. The designed conical connection in all joints showed an astonishing 2kg load capacity in the prototype and, above all, ensured that the arms could be rotated steplessly to any angle without having to use an internal lock (gearing). Of course, the arm's reach can always be extended by 20cm with each print by printing multiple articulated arms - for this, both arms must always be printed
The table mount is equipped with a 360° turret joint, into which a plug-in arm with a conical joint is inserted and screwed. The slewing ring is locked laterally by a printed brake screw, but not like a grub screw, but as a gentle joint brake pad. The turret joint is covered from above with an additional mounting plate to keep the turret in position and to counteract the tearing apart of layers under excessive load
Our table clamp can be attached, for example, to a tabletop with a thickness of 1mm to 45mm and is held in position by a printed screw. The arms have a distance of 100mm from joint center to joint center. With the arms oriented vertically, we have an outreach of 29cm from the table clamp to the top plate. Furthermore, we wanted to keep the operation as simple as possible and therefore provided the screw connections only on one side, thus eliminating the awkward re-gripping. Optionally, separate cable clips (extension) can be printed to properly route, for example, charging/USB cables along the arms
Initially, the extensions might be a bit difficult to slide onto the top plate, but this will ease over time. You can also lightly sand the detents or smooth the guide in the top plate
Printing the extensions in PETG could also be helpful, but I haven't tested it myself
Bill of materials for the universal stand - base model:
- 3x Hex head screws M8x35mm
- 3x Nut M8
- 3x Washer min A8.4x16mm better A8.4x > 16mm
- 5x Countersunk screw M4x16mm
- 2x Countersunk screw M4x20mm
Boost Me (for free)
If you like my work, I would be very happy about a Like, Boost, Comment and Make…
With good reviews you support and motivate me to design more great things :-)
EXTENSIONS
All extensions will be added gradually!
Note for designers:
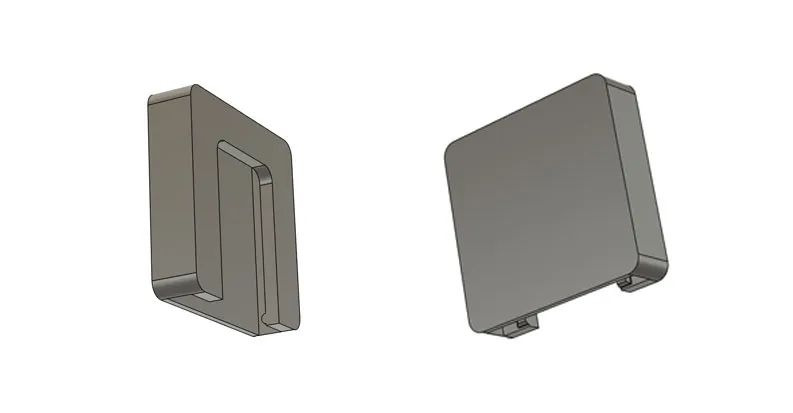
Anyone who would like to create their own holder, e.g., for their smartphone, camera, etc., is welcome to use the freely available mount as a basis and modify it accordingly. The file is available as a Fusion360 and STEP file for import under the following link:
Print profile - Holi Angle360 Free Mount - Sample
The best print orientation and the design:
For a good connection between the HoLi Angle 360 universal stand and the extension, these should be aligned upright
In the print profile, the text is colored for better viewing. It is up to everyone to adopt it
Use of the original HoLi Angle 360 print files at your own risk!
Boost Me (for free)
If you like my work, I would be very happy to receive a like, boost, comment, or make. Your ratings and feedback support my work and motivate me to create more great designs for you in the future. Thank you for your support! 😊
As always:
- The print bed must be clean and free of grease and other dirt. Ensure adequate bed adhesion.
- The printer and the filament used should be correctly calibrated to avoid printing errors.
- The print quality depends on the settings, the filament, and the condition of the printer. Therefore, I cannot guarantee a perfect print result.
Note: Use at your own risk!
- Contains small parts. There is a risk of swallowing.
- The product is not a toy and should only be used under adult supervision.
- I accept no liability.
License

You shall not share, sub-license, sell, rent, host, transfer, or distribute in any way the digital or 3D printed versions of this object, nor any other derivative work of this object in its digital or physical format (including - but not limited to - remixes of this object, and hosting on other digital platforms). The objects may not be used without permission in any way whatsoever in which you charge money, or collect fees.


Comment & Rating (117)