


Print Profile(1)

Bill of Materials
- M4x20mm x 2:
- M4x25mm x 2:
Description
Angled race track display for bookshelves! Makes the models look a little more dynamic while taking up less shelf space! Designed to be simple to print and assemble. Uses only 4 screws and 4 heat insert nuts (or glue if you don't have hardware on hand), and interfaces with the bottom of the models seamlessly with the printed 4x8 brick model connector.
Tested with the Icons Porsche 911 and Icons McLaren MP4/4 Senna Models but should be compatible with most models if there is room for a 4x8 brick on the underside.
Assembly Instructions
Step 1: Assemble the leg and track pieces together. You can use a little glue if the pieces are a little loose but generally these are fine to be assembled without it.
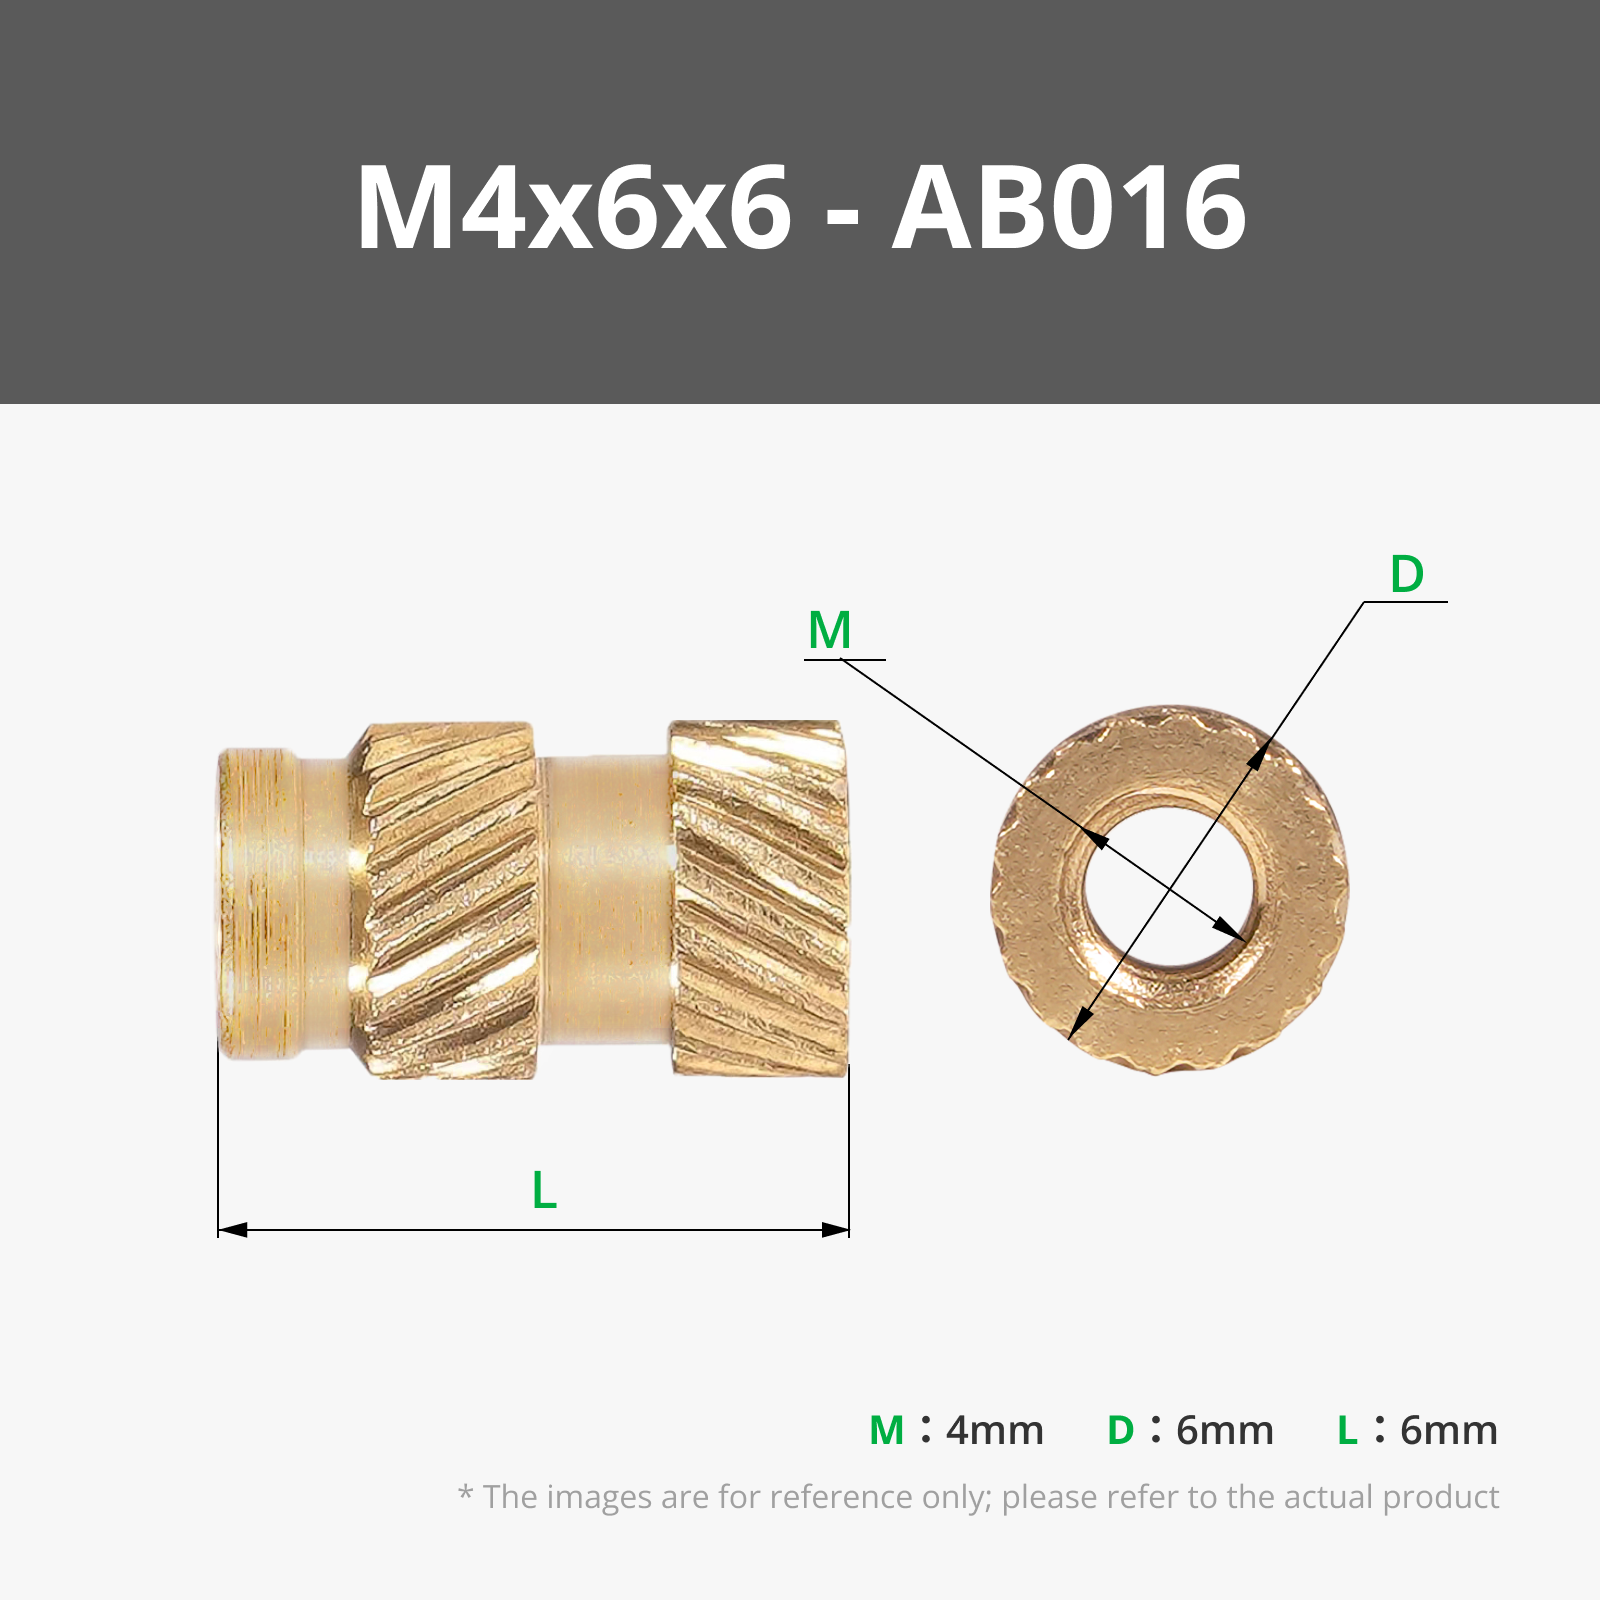
Step 2: Insert the 4 heat set inserts into the Model Connector and the top two holes of Track 2 (not the two center holes in both track pieces). Depending on your chosen model, the Model Connector Spacers may need to be used. On the Formula 1 model, I found no spacers were needed. On the 911 model, I found two spacers were needed. The tires of the models should be barely off the surface of the track.


Step 3: Screw in the Model Connector piece(s) by using 2 M4 bolts (20mm-40mm may need to be used depending on how many spacers are used).

Step 4: Screw in the Legs with 2 M4 x25mm bolts.

Step 5: Attach your model!

Note: You may want to use the slightest bit of glue on the model connector and model if it is at risk of being dislodged.
License
You shall not share, sub-license, sell, rent, host, transfer, or distribute in any way the digital or 3D printed versions of this object, nor any other derivative work of this object in its digital or physical format (including - but not limited to - remixes of this object, and hosting on other digital platforms). The objects may not be used without permission in any way whatsoever in which you charge money, or collect fees.
Comment & Rating (6)