The Lite Launcher V1


Print Profile(2)


Description
-PLEASE READ ME-
Hey everybody! Sorry I've been gone for so long- working a new job along with school isn't easy. However, I've seen the feedback of my previous models, and I've come up with a wrist shooter design I'm really proud of. This new model features:
-A much more compact design
-Stronger firing system
-Reliable trigger
-Easy assembly
Below are instructions on assembly. You will need:
*ONE M3x8 screw.
*Elastic/Velcro of your choosing.
*A Rubber band.
Boost Me (for free)
Boosts help me to afford filament for new projects!
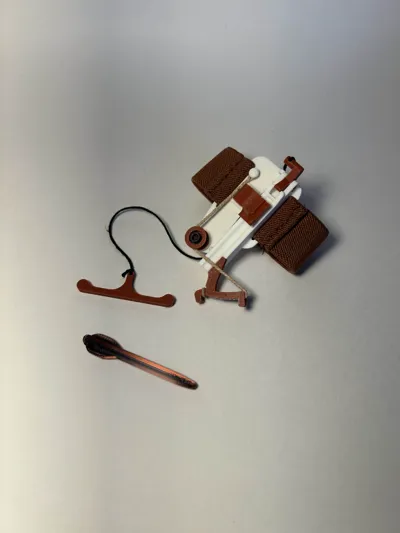
Step 1: To begin, take the main body piece, the small pin, and the L shaped lever. Align the L shaped lever with the hole toward the back of the launcher, and press the pin firmly in. I find using pressure against a table helps.
Step 2: Take the arrow nook (shaped like ~, has an arrow pointing upward) and fit it into the designated square. Ensure the arrow is pointing toward the front.
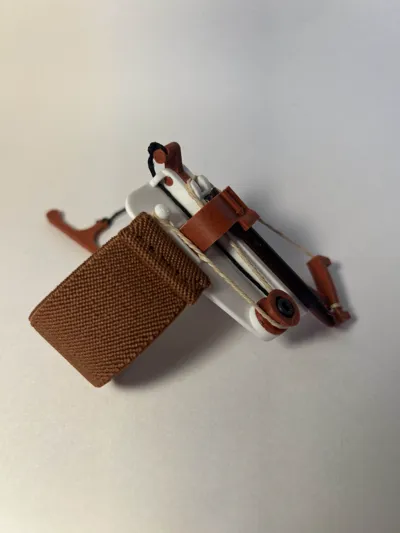
Step 3: Taking your M3x8 screw, take the pulley wheel and insert the screw into it. Now, screw it into the circular hole on the front right of the main body. Screw on just tight enough for a flush fit without inhibiting rotation of the pulley.
Step 4: Take the bow arm and glue it into the cutout on the front left of the main body. Ensure the flat side is down.
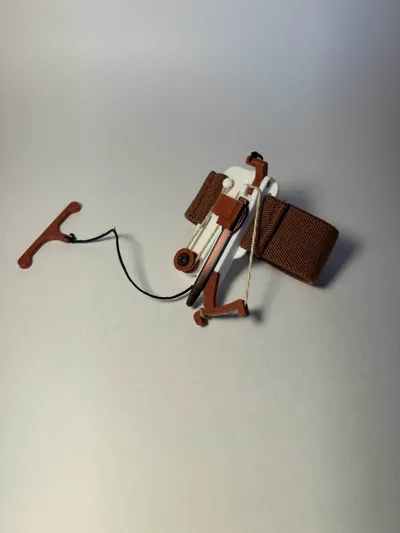
Step 5: With a rubber band (I use a size 16) Insert the band through both holes on the bow arm, looping one end around the top (as shown in the photo). Now, twist the band into a homogenous strand, and loop the other end around the small knob on the main body. Loop the band over the pulley once attached.
Step 6: Using a string, tie one end to the L shaped lever and feed the string through the two small holes on the main body. To your own specific measurements, tie the other end of the string around the T shaped “finger bar”. Use your elastic/velcro to strap the contraption comfortably to your wrist.
And that's all!
(Posting your make is greatly appreciated!)
License
You shall not share, sub-license, sell, rent, host, transfer, or distribute in any way the digital or 3D printed versions of this object, nor any other derivative work of this object in its digital or physical format (including - but not limited to - remixes of this object, and hosting on other digital platforms). The objects may not be used without permission in any way whatsoever in which you charge money, or collect fees.
Comment & Rating (71)