

Print Profile(1)

Bill of Materials

Description
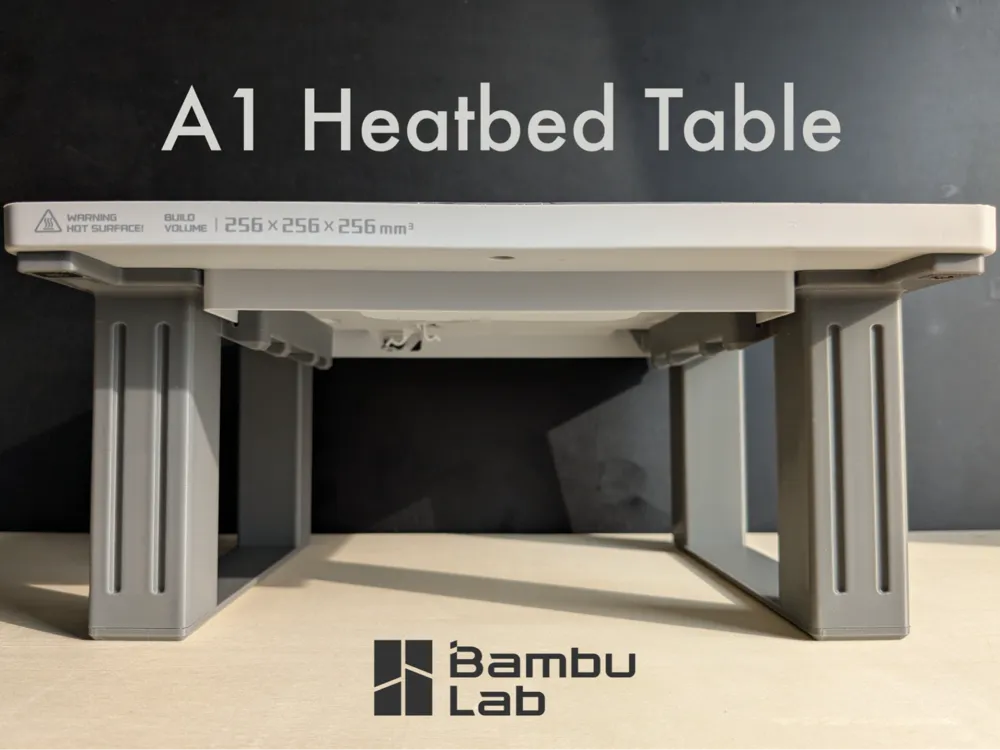
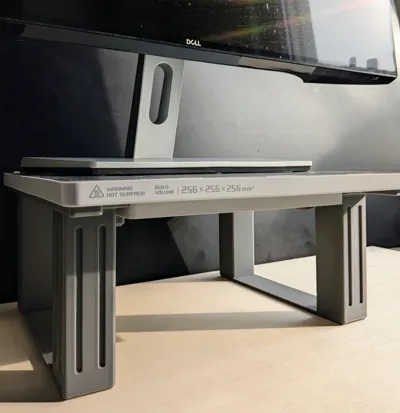
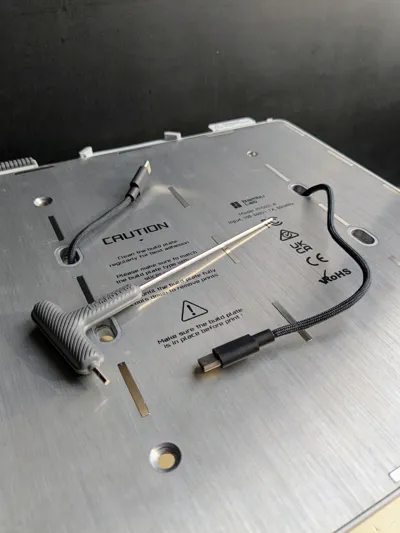
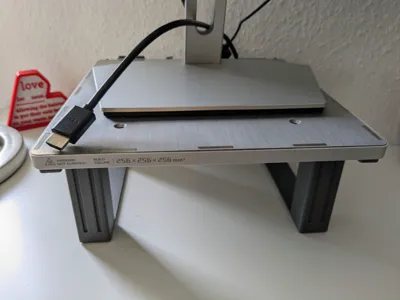
A1 Heatbed Table
Did you buy the Bambu Lab A1 at launch?
Then perhaps you still have the old heatbed because of the replacement campaign at the start of 2024 (if it hasn't already been disposed of).
That's the case for me and the heatbed has been lying in the box in the corner ever since... until now!
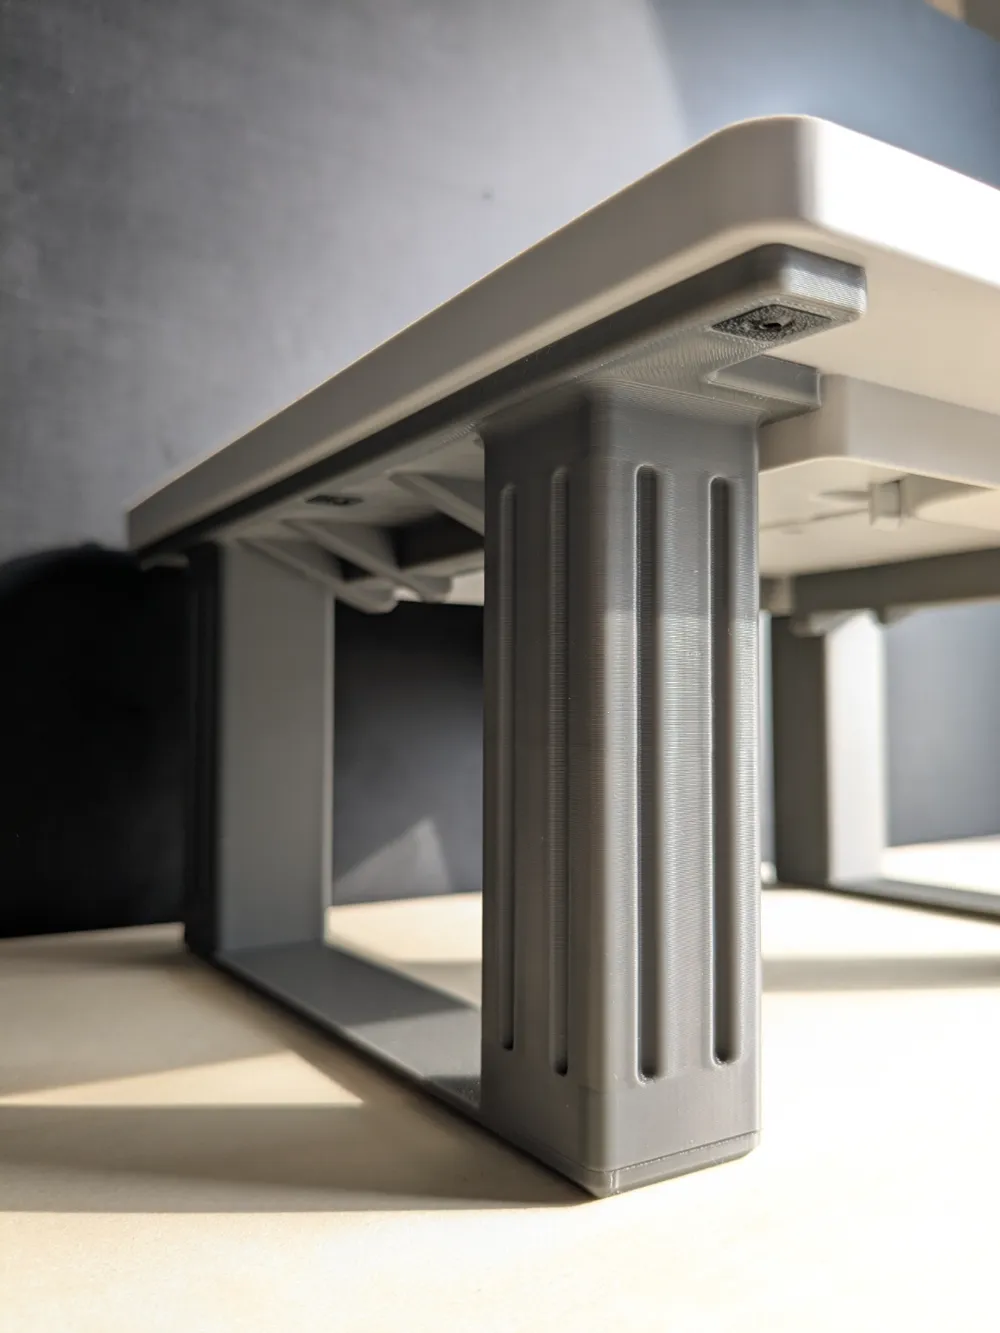
If Bambu Lab were to develop a multi-purpose table, I would imagine such a product.
The design language is strongly oriented towards the design of the Bambu Lab A1, both with the choice of filament colour and the various details.
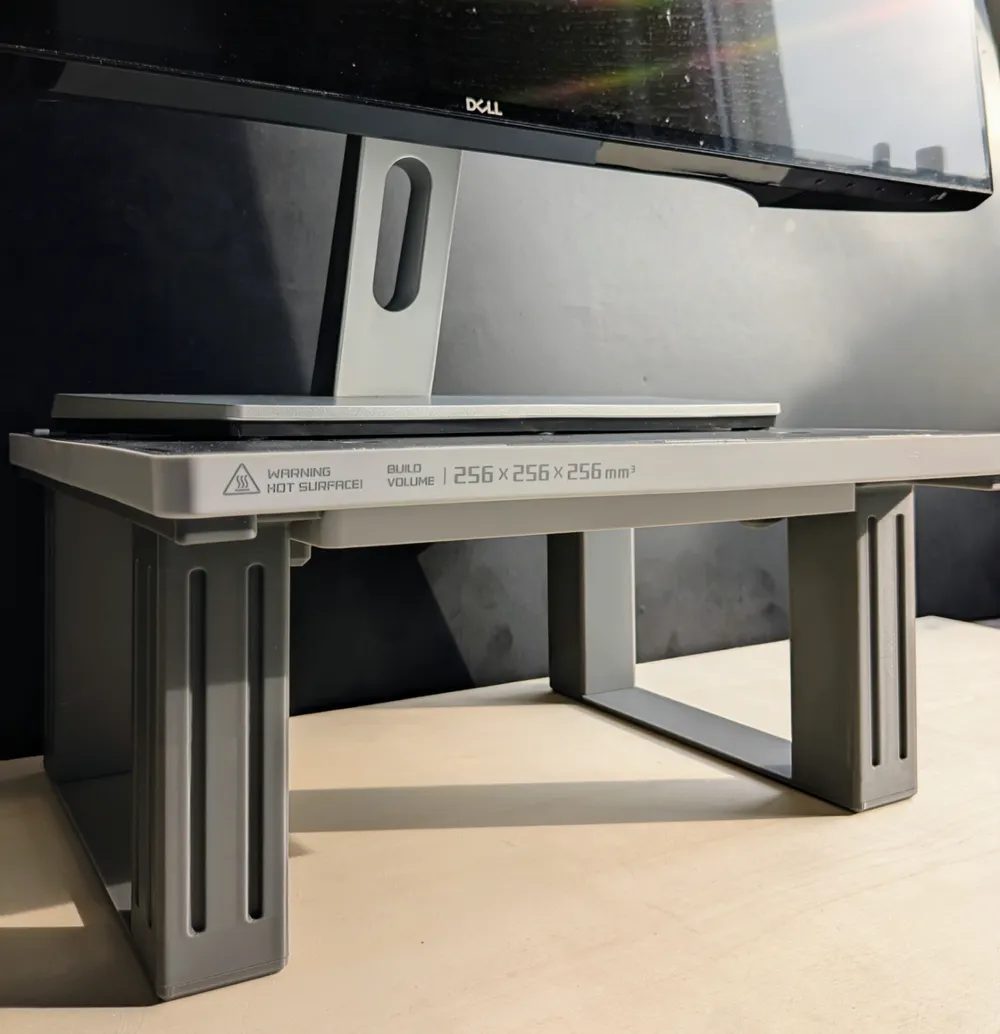
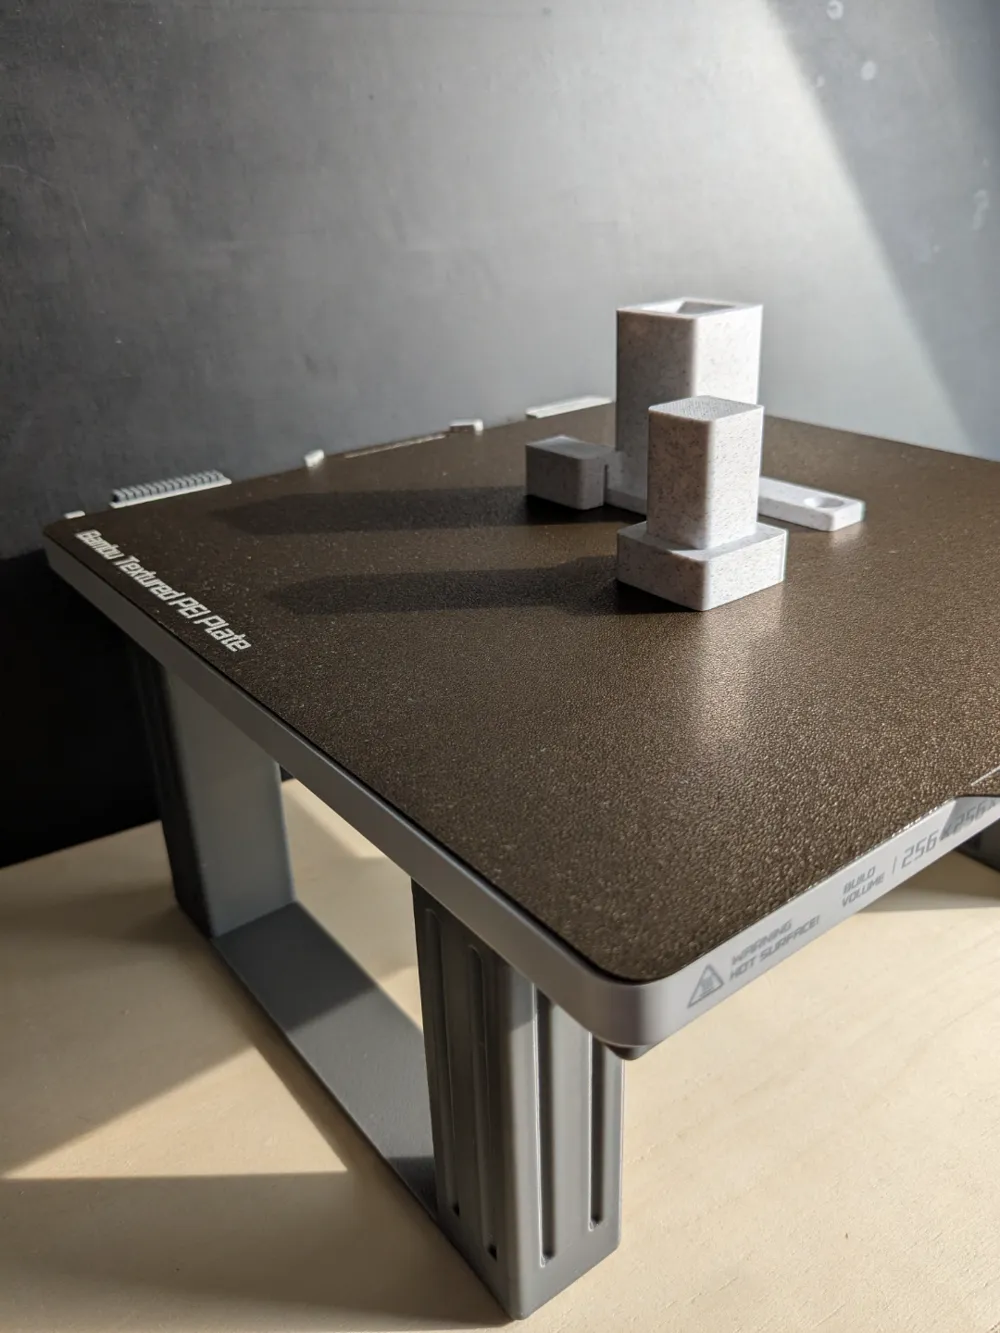
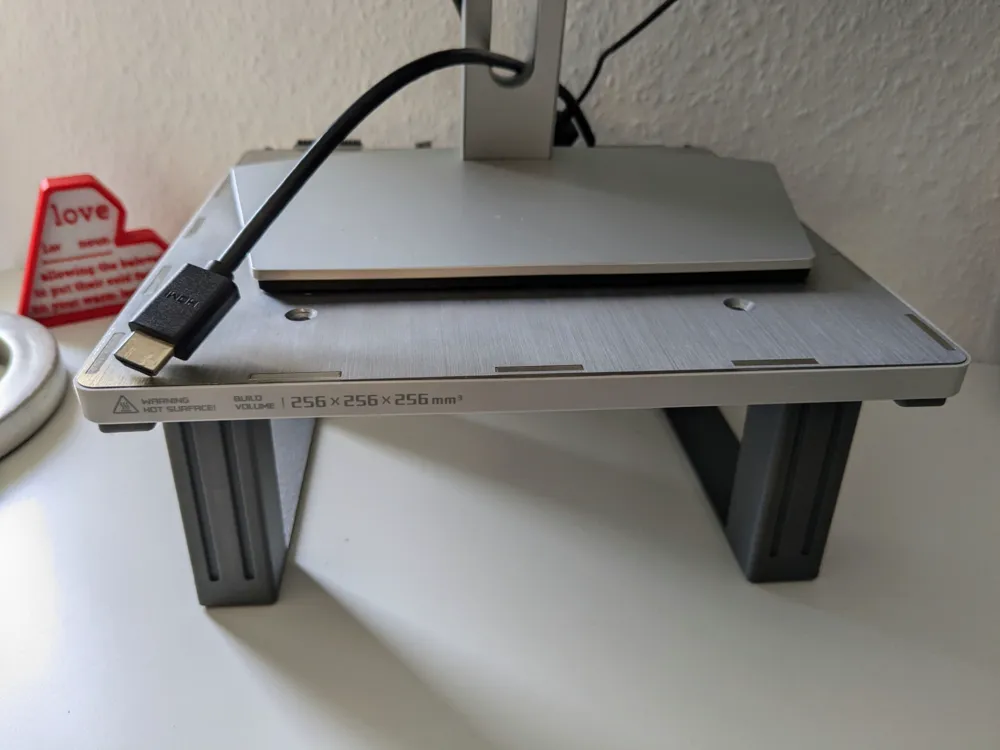
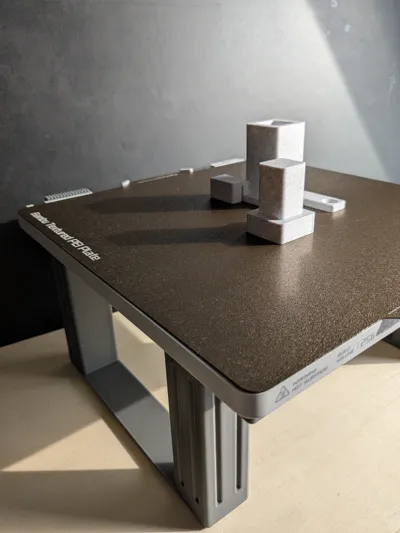
The heatbed table can fulfil a wide variety of functions. Whether as a monitor riser, build plate storage, print cooling area or even as a work table with the practical magnetic surface. You name it!
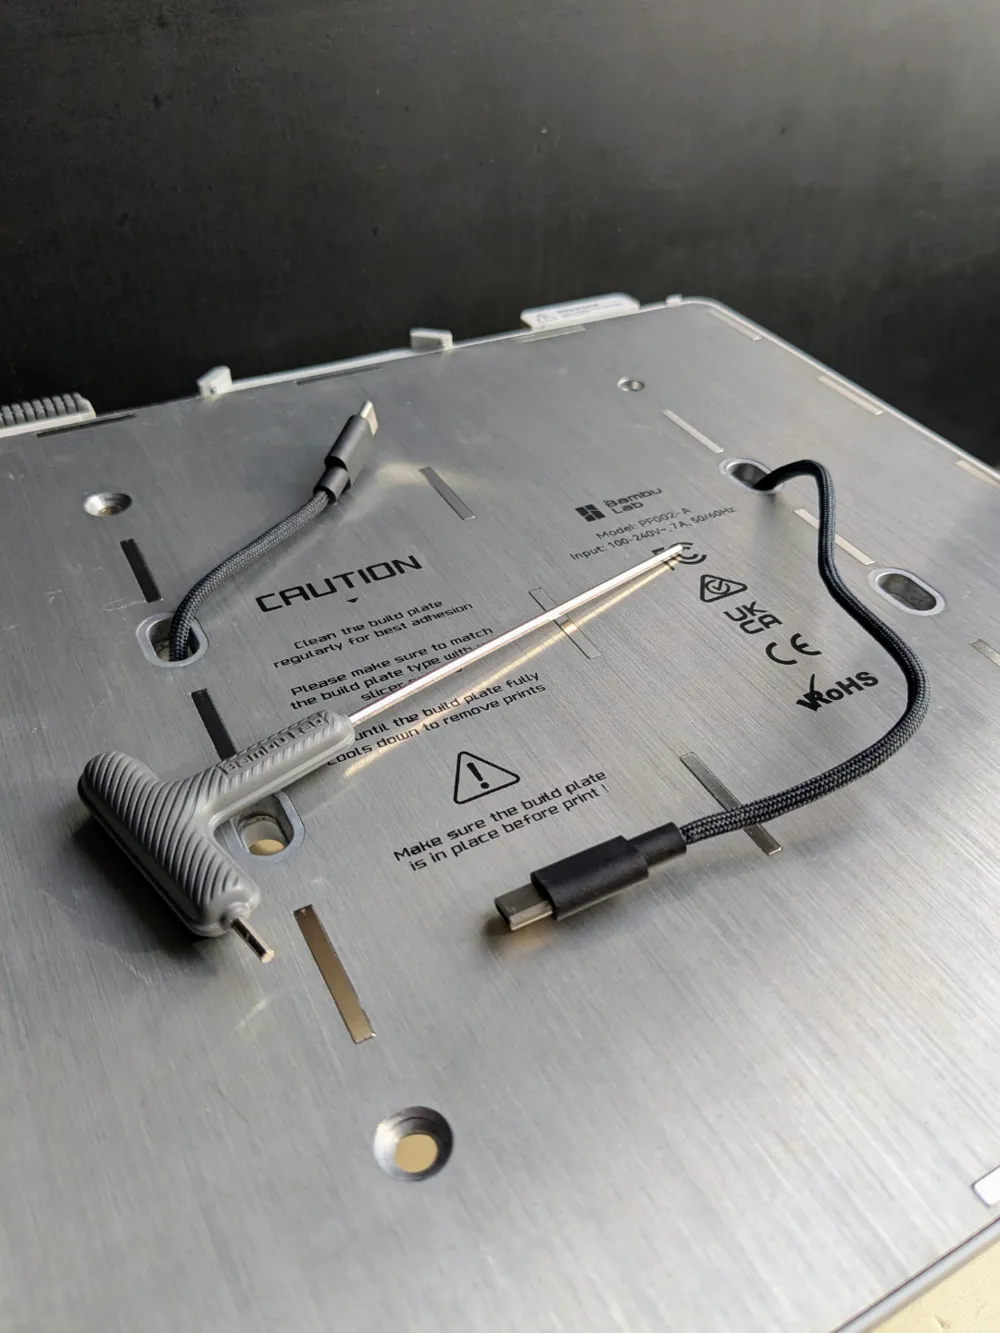
For example, USB cables can be routed through the openings or tools can be attached to the magnets.
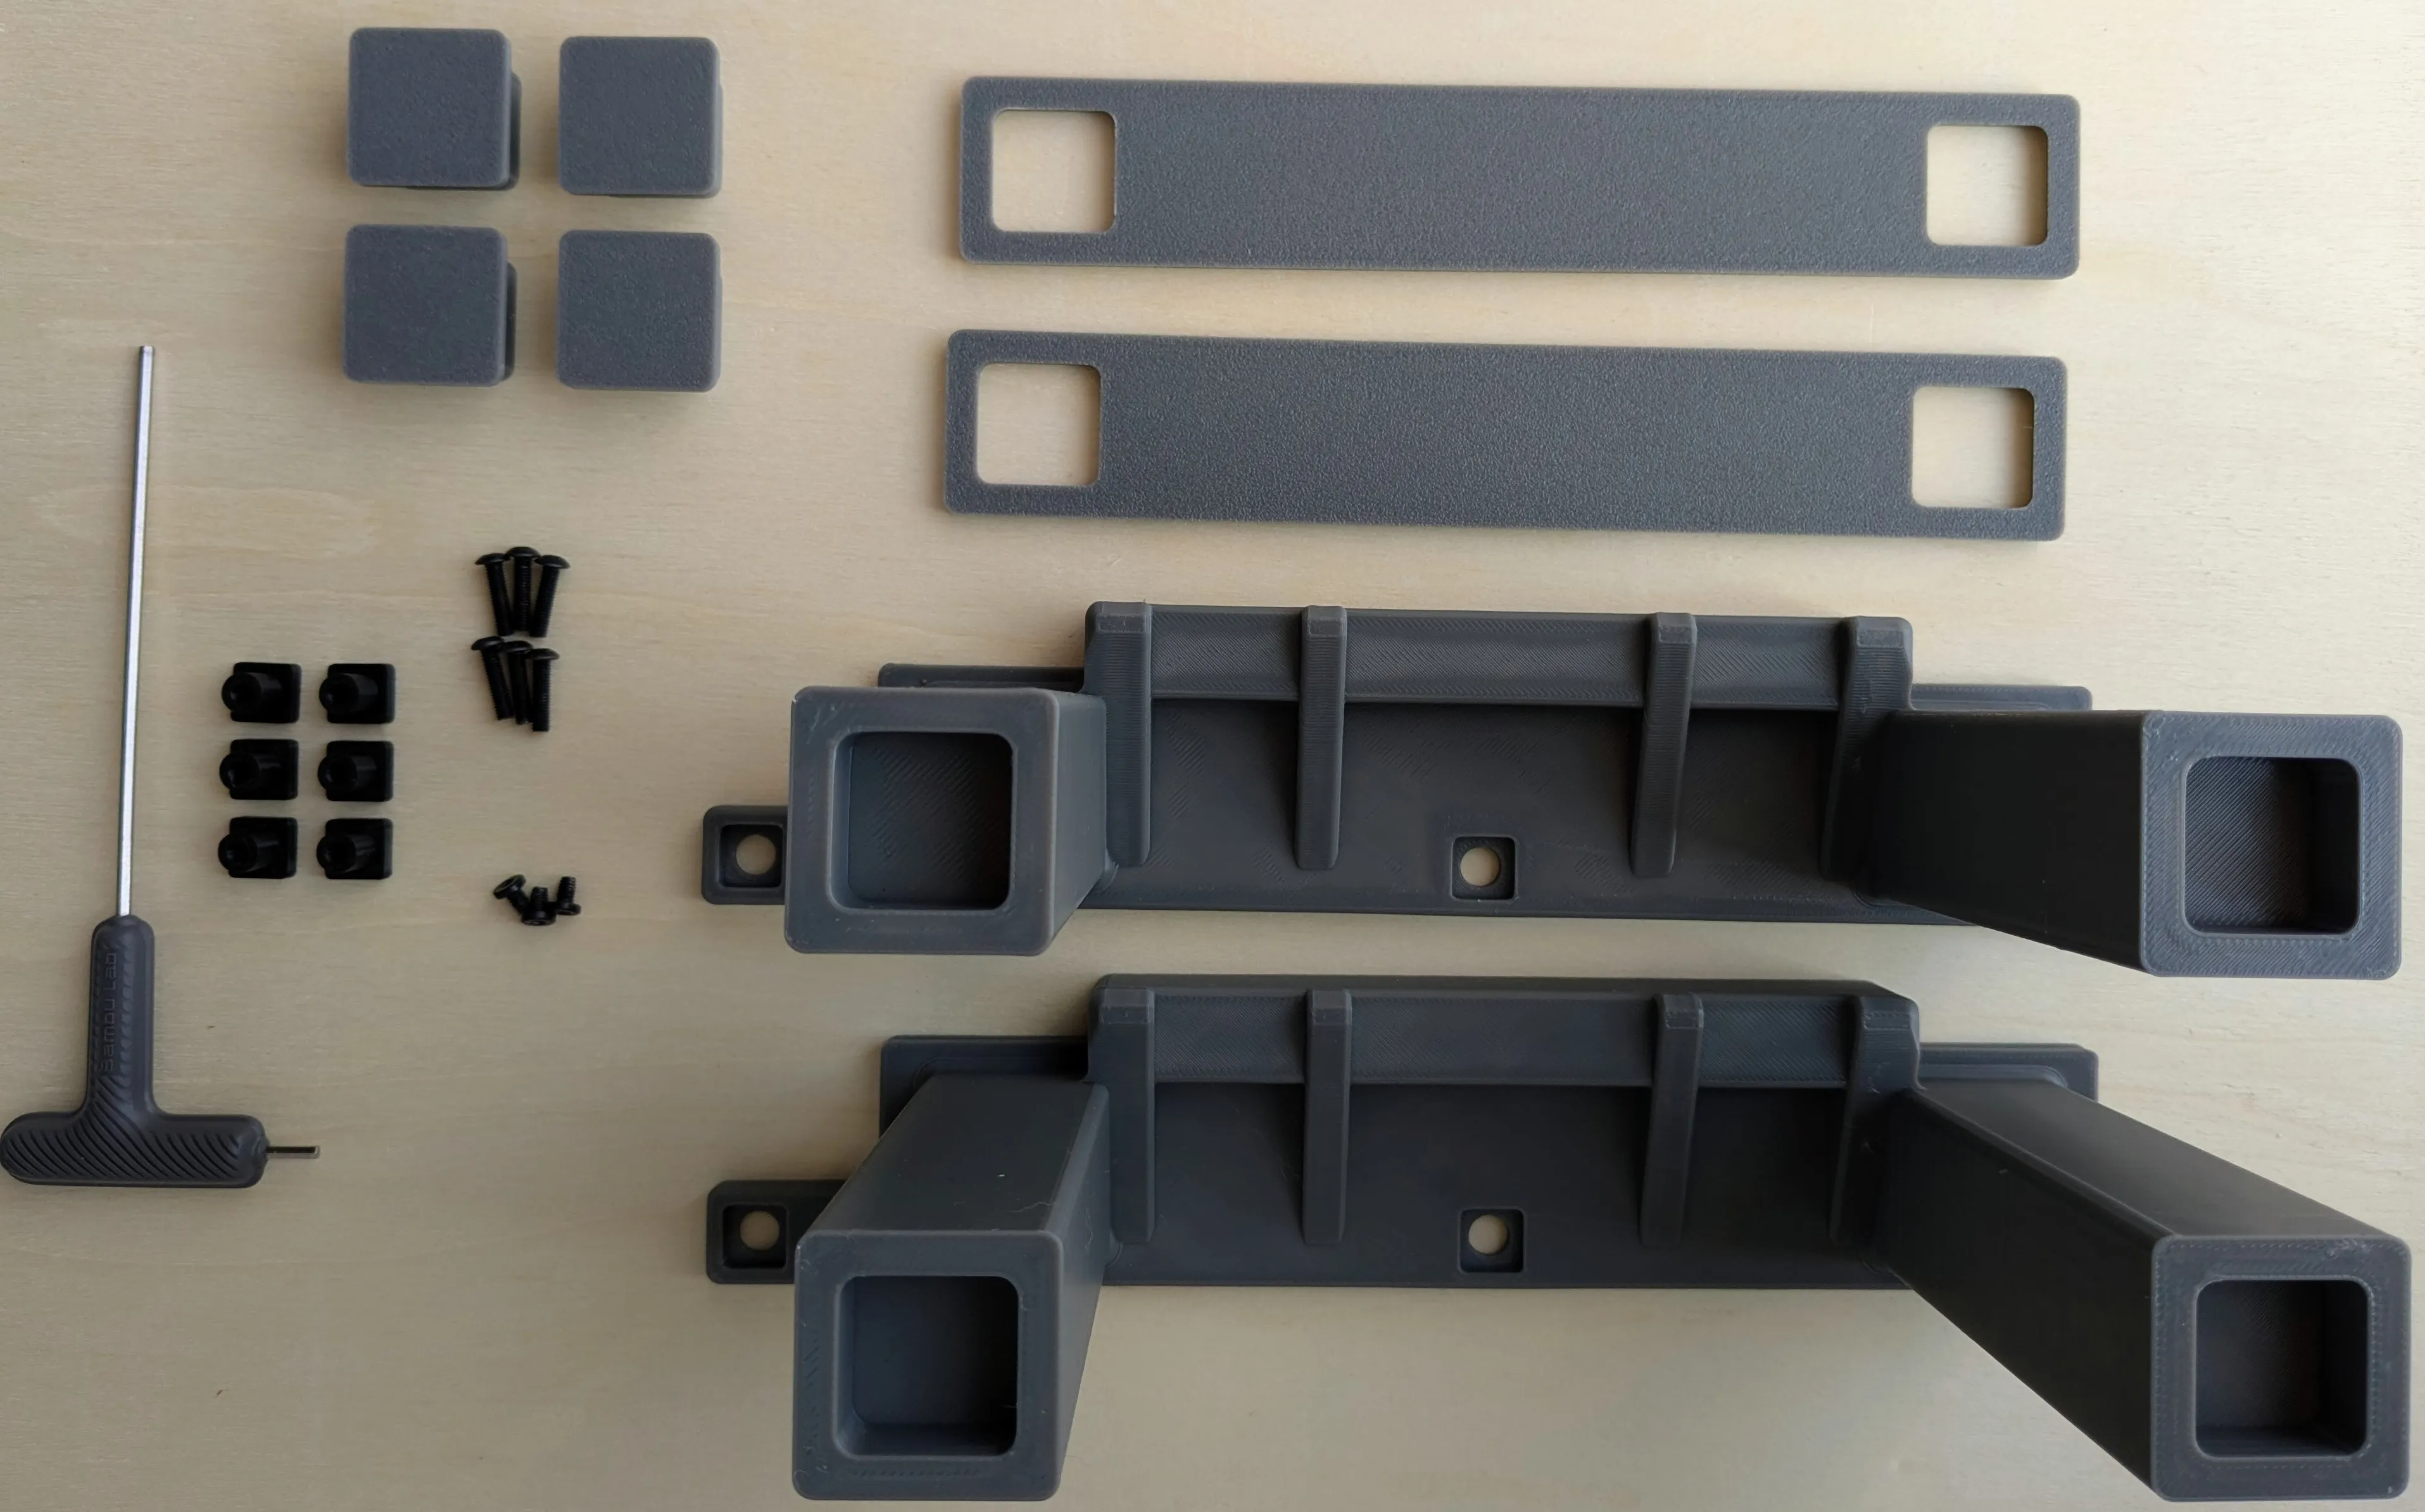
In addition to the printed parts, you will need 6x M3 12mm screws, 3x original M3 screws and the Bambu Lab Allen Key. If you only have longer screws, you can of course use washers.
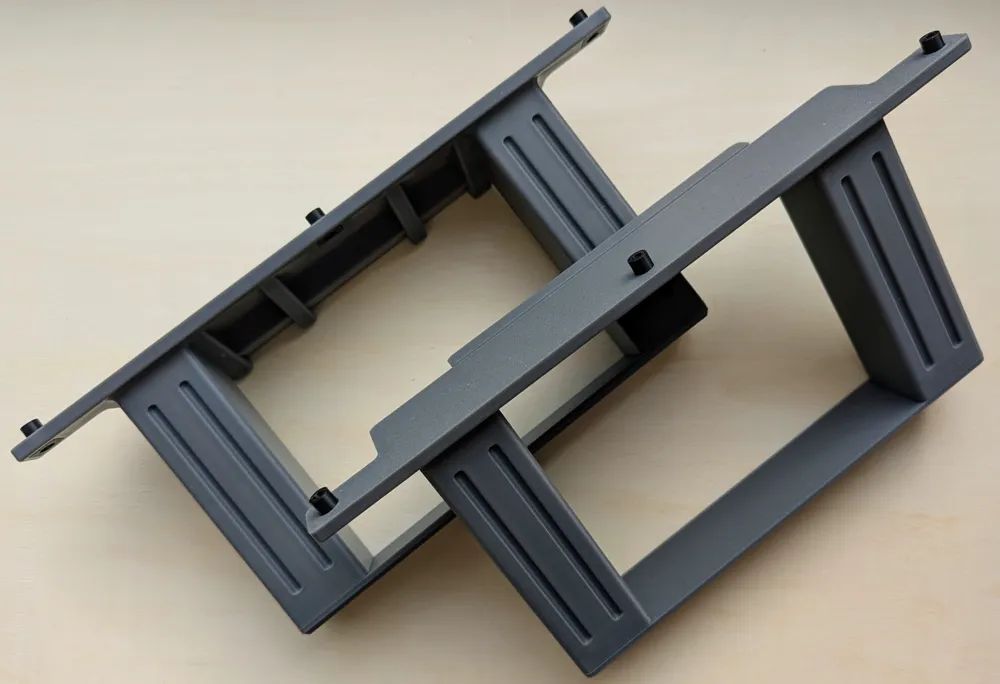
In total, the print set consists of
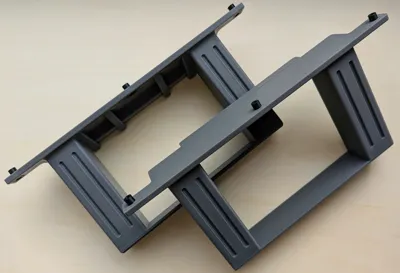
2x side parts
2x base plate
4x base plugs
6x screw plugs
Assembly:
We start with the disassembled heatbed (which no longer has any connection to the printer or a power source!).
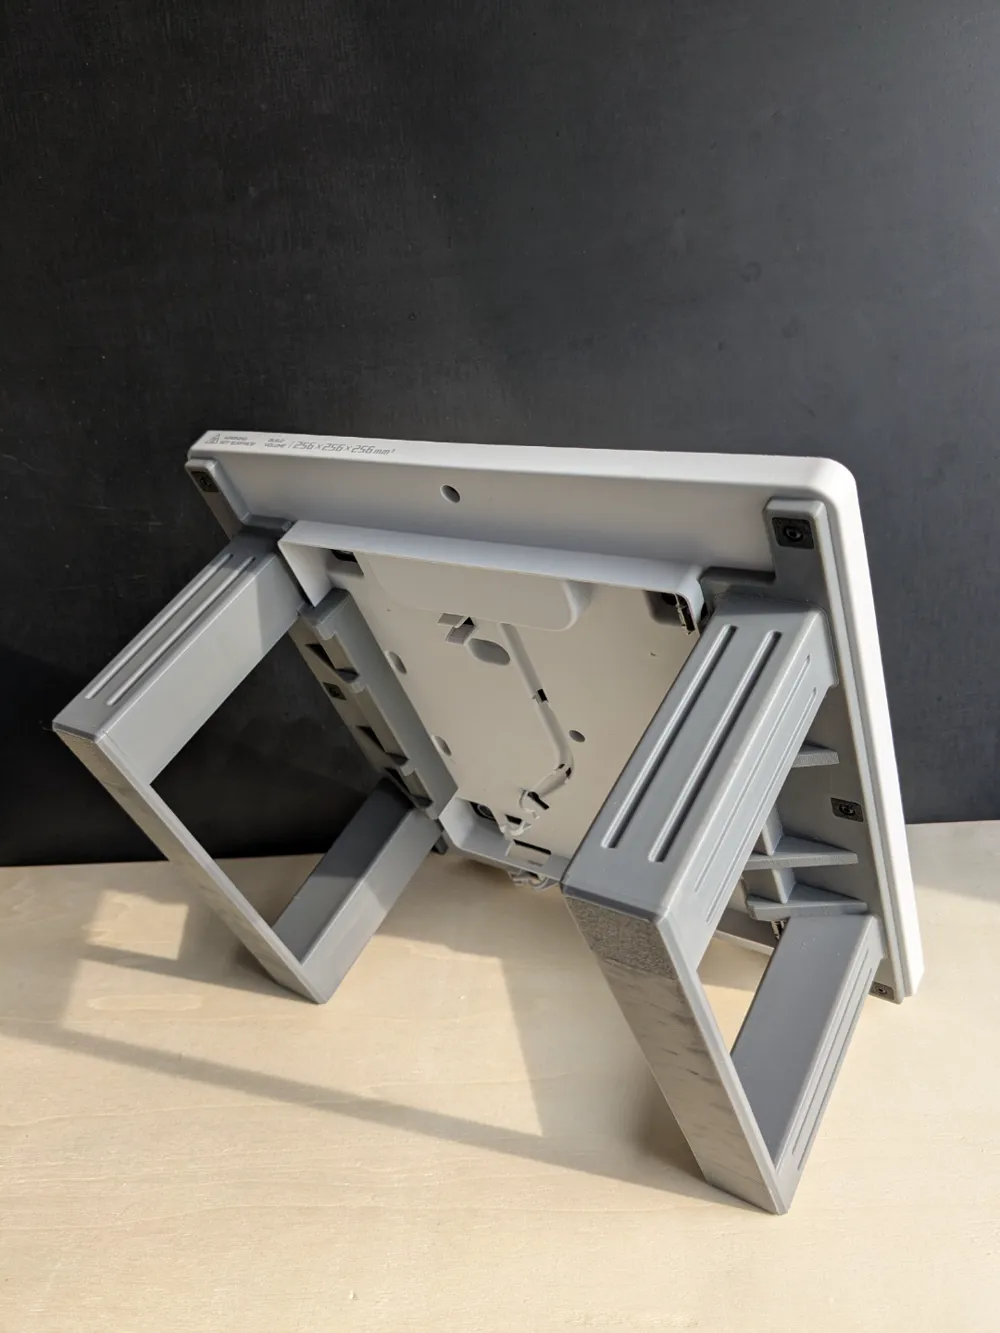
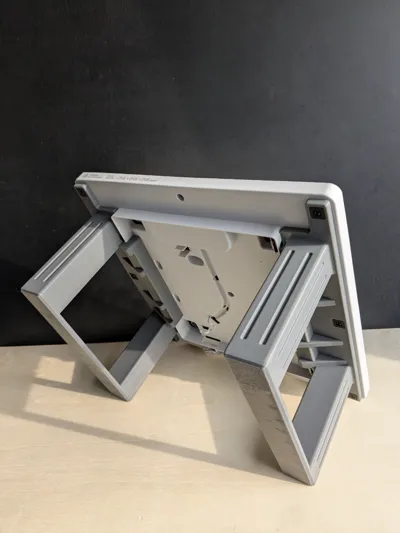
> First of all, I completely unscrewed the heatbed, removed all the cables and the metal part including the springs on the underside. This also leaves exciting parts for reuse in other projects!
Of course, you can also leave everything mounted on the heatbed if you don't mind the look or even like it better this way.
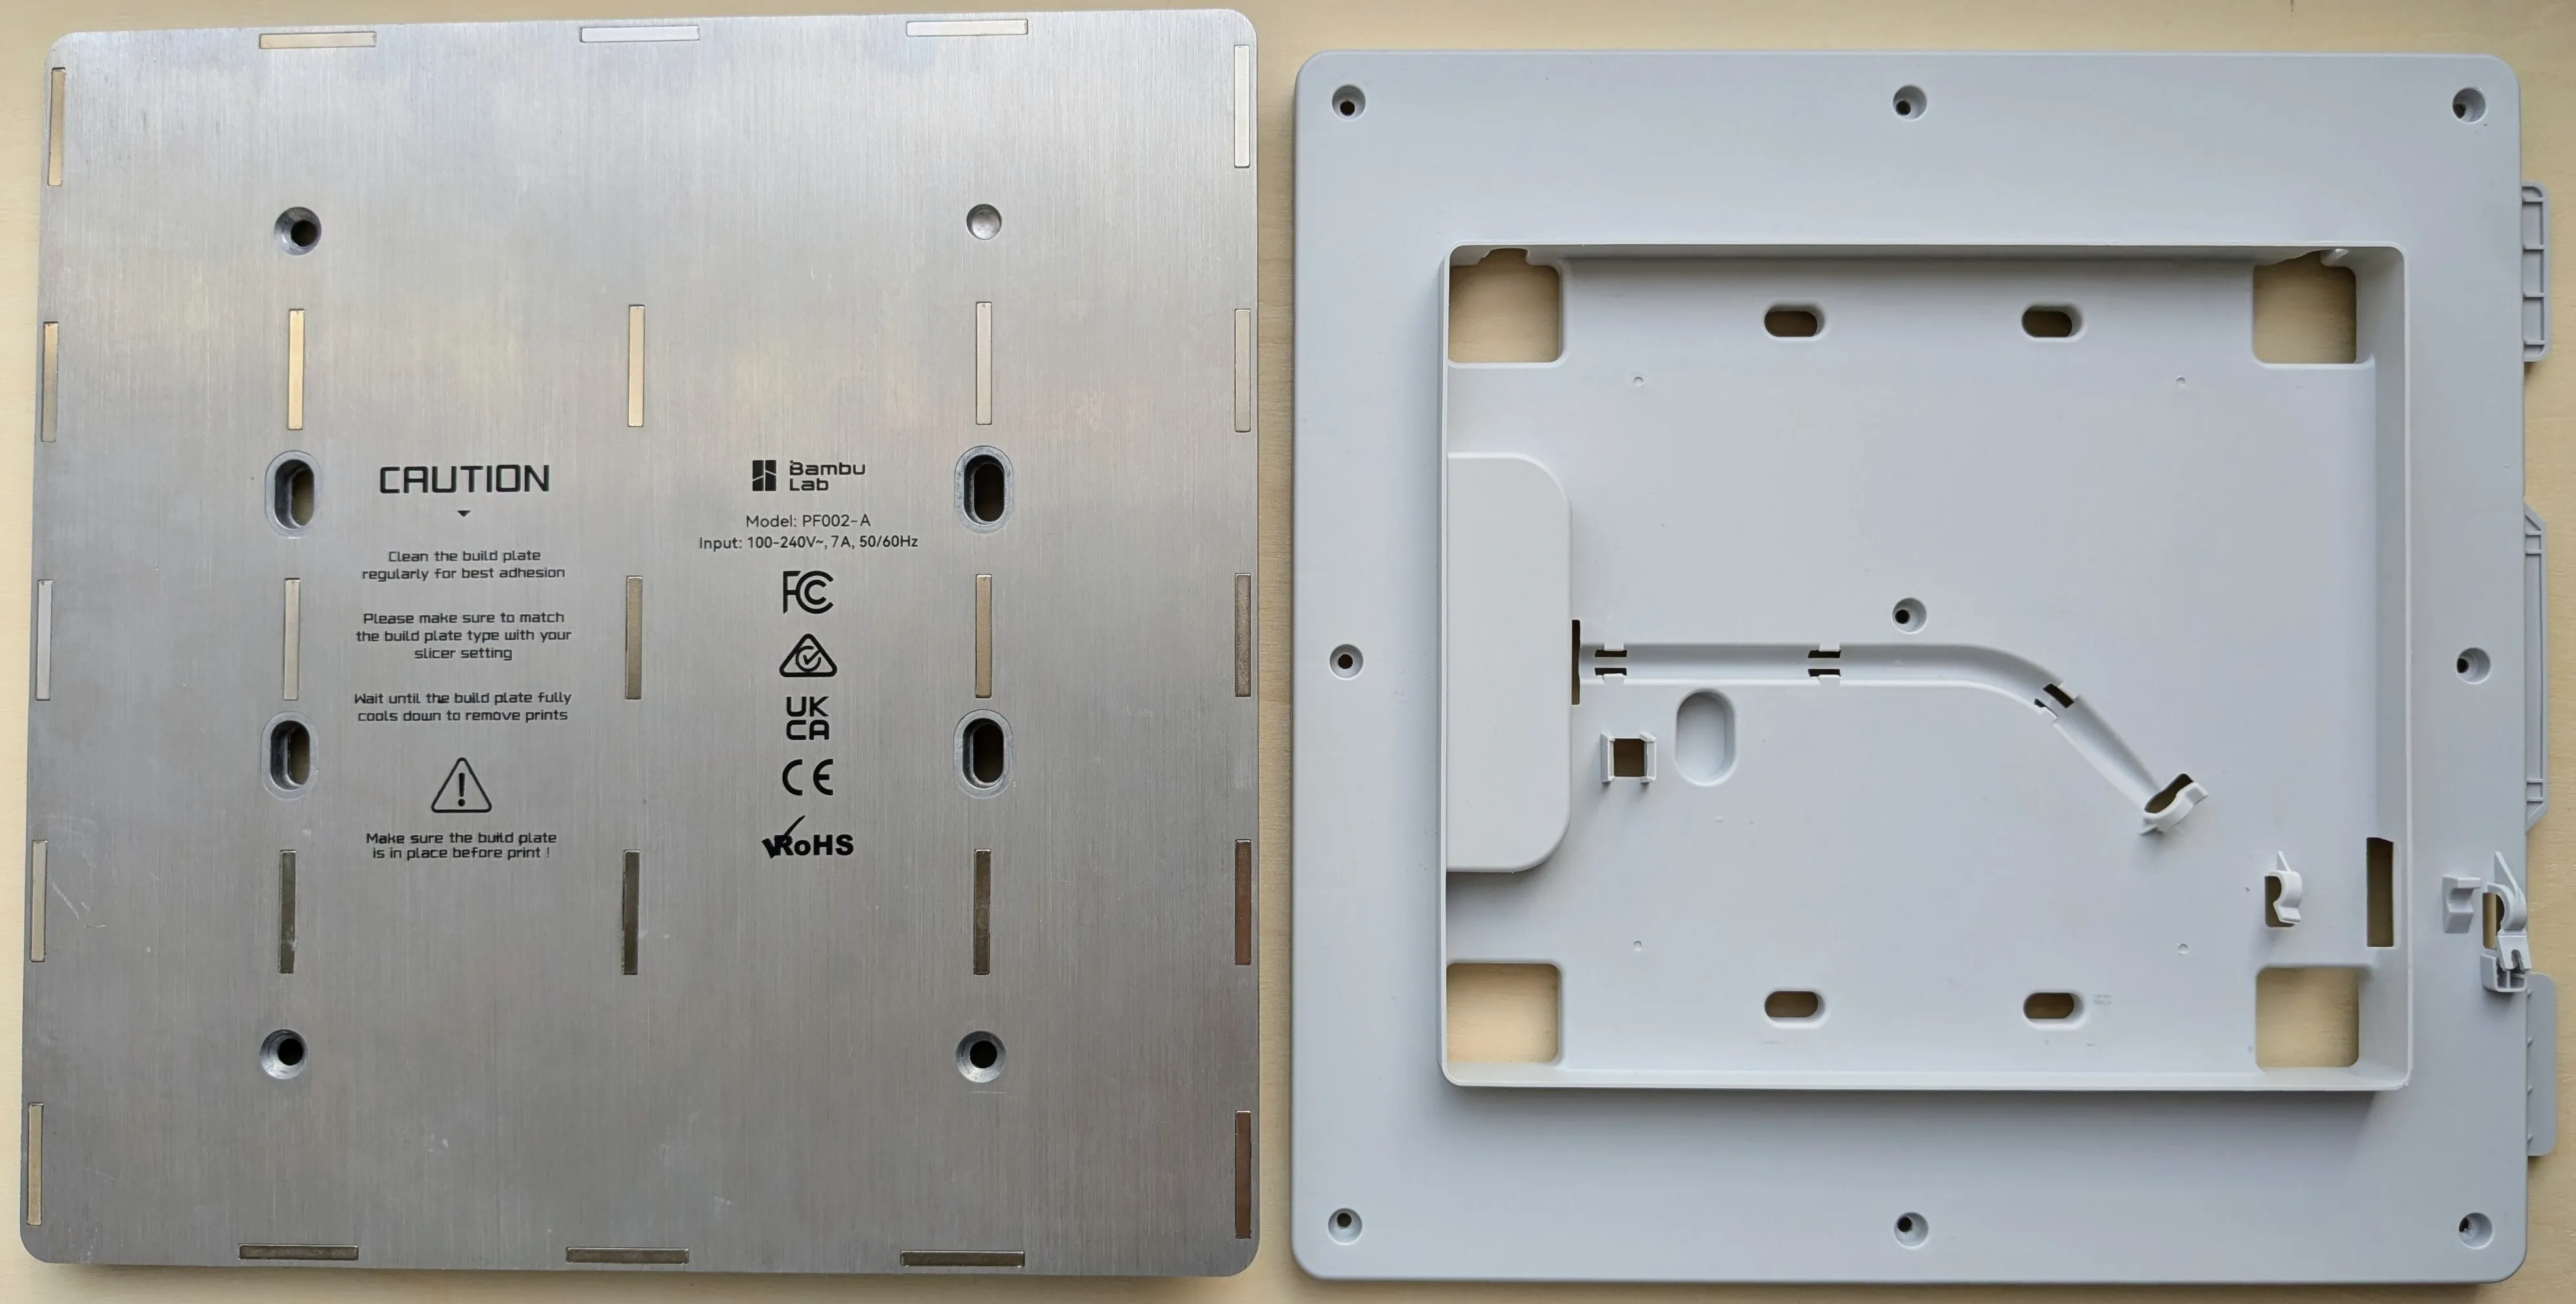
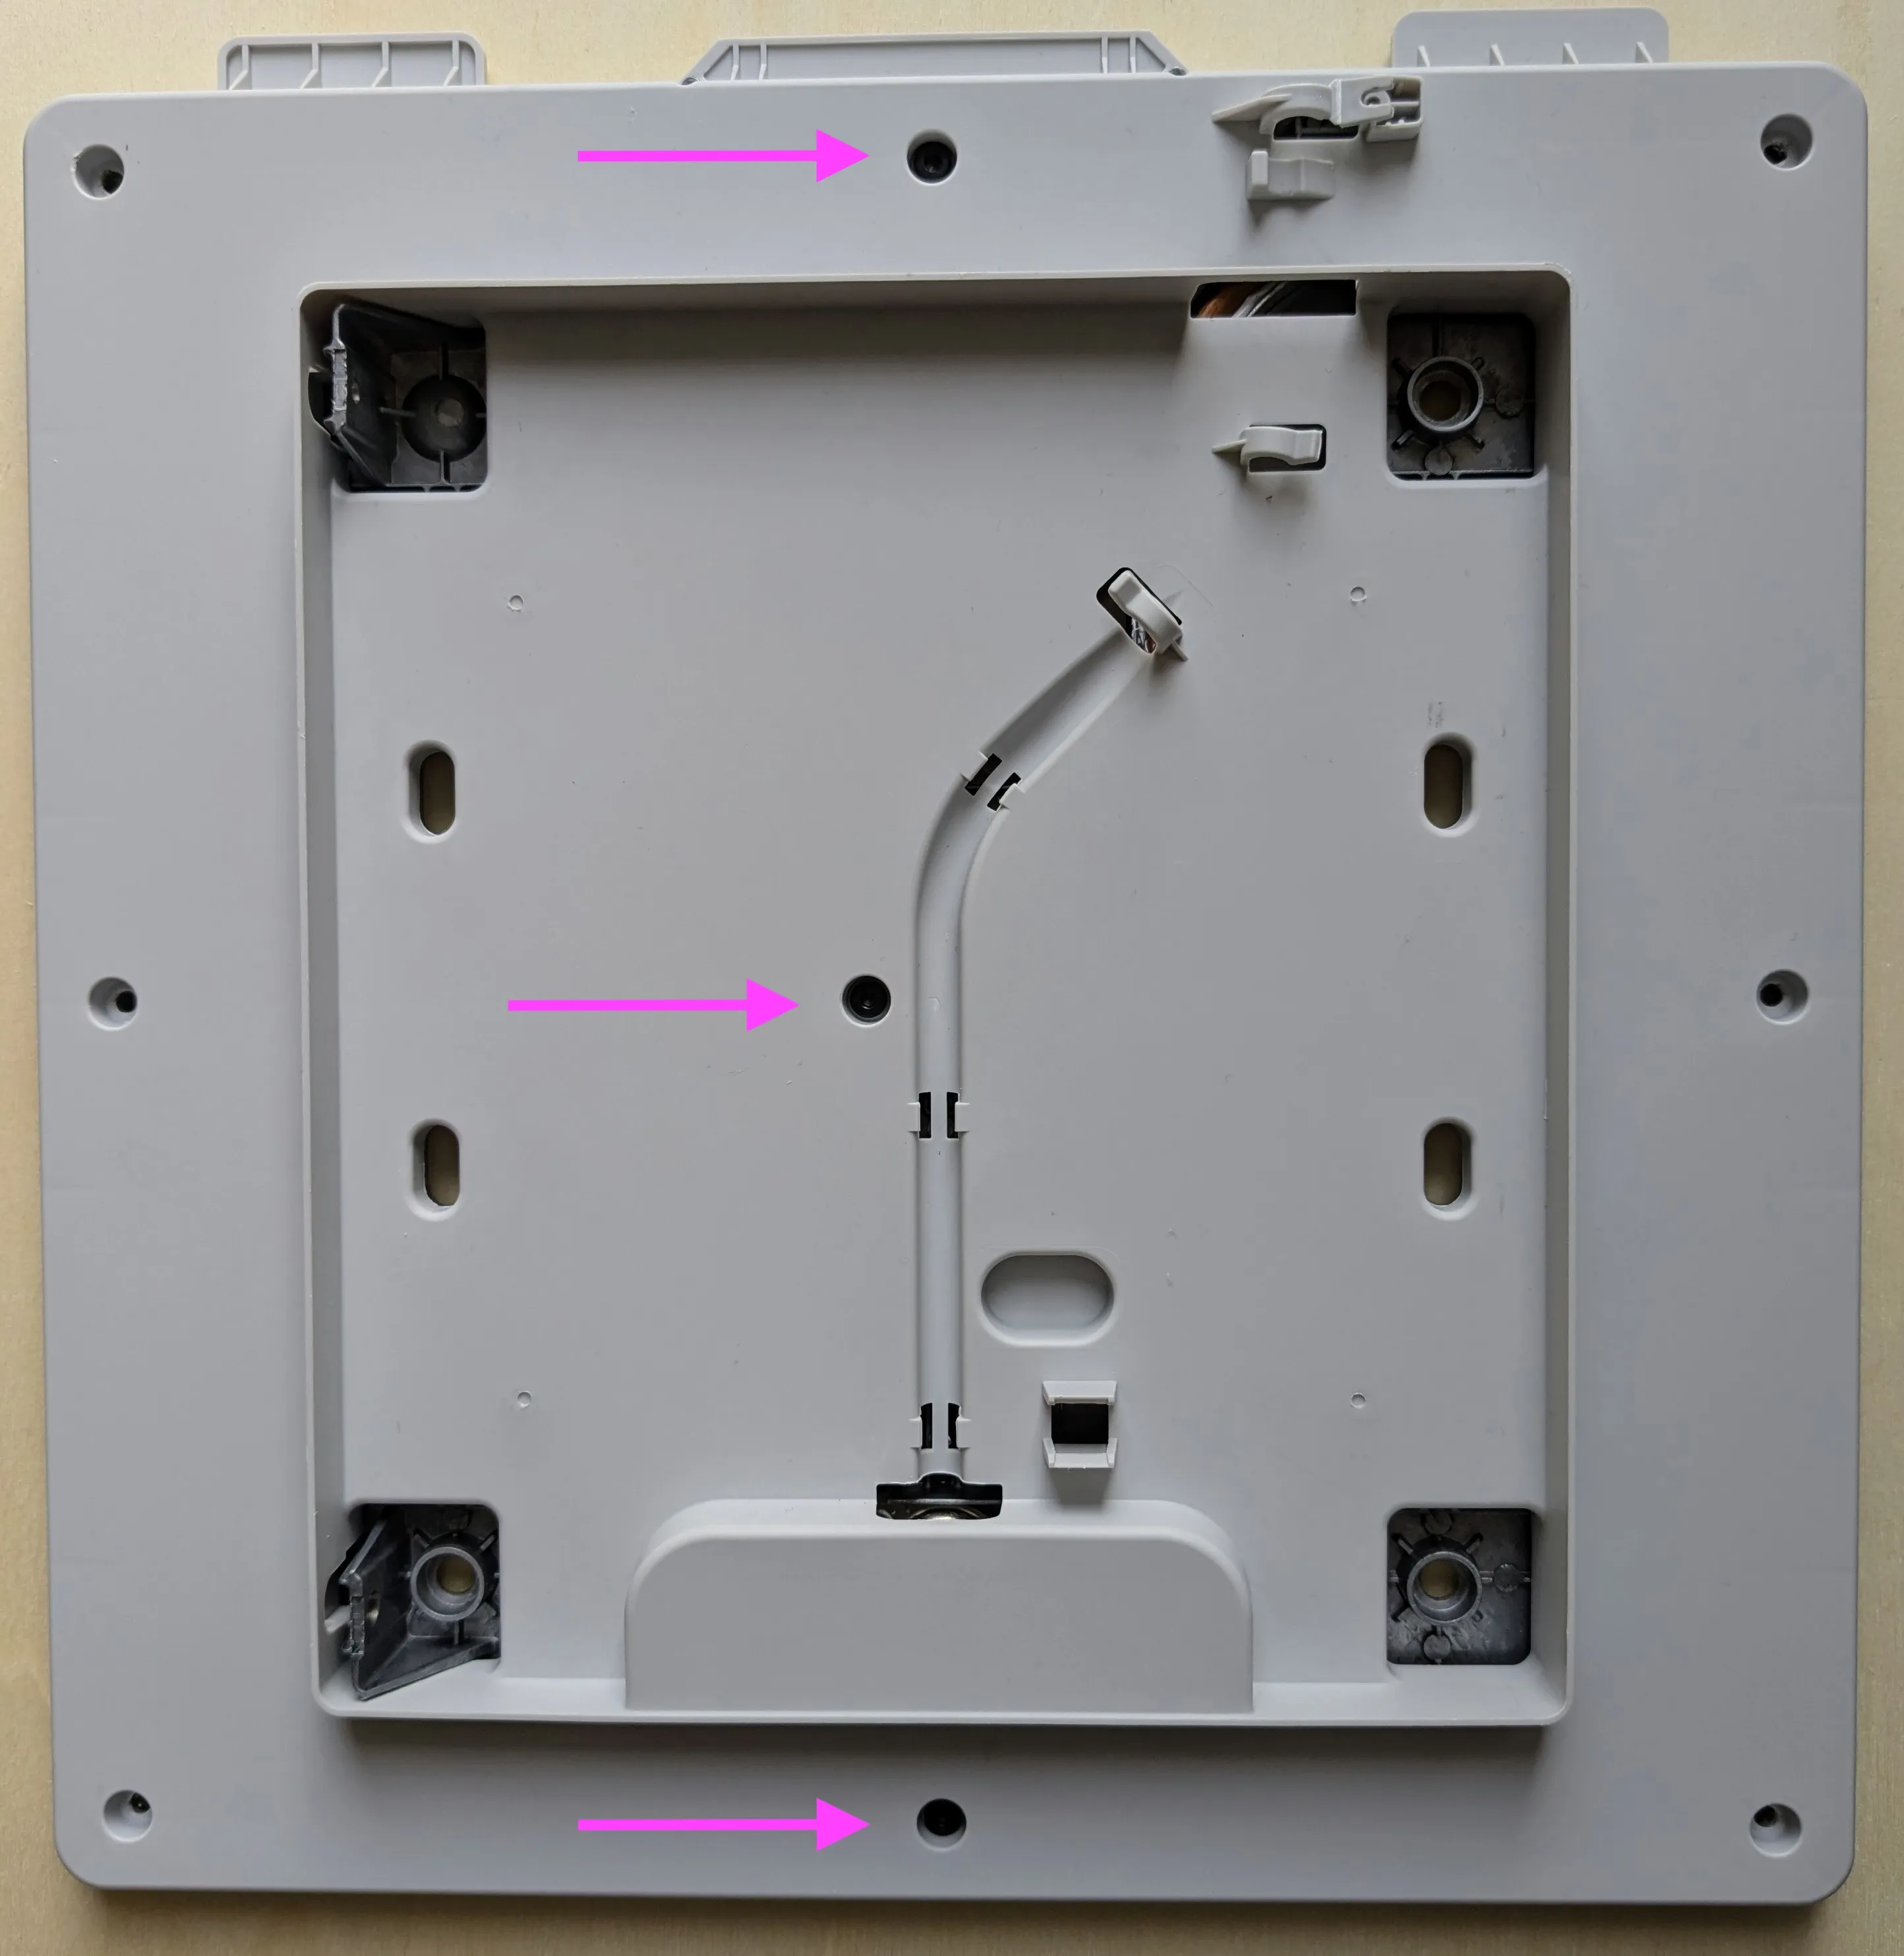
> Reassemble the heating element and the plastic panelling and screw three of the original M3 screws into the centre screw points.
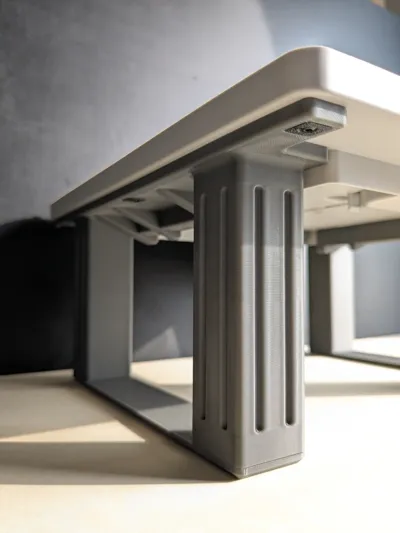
> The printed side panels are placed on the underside and three screw plugs are inserted on each side. Then screw in the M3 12mm screws. You don't have to tighten them too much, but everything should be well connected.
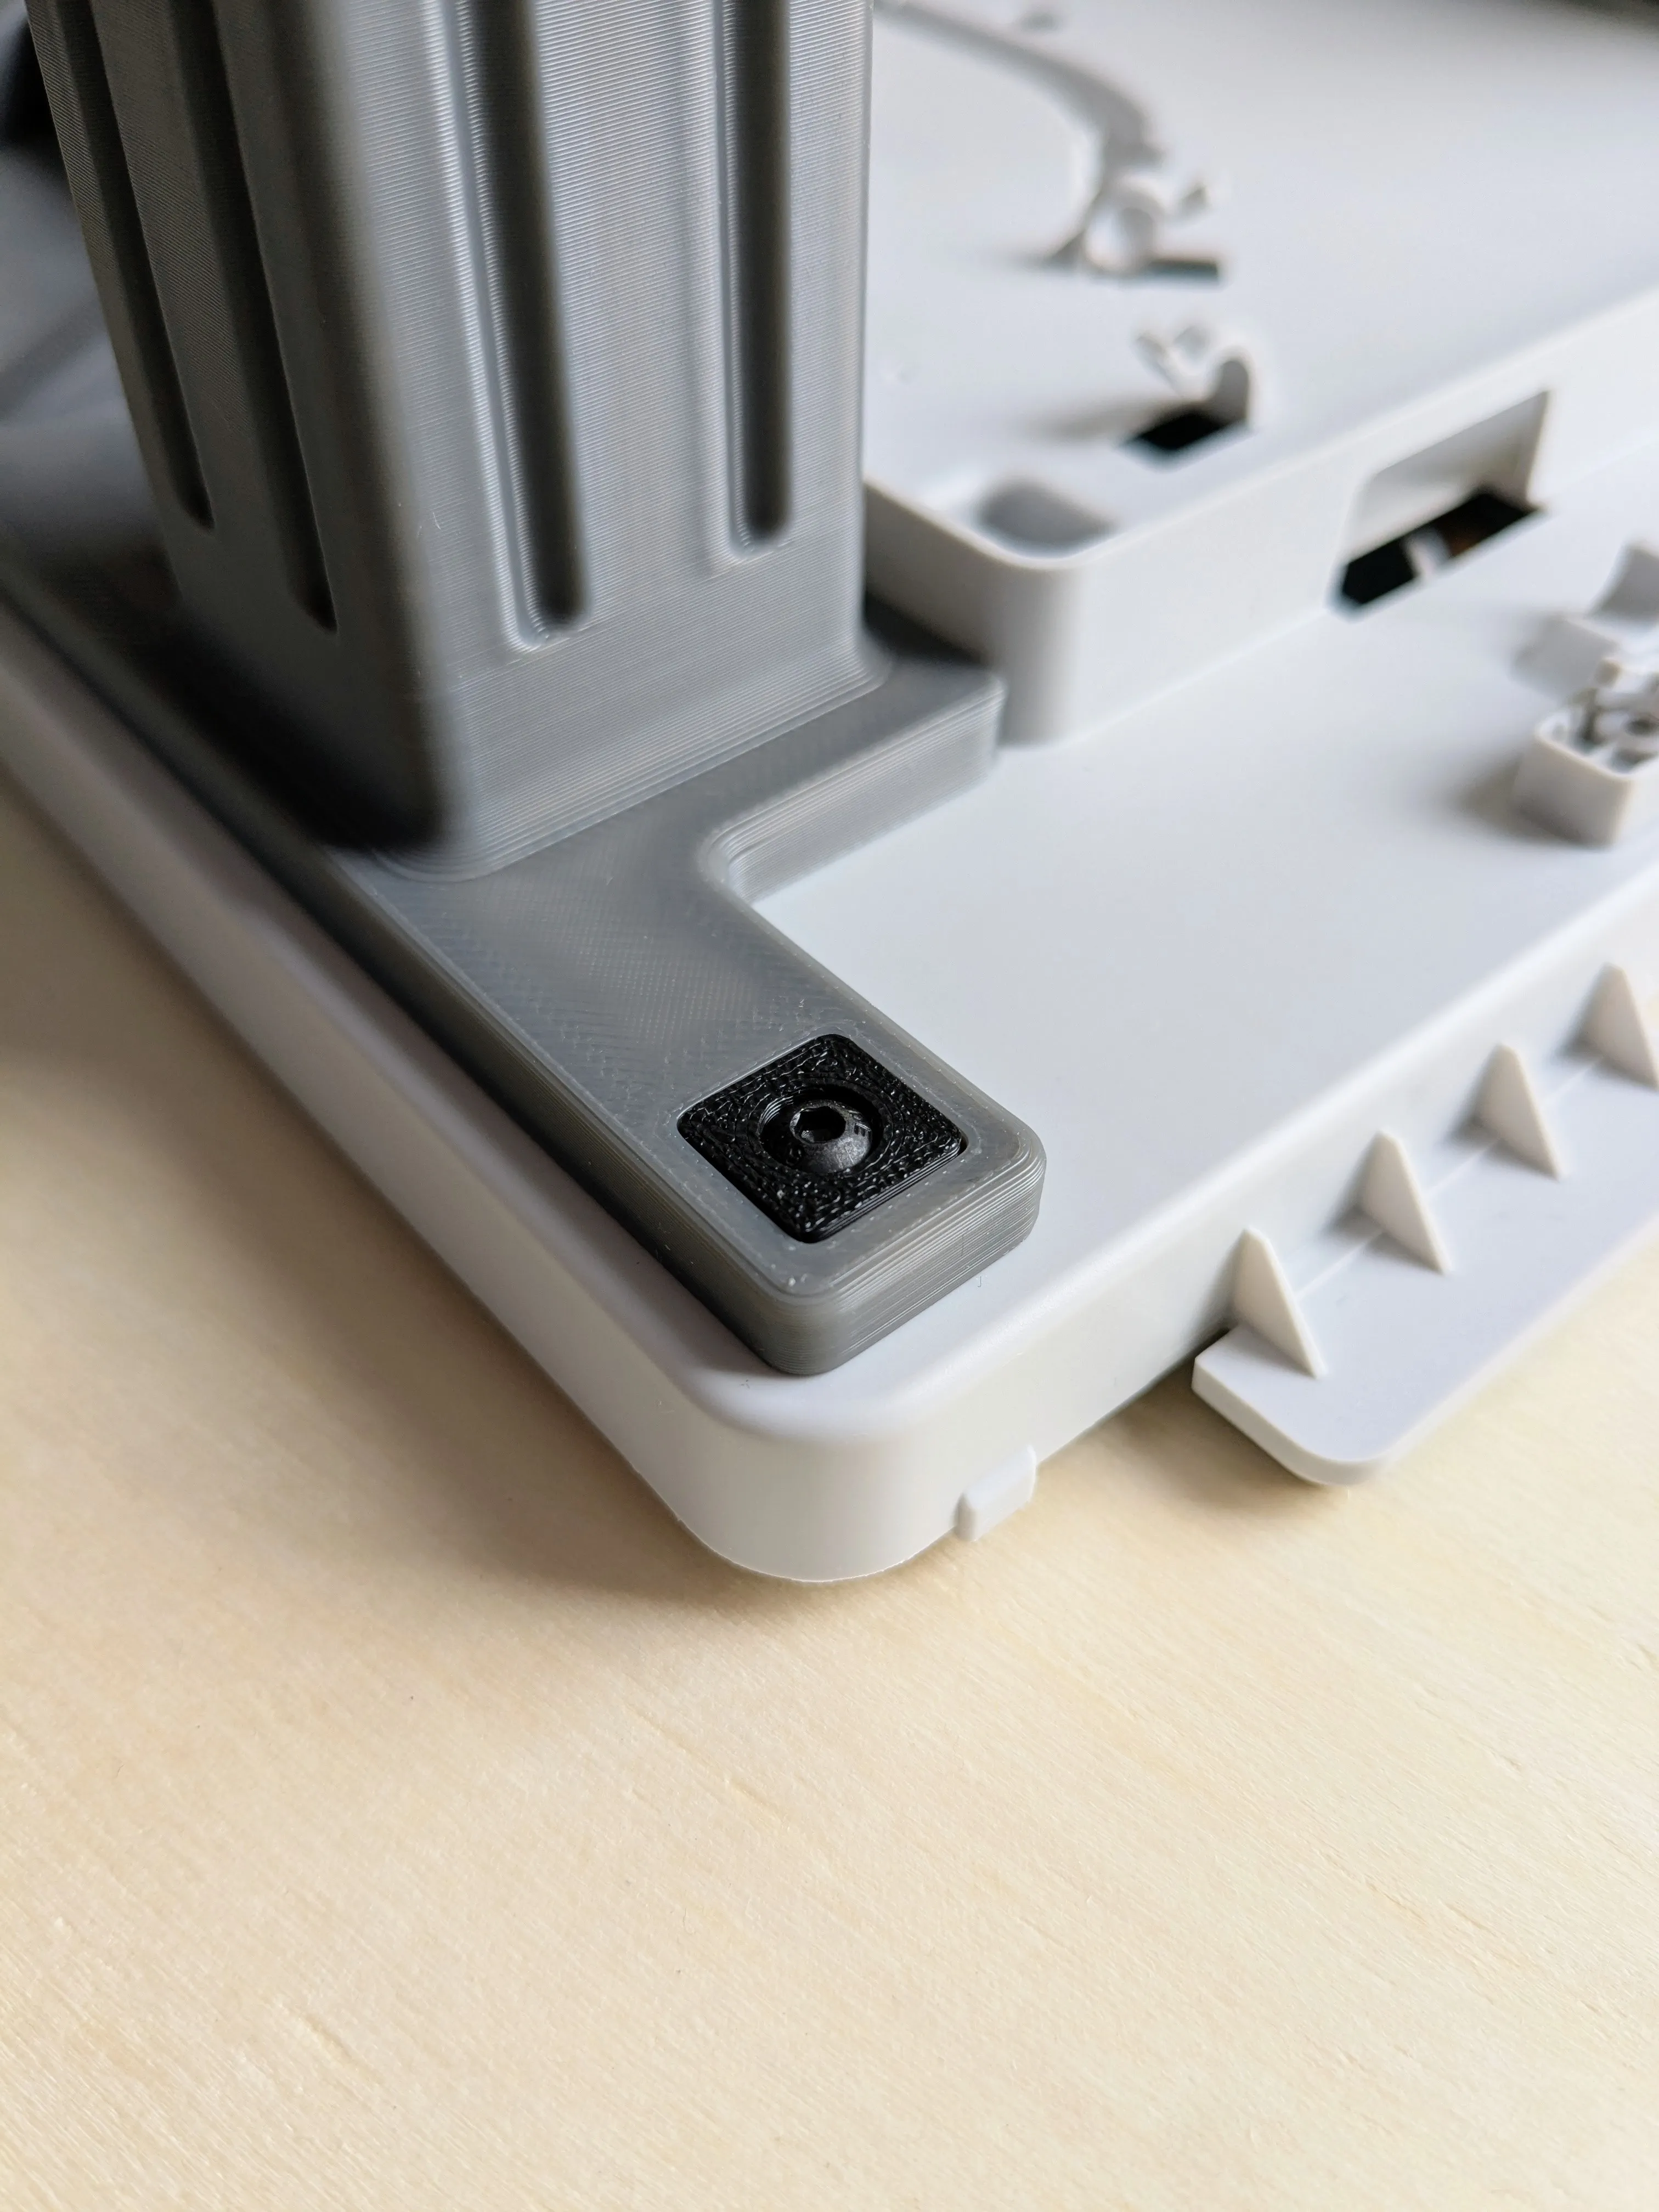
> The last step is to insert the base plugs into the base plates and then insert them into the feet of the side panels. A drop of glue can also be used here if it is too loose.
Optionally, you can also omit the base plates if you like the look better this way. The table is stable enough without it.
Enjoy!
License

You shall not share, sub-license, sell, rent, host, transfer, or distribute in any way the digital or 3D printed versions of this object, nor any other derivative work of this object in its digital or physical format (including - but not limited to - remixes of this object, and hosting on other digital platforms). The objects may not be used without permission in any way whatsoever in which you charge money, or collect fees.


Comment & Rating (32)