Wheel Center Cap 54mm Compatible Seat 3D Print STL


Print Profile(2)


Description
Membership
🖨️ Get your commercial license and start selling prints today!
🇪🇸 Solo para uso personal ✔️ | Licencia comercial disponible en mi perfil 🔐
🇬🇧 Personal use only ✔️ | Commercial license available on my profile page 🔐
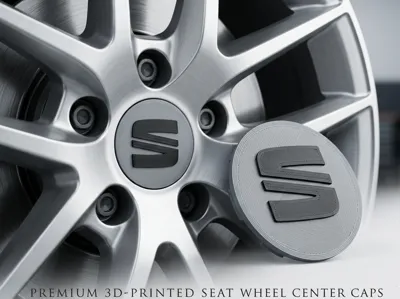
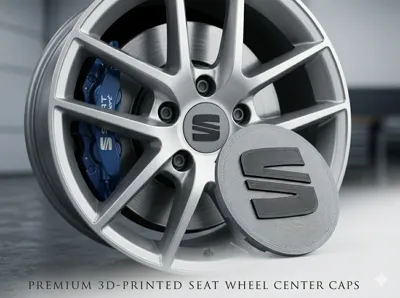
Give your Seat a unique touch with custom hub caps!
Are you one of those who looks at their car when parking and knows that details are everything? For true car enthusiasts and wheel culture lovers, adorning your rims with the Seat emblem is not a whim, it's a statement. Because as we well know in the community, “VAG: More than a group, a way of life”.
This exclusive Seat logo hub cap design allows you to restore or customize the aesthetics of your wheels with a professional, precise, and high-strength finish. Forget about generic and expensive spare parts; print your own automotive pride with a guaranteed perfect fit. Give your car the sporty character it deserves directly from your print bed!
---
2. 🛠️ KEY FEATURES:
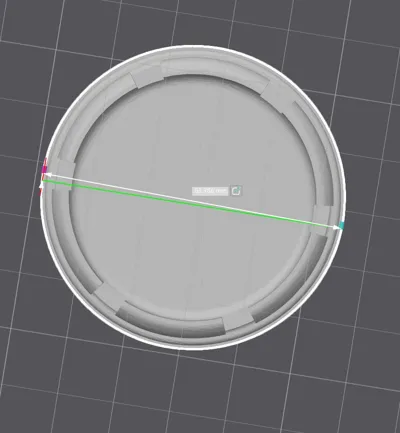
- Millimetric and Secure Fit: Designed with a 49.7 mm anchoring diameter and a 54 mm total outer diameter, ensuring direct compatibility with standard group wheels.
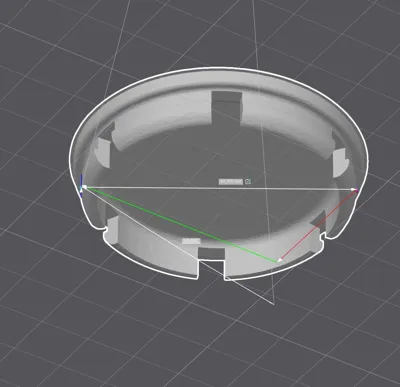
- Precision Tolerances: Optimized with a strict tolerance of 0.2 mm so that the anchoring tabs fit firmly with a press fit without risk of breakage during installation.
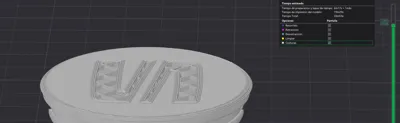
- Printing with Supports: The intelligent design allows for easy printing, saving filament, time, and ensuring a clean base.
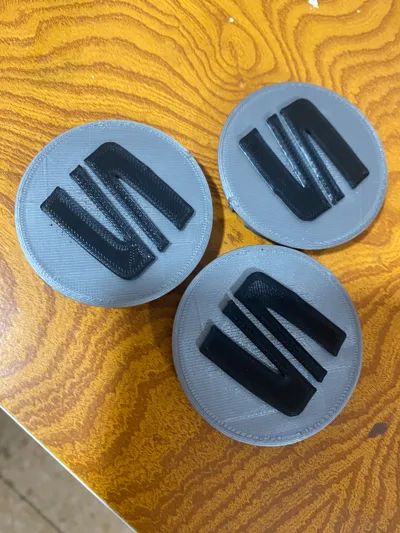
- Ultra-Polished OEM Aesthetic: Visible face optimized to make the most of your print bed's textures, achieving an impeccable factory finish.
- Improved Mechanical Resistance: Optimized thickness and geometry in the retaining clips to withstand daily driving vibrations.
---
3. 🖨️ LAYER-BY-LAYER FILAMENT CHANGE GUIDE:
This file is **100% optimized for printers without an AMS system**. Achieve a two-color logo with a professional finish by performing a simple manual pause (**M600**) in your favorite slicer (Slic3r, PrusaSlicer, Bambu Studio, or Cura).
Instructions for 0.28 mm layer height:
1. Phase 1 (Cap Base): Start printing with the background filament (Satin Black or Anthracite Gray is recommended for an original look).
2. Pause for color change (M600): Program the pause exactly at Layer 38 (approximate print height: 10.64 mm).
3. **Phase 2 (Seat Logo)**: Introduce the contrast color (Metallic Silver, White, or FR Red) to print the upper layers of the logo relief.
4. **Completion**: Let the printer finish the final layers to get a crisp, perfectly defined logo without unwanted color bleeding.
---
4. ⚙️ RECOMMENDED SETTINGS:
| Print Parameter | Recommended Setting |
|---|---|
| **Suggested Material** | PLA of your choice (or PETG/ASA for greater outdoor thermal resistance) |
| **Base Orientation** | Flat, with the logo face oriented upwards for a perfect embossment |
| **Layer Height** | 0.28 mm (ideal balance between print speed and clip strength) |
| **Perimeters / Walls** | **3 perimeters** (crucial for giving elasticity and hardness to the tabs) |
| **Infill Percentage** | **20% infill** to ensure maximum structural hardness |
| **Infill Pattern** | Gyroid or Grid |
| **Supports** | Already applied in the .3mf |
| **Adhesion / Bed** | Direct printing on **satin textured bed** (eliminates mirror effect and provides a professional OEM finish) |
| **Plates needed** | 1 single plate (you can duplicate the model to print all 4 caps at once) |
If you like my models, consider leaving a small donation 💖.
It drives me to create more amazing designs for you. Support me here! 💪 https://buymeacoffee.com/3dcreations
Boost Me (for free)
boost me for free
Boost Me (for free)
Support me for free and I will be able to create more creations for you Thank you
🚀 Boost my models for free! It helps me create more designs for you
🔐 Want to sell physical prints? Join my commercial membership from my profile
License
You shall not share, sub-license, sell, rent, host, transfer, or distribute in any way the digital or 3D printed versions of this object, nor any other derivative work of this object in its digital or physical format (including - but not limited to - remixes of this object, and hosting on other digital platforms). The objects may not be used without permission in any way whatsoever in which you charge money, or collect fees.
Comment & Rating (25)