Search models, users, collections, and posts
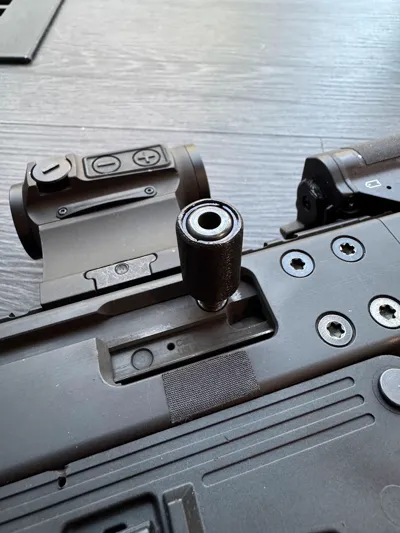
B&T GHM9 Charging Handle
IP Report


Print Profile(1)

0.2mm layer, 6 walls, 25% infill
Designer
25 min
1 plate
Open in Bambu Studio
Boost
9
19
2
0
25
15
Released
Description
I'm too cheap to buy the $42 charging handle from HB Industries so I decided to get a 3D printer for $600 and print my own charging handle for $0.039 LOL.
IMPORTANT:
- Use quality PLA+ filament. I used esun PLA+.
- For the half spacers, make sure you set "Order of Walls" to “outer/inner” otherwise you might have fitment issues.
- I used fuzzy skin 0.1/0.1 for the outer shell (not the half spacers) for more traction but that's optional.
Installation:
- Remove the charging handle from your GHM9.
- Put the half spacers around the charging handle.
- Push the outer shell in as far as you can while holding the spacers in place (by hand).
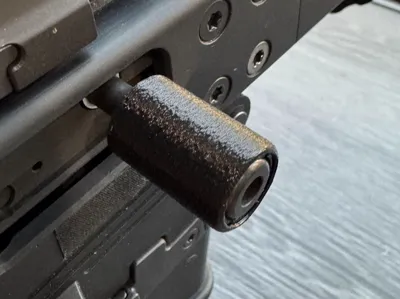
Place the charging handle on a table (or a vise in my case, see picture), then lightly and alternately tap on the half spacers in using a plastic punch (or something like that).

I know it's probably not the easiest thing to install but that makes sure it doesn't fly down the range. Let me know if you have any questions or suggestions. Enjoy!
License
This user content is licensed under a
Creative Commons Attribution-Noncommercial-Share Alike
Comment & Rating (2)