
Kashaka – 3D Printable Rhythm Shaker & Fidget Toy

Print Profile(2)


Description
✨ Join My Patreon – Print & Sell with Confidence!
Want to sell physical prints of my designs — legally and without limits?
Unlock full commercial rights to all my public and exclusive models by joining here:
🔗 Join G3D Printlab on Patreon
Your next best-seller could be just one print away 🛠️🚀
Just want to support my work?
☕ Buy me a coffee and keep the creativity flowing!
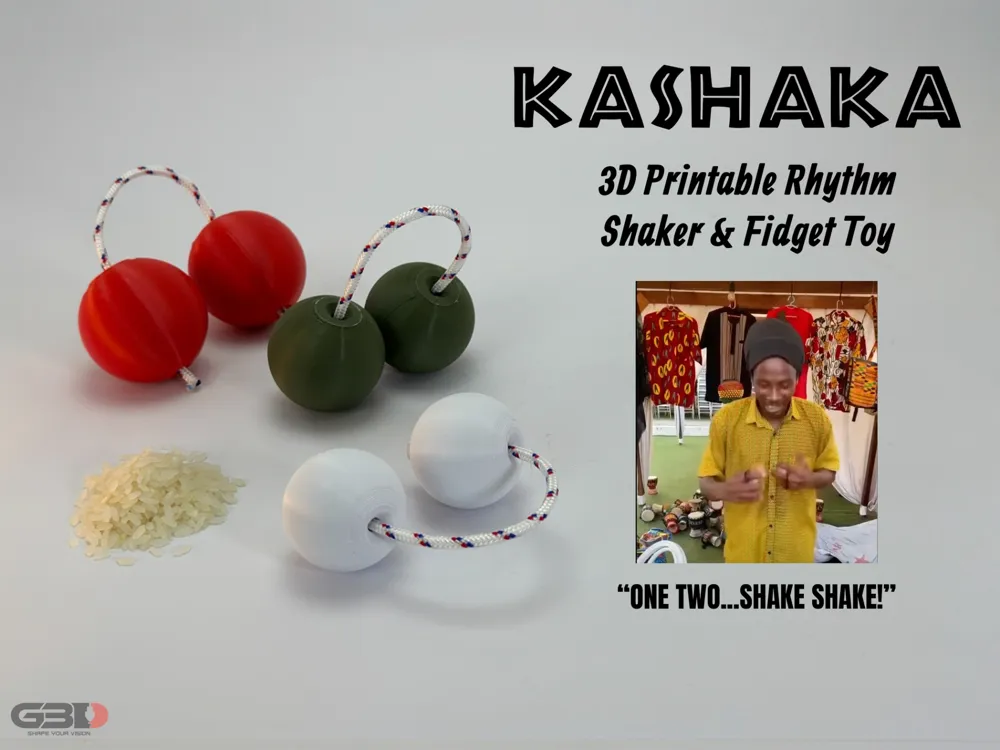
Remember the African guy that goes “One, Two… Shake Shake”? 🎶
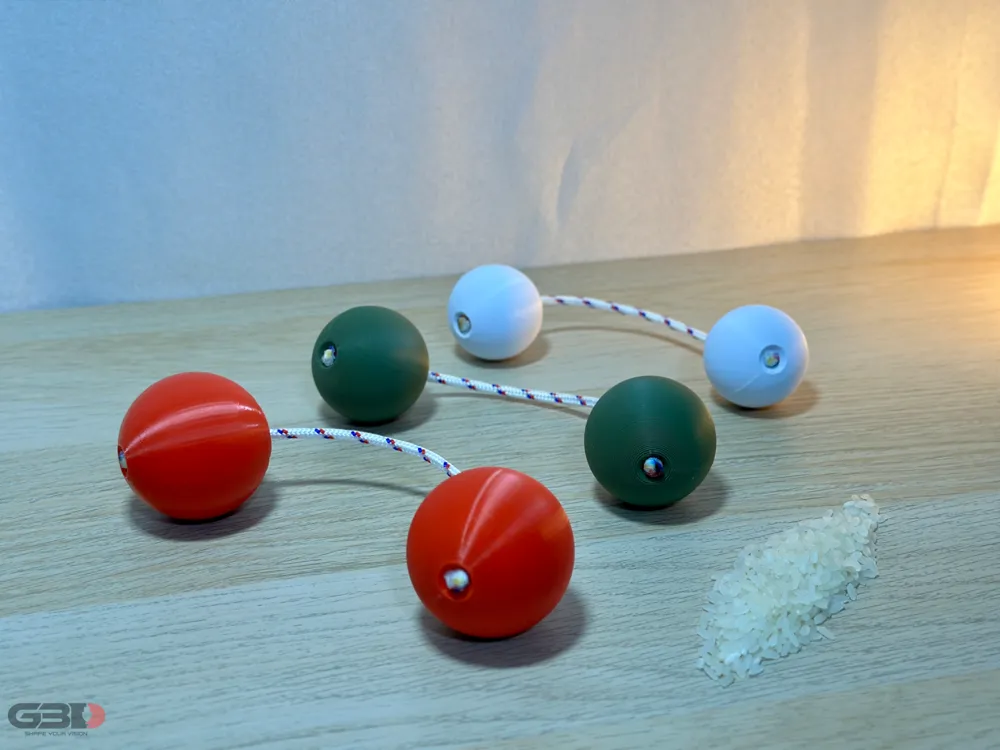
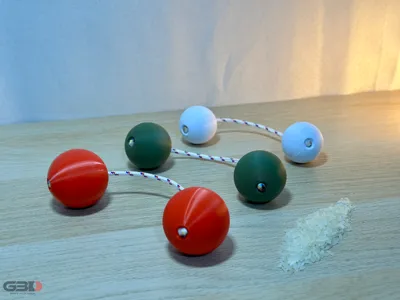
Yep, he’s playing these! Kashakas (also known as Aslatua, Patica, Kush Kash or African rhythm shakers) are a fun, addictive percussion instrument made of two balls connected by a rope. When shaken, they create a rhythmic click-clack sound, making them perfect for music, coordination training, or even as a fidget toy!
You can find tons of tutorials online to learn how to play them, whether you’re a beginner or an expert. They’re easy to pick up, but mastering them? That’s where the challenge begins! 😏
3D Printed Kashaka Sizes 🎨🖨️
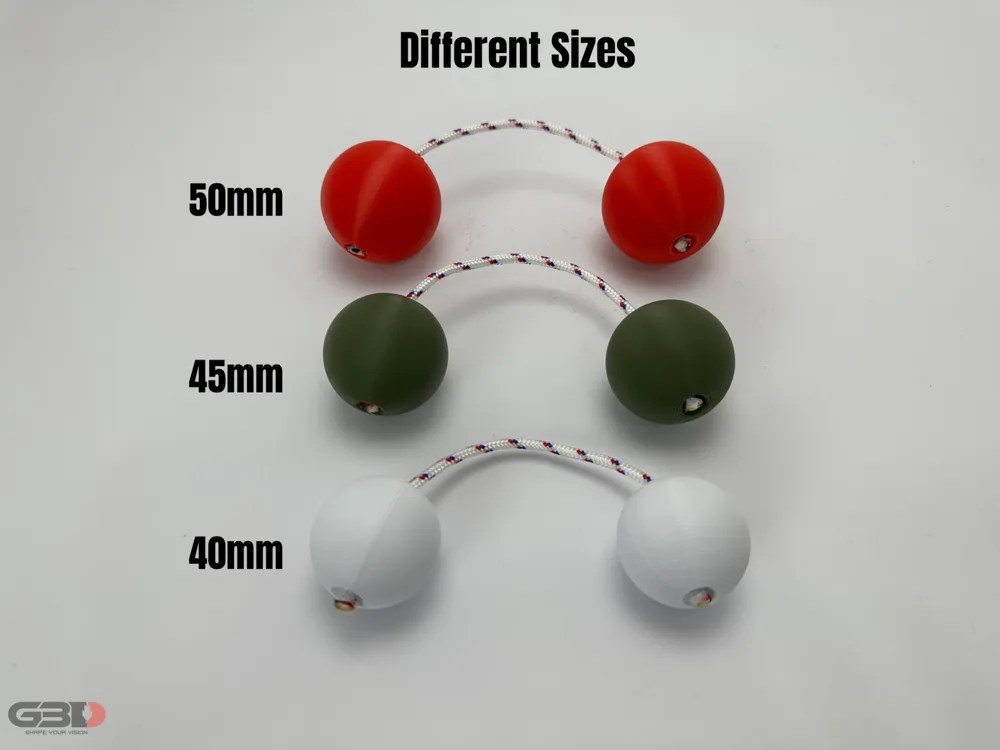
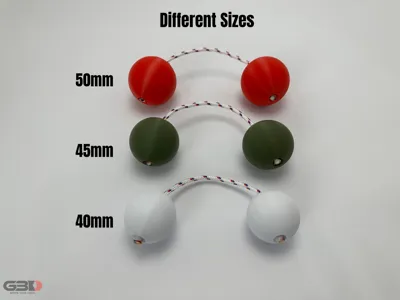
I’ve designed these Kashakas in three sizes to fit different hands and skill levels:
✅ 40mm – Ideal for beginners or people with small hands.
✅ 45mm – A balanced size for most users.
✅ 50mm – Best for experts or those with bigger hands.
🔴 Important: If you need a different size, please contact me! I can upload a properly scaled version for you. Do NOT resize the model manually because it will affect the holes and wall thickness!
Materials & Filament Choices 🛠️
I’ve printed mine in PLA, but you can experiment with ABS, PETG, or other filaments and see how it affects the sound. If you try a different material, let me know how it works! 🎶
What to Fill It With? 🔊
The sound of the Kashaka depends on what you put inside! Here are some filling options, ranked from soft to loud sounds:
🔹 Soft & Light Sounds:
- Plastic beads (small ones for a quieter shake)
- Rice (soft, smooth sound)
- Small lentils (slightly sharper than rice)
🔸 Medium Sounds:
- Metal BB pellets (small, round metal balls)
- Dried beans (larger ones create a distinct shake)
- Glass beads (clear, crisp sound)
🔺 Loud & Sharp Sounds:
- Steel balls (very crisp and strong sound)
- Small pebbles (natural and rough sound)
- Brass BBs or tiny ball bearings (adds weight and volume)
I’ve personally tested rice and 3mm nuts, but feel free to experiment with other materials! Sound is personal – find what works best for you! 🎵
How to Print It Correctly 🖨️✨
The Kashakas are designed to be printed as a single piece. You’ll need to pause the print to insert the filling.
💡 Key Printing Steps:
The print will automatically pause at 75-80% (or you can manually add a pause if using the raw STL file).
⚠️ Don’t make my mistake! If you pause the print too early, you might have a rice tornado all over your printer (yes, I had a rice explosion! 😅).
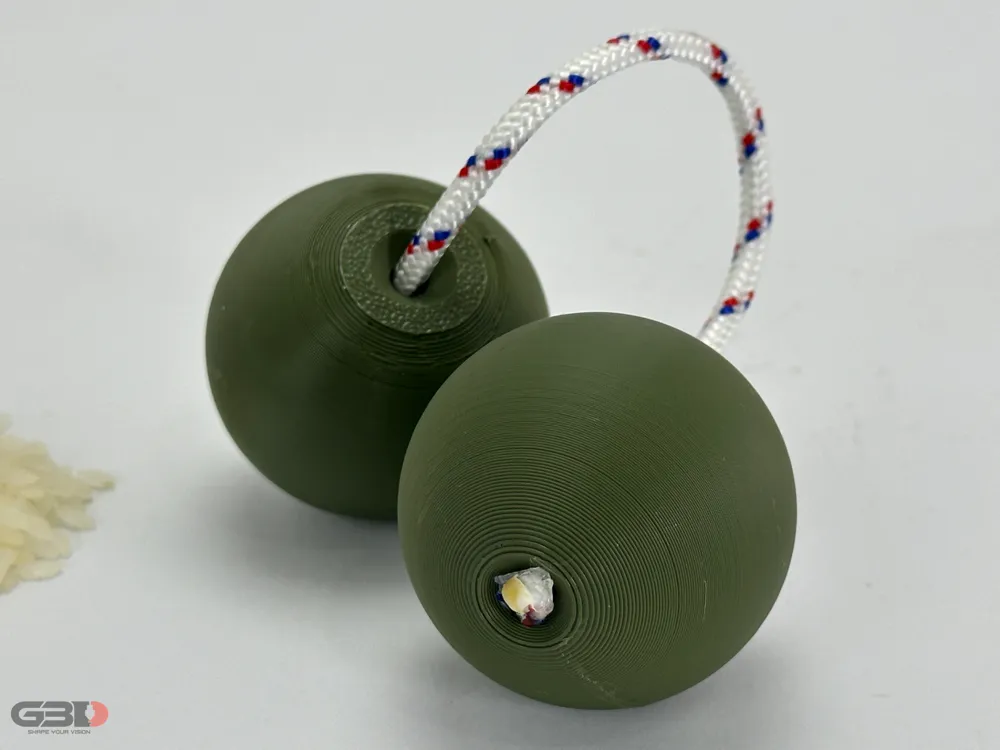
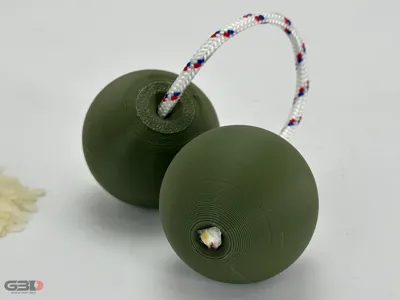
Before adding the filling, roll a small piece of tissue and place it in the middle hole (this prevents grains from getting inside the rope hole).

Fill up to HALF the empty space with your preferred material. You can use tweezers to gently even out the filling inside the ball.

- Carefully remove any spilled material from the print bed before resuming. (Don’t forget to remove the tissue from the hole! 😉).
- Resume printing and let the top seal itself!
Post-Processing & Assembly 🔗

Brim Removal:
• If you used a brim, simply cut it off with a deburring tool or flush cutters for a clean edge. The bottom should remain slightly flat.
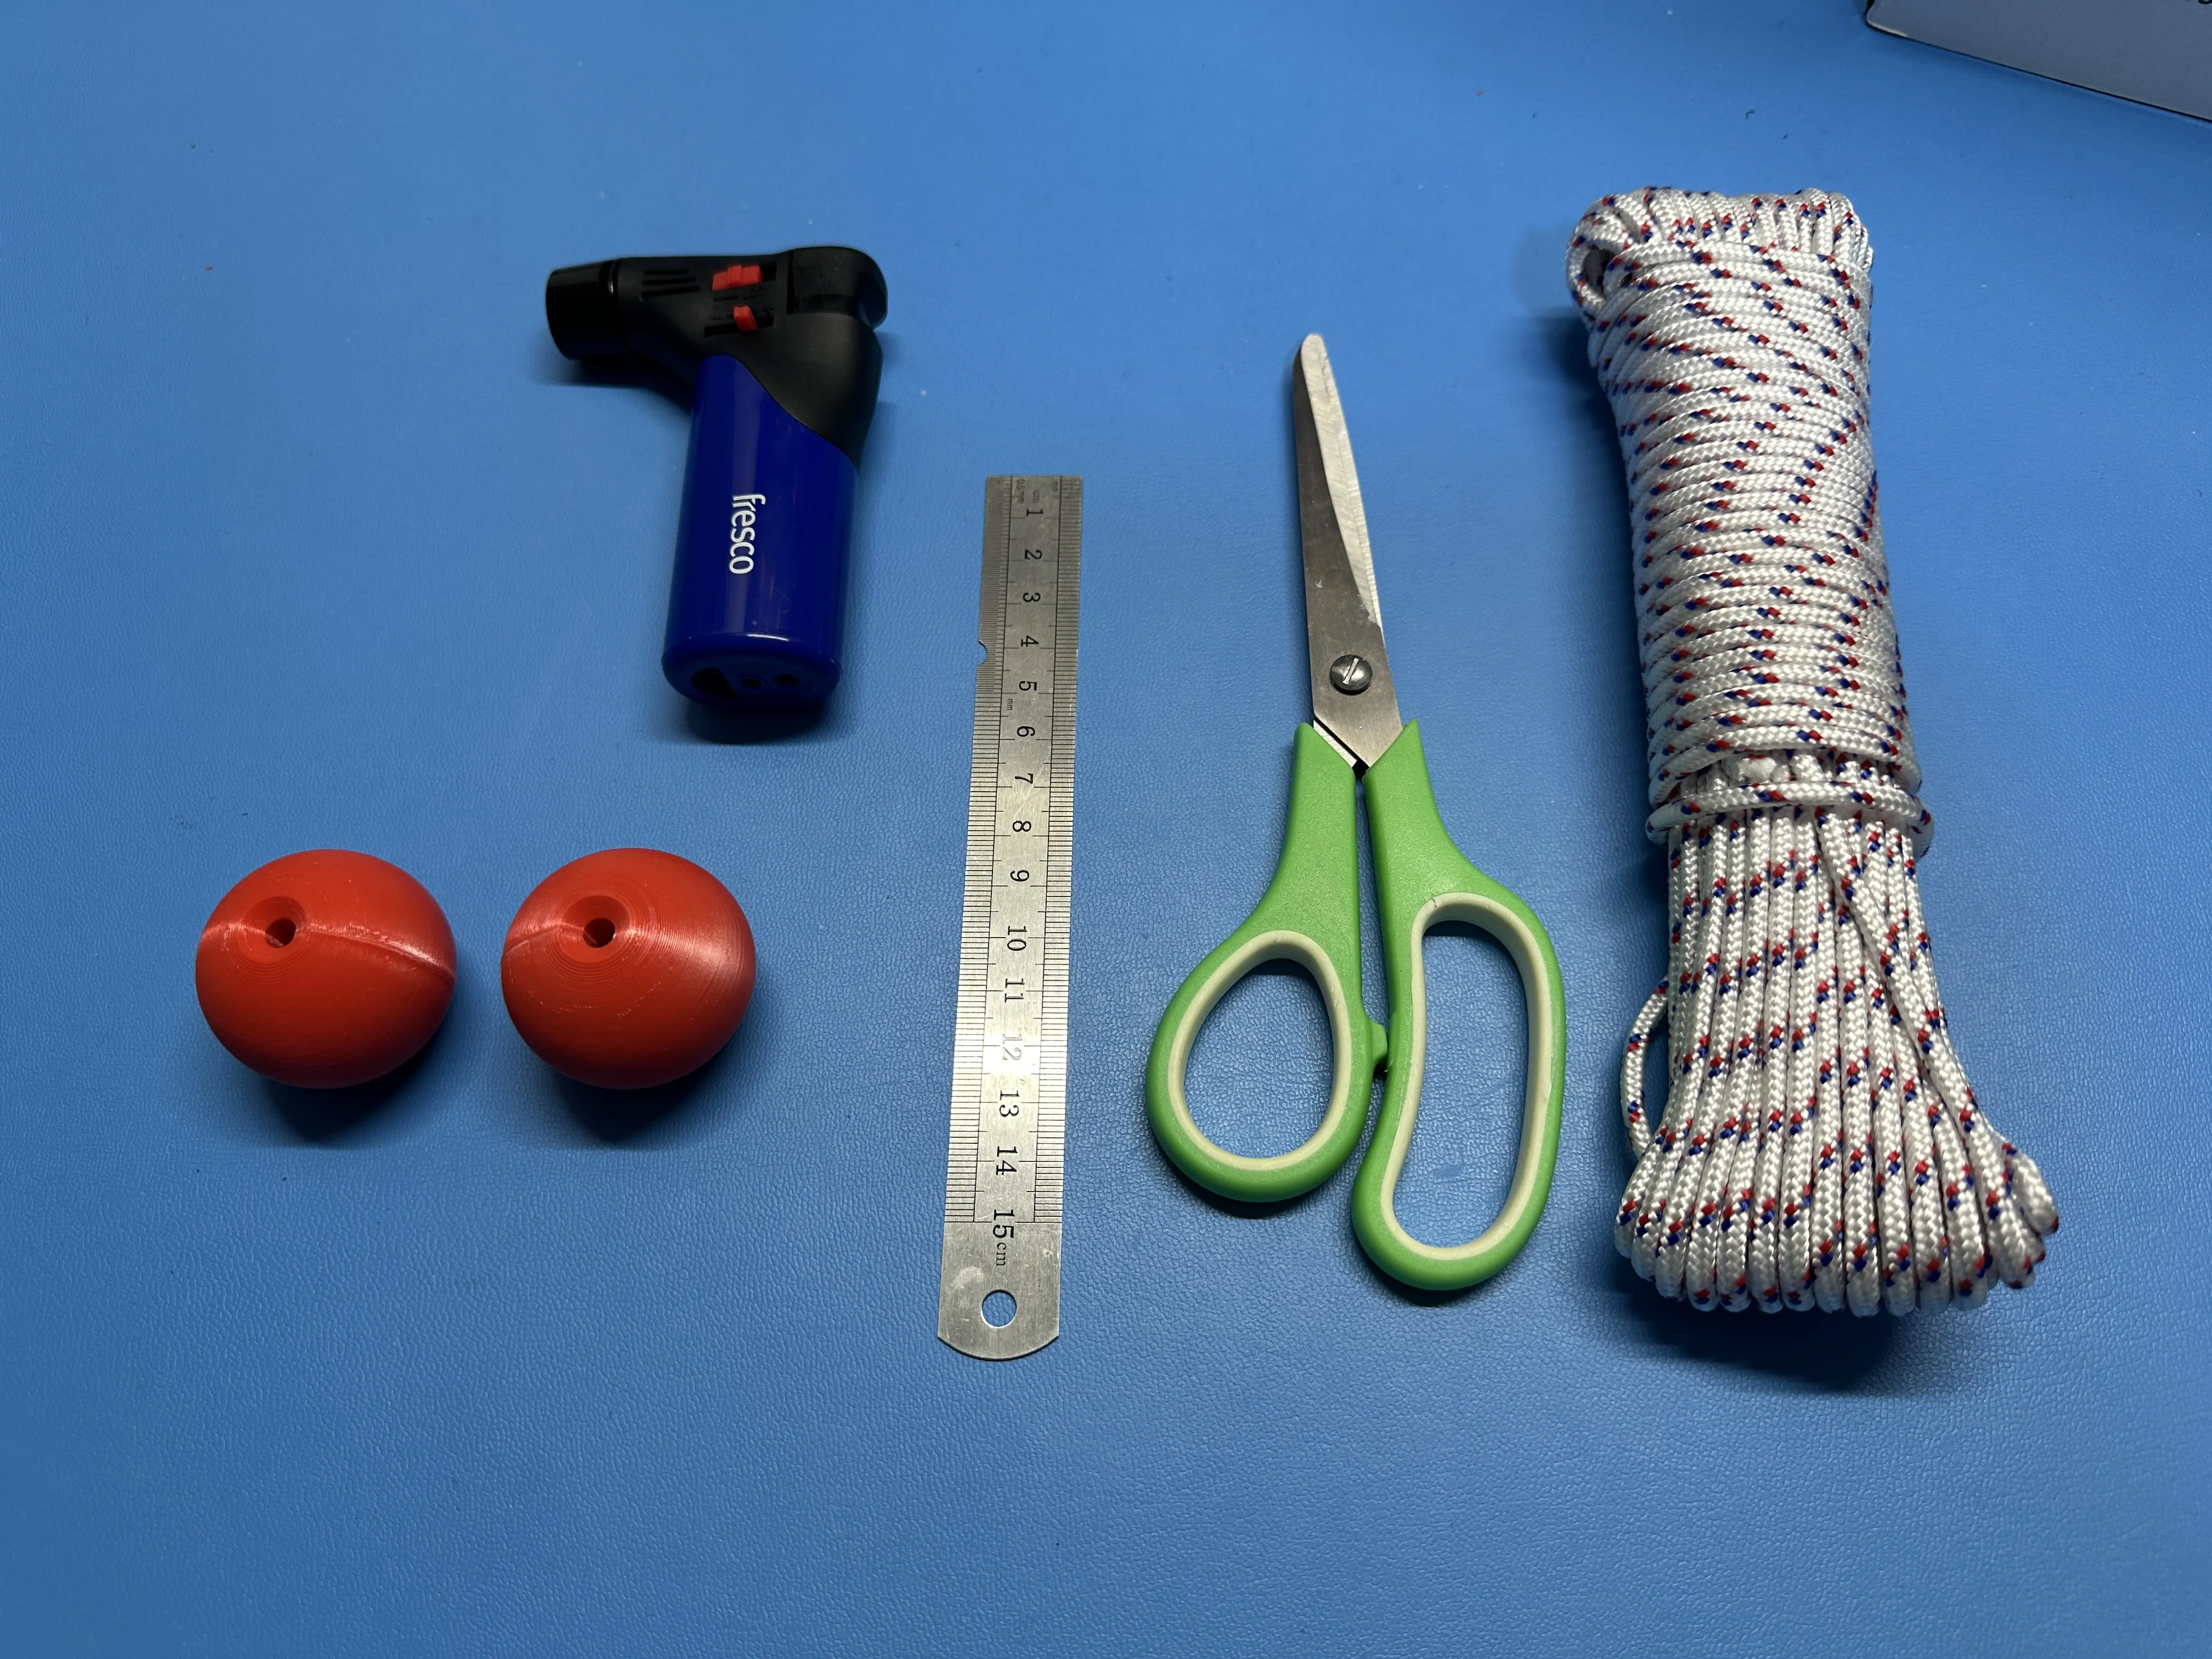
Things You’ll Need:
- Scissors ✂️
- 4-5mm rope (non-elastic)🧵
- Anything metal (that you don’t mind getting a small burn mark on) 🔥
- A lighter 🔥
The printed balls 🏀🏀
Adding the Rope:
Insert both balls onto the rope so that their flat sides face each other.
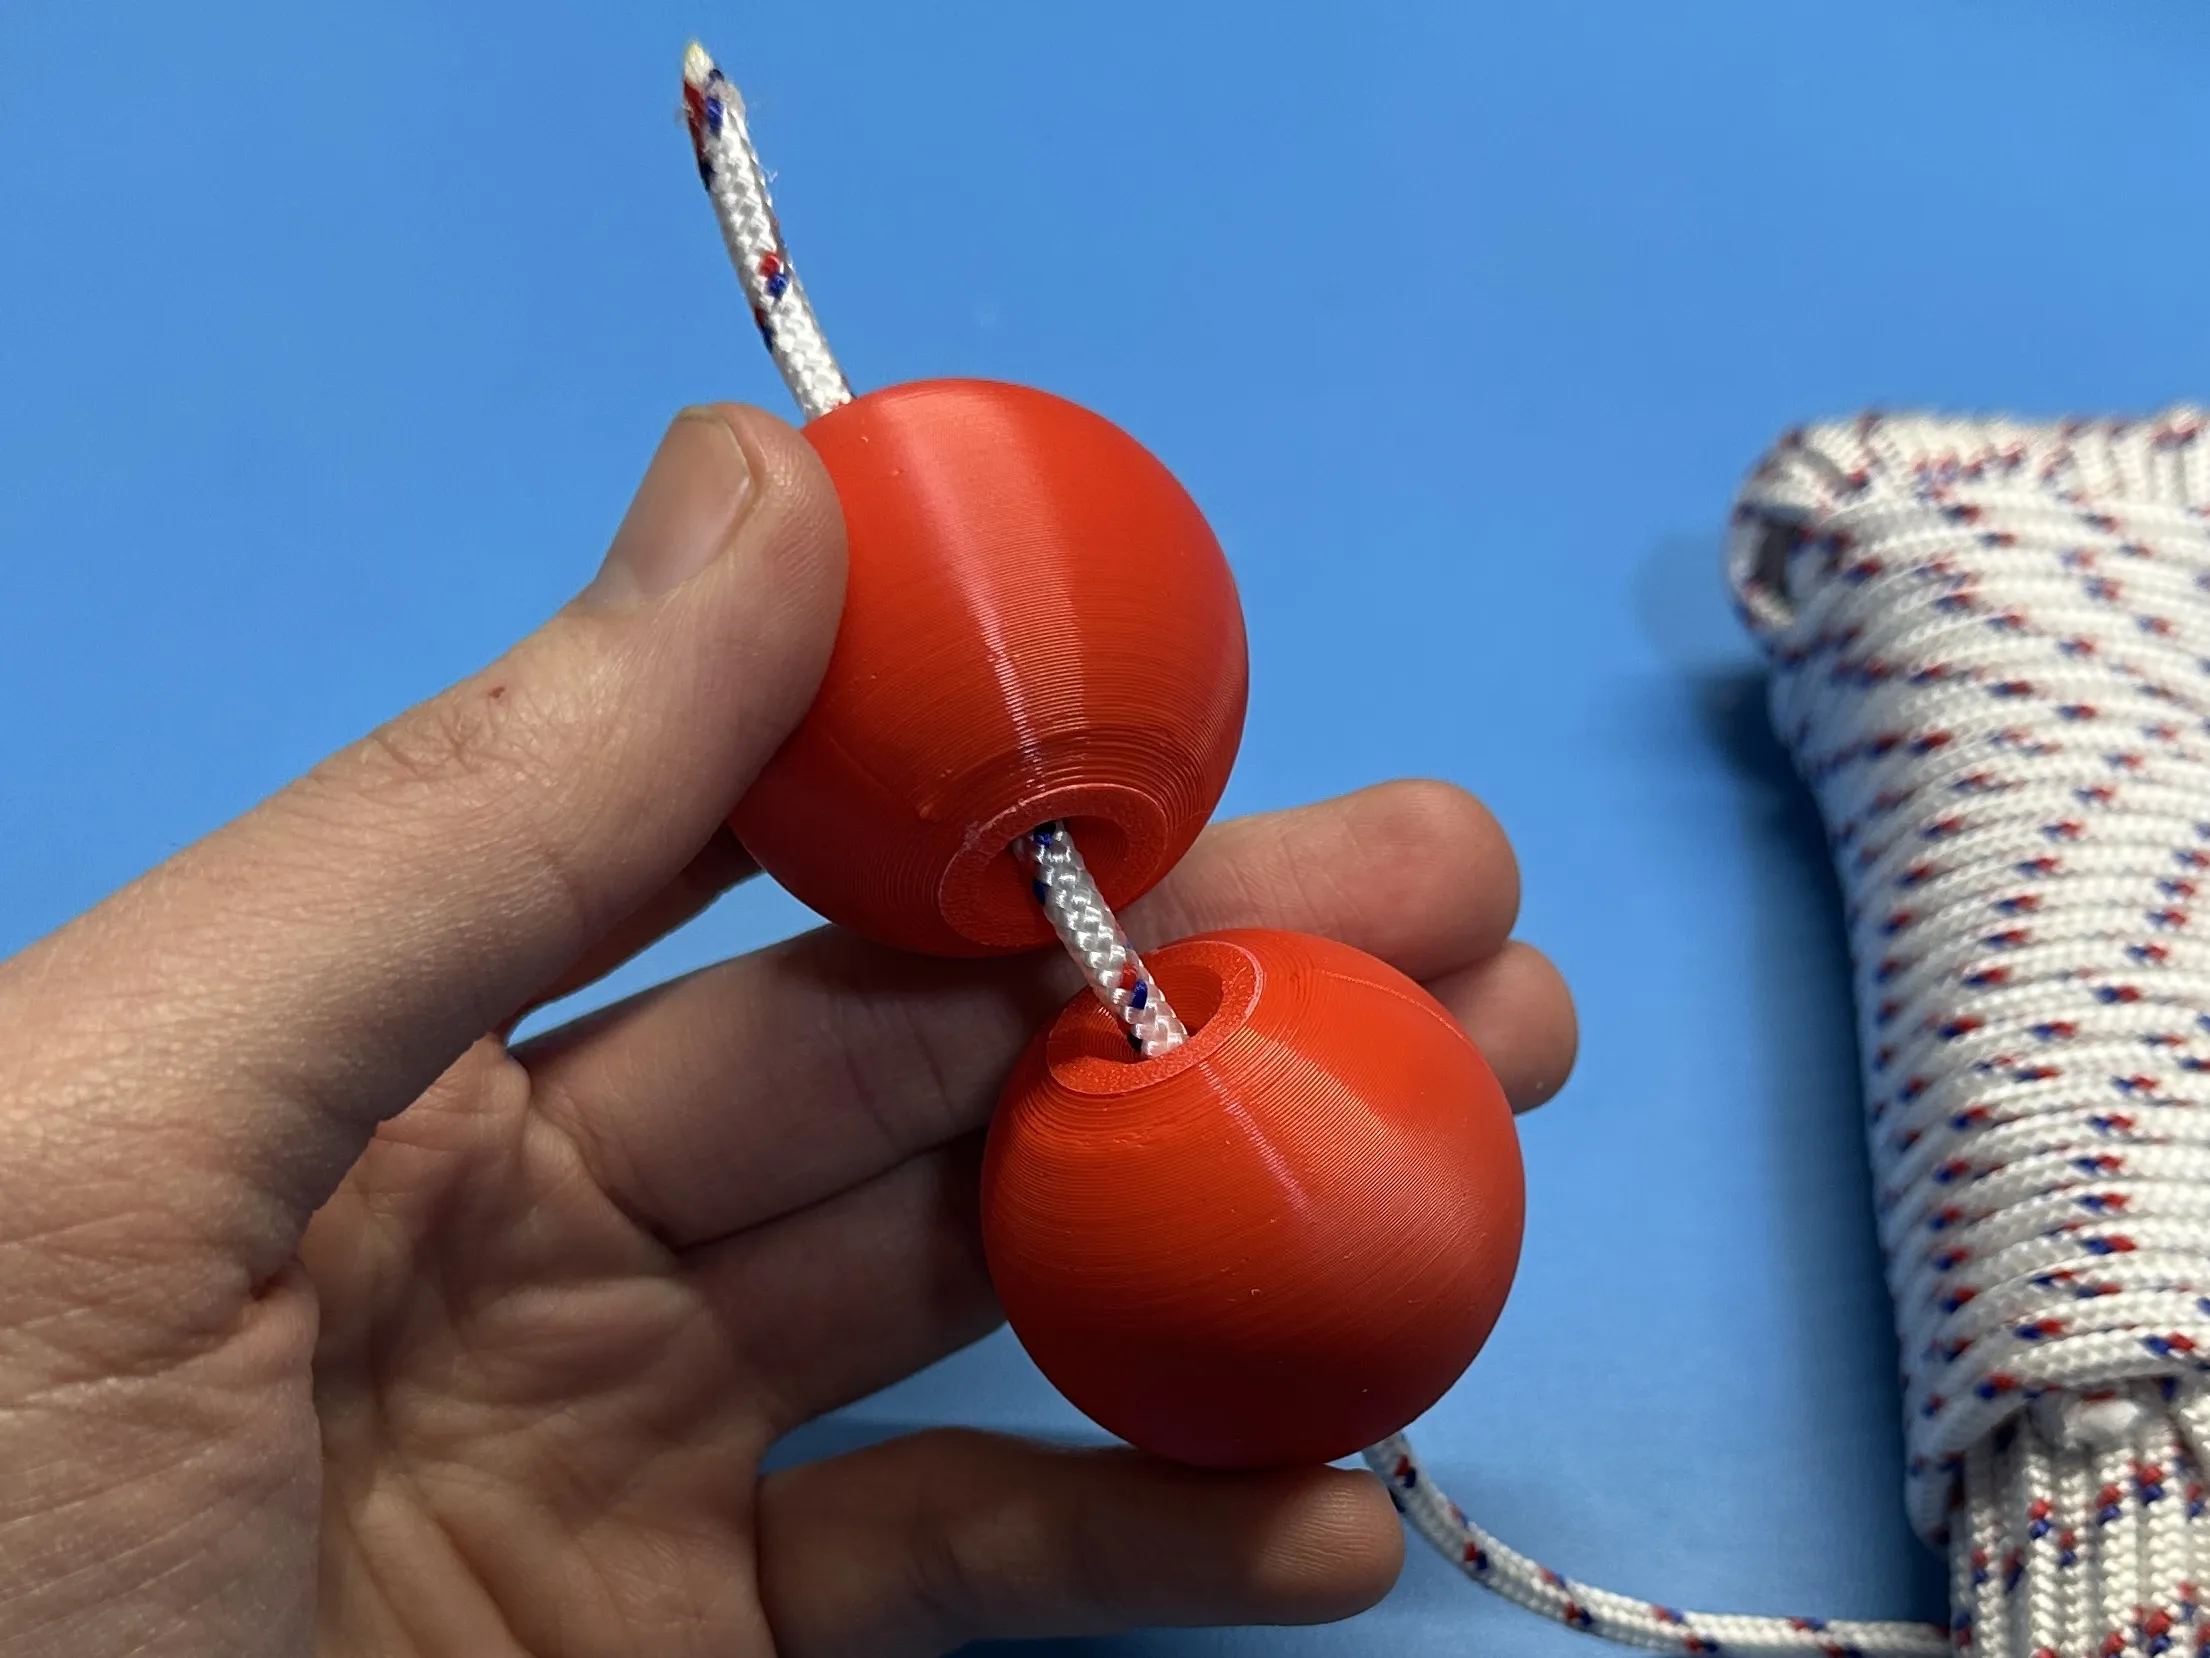
Take one end of the rope, burn the tip with a lighter, and press it flat to make it easier to insert.


Fit your hand: Hold both balls, let them touch, then insert your index finger between the rope and your knuckles. The rope should gently touch your finger – not too tight, not too loose.


Cut and burn the second tip about 0.8-1cm after the hole to secure the length.



And that’s it! Your Kashakas are ready to play! 🥁🎶
📩 Got a request? Need a different size? Feel free to contact me! 😊
❤️ Like my work? Support me by boosting and sharing! 🚀
Boost Me (for free)
🧡 Support Comes in Many Forms Not selling? Not tipping? All good! Just hit that boost button on MakerWorld to show a little love — it’s free and super appreciated!
License

You shall not share, sub-license, sell, rent, host, transfer, or distribute in any way the digital or 3D printed versions of this object, nor any other derivative work of this object in its digital or physical format (including - but not limited to - remixes of this object, and hosting on other digital platforms). The objects may not be used without permission in any way whatsoever in which you charge money, or collect fees.


Comment & Rating (23)