
Pioneer Film Camera|Fully 3D printed 35MM Camera
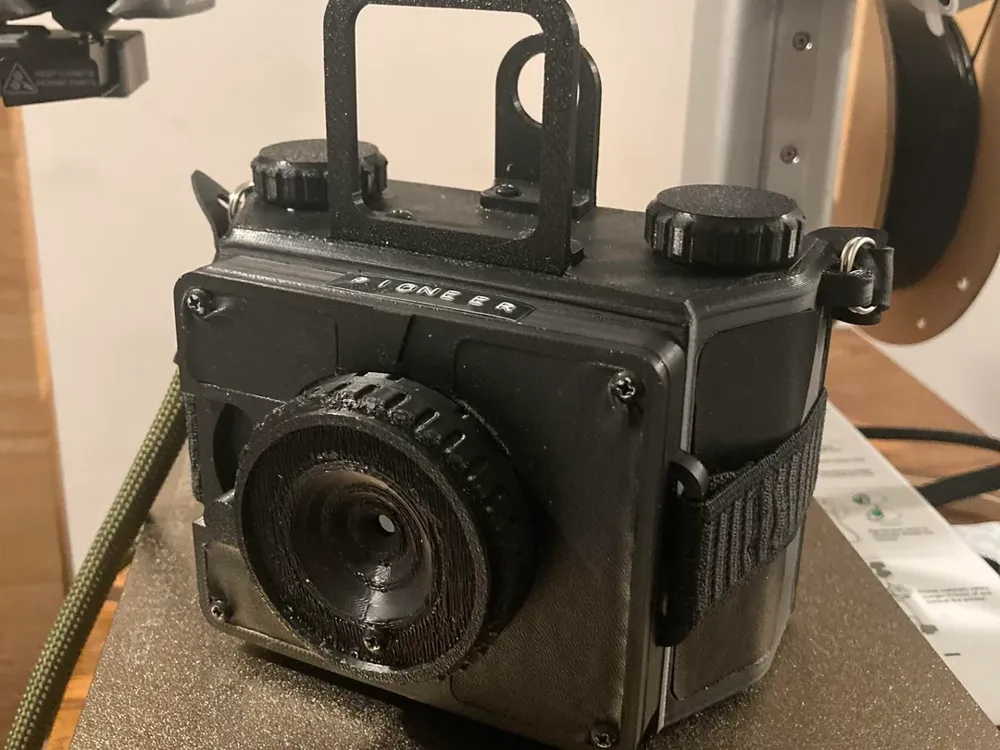
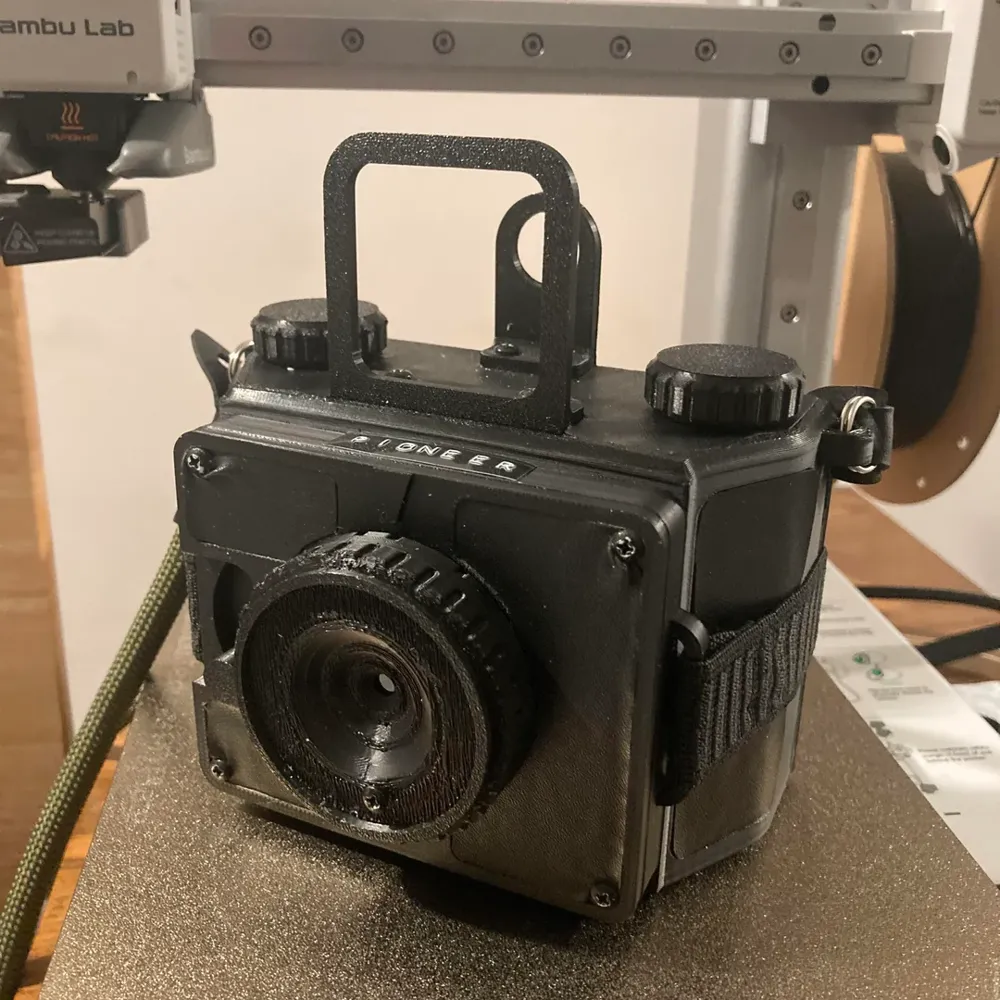

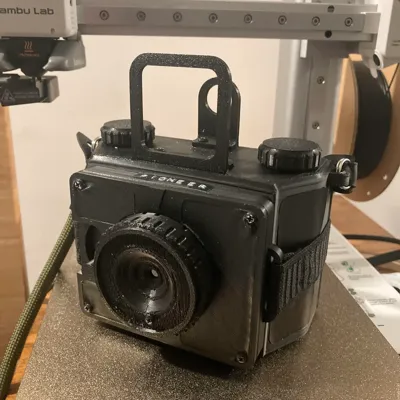
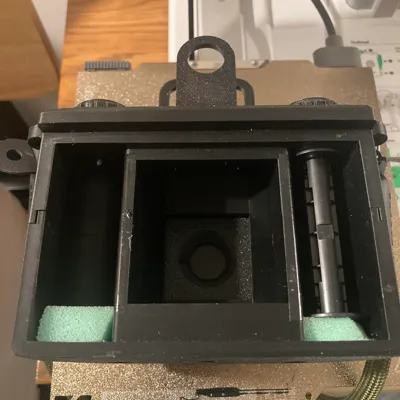
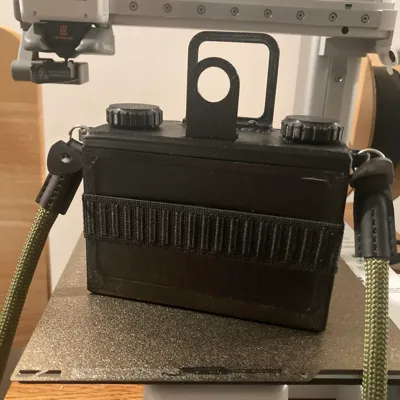
Print Profile(1)

Description
Parts to print
Lens barrel
Lens element holder
Front plate
Shutter blade
Shutter block
Top body
Bottom body
Gear knob
Smooth knob
Knob ring (x2)
Rotator paddle (x2)
Front viewfinder
Rear viewfinder
Rear door
Red window ring
Tripod nut cap
Front foam template
Optional – leather templates
NOTE ON PRINTING: My original camera was printed on the Bambu Labs A1 Mini 3D printer, using PLA+ from Microcenter. For smaller parts I printed at a layer height of 0.1mm, and for larger parts 0.2mm. For all parts I printed with a top and bottom shell thickness of 2mm and 5 wall loops (approximately 2mm with a 0.4mm nozzle) and 20% infill. You may need to fine-tune your printer support settings to ensure smooth release. The shutter blade should be printed with magnet holes facing upward. For the foam and leather templates, feel free to use as then walls and as little infill as possible so as not to waste filament.
Additional materials needed
Links included to the specific items I used. Please note that I am US based, so I have included imperial measurements for certain screws, along with approximate metric equivalents.
60mm plano-convex singlet from ThorLabs (part #113) https://www.thorlabs.com/thorproduct.cfm?partnumber=LA1134
25.4mm diameter, 2mm edge thickness, 4.1mm center thickness, 30.9mm curvature radius, 59.8mm EFL, 56.7mm BFL)
2-part epoxy https://www.amazon.com/Gorilla-Epoxy-Minute-ounce-Syringe/dp/B01M7VD07W?source=ps-sl-shoppingads-lpcontext&ref_=fplfs&smid=ATVPDKIKX0DER&gQT=1&th=1
1 x #4 ½” self-tapping pan head sheet metal screws for lens (M3x12mm)
4 x #4 ¾” self-tapping pan head sheet metal screws for front plate and shutter (M3x20mm)
4 x #4 ⅜” self-tapping pan head sheet metal screws for viewfinder (M3x10mm)
2 x M4x80 socket cap screws for body
2 x M4 nuts for body
8 x 4mmx2mm magnets https://www.amazon.com/Magnets-Diameter-Permanent-Neodymium-4mmx2mm/dp/B096SXQ9XT?source=ps-sl-shoppingads-lpcontext&ref_=fplfs&psc=1&smid=A2NNCICTTSUF0V&gQT=1
Scotch magic tape
Scotch permanent double-sided tape
2mm black foam sheet https://www.joann.com/p/pop-2mm-foam-sheet-9in-x-12in/16281156.html?gStoreCode=2589&gQT=1
Optional - 2mmx5mm foam tape https://www.amazon.com/BokWin-Adhesive-Insulation-Absorption-Weather/dp/B0B4SM7L39?th=1
½” (12mm) High density upholstery foam (need two small squares) https://www.joann.com/p/airtex-1/2in-x-24in-high-density-foam-sheet/2180313.html
Self adhesive leather repair tape
Black Electric tape
¾” (19mm) transparent red bingo chips https://wholesalebingosupplies.com/products/non-magnetic-plastic-bingo-chips-7-8-250-ct-tub-assorted-colors?variant=50907379091
Small zip tie https://www.amazon.com/Pounds-Tensile-Strength-Self-Locking-Outdoor/dp/B0B45MSZQT?th=1
Staples, or needle and thread
¼”-20 hex nut
1” (25mm) no-roll elastic https://www.michaels.com/product/black-non-roll-elastic-by-loops-threads-10550320?gStoreCode=1076&gQT=1
Matte black spray paint
Masking tape
Build guide
With masking tape and spray paint, mask off and paint any areas where reflections may impact image quality (interior of camera body, lens barrel, top of tripod nut cap, etc). Wait for paint to dry completely before proceeding.
Place tripod nut in its hole in the bottom body half and use epoxy to set tripod nut cap in place
Cut 13mm strip from the zip tie and epoxy into slot attached to the cavity for the geared wind knob
Clean lens element thoroughly with lens cleaner solution and a microfiber cloth. With the front of the lens barrel face down on your work surface, gently set the lens element flat side down, ensuring no fingerprints or other dirt get on it in the process. Carefully place the lens element retainer ring and secure it in place by using a toothpick or other small tool to put drops of epoxy into the four small cavities on the perimeter around the lens retainer ring. Wait to dry, then remove any lumps of hardened epoxy with a craft knife or sandpaper to ensure the surface is flat so that the lens can screw in all the way
On the rear door, set the red bingo chip in place and epoxy the window ring in place over it
On the opposite side of the rear door, glue a rectangle of 2mm foam the same size as the flat surface which inserts into the camera body. Be sure to cut out the foam around the red window so that you can see the frame number on the film when using the camera
You can either epoxy strips of foam around the rear door where the door meets the body, or put this foam on the camera body itself with 2mmx5mm foam tape. I cut the rectangle for the recessed part of the door out of a foam sheet, then trimmed a larger rectangle out around that to create the light seals for the door, but do what works best for you.
Epoxy the winder paddles into the cavities on the knobs
Let all epoxy/adhesive cure completely before continuing with assembly
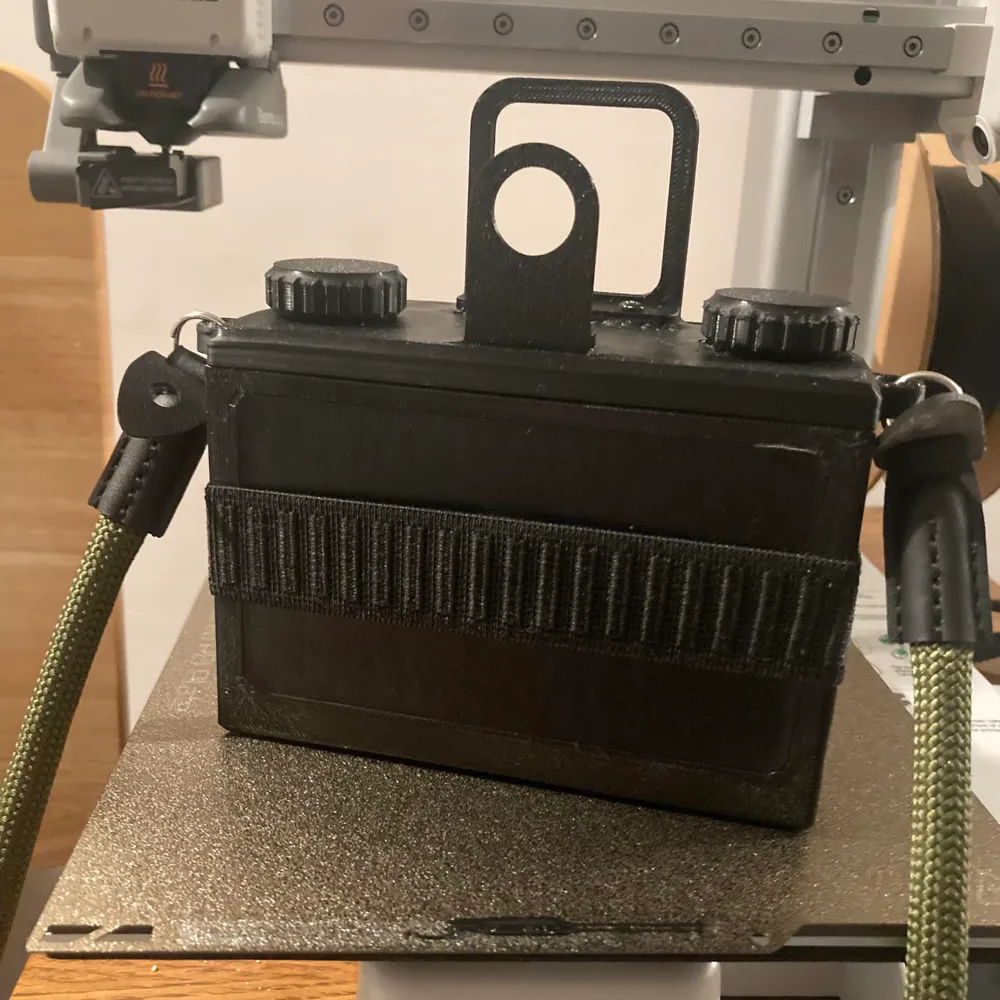
Cut 11-12 inches (25-30cm) of no-roll elastic, and uses staples or, if you’re better at stitching than I am, thread, to secure it to the shutter block. Do a test fit first to ensure that it will hold the door snugly to the body. This is very important for light sealing
Insert the magnets into the shutter block and shutter blade, checking your polarity first. With the magnets so close, this part can be frustrating, so take your time and be patient. Once the magnets are in place, cover each surface with a layer of Scotch Magic tape (or generic equivalent) and trim to size with a craft knife
Apply top leatherette
On the top half of the body, insert the knobs from the top. Ensure that the geared wind knob clicks and advances without issue, trimming the zip tie as necessary. Working inside the body, use a flat screwdriver to snap the knob rings onto the knobs to secure the knobs in place.
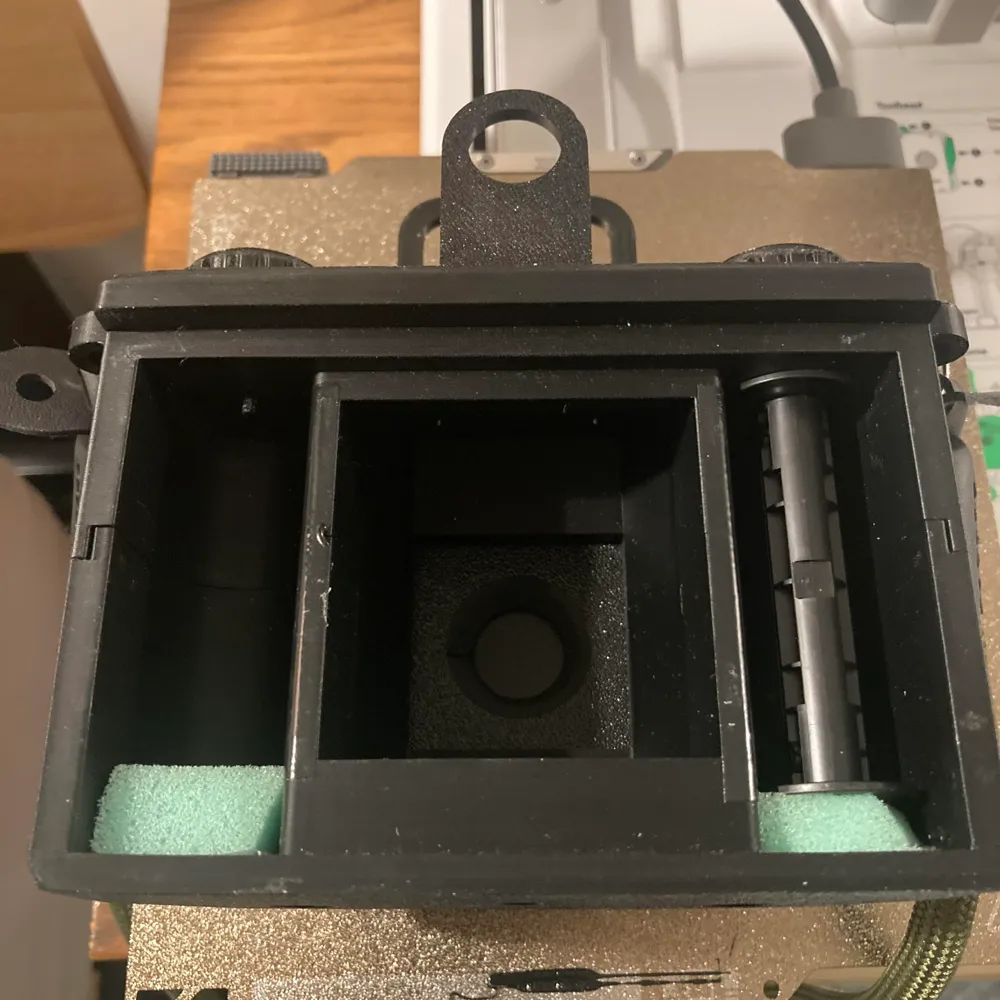
On the bottom half of the body secure two small squares of ½” foam in place with double-sided tape in the film chambers.
Fit top and bottom body halves together. Ensuring all body surfaces are flush, secure the two pieces together with the socket cap screws and nuts.
On the right and left walls of the film gate, add a strip of black electric tape to ensure that the film passes over without scratching on the divide between top and bottom body halves.
Apply rest of leatherette
Screw lens barrel onto front plate, ensuring that the infinity distance marker on the lens matches up with the top arrow on the faceplate when the lens is screwed in all the way. Secure the lens in place with the 1/2” screw. Be careful not to turn the screw all the way, as it may screw into the face plate and prevent the lens from turning.
Set the shutter blade into the shutter block, covered by the front plate. With the front foam in its cavity between the shutter block and body, screw the shutter and lens assembly to the body with the ¾” screws.
Mount the front and rear viewfinder pieces to the top of the camera with the ⅜” screws
Put the door into its place and secure with the elastic, which also acts as a cover to the rear window
Originally posted by U/elelcoolbeenz on reddit
Documentation (1)
License



Comment & Rating (8)