
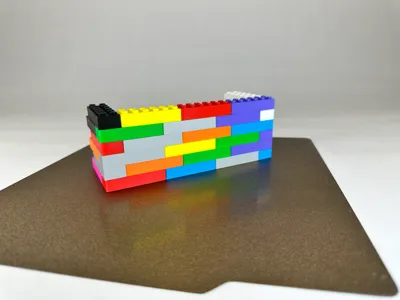
Starblocks 3d Printable 2x6 Construction Brick

Print Profile(1)

Description
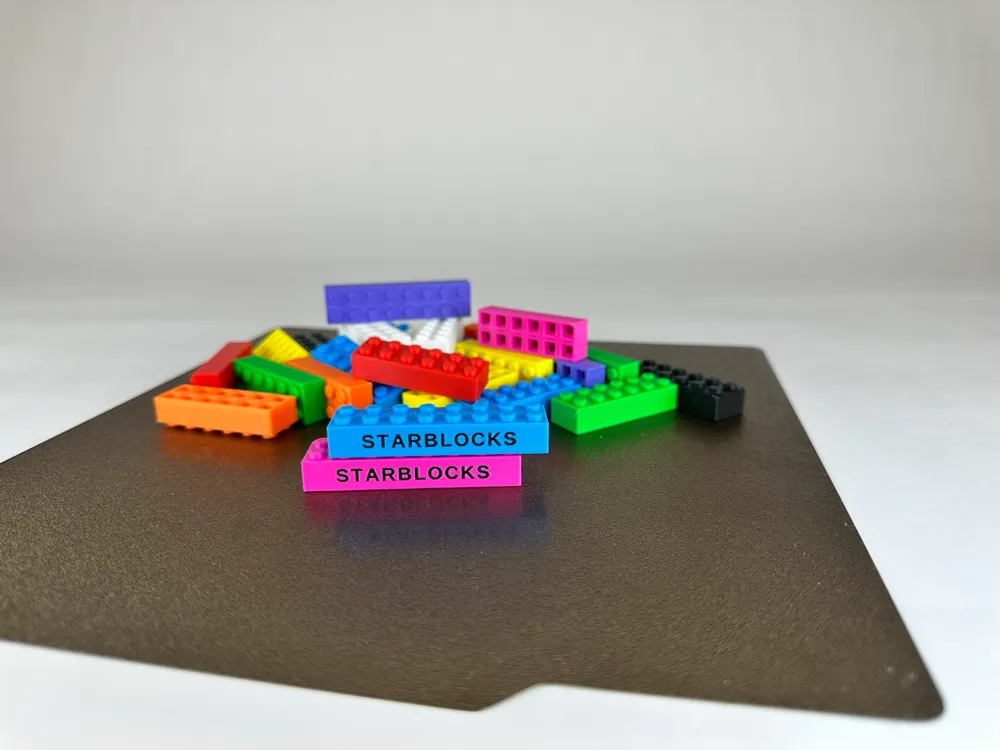
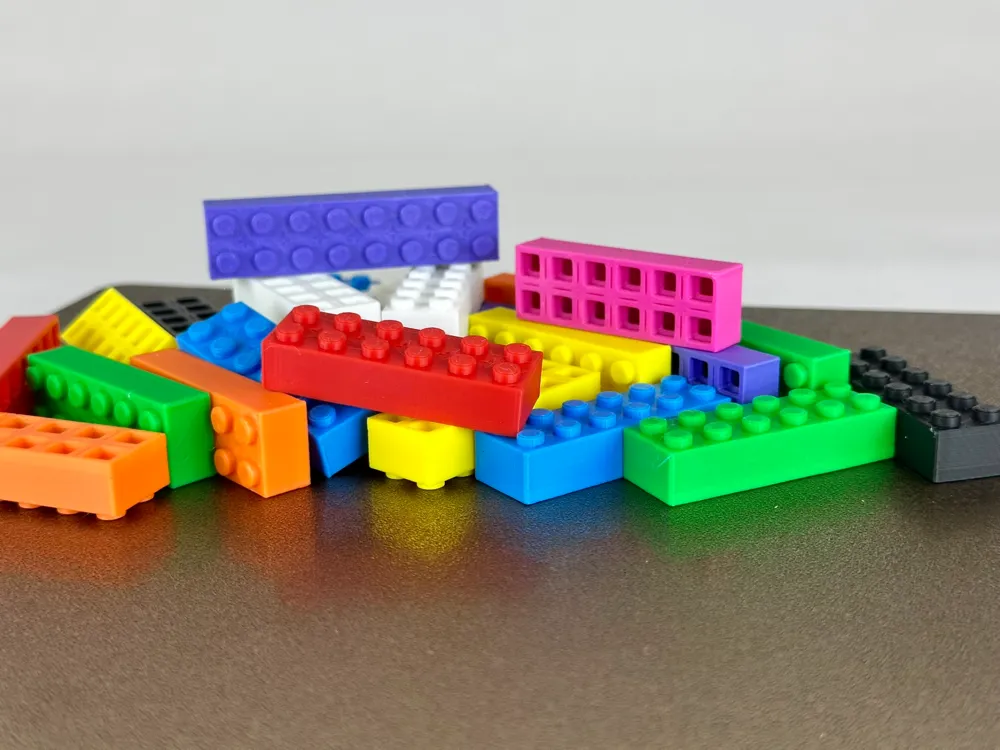
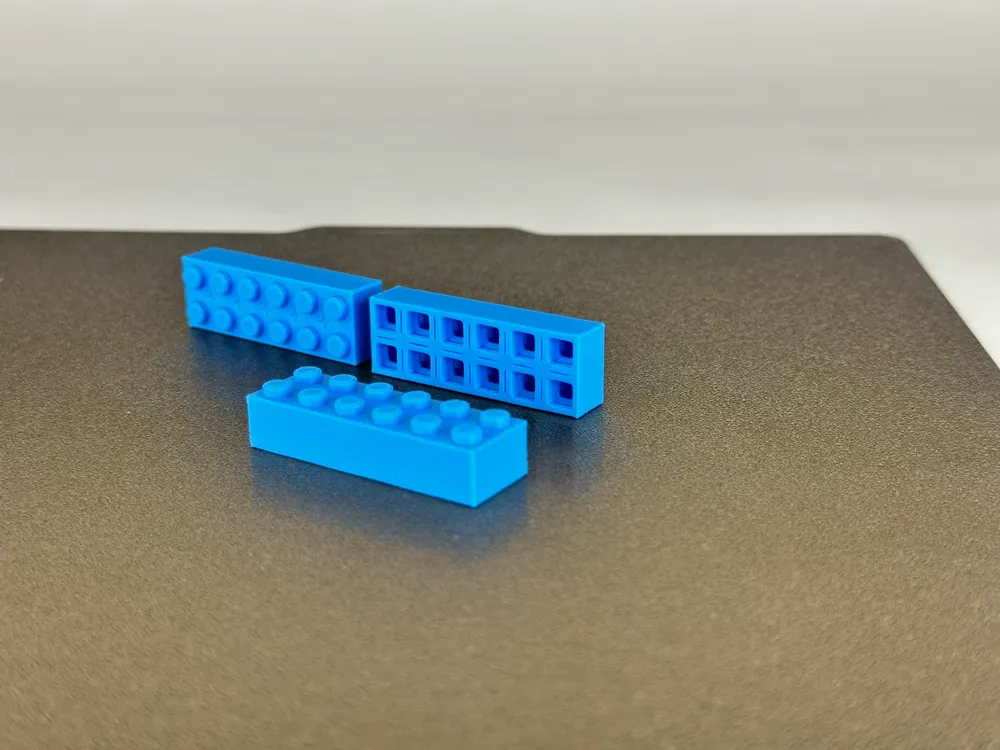
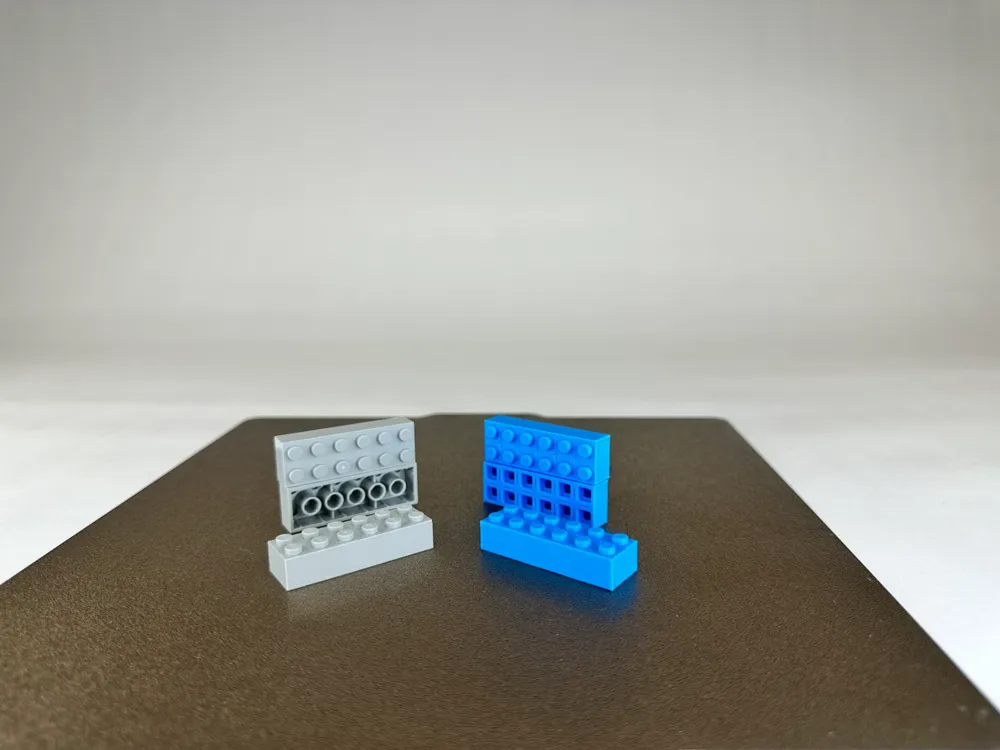
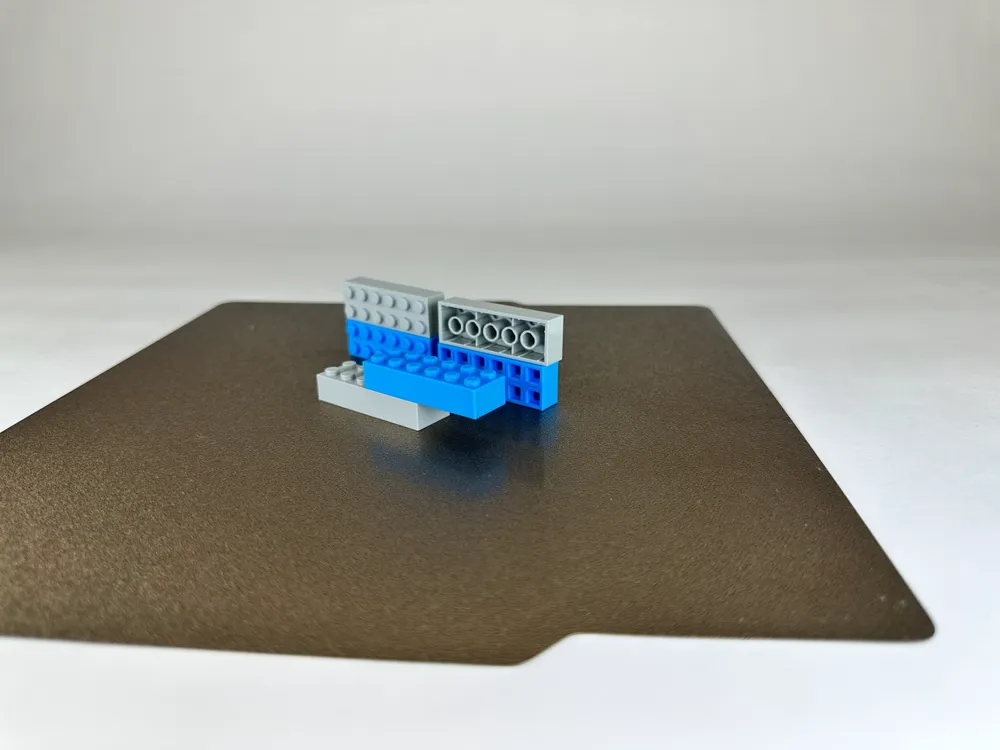
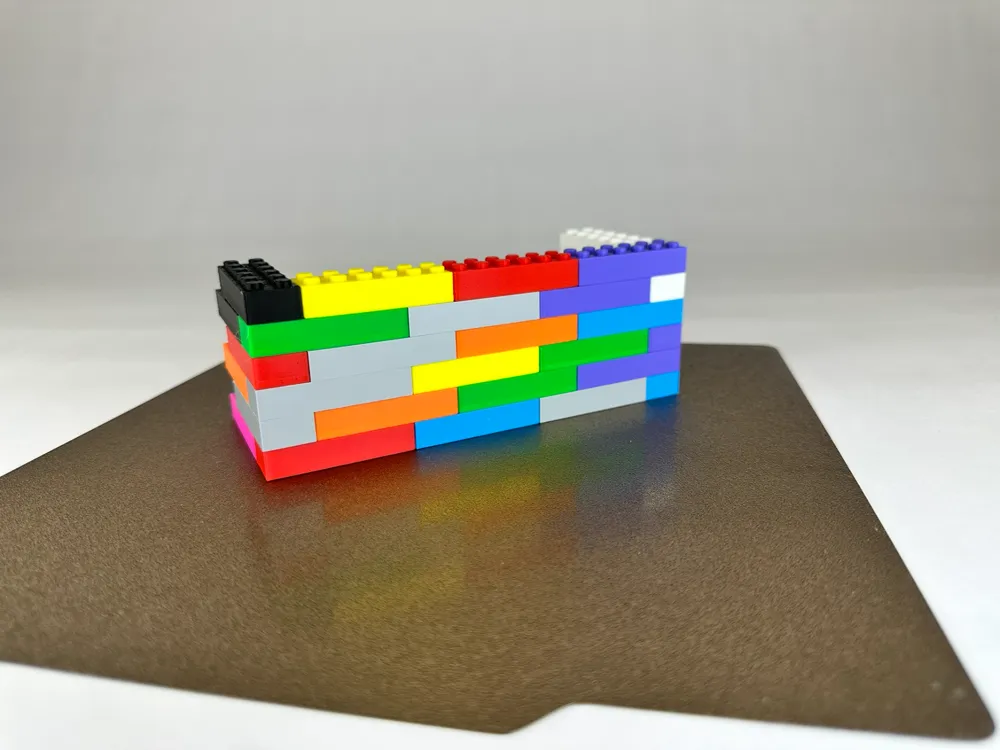
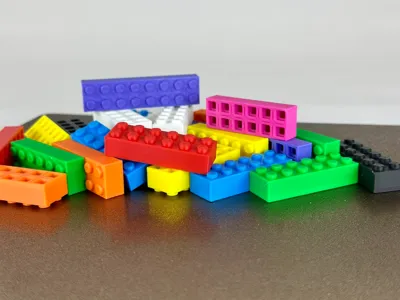
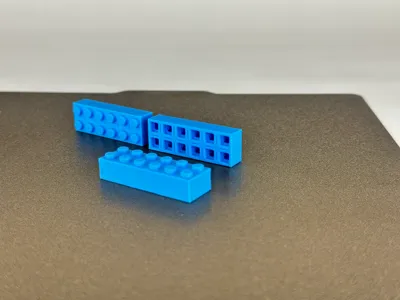
Starblocks are 3d printable interlocking construction bricks that actually work. They are compatible with major brands.
If you've been disappointed by the quality of 3d printed bricks before, please still give Starblocks a chance, I think you'll be pleasantly surprised. I've been working on Starblocks for almost two years, there is a LOT more coming soon.
More Starblocks bricks available in this collection: https://makerworld.com/en/collections/4676650
Get involved, stay informed:
- Join the mailing list: http://ted.ws/sb-mail/
- Join the subreddit: http://reddit.com/r/starblocks3d/
- Visit us at http://starblocks.com/ (coming soon)
Licensing:
- Licensed under Standard Digital File License
- Commercial licenses available http://ted.ws/sell-starblocks/
- Throw a +1 into the subreddit thread if you'd be interested in a remixable community license http://ted.ws/sb-community-plusone/. I want to make Starblocks as open as reasonably possible while placing a few small restrictions (primarily around commercial use) to ensure the project has the resources to sustain itself long term. Provided people are interested in that. So, please do let me know.
Notes on printing Starblocks:
- Bed adhesion can be a challenge, even with enclosed printers. Highly suggested to use a Supertack or Cryogrip build sheet.
- If you don't have one of these sheets, try: Glue / Magigoo, mouse ear brims, a 10-20 layer skirt.
- Drying the filament helps with both polish and mechanical function.
- They print nicely in PLA and PETG, the finish is usually a bit nicer in PLA. ASA requires scaling up, and glue and a full brim.
- If you're going to slice them yourself:
- Blocks should be rotated 22.5% degrees before printing. This puts the seam on the studs out of interface with both Starblocks and major brand injection molded bricks.
- Starblocks are designed to be printed with ARACHNE / VARIABLE WIDTH WALL ENGINE, the mechanism degrades or fails entirely without it.
- Starblocks are designed for 0.1mm or 0.2mm layer heights and 0.42mm layer lines.
- Suggested to keep outer-wall first for best finish.
- You can make them tighter/looser by using hole-compensation (0.025 increments from 0 to 0.150mm is a good place to start). Be forewarned, due to quirks in the wall engine and number of lines, the results are often non-linear e.g. making the holes 0.025 smaller can create a much tighter mechanism than making the holes 0.050 smaller. Be additionally warned, the range between “doesn't work, too loose” and “doesn't work, too tight” is less than half a millimeter.
- Your slicer may complain about unsupported overhangs, don't worry about that, it is wrong - all of the overhangs are either built at 45 degrees or bridge-able.
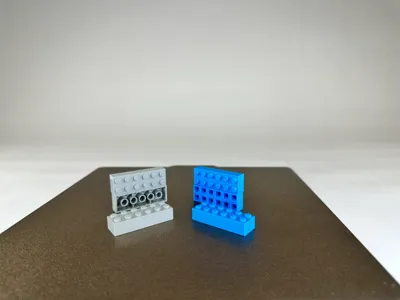
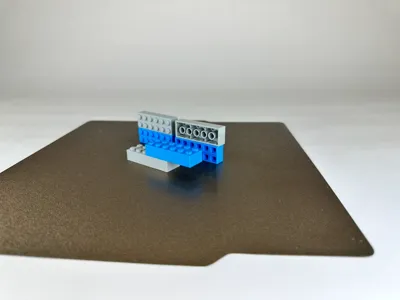
Yes, these are compatible with major brands of injection molded interlocking brick toys (yes, I try to avoid saying the exact name of one of the brands - they have a history of being… overzealous).
No, you don't need a high end printer to make them. They print beautifully on the entire Bambu line, but the mechanism works even on my lowly Ender3 (reduce flow rate a bit, dry your filament, use arachne, mouse ear brims, and glue).
License

You shall not share, sub-license, sell, rent, host, transfer, or distribute in any way the digital or 3D printed versions of this object, nor any other derivative work of this object in its digital or physical format (including - but not limited to - remixes of this object, and hosting on other digital platforms). The objects may not be used without permission in any way whatsoever in which you charge money, or collect fees.


Comment & Rating (3)