Search models, users, collections, and posts


Print Profile(1)

0.2mm layer, 2 walls, 15% infill
Designer
8.1 h
11 plates
Open in Bambu Studio
Boost
68
145
7
7
30
8
Released
Bill of Materials


Description
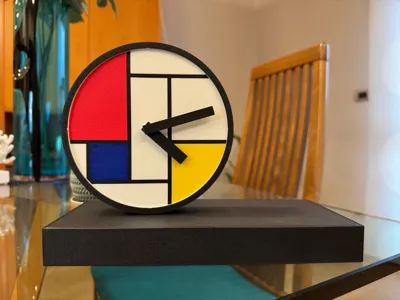
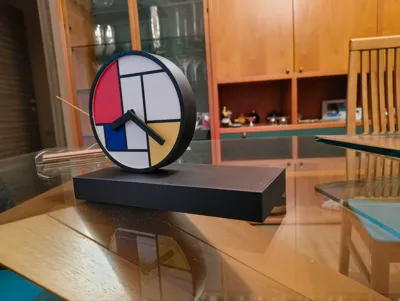
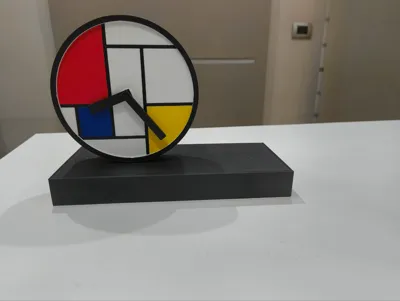
Bauhaus Mondrian Style Clock: A Customizable Timepiece
This 3D-printed clock is a tribute to the iconic Bauhaus and Mondrian styles, offering a unique and customizable design for your desk or tabletop.
Key Features:
- Customizable: The 3D model is divided into multiple plates, allowing for extensive personalization without the need for an AMS (Automatic Material System).
- Easy Assembly: The clock is designed for straightforward assembly, with clear instructions provided.
- Distinctive Design: The clock's decoration is reminiscent of Piet Mondrian'sDe Stijl art movement, characterized by geometric shapes and primary colors.
Assembly Instructions:
- Clock Dial:
- Glue the pieces from the "Clock pieces" plate onto the "clock dial" plate, along with the contour from the dedicated plate.
- Start by inserting the central section with the pins into the corresponding holes.
- Glue the contour and then the remaining pieces.
- Internal Frame:
- Insert and glue the piece from the "internal white frame" plate inside the "frame", aligning it with the supports.
- Glue the assembled "clock dial" to this frame, again using the provided supports.
- Clock Mechanism:
- Attach the clock mechanism to the "dial" using the bolt found on the "clock pieces 1" plate.
- Rear Cover:
- The "rear cover" plate conceals the clock mechanism, allowing for battery changes and time adjustments.
- It features a sliding mechanism for easy access.
- Base:
- Assemble the sides of the base from the "side parts of the base" plate.
- Glue the pieces from the "top and bottom base" plate to complete the base.
- The top of the base has a housing for the clock.
- It is recommended to fill the base with a material like salt or sand to add weight and stability.
Dimensions:
- Base: 23 x 10 x 2.7 cm
- Clock Diameter: 14 cm
License
This user content is licensed under a Standard Digital File License.
You shall not share, sub-license, sell, rent, host, transfer, or distribute in any way the digital or 3D printed versions of this object, nor any other derivative work of this object in its digital or physical format (including - but not limited to - remixes of this object, and hosting on other digital platforms). The objects may not be used without permission in any way whatsoever in which you charge money, or collect fees.
Comment & Rating (7)