
Tiny nas [x86]

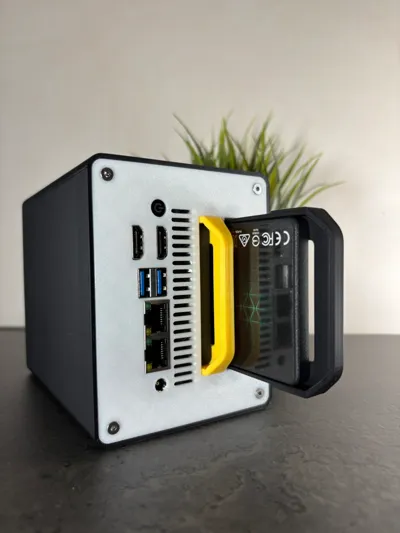
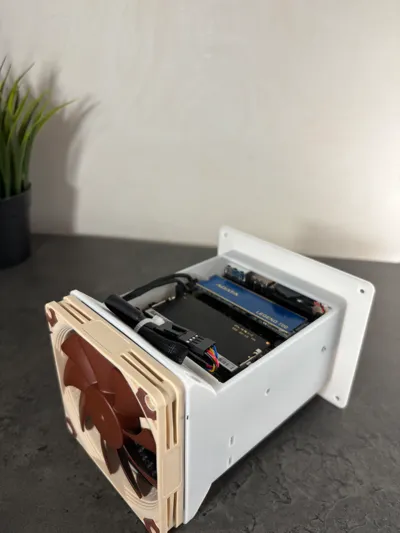
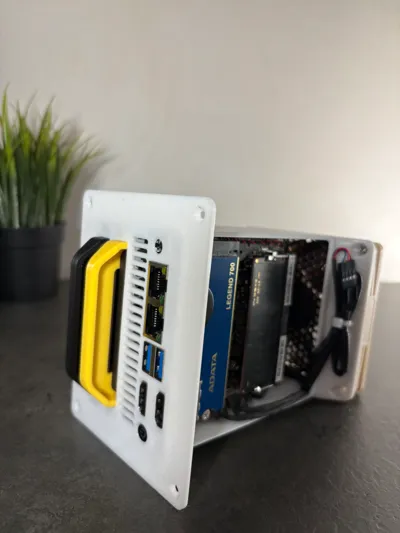
Print Profile(1)

Bill of Materials

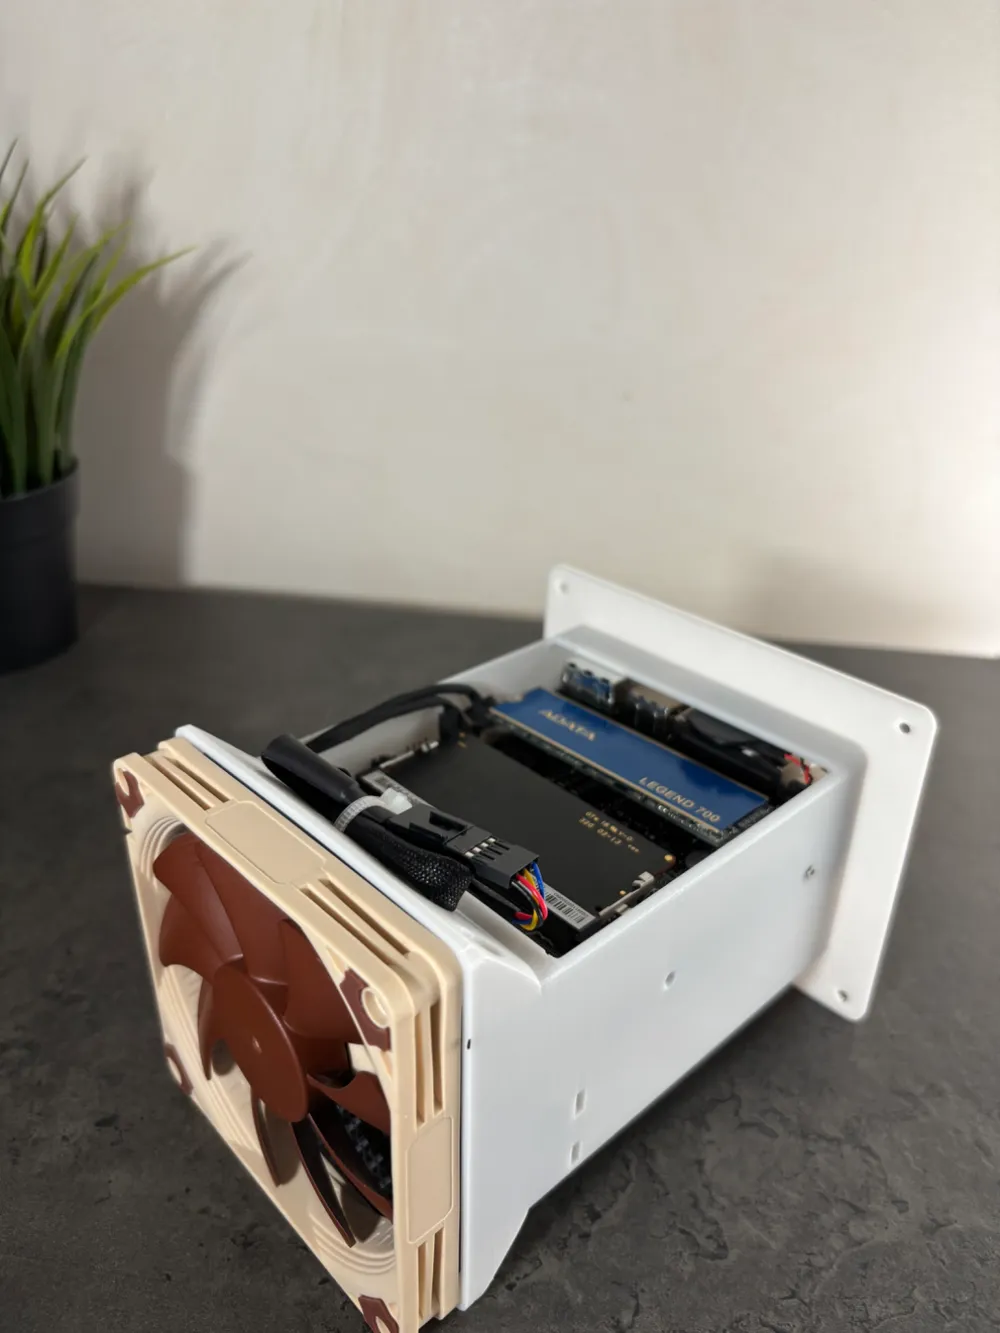
- Noctua NF-A9x14 x 1: Noctua Fan 92x92x14mm
- cwwk x86 p5 x 1: pc with N100
- Crucial RAM 8GB DDR5 4800MHz CL40 x 1: pc ram
- SSD 2.5" x 2: solid drives for server storage
- ssd nvme GEN.3 x 1: optional backup drive
- NUTS M3 x 4: nuts M3
Description
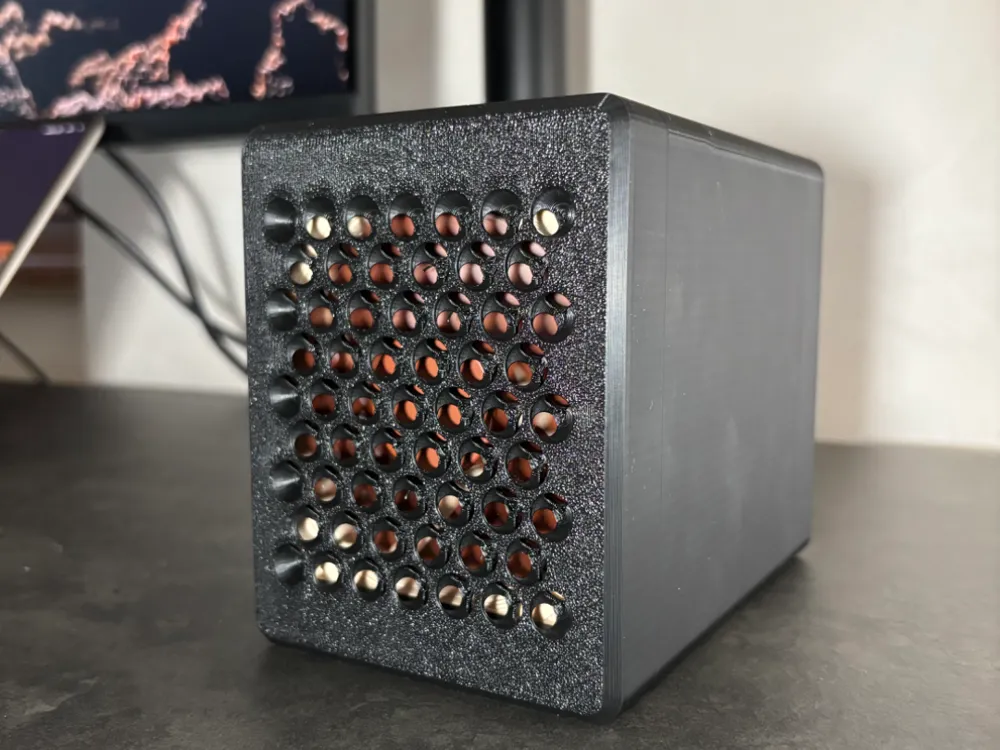
TINY NAS v1
The project was born out of a need: I aimed to simplify the printing process by minimizing waste and the use of supports. I needed a custom home NAS, built entirely by myself, trying to save as much as possible while maximizing performance. If you find yourself in the same situation, this project is right for you.
The list of materials is provided below in a file, including the filaments I used.
ASSEMBLY
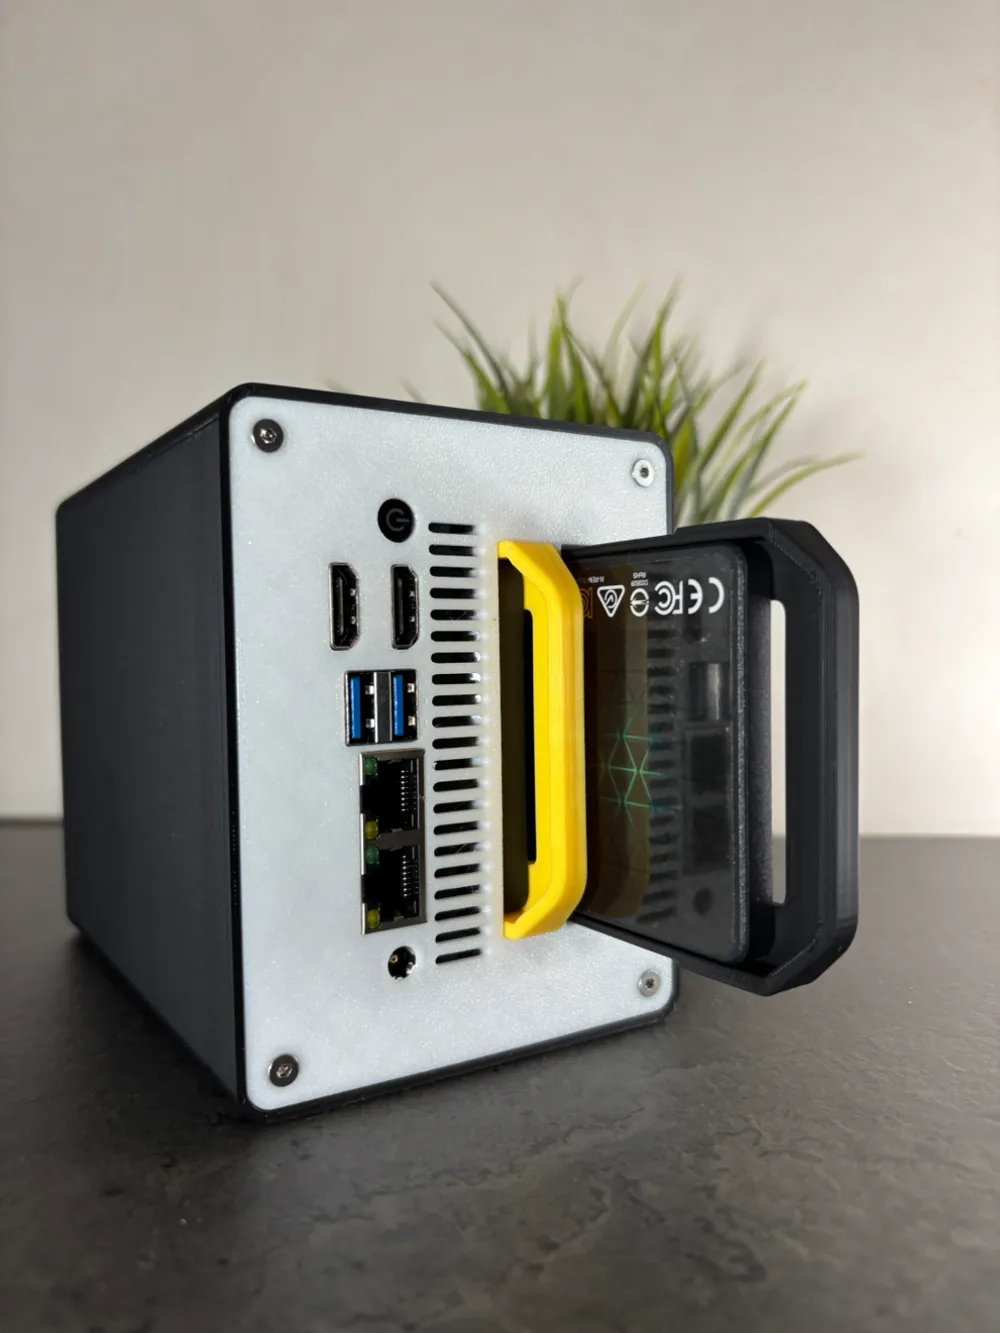
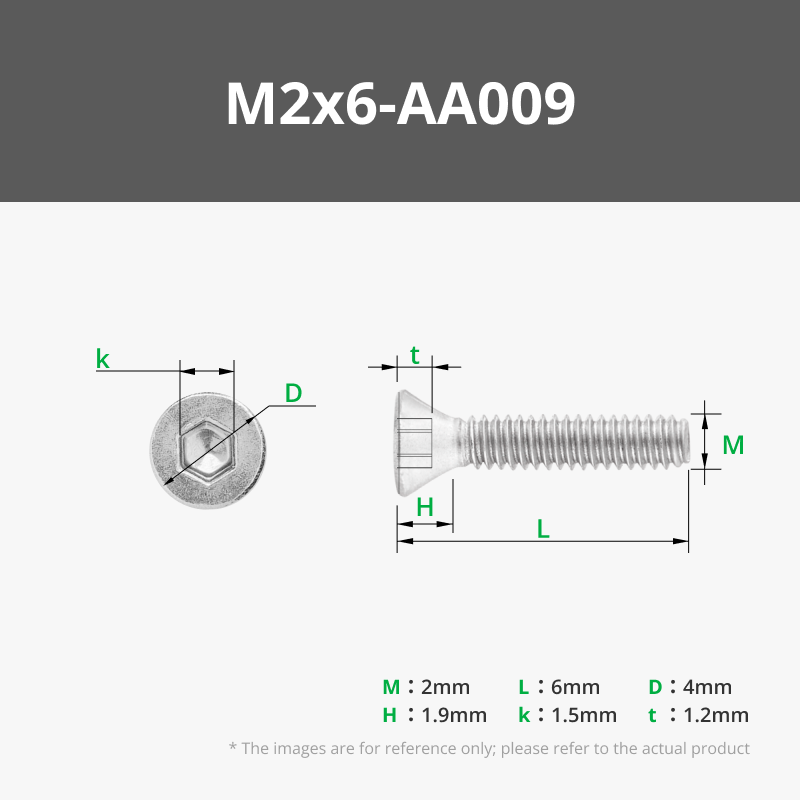
First step: insert the PC from the I/O panel side and secure it with the 4 M2x6 screws.
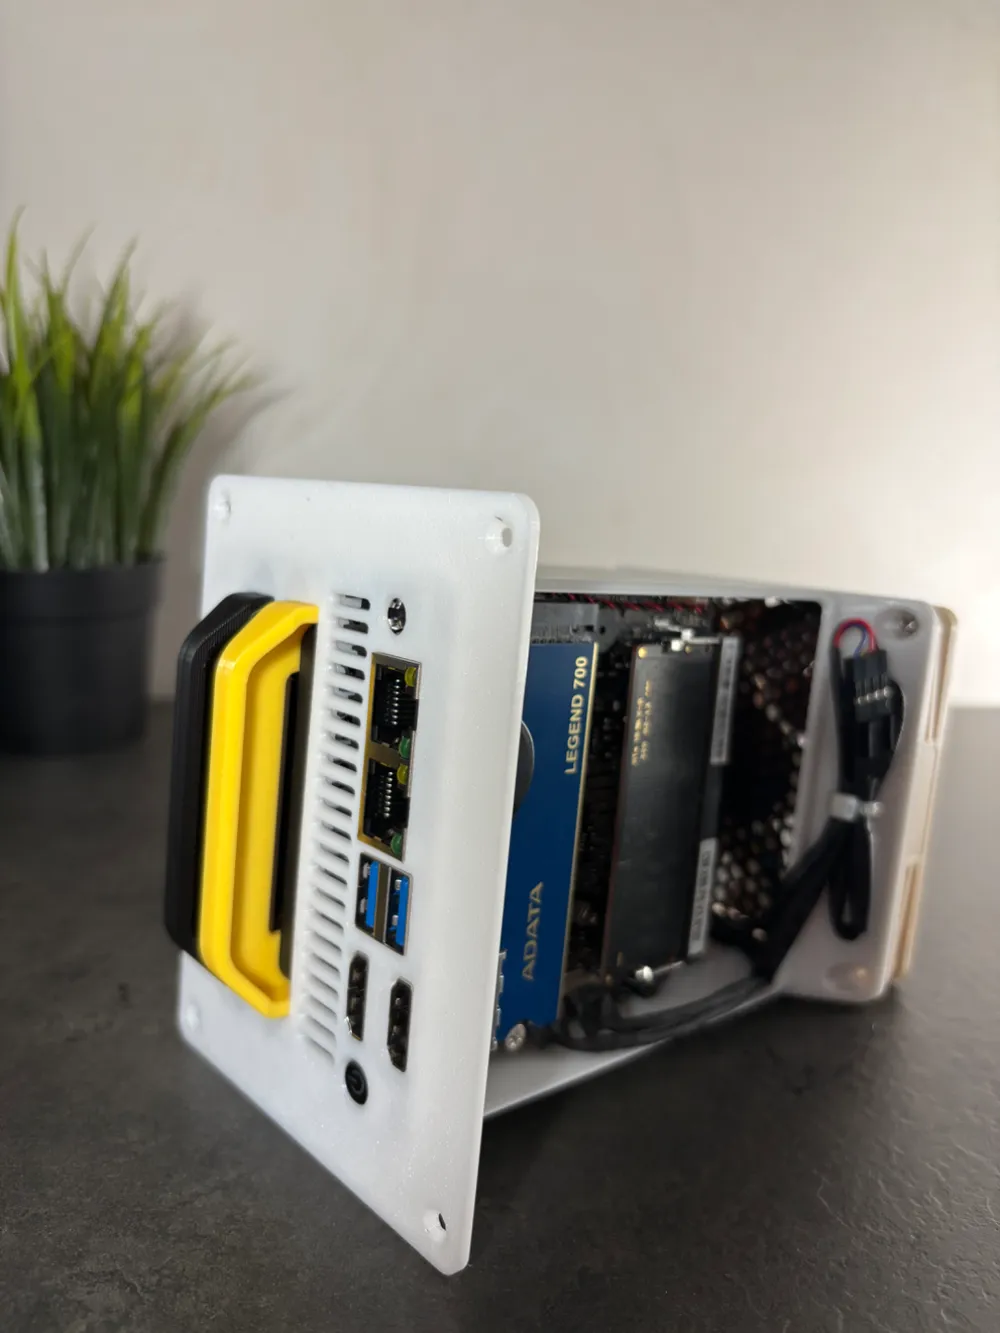
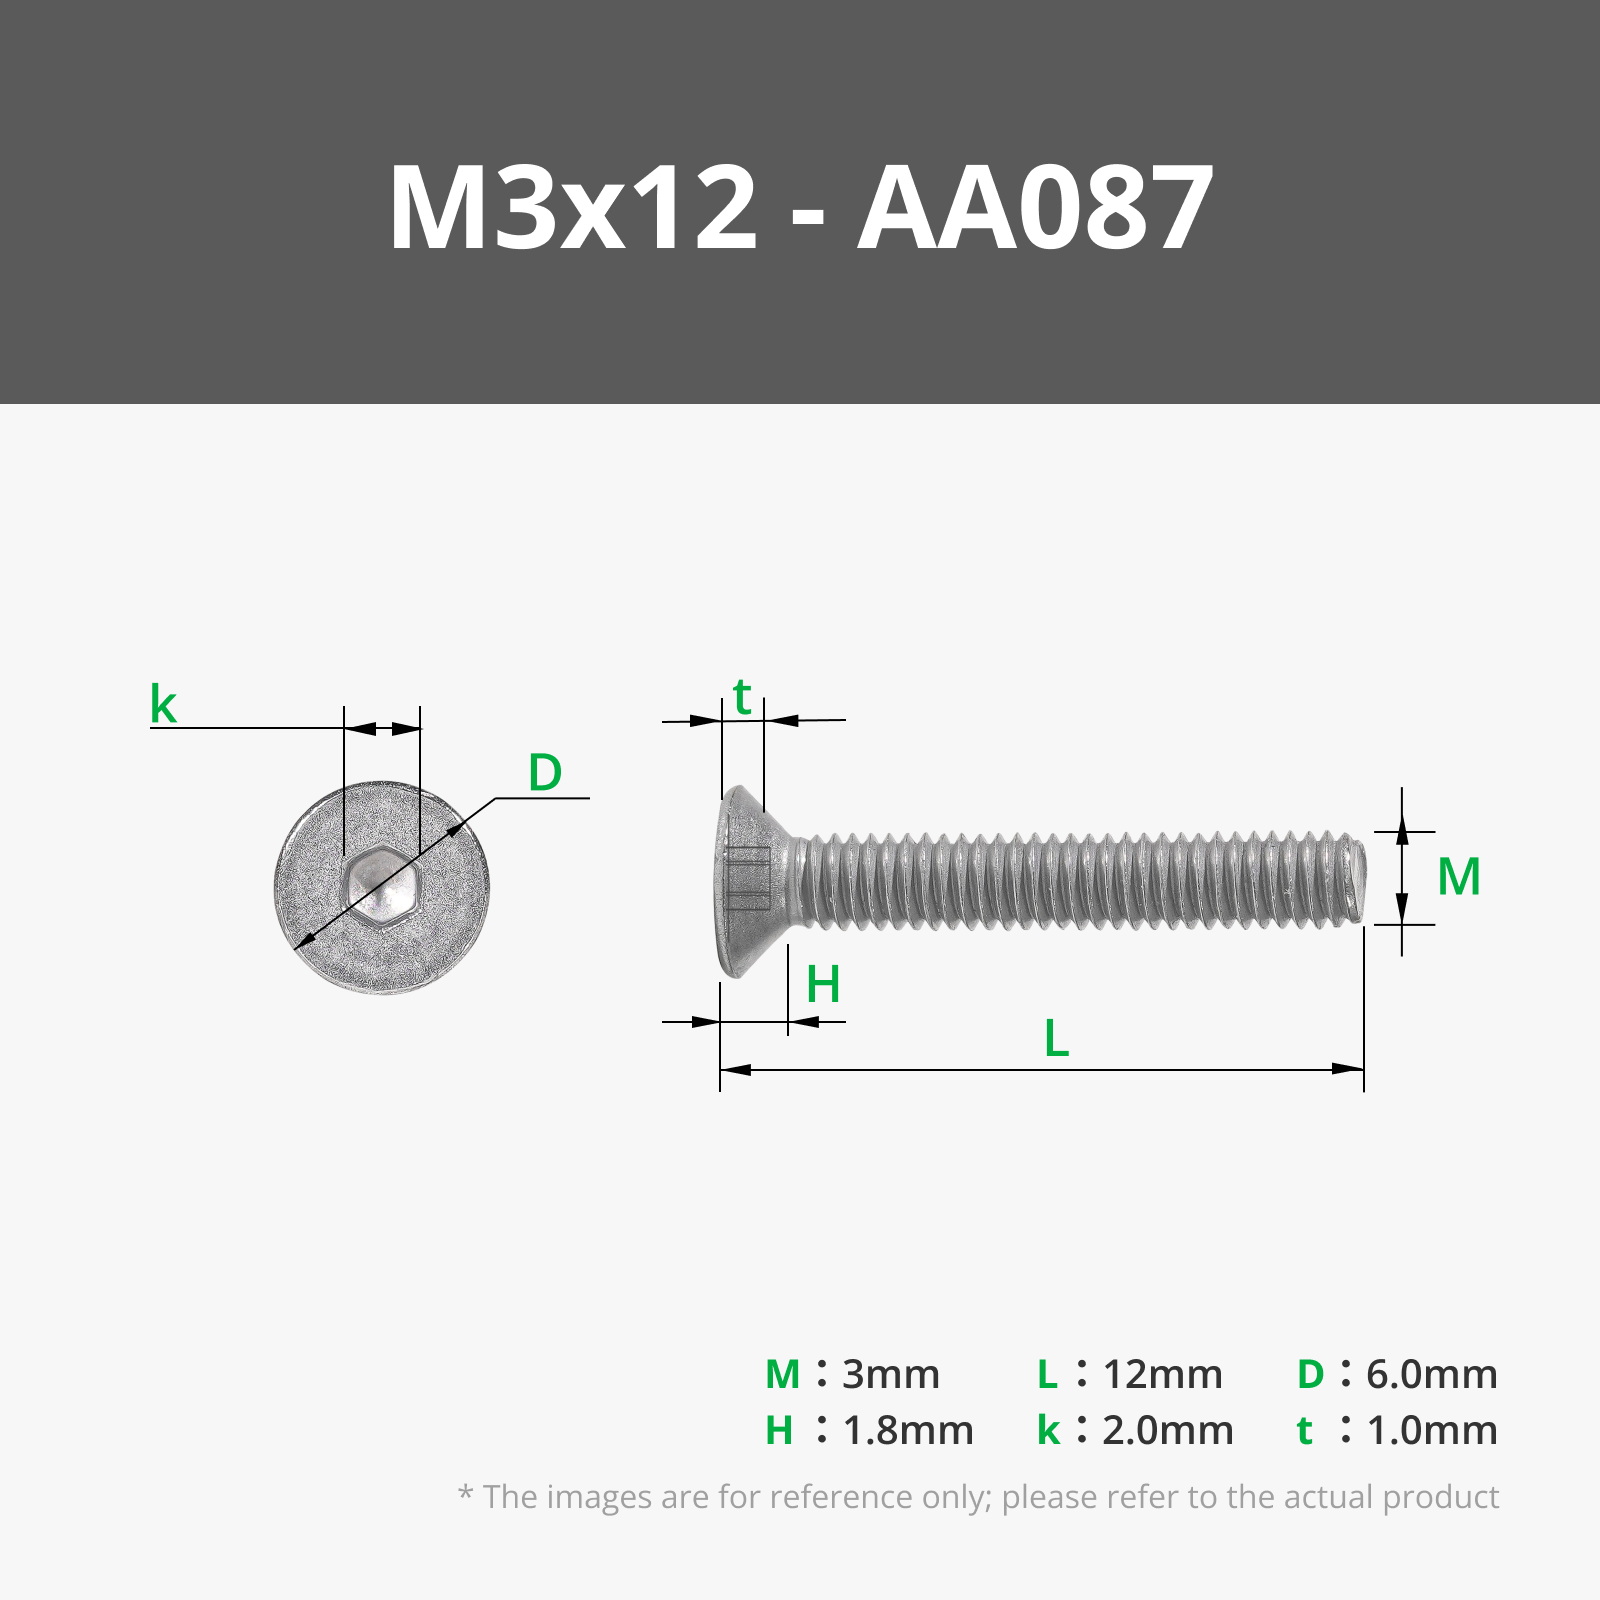
Next, insert the SATA connectors (provided with the PC) into the pieces of the plate called "SSD Accessories." After placing the M3 nuts into the frame, secure them with the M3x12 screws.
Pass the Noctua fan cable and insert it into the back of the fan in the "fan grid." Finally, connect all the cables to the motherboard. For the fan cables, as shown in the model photos, they can be secured with a cable tie to the frame to avoid obstructing the airflow.
For the SSDs, simply widen the "cage" and insert the drives without the use of screws. However, I have left the option to add them, even though it's not necessary. You just need to slide them into their compartment.
Now, take the plate with the case: on the top part, insert the nuts for fixing with the frame, and insert the frame itself. Screw in the last 4 screws, and your NAS is ready for use.
INFO:
Last update: 08/02/2025 - version v1
Boost Me (for free)
If you want to support me with your boost I would be very grateful!
Thanks if you do it! ☺️
Documentation (1)
License

You shall not share, sub-license, sell, rent, host, transfer, or distribute in any way the digital or 3D printed versions of this object, nor any other derivative work of this object in its digital or physical format (including - but not limited to - remixes of this object, and hosting on other digital platforms). The objects may not be used without permission in any way whatsoever in which you charge money, or collect fees.


Comment & Rating (9)