
The Enchanted Marble Run Tower

Print Profile(3)


Bill of Materials


Description
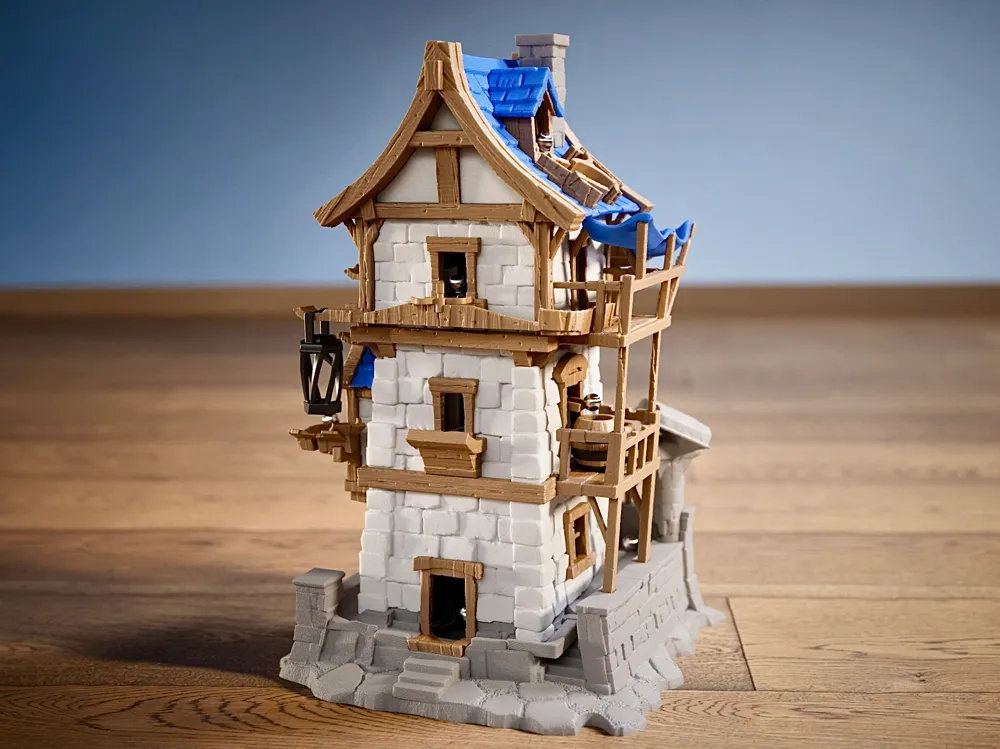
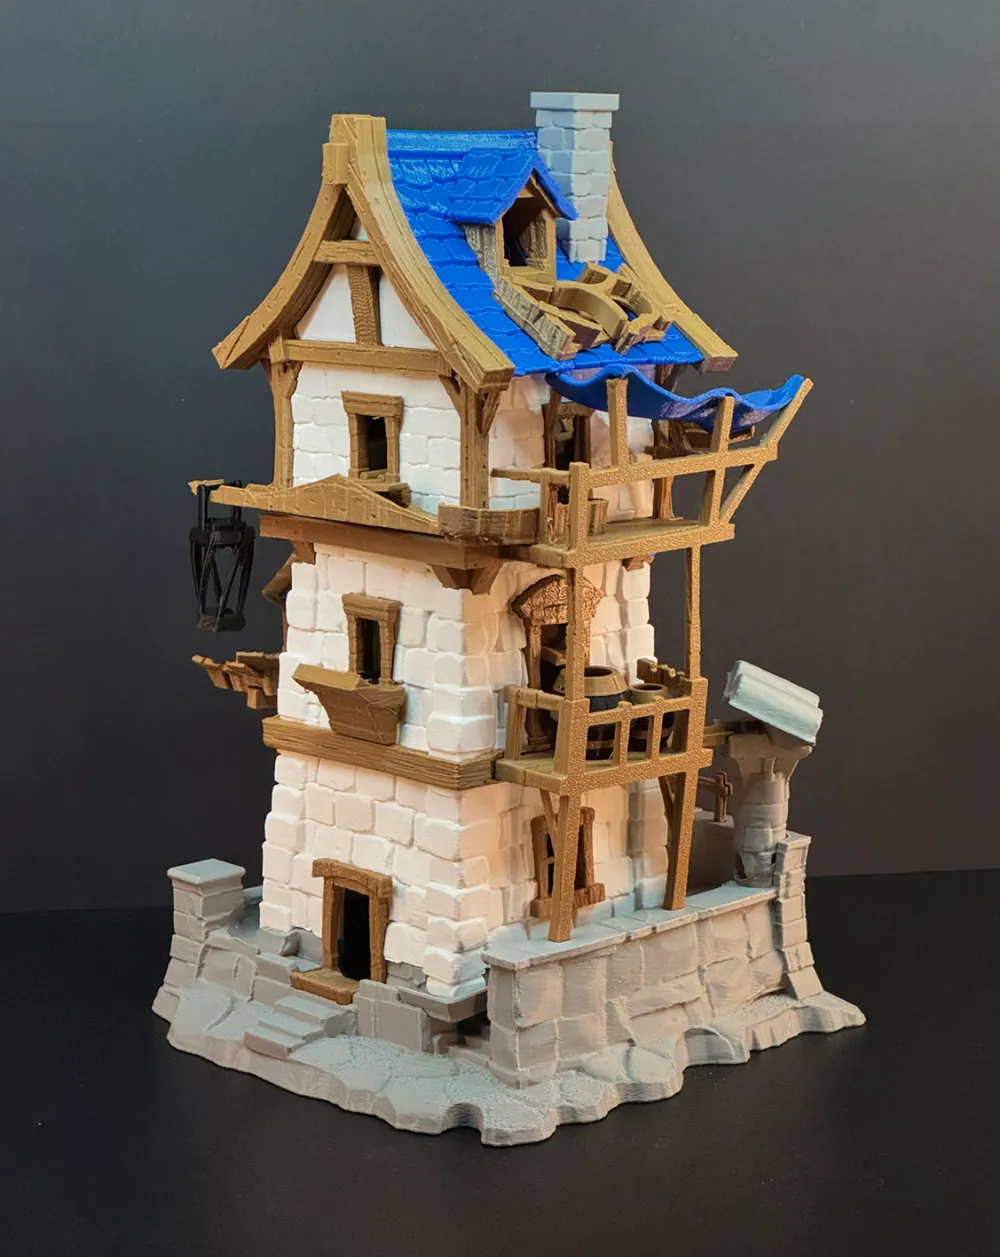

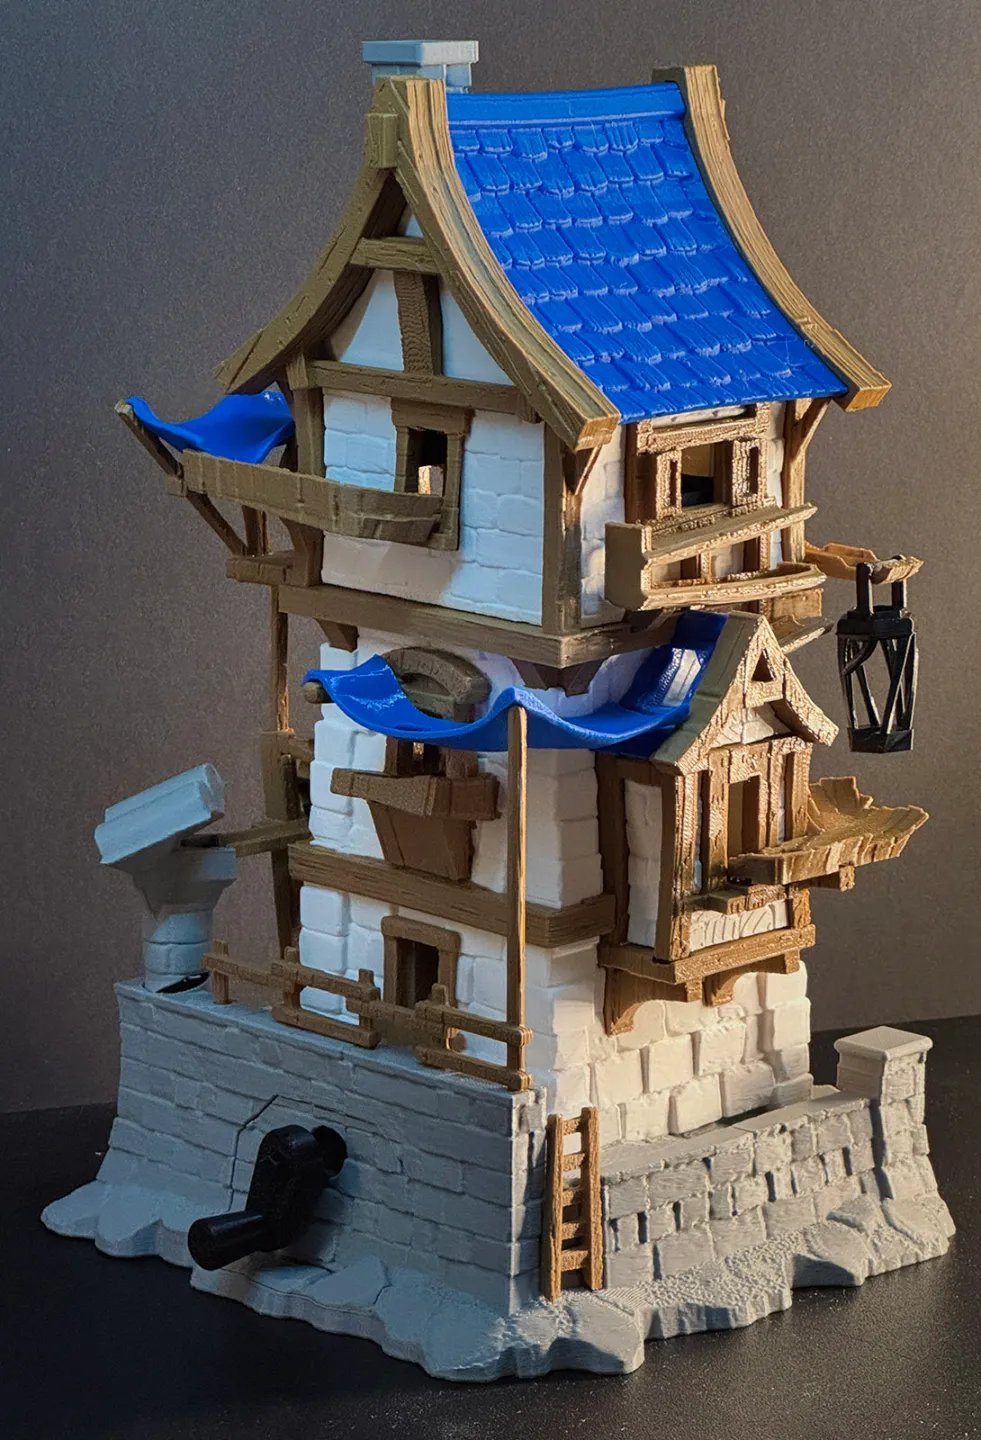

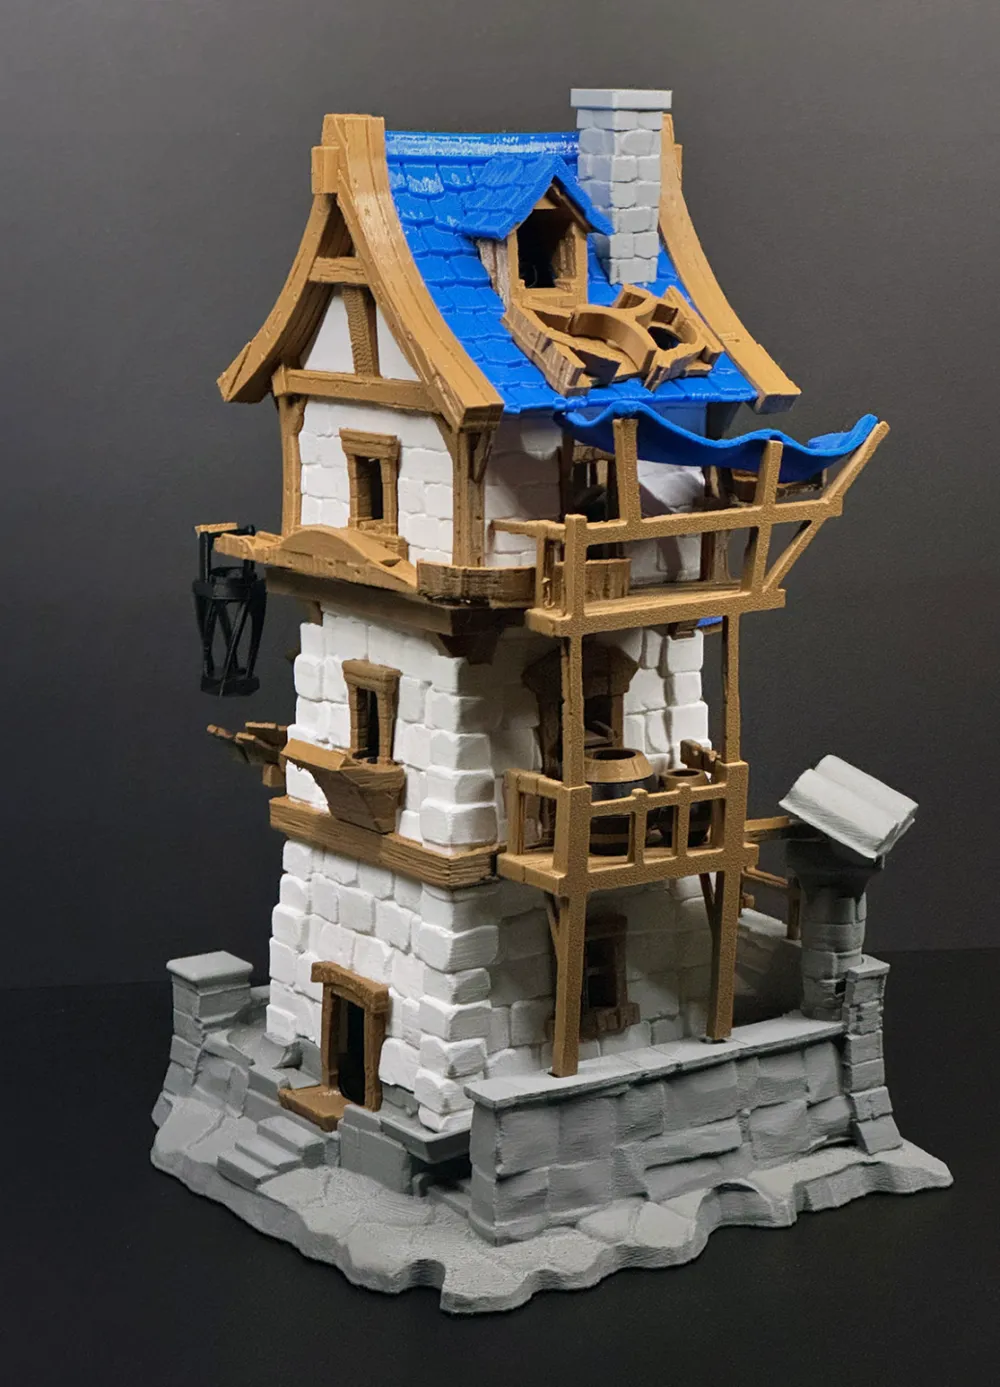
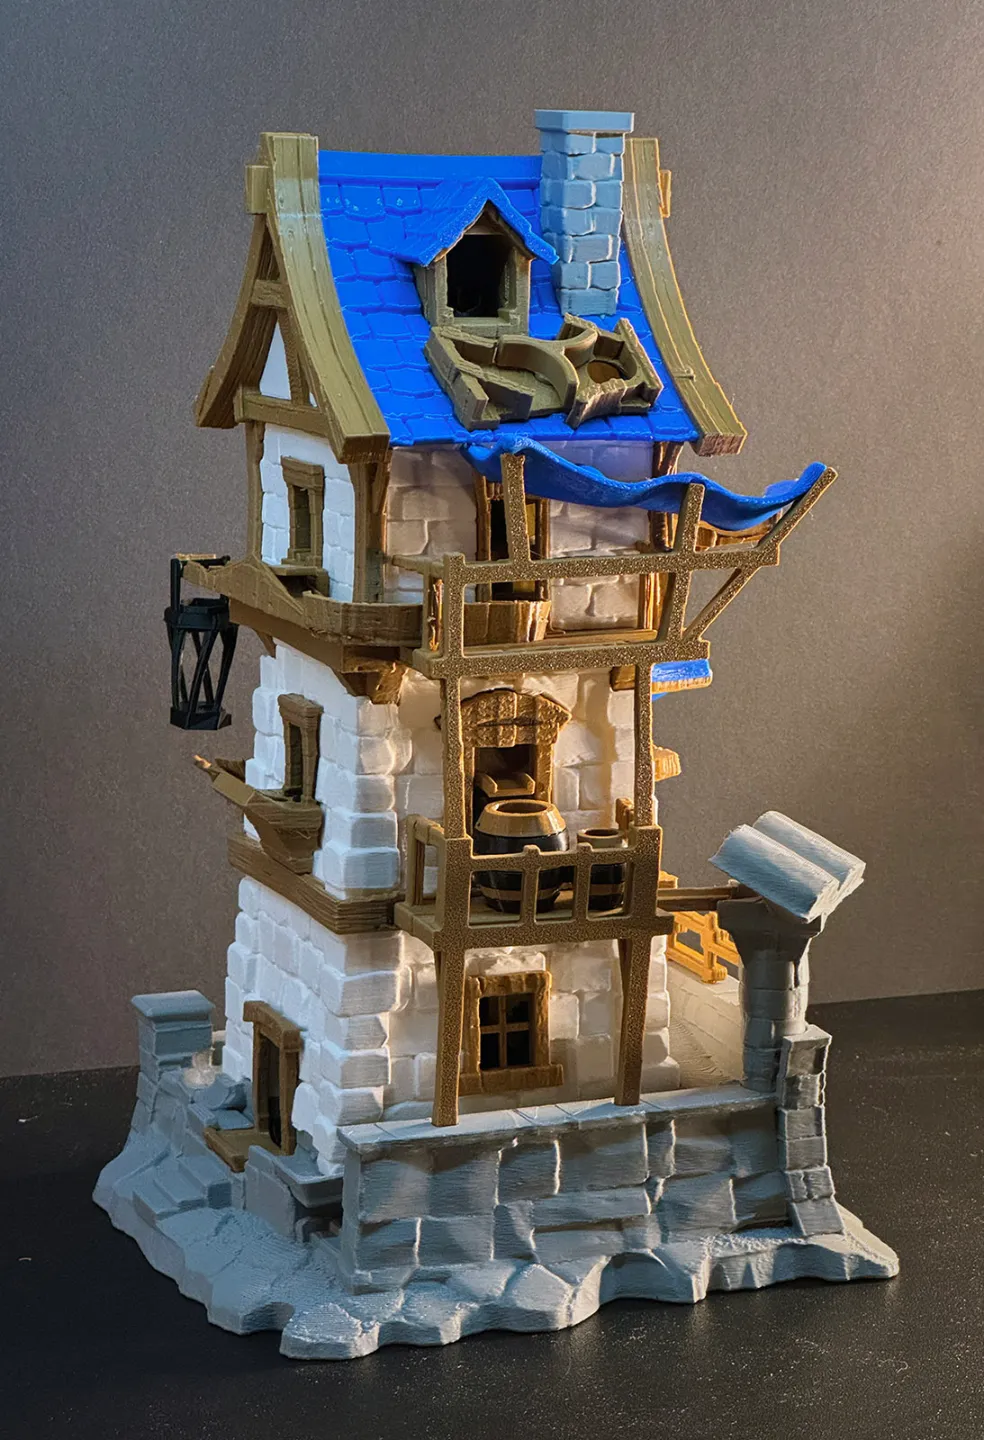

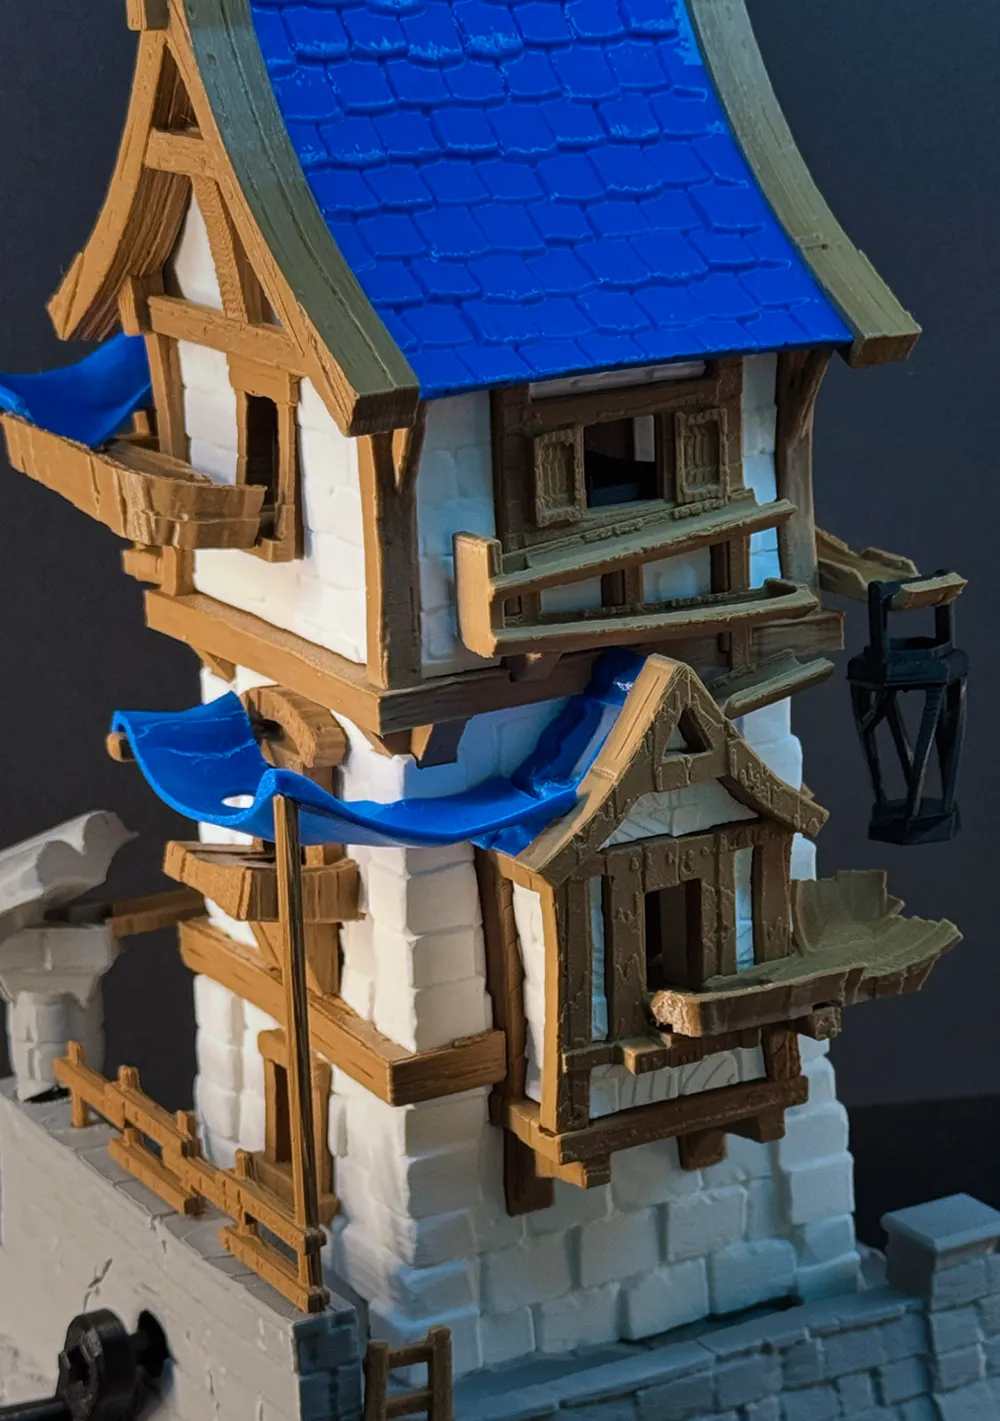
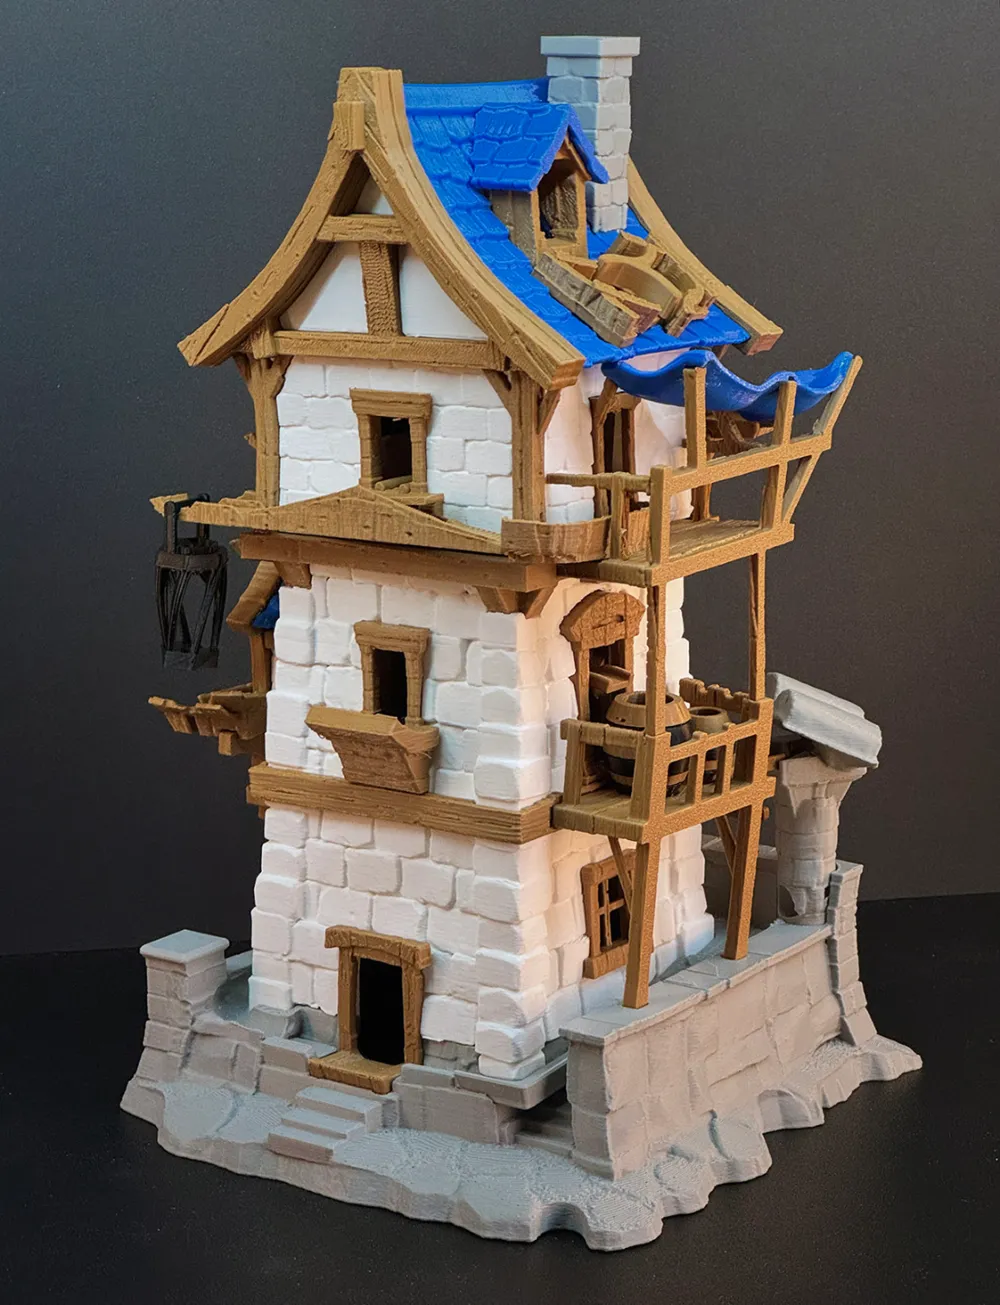
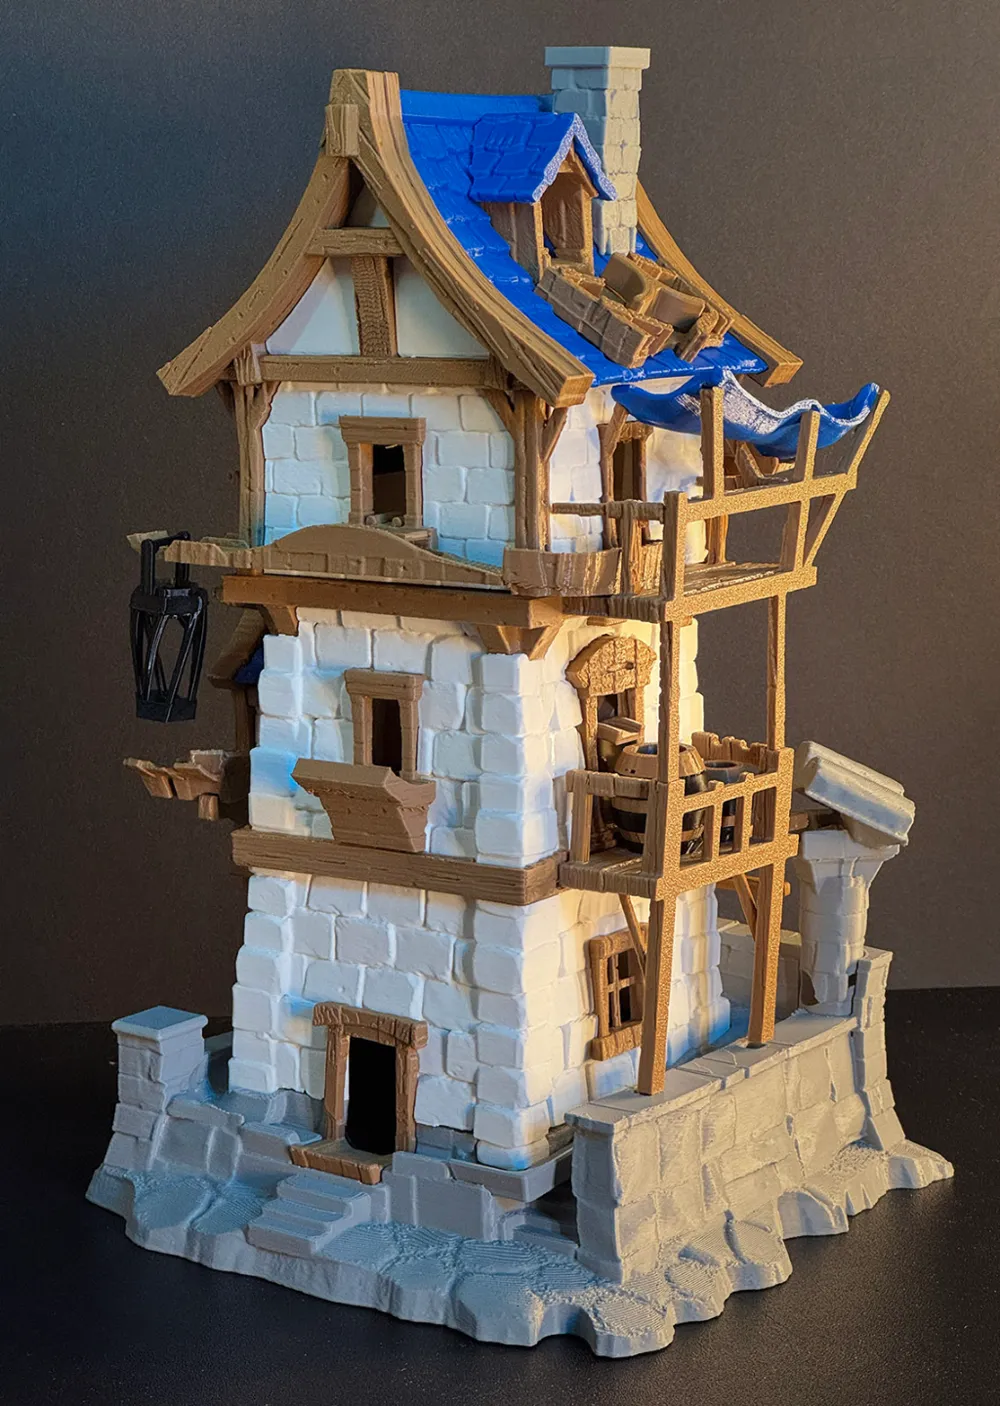
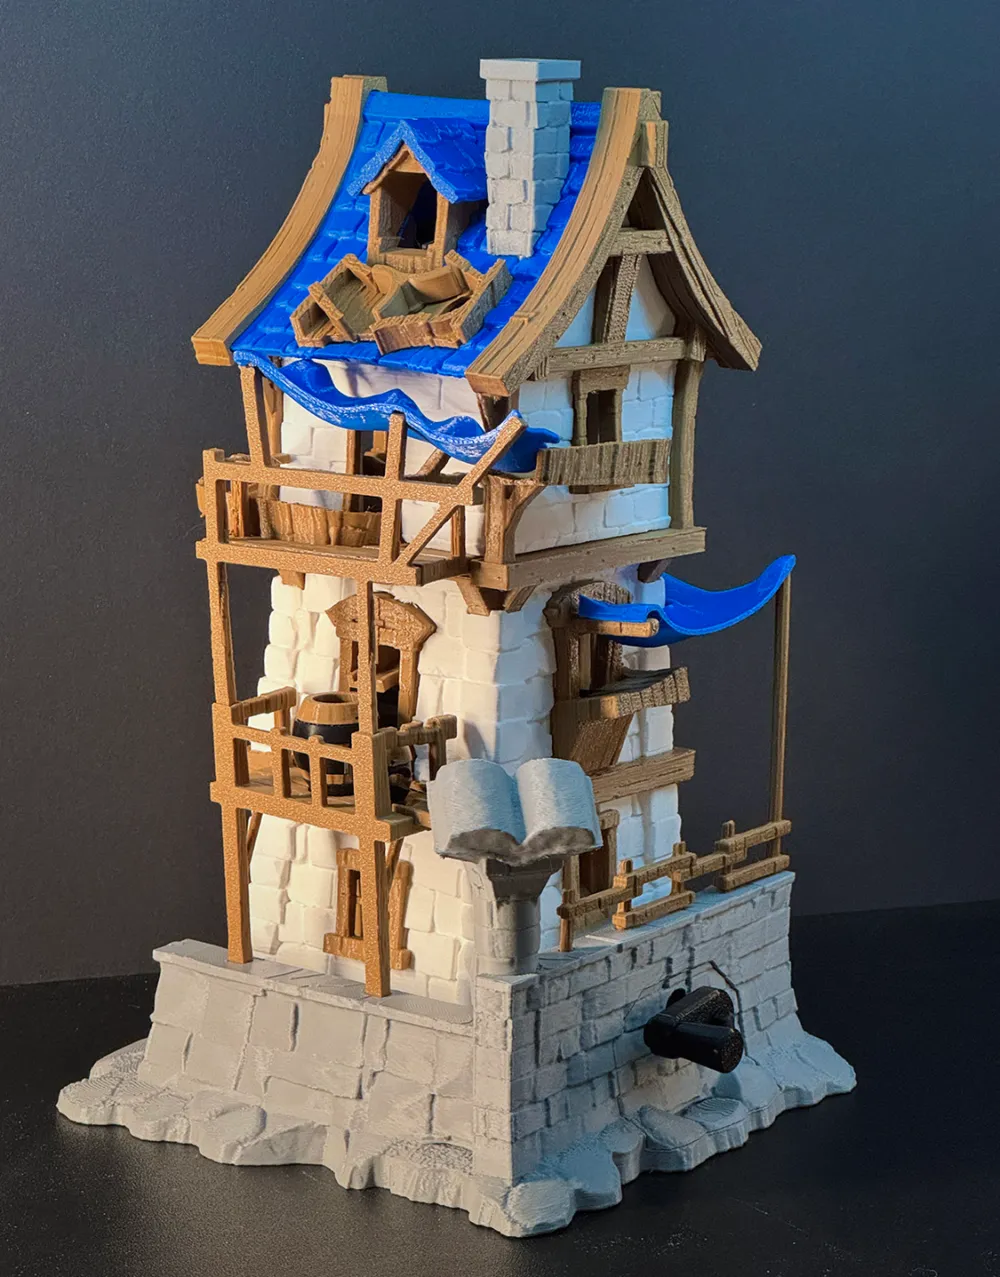
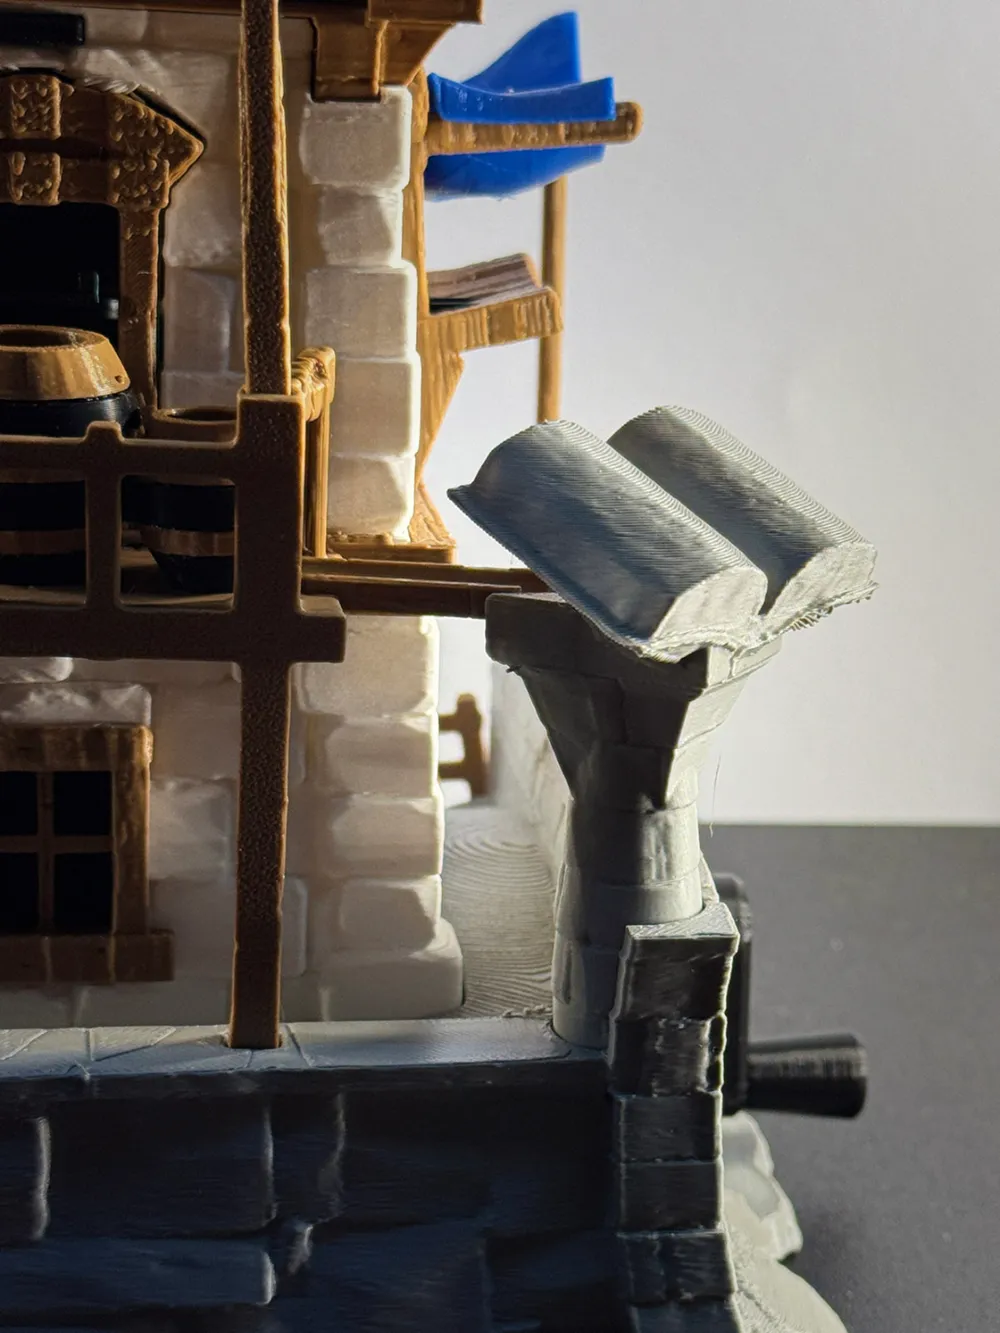

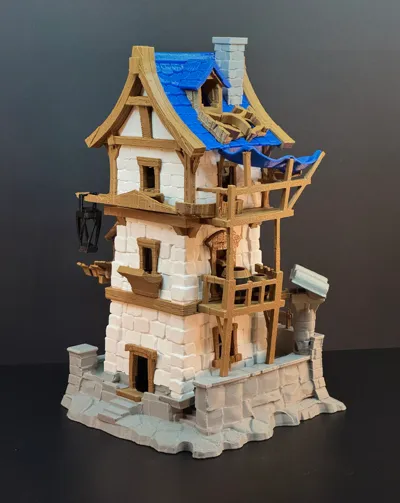
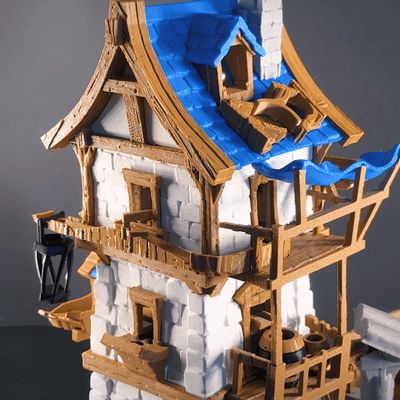
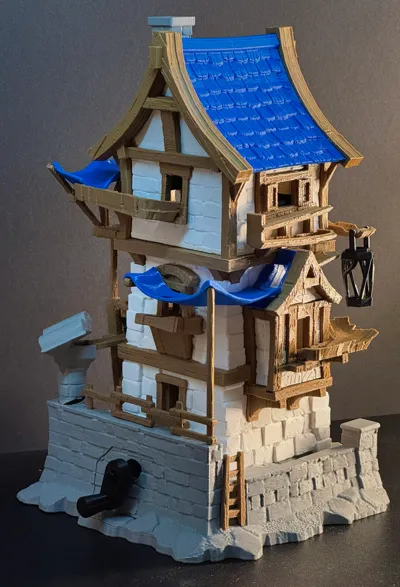
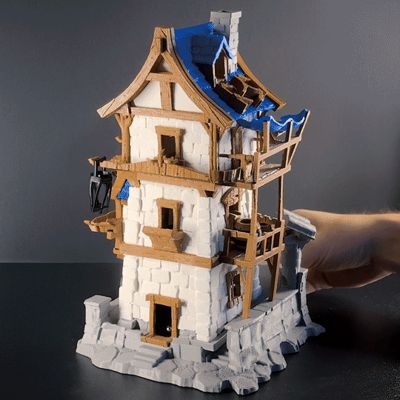
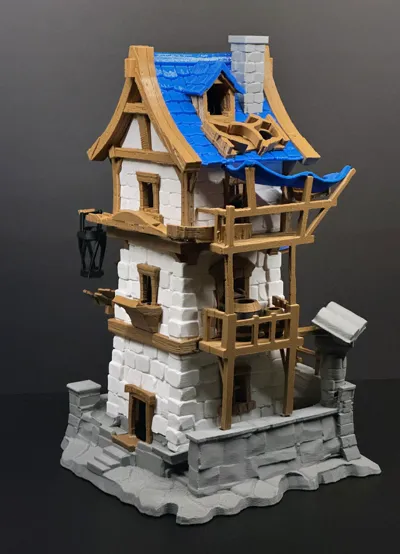
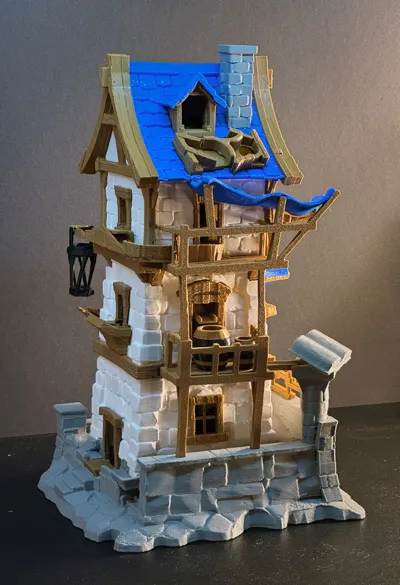
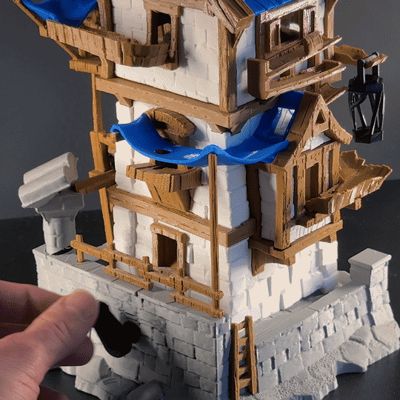
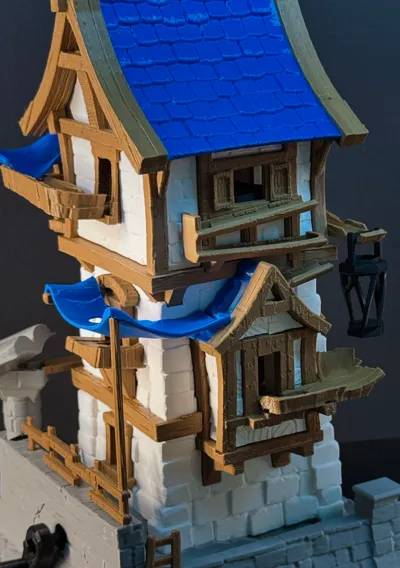
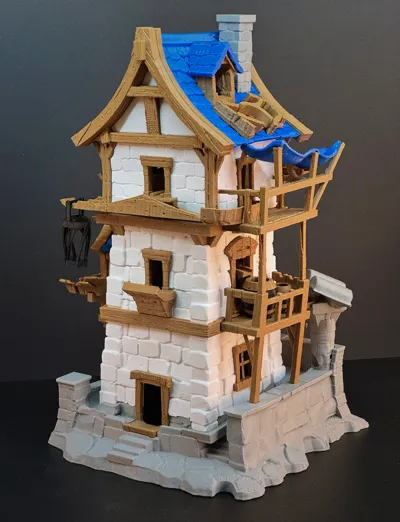
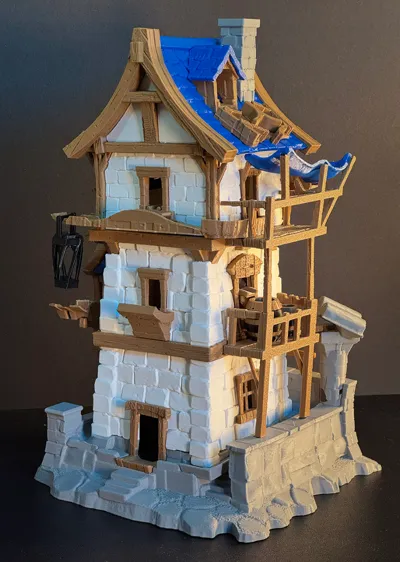
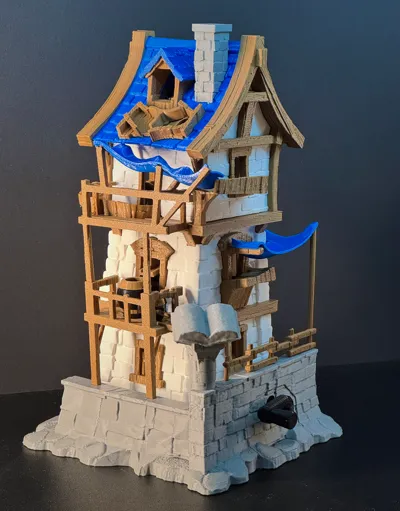
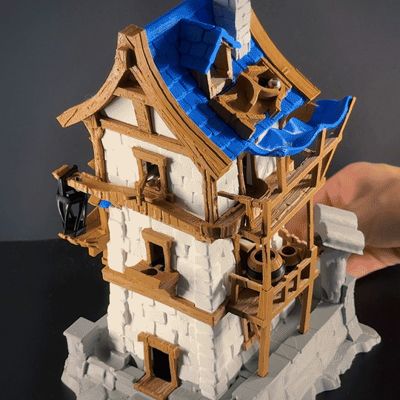
Step into the world of knights and castles with The Enchanted Tower, a mesmerizing 3D-printed marble run that captures the grandeur of medieval architecture. Designed for 8mm steel balls, this towering structure stands tall at 28cm with its intricate details, arched windows, and wooden structures, evoking the charm of an age-old stronghold.
But this is no ordinary tower—hidden within its walls are five unique pathways that send the marbles on a captivating journey. Each descent is different, featuring secret chutes, twisting corridors, and unexpected turns, ensuring a dynamic and ever-changing experience. The interplay of motion and gravity brings the tower to life, making it more than just a decorative piece—it’s an Showpiece with a story to tell.
Boost Me (for free)
Please help me with your free boost
When fully printed, The Enchanted Marble Tower consists of 80 individual 3D-printed parts ready for assembly.
What You’ll Need
Glue – for securing specific parts
Lubricant (e.g., WD-40) – for smoother rotation of the hexagonal bearings.
8mm steel balls – to bring the marble run to life!
Assembly Notes

Keep the following advice in mind:
- Only glue the parts that don’t hold themselves together naturally.
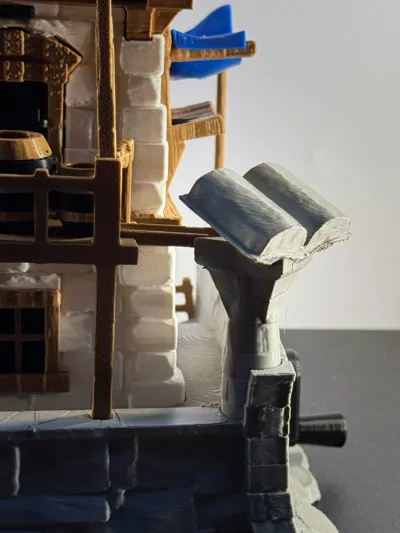
- Do NOT glue anything to the baseplate—this ensures access to the interior later. (Only the grey parts small frey edge and the book pillar could be glued.)
- Do NOT glue the roof. Instead:
- The front wooden structure can be glued to the white walls.
- The back wooden structure can be glued to the roof.
Performance Tip:
Apply a small amount of lubricant to the hexagonal bearings for smoother marble movement.
There is an optional "top release" plate. If you assemble the standard version, the marble at the top will need a second marble to push it out of the window—this mechanism works reliably. However, if you prefer the marble to release immediately, you can try the optional top release. Some users, however, have experienced issues with this version.
Motorized Version
Also attached is the PrintProfile with all the necessary parts for the motorized version. The Assembly Guide first walks you through building the manual version and then shows you how to easily convert it into the motorized version in just a few steps.
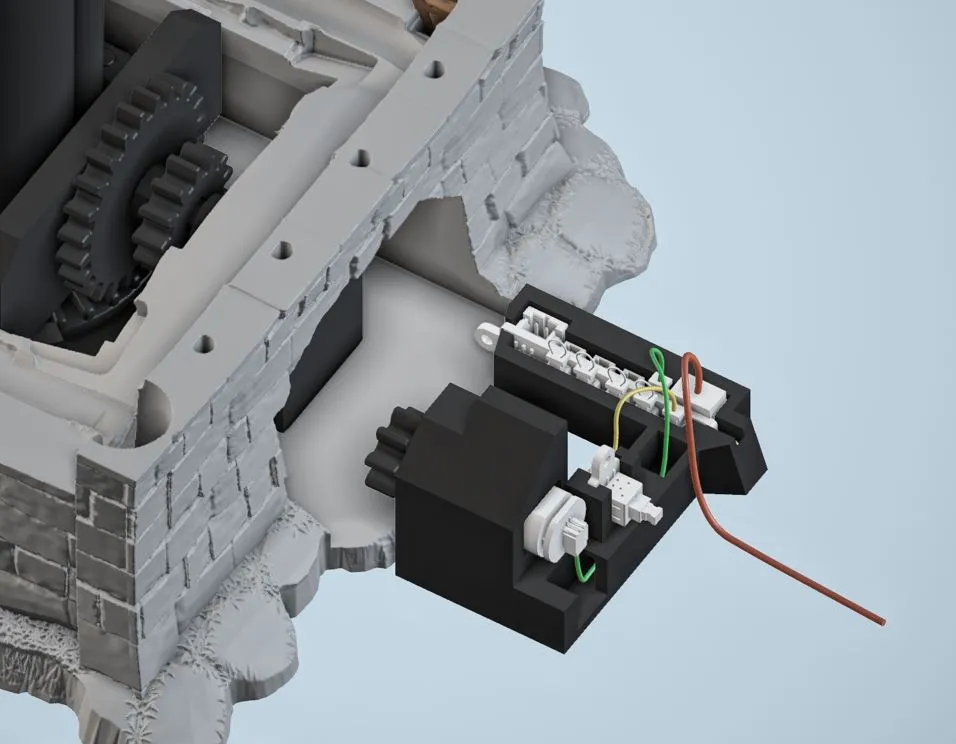
Check the written assembly Guide and the Video here for additional help:
You’ll need a few additional maker’s supply parts for this:
- N20 Motor (150 RPM)
- Power Distribution Board
- Button Switch
Aside from these components and the 3D-printed parts, no other materials are required—no screws, extra cables, or soldering needed.
Happy building!
Documentation (2)
License

You shall not share, sub-license, sell, rent, host, transfer, or distribute in any way the digital or 3D printed versions of this object, nor any other derivative work of this object in its digital or physical format (including - but not limited to - remixes of this object, and hosting on other digital platforms). The objects may not be used without permission in any way whatsoever in which you charge money, or collect fees.


Comment & Rating (234)