


Print Profile(3)


Description
If you have a small locker and need to be able to organize it to maximize the space this could be the system your looking for. I've spent some time creating this to make it work well and be sturdy. If you work in a food production facility you have locker clean outs and this will allow you to remove it with ease for cleaning and reinstalling later.
This system measures a hair under 14 ¾ in ( 14 23/64 in ) wide by 9 5/16 in deep. The main shelf measures 13 inches to the top of the shelf, with 12 inches of clearance under it for steel toe boots. There is some gluing required with this. Then you have several flat sections you bring in and snap them together. The rest is designed to be removable after if you have to take it out.
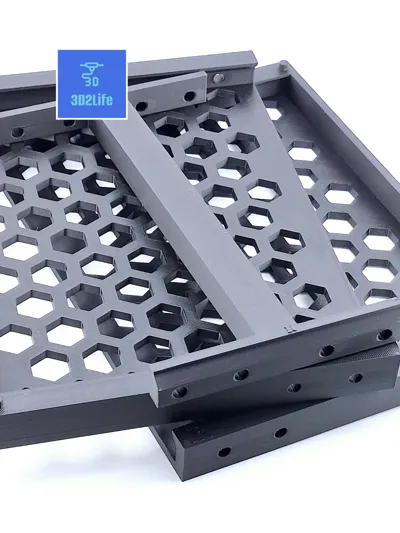
You will print all the build plates once to have enough parts to assemble this shelf system. Build plate 4 is the walls. It's marked to print 4x (times). This will give you the 12 inches of clearance for boots.

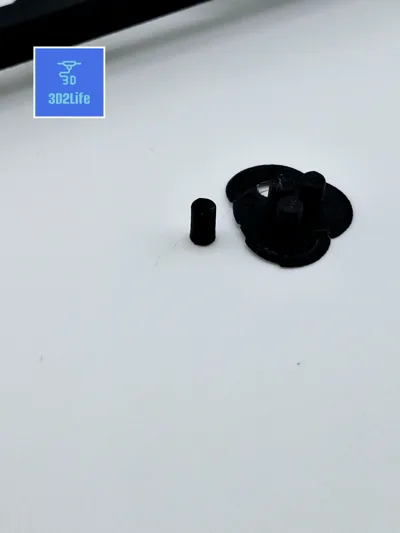
You will notice on these side panels you will have a larger side and a shorter side. The holes in these are 2 different sizes also. The smaller pins get glued into the smaller side. Both sides are matched up and glued together to make it big enough for boots under it. I used super glue for assemble myself. You can use what ever glue you find works well for you. You can run a bead of super glue along the small edge like in the group of images above.
 Here is what the side panels look like fully assembled.

The flat side will go towards the wall of the locker when installing it. The bottom of the shelf system has the other pins printed in it which will snap into the larger holes. No glue is needed on this section.
 To assemble the shelf system you will want to make sure to have the left side and the right side shelf is printed and then also make sure the I center support beam is printed. You should have the pins printed too. So you will slide the center support into the one side and then slide the other side in too. Make sure the letter R matches on the center support and the right shelf.

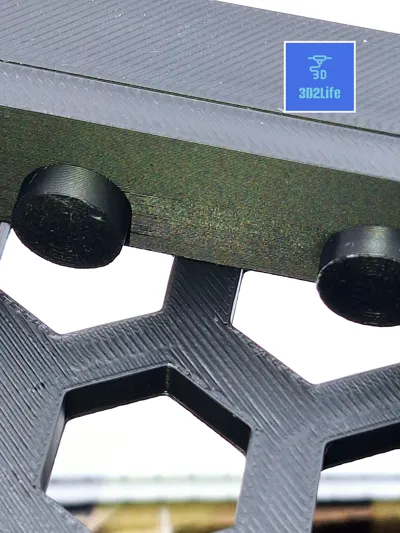
This will make sure you assemble everything correctly. Now when you insert the larger pins you can put the super glue on the pins themselves or in the holes. I have found adding the glue to the pins reduces any extra mess.
 Inserting the pins from the inside will allow the shelf to sit flush to the rear of the locker. It will barely poke out and look clean. Each side will take 4 pins. Total of 8 pins will secure the shelf and make this solid. When installing it into your locker you will tilt it at an angle and then sit it down on one side panel at a time.
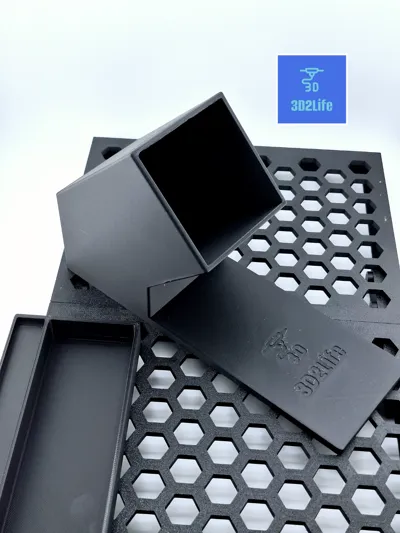
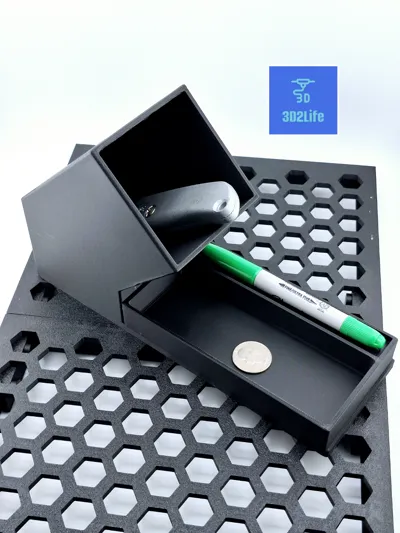
If you want to print the added organizers for pens and tools you can print those build plates also.

I designed the one tray to be glued onto the other for a really nice clean look. If you choose to print one or the other that's up to you and your needs. I added a little grip tape under mine to hold it in place but allow for removal.
If you decide to add the second shelf system like I have in the photo of my locker. You will need to reprint plates 1, 2, 3, 5, and only reprint plate 4, 2 times. This will give you half the size and sit on top of the other shelf.
 It's a simple setup and will work for what you need in a work place locker. Has a neat industrial look and has the strength you will need for everyday use.
Hopefully you find this easy enough to print and assemble. Enjoy and feel free to give us a boost if you find this useful. Thank you!
Boost Me (for free)
License
You shall not share, sub-license, sell, rent, host, transfer, or distribute in any way the digital or 3D printed versions of this object, nor any other derivative work of this object in its digital or physical format (including - but not limited to - remixes of this object, and hosting on other digital platforms). The objects may not be used without permission in any way whatsoever in which you charge money, or collect fees.
Comment & Rating (25)