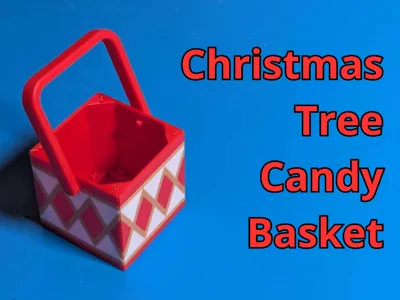
Christmas Tree Candy Basket


Print Profile(2)


Description
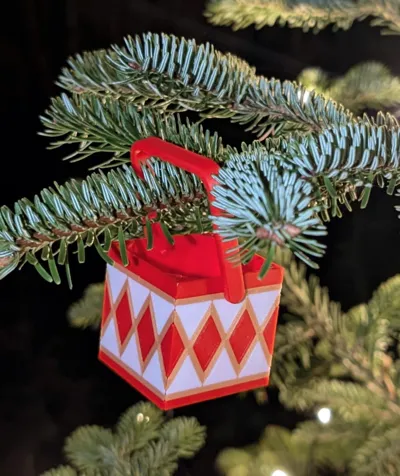
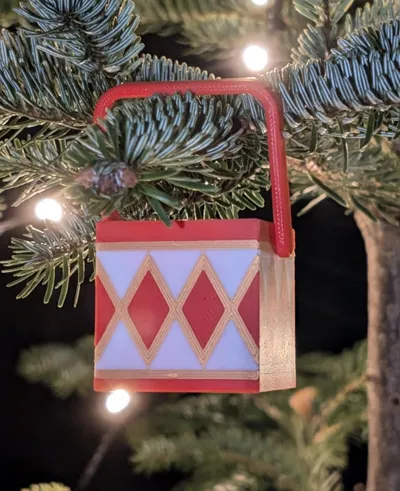
This is a small, festive basket designed to hang on a Christmas tree! Perfect for filling with candy, nuts, raisins, or other holiday treats, adding a touch of tradition to your decorations. In Denmark, we often fill these with a special chocolate mix called "Bridgeblanding" – but you can use whatever treats you like!
Design & Features
- Classic holiday colors – red with a traditional white/yellow checkered pattern. Or use green instead of red.
- Compact size – 39 × 39 × 39 mm, plus a handle for easy hanging.
- Multi-color print – designed for AMS/MMU printing, but can also be printed in a single color and painted.
Printing Recommendations
- Best printed in PLA for vibrant colors and easy handling.
- Minimal supports needed – prints cleanly as designed.
- Minimal waste – the colorchanges are limited to three layers.
The prints in the photos are with a smooth PEI plate, but a textured will also give good results.
Add a charming, nostalgic touch to your Christmas tree with this printable holiday basket! 🎅🎁
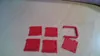
Assembly
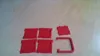
This model prints in six pieces that click together for easy assembly. When snapping the parts into place, apply firm but controlled pressure.
Please refer to the documentation section for a short video on assembly. Note that you need the two sides with holes in them, opposite of eachother to be able to insert the handle into the basket.
There is also a small video showing how to remove the support material. The process is simple, but due to the small size of the parts, I recommend using small pliers for easier and cleaner support removal. The longer you allow for cooldown, the easier the removal is. You may get a little bit of stringing on the interface between the support and side. Make sure to remove this with the pliers (invisible after the model is assembled).
Feedback
I’d love to hear from you! If you enjoy this model, please leave a like, comment, or boost to support my work. Suggestions for improvements are always welcome!
Boost Me (for free)
👉 Boost this model to help more people discover it! Every boost makes it easier for others to find, and it also motivates me to create more fun and useful designs. Thanks for your support! 😊
Documentation (2)
Comment & Rating (0)